
I saw a technique for making sugar domes on Netflix’s School of Chocolate. Initially, I thought that looked like a fun and easy skill to learn. I soon discovered it was fun. Plus I had the added incentive of wanting to make a snow-globe cake for my granddaughters. I envisioned an evergreen tree and snowman under the dome.
‘Simply’ pour a little (1-2 Tbl depending on ring size) molten (hard crack) sugar/glucose mixture inside a ring mold, resting on 3 layers of plastic wrap stretched (not too tightly) and sealed across a large bowl.

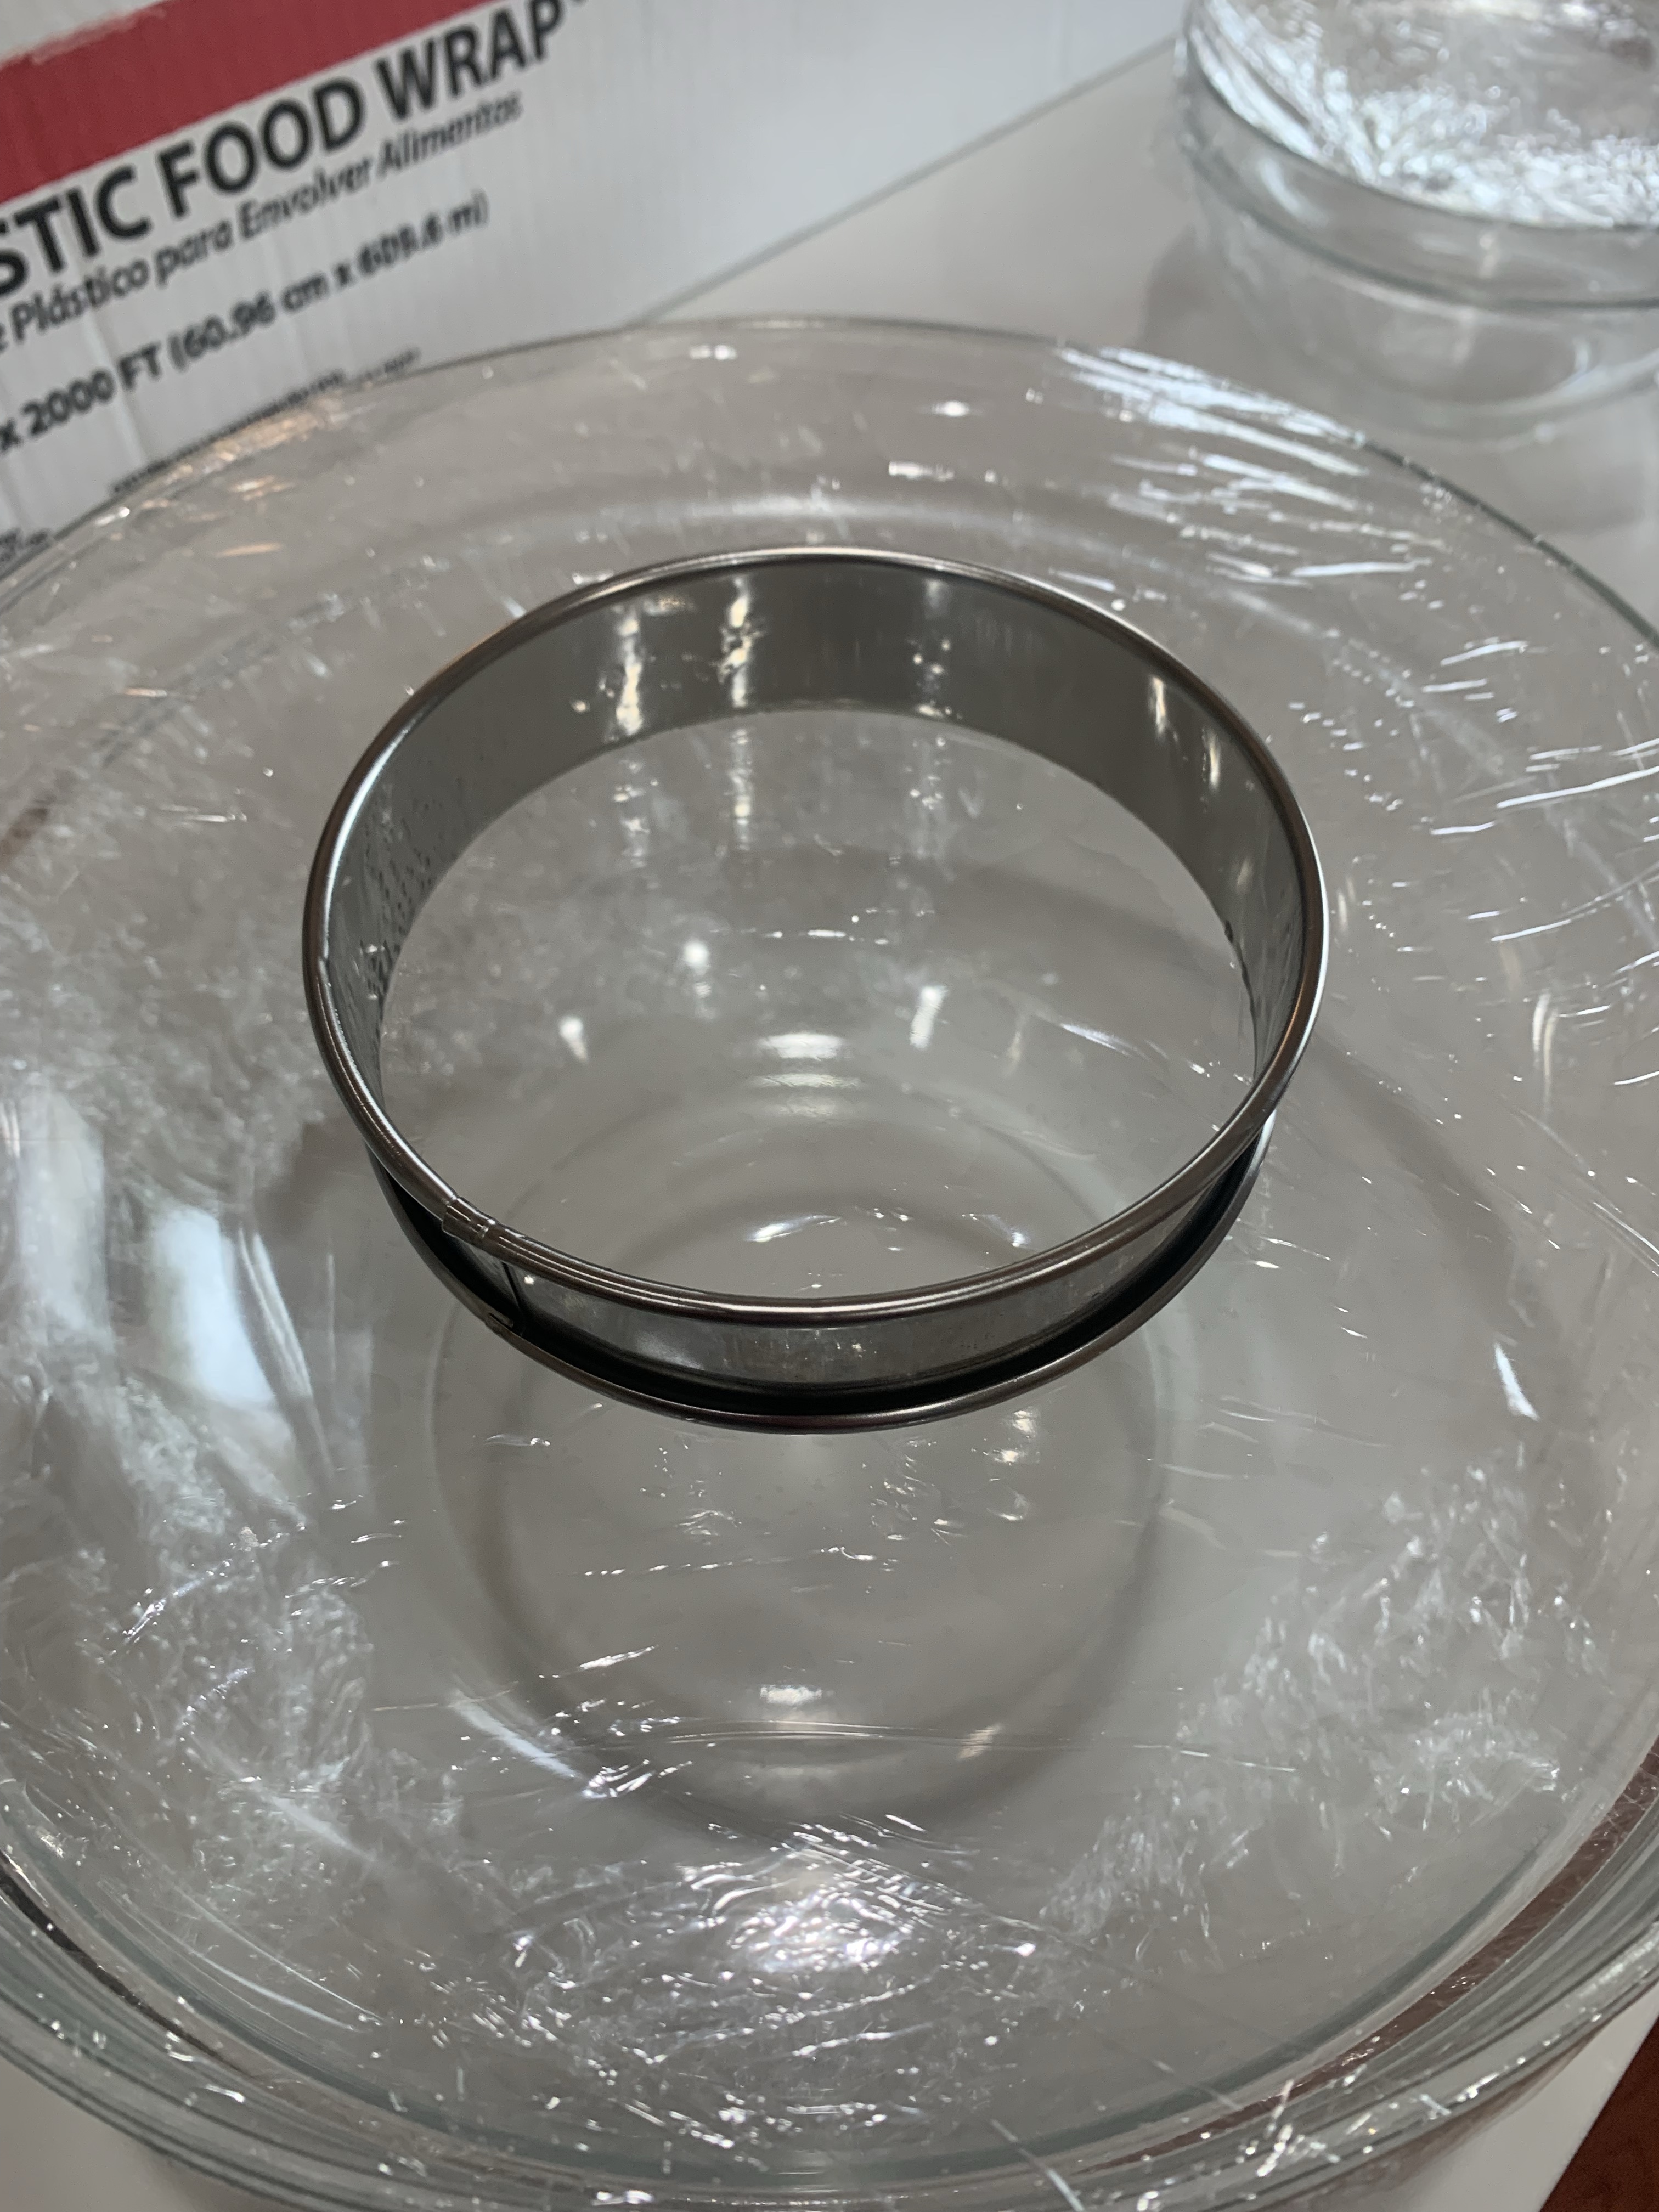
Press down on the outside of the ring and keep increasing the pressure until the sugar reaches the side of the mold and starts to dome up. If the sugar is too hot it can melt the plastic wrap, too cold it won’t spread to the edges of the ring mold. No matter what you do, your fingers will burn. (After this I purchased some heat resistant silicone gloves.)

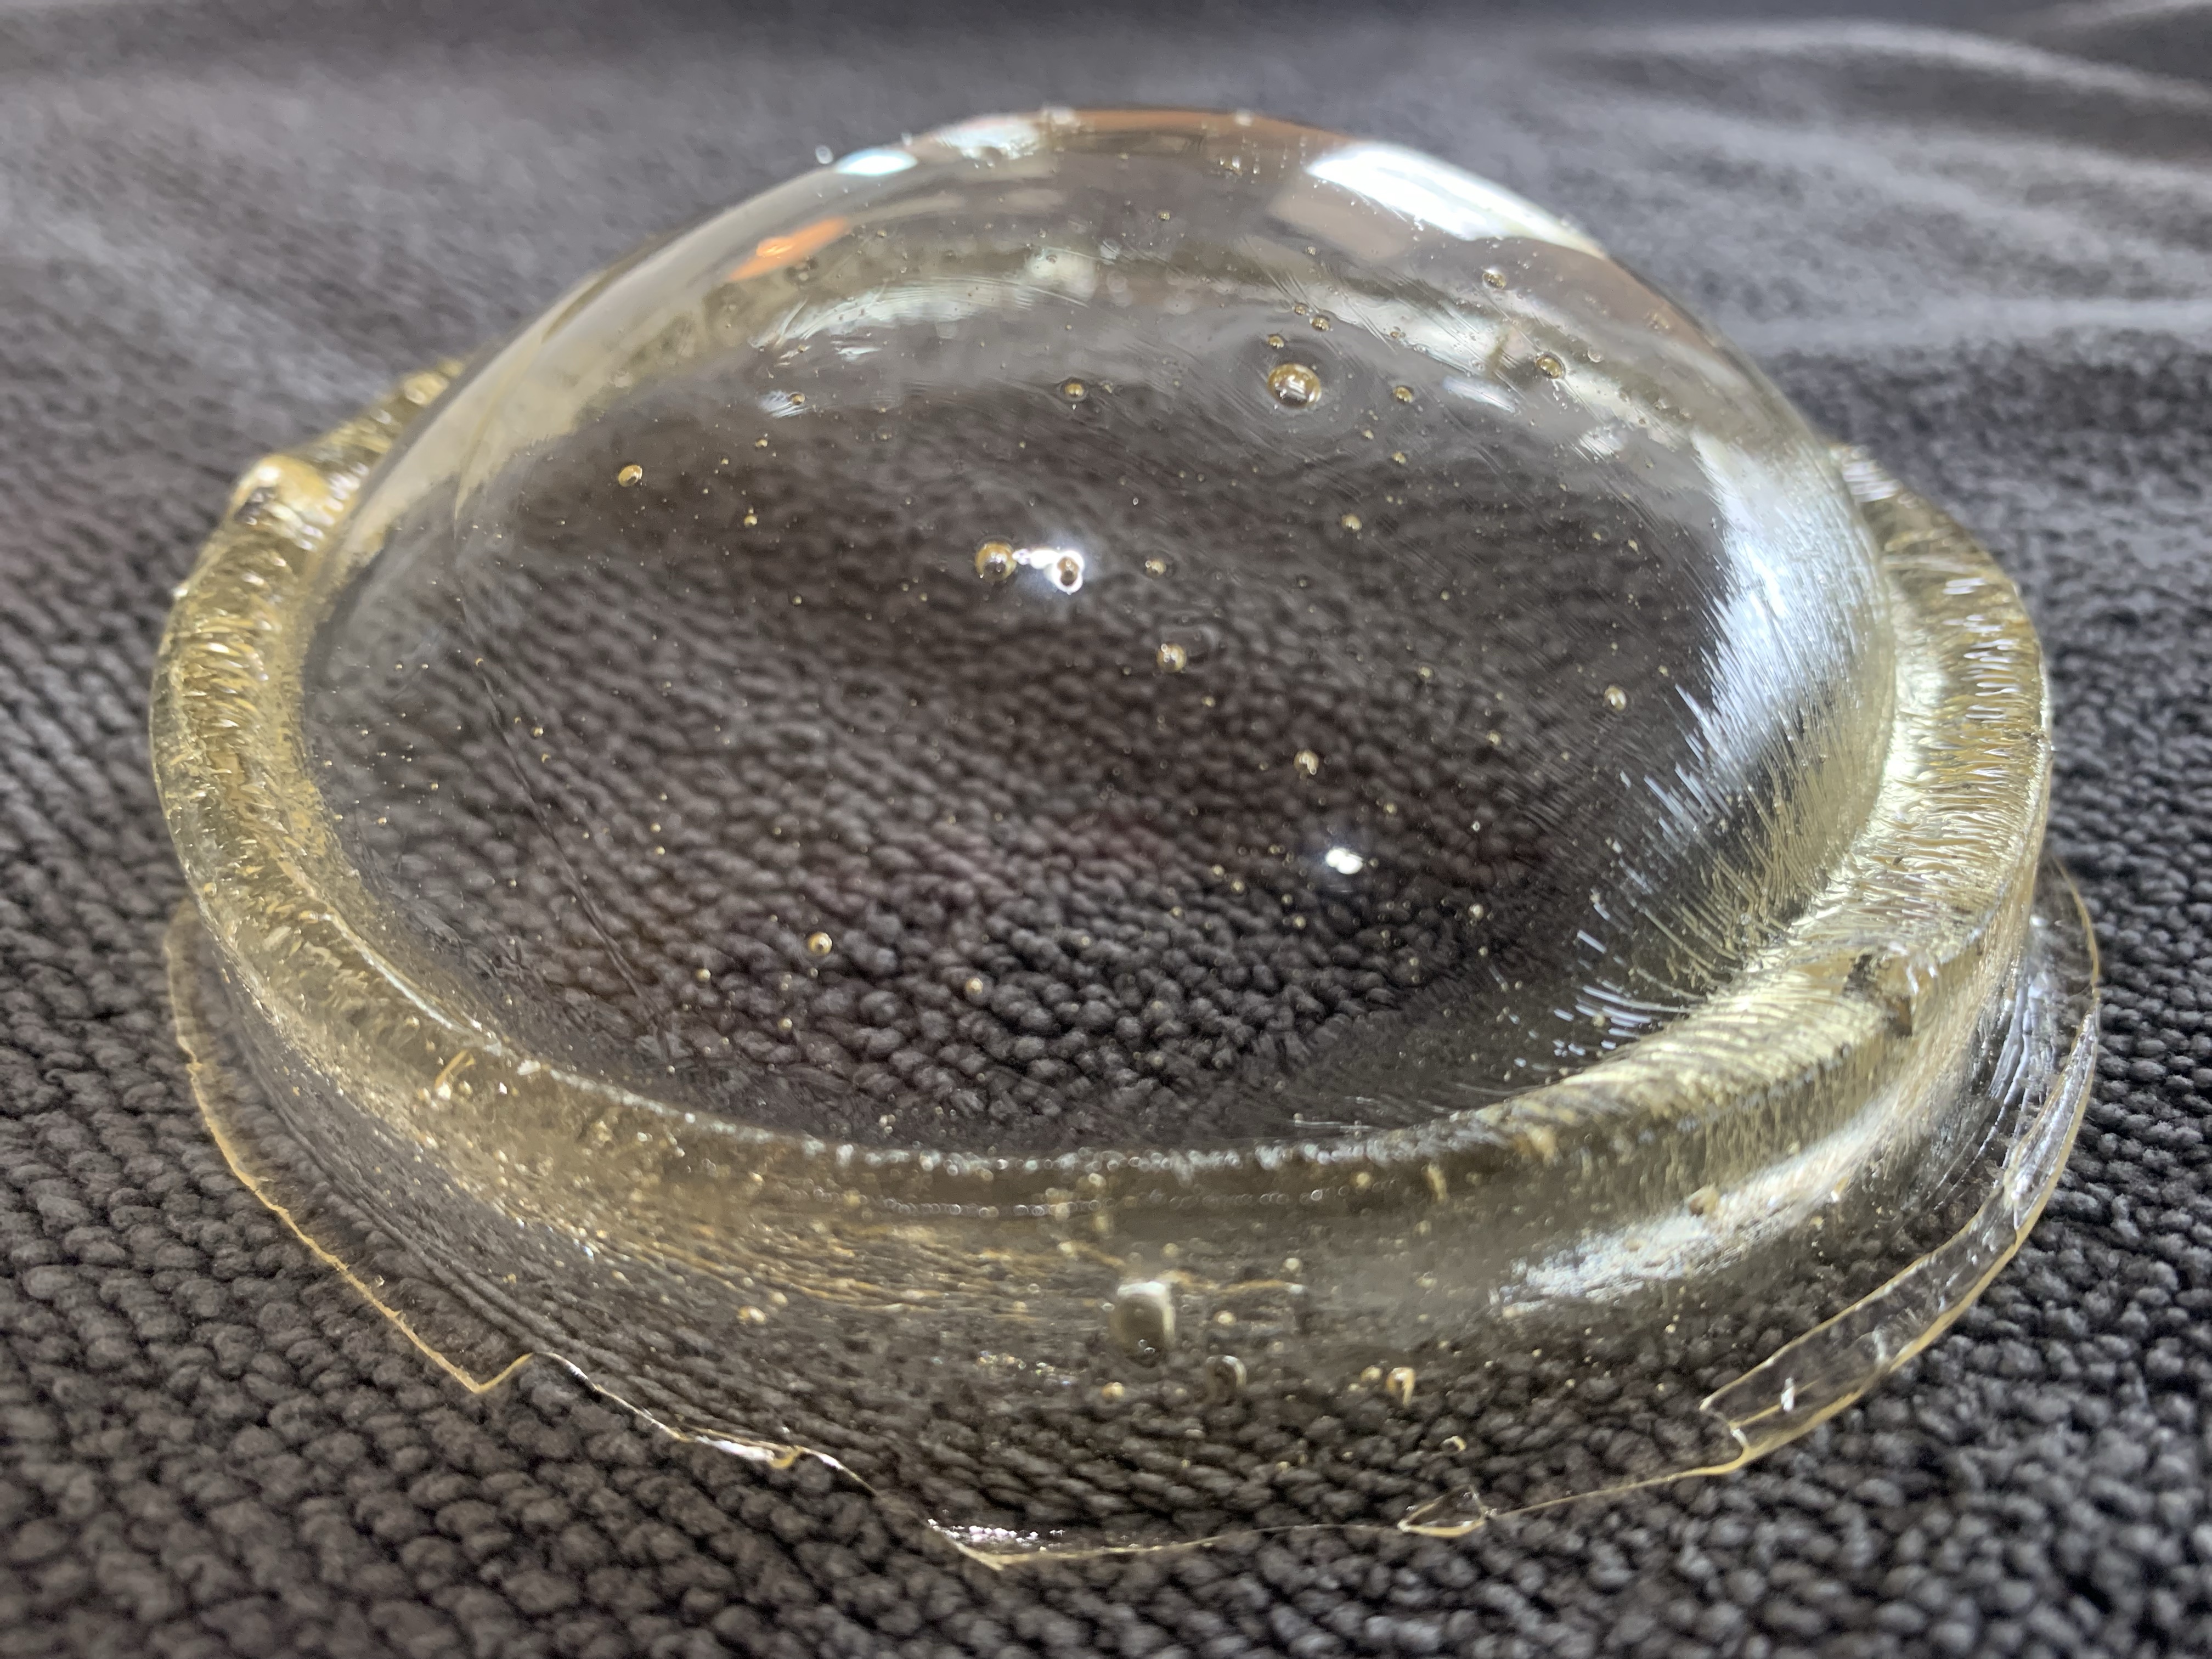


If you use too little sugar the dome will be thin or incomplete and either deflate or crack. More attempts than shown here were re-melted.
It was about now that I decided to make the cake an actual snow-globe. There is no way to pick it up and shake it, but a life time of skiing around snow makers gave me an idea. If I could blow the ‘snow’ (or powdered sugar) from inside the dome it would look like it was snowing.
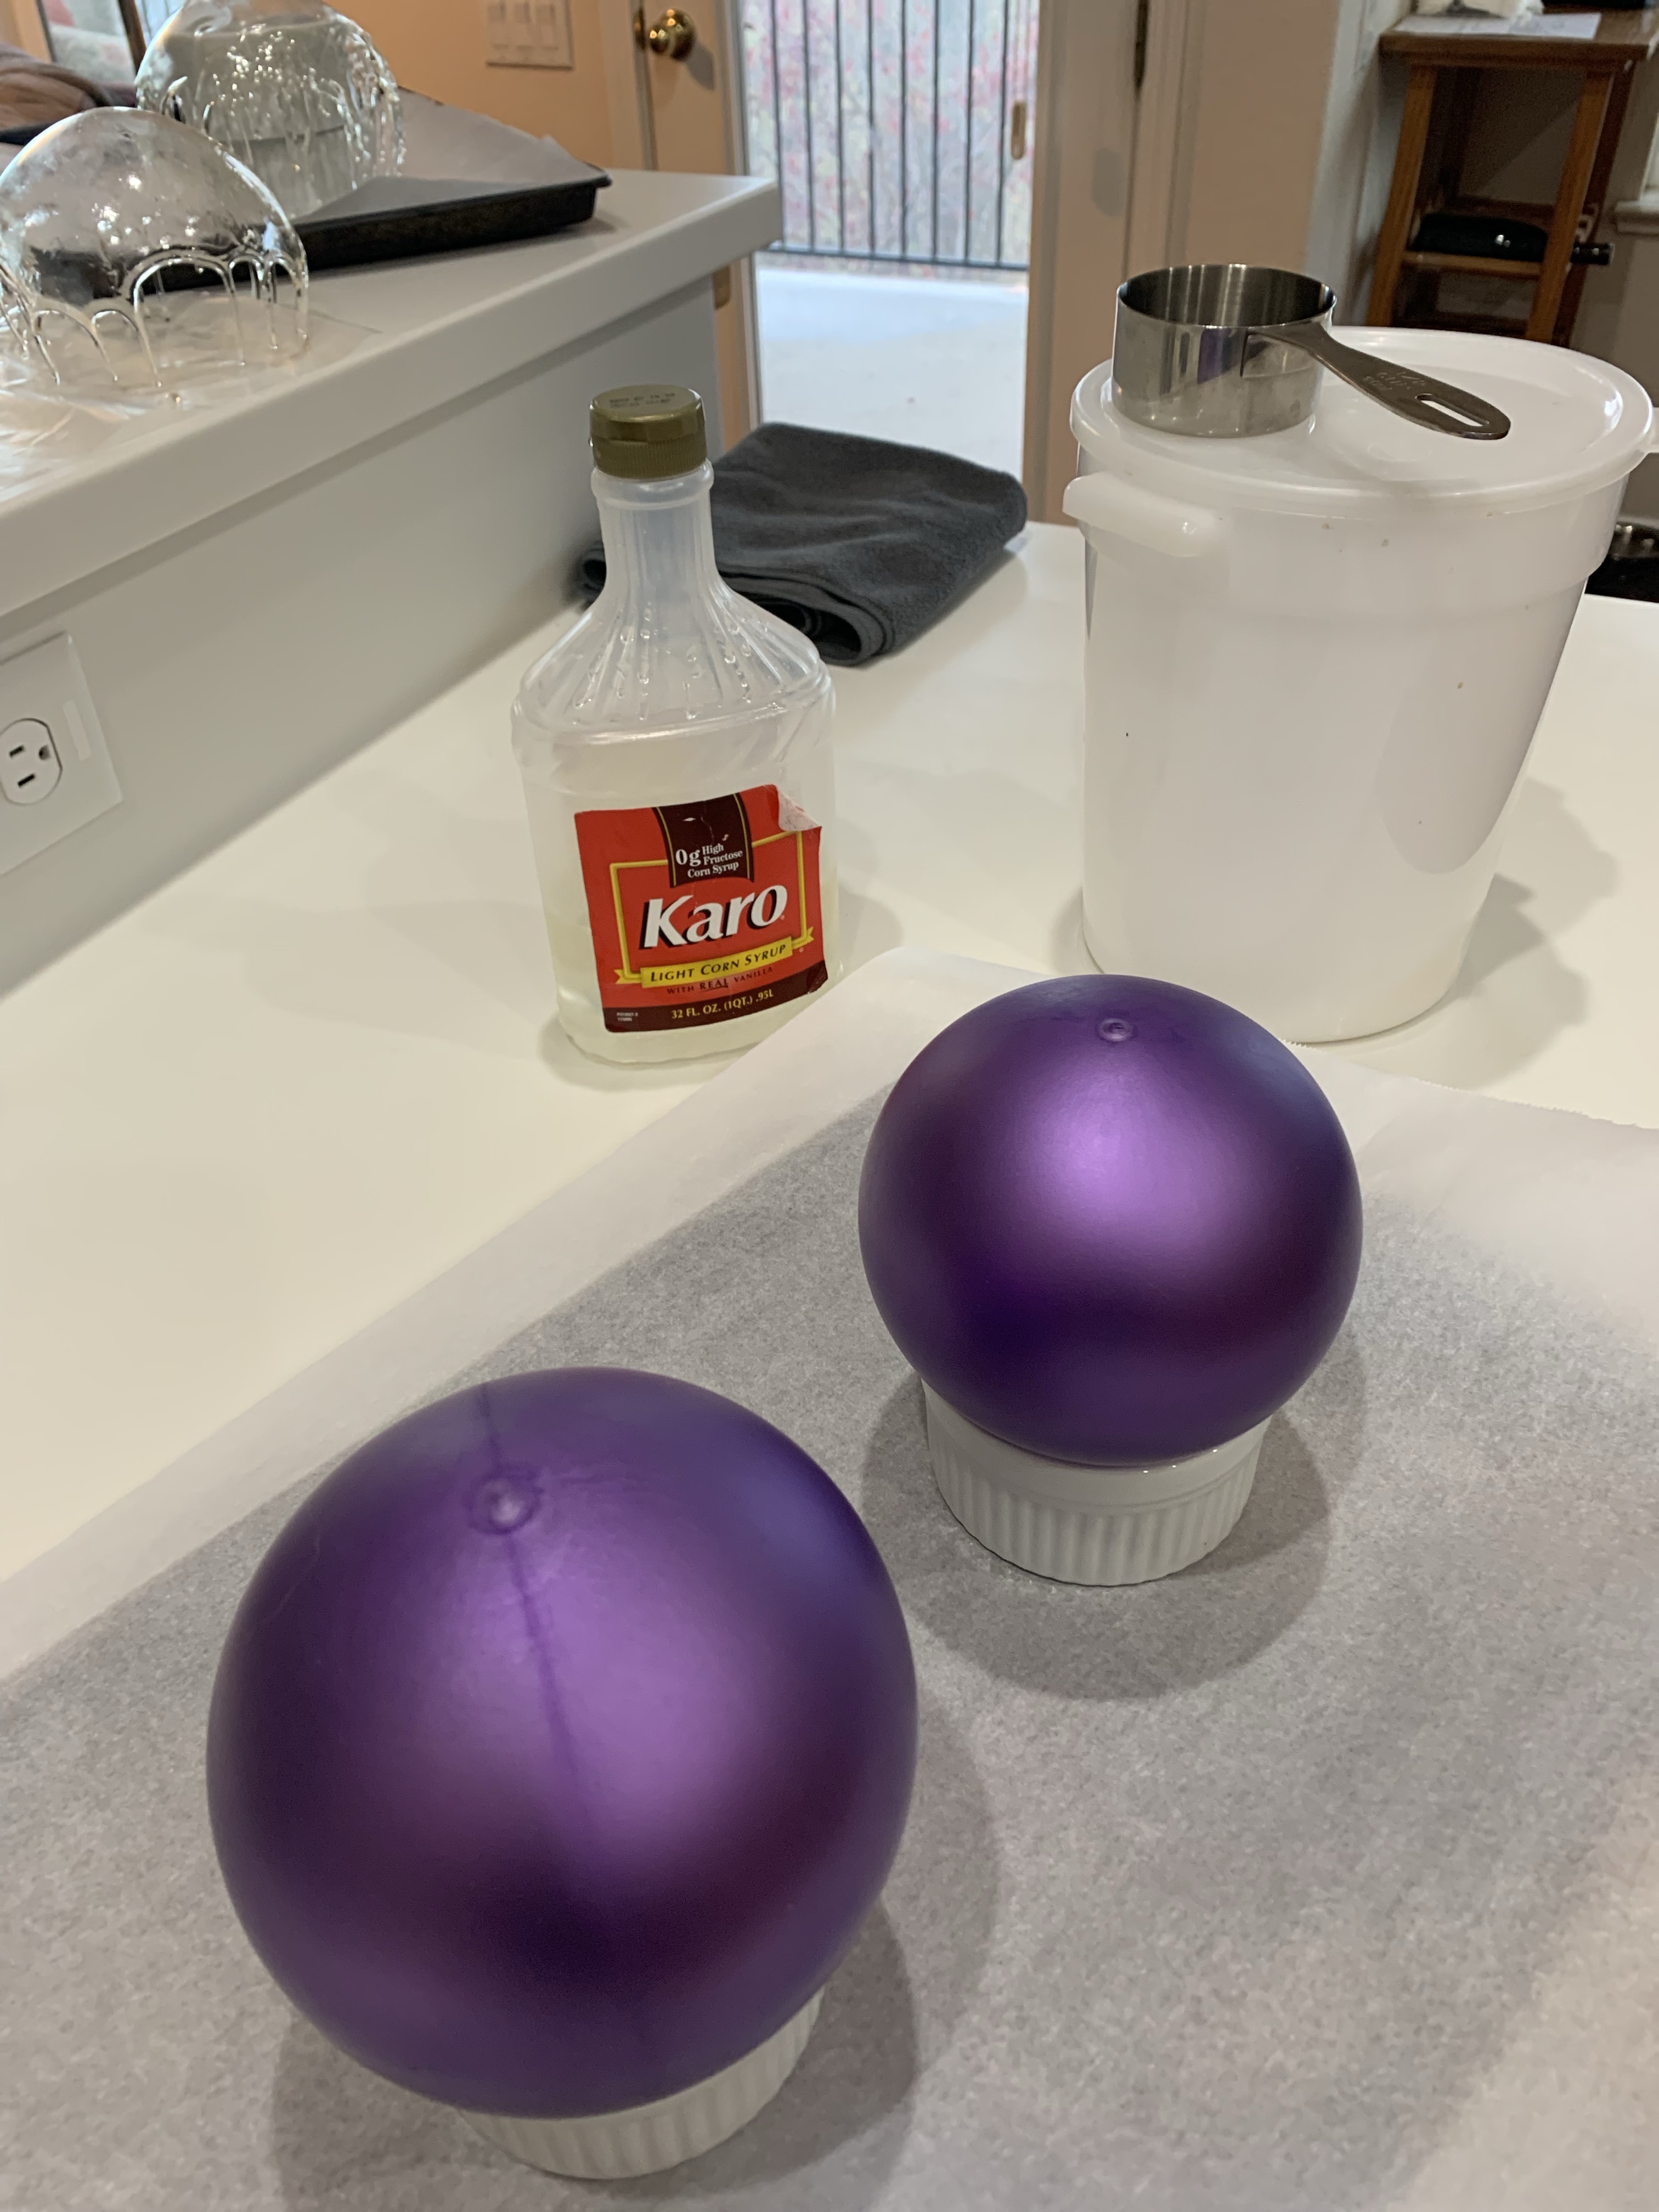
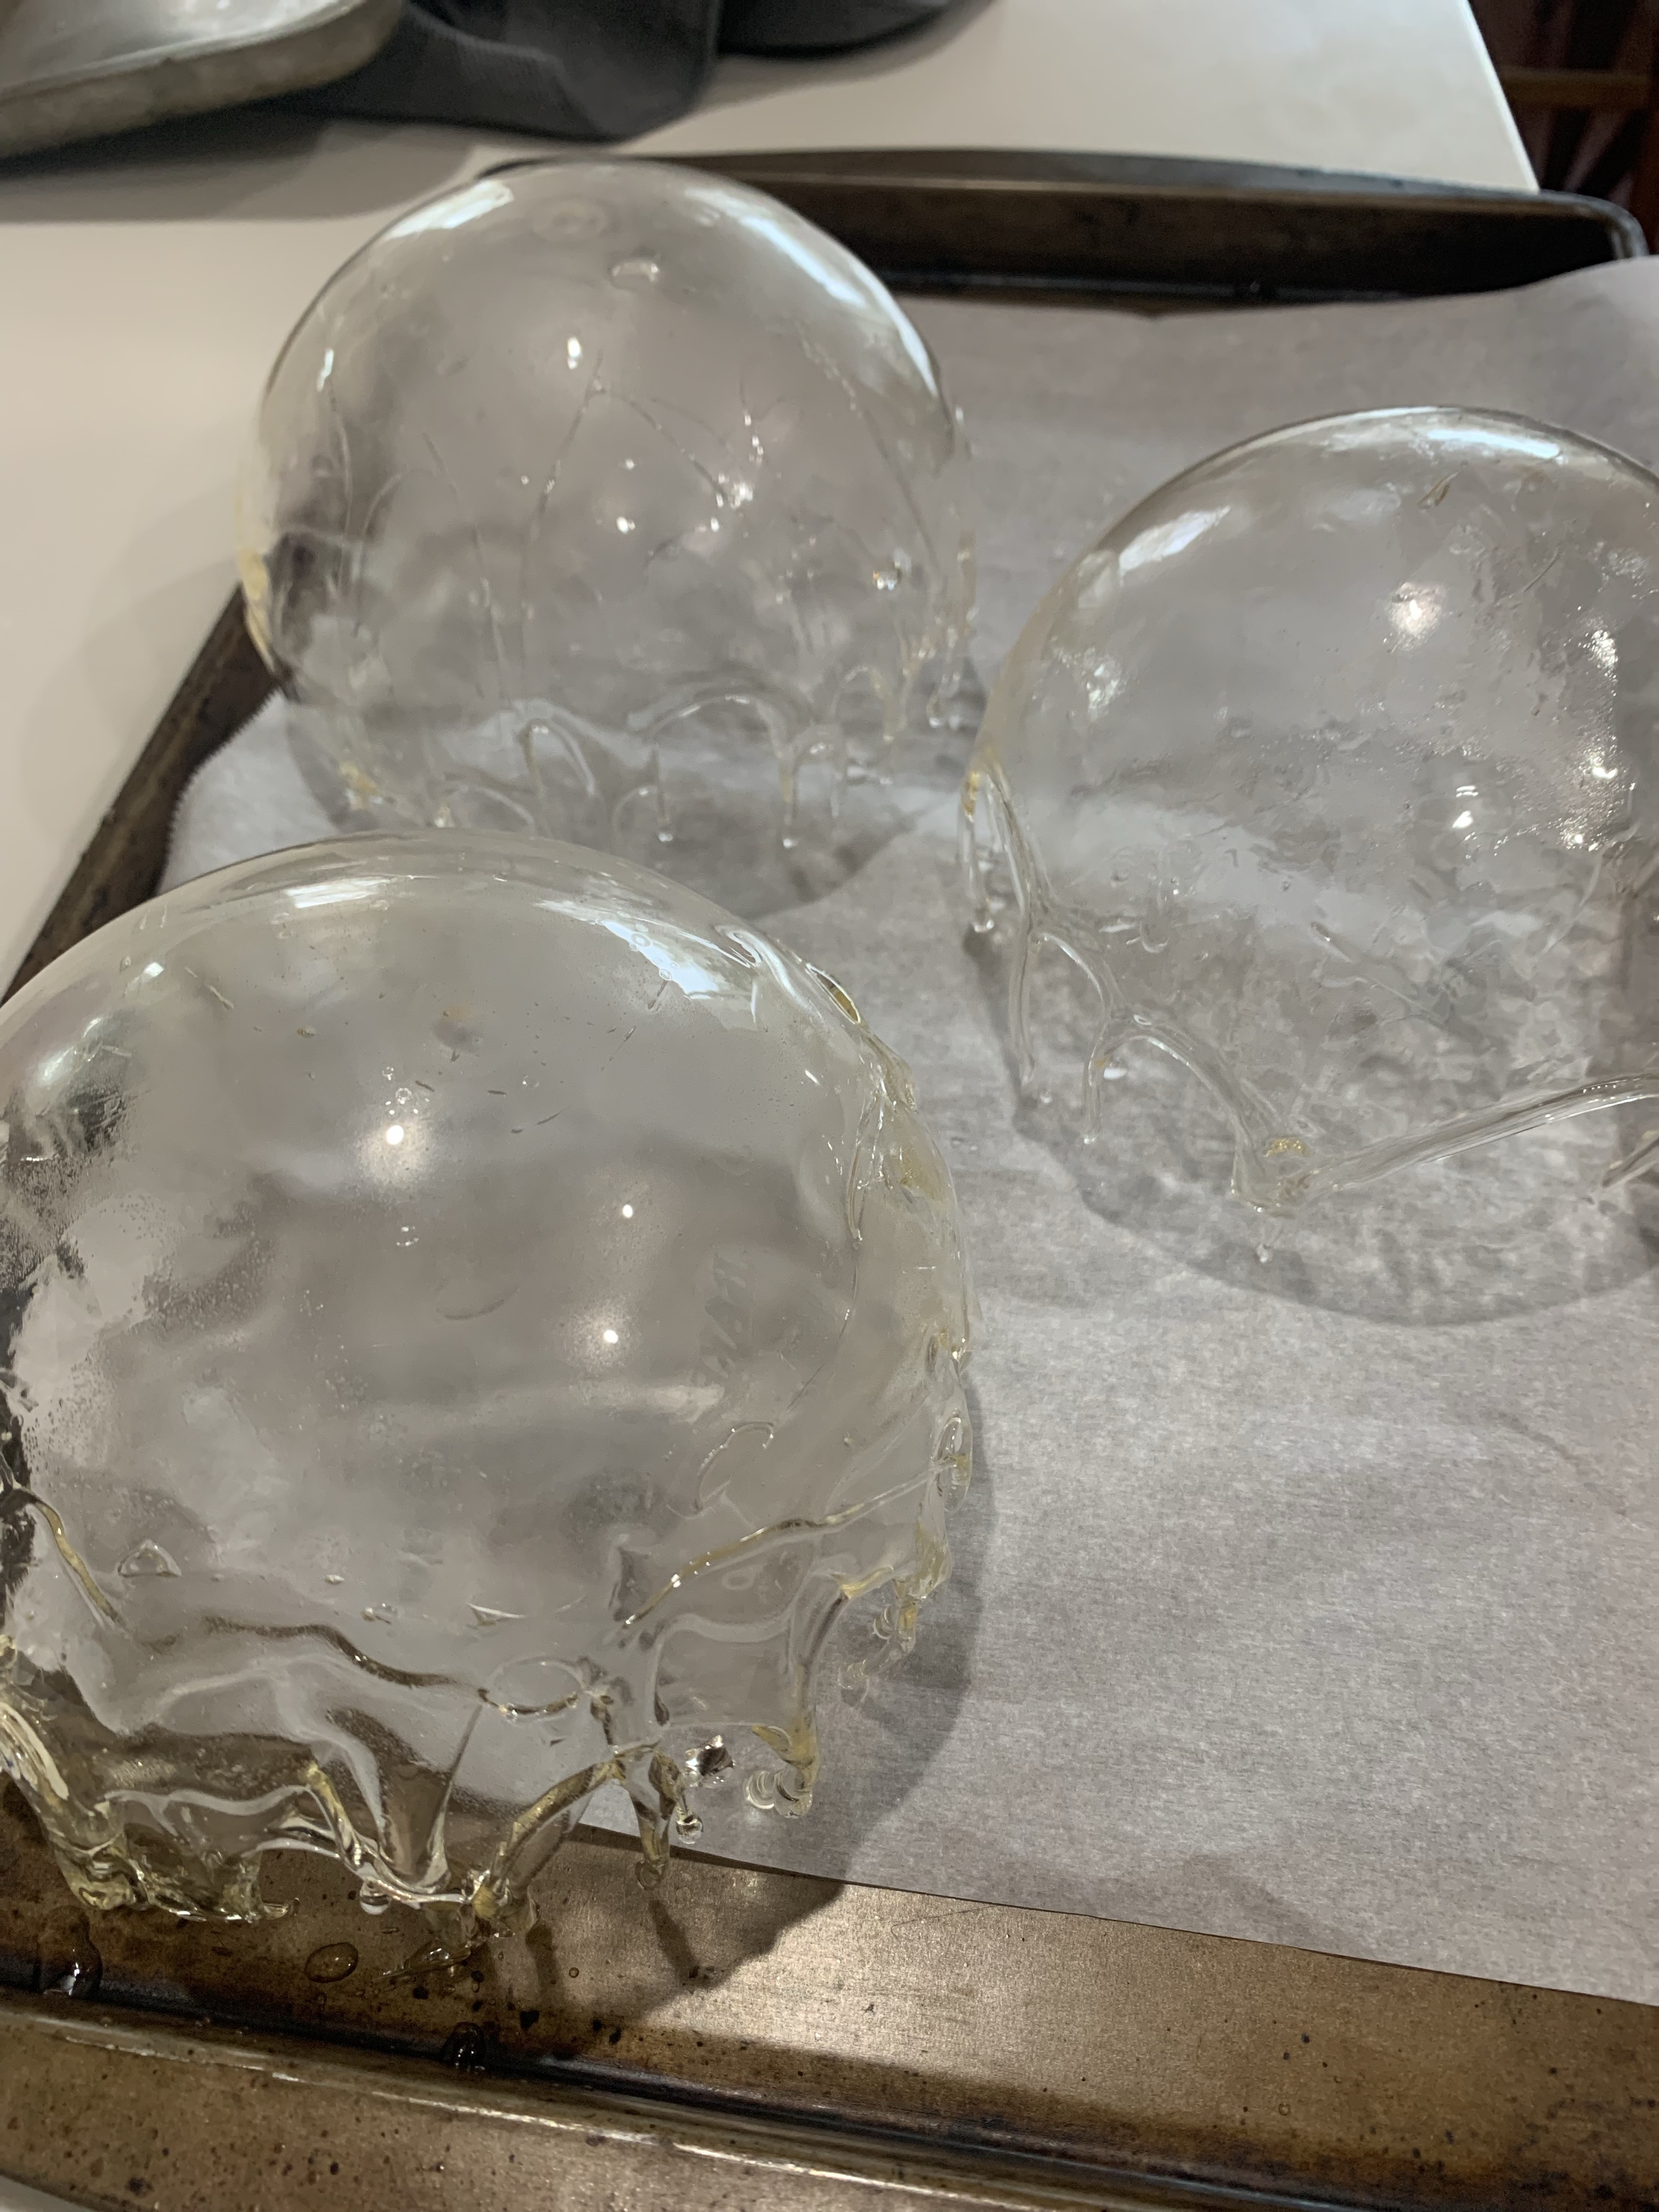
I changed my plan from a small dome on shell tart to a 5” fondant covered cake. Now I had to make the domes bigger and higher.
I saw a method for making the globes (the author was actually making sugar bowls, but inverted would be perfect.) Ann Reardon – How To Cook That has a great tutorial.
Use helium quality balloons so the molten sugar doesn’t melt them. Ann explains using water filled balloons to disperse the heat and keep them from bursting when covering with the sugar.
This technique also required some practice. You need to be sure to use enough molten sugar or the balloon won’t be fully covered. I found covering the balloon in one smooth pour was more successful than trying to go back and filling in places that weren’t covered.

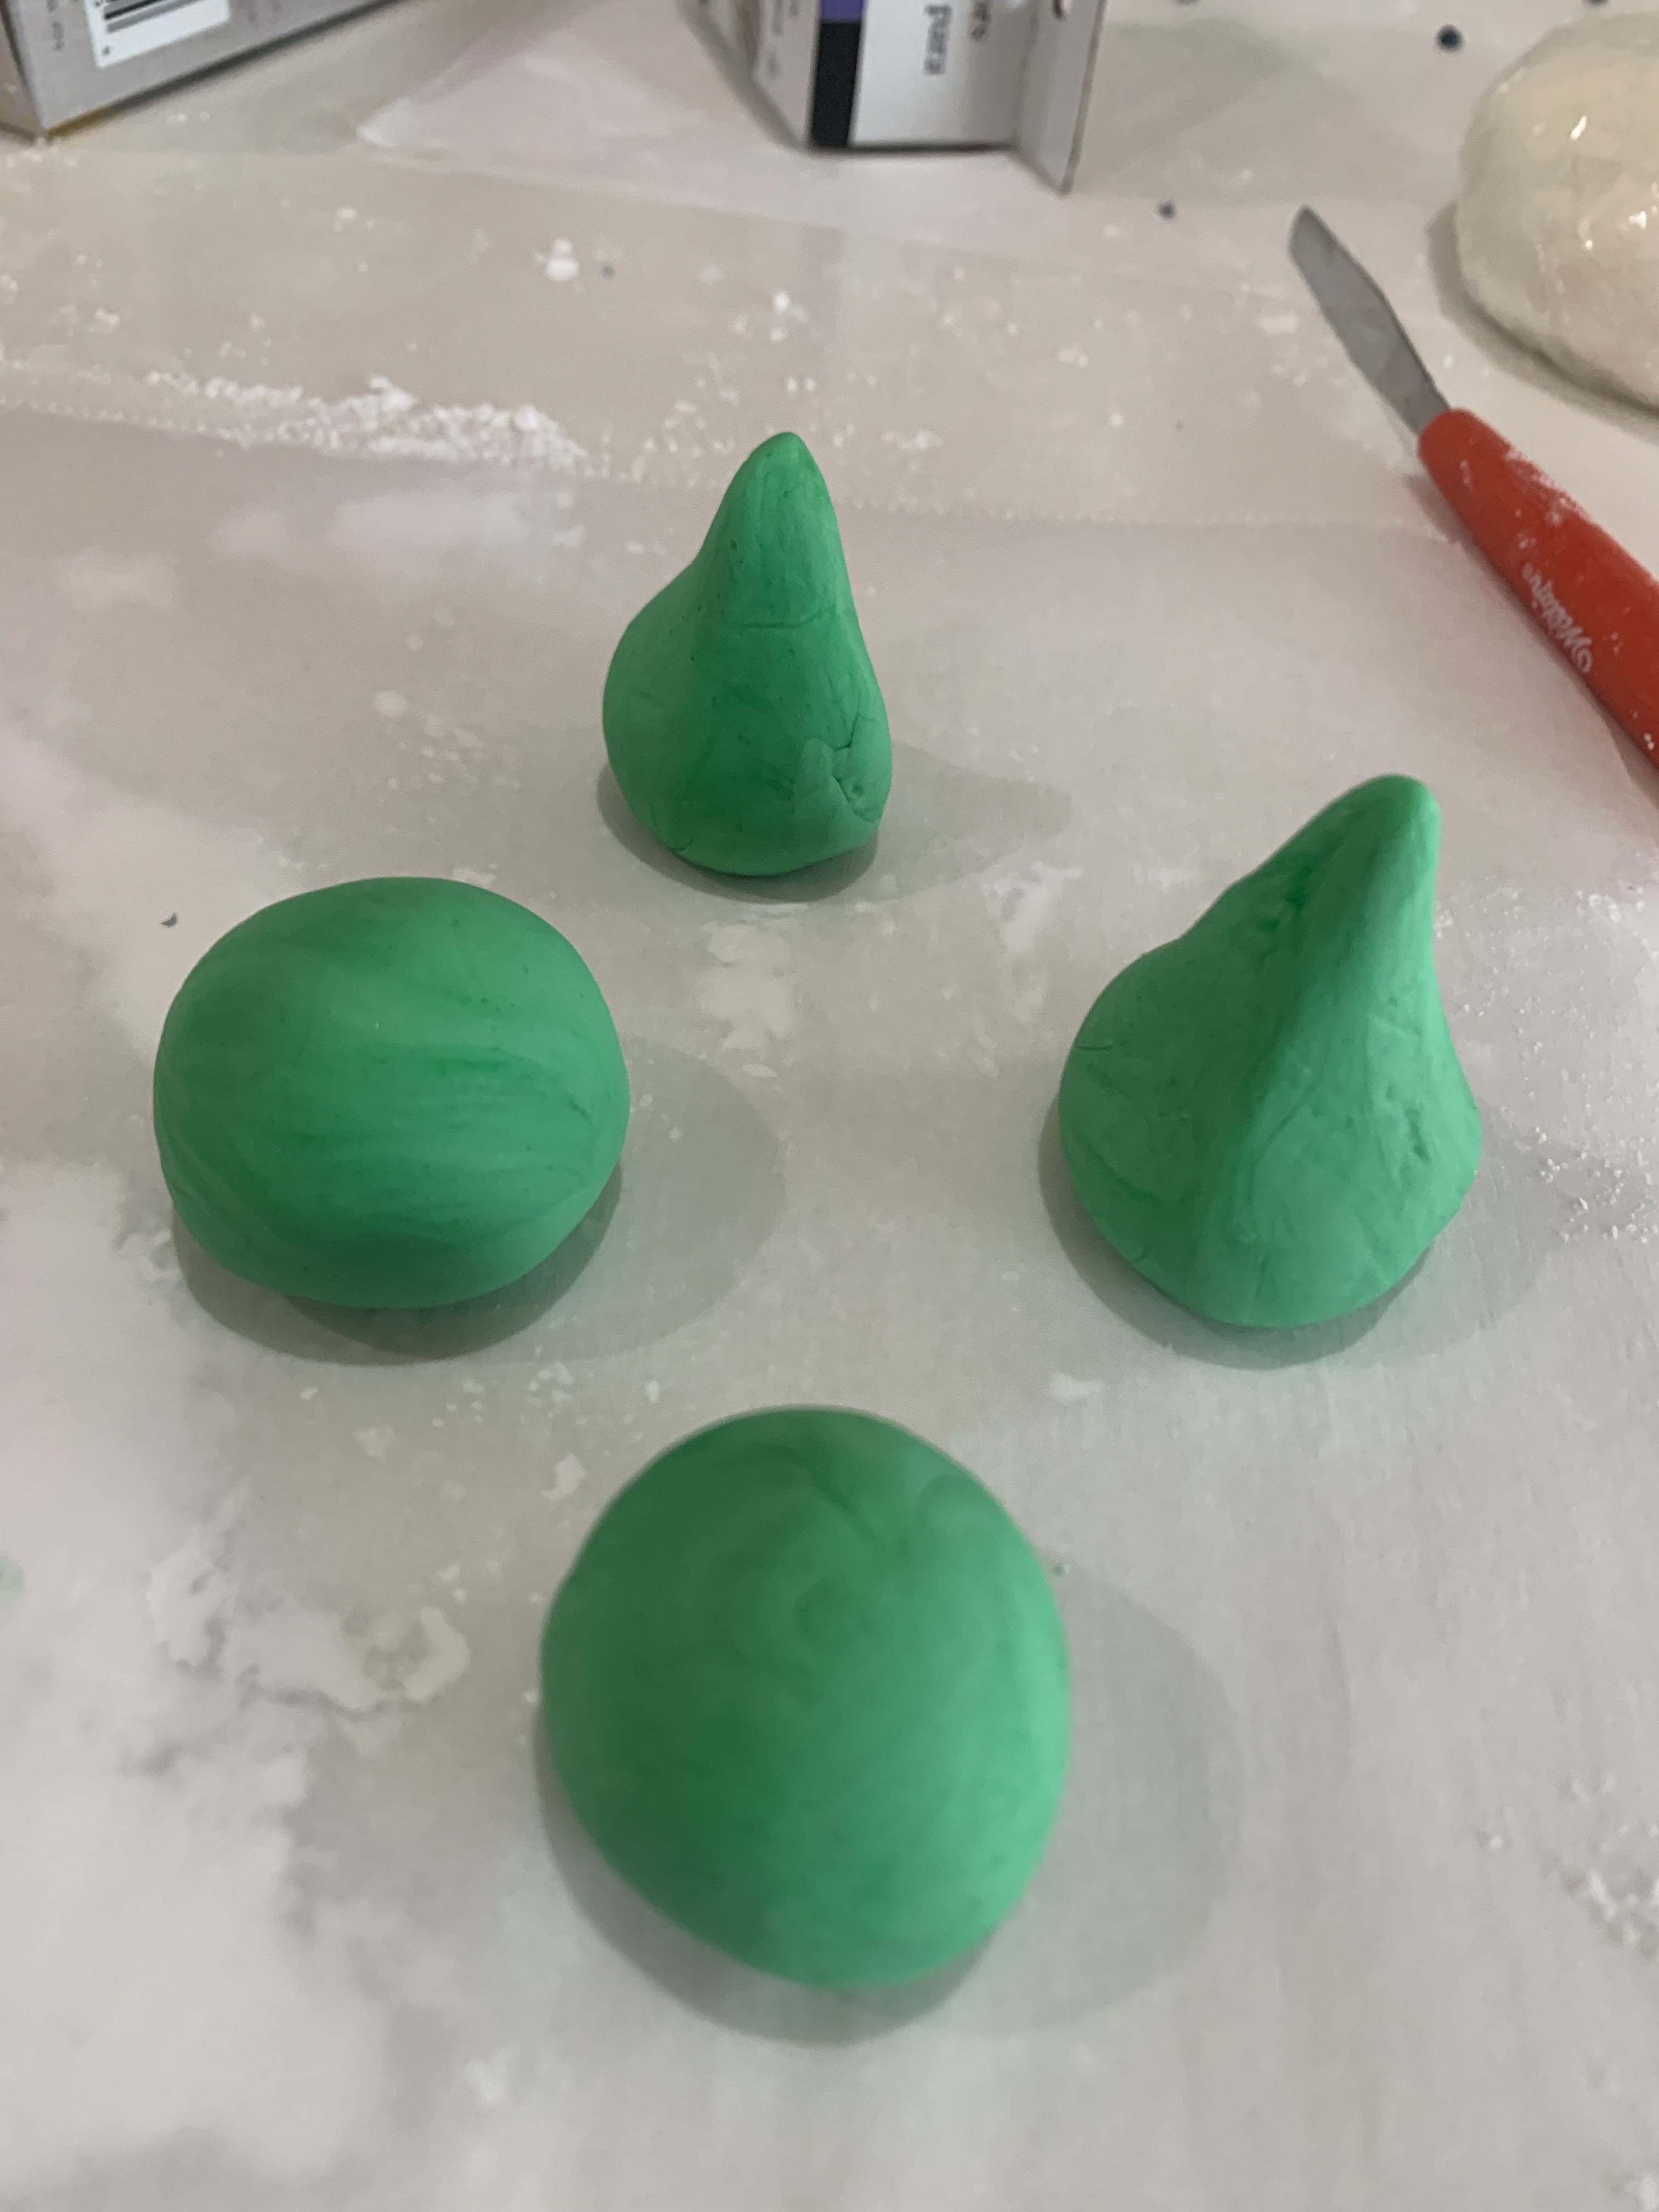
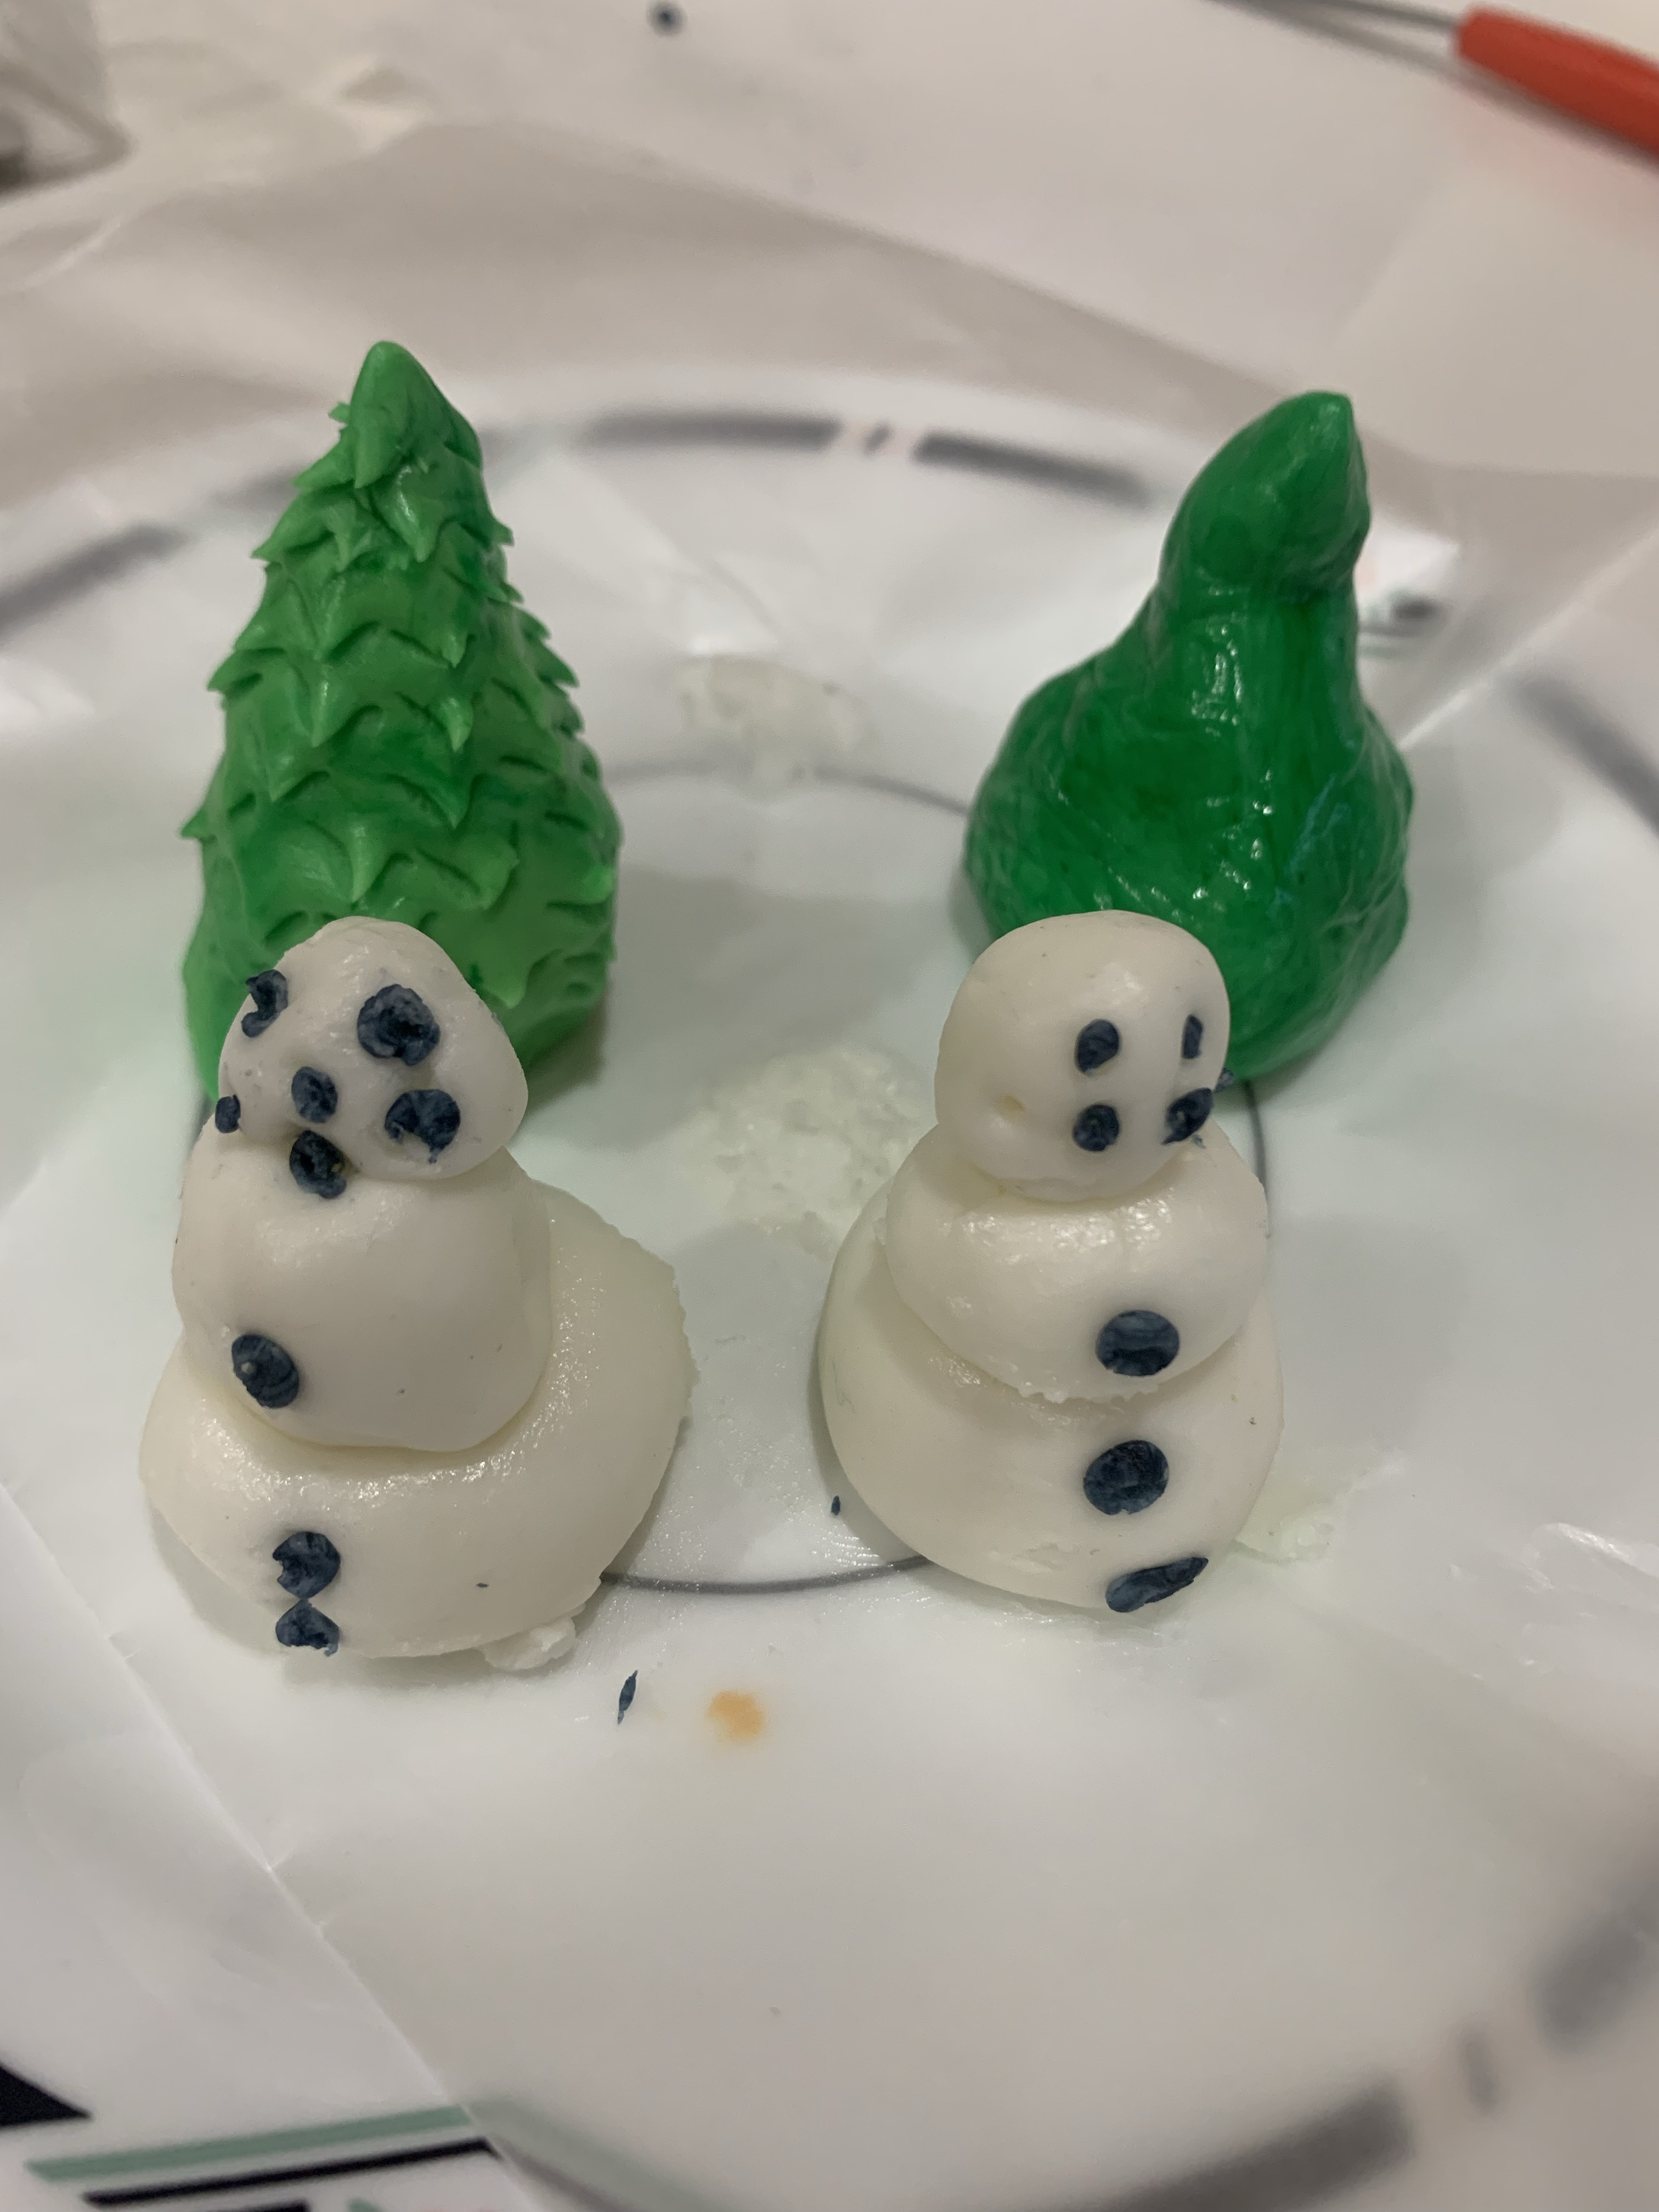
I made some white gum paste and rolled a little into balls for the snowmen. I colored some black to make buttons, eyes etc. I dyed some green and shaped it into cones. Another YouTube video demonstrated how to use cuticle scissors to snip bits to make the boughs of the trees.

Now to the engineering ‘genius’ of the cakes. To make the snow blower I procured some mini funnels (1.5” across at the top.) I connected a piece of flexible tubing (I happened to have the exact correct size and length from my beer making equipment.)
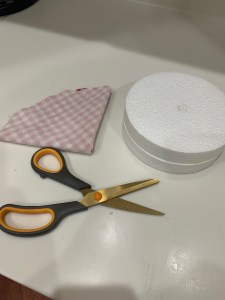
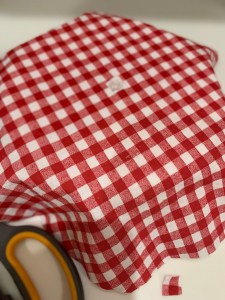
The cake was put on a 5” cake board which I had cut in its center, then it was crumb coated and covered in fondant. The flexible tubing was fed up through the cake board, cake and fondant and the funnel attached. The other end was fed through the checkerboard ‘tablecloth’ and two 5.25” styrofoam disks with holes cut in the center. The bottom disk had a channel cut from the bottom center to the edge to have a place for the tubing to run to the outside.
Everything was stacked, filled and covered with the sugar dome. Imagine my surprise when the girls and I tried it all together the first time, and it worked!
Now, back to those braided fruit tarts.
