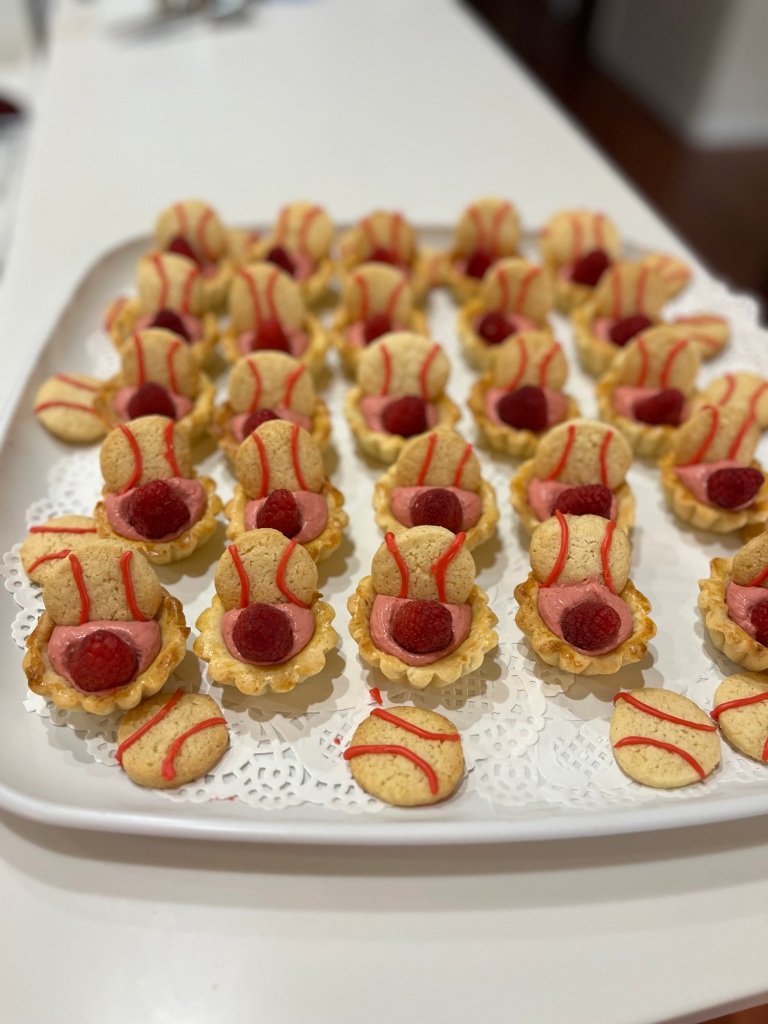
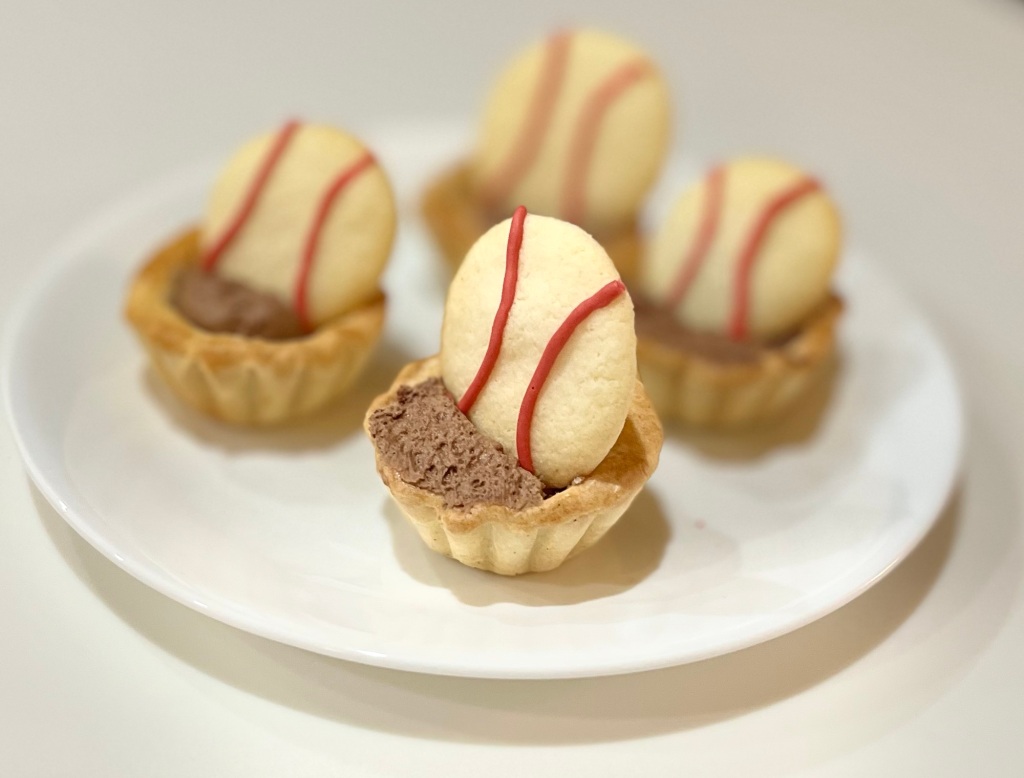
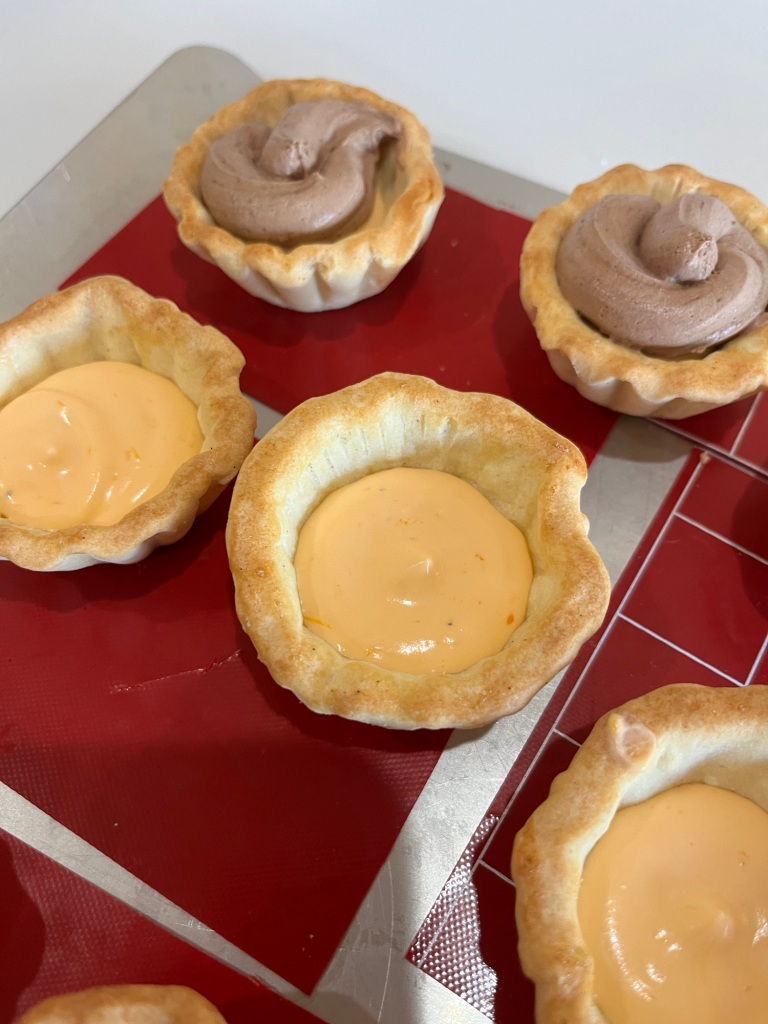
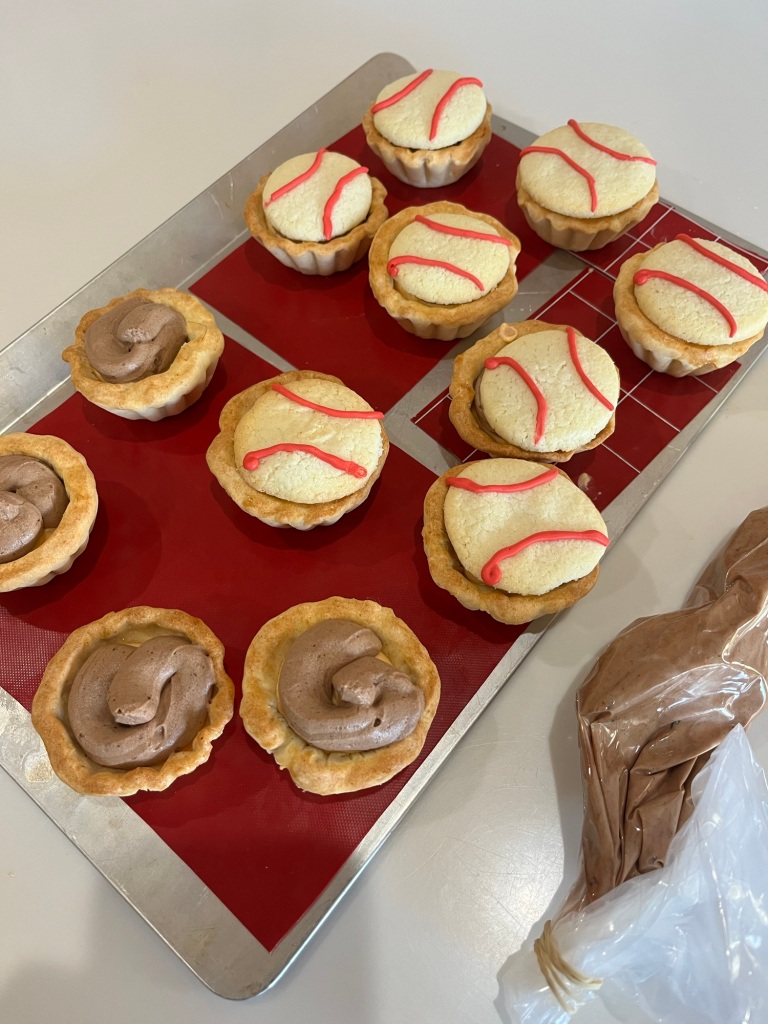
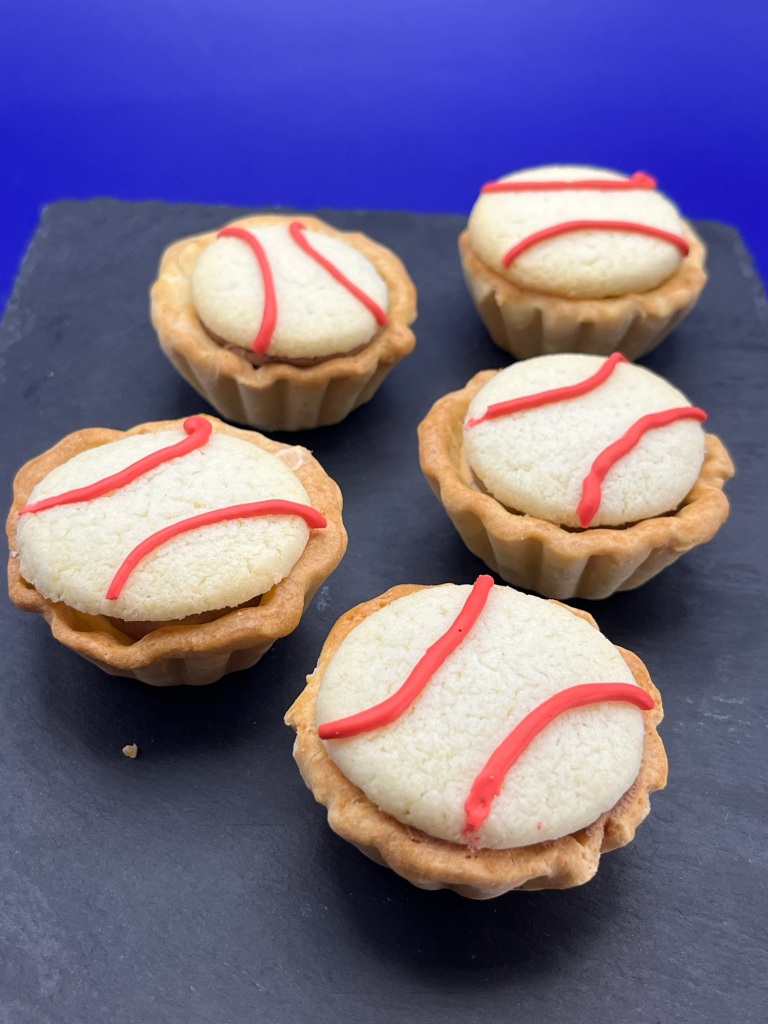
QC reported back that the mousse of the previous attempt wasn’t sharp enough to balance the sweetness of the meringue. I, on the other hand, didn’t think the meringue itself was up to snuff. (Interesting phrase, up to snuff.)
Today, I modified the mousse recipe to give it a bit of a punch and resurrected my pavlova recipe rather than use the Italian meringue recipe I used in the previous.
I added 1/2 teaspoon of freeze dried raspberry powder for a little more acidity.
Both revisions were spot on. (Another interesting phrase.)
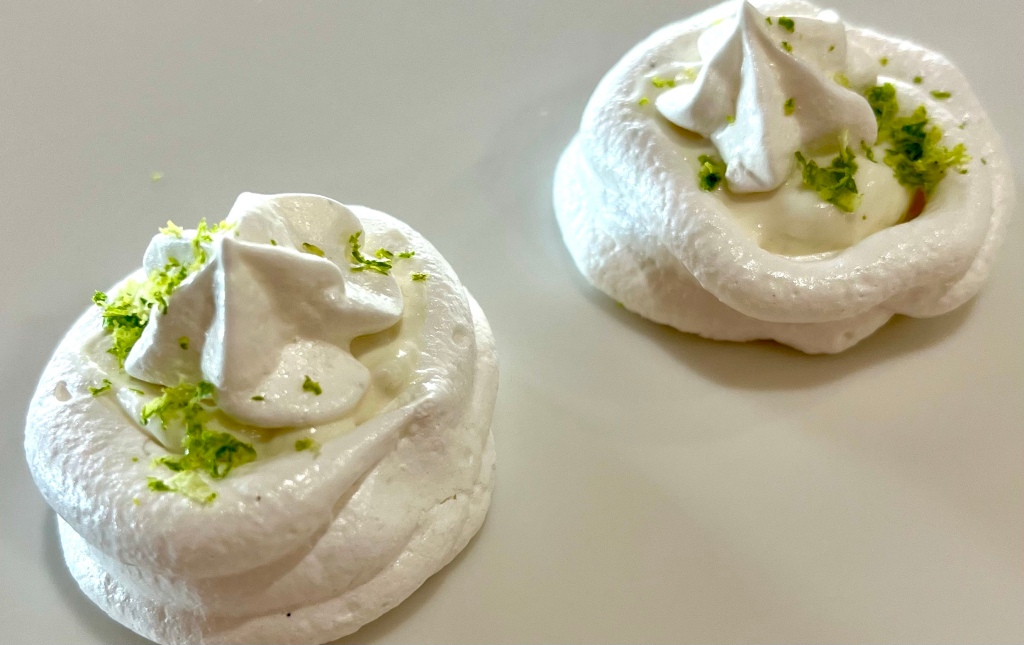
Here is the new recipe and method for the Key Lime Merengue Tartlets.
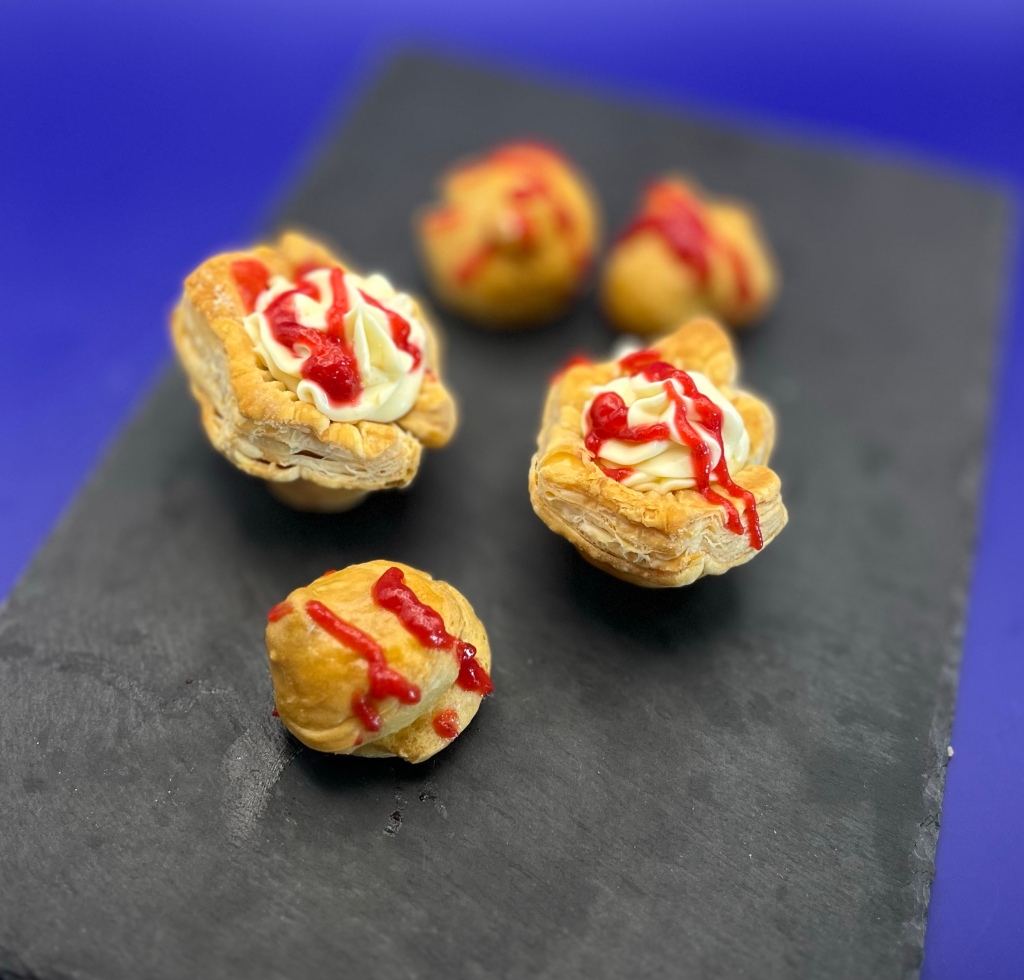
Key Lime Mousse Meringue Tartlets
INGREDIENTS
MERINGUE 6 (180 g) large rm temp egg whites 1 ½ cups granulated sugar 2 tsp corn starch ½ tsp cream of tartar ½ Tbsp lemon juice ½ Tbsp vanilla ½ Tsp freeze-dried raspberry powder
MOUSSE 1 ½ c. heavy cream ¼ c. powdered sugar 1 c. sweetened condensed milk (try reducing to ½ c) 1/3 c. key lime juice 30 g of fresh squeezed lime juice 5 g of zest from the same lime 1 tsp. pure vanilla extract
METHOD
MOUSSE
In the bowl of a stand mixer fitted with the whisk attachment, beat cream and powdered sugar into stiff peaks.
Zest the lime, then squeeze and collect the juice.
In a medium bowl, mix condensed milk, key lime juice, lime juice, half the lime zest and vanilla until combined.
Add to bowl of whipped cream. Gently fold ¼ – ½ c. in until just combined. (It wasn’t thick enough. Try to cut the sweetened condensed milk in half. Slowly add the lime mixture to the whipped cream ¼ cup at a time. Refrigerate to thicken.)
Keep refrigerated until ready to fill the meringue cups.
MERINGUE
Preheat the Oven to 215˚ F. Line a large baking sheet with parchment (or Silpat) paper. Using your stand mixer, beat egg whites on high speed until soft peaks form.
Whisk together sugar and cream of tartar. With the mixer on high, gradually add sugar and cream of tartar one tablespoon at a time, waiting between each addition.
Beat 10 min on high speed, or until firm peaks form. It will be smooth and glossy.
Add the cornstarch, lemon juice and vanilla extract. Continue whipping until very firm peaks.
Divide meringue saving a few tablespoons for the kisses. Add the raspberry powder and whip until incorporated.
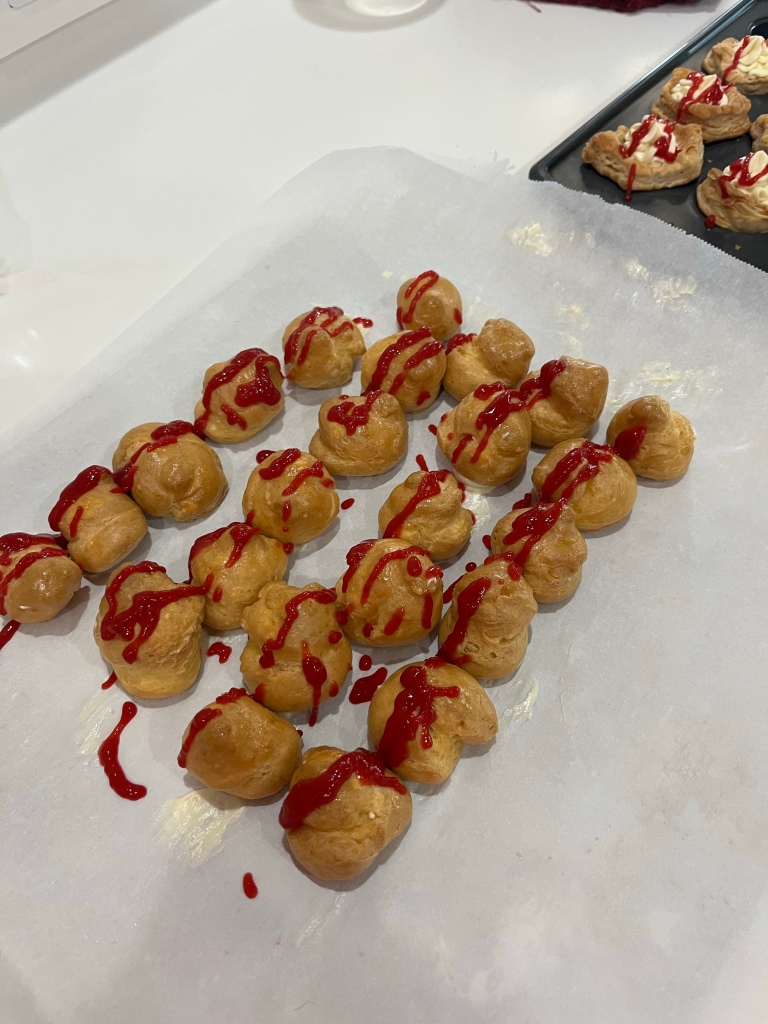
Pipe a disk of meringue about 2”-2 ½” diameter then pipe around the disk to make walls about ½” – ¾” high.
Pipe kisses of raspberry meringue on the silpat using a star piping tip. Each kiss should be ¼” – ½” high and ½” – ¾” diameter.
Bake for 30-45 min. If the temperature is too high, or you leave them in the oven to long they will begin to brown. Check after 30 minutes and add 15 additional minutes if necessary for the surface to no longer tacky.
Turn off the oven and leave the meringue cups in the oven to slowly cool.
Once cool, store in an airtight container for 3-5 days at room temperature (in a low humidity place).
TARTLETS
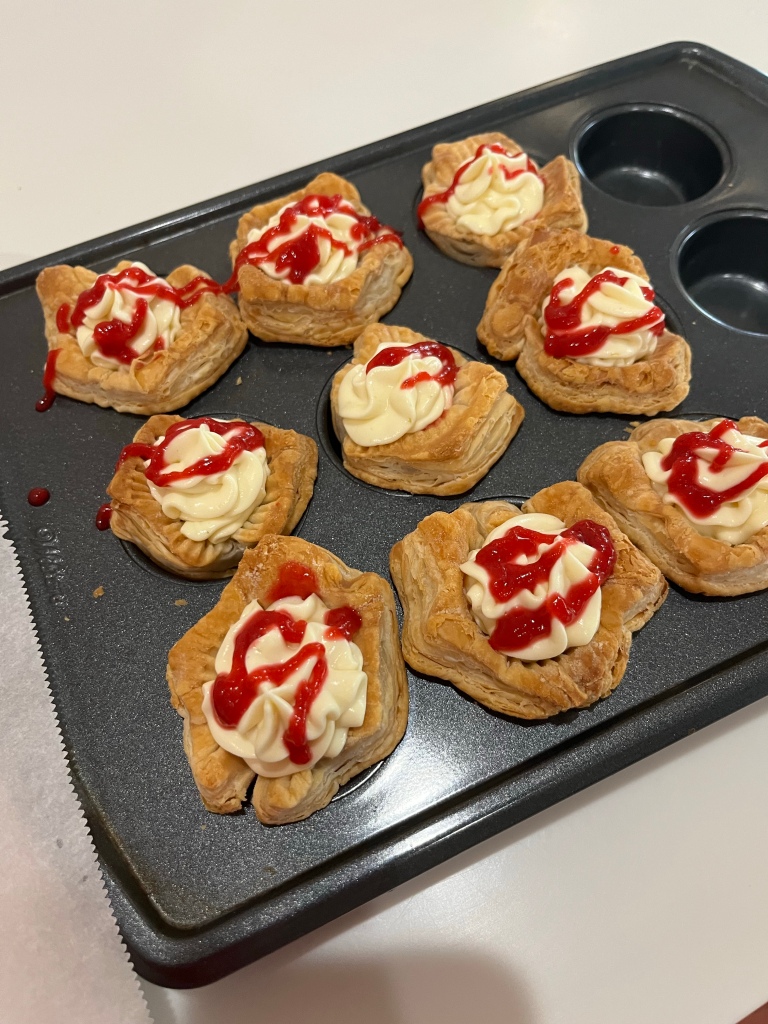
When both the mousse and meringue cups are cool, pipe the mousse into the well of each tart shell.
Place a kiss on each, sprinkle some lime zest on top of the tart and kiss.
I needed a few cranberries for decoration on the Yule Cake, so with left over 11.75 oz of the 12 oz bag, I saw and made this recipe for a cranberry merengue pie. (You can take the boy out of Vermont…) Never having made one and needing a dessert to augment the smallish Yule Cake, I thought, Let’s give it a try, waste not, etc.
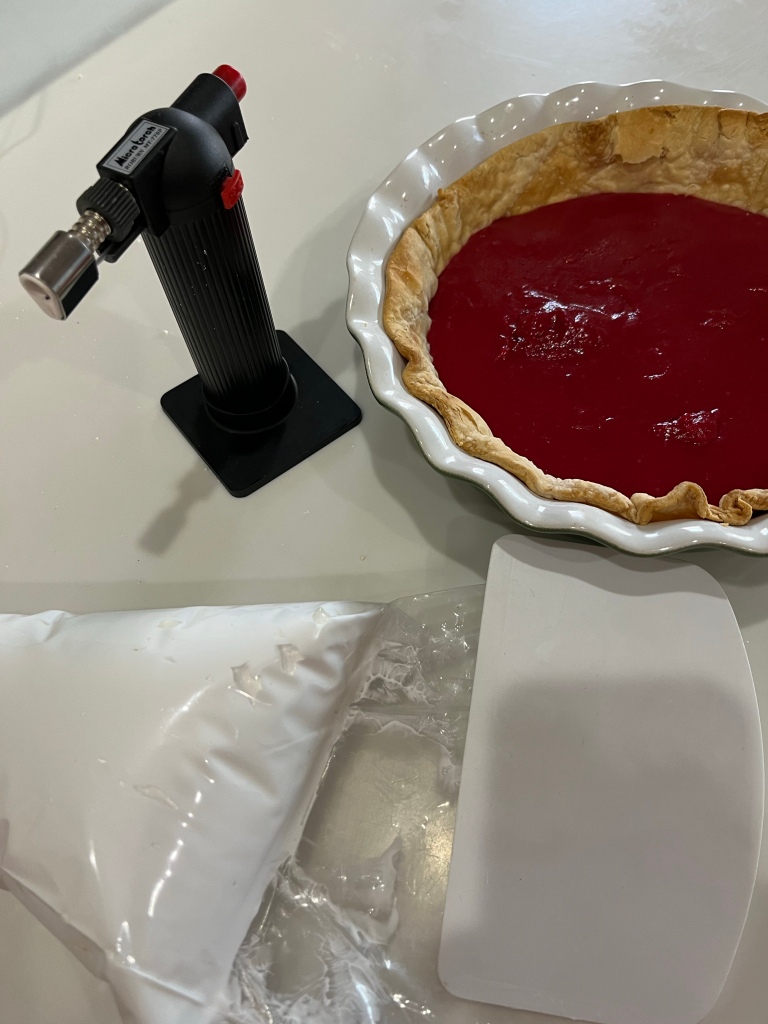
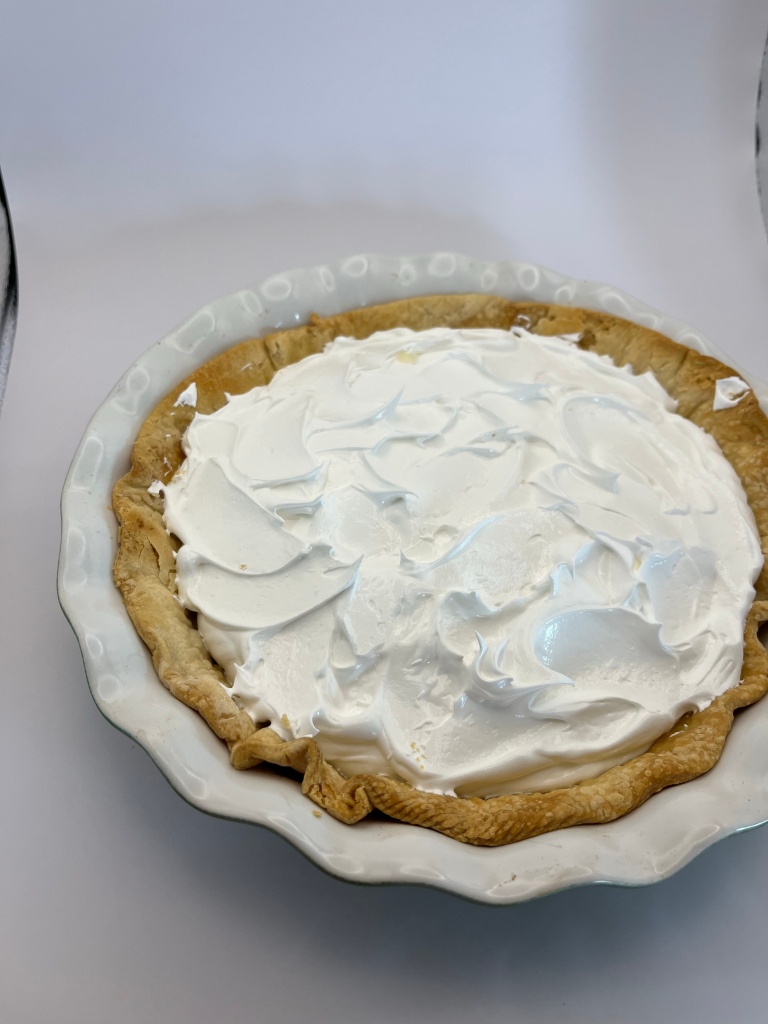
Macerating the cranberriesCooking berries, eggs and cornstarch until smoothPar-baked pie crustCranberry mixture poured into par-baked pie shellItalian Meringue, torch and cranberry pie.Meringue covered pie prior to torching.Torched Cranberry Meringue Pie
Cranberry Meringue Pie
INGREDIENTS For the filling: • 1 12-ounce bag whole cranberries, fresh or frozen • 3/4 cup water • 1 cup granulated sugar • 3 large egg yolks • 3 tablespoons cornstarch • 4 tablespoons cold salted butter, cubed • 1 8- or 9-inch pie crust, any kind, par-baked if necessary For the meringue: • 150g (or ¾ cup) granulated sugar • 60ml (or ¼ cup) water • 60g (or ¼ cup) egg whites (about 2 large egg whites)
METHOD To make the filling,
Combine the cranberries, water, and sugar in a medium saucepan with a lid. Cover the pot and bring to a boil over medium-high heat. Continue boiling for 3-5 minutes, or until the cranberries have totally disintegrated and the mixture is thick and gloopy. Use a potato masher to speed things up.
While the cranberries cook, whisk the egg yolks and cornstarch in a large mixing bowl.
When the cranberries are done, scrape the contents of the saucepan through a fine mesh sieve into the bowl with the eggs and cornstarch. Stir and press on the solids in the sieve until you’ve extracted all the liquid you possibly can, then scrape whatever’s on the bottom of the sieve into the bowl.
Whisk the cranberry-egg-cornstarch mixture together thoroughly, pour it back into the saucepan, and bring to a boil over medium heat, whisking constantly.
Cook at a full boil for 3 full minutes while whisking. Finally, whisk in the butter piece by piece until it’s completely incorporated and pour the filling into a prepared pie crust.
Cool on a rack at room temperature until there’s no heat coming off the bottom of the pan, then refrigerate overnight (or about three hours if you’re on deadline and like living dangerously).
ITALIAN MERINGUE
In a medium-sized saucepan, combine the sugar and water. Heat over low heat, stirring until the sugar has dissolved. Once the sugar has dissolved, turn the heat to medium-high and allow the syrup to come to a boil.
In the meantime, add the egg whites to a medium-sized, heatproof bowl and mix (with a mixer fitted with the whisk attachment) until foamy and the whites are almost able to hold soft peaks.
Once the syrup is boiling, clip on a candy (or sugar) thermometer.
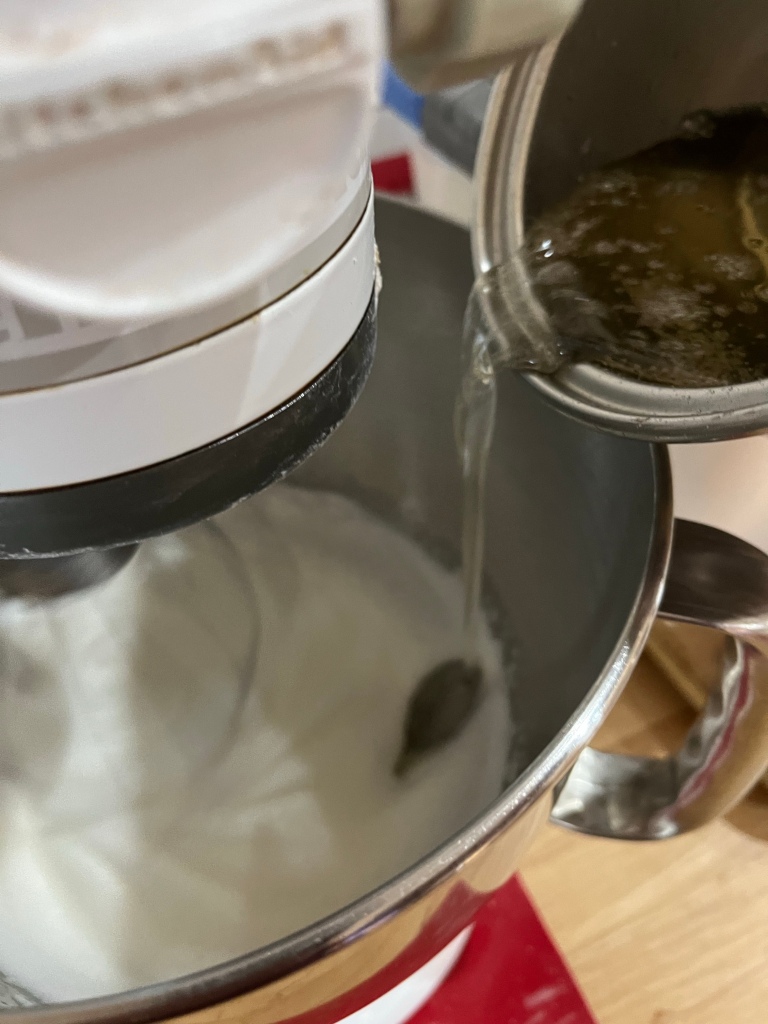
Cook until the syrup reaches 116°C/240°F, then take the pan off the heat and slowly drizzle the hot syrup into the bowl with the foamy egg whites, mixing continuously to prevent the eggs from scrambling. Don’t pour the syrup onto the whisk, or the syrup may splatter against the sides of the bowl (or into your face!). Instead, aim for a spot close to the whisk.
Once all the syrup has been added, keep mixing until the bottom of the bowl feels cool to the touch and the meringue has cooled down to body temperature.
Use immediately or keep in the fridge (covered) until ready to use. It’s a very stable meringue, so it won’t start weeping, leaking or collapsing.
NOTES Italian meringue can be made two days in advance and stored in the fridge until needed (covered with plastic wrap,) or transferred to a piping bag, sealed, then placed in the fridge.
I was born and raised just a few miles from Charlotte, VT and never knew that had a pastry named for them. “Oh! What was that QC?” Sorry, I was just told Charlottes were not named for that town, rather the name originated from a pastry made in British, unless you prefer the “alternate facts” that point to Russian origins.
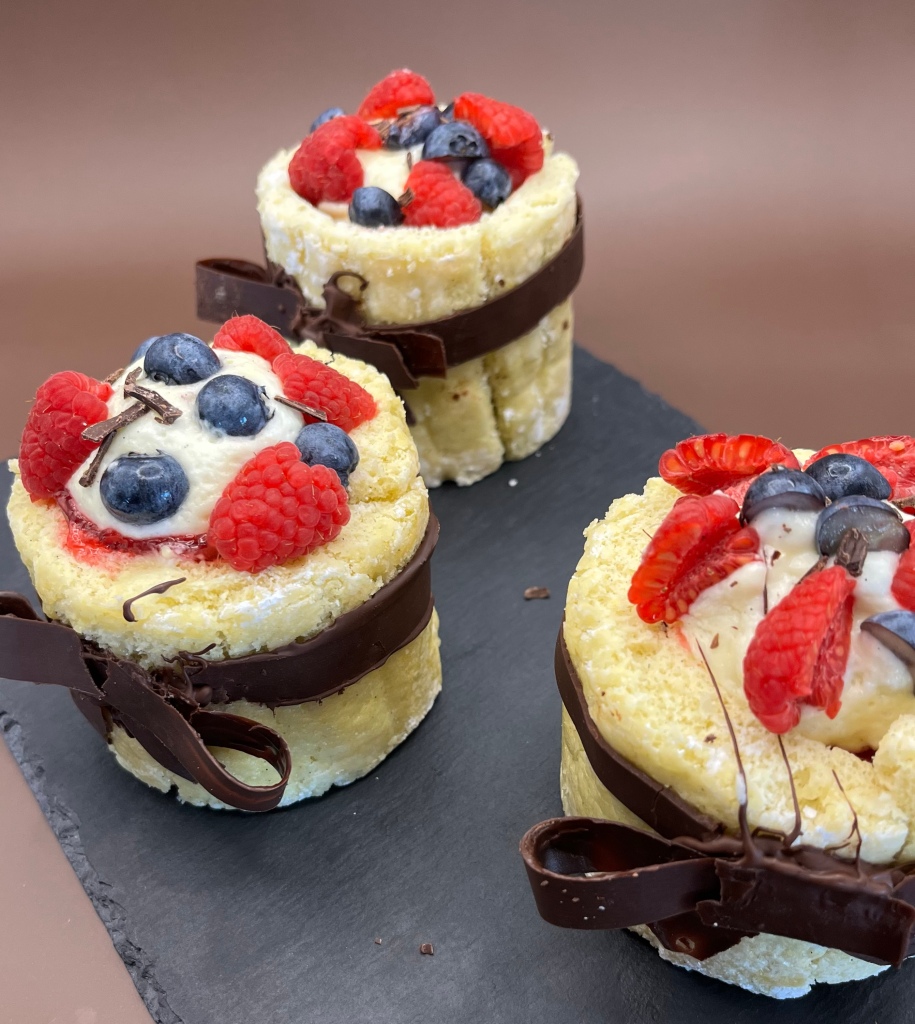
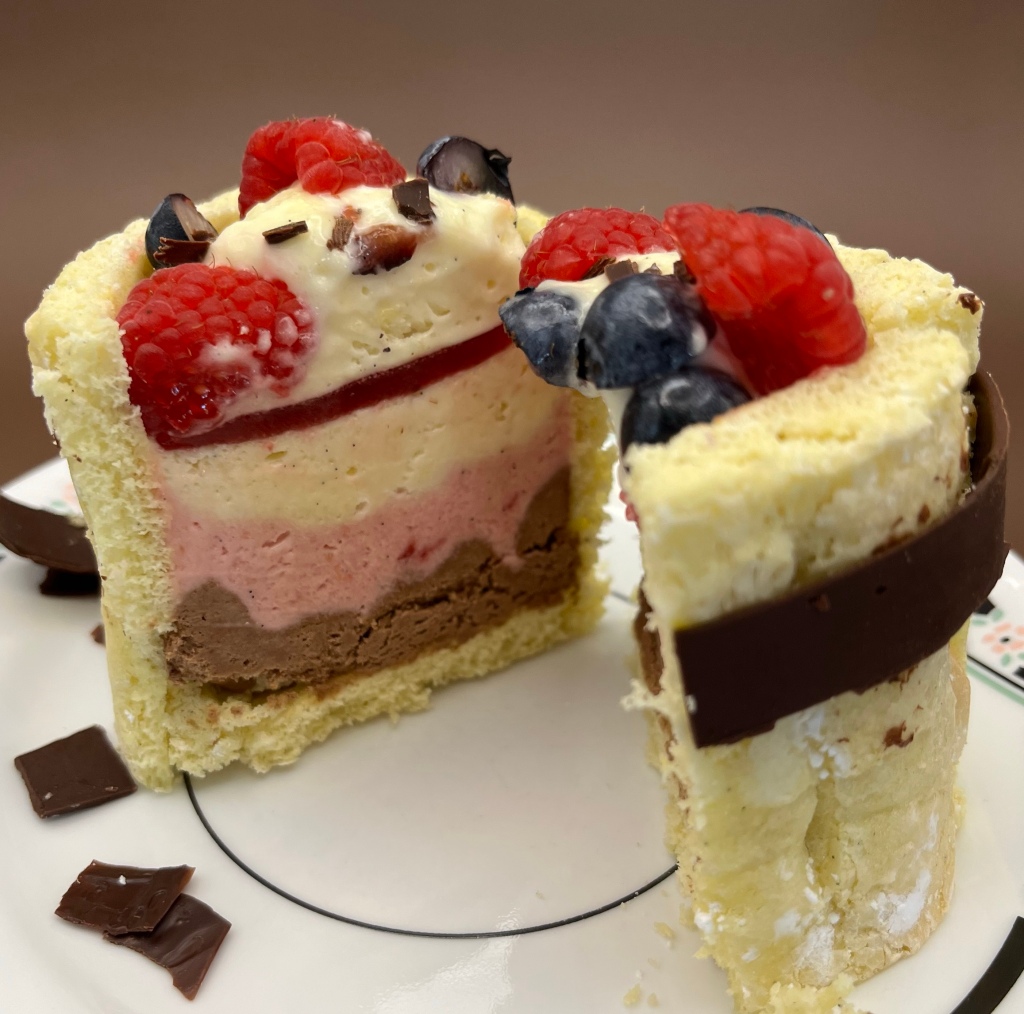
There are many variations of Charlotte cakes. After sampling so many amazing pastries in Paris, I decided to try some mini charlottes. They retain the charlotte basics of lady fingers, creams and berries. In this version the lady fingers are smaller than usual to fit into my entremet cups. The creme chiboust may not be “authentic” but maintains the essential of being a blend of creme patisserie and Italian meringue.
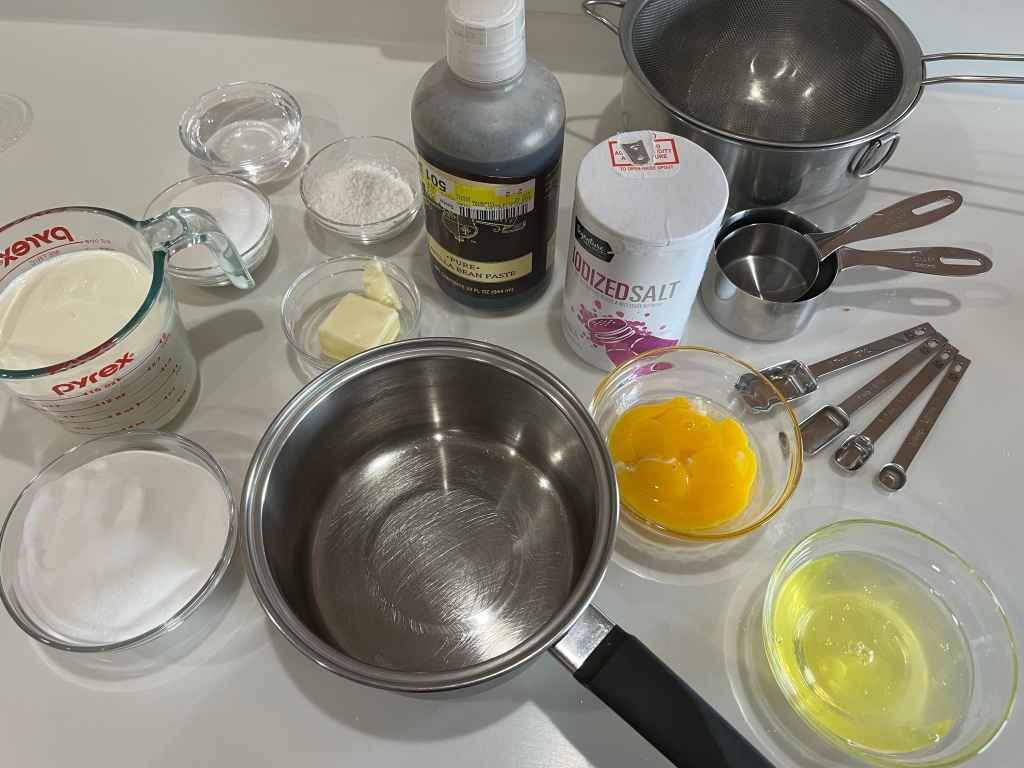
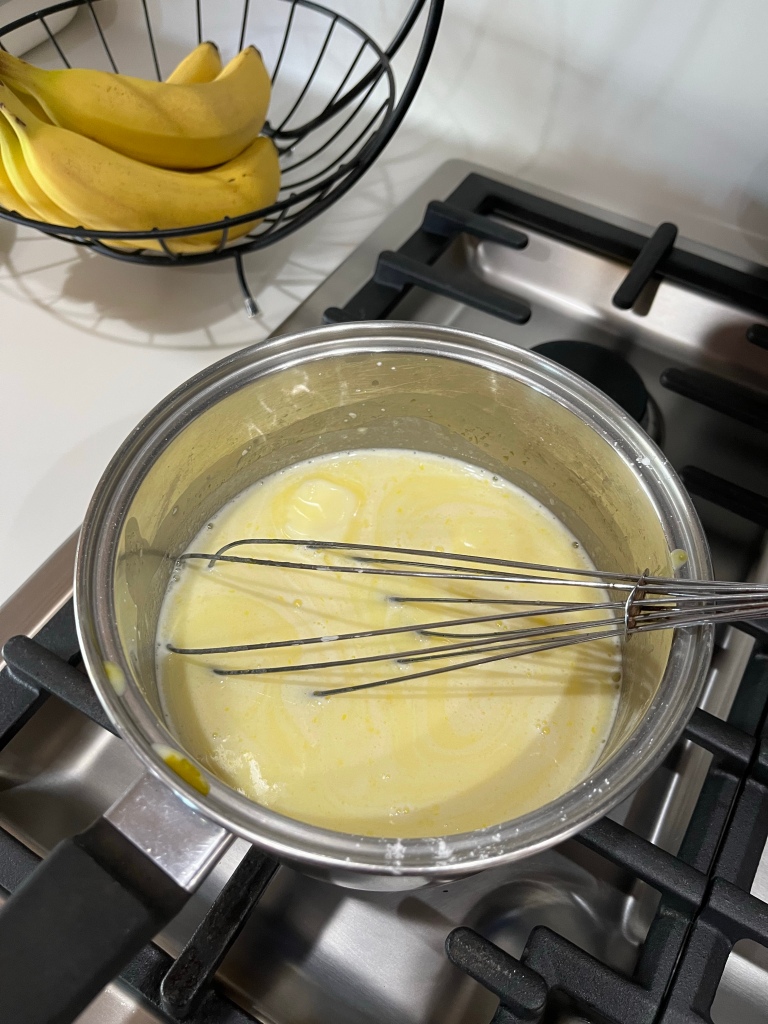
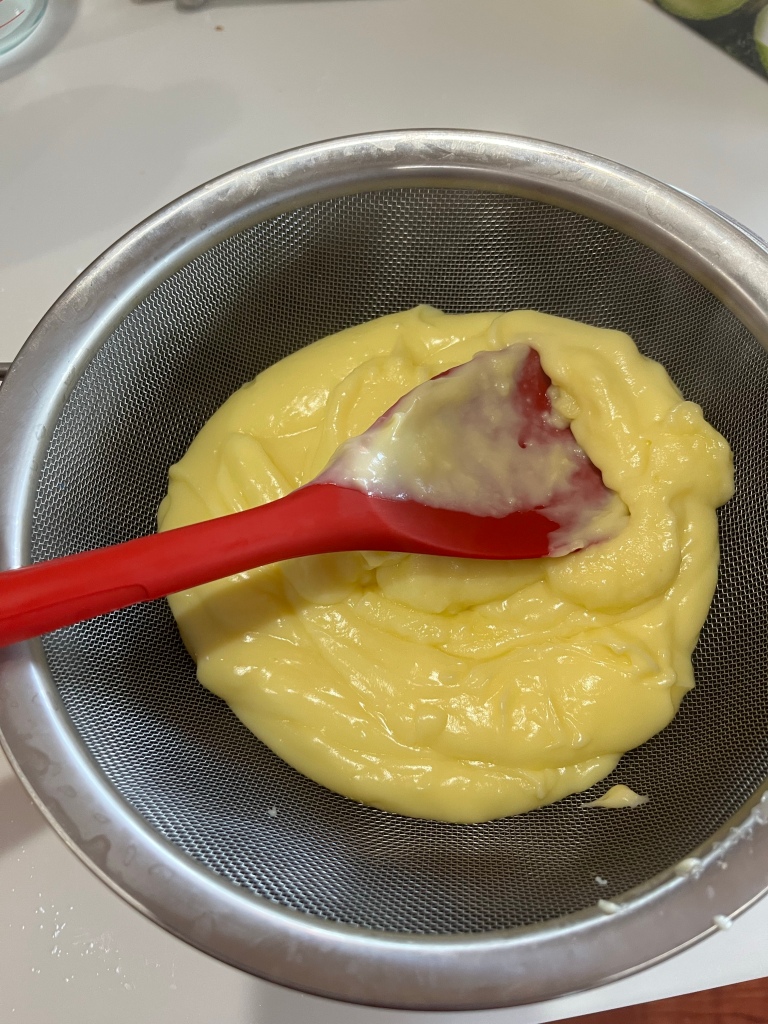
Creme chiboust ingredientsHeating ingredients (not the bananas)Sieving cooked creampat
For the the creme patisserie in eclairs I made last week I used the “old fashioned method” of tempering the eggs and adding back into the hot mixture. I prefer Martha Stewarts method of adding everything to the sauce pan, except the vanilla, heating until it thickens, sieving, then adding the vanilla and stir. Depending on how thick you want the final creampat you can heat the mixture as long or short as you wish.
Heating sugar water to make Italian meringue Pouring hot sugar water into whipped egg whitesFinished Italian meringue. Delicious!
Once the creampat is cooled, whip the egg whites and cream of tartar to soft peaks. Meanwhile heat the sugar/water mixture to 240F. Drizzle the hot sugar water into the whipped egg whites and beat on high to firm peaks.
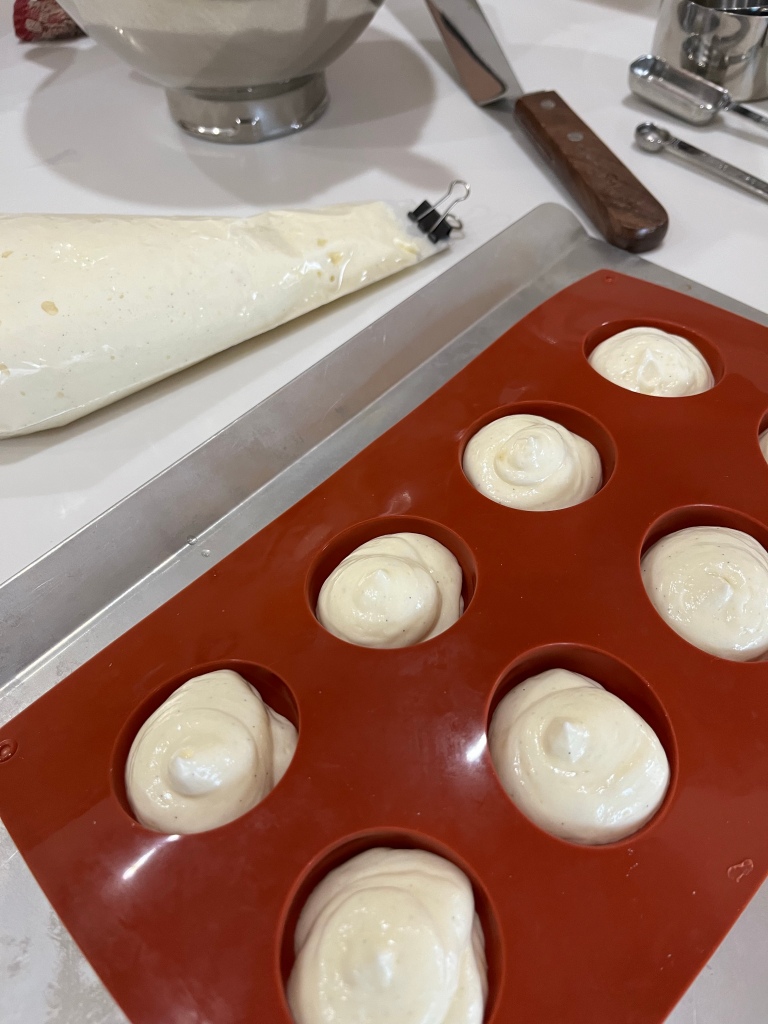
Creme Chiboust piped into moldsScrape excess from hemisphere mold
Fold the Italian meringue into the creampat without deflating the meringue. Pipe the resultant creme chiboust into hemispherical molds, cover with plastic directly on the creme chiboust and freeze. The diameter of the molds should be at least 1 cm less than the molds you will use to make the charlottes.
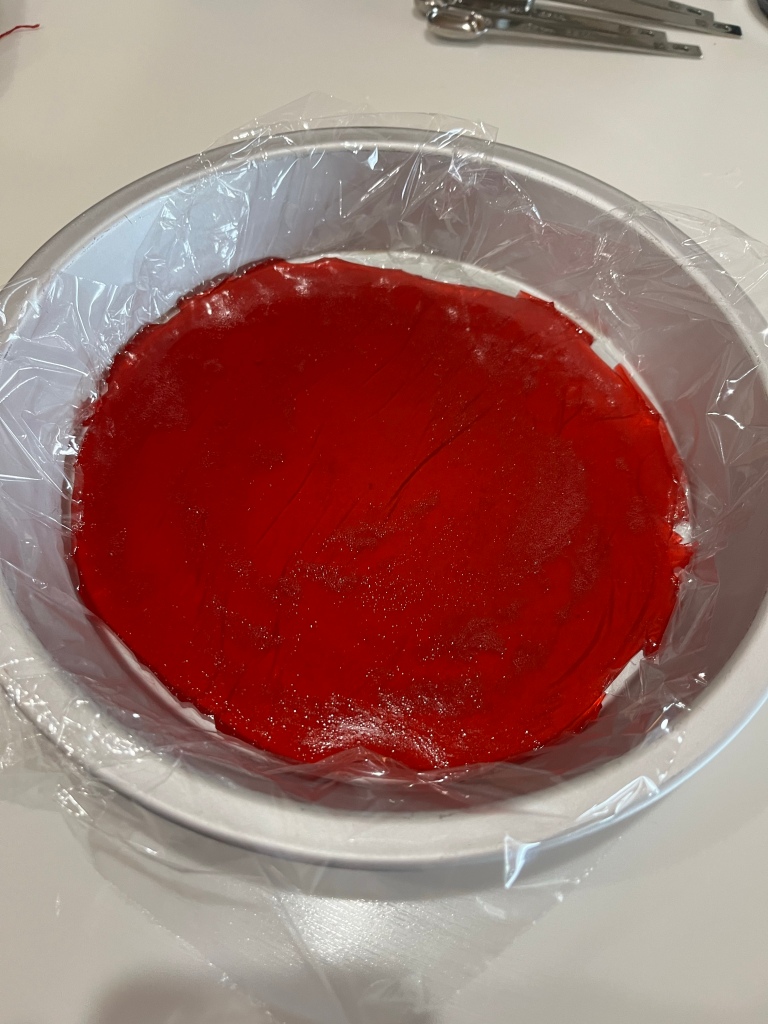
Pie plate lined with plastic wrapRaspberry jelly poured into pan
I was pleased (surprised?) how well the raspberry jelly set up and then released from the plastic wrap. I used agar agar to set the jelly (and everywhere else throughout this bake) to keep everything vegetarian.
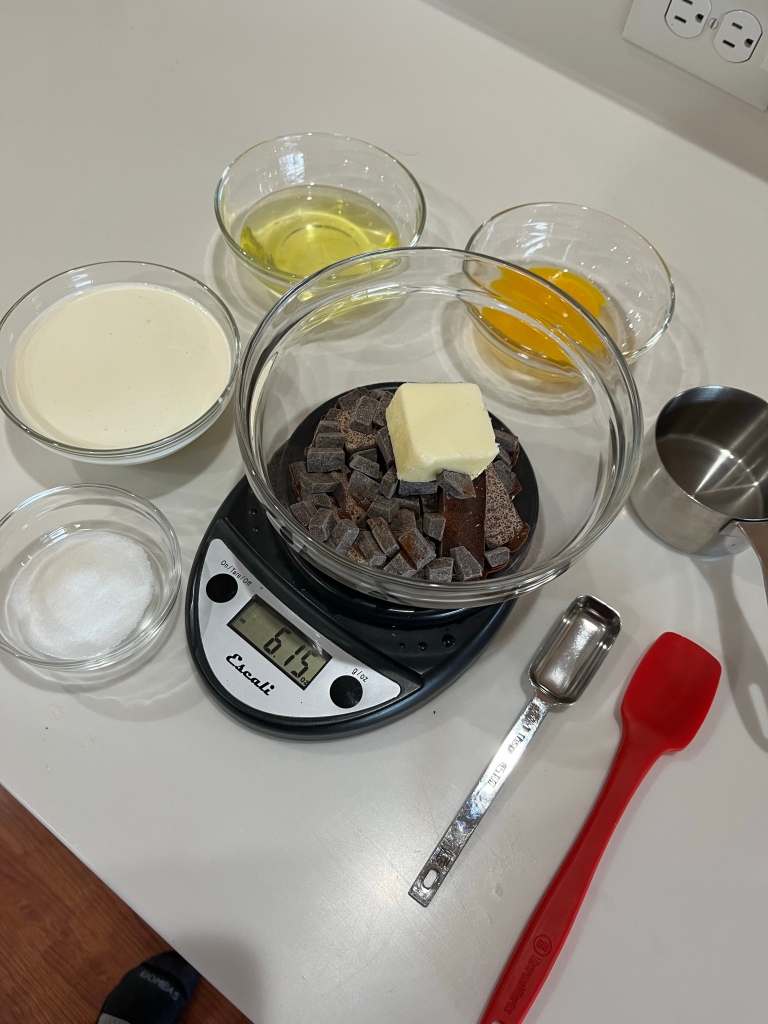
I set all the ingredients required for the chocolate mousse and took a picture. Unfortunately, that is the only picture I took during the process. Imagine, if you will, chocolate and butter on a Bain Marie. Imagine the stand mixer making whipped cream, then being cleaned and making a meringue, both with soft peaks. Imagine folding the two whipped ingredients into the cooled chocolate. Now, you are up to date.
Making the raspberry/white chocolate mousse is very similar to making the dark chocolate mousse. In fact, pretend the red raspberry puree is chocolate and you won’t even miss photos in the above section.
Imagine, if you will, I actually took pictures while making the raspberry mousse. Dang! I took a picture of all the ingredients (left) and of the completed raspberry confit (right,) but missed all the intermediate steps.
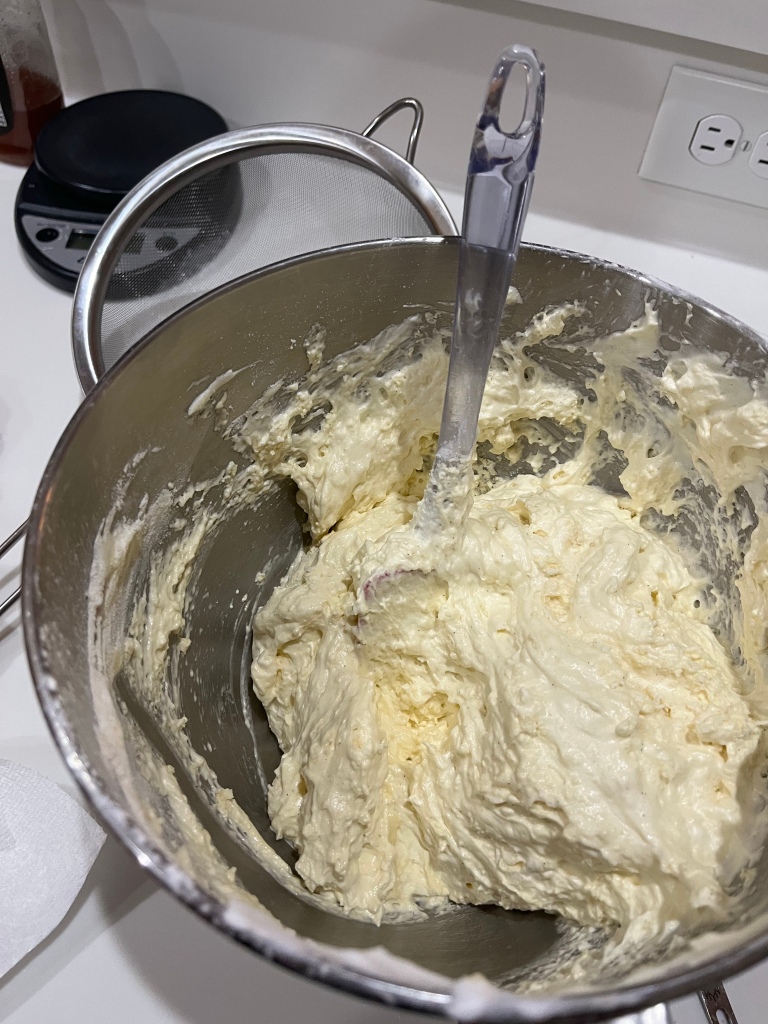
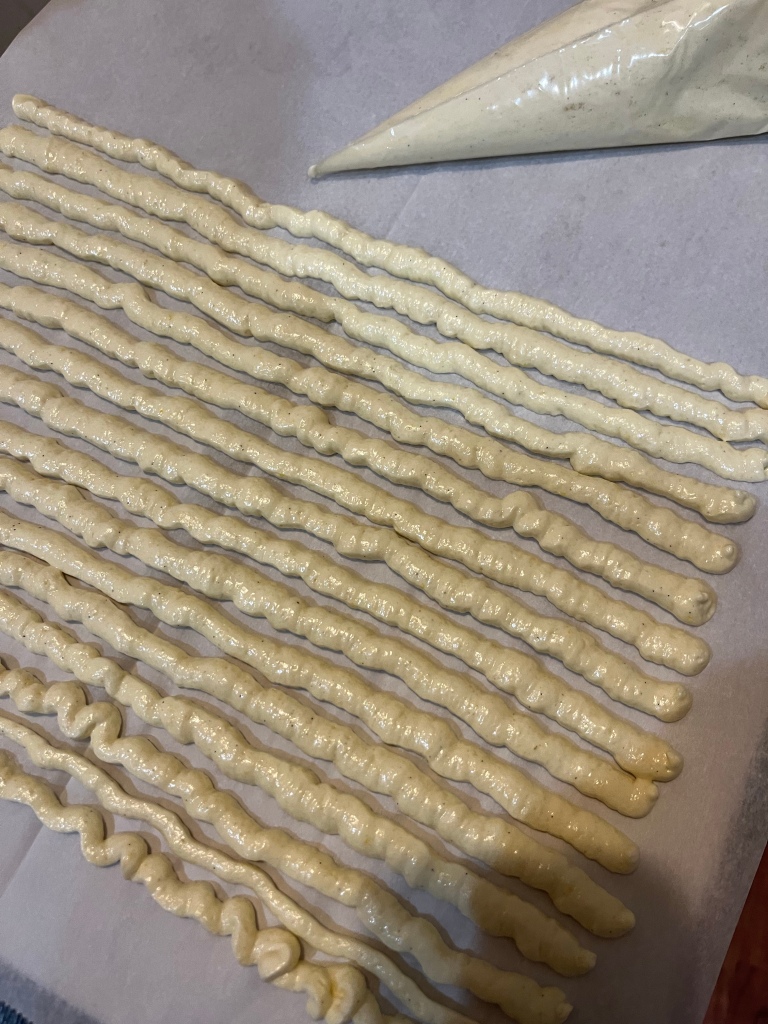
Consistency of lady finger batterPiped long lady fingers. These were too thin and too far apart.Left over lady fingers in back
The first batch of lady fingers were piped with too much space between them. Plus they were over baked and cracked when trying to bend them into the entremet molds. The lines of lady fingers should touch when baked to create a “sheet” that is smooth on one side and have the rounded “lady finger” look on the other. The second batch were just right, but only filled 8 of the 12 molds. The third batch were slightly underdone so I let them dry in the turned-off oven for a few more minutes. While they were then slightly over done, I was able to salvage enough to finish all twelve molds.
Filling molds with lady fingersFilling lined molds with mousse and raspberry jellyRemoving frozen creme chiboust domes from silicon moldsAdding creme chiboust domesCompleted charlottes, ready for freezer and finishing
Charlottes are traditionally wrapped with a ribbon. The set mousse should hold the cake together but the ribbon looks pretty and suggests it is (erroneously) required to hold the cake together.
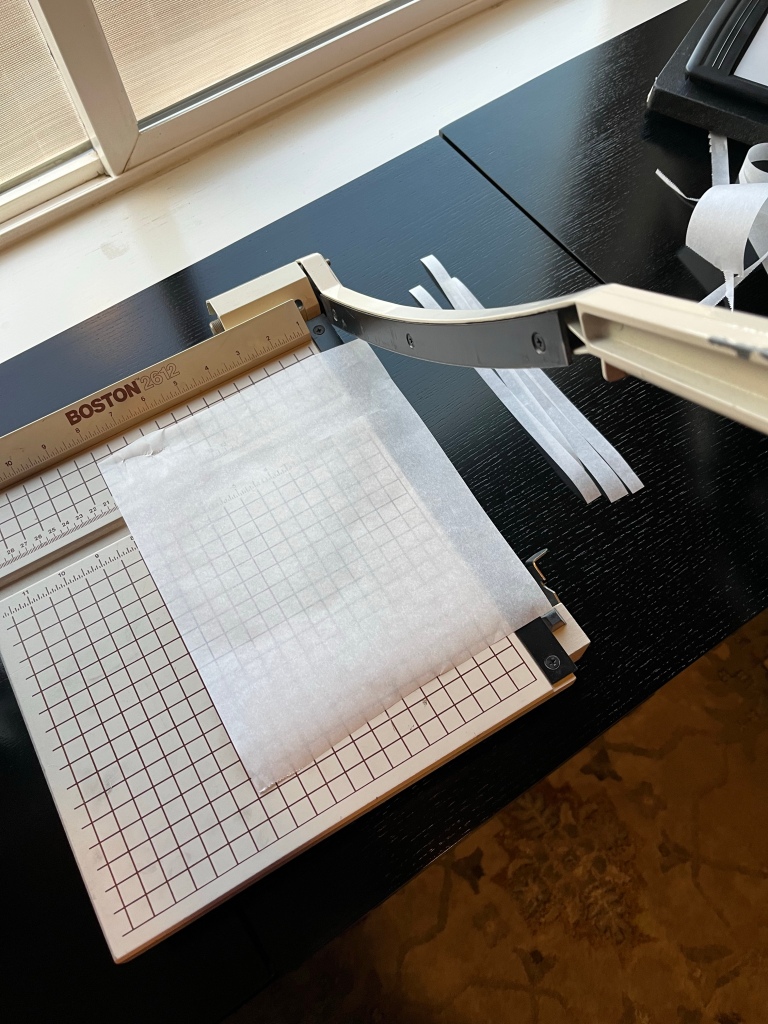
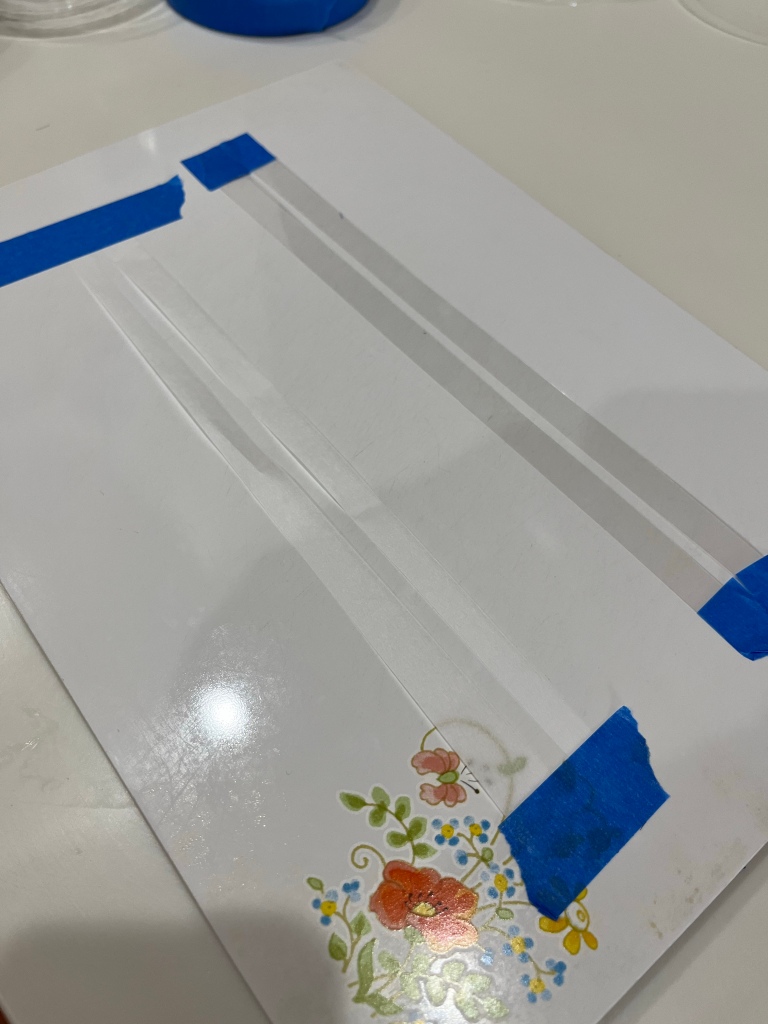
Cutting 1/2” wide parchment paperTools for tempering chocolateStrips taped downStrips coated with tempered chocolateDried but still flexible parchment paper lined chocolate strips
I found the chocolate releases from parchment paper easier than from acetate. Most of my photos show the first attempt using acetate.
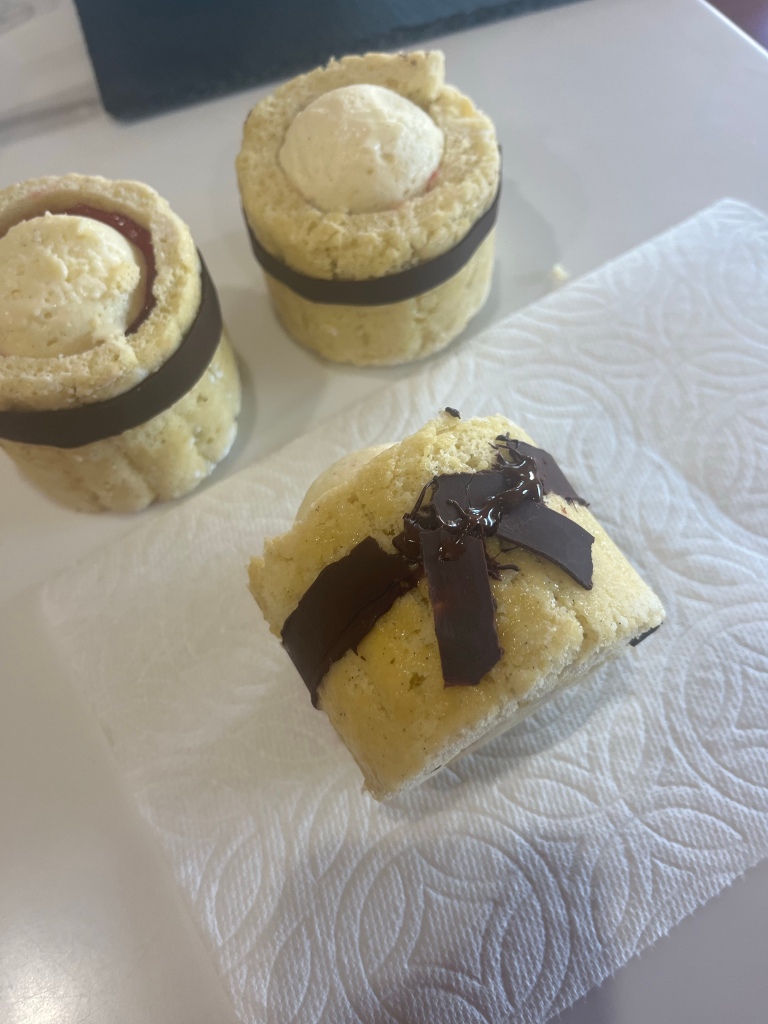
4” x 1/2” strips of parchment paper, coated with chocolate and allowed to dry some were folded over and the ends put together to form the loops of the bow. Other short straight pieces were used for the ends of the ribbons. A little chocolate was used to glue the parts onto the side of a charlotte to resemble a ribbon bow.
Sliced raspberries and blueberries plus some chocolate shavings sprinkled on top finished the charlottes. They need to be refrigerated or frozen until serving. QC and I decided the flavor and texture were excellent, but other pastries I previously made were as good and much, much easier.
Mini Red Berry / Chocolate Charlotte
Crème Chiboust
INGREDIENTS Crème Patisserie • ½ c sugar • ¼ c corn starch • Pinch salt • 2 c whole milk • 4 egg yolks • 2 Tbl butter • 2 tsp vanilla Italian Meringue • 1 cup sugar (200g) • 1/2 cup water • 4 large room temperature egg whites • 1/2 teaspoon cream of tartar
METHOD Crème Patisserie
Whisk eggs and milk together and add to all other ingredients (except vanilla) to a medium saucepan.
Bring to boil whisking constantly
Cook until thickened (it will look lumpy, its ok)
Sieve lumpy mixture into a bowl and add vanilla, mix thoroughly
When incorporated, cover with plastic directly on the cream and cool about an hour.
Italian Meringue
In a small saucepan, combine sugar and water. Heat over high heat, stirring only until it comes to a boil. Once it reaches a boil, stop stirring. Cook until sugar syrup registers 240°F (115°C) on an instant-read or candy thermometer. Brush down sides of pot as necessary with a pastry brush dipped in water.
Meanwhile, combine egg whites and cream of tartar or lemon juice in the bowl of a stand mixer fitted with a whisk attachment (see note). Set mixer to medium speed and mix until soft peaks form (when lifted, the head of the mixer should form gentle peaks in the egg whites that very slowly collapse back into themselves), about 2 minutes.
With the mixer running, carefully and slowly drizzle in hot sugar syrup. (Hot sugar is just as dangerous as fryer oil, so use caution!) Increase speed to high and whip to stiff peaks.
Crème Chiboust
Stir the cooled crème patisserie to loosen slightly then mix in about one-third of the meringue. Then add the crème patisserie mixture to the remaining meringue and mix in.
The crème chiboust is ready to use.
Lady Fingers
INGREDIENTS • 4 large separated eggs • 3/4 cup granulated sugar, divided • 3/4 teaspoon vanilla extract • 1/4 teaspoon cream of tartar • 1 cup all-purpose flour • 4 teaspoons cornstarch • 1/2 teaspoon kosher salt • Powdered sugar, for dusting
METHOD
Separate 4 large egg yolks, placing the yolks into the bowl of a stand mixer (or large bowl if using an electric mixer) and the whites into a small bowl. Let sit out until room temperature. Meanwhile, arrange 2 racks to divide the oven into thirds and heat the oven to 350°F. Line 2 baking sheets with parchment paper or silicone baking mats. Fit a pastry bag with a 1/2-inch round tip.
Add 1/2 cup of the granulated sugar and 3/4 teaspoon vanilla extract to the egg yolks. Beat with the whisk attachment on medium speed until the egg yolks are lightened in color, about 2 minutes. Increase the speed to medium-high and beat until doubled in volume, very pale yellow, falls off the whisk in thick ribbons, and the whisk leaves visible lines through the egg yolk mixture when the mixer is running, about 2 minutes more.
Transfer the mixture to a bowl. Clean and dry the stand mixer and whisk attachment.
Add the reserved egg whites and 1/4 teaspoon cream of tartar to the stand mixer. Attach the whisk attachment and turn on to on medium-low speed. Slowly add the remaining 1/4 cup granulated sugar and beat until the mixture is foamy and beginning to grow in volume, about 2 minutes.
Increase the speed to medium and beat until soft peaks form, about 2 minutes. Increase the speed to medium-high and beat until glossy and stiff peaks form, about 2 minutes more.
Add half of the egg yolk mixture and fold until just combined. Add the remaining egg yolk mixture and fold until almost fully incorporated, some streaks are okay. Do not over-mix.
Sift 1 cup all-purpose flour, 4 teaspoons cornstarch, and 1/2 teaspoon kosher salt into the egg mixture. Fold together until just incorporated with no dry bits remaining, it’s okay if the mixture is not smooth. Do not over-mix.
Transfer the mixture to the pastry bag. Pipe 4-inch long ladyfingers onto the baking sheets, spacing them 3/4 to 1-inch apart, 20 per sheet. Dust an even layer of powdered sugar over the ladyfingers.
Bake until puffed and just turning golden around the bottom, 11 – 14 minutes, until they feel firm, but not brown.
Let the ladyfingers cool completely on the baking sheets.
RECIPE NOTES: Ladyfingers can be stored in an airtight container for up to 10 days
Agar Agar Raspberry Jelly
INGREDIENTS • 2 Cups Raspberries • 1/2 Cup Sugar • 2 tsp Agar Agar powder • 1/4 Cup Water METHOD
Pour the 1/4 cup water and 2 cups raspberries into a small saucepan. Heat over medium heat, stirring occasionally until raspberries have softened.
Use a stick blender to puree the mixture.
Strain to remove the raspberry seeds.
Pour the 1/4 cup water in saucepan and add 2 tsp agar agar powder. Mix well. cook on medium heat.
Stir in agar until completely dissolved. Add raspberry juice and mix well.
Add sugar, heat the mixture to a rolling boil and continue to cook the mixture for 2 minutes.
Pour into a baking dish or into silicone molds.
Refrigerate for 30 minutes or until firm.
Remove and cut into desired shapes.
Dark Chocolate Mousse
INGREDIENTS • 2 Cups • 4 1/2 ounces bittersweet chocolate, finely chopped • 2 tablespoons salted butter, diced • 2 tablespoons expresso or hot water • 1 cup cold heavy cream • 3 large eggs separated • 1 tablespoon sugar
METHOD
Combine the chocolate, butter, and espresso in the top of a double boiler over hot, but not simmering, water, stirring frequently until smooth.
Remove from the heat and let cool until the chocolate is just slightly warmer than body temperature.
Meanwhile, whip the cream to soft peaks, then refrigerate. Once the melted chocolate is sufficiently cool, whip the egg whites in a medium bowl until they are foamy and beginning to hold a shape. Sprinkle in the sugar and beat to soft peaks.
When the chocolate is cool, stir in the yolks. Gently stir in about one-third of the whipped cream. Fold in half the whites just until incorporated, then fold in the remaining whites, and finally the remaining whipped cream.
Add the mousse to a piping bag and twist close. Store in the refrigerator until required.
Raspberry/White Chocolate Mousse – with Agar Agar
INGREDIENTS WHIPPED CREAM – YIELDS ¾ CUPS OF WHIPPED CREAM • ½ cup Heavy whipping cream • 2 tablespoons Confectioners sugar • ¾ teaspoons Cream of tartar • ½ tsp vanilla bean paste WHITE CHOCOLATE • ½ cup White chocolate chips • 1 ½ tablespoons Heavy whipping cream STRAWBERRY PURÉE • 225 grams (8 oz) fresh raspberries • 1 Tbsp lemon juice • 58 grams (2 oz) powdered sugar • 200 grams (7oz) white chocolate • 1-3 Tbsp warm milk • 250 ml (1 cup + ½ tablespoon) cold heavy cream • Red food coloring to suit (1-2 drops) AGAR AGAR • 1 Tsp Agar Agar • 1 Tbl cup water
METHOD PREPARE WHIPPED CREAM
Before beginning with the recipe, place the mixing bowl and whisk in the freezer for at least 10 minutes to chill.
Once the bowl has chilled, add heavy cream and vanilla and beat on low speed until the cream starts to thicken slightly. There will be fewer and larger bubbles.
Add the cream of tartar and powdered sugar and beat with increasingly higher speed until stiff peaks form. Once done, set it in the fridge to chill.
AGAR AGAR MIX
Add 1 teaspoons Agar agar powder to 1 tablespoons lukewarm water
Stir until agar agar is completely dissolved
PREPARING THE RASPBERRY PURÉE
Combine raspberries, lemon juice and confectioners sugar in a saucepan and bring to a boil. Lower the heat and simmer for 10 minutes until the syrup thickens and raspberries are very soft.
Keep stirring occasionally. When the raspberries are very soft and the syrup has thickened, take it off the flame and allow it to cool.
When completely cooled, puree it with an immersion blender. Sieve to remove seeds, add raspberry flavoring and set aside. Measure the syrup – you will require ¾ cup+ 2 Tbl (200 ml) of thick syrup.
Cool to near room temperature.
PREPARING WHITE CHOCOLATE
Heat a pan 1/2 filled with water over low heat. Lower the heat and place the white chocolate bowl over the water when it simmers. Keep stirring the chocolate as it softens and melts.
Add dissolved agar agar and 4-5 Tbl warm milk and mix until the chocolate is thick but runny.
FOR RASPBERRY MOUSSE:
Add half the cooled whipped cream to the cool white chocolate mixture
Add the raspberry purée that was prepared earlier to the whipped cream/white chocolate mixture
Mix gently to not deflate.
Add the rest of the whipped cream to the raspberry -white chocolate.
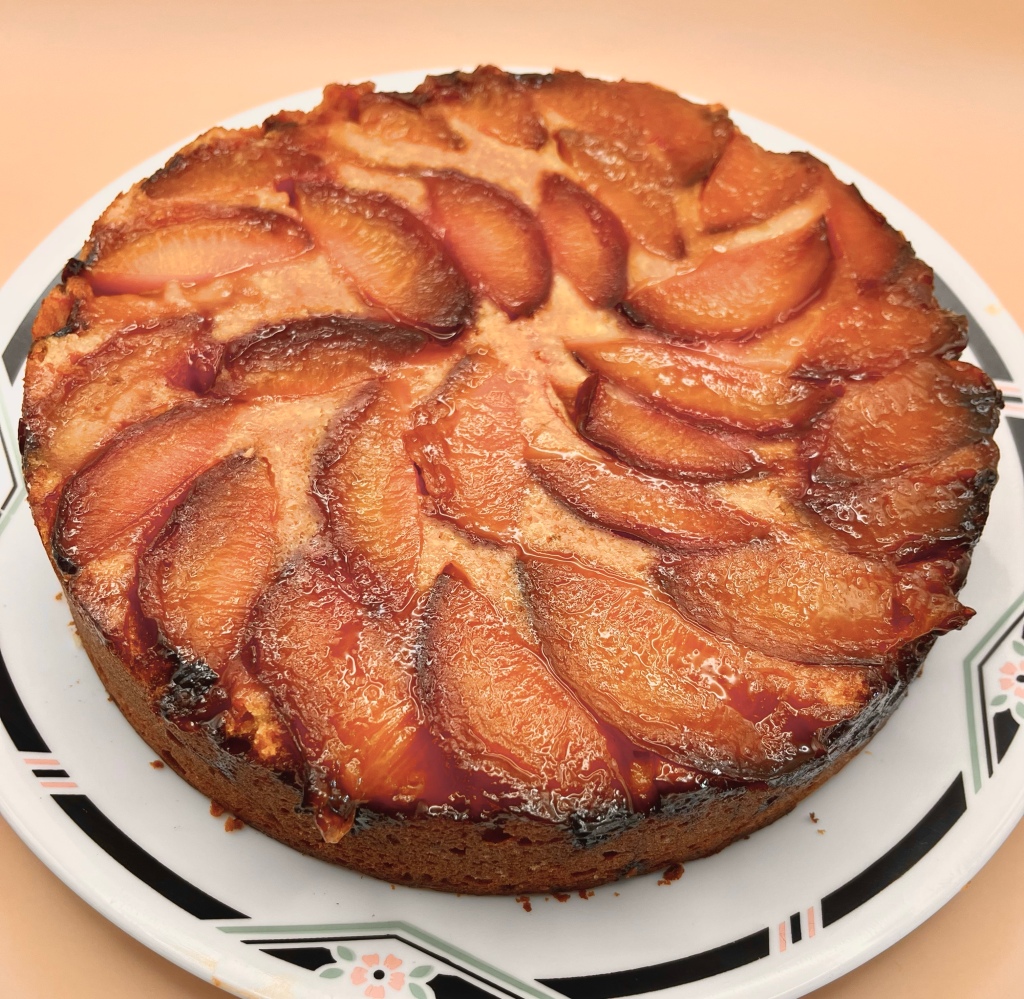
I saw this in Bon Appetite and thought it a strange pairing. As it turns out, it is a fantastic pairing. The sweet/sourness of the lime caramel paired with the sweet, moist, delicate yellow cake is fantastic! Thank you Bon Appetite.
Arranged Plum WedgesLime CaramelCake Right Outta the OvenReady for QC to Test
INGREDIENTS • ¾ cup (1½ sticks) unsalted butter, room temperature, plus more for pan • 1½ cups all-purpose flour (188 g), plus more for pan • 4–5 large red plums, cut into ½”-thick wedges (about 1 lb.) • 1 tsp. baking powder • 2 tsp. Diamond Crystal or 1 tsp. Morton kosher salt, divided • 2 Tbsp. finely grated lime zest • 2 cups (400 g) granulated sugar, divided • 2 large eggs, room temperature • 1 tsp. vanilla extract • ½ cup whole milk, room temperature • ¼ cup fresh lime juice • Vanilla ice cream (for serving; optional) METHOD
Place a rack in middle of oven; preheat to 350°. Lightly butter a 9″-diameter cake pan and dust with all-purpose flour; tap out excess. Line bottom of pan with a parchment paper round. Wrap wet bake even strip around the cake pan to reduce doming.
Arrange 4-5 large red plums, cut into ½”-thick wedges (about 8 oz.), in a circular pattern in pan,starting from center and working outward and overlapping if needed.
Whisk 1 tsp. baking powder, 1½ cups (188 g) all-purpose flour, and 1 tsp. Diamond Crystal or ½ tsp. Morton kosher salt in a large bowl.
Combine 2 Tbsp. finely grated lime zest and 1½ cups (300 g) granulated sugar in a large bowl and rub together with your fingers until evenly distributed, sugar starts to clump, and mixture is very fragrant. Add ¾ cup (1½ sticks) unsalted butter, room temperature, and beat with an electric mixer on medium-high until light and fluffy, about 3 minutes. Add 2 large eggs, room temperature, one at a time, beating to combine between each addition, then add 1 tsp. vanilla extract and beat 10 seconds. Reduce speed to low and gradually beat in dry ingredients, scraping down sides of bowl as needed. Add ½ cup whole milk, room temperature, and mix just until combined. Set batter aside.
Bring remaining ½ cup (100 g) granulated sugar, remaining 1 tsp. Diamond Crystal or ½ tsp. Morton kosher salt, and 3 Tbsp. water to a boil in a small saucepan over medium heat. Carefully add ¼ cup fresh lime juice, watching out for spatter, and cook undisturbed until liquid is thickened and beginning to turn a deep amber color, 5–7 minutes. Gently stir, remove from heat, and immediately pour lime caramel evenly over plums in pan. Scrape reserved batter over and smooth surface if needed.
Spoon cake batter in large portions over all the plum layer and spread with an offset spatula.
Bake cake until golden and a tester inserted into the center comes out clean, about 1 hour. Transfer pan to a wire rack and let cake cool in pan.
Run an offset spatula along edges of cooled cake to loosen. Set a platter upside down over pan and flip over to release cake. Carefully remove pan and peel away parchment paper; discard. Serve warm or room temperature, topped with scoops of vanilla ice cream if desired.
This 4th of July dessert is either the largest cookie, or one of the smallest cakes I ever made. That is not to say it is either the least flavorful, or not the prettiest cookie/cake I ever made. I am very happy with the result in both attractiveness and flavor.
There were no real trick in making this. Once the cookie cooled a few minutes in the pan I turned it out onto a cooling rack to let it cool to room temperature. I trimmed it to fit the available serving tray and to remove the more well done edges.
I coated the cookie with a thin layer (<1/4”) of white buttercream and first outlined the upper left corner and set blueberries in a rectangle approximating the aspect ratio of Old Glory.
I just noticed I squeezed some raspberries into the third from the bottom row on the left. Probably should have used a larger berry there and left a bit more white showing. Judgement call, could have gone either way.
Chocolate Chip Cookies/Sheet Cake
INGREDIENTS • 2 ¼ cups all-purpose flour • 1 teaspoon baking soda • 1 teaspoon salt • 1 cup (2 sticks) butter, softened • ¾ cup granulated sugar • ¾ cup packed brown sugar • 1 teaspoon vanilla extract • 2 large eggs • 2 cups (12 oz) chocolate chips
METHOD
Preheat oven to 375° F.
Combine flour, baking soda and salt in small bowl.
Beat butter, granulated sugar, brown sugar and vanilla extract in large mixer bowl until creamy.
Add eggs, one at a time, beating well after each addition.
Gradually beat in flour mixture.
Stir in morsels and nuts.
Drop by rounded tablespoon onto ungreased baking sheets.
Bake for 9 to 11 minutes or until golden brown.
Cool on baking sheets for 2 minutes; remove to wire racks to cool completely.
Pan Cookie Variation: Preheat oven to 350° F. Grease 15 x 10-inch jelly-roll pan. Prepare dough as above. Spread into prepared pan. It’s easier to pat down into an even layer with wet/damp hands. Bake for 20 to 25 minutes or until golden brown. Cool in pan on wire rack.
Have you ever see contestants on GBBO struggle making a Swiss roll? For those unfortunate few readers unfamiliar with this cake, it is a thin sheet cake rolled tight, usually with some filling inside.
Follow this method and you too could be a contender!.
Swiss Roll
INGREDIENTS • 4 large eggs, separated and at room temperature • ¼ (32g) cup confectioners sugar, sifted, plus extra for dusting • 1 tsp vanilla extract • Dash of salt • 2 (25g) Tbl granulated sugar • ¾ (96g) cup cake flour • ½ c raspberry jam
METHOD
Preheat the oven to 350 F. Line the bottom of a 15-x-10-inch jelly roll pan with parchment paper. Leave the sides unlined and undressed.
Place the egg yolks and confectioners sugar in a large bowl and whip until the yolks have doubled in volume and hold a ribbon. This takes about 4 minutes. Whip in the vanilla.
In the bowl of a stand mixer, whip the egg whites with the salt first on low speed until foamy, then increase the speed to high and pour in the granulated sugar, whipping until the whites hold a medium peak.
Sift half of the flour into the yolk mixture and fold in without deflating the eggs, then fold in half of the whipped egg whites. Repeat with the remaining flour, and fold in the balance of the whites until evenly incorporated. Spread the batter into the prepared pan, taking the time to ensure the batter is level.
Bake the cake for about 12 minutes, until the cake springs back when gently pressed in the center. It will only lightly brown. Do NOT over-bake. Cool the cake for about 2 minutes on a cooling rack, then loosen the sides with a spatula. I found using the spatula and pushing straight down on the edges worked very well.
Sift a layer of confectioners sugar over the surface of the cake and cover with a clean towel. Place a second pan of about the same size as the jelly roll pan over the towel and flip the cake, removing the pan it was baked in. Peel off the parchment paper and dust this surface with icing sugar. Roll the cake up from the 10-inch side with the towel and let it cool completely (cooling it rolled sets its “memory” so the cake won’t crack once filled and re-rolled.)
Stir the raspberry jam to soften. Unroll the cake and spread an even layer of jam over the cake. Don’t use too much jam. The ½ cup should be plenty. Leave and inch on the last part of the cake uncoated with jam. The jam will squeeze along as you roll and will eventually coat the last edge. Roll the cake back up again, if desired, dust the top with confectioners sugar. Cover and store at room temperature until ready to serve.
The cake can be prepared up to a day in advance and stored, wrapped and unrefrigerated.
Mix by hand to incorporate confectioners sugarSwitch to hand mixer with whisk attachmentAdd whipped cream in several additionsFold everything together without deflating the mixture.Cooled cakeDusting cake with confectioners sugarCooled cake, unrolled to spread jamCake with jam being rolled back upFinished Swiss Roll, wrapped for room temperature storage
I need an Independence Day themed dessert for a party this weekend. I started out with a red, white and blue mousse cake. The blue was to be blueberry mousse. As you may know, blueberries are not chucked full of flavor, so having made the blueberry mousse, (it tasted mostly like whipped cream) I looked elsewhere for inspiration.
I don’t know how it came to mind, but a berry trifle with red berries, whipped cream and blueberries sounded perfect for a cool, light summer dessert. As one of the kids at the party is allergic to strawberries I used raspberries as the red. (The fact raspberries are my fav, didn’t enter into the decision.) I wanted something more substantial than simple whipped cream so I decided on Creme Diplomat. This creme is basically cream patisserie and whipped cream. I fortified each with cornstarch to help it retain is structure longer.
Rather than lady fingers or simple cubes of white or vanilla cake I settled on a sliced Swiss roll with raspberry filling. (Prettier). I never made a Swiss roll before, but had lots of advice and examples from watching years of GBBO.
By coincidence, I made raspberry jam last week and had plenty to use for this project. I sliced the cool, filled Swiss roll into 14 pieces. (Note the nice tight swirl pattern. GBBO contestants always struggle with this.) The bottom and sides of the bowl were lined with the slices, then extra jam was forced into any openings between, or on top of the slices.
Creme Diplomat is essentially 1:1 cream patisserie and whipped cream. It resulted in a light, cool and perfect for a summer dessert. QC loved it, said it wasn’t overly sweet but delicious. 😄
I am experimenting with a new backdrop for many of my pictures. I am using the dark background in this post. Let me know what you think.
Crème Diplomat
INGREDIENTS
• ½ c sugar • ¼ c corn starch • Pinch salt • 2 c whole milk • 4 egg yolks • 2 Tbl butter • 2 cups heavy cream, cold • 2 Tbl granulated sugar
METHOD
Whisk eggs and milk together and add to all other ingredients (except vanilla) to a medium saucepan.
Bring to boil whisking constantly
Cook until thickened (it’s ok if it looks lumpy)
Sieve lumpy mixture into a bowl and add 1 tsp vanilla, mix thoroughly
When incorporated, cover with plastic directly on the cream and cool about an hour.
Whip the cold heavy cream and granulated sugar to medium peaks.
Fold a few spoonfuls of the custard into the cream. Gradually fold the rest of the custard in 2 or 3 additions, being careful to not knock the air out.
Whisk ConstantlyNote Temperature. It will boil lower than expectedSieve mixtureDon’t be afraid to force every bit through the strainer.Cover with plastic wrap directly on the cream.
Don’t ask me why I was obsessed with making a Neapolitan Mousse Cake, but I was, and it’s now complete. Today was the third and fourth (and final) adjustments to the recipe(s).
To make the three layers approximately the same thickness I increased the amount of white and strawberry mousse. I also adjusted the amount of agar agar to create the consistency I wanted.
Neapolitan Mousse
INGREDIENTS
WHIPPED CREAM (for Chocolate Mousse)– YIELDS 1 ½ CUPS OF WHIPPED CREAM • 1 cup Heavy whipping cream • 4 tablespoons Powdered Sugar or Confectioners sugar • 1 ½ teaspoons Cream of tartar • 1 tsp vanilla bean paste WHIPPED CREAM (for Vanilla and Strawberry Mousse)– YIELDS 2 CUPS OF WHIPPED CREAM • 1 ½ cup Heavy whipping cream • 6 tablespoons Powdered Sugar • 2 teaspoons Cream of tartar • 1 ½ tsp vanilla bean paste WHITE CHOCOLATE • 2 cup White chocolate chips • ½ cup heavy whipping cream DARK CHOCOLATE • 1 cup dark chocolate chips • ½ cup Heavy whipping cream STRAWBERRY PURÉE • 1 ½ cup fresh strawberries • 1/3 + 2 Tbl cup granulated sugar • 1 ½ tsp strawberry extract • Red food coloring to suit (1-2 drops) AGAR AGAR • 2 Tsp Agar Agar • 2 Tbl warm water CHOCOLATE GANACHE • 1 cup chocolate • ¾ cup heavy cream GRAHAM CRAKER CRUST • 2 cups finely crushed regular graham crackers • 1/3 cup butter, melted • ½ beaten egg white • 3 tablespoons sugar
METHOD
GRAHAM CRACKER CRUST
Heat oven to 350°F. In a food processor pulse the crushed graham crackers several times, then add the rest of the ingredients until well mixed. Press remaining mixture firmly and evenly against bottom of an 8” removable bottom cake pan.
Bake at 350 F for 10 min. Set aside to cool.
When cool, line the inside edges of the cake pan with acetate
WHIPPED CREAM – (3 batches required)
Before beginning with the recipe, place the mixing bowl and whisk in the freezer for at least 10 minutes to chill.
Once the bowl has chilled, add heavy cream and vanilla and beat on low speed until the cream starts to thicken slightly. There will be fewer and larger bubbles.
Add the cream of tartar and powdered sugar and beat with increasingly higher speed until stiff peaks form. Once done, set it in the fridge to chill.
PREPARING THE CHOCOLATE MOUSSE
Heat heavy cream to steam, not boil. I use the microwave in 30 second bursts
Place 1 cup chopped chocolate in a heat proof bowl.
Pour heated cream over chocolate, cover and let sit 30 seconds
Beat until the cream is completely incorporated and the chocolate is smooth and creamy
Let come to room temperature
Gently fold the room temperature chocolate into the cold whipped cream
Spread the chocolate mousse evenly on top of the graham cracker crust
Refrigerate
PREPARING THE STRAWBERRY PURÉE
Combine strawberries and sugar in a saucepan and bring to a boil. Lower the heat and simmer for 10 minutes until the syrup thickens.
Keep stirring occasionally. When the strawberries are soft and the syrup has thickened, remove from heat and allow to cool.
When completely cooled, coarsely puree it with an immersion blender. Add strawberry extract and set it aside. Measure the syrup – you will require ½ cup of thick syrup
AGAR AGAR MIX
Mix 3 teaspoons Agar agar powder with 4 Tbl lukewarm water
Whisk to combine
Let rest 4 – 5 minutes for the agar agar to bloom
PREPARING STRAWBERRY AND VANILLA MOUSSE
Heat a pan 1/2 filled with water over low heat and place the white chocolate bowl over the water when it simmers. Keep stirring the chocolate as it softens and melts.
Add agar agar mix and stir constantly for 5 minutes
Add ½ cup warm milk and mix until the chocolate is thick but runny.
FOR VANILLA MOUSSE
If desired add a few drops of white food coloring to lighten the yellowish mixture and mix well
Gently fold the cool to touch white chocolate [and agar] mixture into the cool whipped cream until combined. Do not beat and deflate the mousse.
FOR STRAWBERRY MOUSSE
Add half the cooled whipped cream to the cool white chocolate mixture
Add the strawberry syrup that was prepared earlier to the whipped cream/white chocolate mixture
Mix gently to not deflate.
Add the rest of the whipped cream to the strawberry-white chocolate.
[OPTIONAL – add two drops of red food coloring. Without the coloring the strawberry mousse is not strongly differentiated from the vanilla mousse.]
TO MAKE CHOCOLATE GANACHE
Warm cream in the microwave just until a simmer and not boiling hot.
Pour it over the chocolate and let it rest, undisturbed, for 30 seconds.
Now start stirring gently until it forms a smooth chocolate ganache.
Let the ganache cool slightly, but it should still be pourable.
DECORATING THE MOUSSE CAKE WITH GANACHE
Pour the chocolate around the edge of the mousse cake letting some run down the side, but not so much as to drip all the way to the bottom.
Cover the rest of the cake with chocolate and top with sliced strawberries.
DECORATING THE MOUSSE CAKE WITH A CHOCOLATE COLLAR
Cut a piece of parchment paper the circumference and height (or a little more) of the mousse cake.
Place it on a larger piece of parchment paper to help later clean-up.
Temper a cup of chocolate, fill a piping bag and let cool slightly. This was an experiment for me. It needs to be cool enough to not run when piped, but warm enough to pipe easily
Cut a small hole in the end of the piping bag and with an erratic swirling pattern make a lace pattern over the smaller piece of parchment paper, being sure to cover all the way to the edges.
Let the chocolate collar dry such that it won’t drip when picked up.
Carefully wrap the mousse cake with the still slightly soft collar and press gently.
Let the collar cool for a few minutes then carefully peal the parchment paper base from the collar, leaving the chocolate collar adhered to the mousse cake.
It’s the same old story, but with a different meaning. I had three egg yolks leftover from an earlier bake. As QC says (often) I am both frugal and whimsical and didn’t want to waste three whole egg yolks. As it happens home made scratch chocolate pudding requires three whole egg yolks.
I suppose a real photographer could make chocolate pudding look good, but probably couldn’t make it taste this good!
Chocolate Pudding from Scratch
Makes 4 cups; serves 8
INGREDIENTS • 4 ounces bittersweet chocolate • 3 tablespoons unsweetened cocoa powder • 3 tablespoons cornstarch • 1/4 teaspoon salt • 1 cup heavy cream • 3 large egg yolks • 2 1/2 cups whole or 2% milk • 1/2 cup granulated sugar • 1 teaspoon vanilla extract
METHOD
Use a serrated knife to chop the chocolate into fine flakes; set aside.
Whisk the cocoa powder, cornstarch, and salt together in a large, heatproof bowl. Slowly whisk in the cream, a little at a time, until you have a smooth mixture.
Whisk the egg yolks into the cream and cornstarch mixture.
Pour the milk into a 3-quart (or larger) saucepan. Add the sugar and warm over medium heat, stirring frequently, until the sugar is dissolved.
Bring the milk to a gentle simmer over medium heat. Watch for the surface of the milk to vibrate and for bubbles to form around the edges of the pot.
To temper the eggs, slowly pour most of the hot milk into the bowl of cream and egg yolks. Whisk until well-combined, then pour everything back into the pot.
Bring the mixture to a full boil over medium-high heat, stirring frequently. (It should look like lava boiling up!) At this point, the pudding will look much thicker.
Cook for 2 minutes more, whisking constantly and vigorously. Get your whisk into all corners of the pot.
Remove the pot from the heat and whisk in the vanilla. Add the chopped chocolate and let sit for 1 to 2 minutes or until melted. Whisk vigorously until the chocolate is fully incorporated.
Transfer the pudding to a storage container and press plastic wrap or wax paper directly onto the surface of the pudding. Cover with a lid and refrigerate.
I saw a technique for making sugar domes on Netflix’s School of Chocolate. Initially, I thought that looked like a fun and easy skill to learn. I soon discovered it was fun. Plus I had the added incentive of wanting to make a snow-globe cake for my granddaughters. I envisioned an evergreen tree and snowman under the dome.
‘Simply’ pour a little (1-2 Tbl depending on ring size) molten (hard crack) sugar/glucose mixture inside a ring mold, resting on 3 layers of plastic wrap stretched (not too tightly) and sealed across a large bowl.
L – Once the sugar reached hard crack at 300 deg F I had no time to take pictures. R – Ring resting on plastic wrapped covered bowl.
Press down on the outside of the ring and keep increasing the pressure until the sugar reaches the side of the mold and starts to dome up. If the sugar is too hot it can melt the plastic wrap, too cold it won’t spread to the edges of the ring mold. No matter what you do, your fingers will burn. (After this I purchased some heat resistant silicone gloves.)
I tried this many, many times with varying degrees of success. If you use too much sugar the bottom edge of the dome will be very thick and unattractive. If you use too little sugar the dome will be thin or incomplete and either deflate or crack. More attempts than shown here were re-melted.
It was about now that I decided to make the cake an actual snow-globe. There is no way to pick it up and shake it, but a life time of skiing around snow makers gave me an idea. If I could blow the ‘snow’ (or powdered sugar) from inside the dome it would look like it was snowing.
I changed my plan from a small dome on shell tart to a 5” fondant covered cake. Now I had to make the domes bigger and higher.
I saw a method for making the globes (the author was actually making sugar bowls, but inverted would be perfect.) Ann Reardon – How To Cook That has a great tutorial.
Use helium quality balloons so the molten sugar doesn’t melt them. Ann explains using water filled balloons to disperse the heat and keep them from bursting when covering with the sugar.
This technique also required some practice. You need to be sure to use enough molten sugar or the balloon won’t be fully covered. I found covering the balloon in one smooth pour was more successful than trying to go back and filling in places that weren’t covered.
I could guess how many attempts I needed to make two acceptable domes, but I won’t. The balloons were pretty cheap and until you burn it, the sugar can be reused.
I made some white gum paste and rolled a little into balls for the snowmen. I colored some black to make buttons, eyes etc. I dyed some green and shaped it into cones. Another YouTube video demonstrated how to use cuticle scissors to snip bits to make the boughs of the trees.
The snowmen look like they belong in a Tim Burton movie. Sorry bout that.
Now to the engineering ‘genius’ of the cakes. To make the snow blower I procured some mini funnels (1.5” across at the top.) I connected a piece of flexible tubing (I happened to have the exact correct size and length from my beer making equipment.)
A squeeze bottle served as the air pump and a small sugar pearl blocked the sugar from pouring down the tubing. A firm squeeze on the bottle and voilà, a mini snowstorm. This is my test set up.
The cake was put on a 5” cake board which I had cut in its center, then it was crumb coated and covered in fondant. The flexible tubing was fed up through the cake board, cake and fondant and the funnel attached. The other end was fed through the checkerboard ‘tablecloth’ and two 5.25” styrofoam disks with holes cut in the center. The bottom disk had a channel cut from the bottom center to the edge to have a place for the tubing to run to the outside.
Everything was stacked, filled and covered with the sugar dome. Imagine my surprise when the girls and I tried it all together the first time, and it worked!