A couple of days ago we were discussing variations of the breads I bake. While not a fan of nut breads, different grains, such as todays selection of oats, are great.
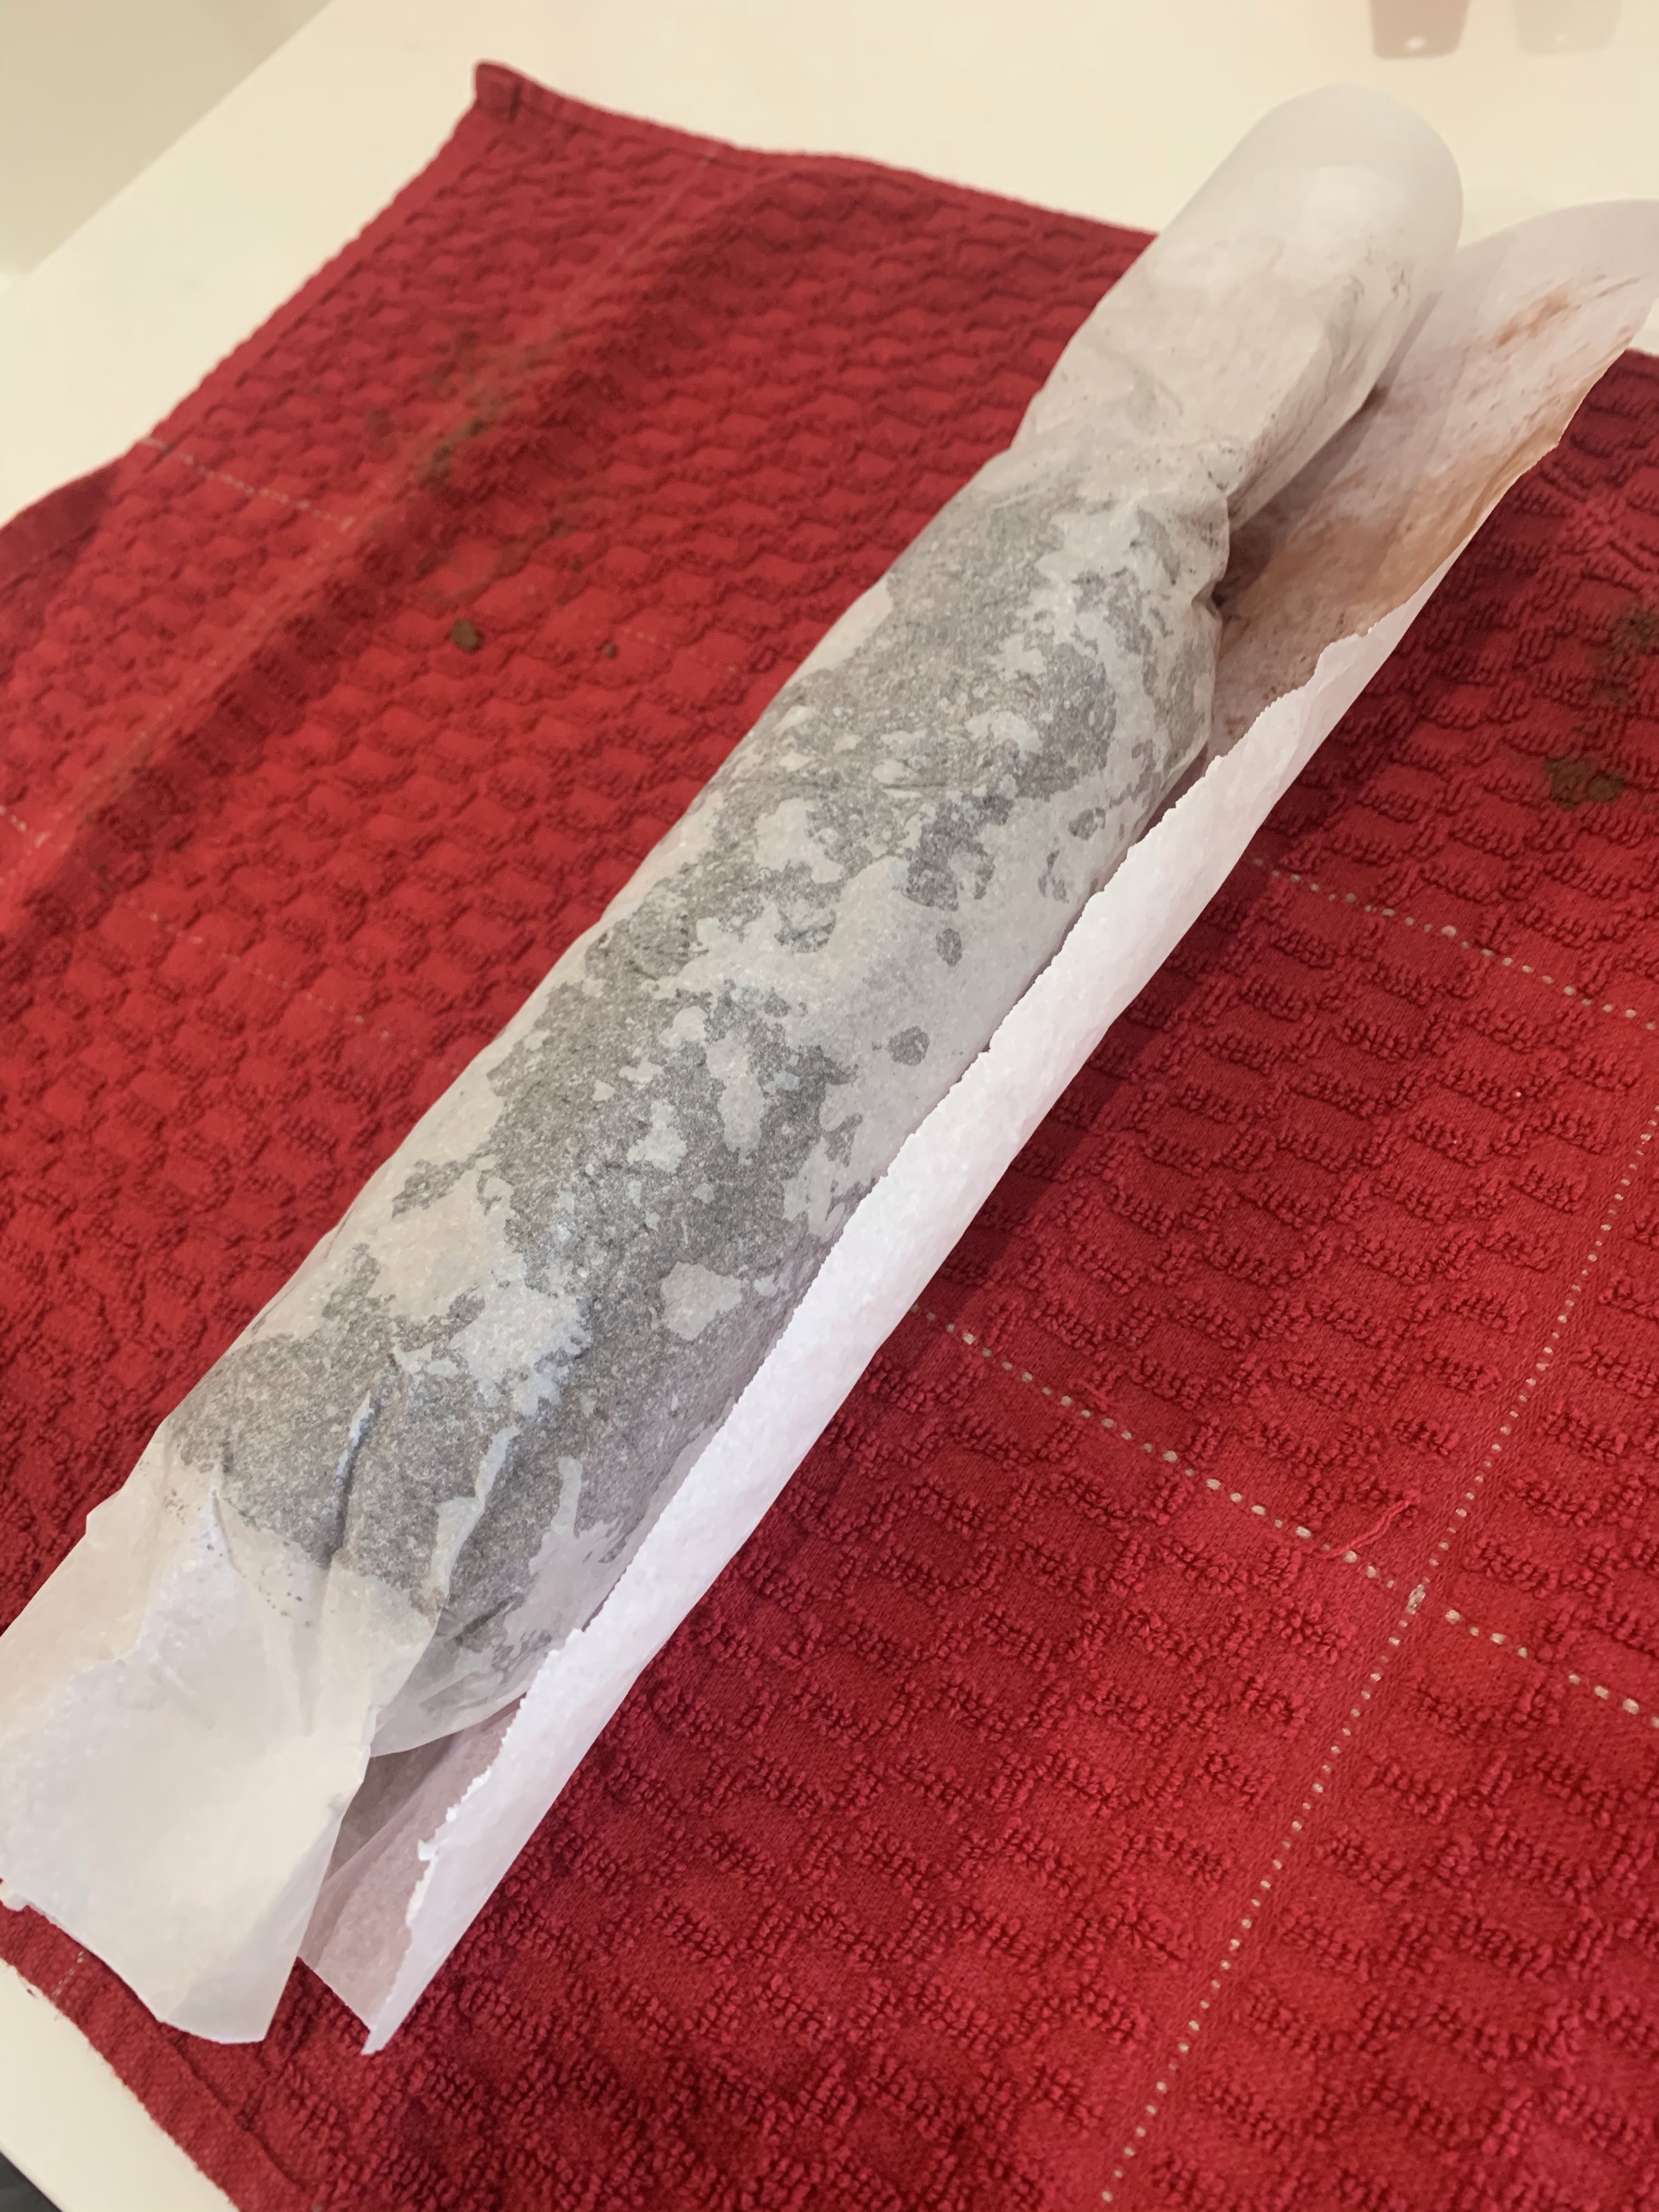
This recipe creates a very slack dough. Rather than shape it, you basically pour it between containers. (I whine about that and explained how I handled this problem in the body of the recipe below. ) I need to devise a ‘sling’ to move it from the second rise to the Dutch Oven.
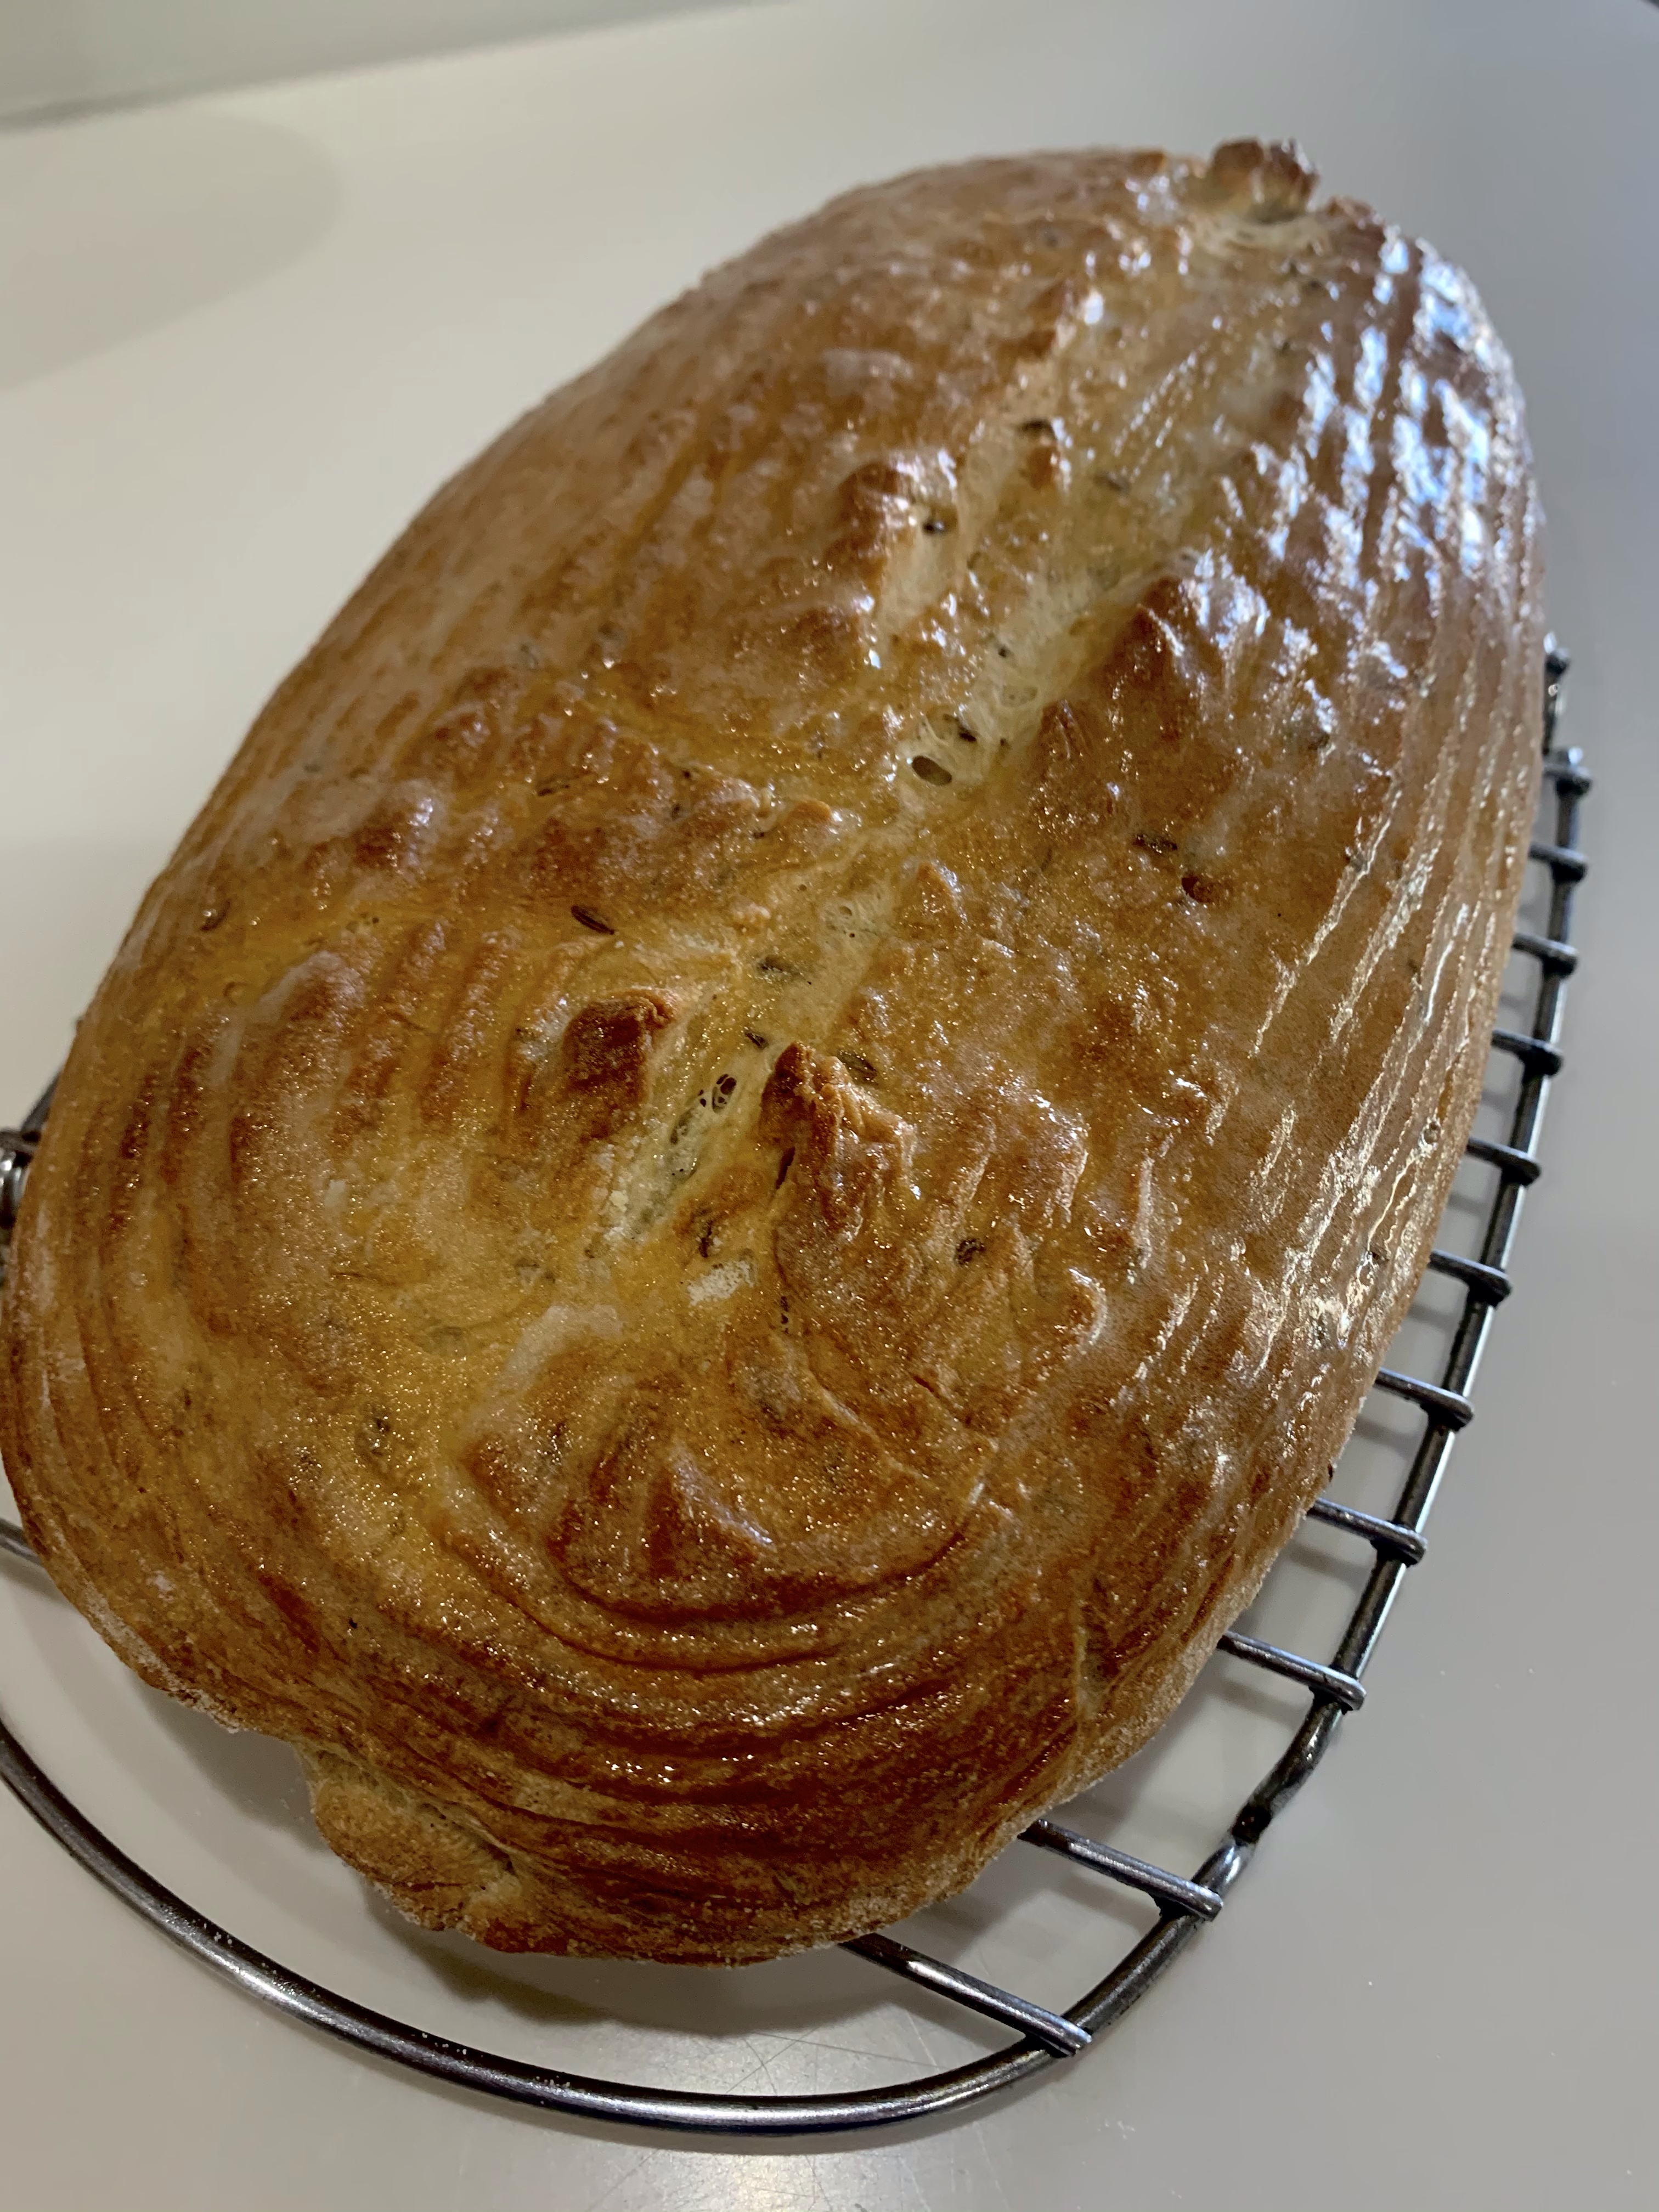
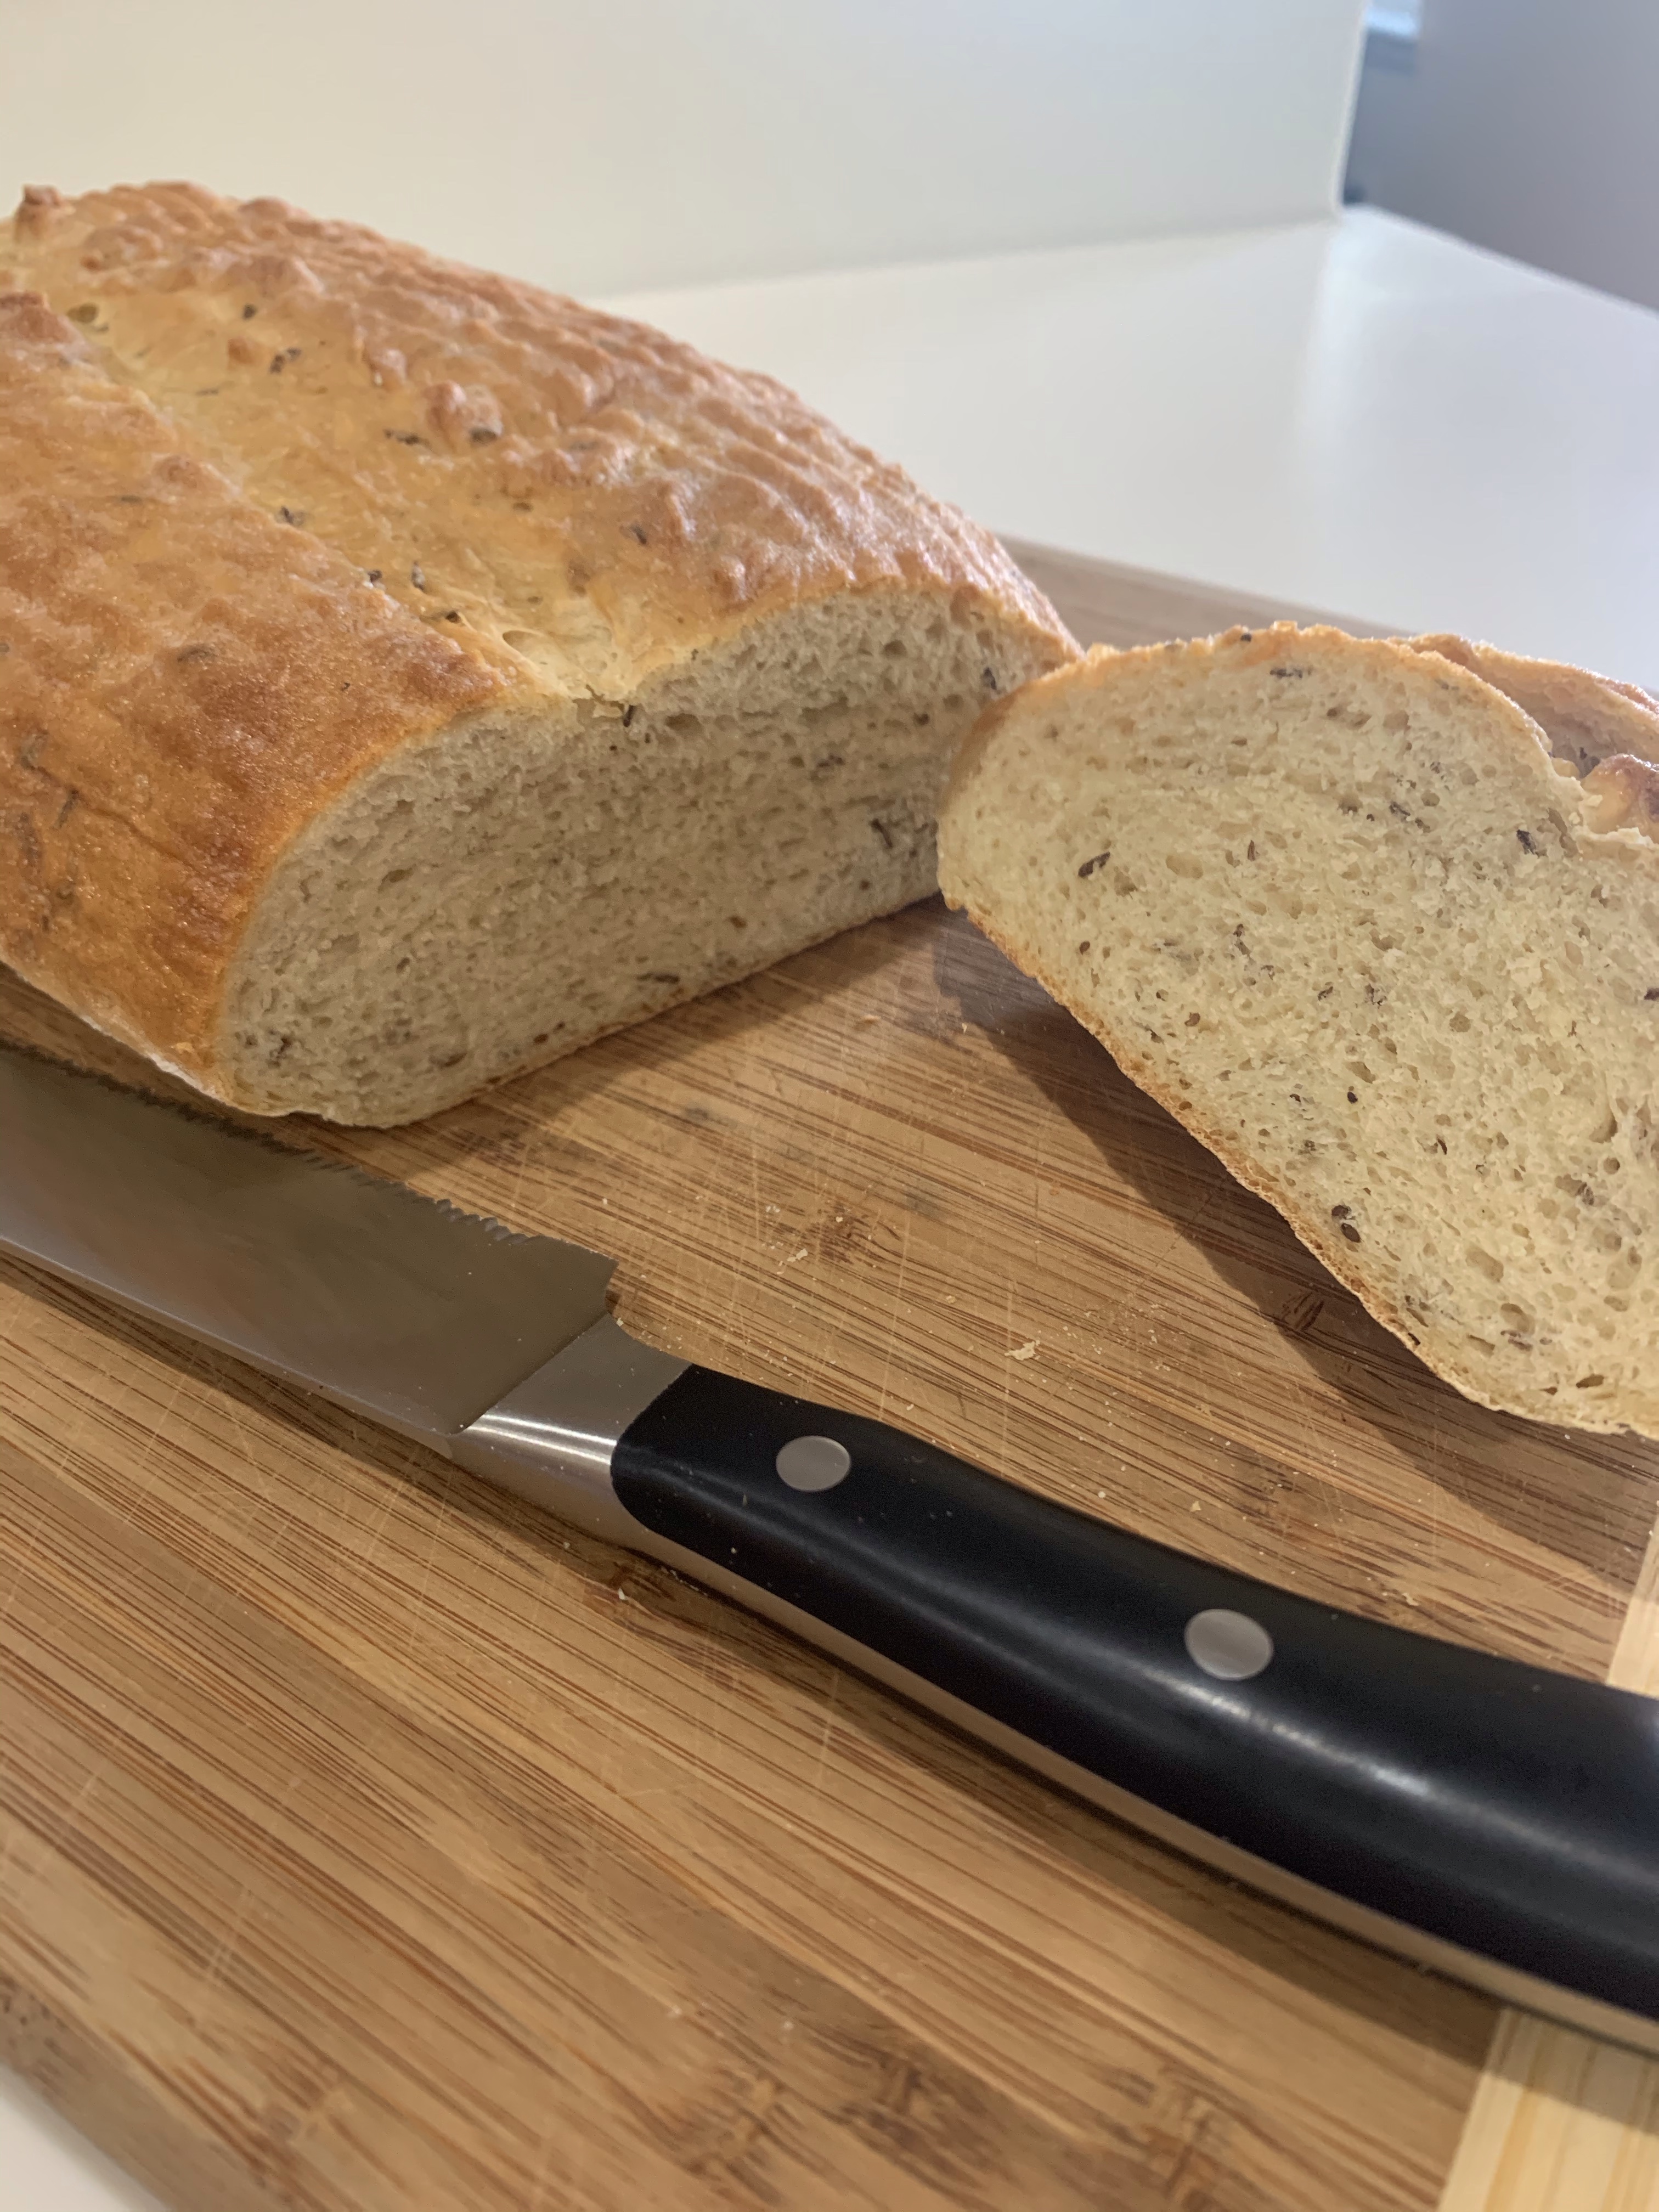
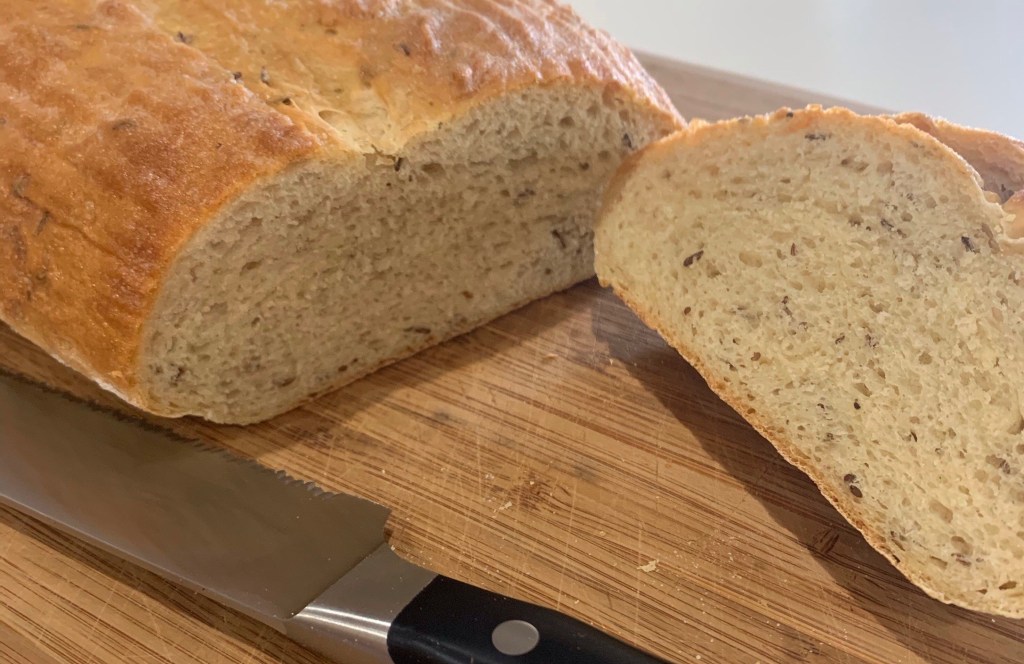
Despite the challenges in the method of this bread, it is among the best I made during this challenging year. Great crumb, crust and flavor. Next time, I am going to use more flour and fold and shape as I do with the high hydration honey bread. Stay tuned.
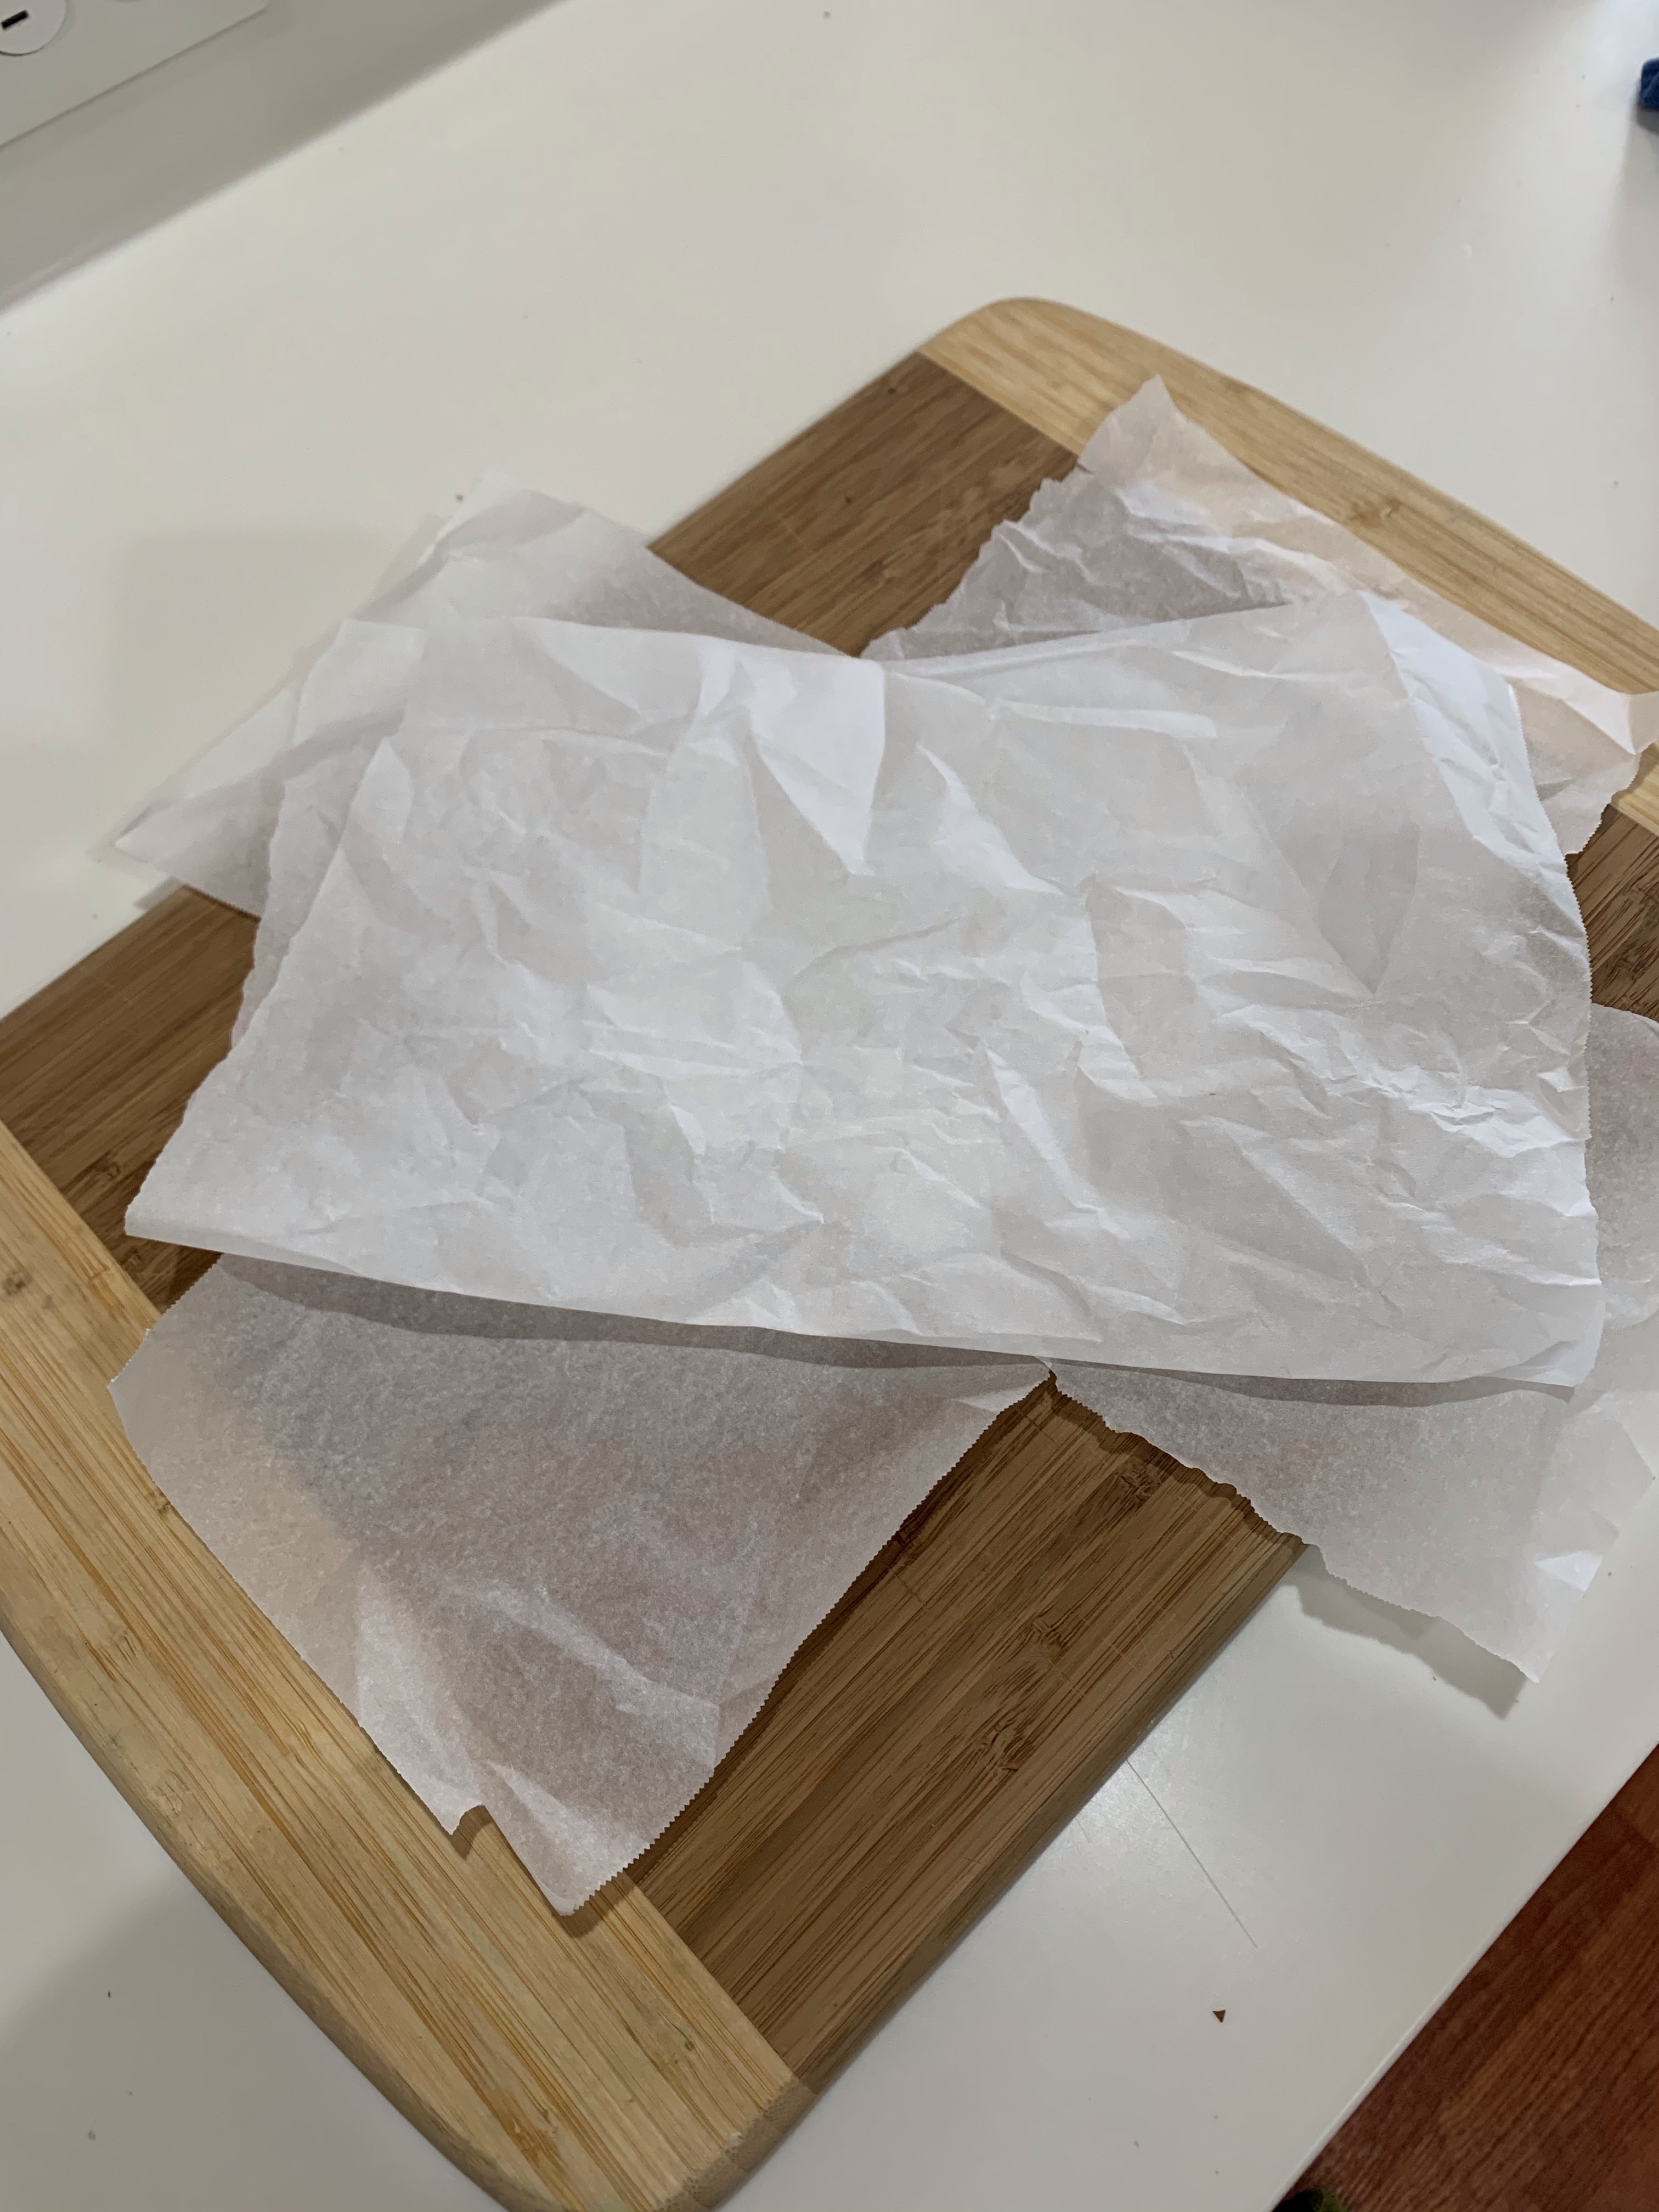
First Sling Attempt 
Slack Dough on “Sling” 
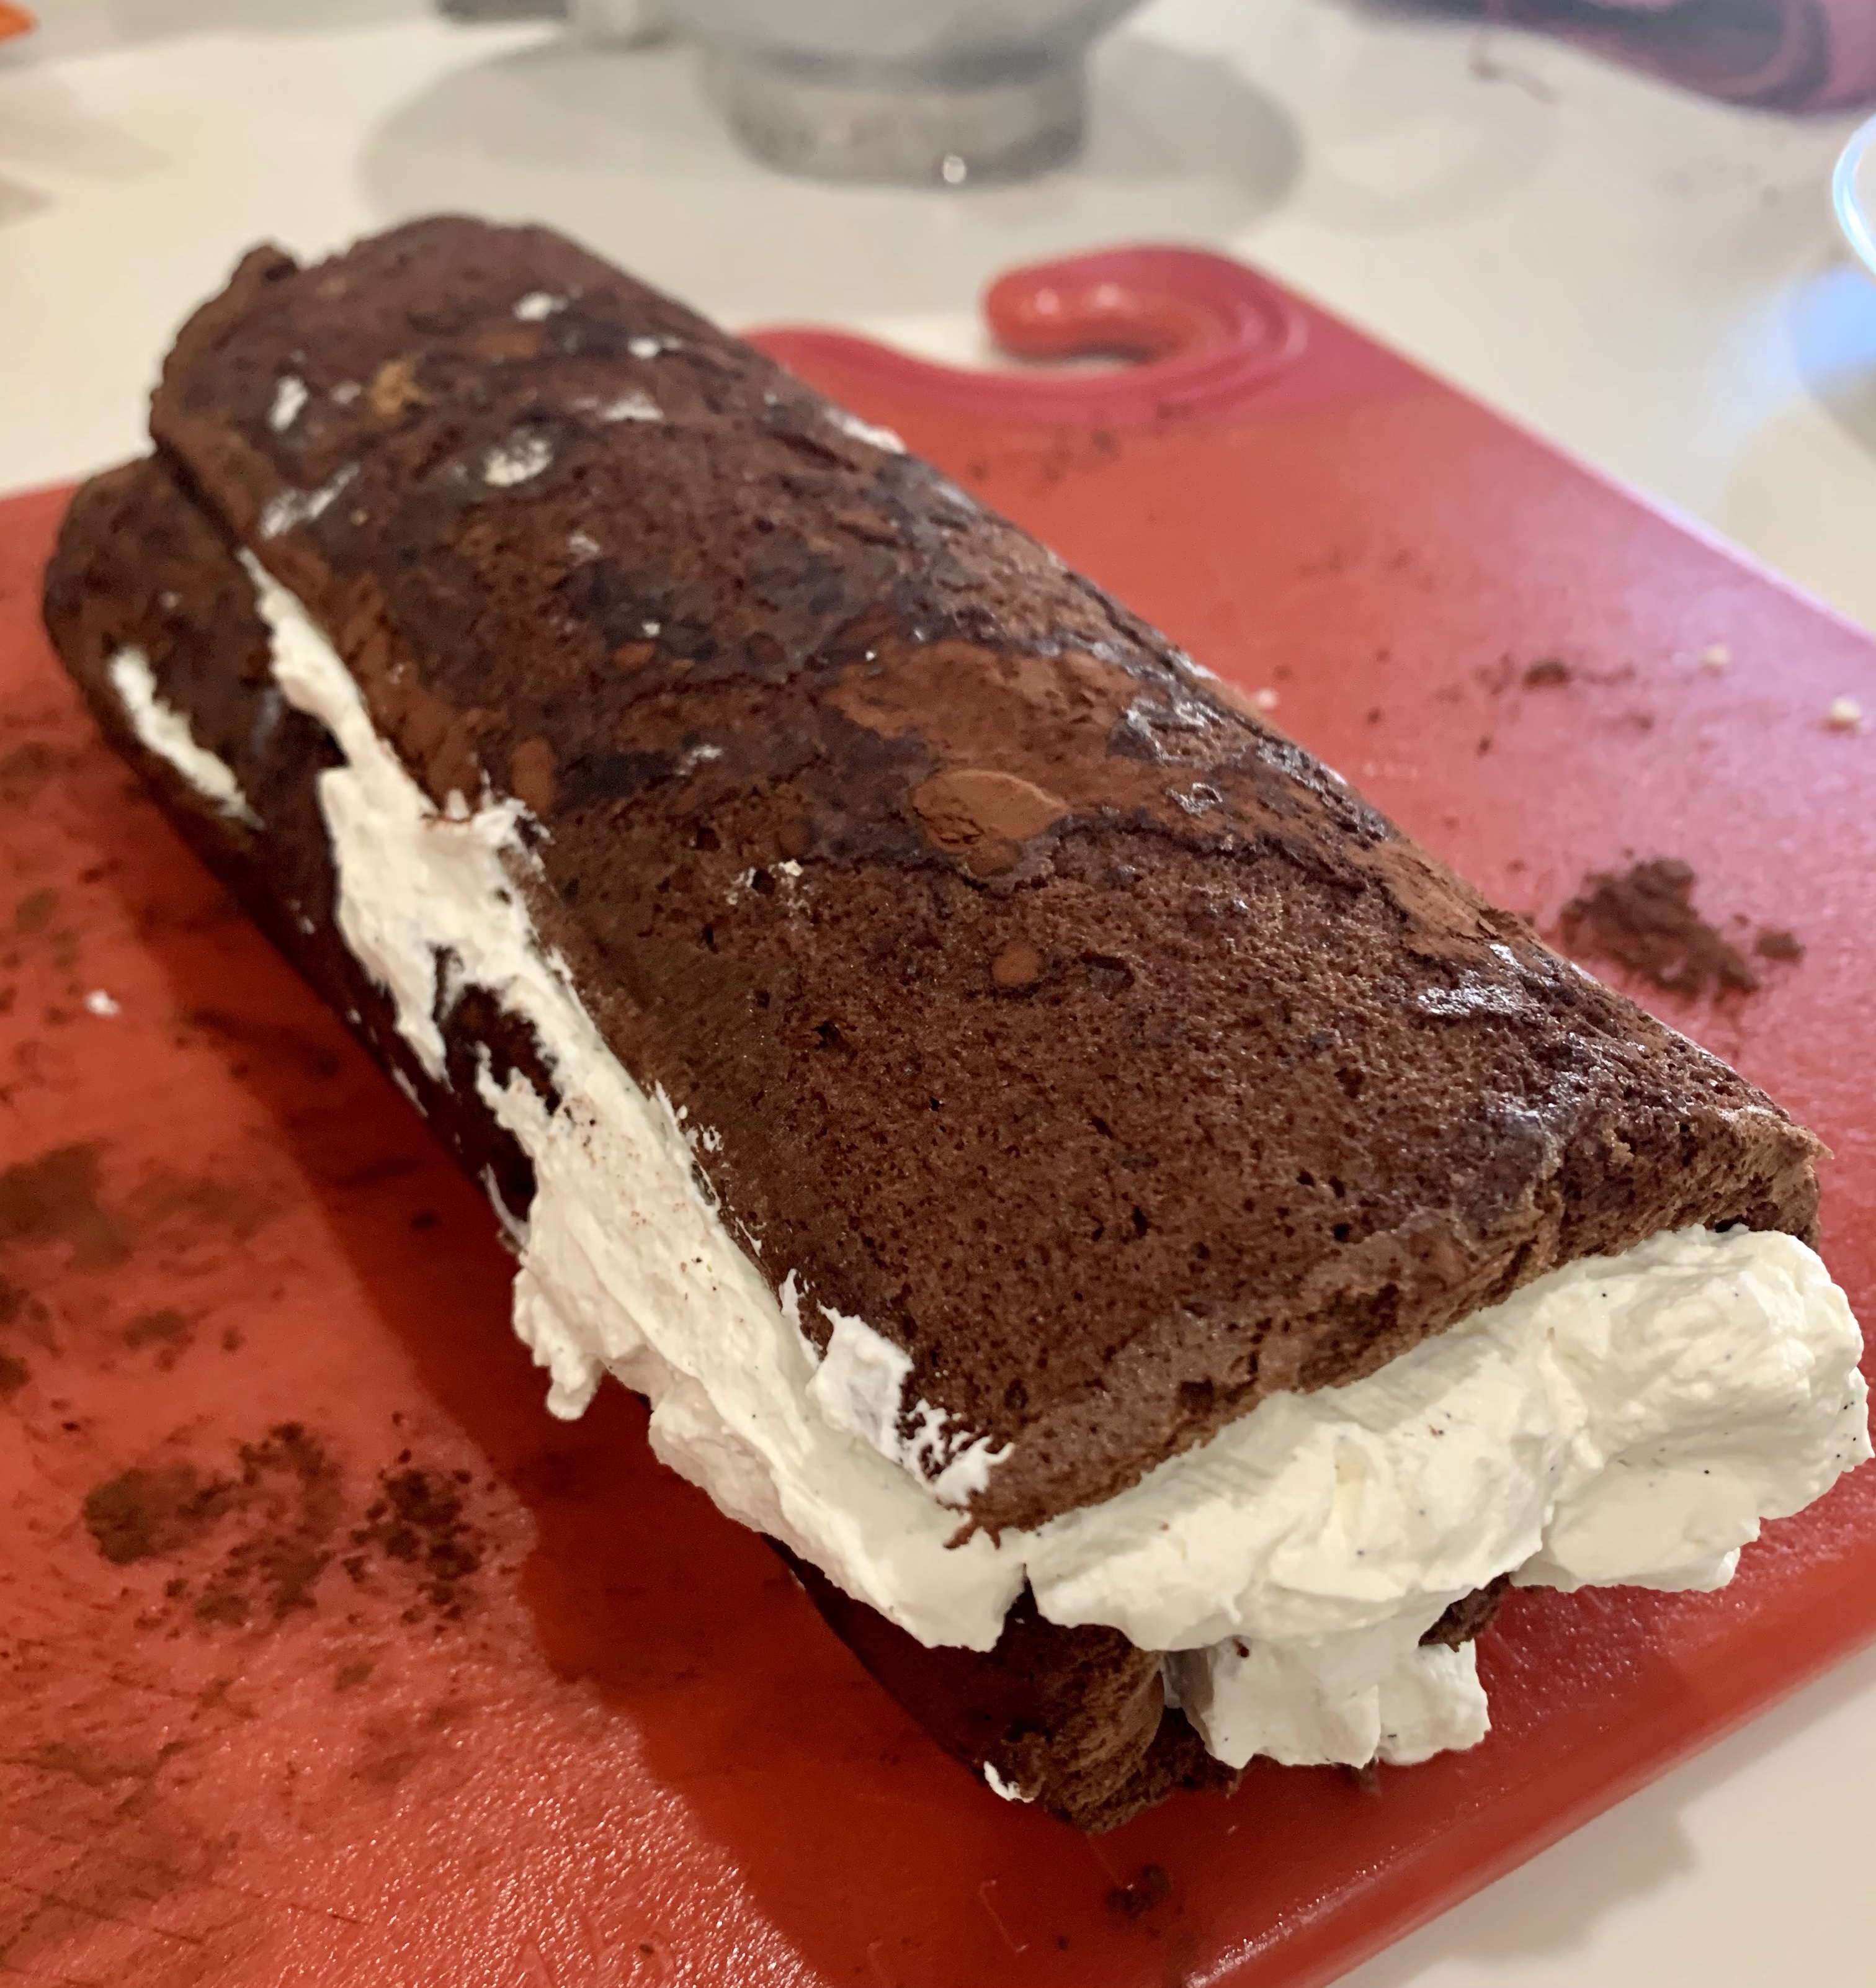
Sling & Dough in Dutch Oven 
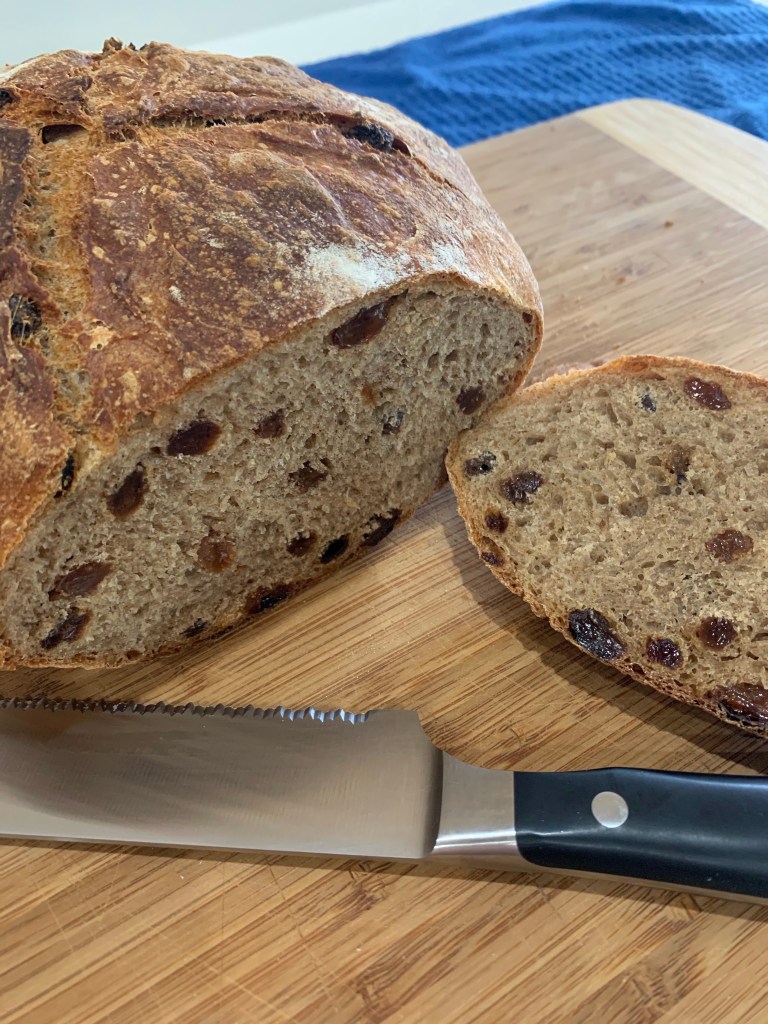
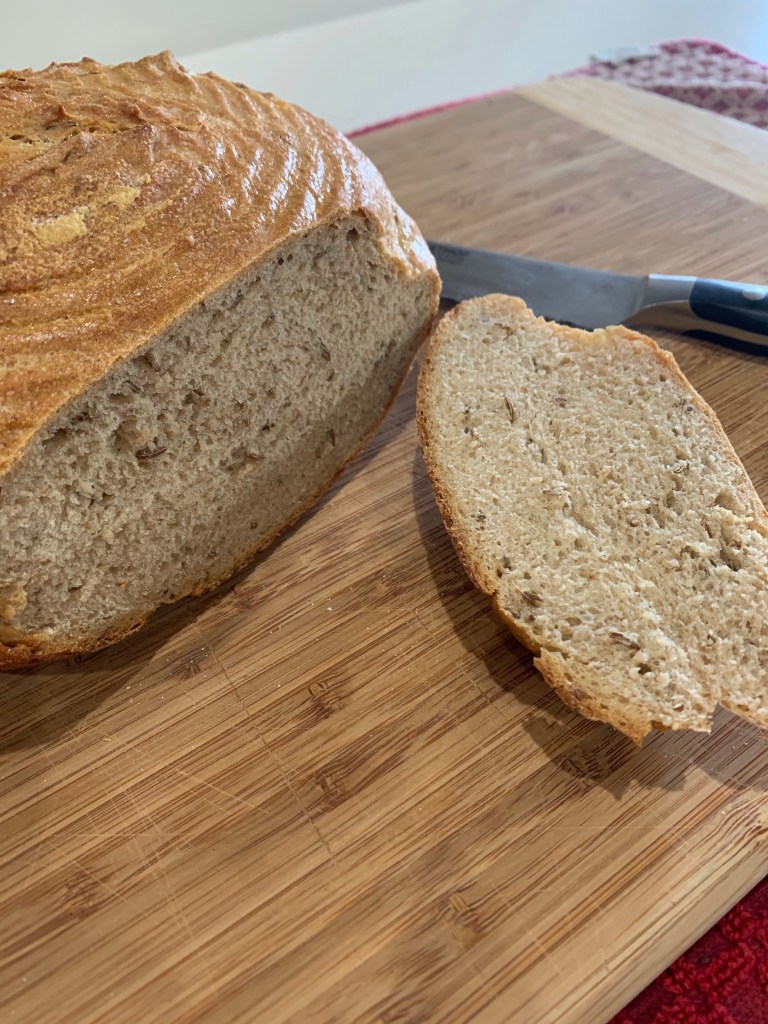
Final Loaf Cut for QC
Honey Oat No Knead Artisan Bread
https://thebusybaker.ca/no-knead-honey-oat-artisan-bread/
INGREDIENTS
• 469g (3 ¾) cups all purpose flour
• 81g (1 cup) oats
• 2¼ teaspoons active dry yeast instant or rapid rise yeast also works
• 1½ teaspoons salt
• 85g ( ¼ cup) honey
• 474g (2 cups) warm water just above room temperature
• more flour for shaping the loaf
METHOD
- Stir together the flour and oats in the bowl.
- Add the yeast to one side of the bowl and the salt to the other side.
- Stir the yeast into the flour on its side of the bowl first and then stir the salt into the flour on its side of the bowl, then give the whole mixture a few good stirs to make sure everything is combined.
- In a small bowl, add the honey to the water and stir to combine.
- Pour the honey/water mixture in and stir. The dough will be rough and a bit sticky, but that’s normal.
- Stir until all the flour is moistened. This is not normal bread dough (there’s no kneading involved in this recipe.) Make sure the ingredients are combined well.
- Cover the bowl with plastic wrap. It’s a good idea to ensure there’s adequate space left in the bowl for the dough to at least double in size. Place the bowl in a warm, draft-free place and let it rise for about 1½ hours.
- After the dough has risen, preheat your oven to 425 deg F. (If your Dutch Oven is light colored heat to 450 degrees Fahrenheit.) Place your Dutch oven with the lid on in the cold oven and let it heat up with the oven.
- Place a piece of parchment paper on the counter and dust it with flour. I put two long narrow pieces in an X and a larger square piece in the center of the X. Even with this, the dough was so slack it ran onto the counter. I also liberally floured the counter anticipating this, making it easier to fold those portions back into the main loaf.
- Rub flour on your hands and scrape the dough away from the sides of the bowl. The dough is very slack and will not hold a shape. Shape and fold it into a circular loaf on the parchment paper. Don’t worry if it still looks a little rough in places. This lends to the rustic look of this loaf.
- Once shaped, the dough needs to undergo a short (30 min) second rise. Handle the dough as little as possible at this stage because any amount of tugging can cause it to deflate after its second rise.
- Sprinkle a little bit of flour over the top, along with some oats, and loosely cover it with a clean kitchen towel. The flour you sprinkle on top also prevents the towel from sticking to the dough so when you take it off at the end of the rise, it doesn’t disturb the dough and wreck the rustic shape you’ve created. Try to gently fold and shape the risen dough without deflating any more than necessary.
- Remove the preheated pot from the oven and transfer the dough into the pot as carefully as possible by handling only the parchment paper. Place the lid on the pot and return it to the oven for 30 minutes. Don’t open the oven during this time, and certainly don’t take the lid off the pot; the crispness of the crust develops because of the steam that builds up in the pot during this 30 minutes.
- After 30 minutes have passed, remove the lid from the pot and continue baking for another 10 minutes. After the 10 minutes have passed, remove the pot with bread from the oven and place the bread on a wire rack to cool. You’ll probably hear the loaf crackling as it cools – this is normal.
- If you can, resist the urge to cut into the bread until it has pretty much cooled completely. The bread continues to bake on the inside even after it has been removed from the oven and cutting it too early could result in the inside becoming gummy or rubbery.