You can do this easy, or hard. It’s your choice. I decided to do it somewhere in the middle, the “Easier Way.”
Making pugliese can be a long, involved process. It can also be as easy as any artisan bread. I chose to use mostly traditional ingredients, but shorten the method. I didn’t have any fine semolina flour on hand so used only bread flour. Some pugliese recipes use mash potatoes, I did not.
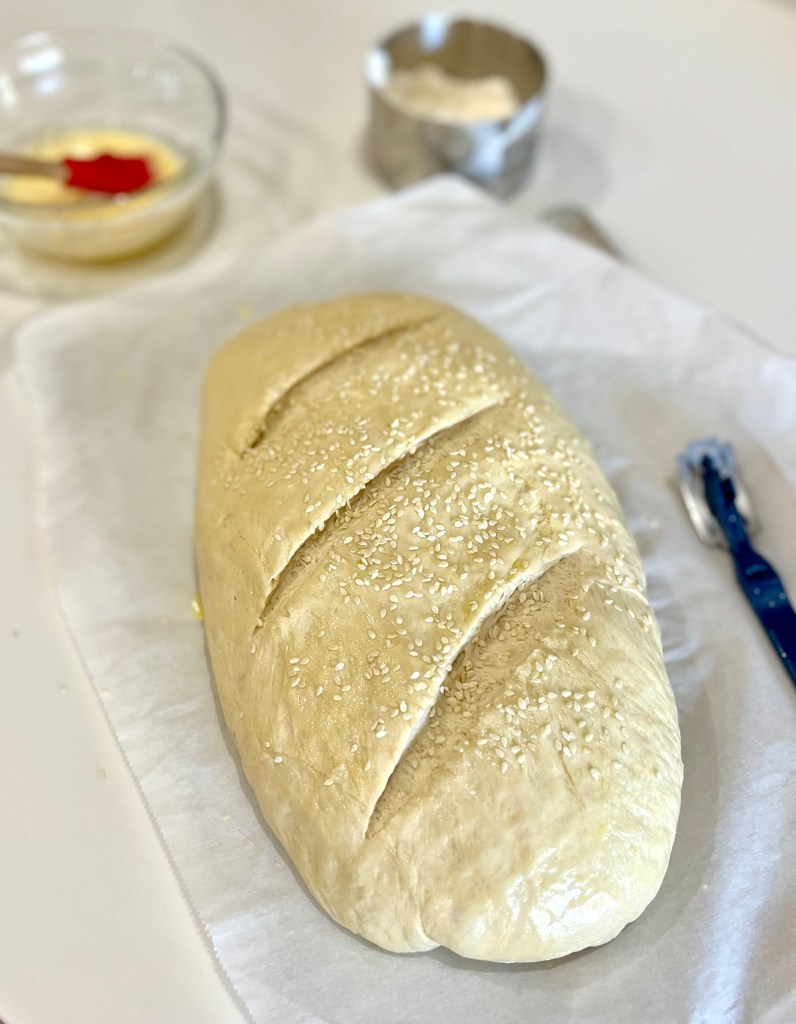
I followed the method pretty closely but I used a stand mixer and like to do the second rise in a parchment paper lined banneton. This makes it easier to transfer from the banneton to the dutch oven. Remember to put the dough in the banneton seam side down so you can score the smooth side..
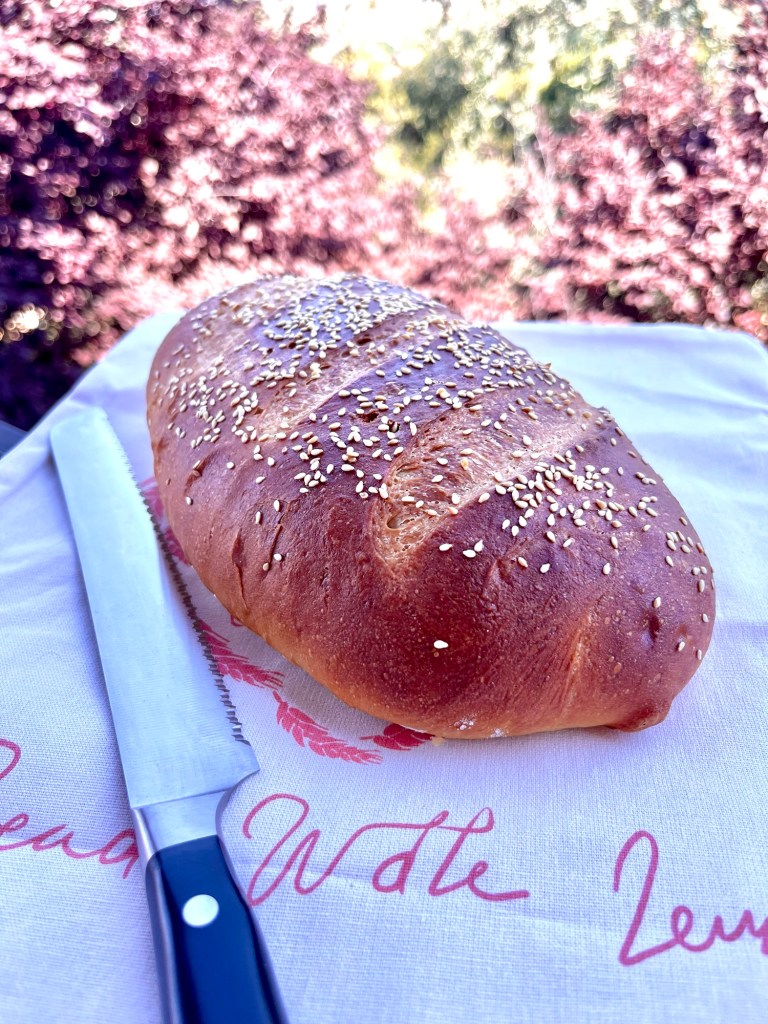
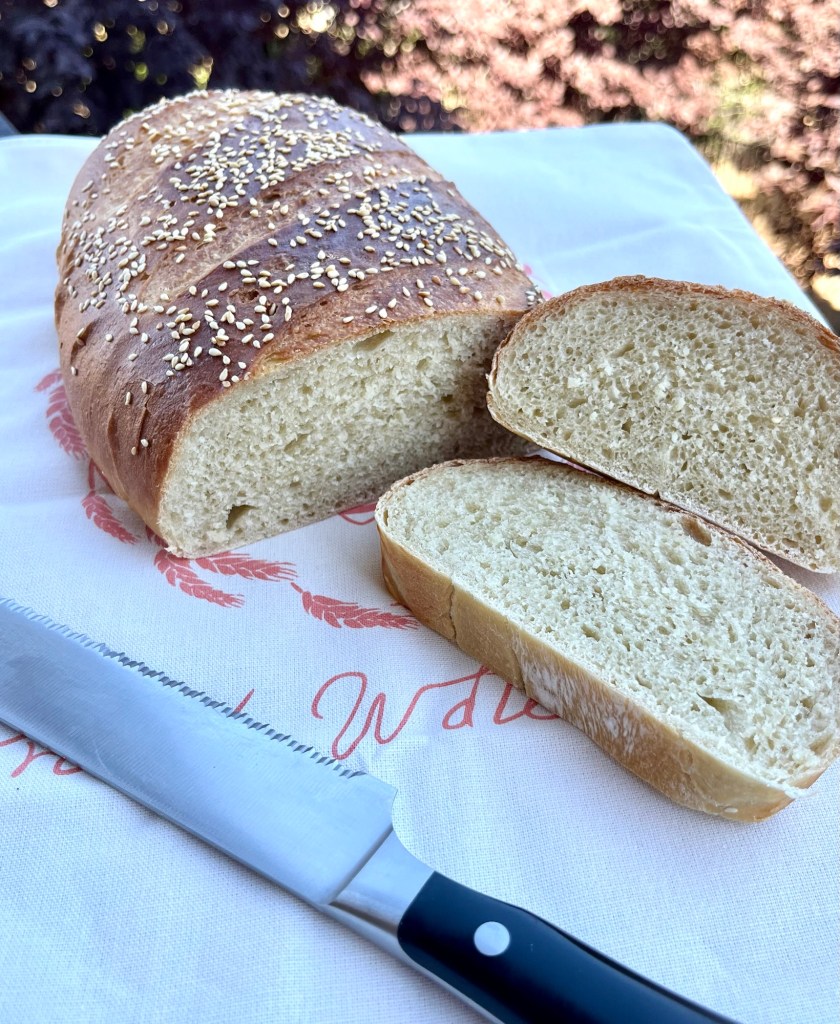
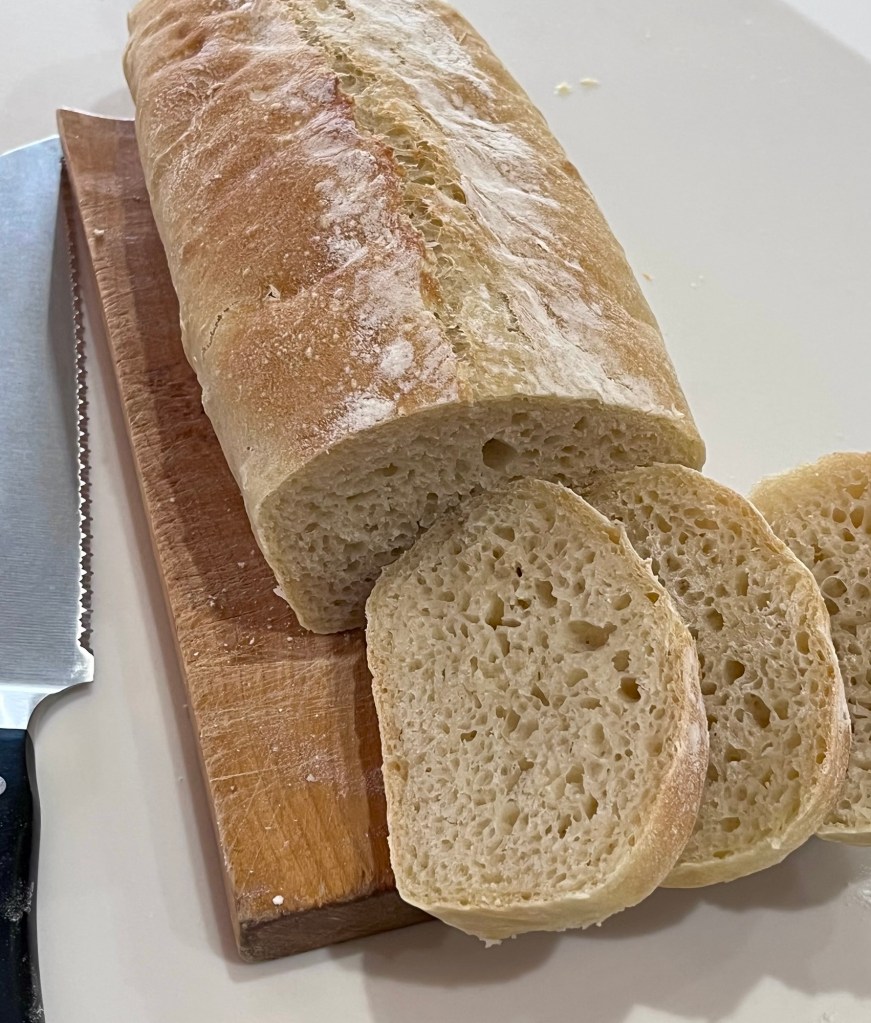
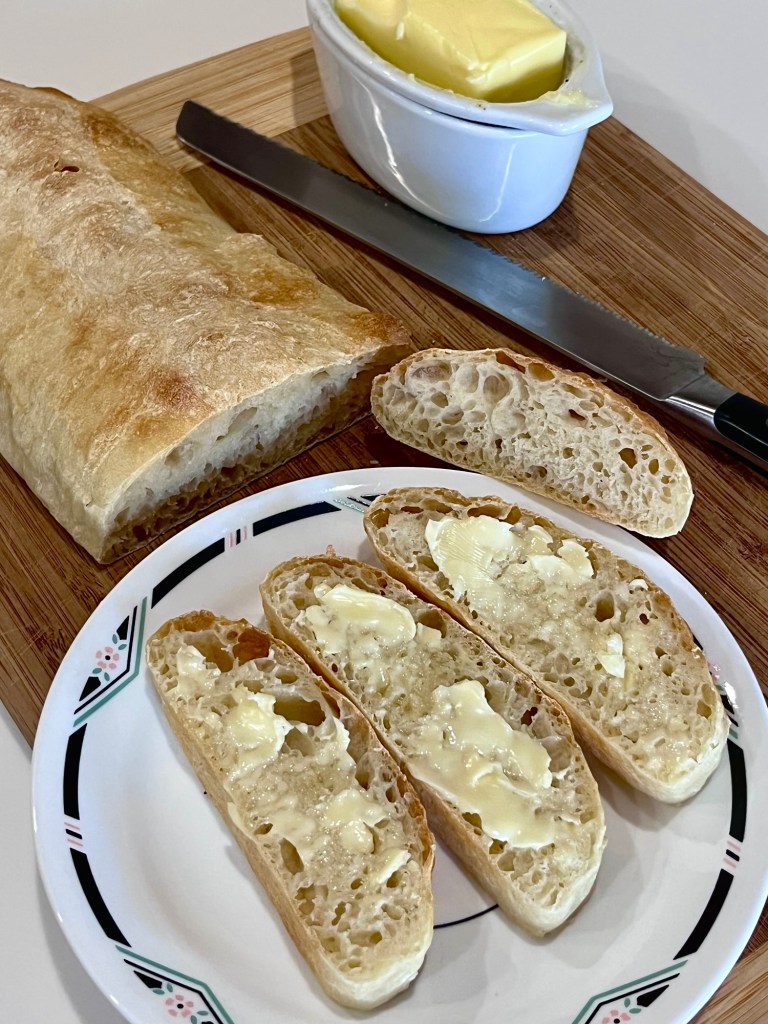
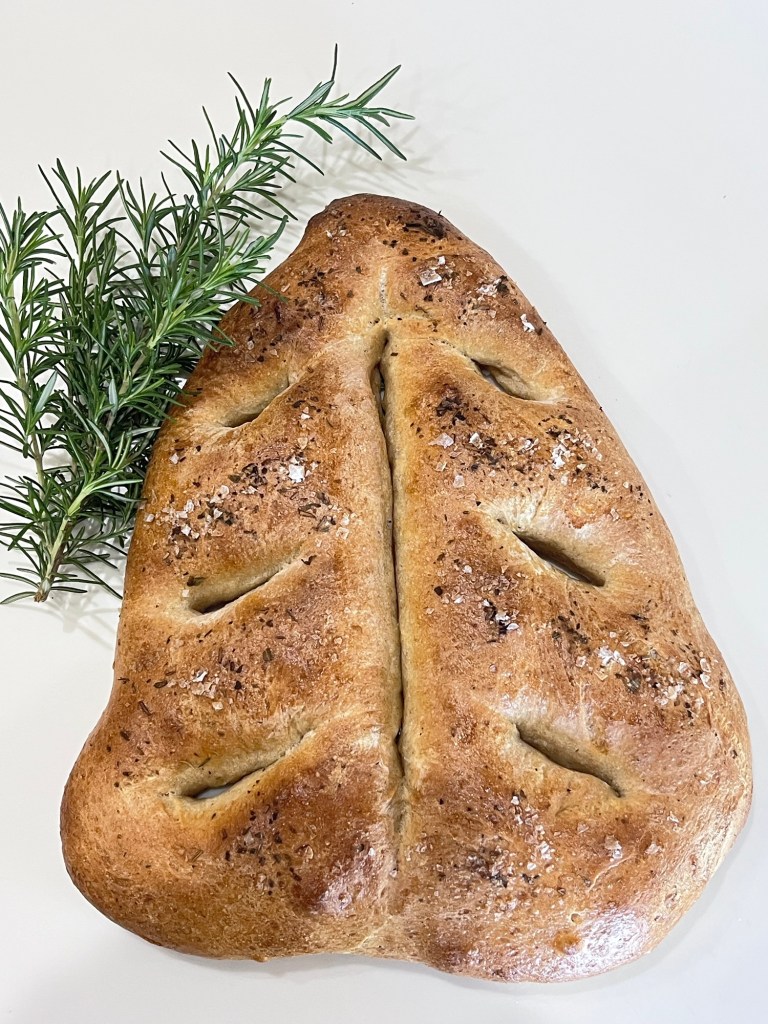
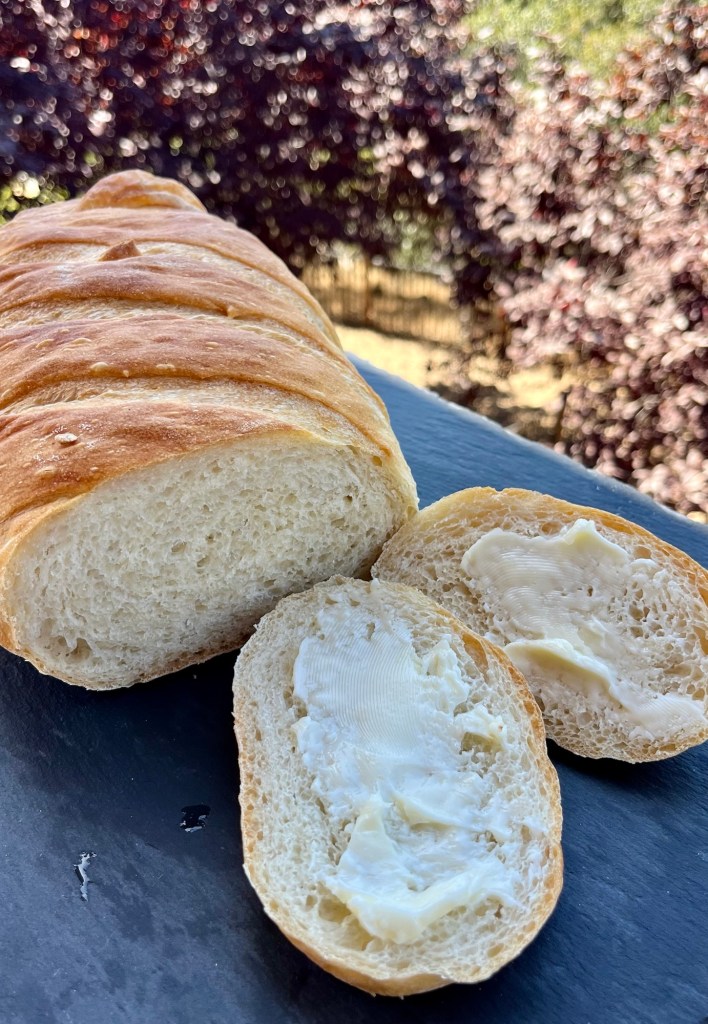
The final result is a tasty loaf with good crumb and very chewy crust, very much like a traditional pugliese.

Pugliese – Easier
INGREDIENTS
For the Biga:
• 260 g (2 cups) Bread flour
• 155 ml (2/3 cup) Water (room temperature)\
• ¼ tsp Instant yeast
For the Final Dough:
• All of the fermented Biga
• 260 g (1 ¾ c) Fine semolina flour (or additional bread flour if semolina isn’t available)
• 235 ml (1 c) Water (lukewarm)
• 15 g (1 Tbl) Fine sea salt
• 1 tsp Instant yeast
METHOD
- In a bowl, mix the flour, water, and yeast for the biga until a shaggy dough forms. Cover tightly and let rest at room temperature for 12 to 18 hours (or in the fridge for up to 2 days).
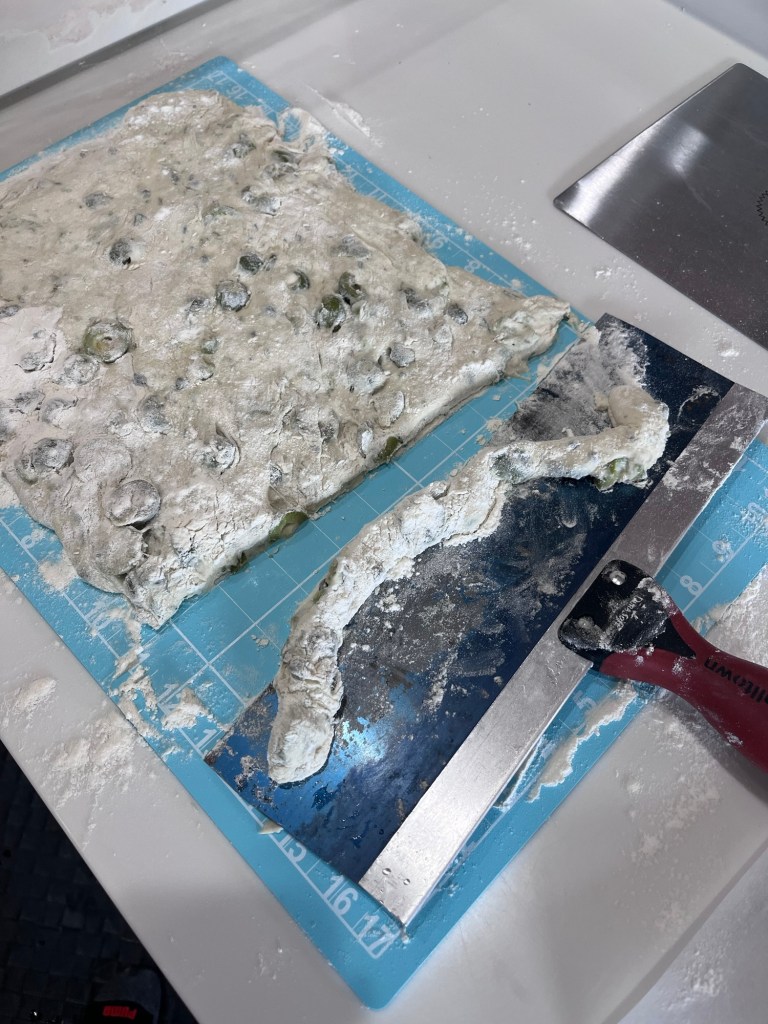
- In a stand mixer bowl, dissolve the biga and the yeast in the lukewarm water and beat on low for 5 minutes.. Add the semolina flour and salt. Mix thoroughly until you have a very wet, sticky dough.
- Cover the bowl with plastic wrap and let it proof at room temperature for 90 minutes (or until tripled in size).
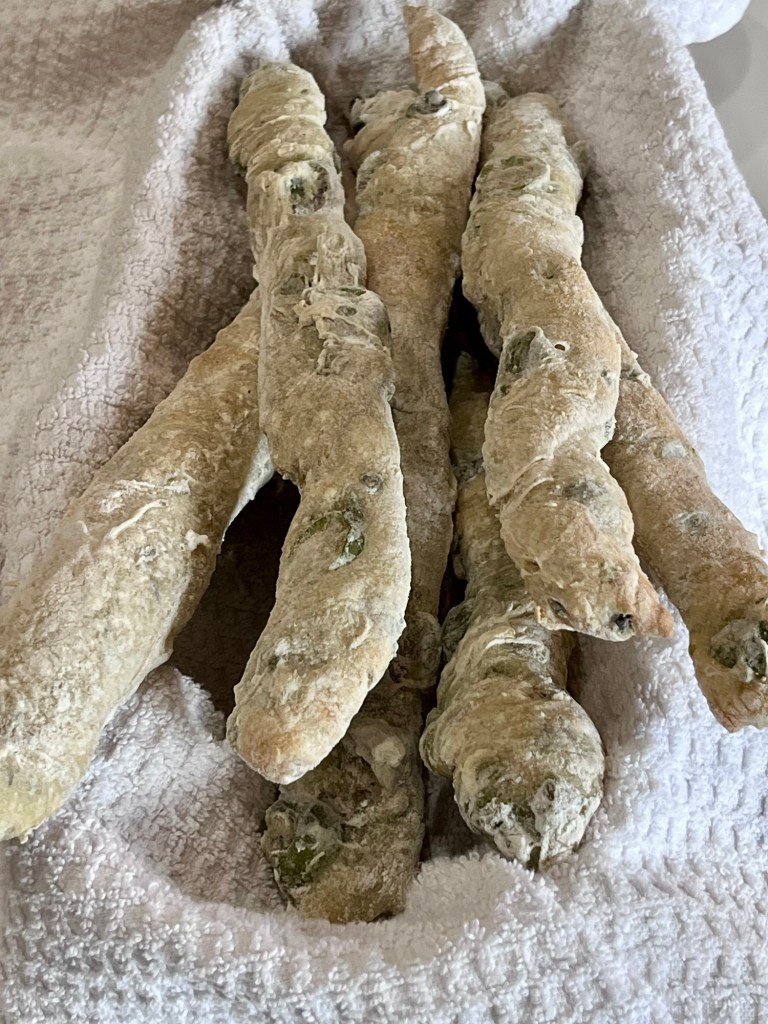
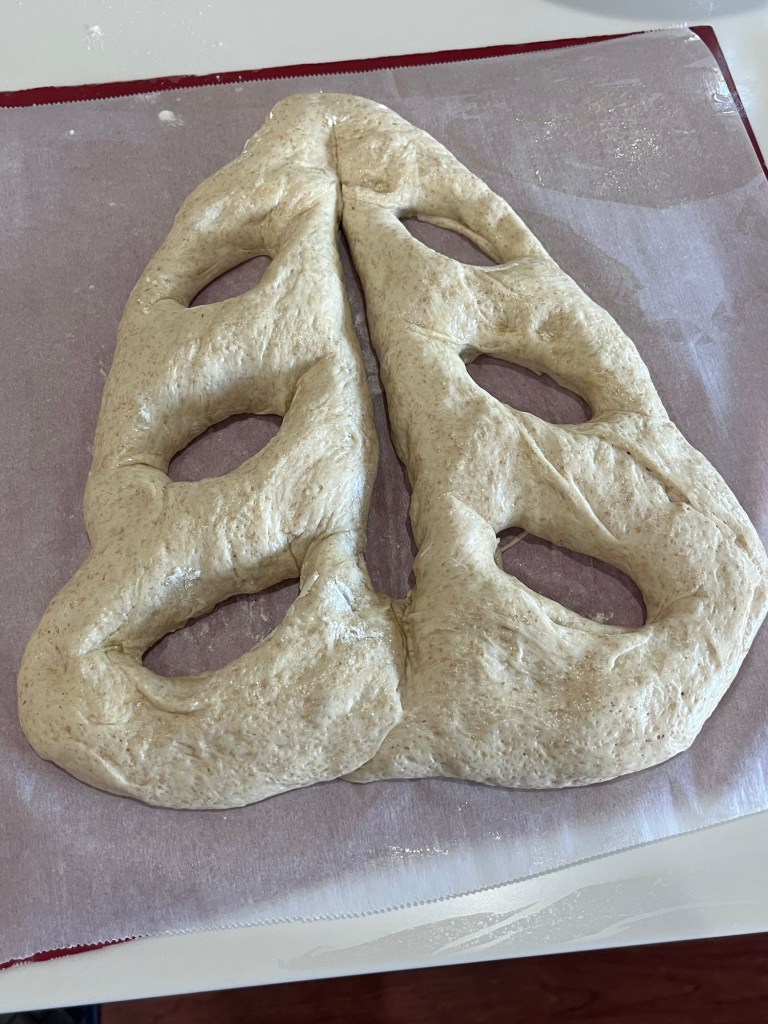
- Generously dust your work surface with semolina flour. Gently turn out the dough and shape it into a loose oval (batard) or round boule. Place it seam-side down into a parchment paper lined banneton.
- Cover and let it proof for another 90 minutes until it has grown significantly.
- Preheat your oven and a Dutch oven to 450°F for 30 minutes.
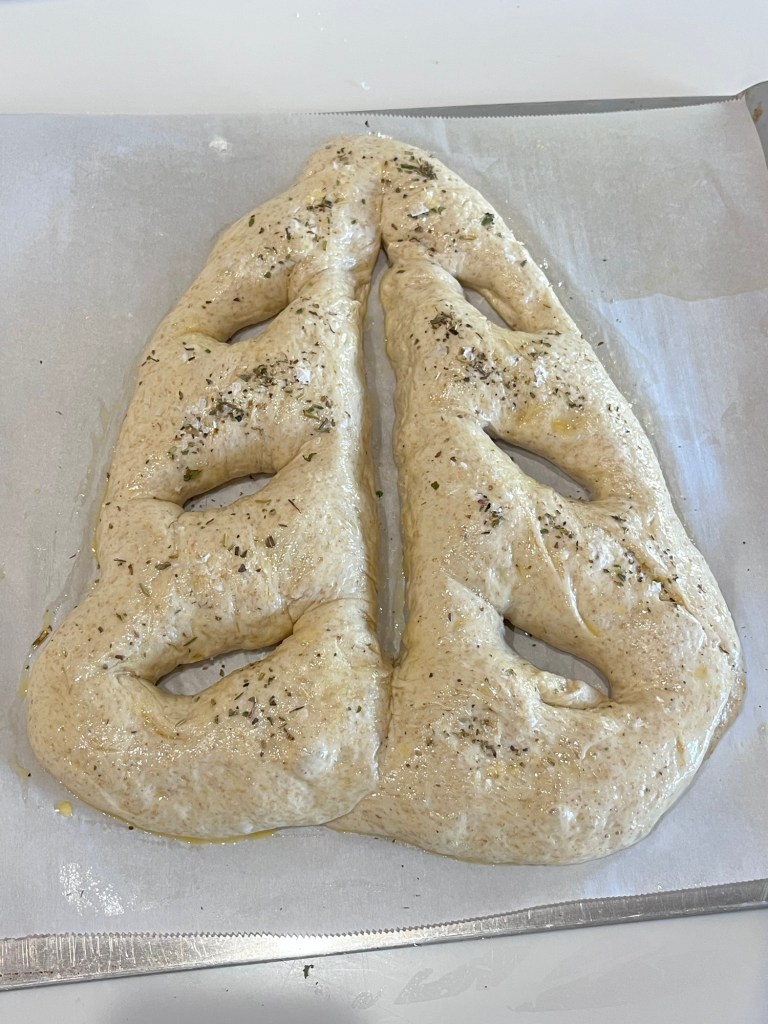
- Score the top with a sharp blade, and bake covered with the lid on for 25 minutes.
- Remove the lid and bake for another 20 minutes until the crust is deep golden brown and sounds hollow when tapped.
- Cool: Let it cool on a wire rack for at least 45 minutes before slicing.