A Short Stay at The Parker House

I am sure most of you are experts at making and baking Parker House Rolls, but I saw a recipe from KAB a week before Thanksgiving and thought I would give them a try.

Making the enriched dough is pretty standard, although this recipe calls for 50g of potato flour. Substituted in any yeast bread potato flour increases the moisture content. Along with the egg and milk this results in a smoother enriched dough than you would expect from 55% hydration bread. (100* weight liquid/weight flour.)

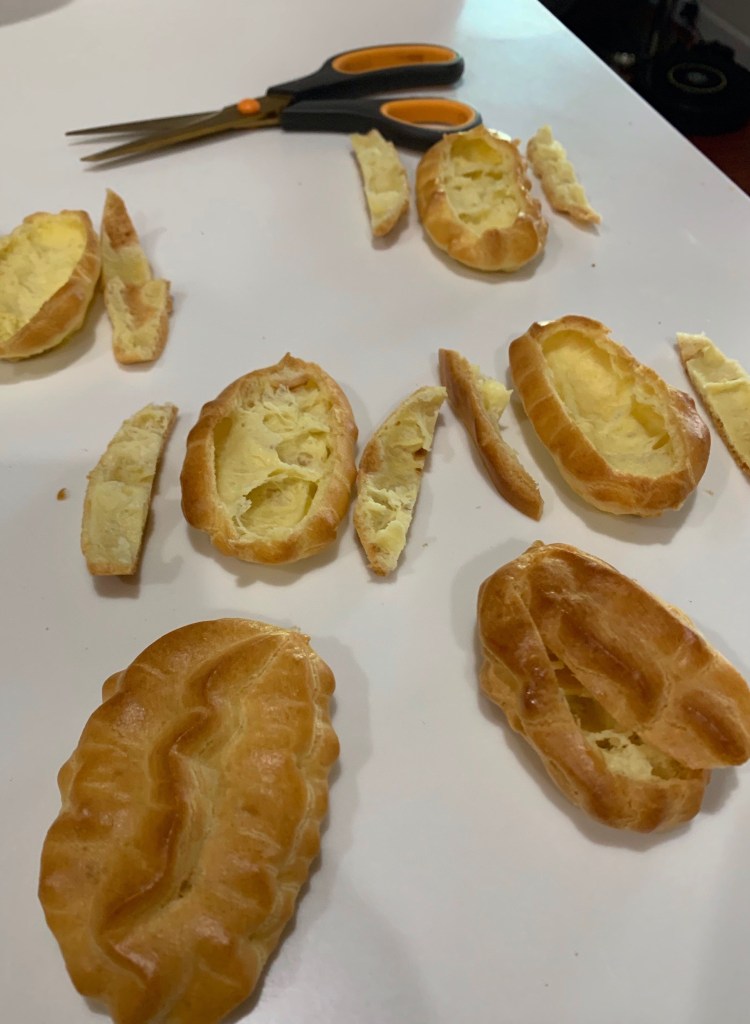
Forming the rolls is what makes the Parker House Rolls distinctive. The dough is rolled out, folded and cut into 3” portions. (See METHOD below for exact steps.) Butter painted onto the inside of the rolled dough, plus the additional butter coating the finished product after baking makes these moist, tender and very buttery. Easy to do and delicious.

Parker House Rolls

INGREDIENTS
• 3 cups (361g) King Arthur Unbleached All-Purpose Flour
• 2 ½ teaspoons instant yeast
• 3 tablespoons (39g) sugar
• 1 ¼ teaspoons salt
• ¼ cup (50g) potato flour or 3/4 cup (50g) dried potato flakes
• 3 tablespoons (43g) butter
• 1 cup (227g) milk
• 1 large egg
• 3 ½ to 4 tablespoons (50g to 57g) butter, melted; for brushing on rolls

METHOD

  1. In a large mixing bowl, or in the bowl of an electric mixer, combine all of the ingredients (except the 3 ½ to 4 tablespoons (50 to 57g) melted butter at the end), mixing to form a shaggy dough. Note: to speed the rising process, whisk together the milk and egg, and heat gently just enough to remove the refrigerator chill; then add to the remaining ingredients.
  2. Knead the dough, by hand (10 minutes) or by machine (7 to 8 minutes) until it’s smooth.
  3. Place the dough in a lightly greased bowl or 8-cup measure (so you can track its rising progress). Allow it to rise for 90 minutes; it’ll become quite puffy, though it probably won’t double in bulk. Note that the dough takes quite awhile to get going; after 1 hour, it may seem like it’s barely expanded at all. But during the last half hour, it rises more quickly.
  4. Transfer the dough to a lightly greased work surface. Divide it in half. Working with one half at a time, roll or pat the dough into an 8″ x 12″ rectangle.
  5. Brush the dough all over with a light coating of the melted butter. You’ll have butter left over; you’ll need it for the other half of the dough, as well as for brushing on top of the baked rolls.
  6. Cut the dough in half lengthwise, to make two 4″ x 12″ rectangles. Working with one rectangle at a time, fold it lengthwise to about ½” of the other edge, so the bottom edge sticks out about ½” beyond the top edge. You’ll now have a rectangle that’s about 2 ¼ ” x 12″. Repeat with the other piece of dough.
  7. Cut each of the rectangles crosswise into four 3″ pieces, making a total of 8 folded rolls, each about 2 ¼” x 3″. Flip the rolls over (so that their smooth non-folded side is facing up), and place them in a lightly greased 9″ x 13″ pan. Repeat with the remaining piece of dough, making 16 rolls in all. You’ll arrange 4 rows of 4 in the pan, with the longer side of the rolls going down the longer side of the pan. Gently flatten the rolls to pretty much cover the bottom of the pan.
  8. Cover the pan, and let the rolls rise for about 45 minutes to 1 hour, until they’re puffy but definitely not doubled. Towards the end of the rising time, preheat the oven to 350°F.
  9. Bake the rolls for 20 to 25 minutes, until they’re golden brown and feel set.
  10. Remove them from the oven, and brush with the remaining melted butter. Pull them apart to serve.

The Yolks on Me!

After baking something last week that required a lot of egg whites I had about 8 egg yolks left over. Of course, not being one to waste anything I put them in a container and stored them in the fridge. As they will only last a week or so I decided I needed to use them, and since today is my “day off” and remembering Creme Pat uses lots of egg yolks (4) and choux pastry uses lots of egg yolks (4) I suddenly had a solution. Eclairs!

I also watched an old episode of GBBO where Brendan made choux swans I really wanted to try my hand at them.

I made a batch of choux and piped a couple of dozen eclairs. I made about a half dozen of them shorter and thicker. Those would become the bodies of the swans. When cooled, cut the top of the swan bodies off with scissors. Then cut the tops lengthwise to form wings. Use a fine circular piping tip (#8) to pip the swan head and neck. Pipe a thin (5mm) ‘S’ about 5cm high. These will bake in about 10 minutes. If the necks are thinner they will burn. Trust me on this.

To assemble, pipe a good amount of Creme Pat into the body of the swan. I dipped the swans head and edges of the wings in the chocolate glaze used to coat the eclairs. Gently, (trust me again) push the bottom of the neck into the Creme Pat, then add the wings, chocolate edge up. Take a picture. Enjoy.

Caramel on the Bay, Revisited

Do you like soft, chewy caramels, especially when coated with dark chocolate and sprinkled with a bit of Malden Sea Flake Salt? Well, I do!

If you read the past few posts you know I bought 11 pounds of very nice chocolate and am looking for places to use it. Today I discovered it took about 360g, or 12 oz of chocolate to cover 72 one inch cubes of caramel. Now I know..

These are really easy to make, and worth the modest effort. I experimented with coating with simple melted chocolate or using tempered chocolate. Tempering is worth the extra step. The chocolate won’t melt in your hands, but will in your mouth.

Raspberry Scone

Raspberries were on sale here last week so I bought a double pack to add to my Raisin Bran. Unfortunately, the weather changed about the same time and for me Raisin Bran is a summer breakfast. This weather deserves oatmeal with raisins and brown sugar… or perhaps some delicious raspberry dropped scones.

Don’t over mix the dough. If necessary add a tablespoon or two of water to make the dough stick together when trying to make a doughball, which is a snowball made of dough.

These scones are basically a free-form biscuit made by forming the dough into six or seven 200g balls, (each about the size of a small fist) placing on a parchment lined baking sheet and flattening to about an inch thick.

Raspberry Drop Scones


INGREDIENTS
• 2 1/2 cups all purpose flour
• 1 tablespoon baking powder
• 3/4 teaspoon kosher salt
• 1/3 cup sugar
• Zest of 1 small lemon (I used a small mandarin orange)
• 1/2 cup unsalted butter, chilled and cut into cubes
• 150-175g fresh raspberries
• 1 cup heavy cream
• Coarse or turbinado sugar for topping

METHOD

  1. Preheat oven to 400. Line a baking sheet with parchment paper.
  2. In the bowl of a food processor, add the flour, baking powder, salt, sugar and zest. Pulse a few times to incorporate.
  3. Add the cubed butter and pulse to incorporate. The mixture should resemble very coarse sand.
  4. Empty the flour mixture into a mixing bowl. Add the cream and stir until just barely incorporated.
  5. Gently fold in the berries. It’s fine if the raspberries break up a little – it adds a nice pink stain to the dough. The dough should just be moist, not wet, but also not crumbly or powdery looking. If it looks too dry, add a tablespoon of cold water.
  6. Spoon the dough into 12 equally-sized pieces on the parchment lined baking sheet. Sprinkle some coarse or turbinado sugar over the top, if desired.
  7. Bake for 16-19 minutes, rotating the pan halfway through. The scones should be lightly golden and cooked through.
  8. Cool in the pan for 5-10 minutes then carefully remove to a cooling rack.