Mousse, No Squirrel

Don’t ask me why I was obsessed with making a Neapolitan Mousse Cake, but I was, and it’s now complete. Today was the third and fourth (and final) adjustments to the recipe(s).

To make the three layers approximately the same thickness I increased the amount of white and strawberry mousse. I also adjusted the amount of agar agar to create the consistency I wanted.

Neapolitan Mousse

INGREDIENTS

WHIPPED CREAM (for Chocolate Mousse)– YIELDS 1 ½ CUPS OF WHIPPED CREAM
• 1 cup Heavy whipping cream
• 4 tablespoons Powdered Sugar or Confectioners sugar
• 1 ½ teaspoons Cream of tartar
• 1 tsp vanilla bean paste
WHIPPED CREAM (for Vanilla and Strawberry Mousse)– YIELDS 2 CUPS OF WHIPPED CREAM
• 1 ½ cup Heavy whipping cream
• 6 tablespoons Powdered Sugar
• 2 teaspoons Cream of tartar
• 1 ½ tsp vanilla bean paste
WHITE CHOCOLATE
• 2 cup White chocolate chips
• ½ cup heavy whipping cream
DARK CHOCOLATE
• 1 cup dark chocolate chips
• ½ cup Heavy whipping cream
STRAWBERRY PURÉE
• 1 ½ cup fresh strawberries
• 1/3 + 2 Tbl cup granulated sugar
• 1 ½ tsp strawberry extract
• Red food coloring to suit (1-2 drops)
AGAR AGAR
• 2 Tsp Agar Agar
• 2 Tbl warm water
CHOCOLATE GANACHE
• 1 cup chocolate
• ¾ cup heavy cream
GRAHAM CRAKER CRUST
• 2 cups finely crushed regular graham crackers
• 1/3 cup butter, melted
• ½ beaten egg white
• 3 tablespoons sugar

METHOD

GRAHAM CRACKER CRUST

  1. Heat oven to 350°F. In a food processor pulse the crushed graham crackers several times, then add the rest of the ingredients until well mixed. Press remaining mixture firmly and evenly against bottom of an 8” removable bottom cake pan.
  2. Bake at 350 F for 10 min. Set aside to cool.
  3. When cool, line the inside edges of the cake pan with acetate

WHIPPED CREAM – (3 batches required)

  1. Before beginning with the recipe, place the mixing bowl and whisk in the freezer for at least 10 minutes to chill.
  2. Once the bowl has chilled, add heavy cream and vanilla and beat on low speed until the cream starts to thicken slightly. There will be fewer and larger bubbles.
  3. Add the cream of tartar and powdered sugar and beat with increasingly higher speed until stiff peaks form. Once done, set it in the fridge to chill.

PREPARING THE CHOCOLATE MOUSSE

  1. Heat heavy cream to steam, not boil. I use the microwave in 30 second bursts
  2. Place 1 cup chopped chocolate in a heat proof bowl.
  3. Pour heated cream over chocolate, cover and let sit 30 seconds
  4. Beat until the cream is completely incorporated and the chocolate is smooth and creamy
  5. Let come to room temperature
  6. Gently fold the room temperature chocolate into the cold whipped cream
  7. Spread the chocolate mousse evenly on top of the graham cracker crust
  8. Refrigerate

PREPARING THE STRAWBERRY PURÉE

  1. Combine strawberries and sugar in a saucepan and bring to a boil. Lower the heat and simmer for 10 minutes until the syrup thickens.
  2. Keep stirring occasionally. When the strawberries are soft and the syrup has thickened, remove from heat and allow to cool.
  3. When completely cooled, coarsely puree it with an immersion blender. Add strawberry extract and set it aside. Measure the syrup – you will require ½ cup of thick syrup

AGAR AGAR MIX

  1. Mix 3 teaspoons Agar agar powder with 4 Tbl lukewarm water
  2. Whisk to combine
  3. Let rest 4 – 5 minutes for the agar agar to bloom

PREPARING STRAWBERRY AND VANILLA MOUSSE

  1. Heat a pan 1/2 filled with water over low heat and place the white chocolate bowl over the water when it simmers. Keep stirring the chocolate as it softens and melts.
  2. Add agar agar mix and stir constantly for 5 minutes
  3. Add ½ cup warm milk and mix until the chocolate is thick but runny.

FOR VANILLA MOUSSE

  1. If desired add a few drops of white food coloring to lighten the yellowish mixture and mix well
  2. Gently fold the cool to touch white chocolate [and agar] mixture into the cool whipped cream until combined. Do not beat and deflate the mousse.

FOR STRAWBERRY MOUSSE

  1. Add half the cooled whipped cream to the cool white chocolate mixture
  2. Add the strawberry syrup that was prepared earlier to the whipped cream/white chocolate mixture
  3. Mix gently to not deflate.
  4. Add the rest of the whipped cream to the strawberry-white chocolate.
  5. [OPTIONAL – add two drops of red food coloring. Without the coloring the strawberry mousse is not strongly differentiated from the vanilla mousse.]

TO MAKE CHOCOLATE GANACHE

  1. Warm cream in the microwave just until a simmer and not boiling hot.
  2. Pour it over the chocolate and let it rest, undisturbed, for 30 seconds.
  3. Now start stirring gently until it forms a smooth chocolate ganache.
  4. Let the ganache cool slightly, but it should still be pourable.

DECORATING THE MOUSSE CAKE WITH GANACHE

  1. Pour the chocolate around the edge of the mousse cake letting some run down the side, but not so much as to drip all the way to the bottom.
  2. Cover the rest of the cake with chocolate and top with sliced strawberries.

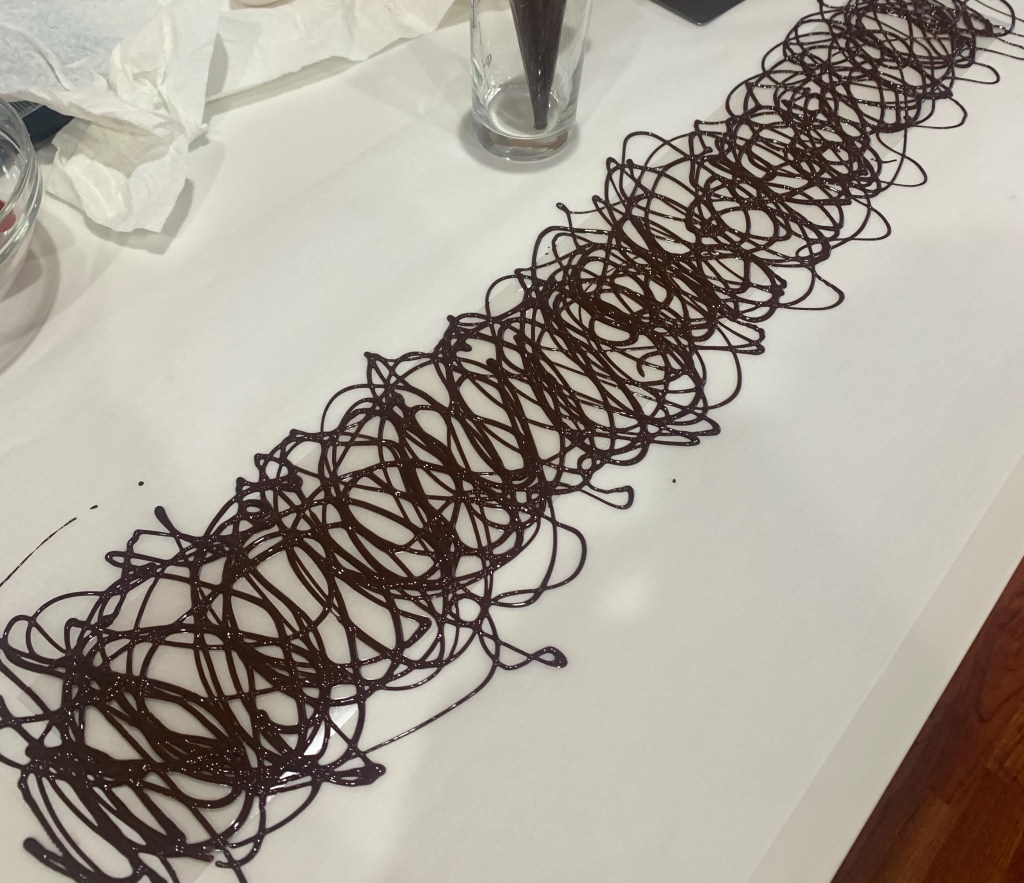
DECORATING THE MOUSSE CAKE WITH A CHOCOLATE COLLAR

  1. Cut a piece of parchment paper the circumference and height (or a little more) of the mousse cake.
  2. Place it on a larger piece of parchment paper to help later clean-up.
  3. Temper a cup of chocolate, fill a piping bag and let cool slightly. This was an experiment for me. It needs to be cool enough to not run when piped, but warm enough to pipe easily
  4. Cut a small hole in the end of the piping bag and with an erratic swirling pattern make a lace pattern over the smaller piece of parchment paper, being sure to cover all the way to the edges.
  5. Let the chocolate collar dry such that it won’t drip when picked up.
  6. Carefully wrap the mousse cake with the still slightly soft collar and press gently.
  7. Let the collar cool for a few minutes then carefully peal the parchment paper base from the collar, leaving the chocolate collar adhered to the mousse cake.

‘Spearminting’ with Shortbread

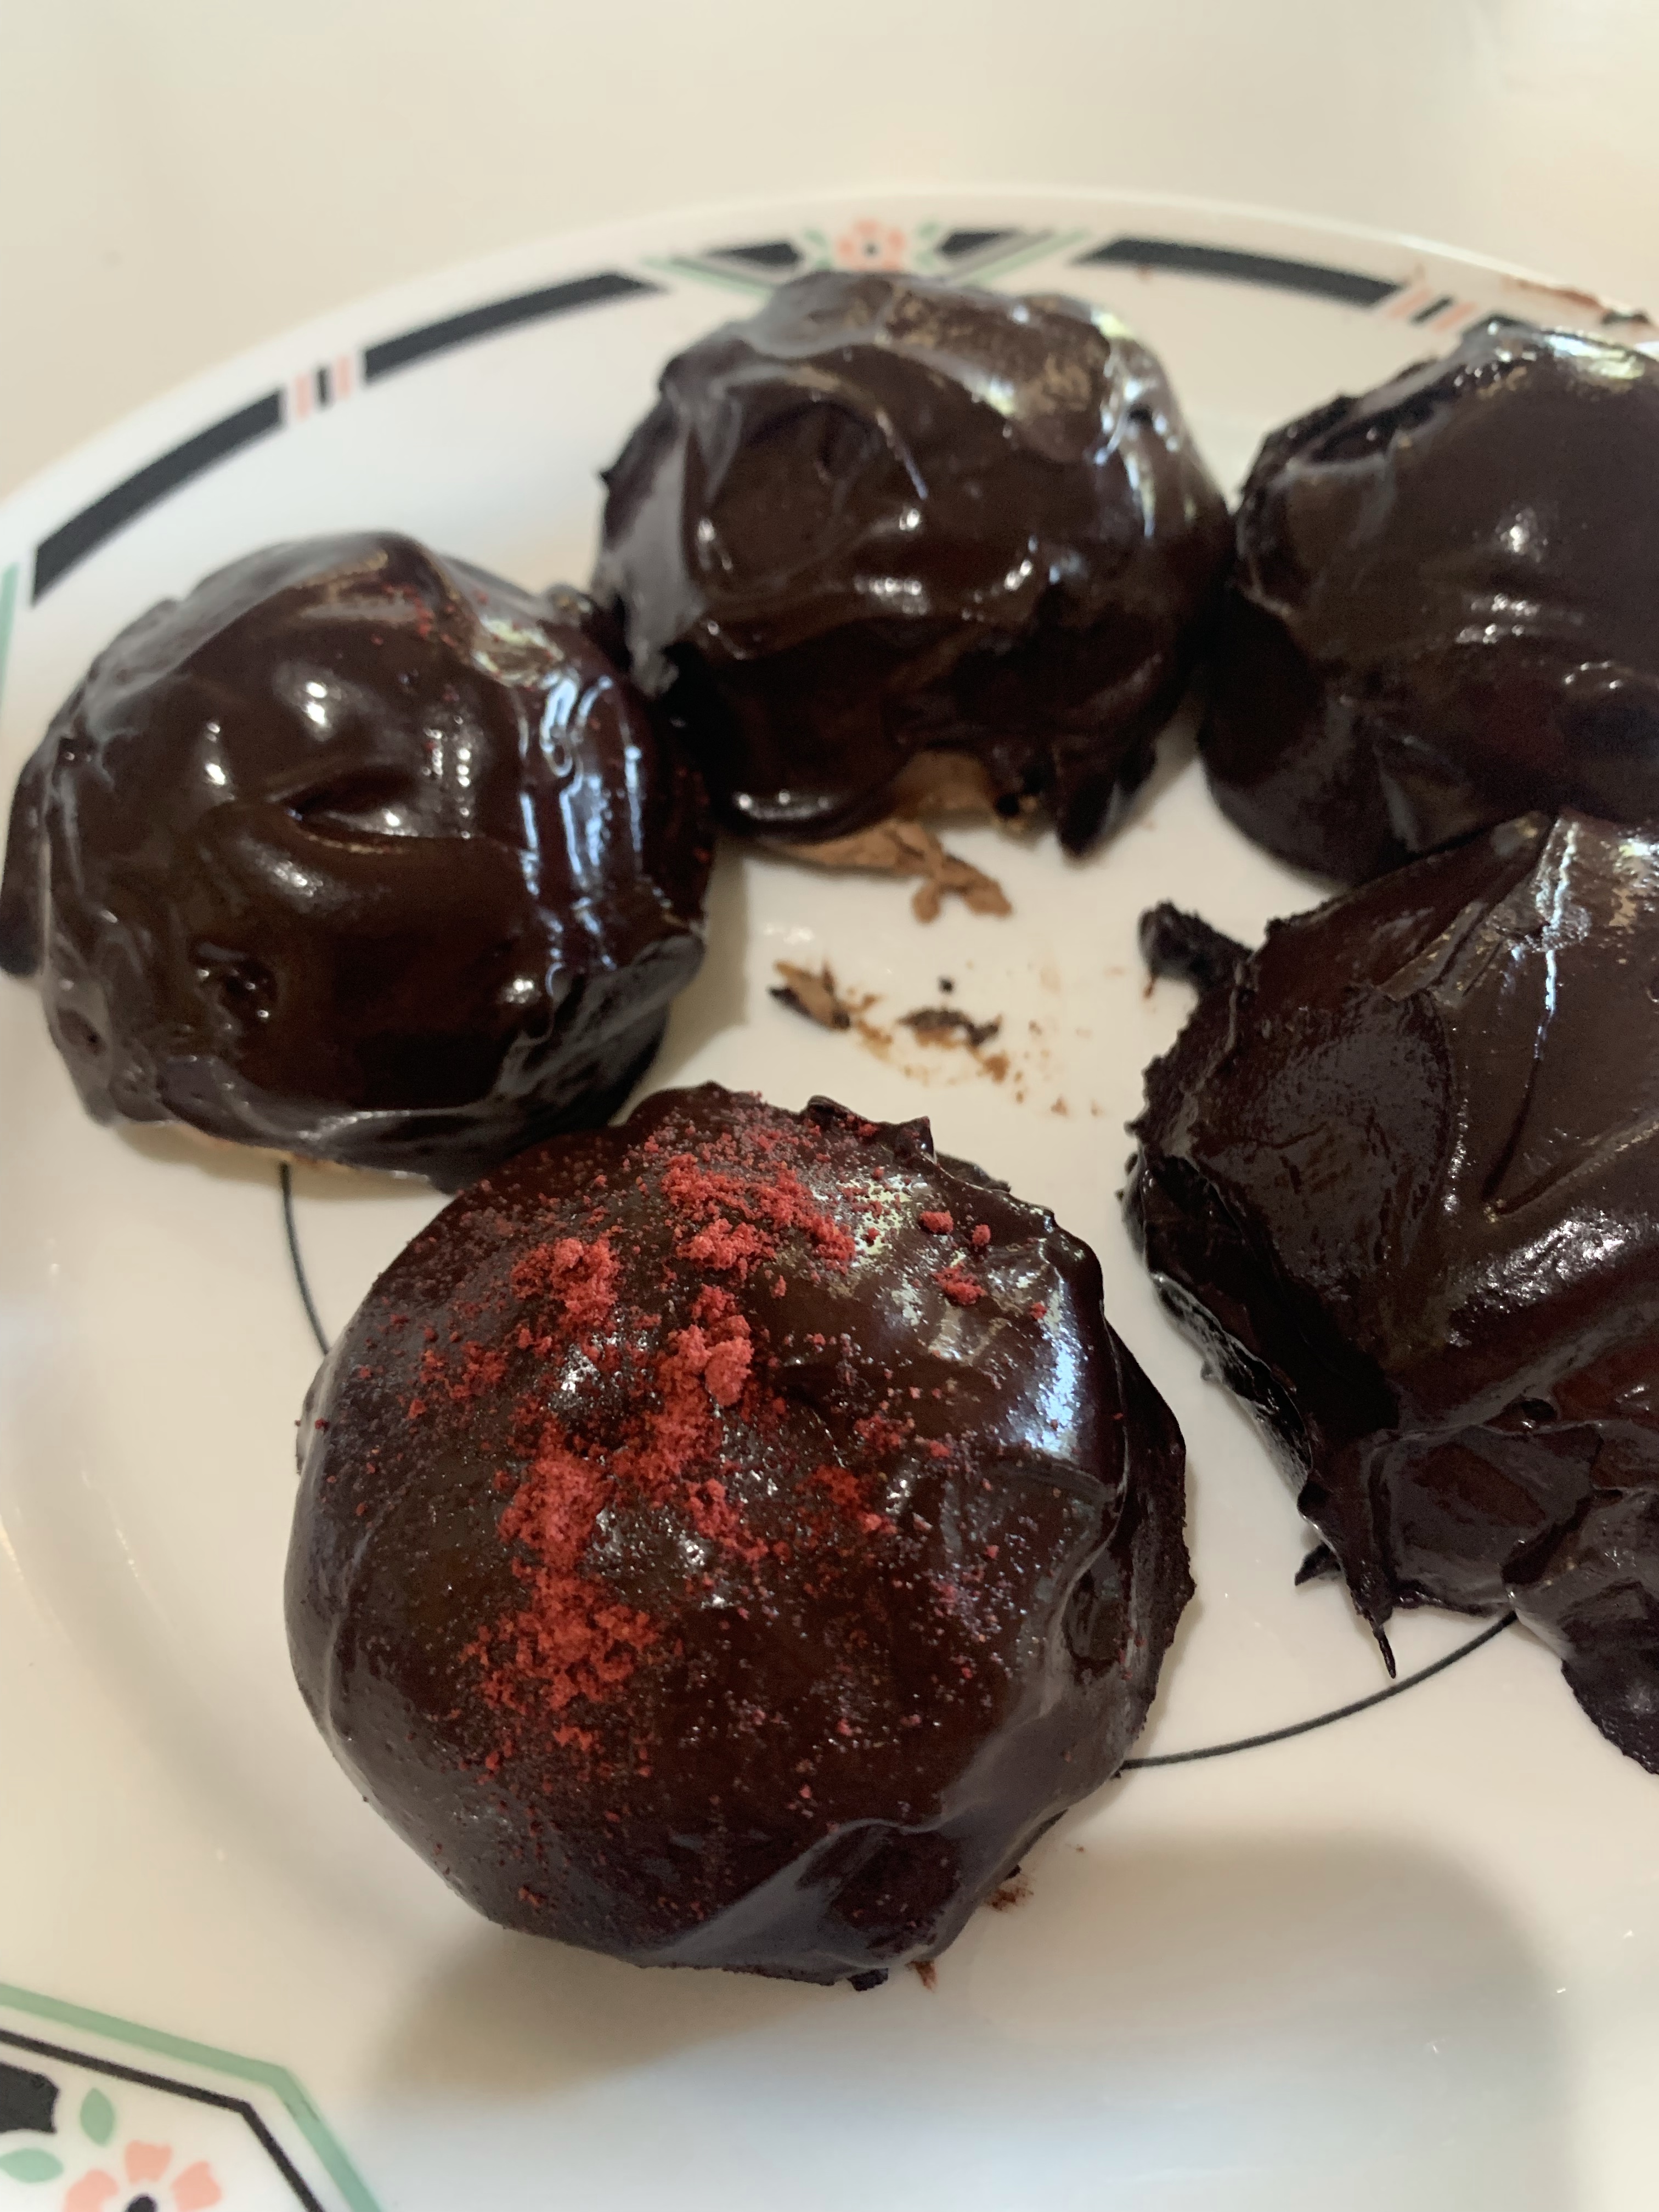
Actually, I was ‘experimenting” with vegetarian mirror glaze today. Previously, I made a mirror glaze that was too rubbery so I thought I would give it another try. Anyway, I wanted to try making some chocolate mousse domes. The recipe I found for the domes was good. It uses Agar Agar rather than gelatin sheets so it remained vegetarian.

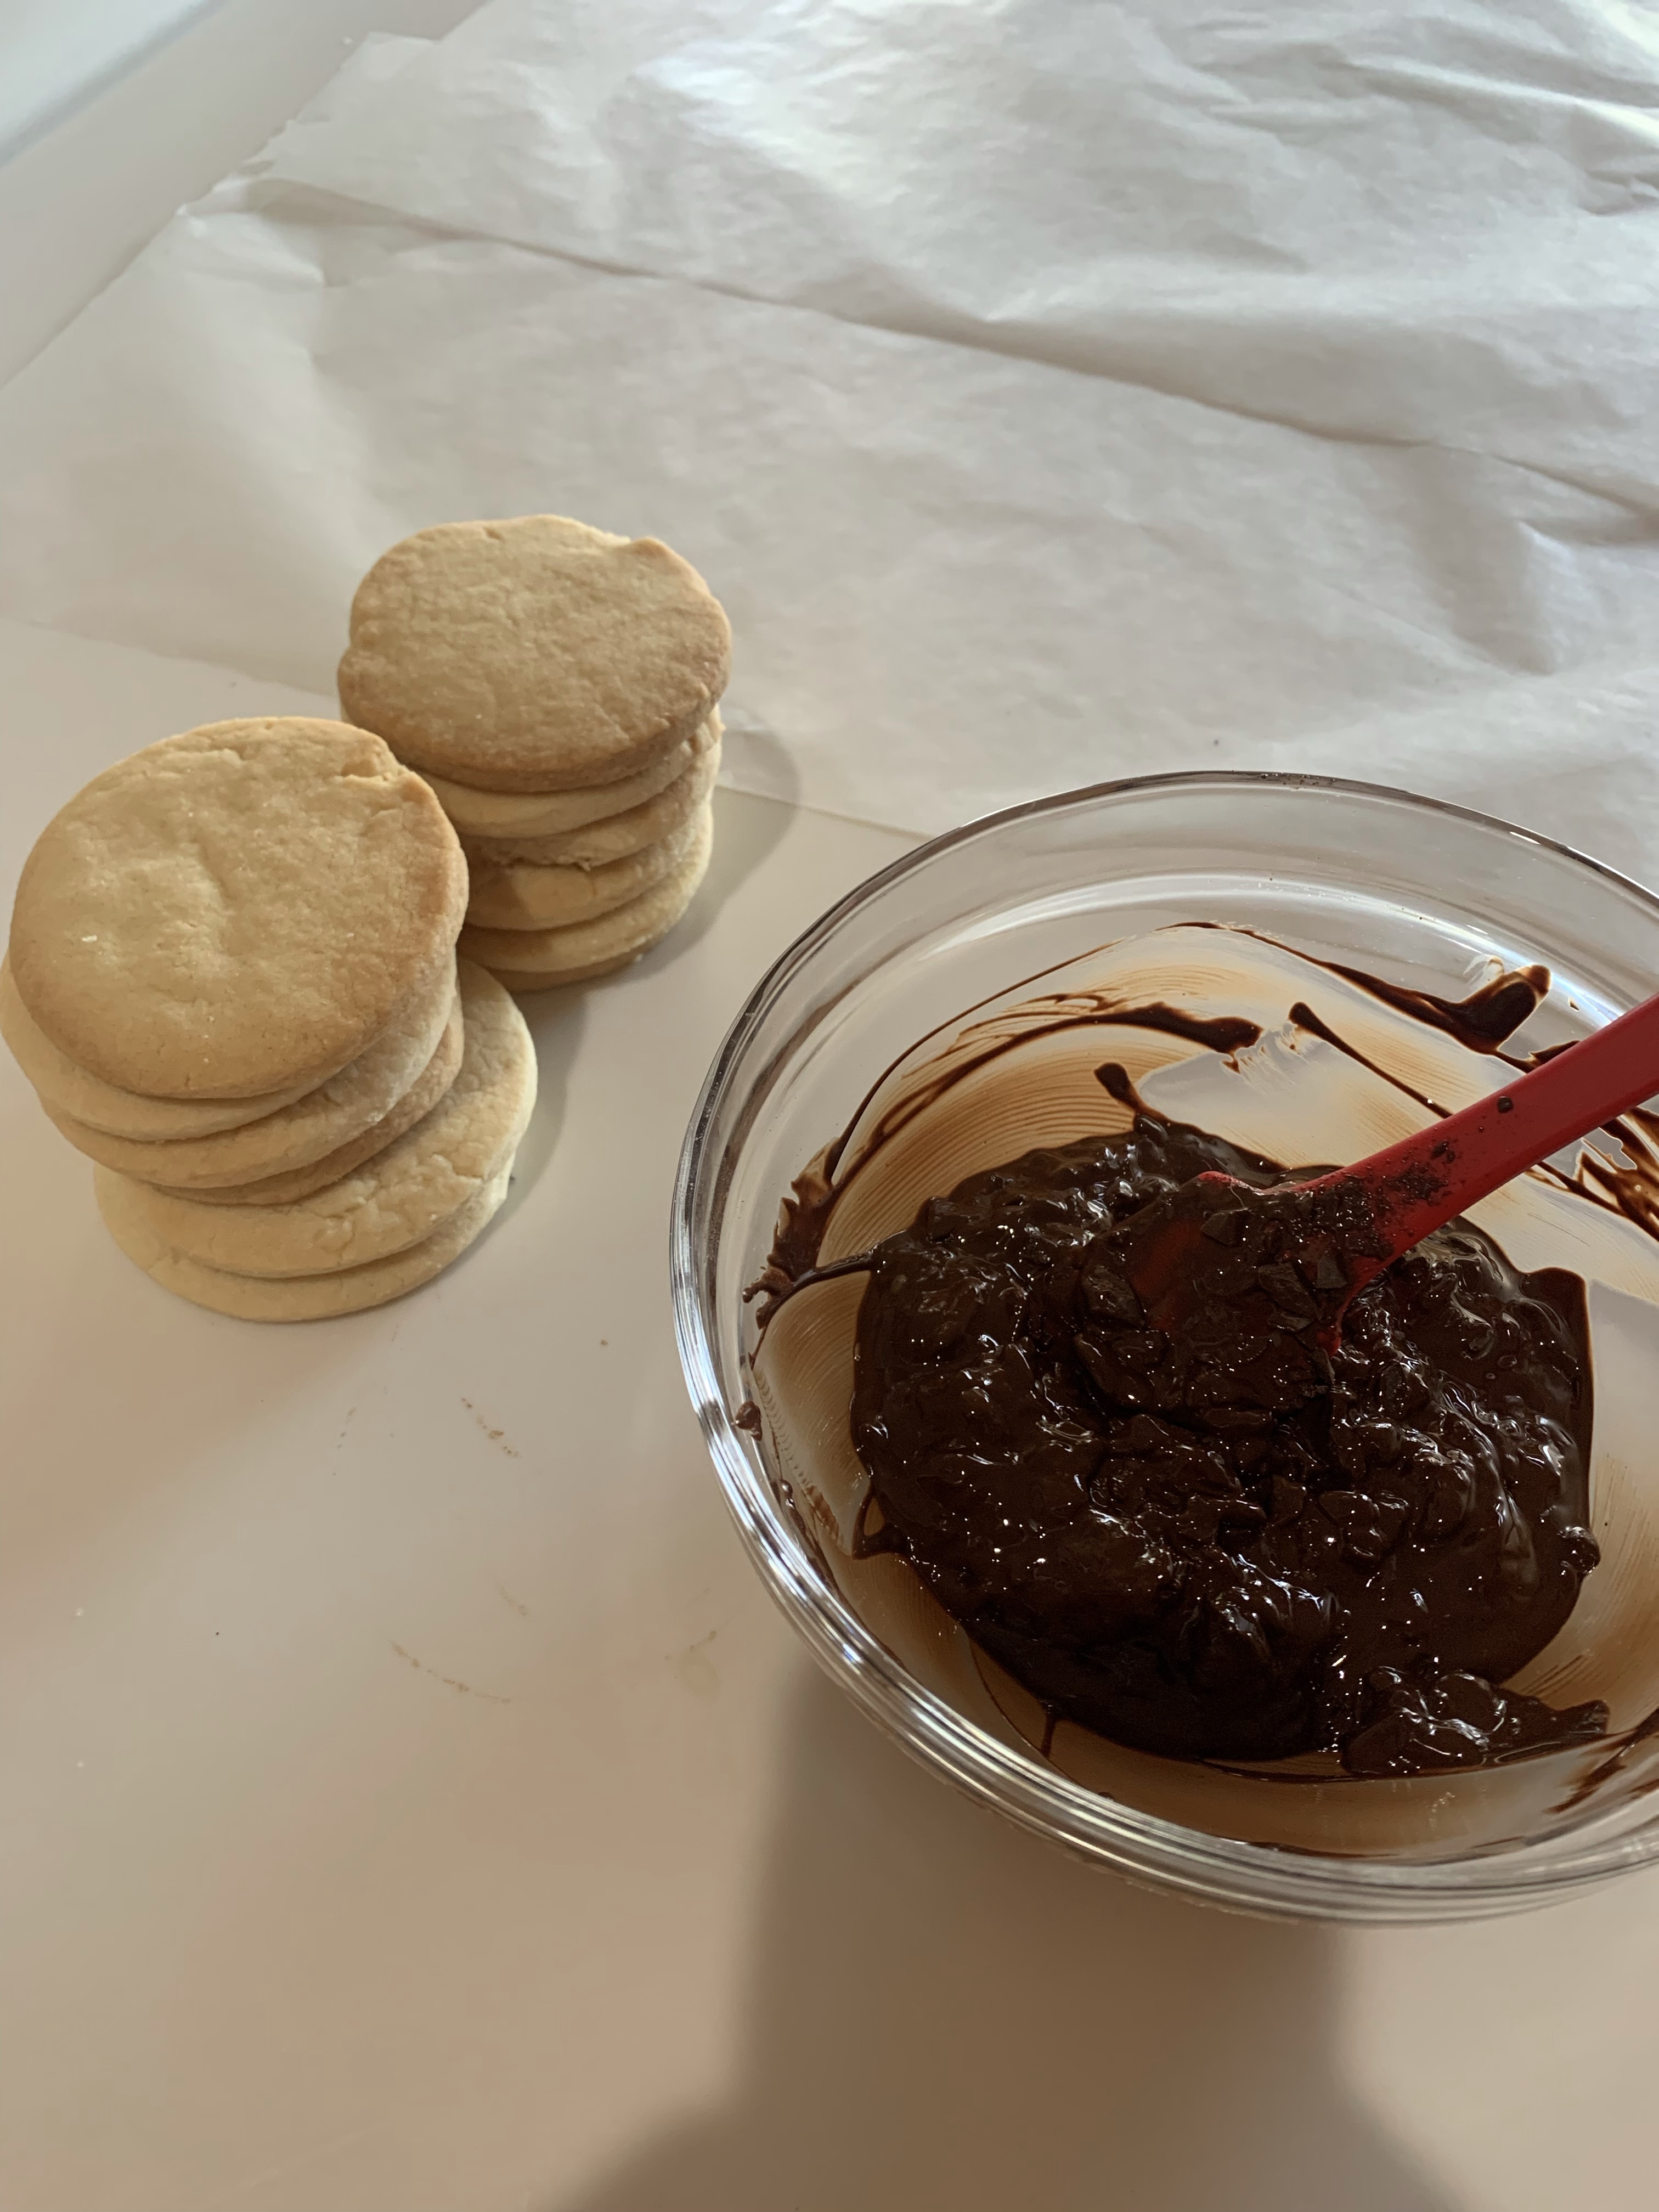
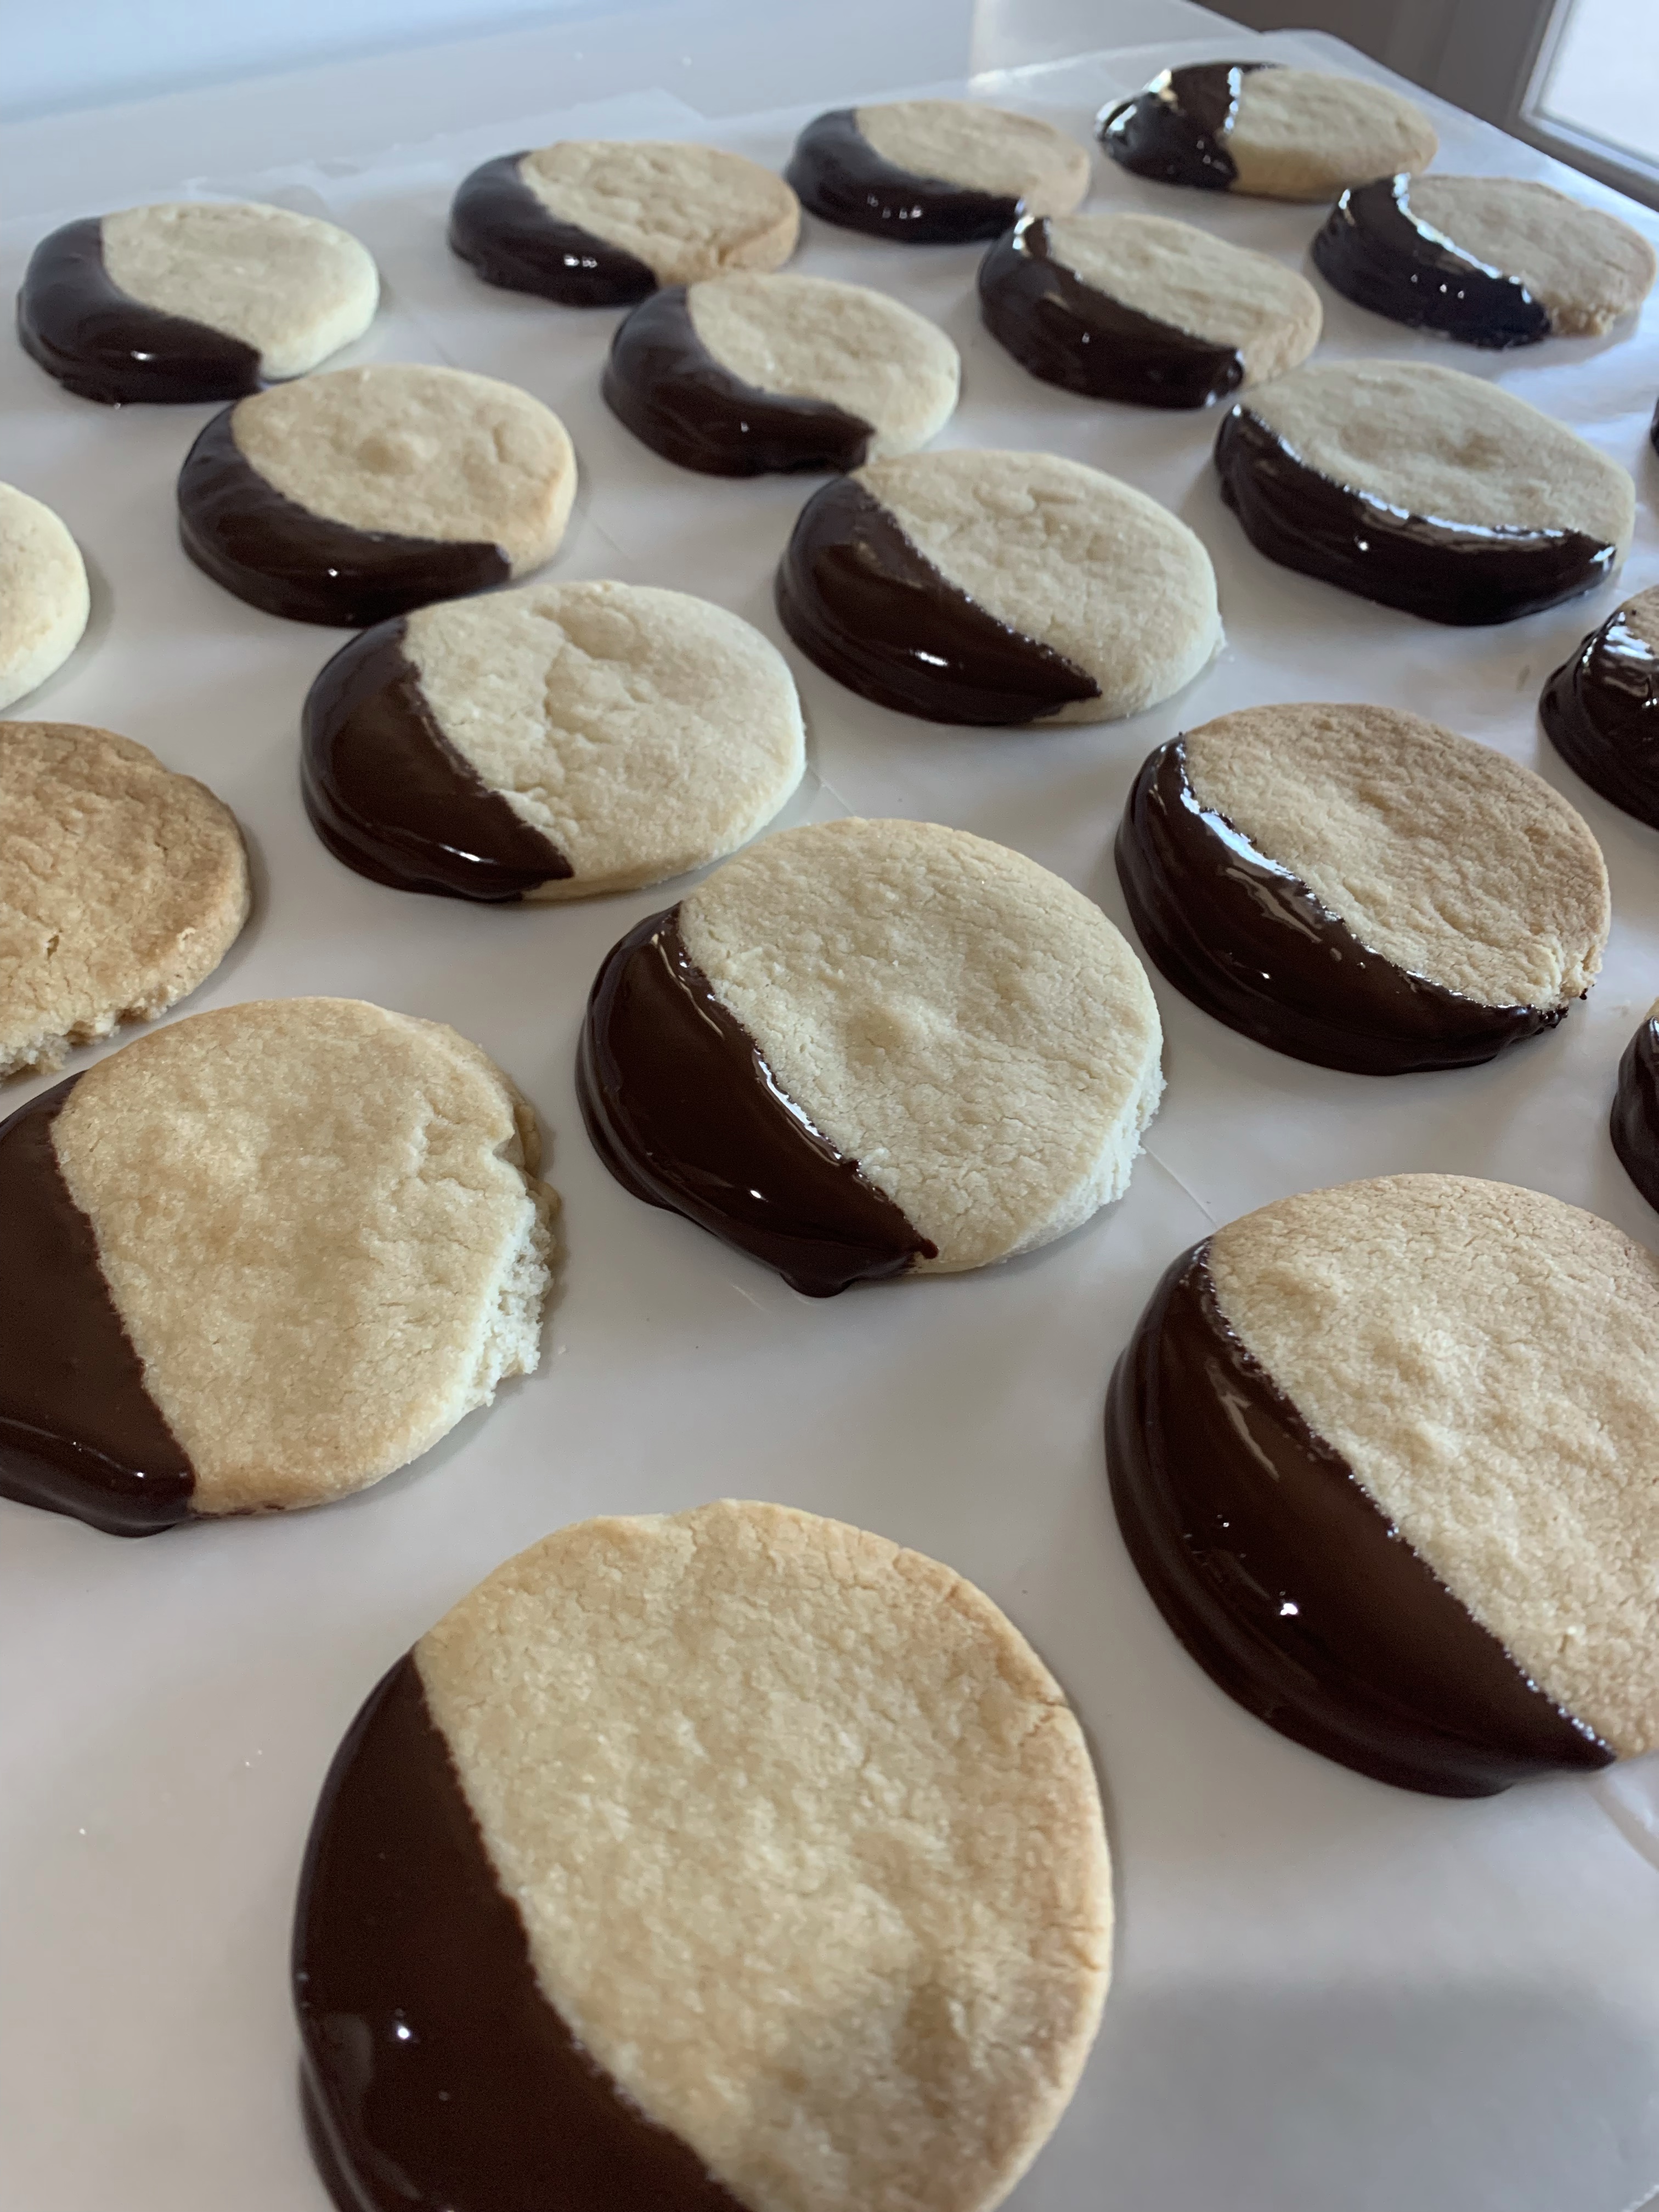
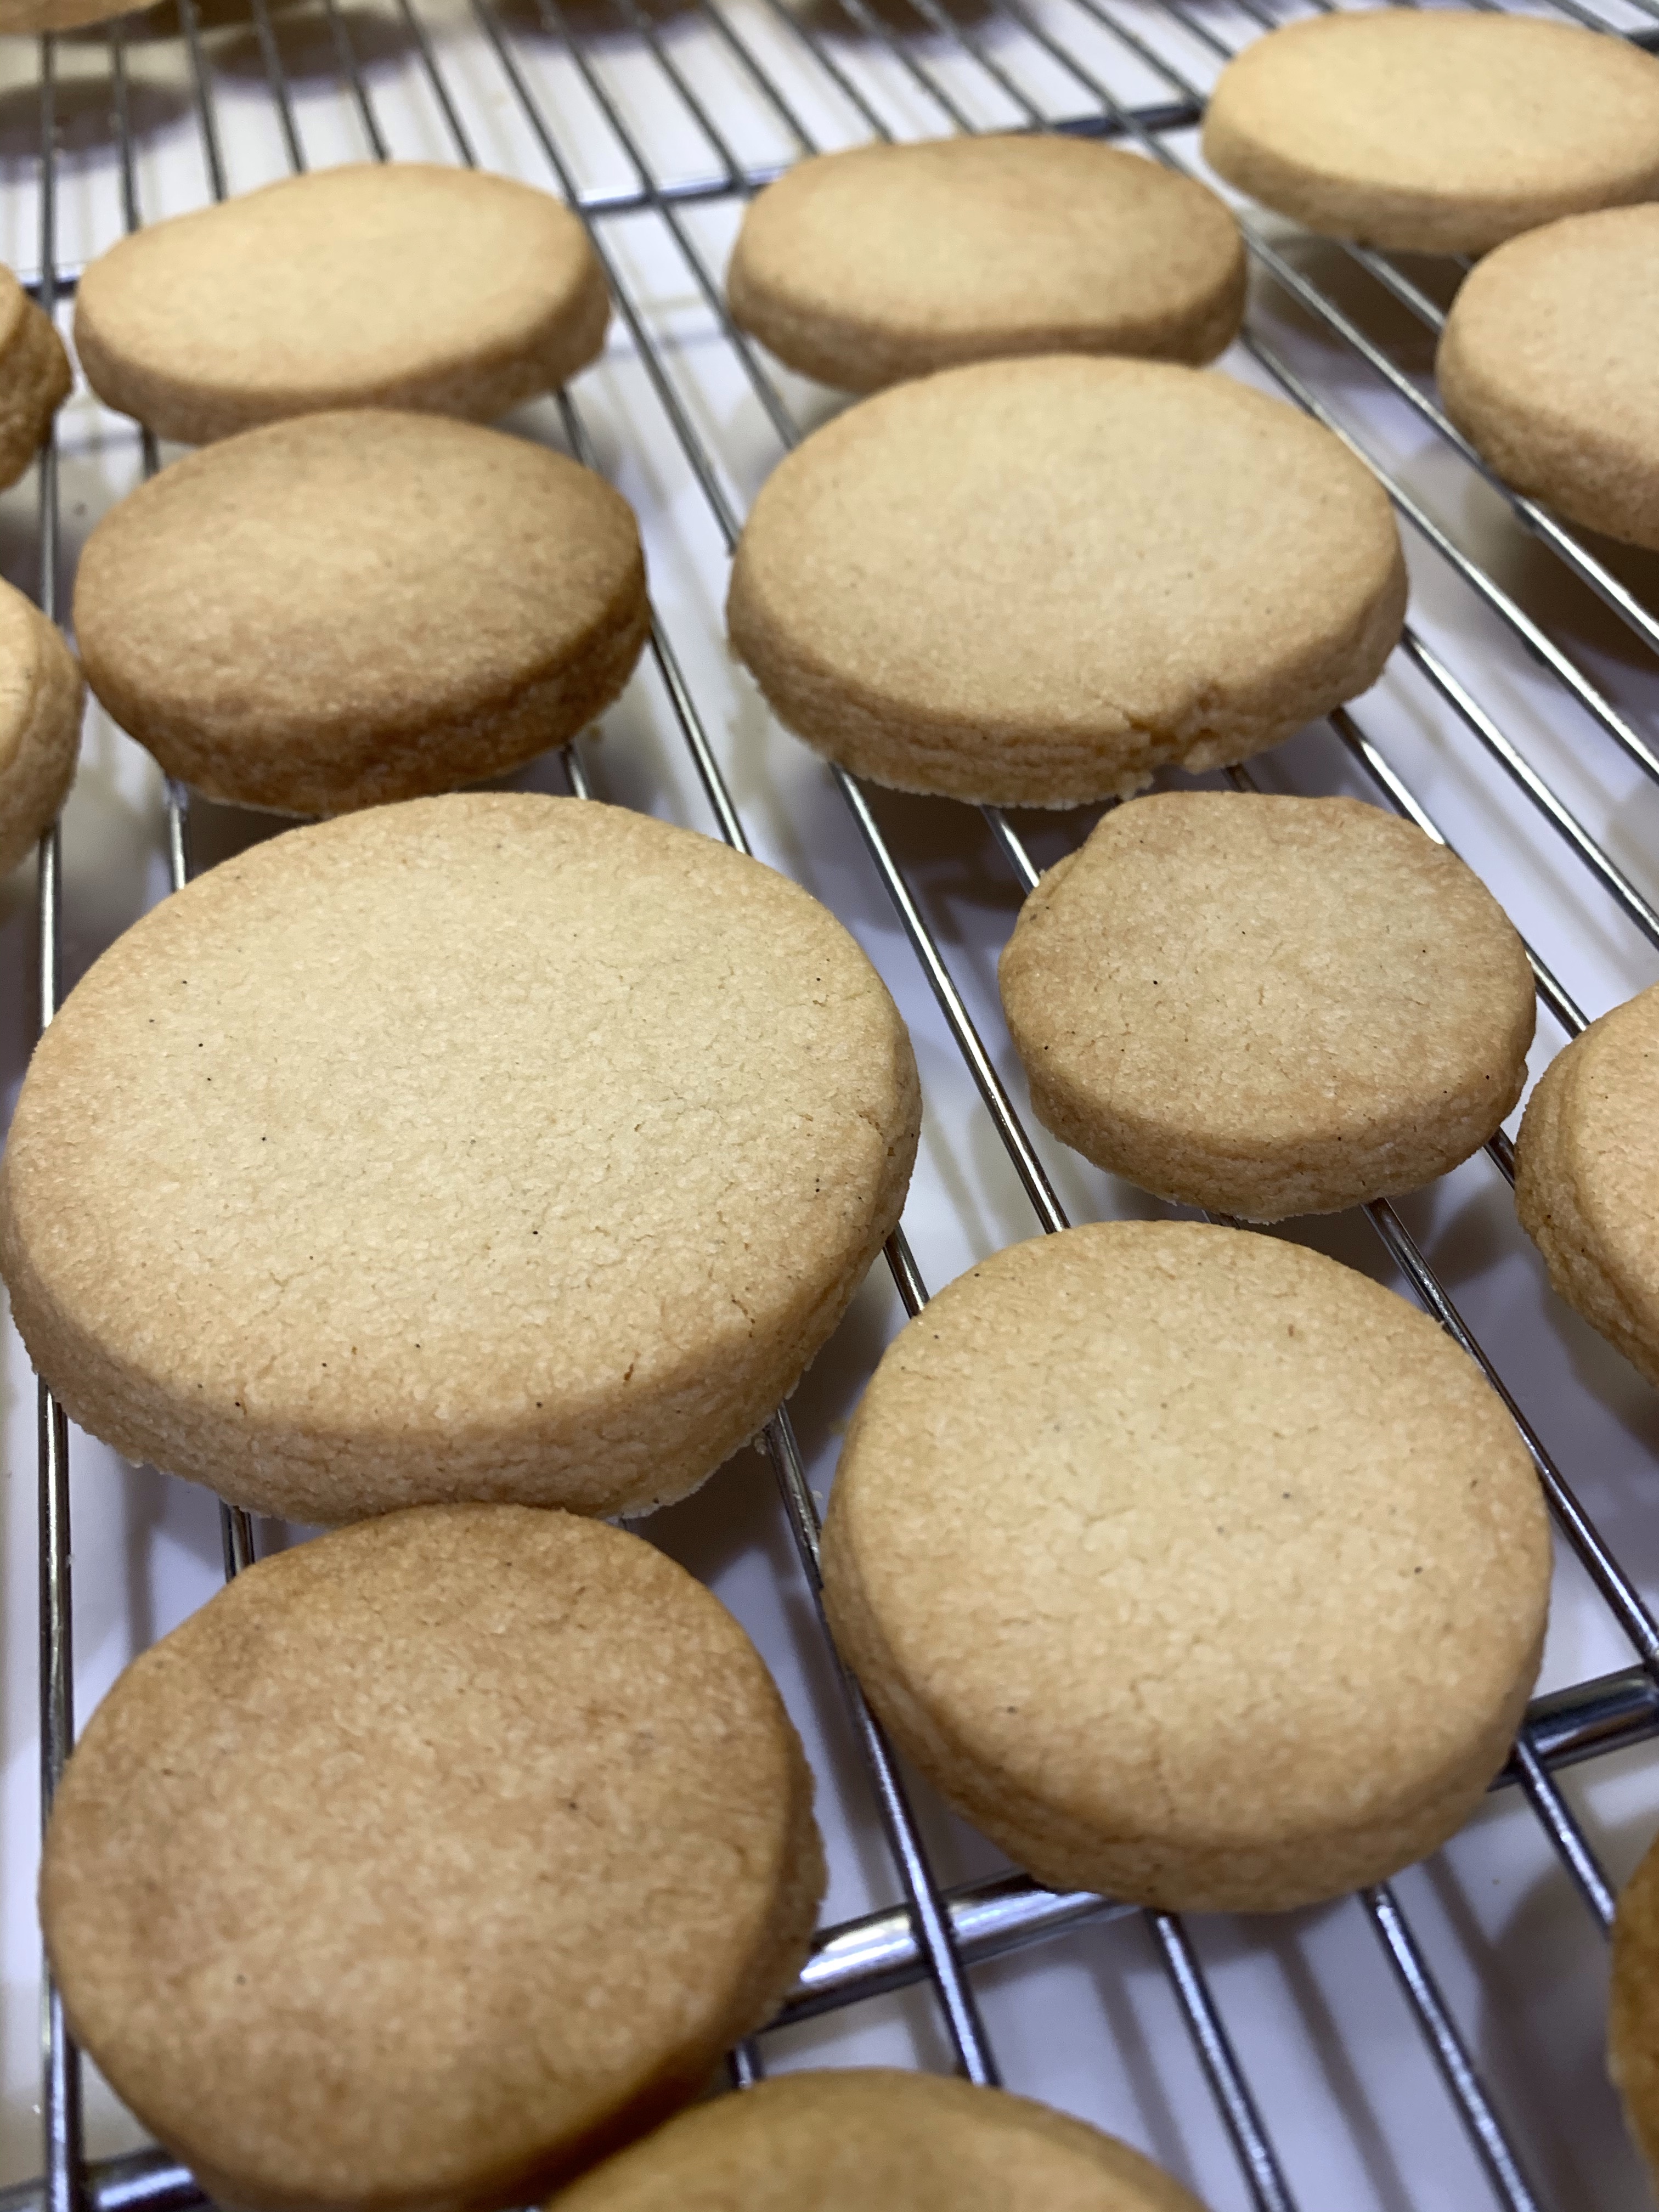
As I only needed six shortbread cookies for the bases of the domes, I decided to make a few (24) shortbread cookies with the balance of the recipe. And, as long as I was also using chocolate for the domes I figured I might as well dip one side of the cookie to make a nice chocolate crescent accent

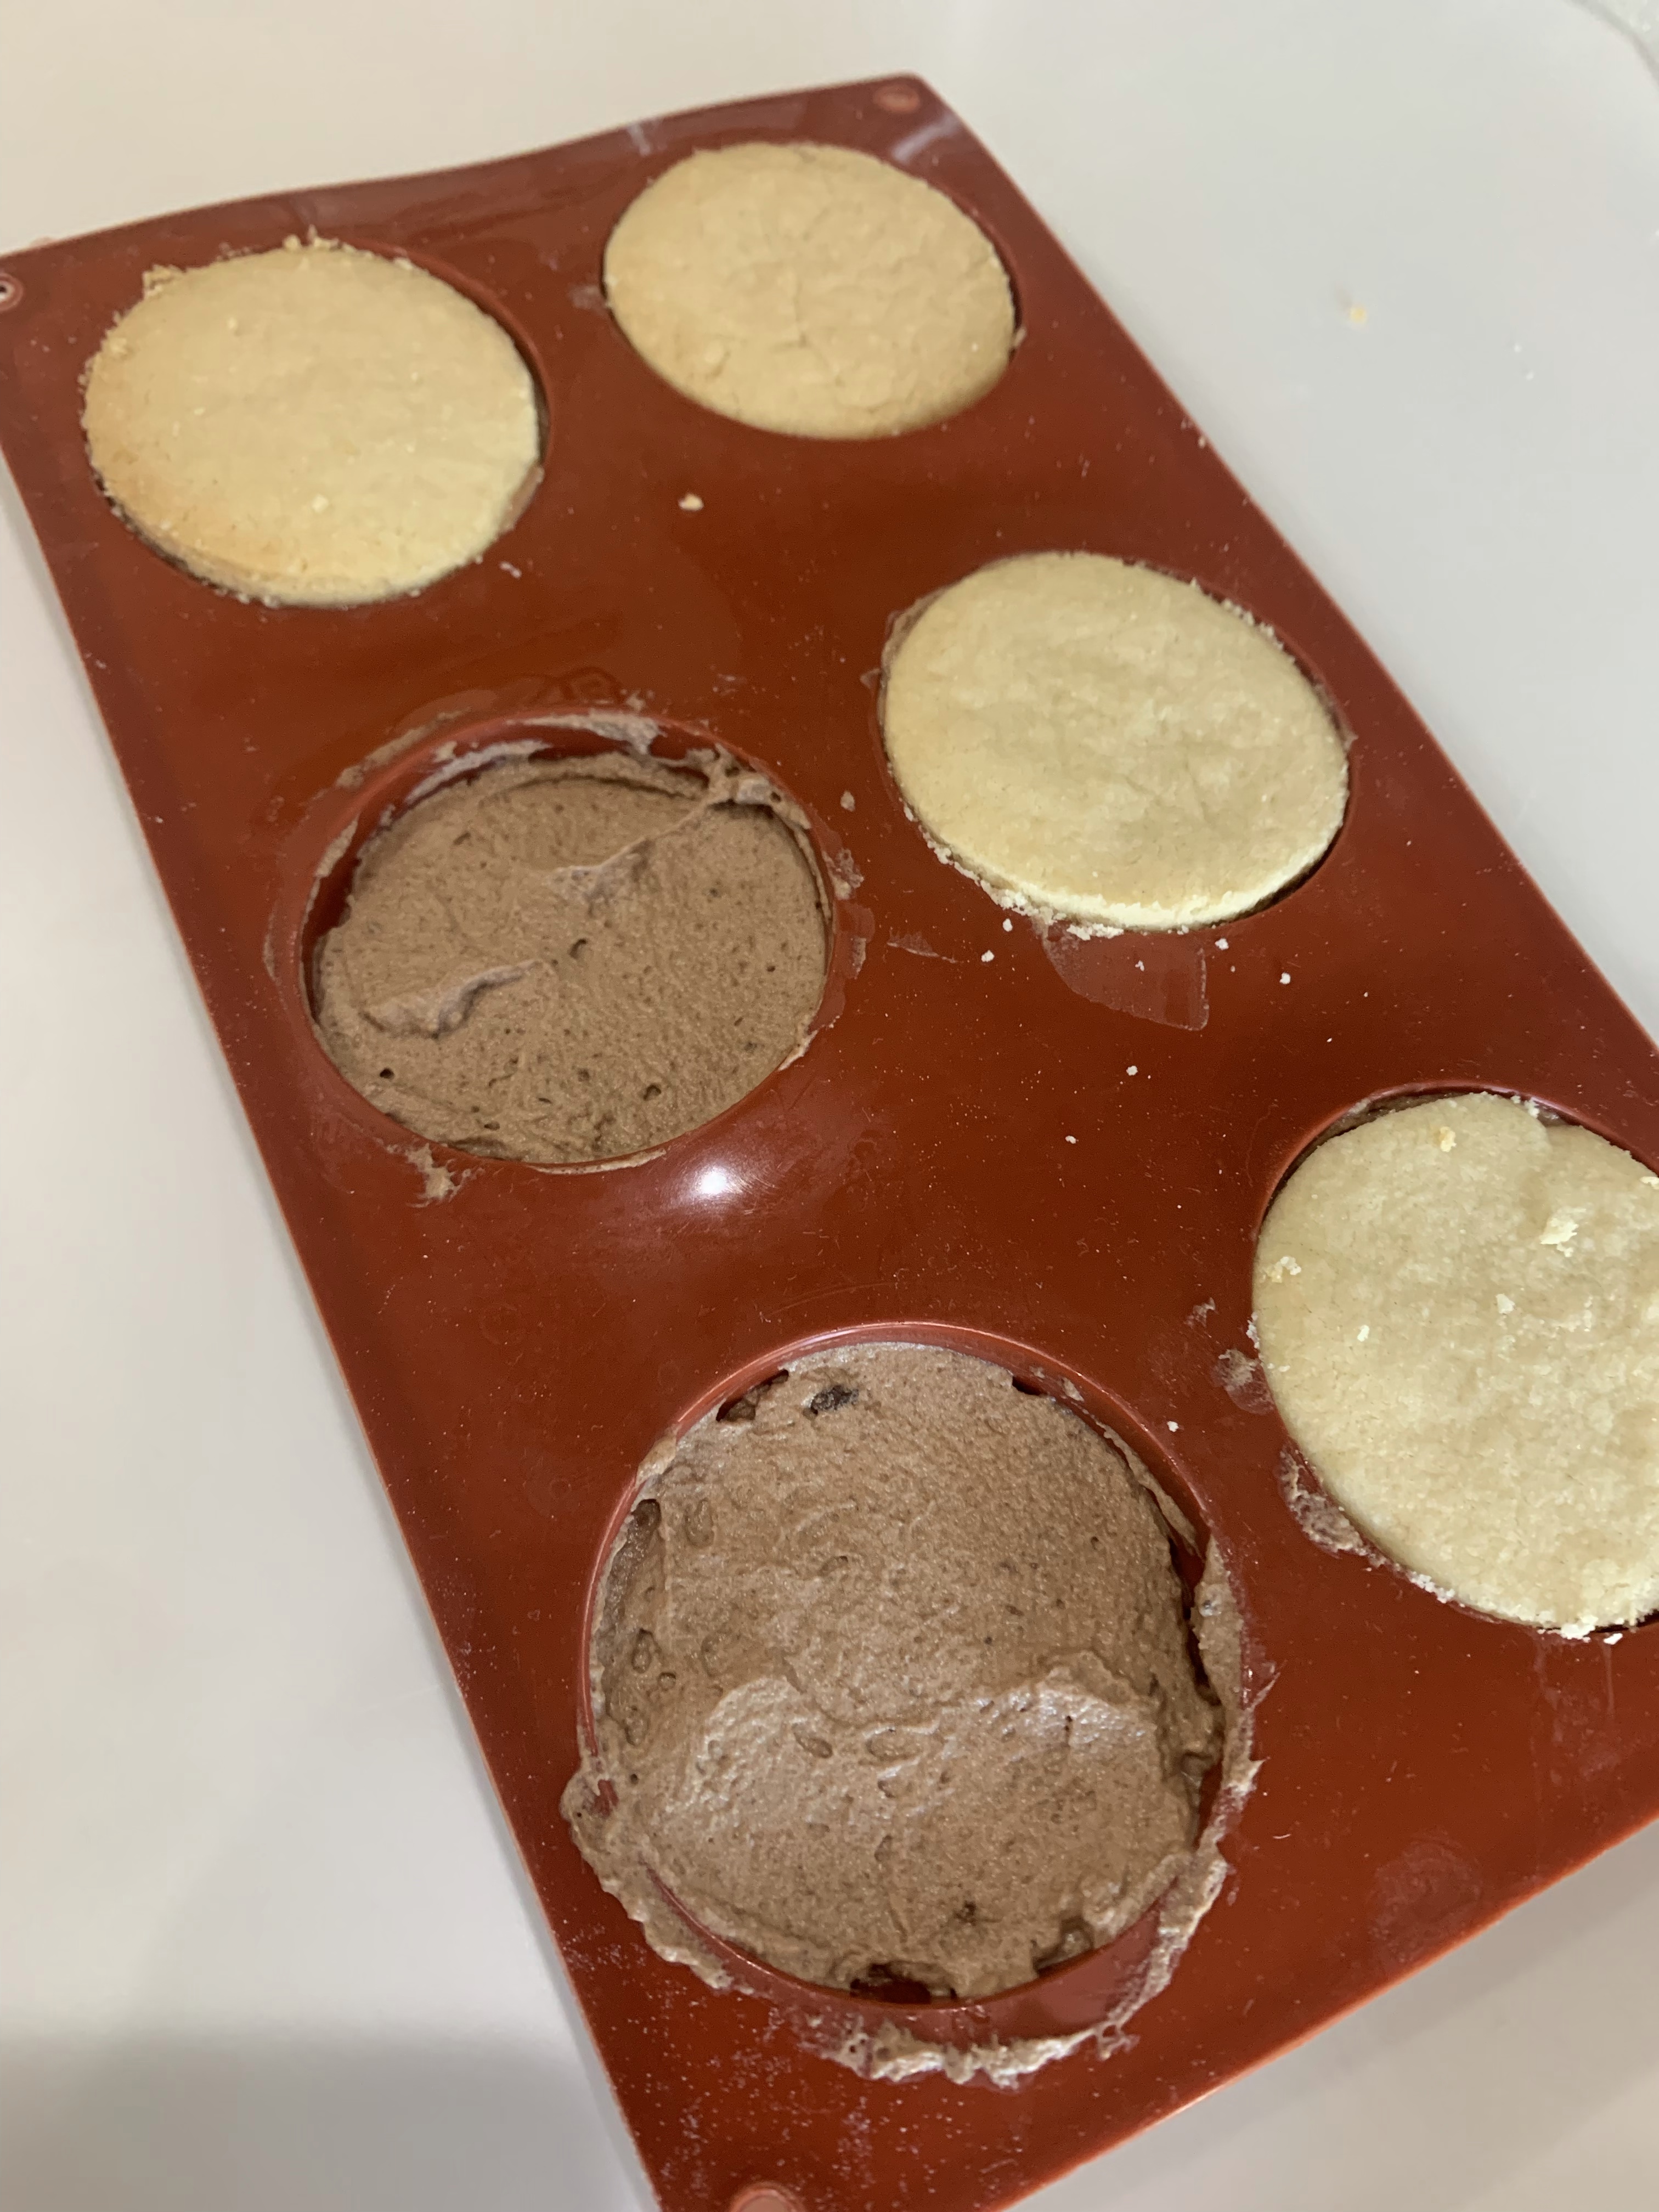
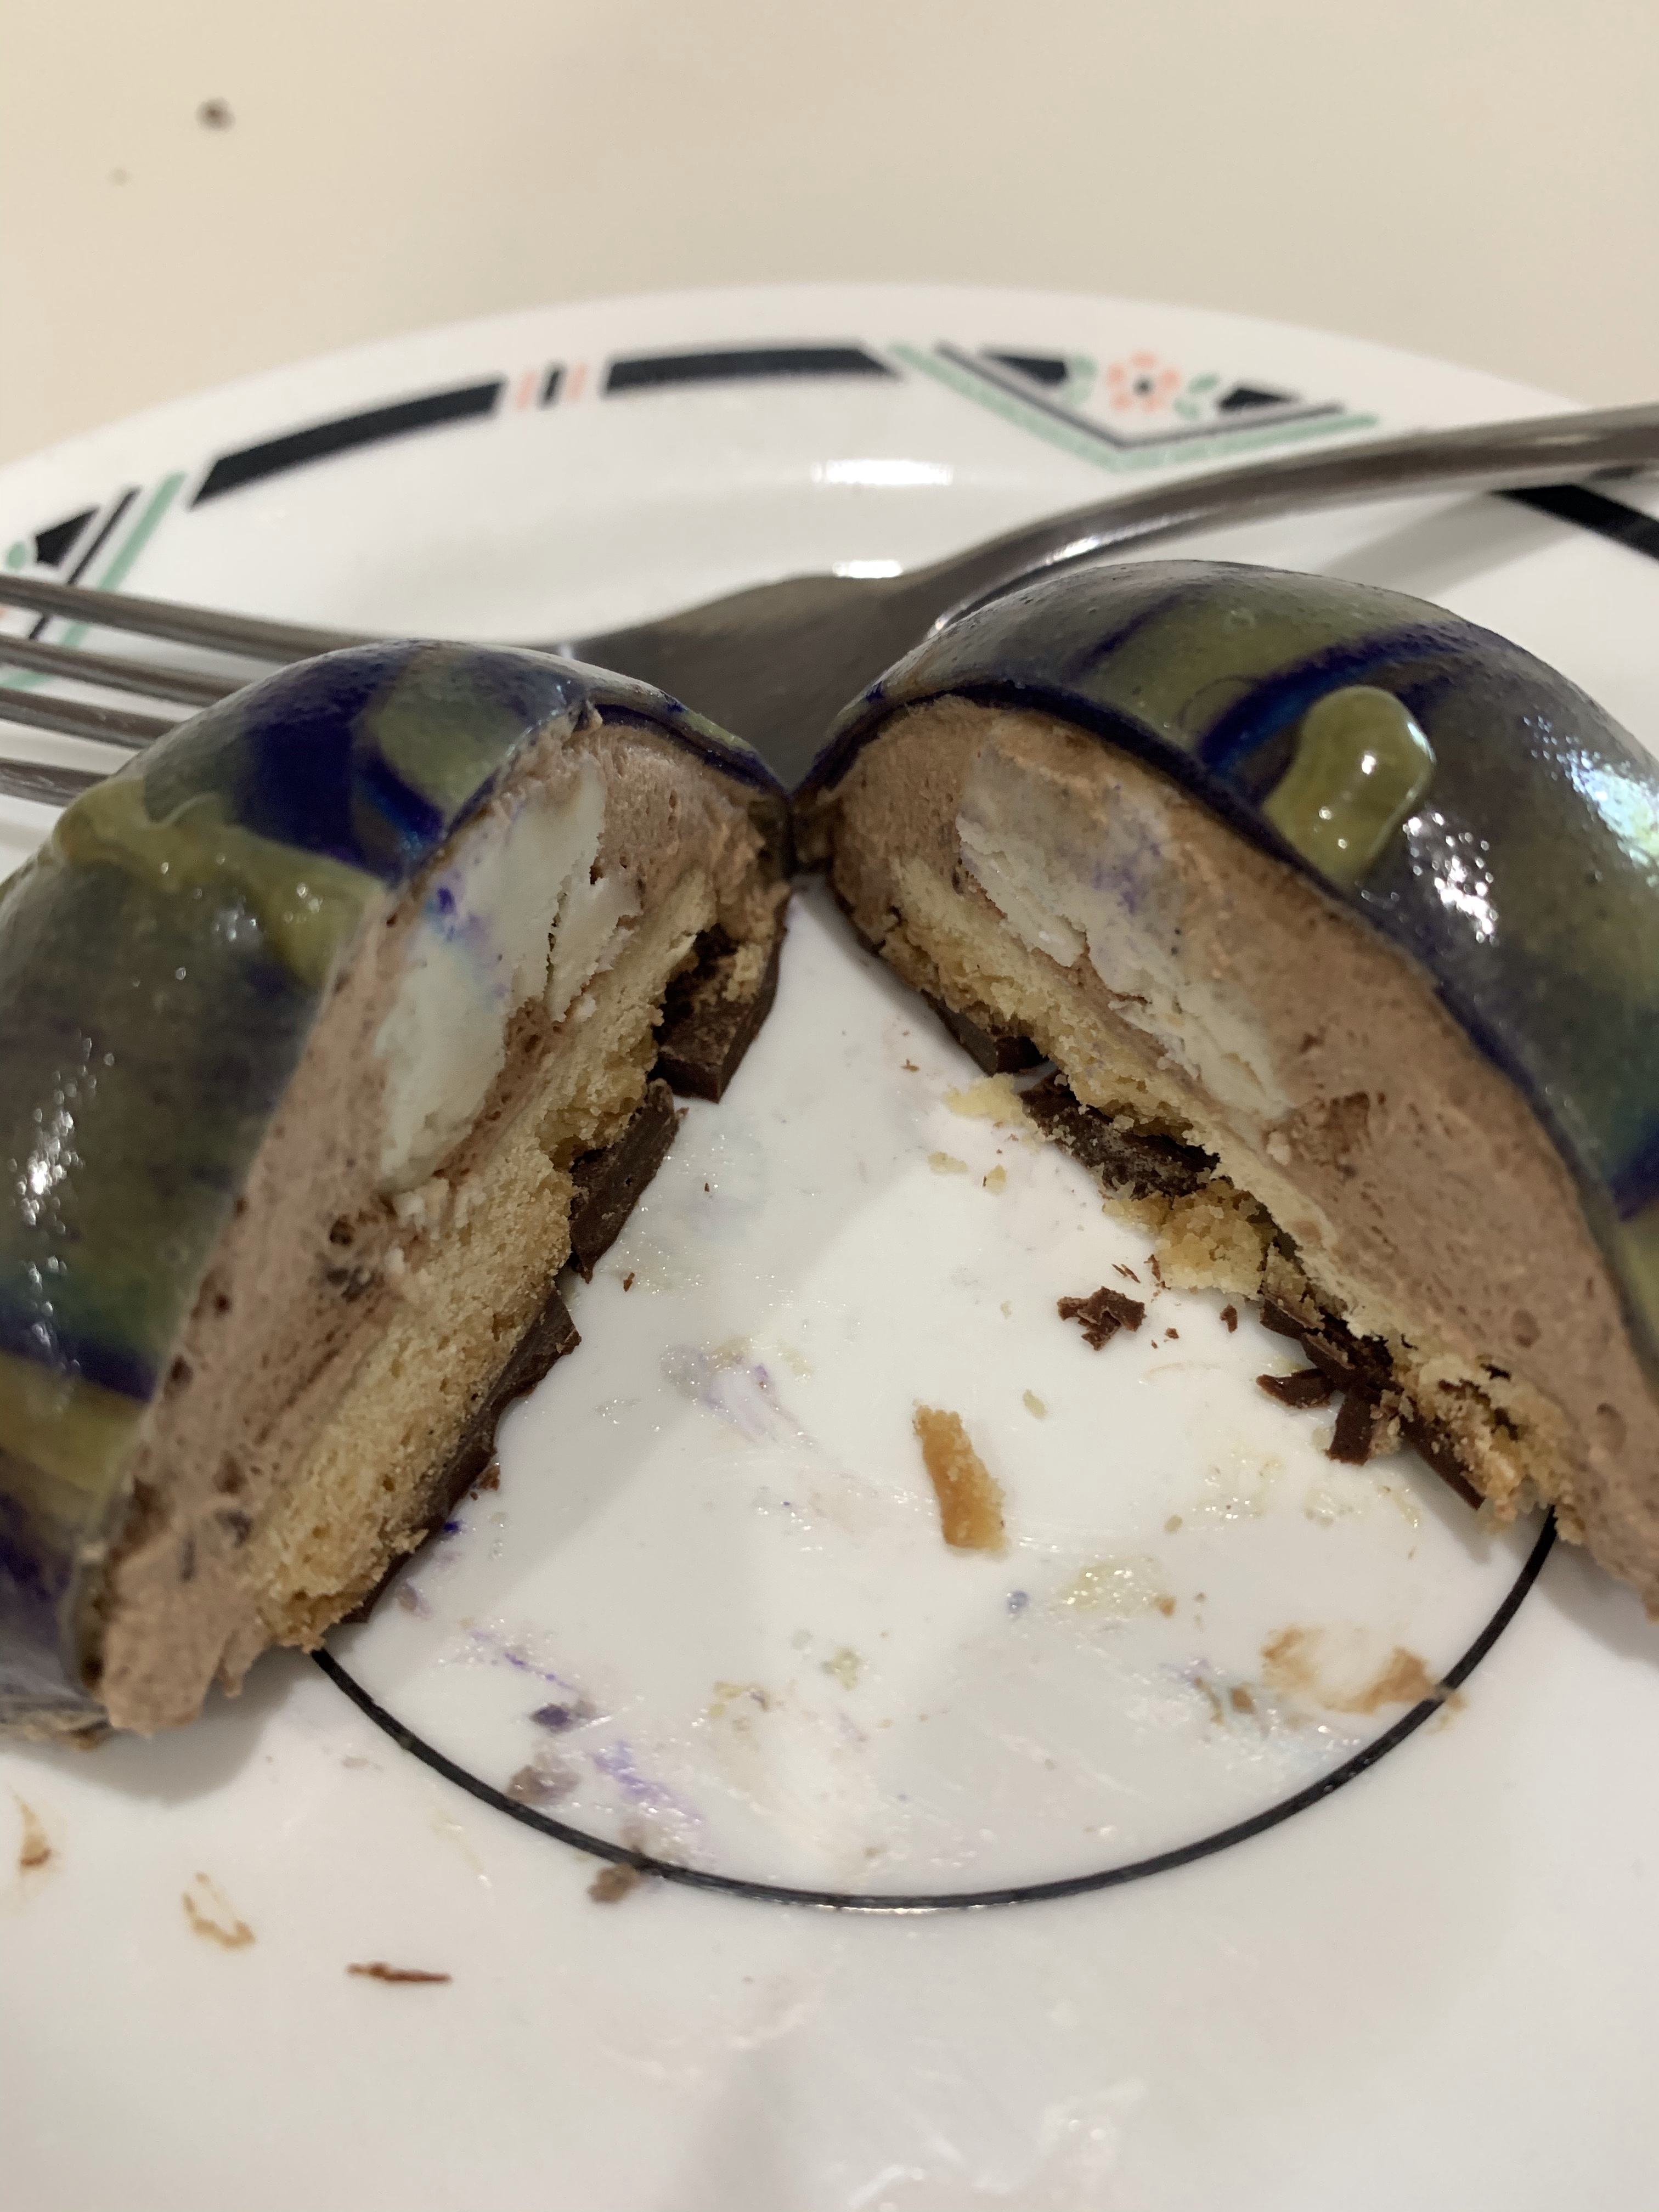
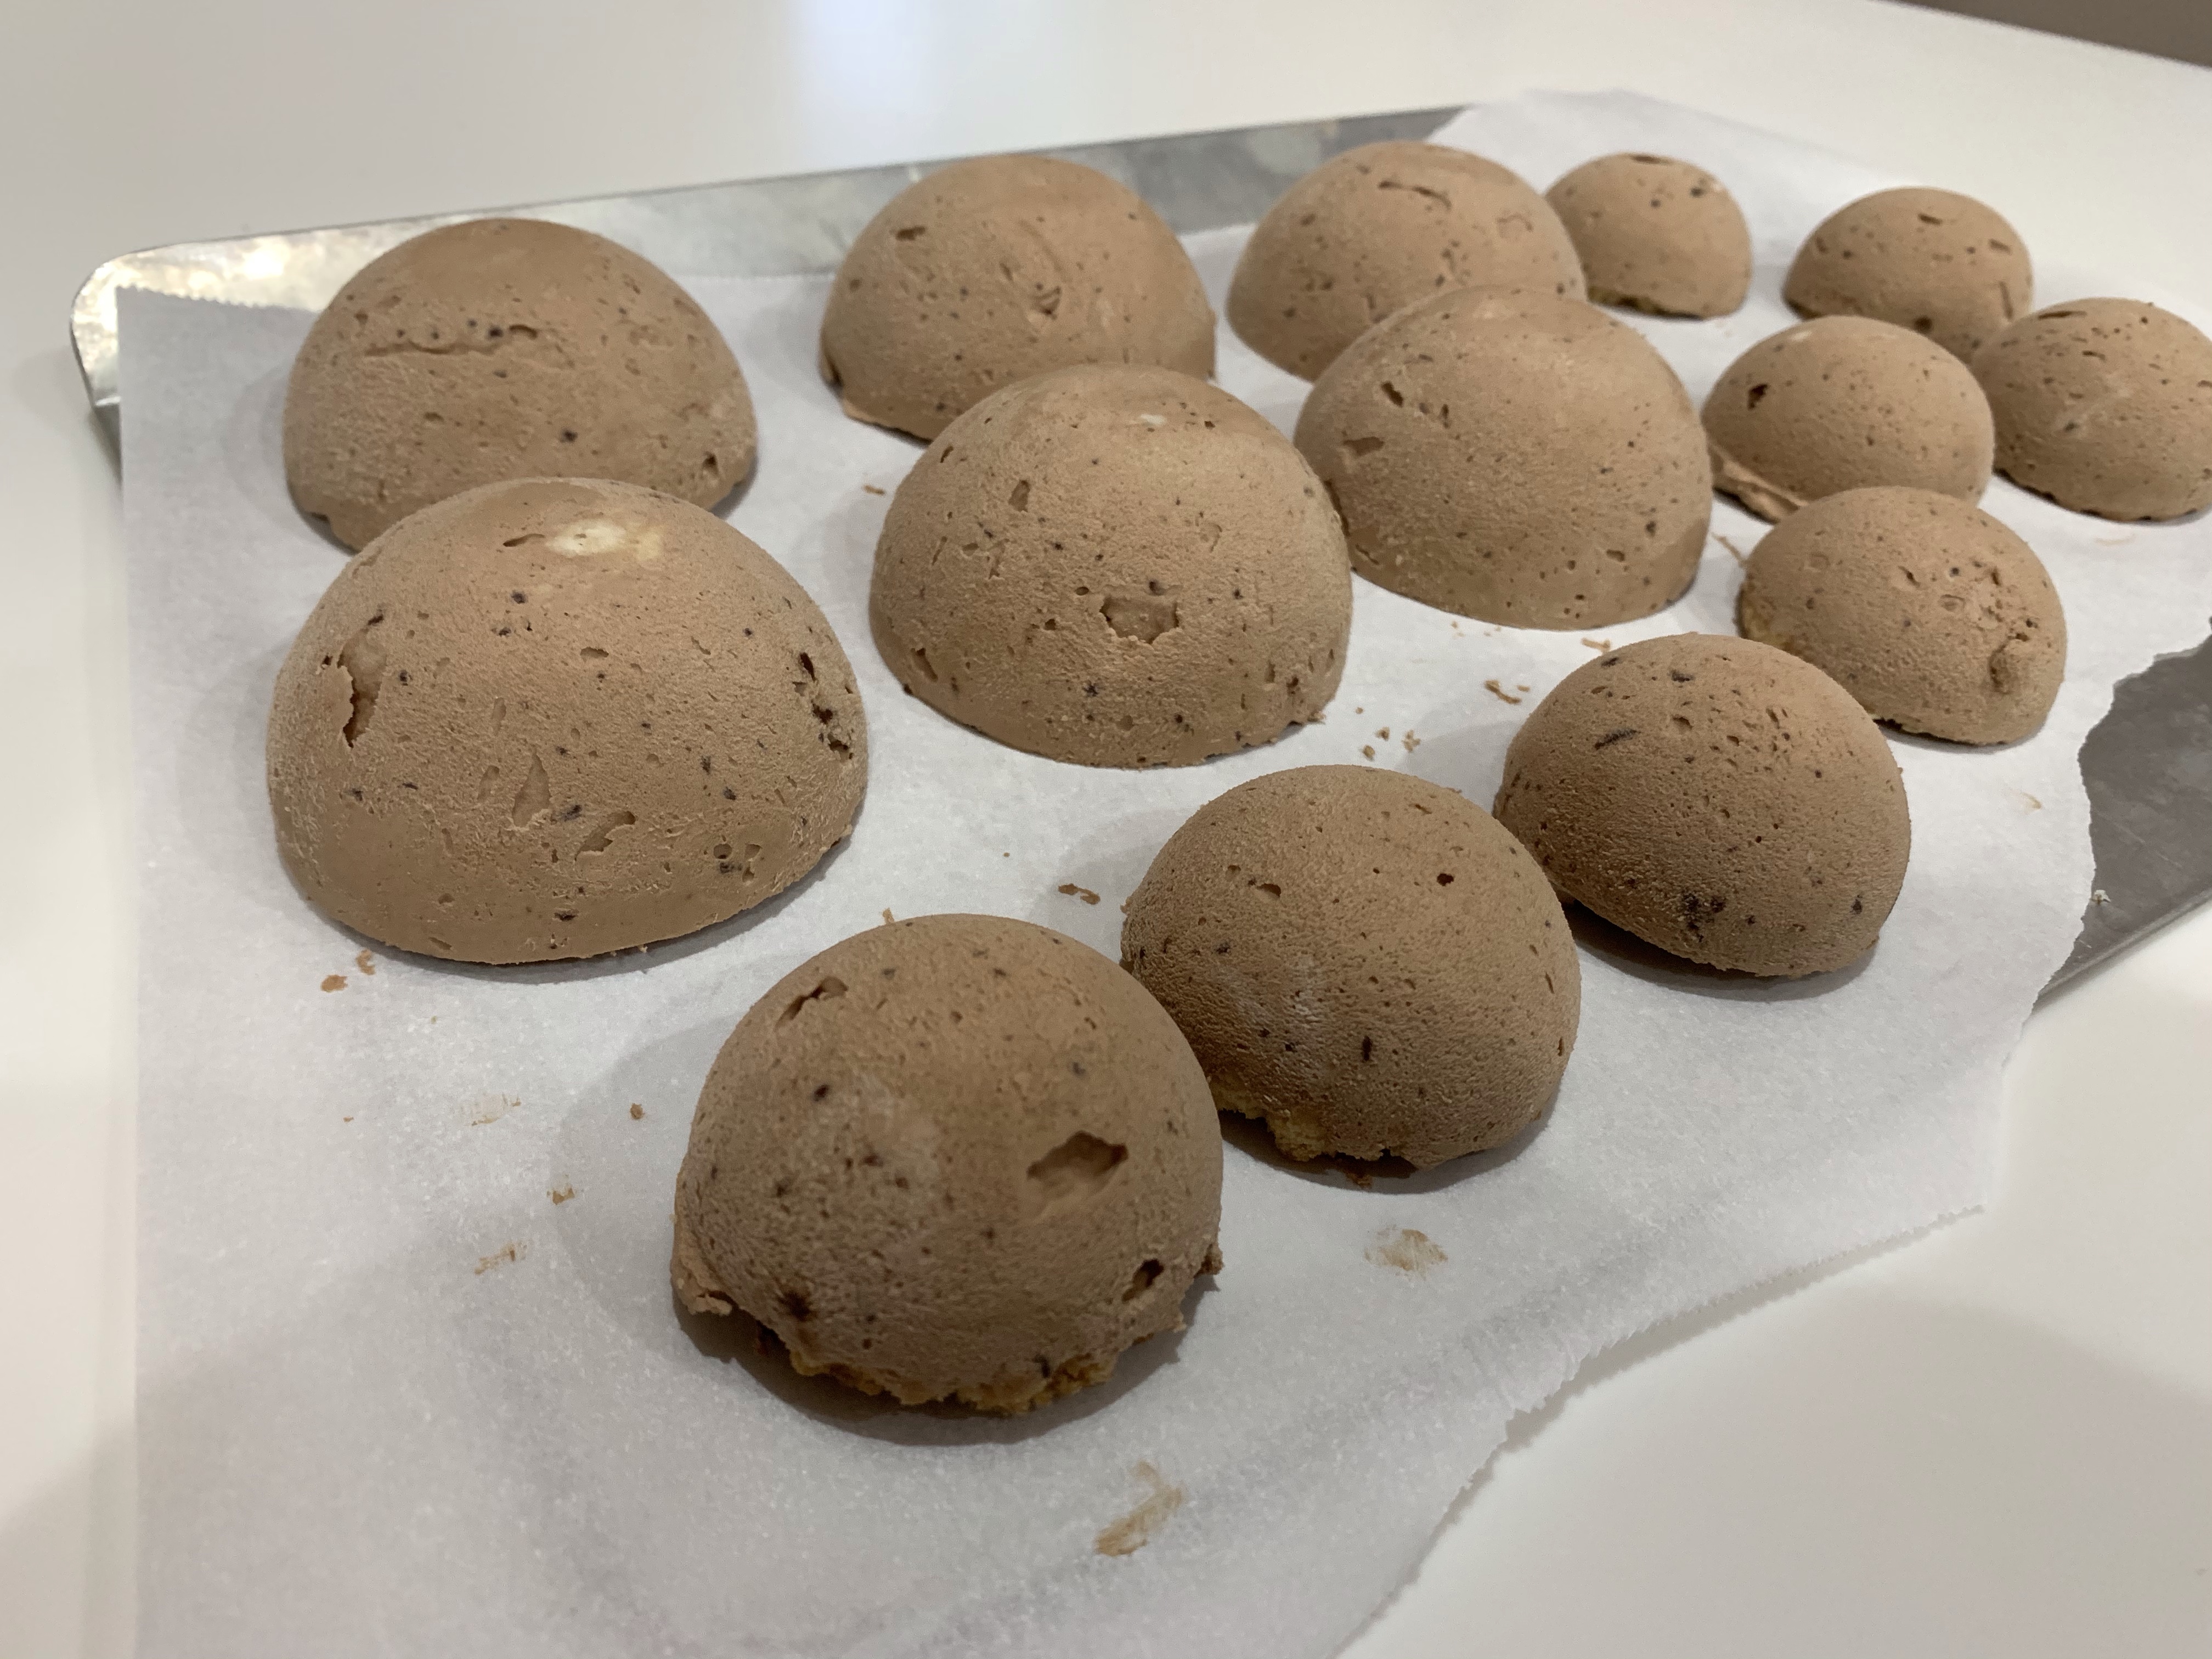
To make the domes, I filled my 2.5” diameter silicone mold with mousse to within 1/4” of the top. This provided room to fit a 2.5” trimmed cookie in the base. As the cookies spread a little while baking, the thinnest were trimmed with a cutter and placed on the still soft mousse, then put in the freezer until solid.

Even the thinnest shortbread cookies were too thick (about 1/4”.) The problem is the unbaked cookies are too fragile to move if they are any thinner. Next time I will roll the dough out thinner on the cookie sheet then remove the excess from between the round cookies. Wish me luck.

The results were promising. The glaze was too thick to pour. Spreading the glaze ruins the effect of a smooth. Coating. I found another recipe for the glaze, but using gelatin sheets. I will substitute Agar powder using one third the amount of Agar to gelatin. The ratio of cocoa powder to liquids seems right to allow it to pour. Time will tell.

Chocolate Mouse Domes with Agar Agar

Mousse

INGREDIENTS:
• 60 g Dark Chocolate (melted)
• 50 ml (1/4 cup) Heavy Cream
• 175 ml (3/4 cup) Whipping Cream ( whipped into soft Peaks)
• 1 tbl Agar Agar
• 6 short bread biscuits

METHOD:

  1. Add Agar Agar to heavy cream and bring to a boil. Remove from heat and add chocolate
  2. Let rest for five minutes, then mix chocolate and heavy cream into a smooth mixture.
  3. Fold in Whipped Cream to the above mixture

Assembling

  1. Pour the mousse mixture into semi dome silicone molds or any medium sized round bowls.
  2. Place one biscuit over each dome
  3. Freeze the mousse until solid.

White Chocolate Glaze

INGREDIENTS
• 50 g White Chocolate
• 50 ml Heavy Cream
• 2 tsp Agar Agar
• 1 tbl Butter

METHOD

  1. Mix in the above mixture and bring it to boil once.
  2. Mix everything into homogenous smooth glaze.
  3. Sieve it once

Dark Chocolate GlazeOption 2 (not yet used)
https://www.masterclass.com/articles/chef-dominique-ansels-recipe-for-dark-chocolate-mirror-glaze#chef-dominique-ansels-dark-chocolate-mirror-glaze-recipe

INGREDIENTS
• 206g, or 1 cup sugar
• 142g, or 1⁄2 cup, plus 11⁄2 tbsp heavy cream
• 1 ½ tsp Agar Powder (originally 12g, or 4 tsp gelatin, powdered)
• 60g, or 1⁄4 cup water, cold
• 148g, or 2/3 cups water, room temperature
• 71g, or 1⁄2 cup, plus 5 tsp cocoa powder

METHOD

  1. In a medium pot, bring sugar and heavy cream to a boil over medium heat, stirring until the sugar dissolves.
  2. Add the Agar powder and heat while stirring until mixture starts to thicken (1-2 min, medium low heat.)
  3. In a bowl, combine the 148g (2/3 cups) room temperature water with the cocoa powder, stirring with a spatula until it becomes a uniform paste.
  4. Stir cream-sugar-Agar mixture into cocoa powder paste until combined.
  5. Remove the pot from the heat, and strain the glaze mixture through a mesh strainer over a heatproof bowl to remove any clumps of undissolved cocoa powder.
  6. Emulsify the mixture with a hand blender (immersion blender) to remove any lumps, until smooth.
  7. Cover and chill in the fridge overnight to set, until ready to use. Should be 90 deg to pour.
  8. Store in the fridge in an airtight container for up to 1 week.

OPTION PUBLISHED WITH THIS RECIPE
INGREDIENTS:
• 50 ml Water
• 50 ml Heavy Cream
• 50 ml Sugar
• 80 gm Cocoa Powder
• 2 tsp Agar Agar

METHOD:

  1. Bring all the ingredients to boil in a medium saucepan.
  2. Whisk to cool to room temperature
  3. Sieve once to remove lumps

ASSEMBLING AND DECORATION:

  1. After 8 hours remove mousse from freezer and remove from the moulds
  2. Place mousse domes on cooling rack.
  3. Pour Dark Chocolate or White Chocolate Glaze over the dome and place the dome in freezer for 5 mins.
  4. I sprinkled some freeze dried raspberry powder on the domes to add a little bitterness to the sweetness of the mouse and glaze.

Sugar Free Berry Mousse

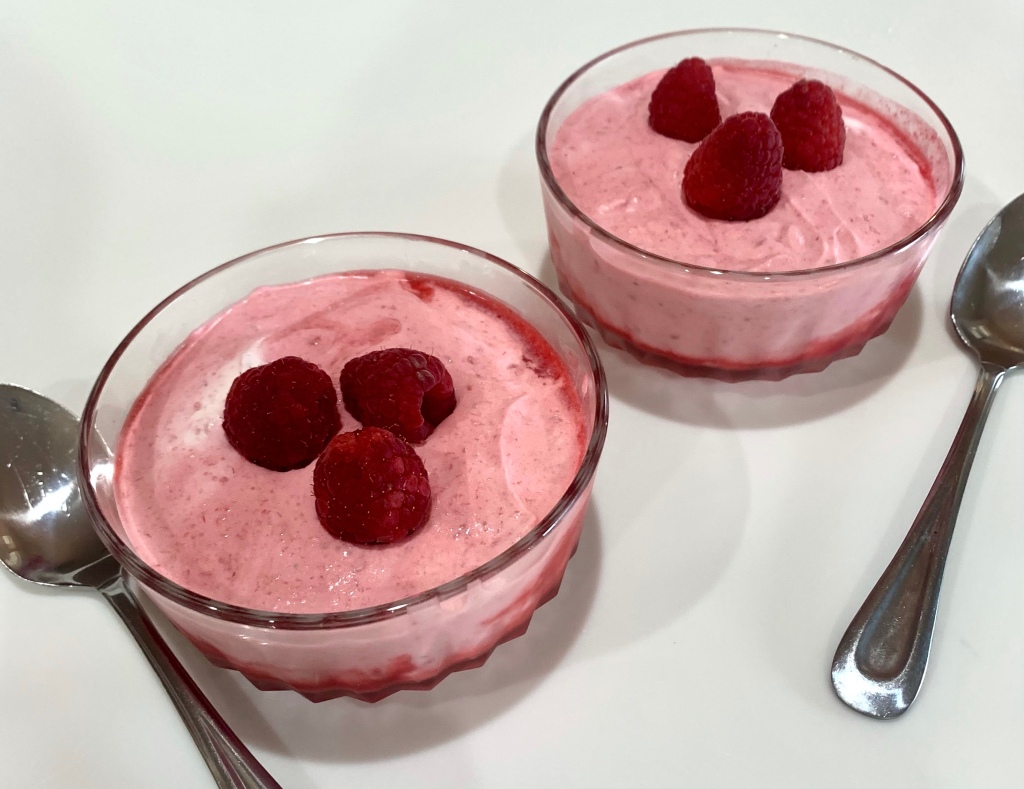
I love berries, all kinds of berries, but far and away raspberries are my favorite. I saw a recipe for sugar free strawberry mousse and modified it to a raspberry mouse. Feel free to change it back or re-modify to whatever berries you have on hand.

This simple mousse is quick and easy to make. After my initial try I would suggest making the berry puree and chill it before folding it into the whipped cream. Also, be sure to beat the cream into very stiff peaks. I would also chill the bowls in which you will store/serve the mousse. All these precautions will help keep the mousse firm. Don’t worry if you don’t. It will still be fresh and delicious.

Sugar Free Raspberry Mousse

INGREDIENTS

• 354g raspberries (3/4 pound)
• 100g Splenda
• 238g whole or whipping cream (cold)
• extra raspberries for topping

METHOD

  1. Clean and slice the raspberries, In a blender or food processor add the raspberries, Splenda and puree. Remove 1/2 a cup of puree and set aside.
  2. Place serving bowls in the refrigerator to chill before filling.
  3. In a cold bowl add the cream and beat until very stiff peaks form. Then fold in the remaining puree (not the 1/2 cup) gently.
  4. Divide the 1/2 cup of puree between the 4 small/medium glasses and top with the raspberries mousse.
  5. Refrigerate for approximately 1 hour or even over night if desired. Top with fresh raspberries and serve.

Chocolat de Couverture Noir

On a visit to a Restaurant Depot my Q.C. Department convinced me to buy 11 lbs of bulk Chocolat de Couverture Noir. (64% is dark chocolate is not very bitter. I use 73% for dark bitter chocolate.) My question is… what should I make with it?

I am thinking Pain au Chocolat, chocolate croissants, chocolate chip cookies and/or brownies. Note the fluidity on the package. This chocolate is suitable for coating caramel, creams, berries and other confections.

Last year I made an over the top chocolate/orange tart. My neighbor’s orange tree has a abundance of oranges too high up for her to harvest. Hmmm……

Maybe something I made before: Eclairs? Chocolate Babka? Soufflés? Chocolate pudding? (Try the easy home made chocolate pudding recipe.) Chocolate chip scones? Lava Cake? Chocolate Fudge? Oh yes, chocolate fudge!!! (Maybe chocolate/peanut butter fudge, the QC department doesn’t like Chocolate/peanut butter fudge.)

Andy other suggestions?????

There’s a Bright Holden Glaze on The Meadow

No, I’m not in Oklahoma, I am still sheltering-in-place in California. In the Galaxy on Orion’s Belt post I mentioned I was going to remake the mousse desserts using Agar Agar rather than gelatin. Agar is a plant based thickener while gelatin is animal based. Well, the agar was delivered this week and as I and still sheltering-in-place, I am still baking, so here we go.

Last week Fran asked for some shortbread cookies so I made a batch this morning. I cut them into rounds, just smaller than the large end of my silicon hemisphere molds. The plan is to fill the mold about 2/3rds of the way with mousse, push a frozen vanilla cream into it and seal the bottom with the cookie. As I planned to coat one end of the shortbread cookies with chocolate, and will have some left over, I will coat the bottom of some of the hemisphere desserts with some, then mirror glaze them.

So the plan was good, but the execution was lacking. The cookies were too big so I cut them down, but they were also too thick. I couldn’t properly fill the mold with vanilla cream and cookie and still have 1/8” space for the chocolate. The new plan is to dip the bottom of the bombe in chocolate, re-freeze and then coat with the agar mirror glaze.

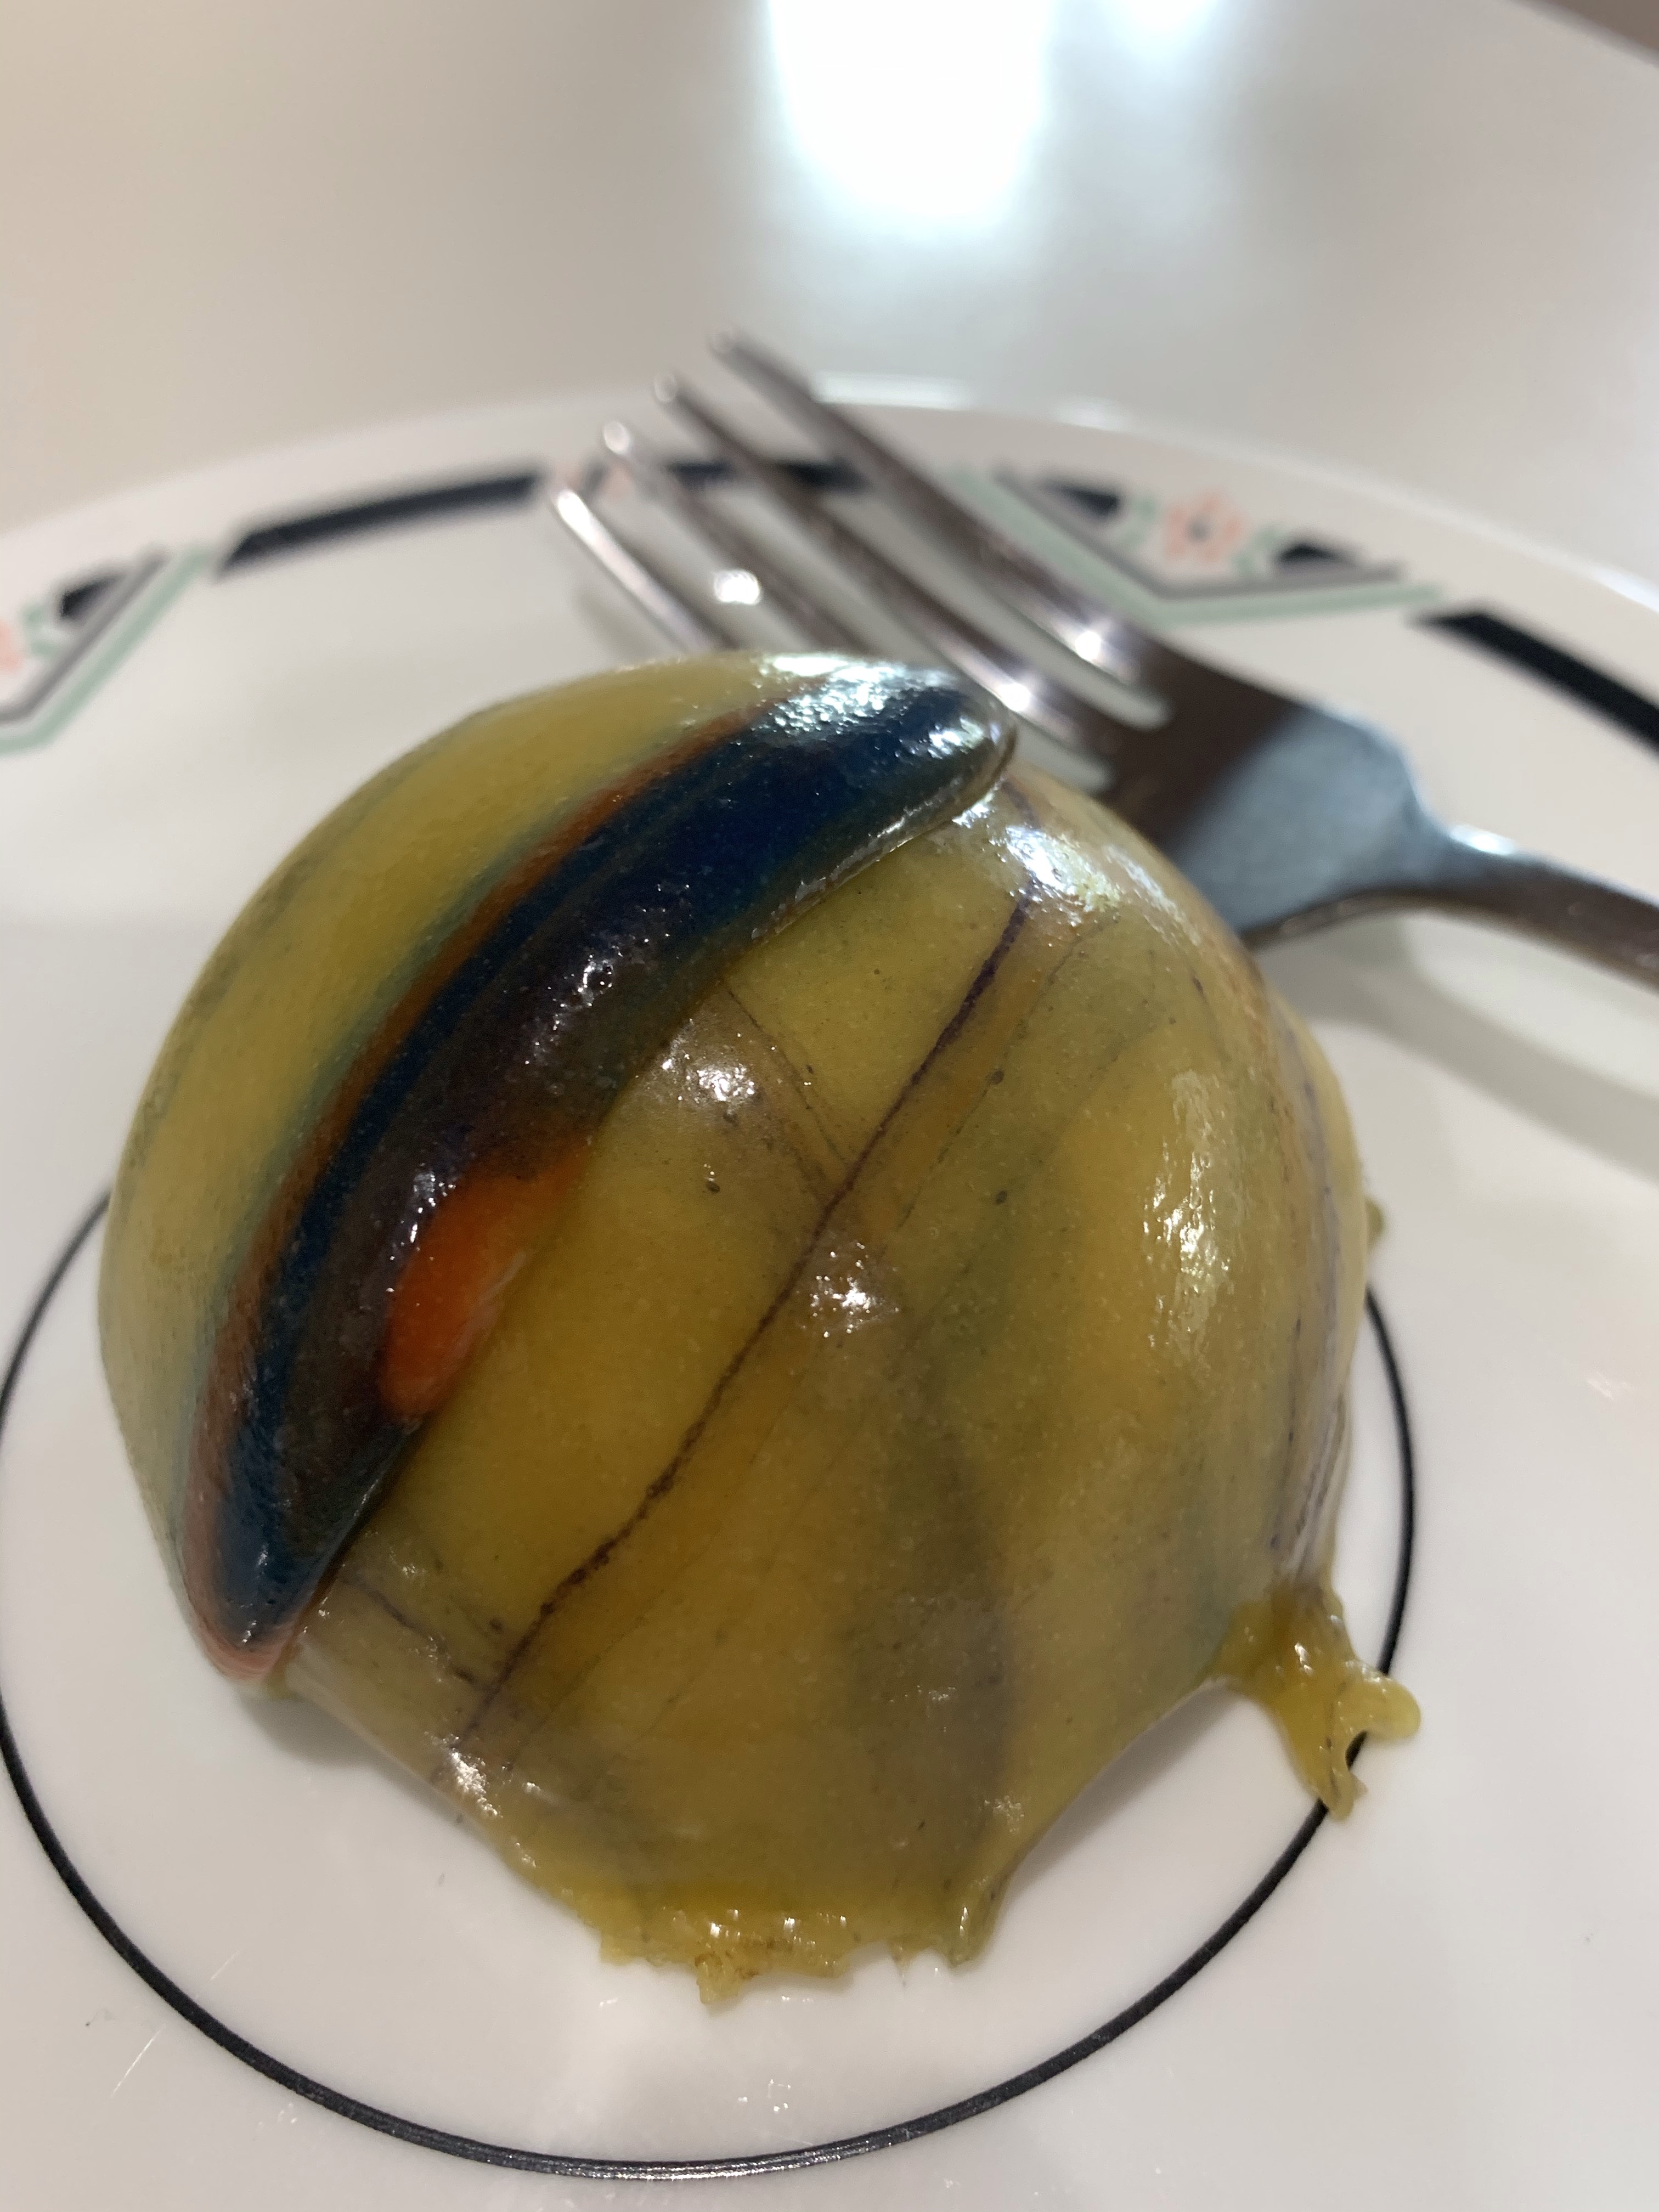
The agar mirror glaze was easy to make, but cooled too quickly and coated the bombes with a thick glaze. Luckily, this glaze, while sticky, was much better than the gelatin version. Portions of the glaze were placed in small bowls and dyed. When ready to coat the mousse bombes some of the colored glaze was poured on a larger aliquot of yellow glaze and poured over the bombe.

The good news is, Quality Assurance certified the mousse as exceptionally light and creamy. The cookies were a bit thick so it was suggested a pan of brownies would be a better base. The chocolate bottom was a nice addition and should be continued.

The directions for the agar agar said you should cool the glaze to 80 – 90 degrees. I found this temperature too low resulting in a thick glaze. I also need to find a better way to mix the various colors with the base color while maintaining the temperature of the dyed glaze at 90-100 deg, maybe place them in a warm water bath until ready to use.

Anyway, they are delicious and worth making!!

RECIPIES

Shortbread Cookies

INGREDIENTS
• 3/4 pound unsalted butter, at room temperature
• 1 cup sugar, plus extra for sprinkling
• 1 teaspoon pure vanilla extract
• 3 ½ cups all-purpose flour
• ¼ teaspoon salt

METHOD

  1. Preheat the oven to 350 degrees F.
  2. In the bowl of an electric mixer fitted with a paddle attachment, mix together the butter and 1 cup of sugar until they are just combined. Add the vanilla.
  3. In a medium bowl, sift together the flour and salt, then add them to the butter-and-sugar mixture. Mix on low speed until the dough starts to come together. Dump onto a surface dusted with flour and shape into a flat disk. Wrap in plastic and chill for 30 minutes.
  4. Roll the dough 1/4-inch thick and cut with a round cutter just smaller than the opening of the mold. Place the cookies on an ungreased baking sheet and bake for 20 to 25 minutes, until the edges begin to brown. Allow to cool to room temperature.

Vanilla Cream Filling


INGREDIENTS
• 3 tbsp all purpose flour
• 1/2 cup milk (low fat is fine)
• 1/2 cup butter (or Trans fat-free shortening)
• 1/2 cup granulated sugar
• 1/2 scraped vanilla bean or 1 tsp vanilla extract

METHOD

  1. Whisk together the flour and milk and cook in a small saucepan over medium heat until thick. This will only take a few minutes. Stir continuously to prevent the mixture from clumping and do not bring all the way to a boil. When thickened (consistency will be that of a thin pudding or custard), strain with a mesh strainer into a small bowl, cover with plastic wrap and let cool completely to room temperature.
  2. When the milk mixture is cool, cream the butter (or shortening) and sugar together in a medium bowl until light.
  3. Add in the milk/flour mixture and the scraped vanilla bean seeds (or vanilla extract) and beat at high speed with an electric mixer for 7 minutes, until light and fluffy.
  4. Scrape into a pastry bag fitted with a plain tip, or a large ziplock bag with the corner cut off, and set aside until ready to fill your cupcakes.

Dark Chocolate Mousse

INGREDIENTS

• 5 1/4 ounces 148 g bittersweet chocolate, coarsely chopped
• 14 ounces 396 g cold heavy cream
• 3 large egg whites
• 1-ounce 29 g sugar
• Sweetened whipped cream, for garnish, optional
• Shaved bittersweet chocolate, for garnish, optional
• 6 ounces 170 g semi-sweet chocolate, finely chopped
• 1-ounce sugar 6 ounces semi sweet chocolate, finely chopped

METHOD

  1. Place chocolate in a large bowl set over a bain marie or in a double boiler at a low simmer. Stir chocolate until melted. Turn off the heat and let stand.
  2. Beat the cream over ice until it forms soft peaks. Set aside and hold at room temperature.
  3. With a mixer, whip egg to soft peaks. Gradually add the sugar and continue whipping until firm.
  4. Remove the chocolate from the bain marie and using a whisk, fold in the egg whites all at once.
  5. When the whites are almost completely incorporated, fold in the whipped cream.
  6. Fill each well of the hemispherical mold about halfway. Push a frozen vanilla cream drop in each well and top with a shortbread cookie. Make sure the cookie is below the top of the well.
  7. Place the mold in the freezer until solid.
  8. When frozen solid remove the mousse from the mold .
  9. Put 3 ounces of the chocolate in a glass bowl and microwave on high power for 30 seconds. (Don’t trust your microwave timer; time it with your watch.) Stir with a wooden spoon. Continue to heat and stir in 30-second increments until the chocolate is just melted. Add the remaining chocolate and allow it to sit at room temperature, stirring often, until it’s completely smooth. Stir vigorously until the chocolate is smooth and slightly cooled; stirring makes it glossier.
  10. Coat the top of each cell with a thin coat (1/8”) with melted chocolate and return to the freezer to set.

Agar Mirror Glaze Recipe

INGREDIENTS

• White Chocolate 8 ounces (220g)
• Sweetened Condensed Milk ½ cup (140g)
• Granulated Sugar 1 cup (200g)
• Corn Syrup ¾ cup (245g)
• Cold Water 7 tablespoons (100ml)
• HOT Water ½ cup (120ml)
• Powdered Agar 4 teaspoons (16g)

METHOD

  1. Bloom agar in the HOT water (120ml), let stand 5 minutes
  2. Combine the corn syrup, the other measure of COLD water (100ml) and the sugar in a heavy bottom sauce pot and get it warmed to at least 150°F add the bloomed agar and bring to a boil.
  3. Allow it to boil rapidly for 1 minute, then remove from the heat and add the condensed milk and whisk smooth
  4. Pour the entire hot mixture over the chocolate and whisk smooth
  5. Pour through a strainer into a clean container and color as you like.
  6. Pour over cakes & pastries once it has cooled to 80 or 90°F

The Galaxy is on Orion’s Belt

So you may have wondered the purpose of making and posting a simple white chocolate mousse. Well, there was actually a reason for making the mousse, posting? Not so much.

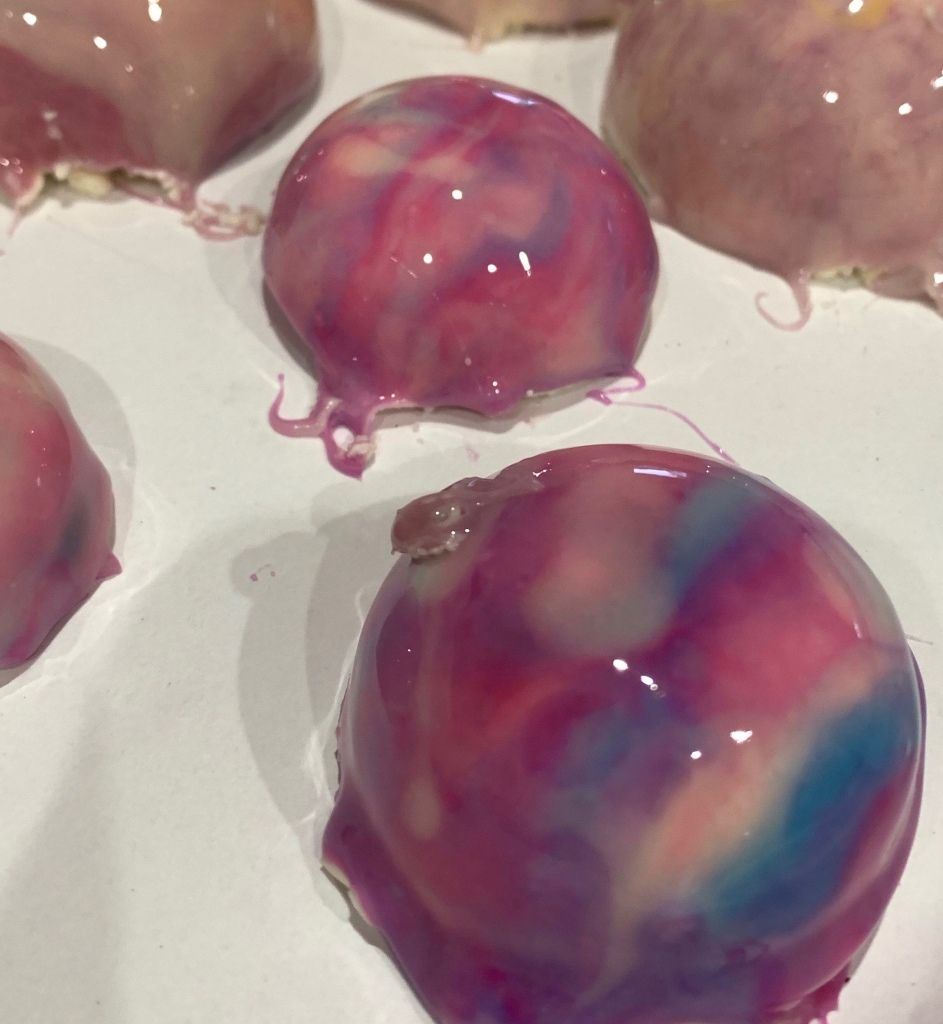
Being bored during the rain storm yesterday I decided to make a half recipe of chocolate-chip/raspberry brownies. I cut a number of them in small rounds to embed in a white chocolate mousse molded into hemispheres then frozen. Today I made a gelatin based mirror glaze intending to coat the frozen mousse with swirling colors to make galactic mousse/brownie desserts. Well, it was practice. You all know I like to practice at home and failures never pass through the front door. I have an order of agar agar arriving soon so will try a vegetable based thickener for the glaze.

While not a failure, they were not a nice as I envisioned. However, practice, practice, practice and learn. The taste was excellent!!

Brownies – Some with chopped macadamia nuts

MIRROR GLAZE WITH GELATIN

INGREDIENTS

  • 2 packets unflavored powdered gelatin , (1/2 oz)
  • 192 g water , divided use
  • 215 g sugar , (scant 1 cup)
  • 142g or 5 oz (scant 2/3 cup) sweetened condensed milk , (1/3 of a standard 14-oz can)
  • 233 g real white chocolate , chopped or white chocolate chips
  • Gel food coloring (I used Americolor Royal Blue, Sky Blue, Electric Purple, Electric Pink, Super Black, and Bright White)

METHOD

  1. Whisk together the gelatin and 3 oz (1/3cup) cold water in a bowl, and set it aside to let the gelatin absorb the water.
  2. Combine the remaining 3.5 oz water, sugar, and condensed milk in a medium saucepan, and place the pan over medium heat. Stir while the sugar dissolves, and bring the mixture to a simmer.
  3. Once it is simmering steadily, remove it from the heat and add the gelatin (no need to melt the gelatin first—just scrape the big blob out of the bowl!) Whisk the gelatin as the heat from the pan dissolves it, and whisk until it is almost entirely incorporated. A few small pieces of gelatin are fine.
  4. Add the white chocolate to the pan, and let it sit for a few minutes to soften the chocolate. If you have an immersion blender, that is best to use—just stick it right in the pan and blend until the chocolate is melted and the mixture is very smooth. If not, you can whisk everything together, just try to avoid vigorous whisking that will create a lot of air bubbles.
  5. Divide your glaze into as many bowls as you want. I find it’s easiest to have a few “base colors” that are larger portions, and a few “accent colors” that are smaller portions. I made 3 base colors, using Americolor Sky Blue, Royal Blue, and a mix of Royal Blue + a drop of Super Black. I made 3 accent colors using Americolor Electric Purple, Electric Pink, and Super White. All you need to do is whisk a few drops of food coloring into each bowl of glaze.
  6. Let the bowls set until they cool down to about 95 Fahrenheit (35 C). An instant-read thermometer is the easiest way to check this, but if you don’t have one, it should feel barely warm on your fingertip, and be thick enough to coat it. Stir the bowls occasionally as they cool, so they don’t form a skin on top.
  7. Take the mousse cakes from the freezer. Cover a baking sheet with parchment or waxed paper for easy clean-up, and set small jars or cups on the sheet for the mousse cakes to balance on—try to use ones that are smaller than the base of the cakes, so the glaze can drip down cleanly.
  8. In a new bowl, pour about 1/3 cup of one of your base colors of glaze, then drizzle the top of it with a few other colors—there’s no rhyme or reason here, so go crazy! After you’ve added all the colors you want, give it a brief stir to swirl everything together, but do NOT swirl too much and muddy the colors! Take this bowl of glaze and pour it over one of the cakes, swirling it around the top to make sure that all the sides are covered. Let the glaze drip down the cake onto the baking sheet.
  9. If it is dripping quickly and is a very thin layer, it’s too warm and needs to cool down a few more degrees. If it is gloopy and clinging to the cake and barely dripping, it is too cool. You can warm the bowls of glaze BRIEFLY in the microwave (start with 8-10 seconds each) and stir until they’re fluid again, and keep re-warming as necessary while glazing the cakes.
  10. Repeat the swirling and glazing process with the rest of the cakes. It’s fun to give them all different color schemes so they each look unique. If desired, finish the cakes with a pinch of edible silver star sprinkles. (Any remaining glaze can be saved and used on a different cake within about a week or so. Make sure it stays covered tightly with plastic wrap so it doesn’t form a skin and dry out.)
  11. Let the cakes sit for about 15 minutes, until the glaze is semi-set, then transfer them to small plates. Chill for an additional 10-15 minutes until the glaze is full set.

White Chocolate Mousse

It’s Pi day, so in rebellion, I made white chocolate mousse for mirror glazing tomorrow and chocolate-chip/raspberry brownies with chocolate ganache for the chewy chocolate center of my galaxy mousse cakes.

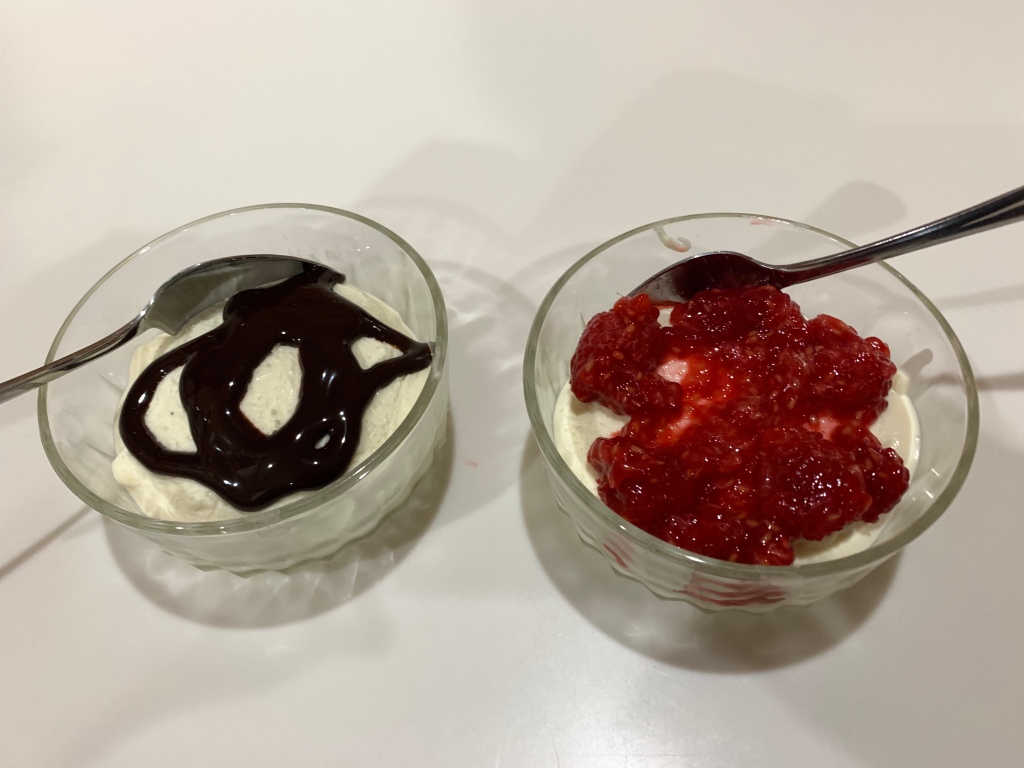
Luckily, there was extra mousse today for quality control sampling tonight. I had mine with a raspberry coulis and Fran paired it with chocolate sauce. Excellent flavor and texture. Tomorrow I will mirror glaze them experimenting with a galaxy motif. Check back soon.

White Chocolate Mousse

INGREDIENTS
• 1 Envelope powdered gelatin
• 12 oz White chocolate chips
• 2 1/2 Cups Heavy cream

METHOD

  1. Dissolve gelatin in 1/4 cup cold water, and set aside for 5 minutes.
  2. Place chocolate in the bowl of a food processor, and pulse until very finely chopped.
  3. Fill a large bowl with cold water and ice and set aside.
  4. Place 3/4 cup cream in a small saucepan, and bring just to a boil over medium-high heat. Add
    the dissolved gelatin, and stir for 30 seconds to dissolve completely. Pour into food processor
    with the motor running, and process until chocolate mixture is smooth.
  5. Transfer to a medium bowl and place over ice water bath. Chill until mixture is thick enough to
    fall from a spoon and form ribbons on the top of the melted chocolate.
  6. Whip remaining 1 3/4 cups heavy cream to soft peaks. Fold into chocolate mixture. If not using immediately, refrigerate in an airtight container or fill individual dessert dishes cover and place
    in fridge.

Busy Bakery Day

Here are some samples of one and two bite pastries I am making for a party of about 200 people. We are meeting tonight for a party progress meeting. I decided to give the group a sample of some of the varieties of desserts I am baking for the event.


I have both lemon and mango curd filled profiteroles, cream patisserie filled eclairs and tartlets, vanilla cake with pink icing and raspberry drizzle and vanilla cake with chocolate drizzle. There are mini-raspberry cheesecakes, blueberry and apply mini pie bites, chocolate brownie cups with chocolate mousse and a raspberry drizzle. Some of these were made ahead and frozen until today. The tartlets, eclairs, profiteroles and all icings, drizzles and frostings were made this afternoon.

A productive bakery day!

Which Way to Carnegie Hall?

Everyone knows how to get to Carnegie Hall, right? I am considering making bite size desserts for a gala at our temple with about 200 people expected to attend. Conventional wisdom indicated I will need 4-600 individual desserts. Perhaps you can see why I have not yet committed to this task. Allotting 2-3 desserts per person I should also have 5 or 6 dessert options, too many and it’s overwhelming (for the attendees and the baker!)

blueberry lemon and mango keylime profiteroles

So, back to Carnegie Hall. Practice, practice, practice. For anyone who follows my blog you know mistakes to not leave the house, so I practice everything first. I also experiment with different flavors and combinations. For instance, I made profiteroles last week. One was to be a mango/key lime and the other a lemon/blueberry. They were fine, except the key lime overpowered the mango. I will have to try again. Practice, practice, practice. The lemon was fine, if a bit intense.

vanilla cake and swiss meringue buttercream frosting

A couple of days ago I made some vanilla cake bites with Swiss Meringue Buttercream frosting. It was a new cake recipe, I was looking for something a bit lighter, plus a new buttercream. This one uses a Swiss meringue (egg whites and sugar whisked over simmering water in a bain marie. The frosting was delicious but a bit of a pain in the butt. I would use this if I could have  several desserts that use the same frosting. I may just divide it into aliquots and color them differently to make an easy differentiation.

chouxI make choux fairly often so don’t really need to practice, but the little choux pastries are a good way to try the different filling flavors and icings. I made these choux in an hour or two last week, used a dozen or so for experimenting and froze the other 4 dozen. If I decide to do this project I will take a day and make 200 or so. I just need enough freezer space.

This morning I decided to add two new pastries File Jan 10, 10 17 21 AMto my portfolio. The first, and easiest was the chocolate cookies with chocolate mousse filling. I decided to add some shaved milk chocolate and white chocolate over some of them and since I had some raspberry coulis in the fridge, I drizzled that over some to add more color.

pineapple upside down bites.jpeg

Once those were complete and I finished cleaning the kitchen, (yes, I clean everything up between each bake) I started the one bite Pineapple Upside Down cakes. I used the same vanilla cake recipe as last week. It was a little tricky miniaturizing everything and keeping them looking good. Next time I will reduce the amount of pineapple and use a quartered cherry so there will be more room for the cake.

Swiss Meringue Buttercream

INGREDIENTS

  • 7 large (210 grams or 7 oz) egg whites
  • 2 cups (400 grams) granulated sugar
  • 1½ cups (3 sticks or 340 grams) unsalted butter, softened*
  • 2 tsp vanilla extract
  • ¼ tsp salt (we use non-iodized fine sea salt)

METHOD

  1. In a medium pot, add at least 1-inch of water and bring to simmer.
  2. Thoroughly wash and dry the stainless-steel mixing bowl from your stand mixer* (you don’t want grease touching meringue). Add 7 egg whites and 2 cups sugar and whisk together.
  3. Place mixing bowl over pot of barely simmering water, creating a seal over the pot (bowl should be over the steam, not touching water). Whisk constantly until mixture reaches 160˚F (takes about 3 min). Sugar should be fully dissolved (you should not feel any sugar granules when rubbing mixture between finger tips). Mixture will feel hot to the touch.
  4. Wipe water from bottom of mixing bowl and transfer bowl to stand mixer fitted with whisk attachment. Beat on medium-high speed until stiff glossy peaks form (about 15-20 min) and bottom of the bowl feels completely at room temp and not warm (important: warm meringue will melt the butter).
  5. Once bowl is at room temp, switch to paddle attachment, reduce to medium speed and add butter 1 Tbsp at a time, adding it just as fast as it is absorbed by meringue. Once all butter is in, scrape down the bowl and continue beating until it reaches a thick whipped consistency (3 min on med-high speed). If it looks lumpy or liquidy at all, keep beating until smooth, thick and whipped.
  6. Add 2 tsp vanilla extract and ¼ tsp salt and mix on med-high until incorporated (about 1 min).

Notes

*Butter should be softened at room temp about 1 hour (more or less depending on your room temperature). It should be slightly cool to the touch and not overly soft or warm. If too soft, refrigerate for 10 minutes at a time.

Vanilla Butter Cake

INGREDIENTS

  • 3/4 cup all-purpose flour, plus more for pan
  • 3/4 cup cake flour (not self-rising)
  • 1 1/2 teaspoons baking powder
  • 1/4 teaspoon salt
  • 4 ounces (1 stick) unsalted butter, room temperature, plus more for pan
  • 3/4 cup plus 2 tablespoons sugar
  • 2 large eggs
  • 1 teaspoon pure vanilla extract
  • 1/2 cup plus 2 tablespoons whole milk Note: I use 1% milk and add the 2 Tbl as whipping cream

METHOD

  1. Preheat oven to 350 degrees. Butter a cast-iron pan, and dust with all-purpose flour, tapping out excess. Sift together flours, baking powder, and salt in a medium bowl.
  2. Beat butter and sugar with a mixer on medium speed, scraping down sides of bowl as needed, until pale and fluffy, 2 to 3 minutes. Add eggs, 1 at a time, beating well after each addition. Beat in vanilla. Reduce speed to low, and add flour mixture in three additions, alternating with milk, beginning and ending with flour mixture, mixing well after each addition.
  3. Fill pan halfway, and bake until golden around edges (time will vary depending on size of pan). Remove from oven, and let cool in pan for 15 minutes. Transfer cakes from pan to a wire rack. Let cool. Coat each with glaze just before serving.

Chocolate Mousse Filled Chocolate Cookies

INGREDIENTS (Half Recipe)

  • 1 cup butter, softened (1/2)
  • 2 cups white sugar (1)
  • 2 eggs (1)
  • 2 teaspoons vanilla extract (1)
  • 2 cups all-purpose flour (1)
  • 3/4 cup unsweetened cocoa powder (6 Tbl)
  • 1 teaspoon baking soda (1/2)
  • 1/2 teaspoon salt (1/4)

METHOD

  1. Preheat oven to 350 degrees F (175 degrees C).
  2. In a large bowl, cream together the butter and sugar until smooth.
  3. Beat in the eggs one at a time, then stir in the vanilla.
  4. Combine the flour, cocoa, baking soda and salt; stir into the creamed mixture.
  5. Spray Baker’s Joy or similar product into mini cupcake pans and fill ½ full (about a level teaspoon).
  6. Bake for 12 to 16 minutes in the preheated oven, until cookies are set.
  7. Allow cookies to cool on baking sheet for 5 minutes before removing to a wire rack to cool completely.

CHOCOLATE MOUSSE

INGREDIENTS

  • 4 egg yolks (2)
  • ¼ cup sugar (2 Tbl)
  • 1 cup whipping (heavy) cream (1/2)
  • 1 package (6 ounces) semisweet chocolate chips (1 cup) (1/2)
  • 1 ½ cups whipping (heavy) cream (3/4)

METHOD

  1. Beat egg yolks in small bowl with electric mixer on high speed about 3 minutes or until thick and lemon colored. Gradually beat in sugar.
  2. Heat 1 cup whipping cream in 2-quart saucepan over medium heat until hot. Gradually stir at least half of the hot whipping cream into egg yolk mixture; stir back into hot cream in saucepan. Cook over low heat about 5 minutes, stirring constantly, until mixture thickens (do not boil). Stir in chocolate chips until melted. Cover and refrigerate about 2 hours, stirring occasionally, just until chilled.
  3. Beat 1 1/2 cups whipping cream in chilled medium bowl with electric mixer on high speed until stiff. Fold chocolate mixture into whipped cream. Pipe or spoon mixture into serving bowls. Immediately refrigerate any remaining dessert after serving.

Guess Who Came to Dinners?

We just had a weekend guest, and sadly, put her on a plane to return to her home last night. This woman prefers to eat healthy, in moderation and occasionally diet. Boy did she come to the wrong place!

We started with some rugelach. I made apple/cinnamon, chocolate and hand pies
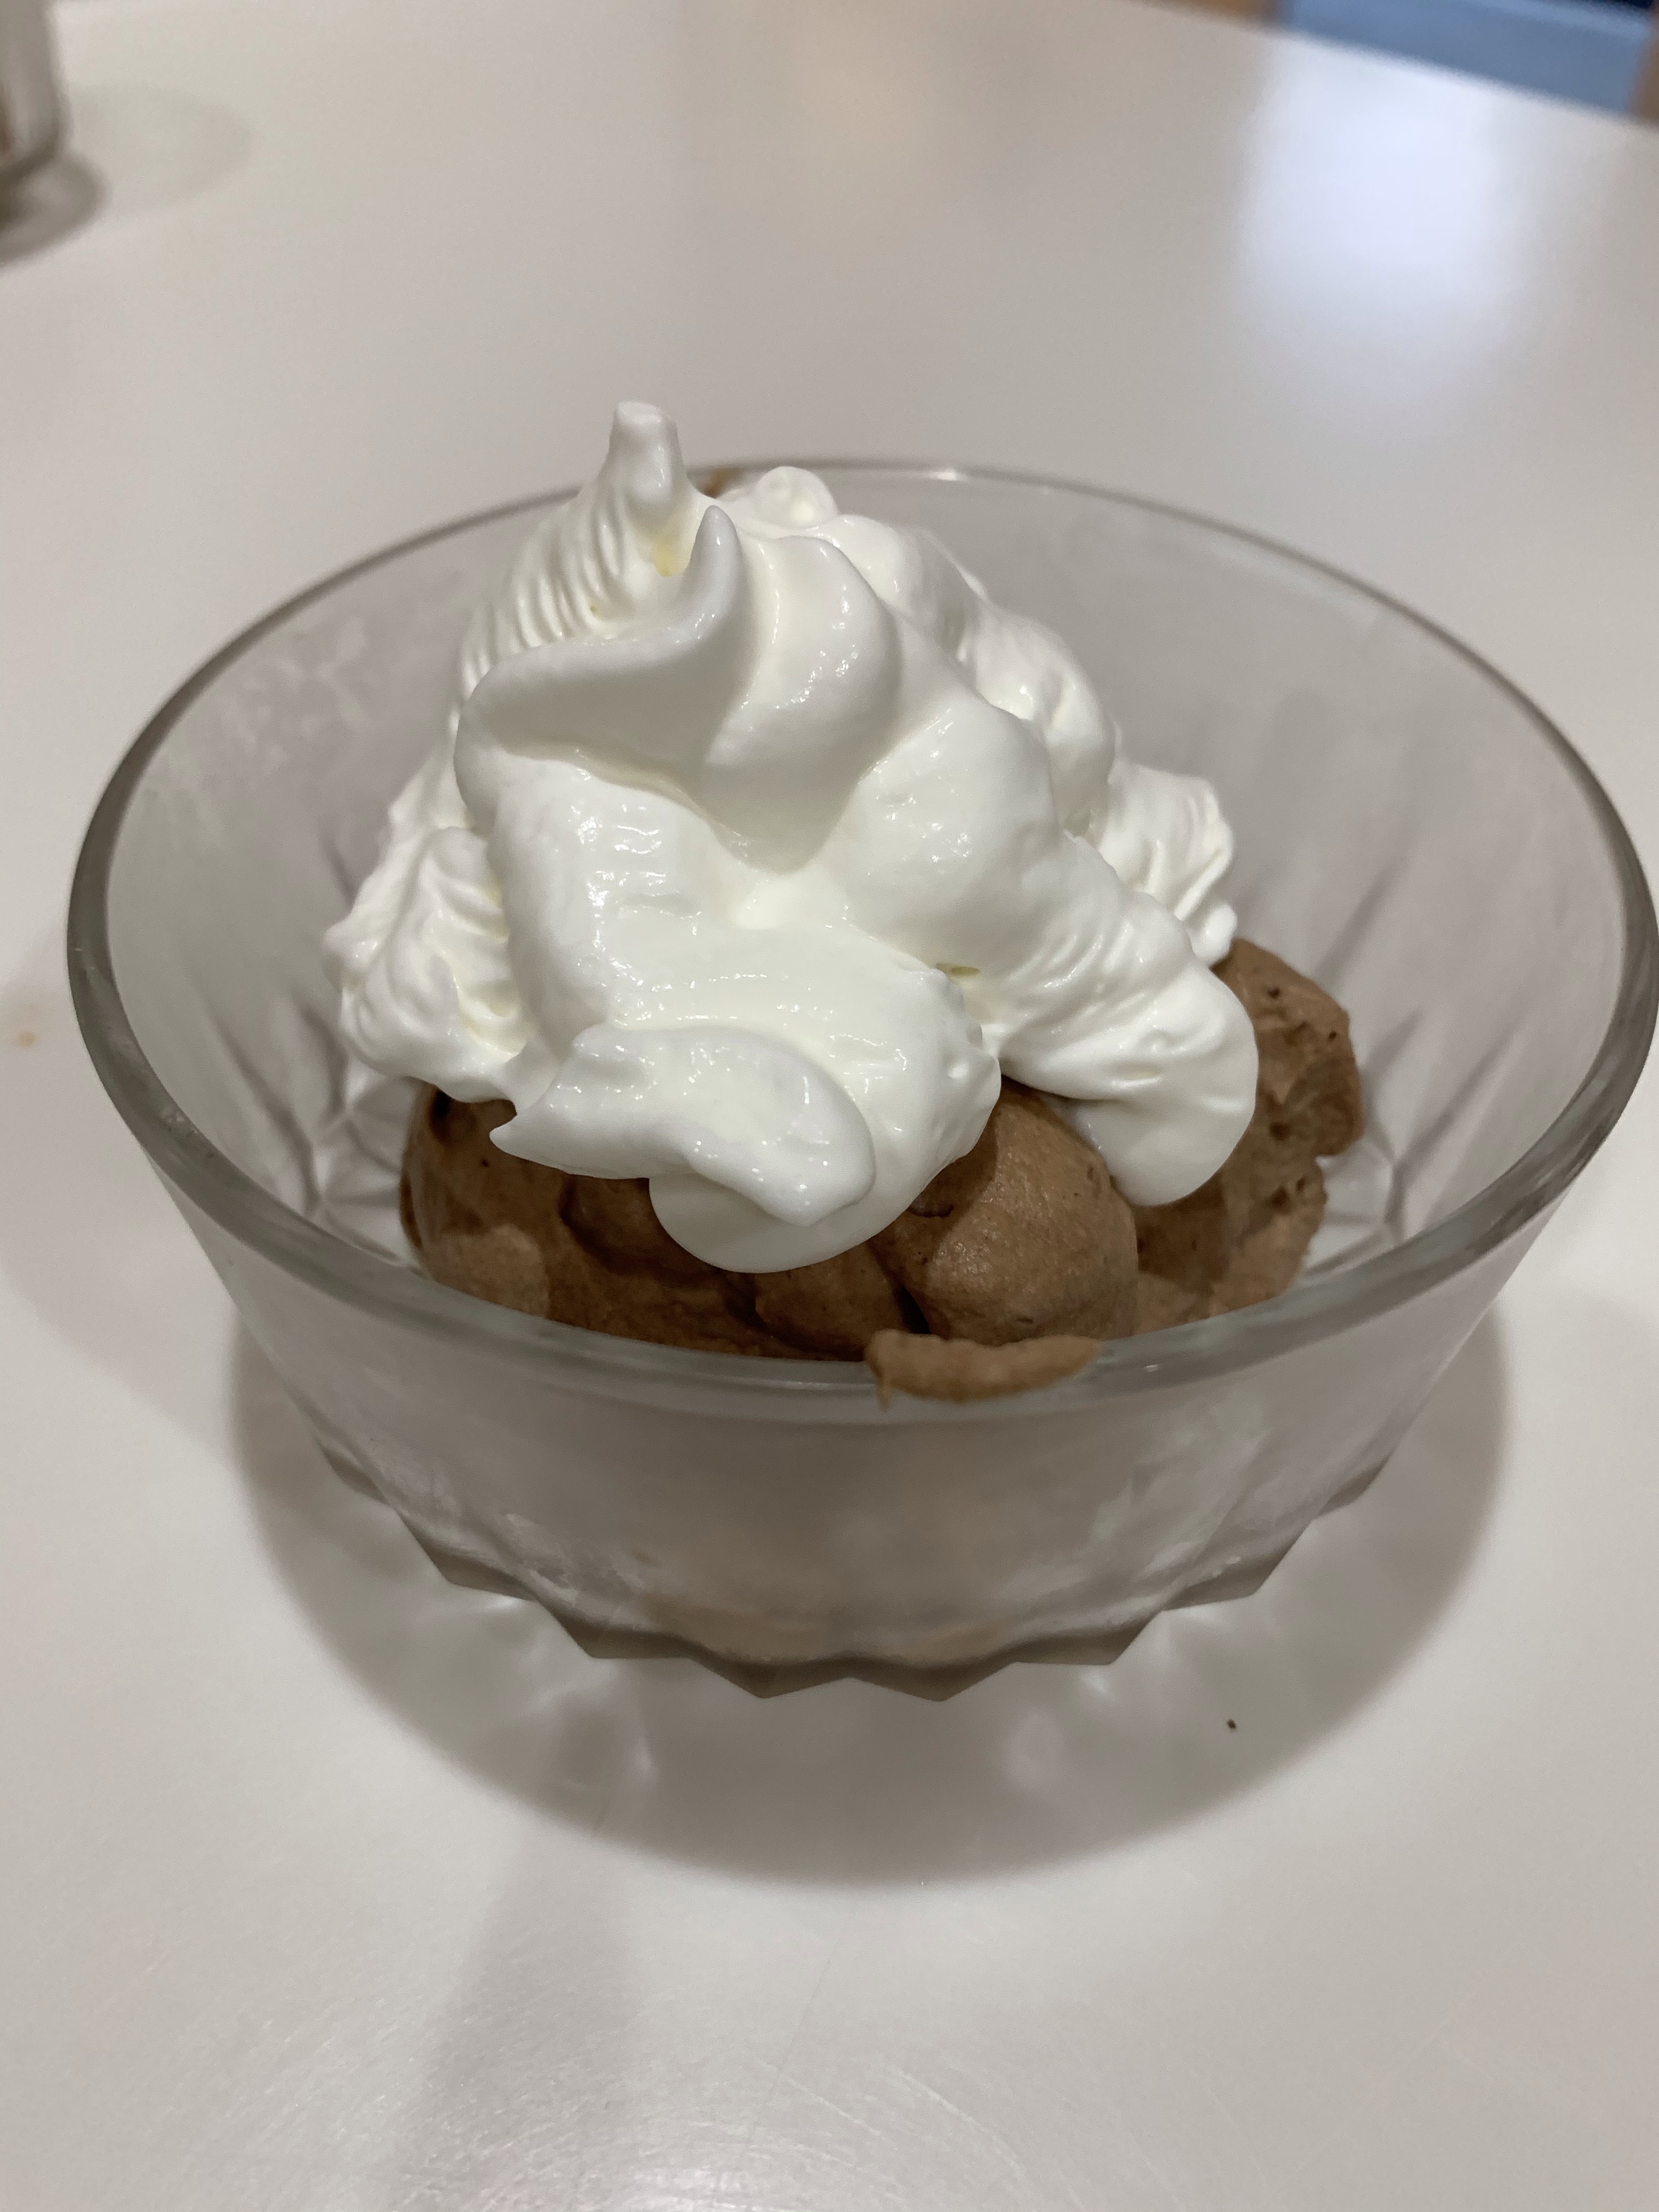
chocolate/blackberry. They are very similar except the for filling.  I added an apple tart, (I got to use my new spiralizer so am happy.) Fran and I had some fruit dumplings from Apple Hill (much like my hand pies but bigger, so I added blueberry, apply and blackberry hand pie/filled rough puff pastry dumplings. For dinner we had my homemade pizza margherita: sweet/salty sauce, home made dough (ala pizza 2 Independent Pizza in Seattle), basil and fresh mozzarella, baked 6 minutes at 600 degrees in my gas grill. I added some garlic bread knots to accompany.  It was so good, I made second one for Sunday night.  Unfortunately, we at all the garlic bread knots, so I made some chocolate mousse with pink whipped cream topping. Oh, we also had a salad.

mousse

RUGELACH

INGREDIENTS

CRUST

  • 16 tablespoons (1 cup) unsalted butter, at room temperature
  • 3/4 cup cream cheese, at room temperature (2 T cream cheese = 28g. 3/4 Cup = 12 T, ¾ C = 4oz.)
  • 1/3 cup sour cream
  • 1/2 teaspoon salt
  • 2 cups King Arthur Unbleached All-Purpose Flourrugelach1

FILLING CINNAMON RAISIN

  • 1/2 cup brown sugarrugelach2
  • 1 cup walnuts, chopped
  • 1/2 cup dried cranberries, raisins, or currants
  • 1 tablespoon cinnamon
  • water for brushing dough

DARK CHOCOLATE:

  • 1 T brown sugar
  • 1 Tsp unsweetened cocoa power
  • ¼ Tsp cinnamon (optional)

TOPPING

  • granulated sugar or coarse white sparkling sugar
  • milk or cream

METHOD

  1. To make the dough using a mixer: Beat together the butter, cream cheese, sour cream, and salt until smooth. Add the flour, mixing to make a stiff dough.
  2. Divide the dough into three equal portions. Press each gently into a disk. Make the disks as round as possible, smoothing their edges; this will allow you to roll the disks into a perfectly round circle, making the resulting rugelach more attractive.  (Note how :perfect this dough circle is.) Wrap the disks in plastic, and chill the dough for about 1 hour, until it’s firm but not rock hard. Or chill longer (up to overnight), then warm for about 45 to 60 minutes at room temperature, until the dough softens enough to roll out without cracking.
  3. To make the CINNAMON RAISIN FILLING: process the sugar, walnuts, dried fruit, and cinnamon in a food processor or blender until finely chopped and well combined (but not pasty). Don’t have a food processor? Simply stir together the filling ingredients; your filling will be chunky rather than smooth.
  4. To make the CHOCOLATE FILLING: Whisk together 1 tablespoon brown sugar and 1 teaspoon unsweetened cocoa powder; add 1/4 teaspoon cinnamon, if desired. Sprinkle atop rolled-out dough. Sprinkle with 1/4 cup (1 1/2 ounces) mini chocolate chips or chopped semisweet chocolate.
  5. Working with one piece of dough at a time, place it on a generously floured surface. Roll it into a 10″ circle and brush it lightly with water. For a flavorful touch, brush the rolled-out rugelach dough with a thin layer of boiled cider, warmed apple or 

    currant jelly, or puréed fruit preserves, instead of water.

  6. Use your fingers to spread about 1/3 of the filling onto the round, going all the way to the edges and gently patting the filling to help anchor it to the dough.
  7. Using a pizza cutter, baker’s bench knife, or sharp knife, divide the dough into 12 equal wedges. Roll each wedge up, beginning with the wide end and ending with the narrow end. Place the rolls point-side down on a baking sheet; lining the baking sheet with parchment will help with cleanup. Repeat with the remaining two pieces of dough.
  8. Brush the rugelach with milk or cream; and sprinkle with granulated or coarse white sparkling sugar, if desired.
  9. Preheat the oven to 350°F. Refrigerate the rugelach while the oven is preheating.
  10. Bake the rugelach for 25 to 30 minutes, or until golden brown. Remove from the oven, and cool right on the pan. Serve warm or at room temperature.
  11. Store leftover rugelach in an airtight container at room temperature for several days. Freeze for longer storage.

APPLE TART

TART SHELLS


INGREDIENTS

  • 100 g cold butter cut into small cubes
  • 200 g all-purpose flour
  • 60 g icing sugar (Splenda?)
  • ½ tsp vanilla
  • ¼ tsp salt
  • 1 egg (50g)

APPLE FILLING

  • 3 apples (sliced thin or spiralized with skins on)
  • 1/2 cup sugar
  • 1 Tsp cinnamon

METHOD

  1. Mix butter with sugar
  2. Add salt then vanilla
  3. Add egg
  4. Stir in flour.
    1. Mix by hand until incorporated
    2. Add 3-5 Tbl water to make dough sticky
  5. Cover with plastic and refrigerate for 30 min
  6. Butter tartlet pans
    1. Roll dough to about ⅛” thick
    2. Lay over tart mold and press into all crevices
    3. Roll top to cut off excess
  7. Prick holes in bottom and sides of formed dough
  8. Add pastry weights to each pan
  9. Bake in preheated oven 350o F (175o C) for 17 min
    1. Remove pastry weights with 5 min left in the bake
    2. Remove pastry shells from pans and let cool on wire rack
  10. Fill cooled tart shell with sliced apples. I put them in a spiral shape but any way will do
  11. Sprinkle sugar and cinnamon over the apples.
  12. Cover exposed edges of tart with aluminum foil to prevent over browning.
  13. Back at 375 F for 20-30 min. When apples have reduced and mixture is bubbling.
  14. Remove from over and cool on a wire rack.

Sweet and Salty Pizza Sauce

INGREDIENTS

  • 1 tablespoon olive oil
  • 2 cloves garlic, minced
  • 3 medium tomatoes, diced
  • 1 can tomato paste
  • 1 Tbsp sugar
  • ½ teaspoon salt
  • 1/8 teaspoon pepper, freshly ground
  • 2 tablespoons (4 large leaves) fresh basil, coarsely chopped

METHOD

  1. Heat oil in medium saucepan over a medium heat until hot.
  2. Add garlic; cook 30 seconds or until fragrant.
  3. Stir in tomatoes, tomato paste, salt and pepper and cook for 8-10 minutes or until slightly thickened, stirring and mashing tomatoes with potato masher until crushed.
  4. Stir in basil.
  5. Place in small bowl; cool to room temperature This sauce may be made up to 3 days ahead and refrigerated or up to 2 months ahead and frozen.