Paris Choux Pastry Class

I make choux pastry for eclairs and/or profiteroles several times a year. When we were planning our European vacation with a stop in France I had the opportunity to include an afternoon, small group class on making choux pastry (and it was taught in English!)

There were six of us in the class, myself, three young(ish) people from Utah and a mother/daughter from London. It was a good mix of friendly, fun people. I was the only student with experience making choux or cream patisserie, but that wasn’t an issue for any of us.

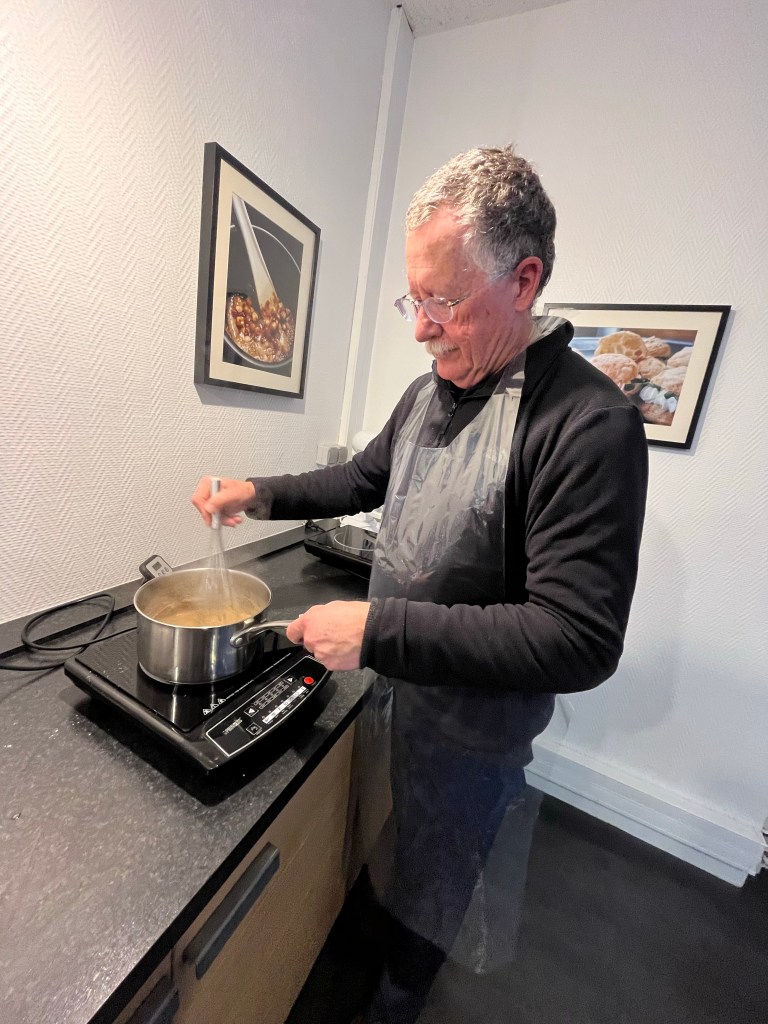
Our instructor was James who was a head pastry chef in England and France for 20 years before retiring and taking this position as a teacher. While not a trained teacher he did develop apprentices for his kitchens throughout his entire career.

The process of making choux is quite easy, but there are always tips and tricks that experience can teach you.

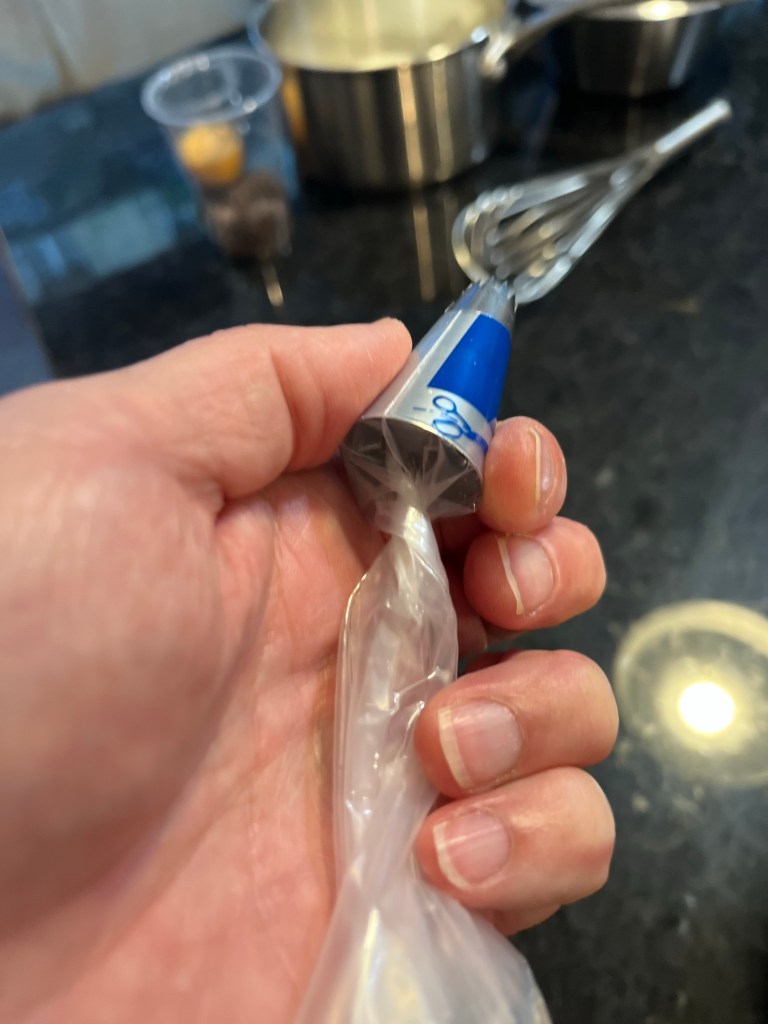
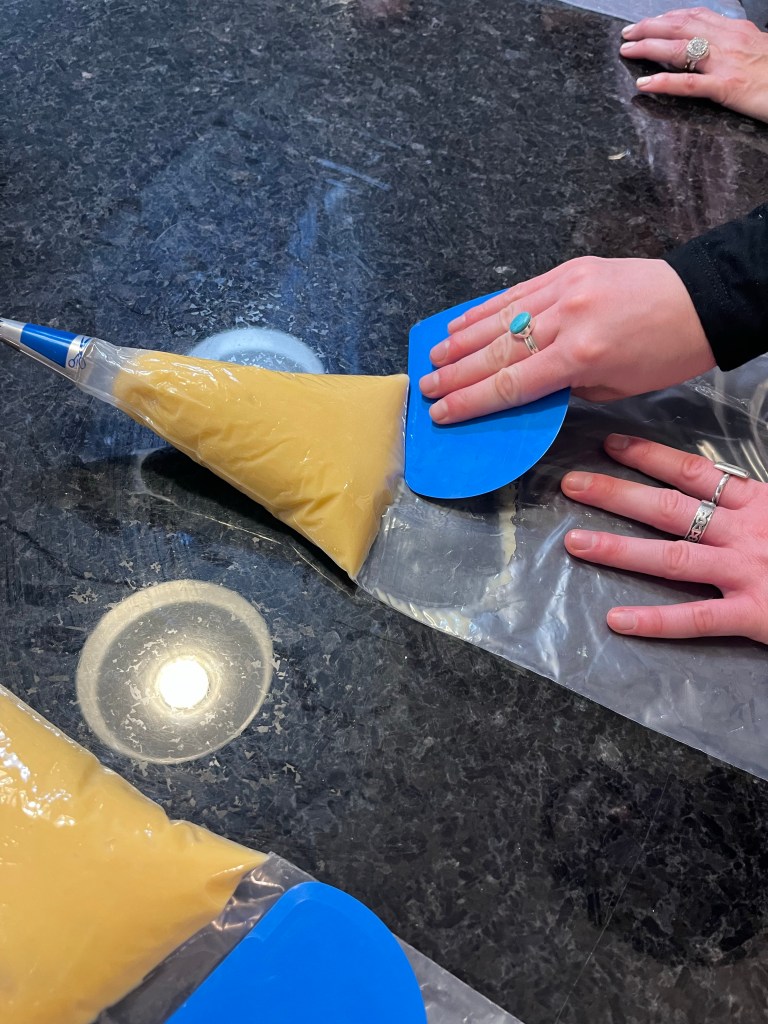
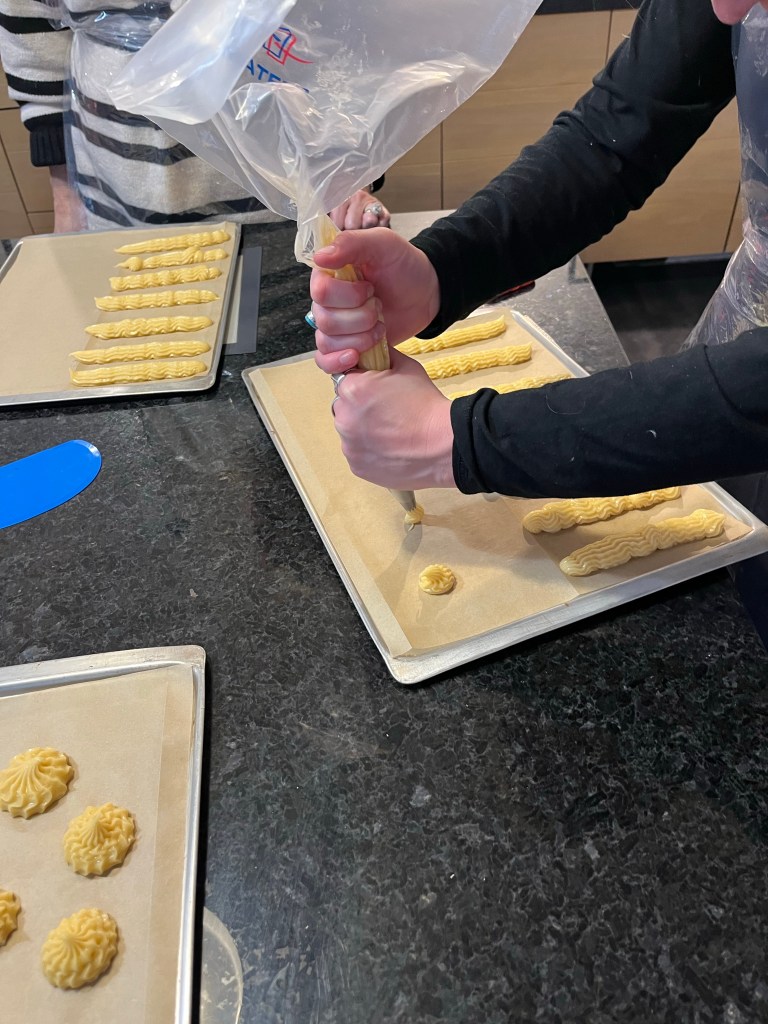
James set up three stations and we worked in teams of two. I worked with Mary, sister of Russ, both of Utah. You will occasionally see Mary’s hands and arms. You can tell us apart as I only wear one ring. We were both too busy to take pictures while we were filling the piping bags, also our hands were covered in raw choux.

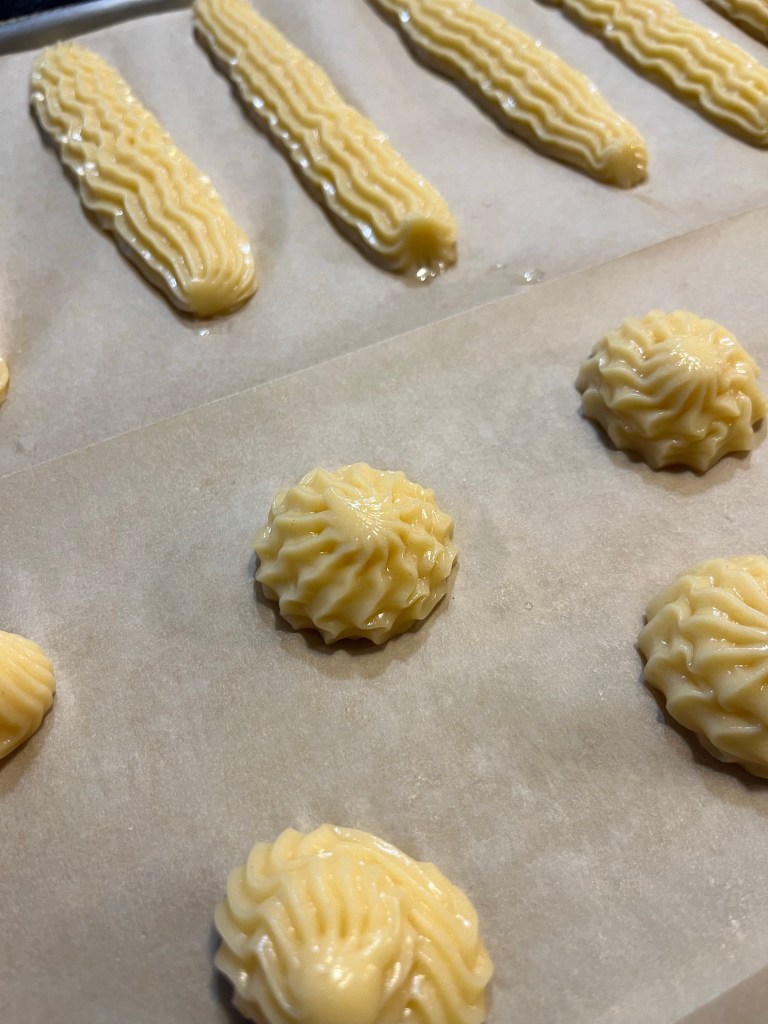
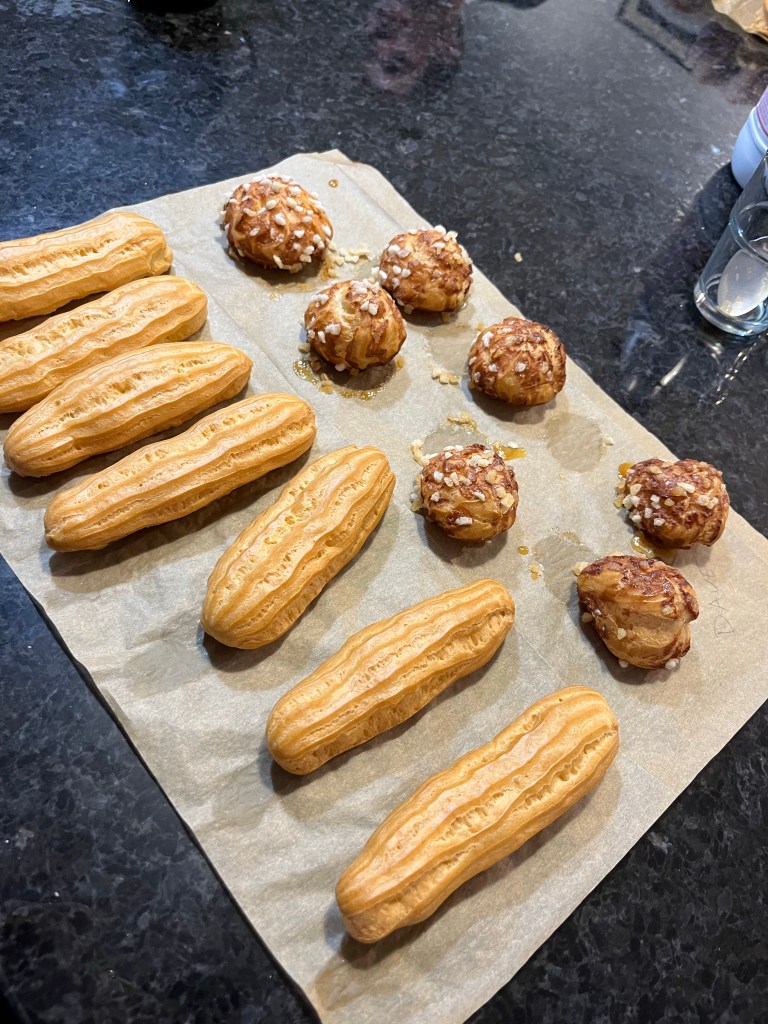
Pipe eclairs in straight(ish) lines just less than half the width of the paper and about 3/4” wide.

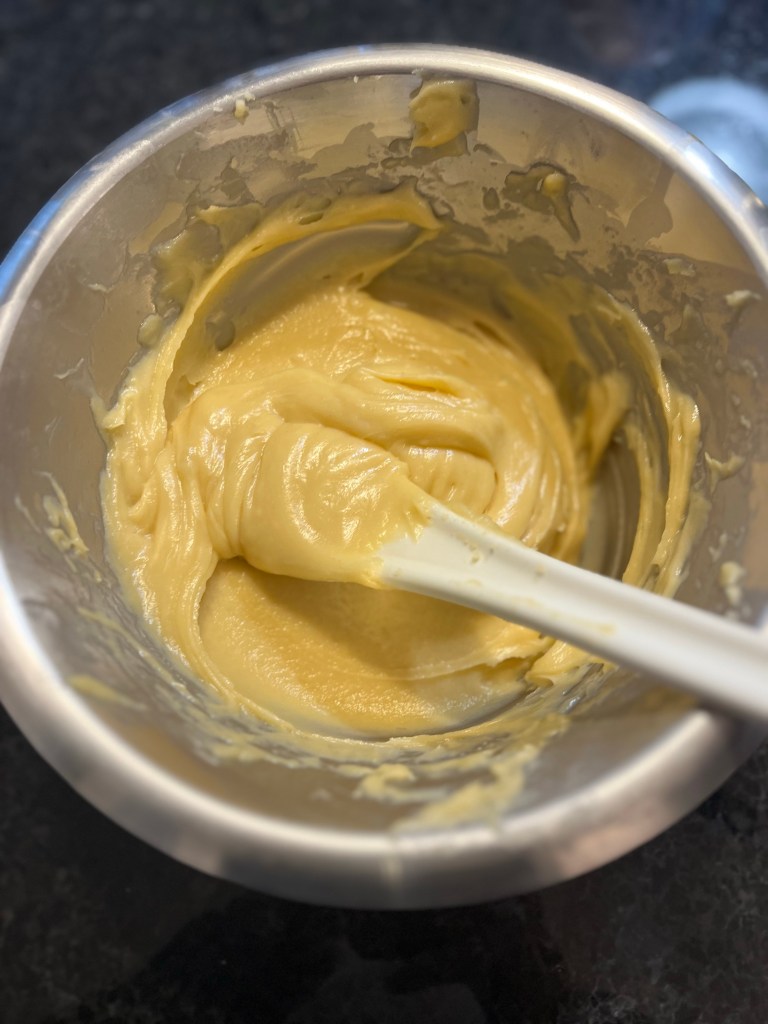
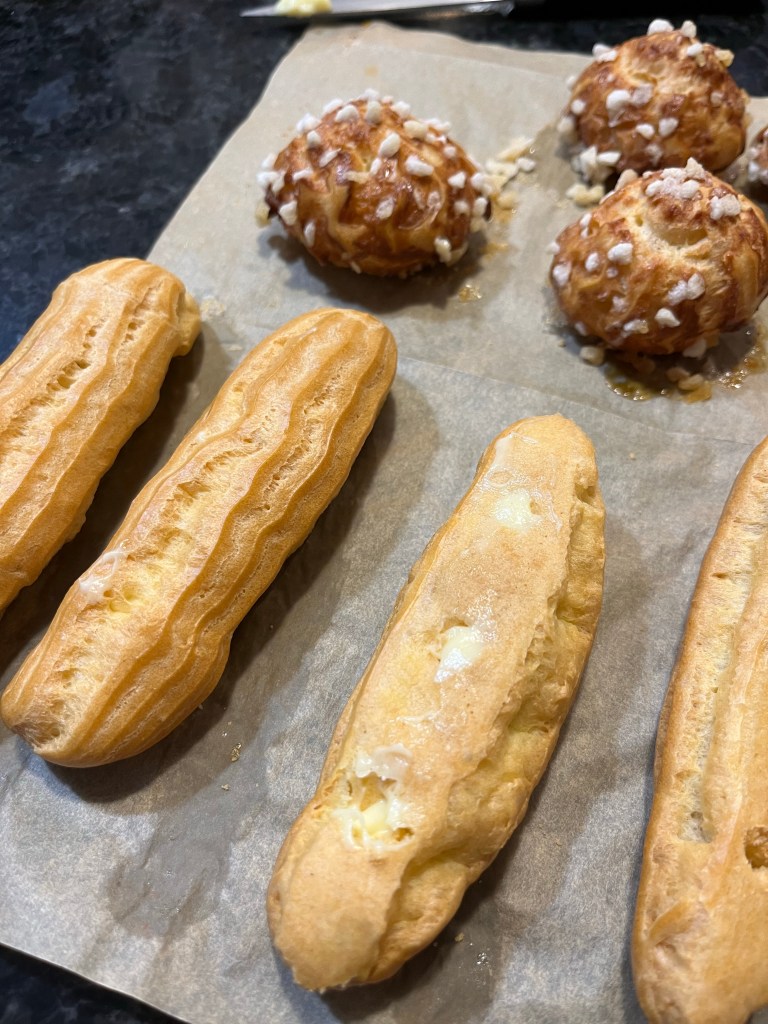
Each team made a different variety of filling. Mary and I made coffee, the others made chocolate and vanilla. Cream patisserie is fairly easy to make. I use Martha Stewarts’ method of mixing everything together before heating, then sieving the thickened mixture. We did the traditional egg tempering method in class.

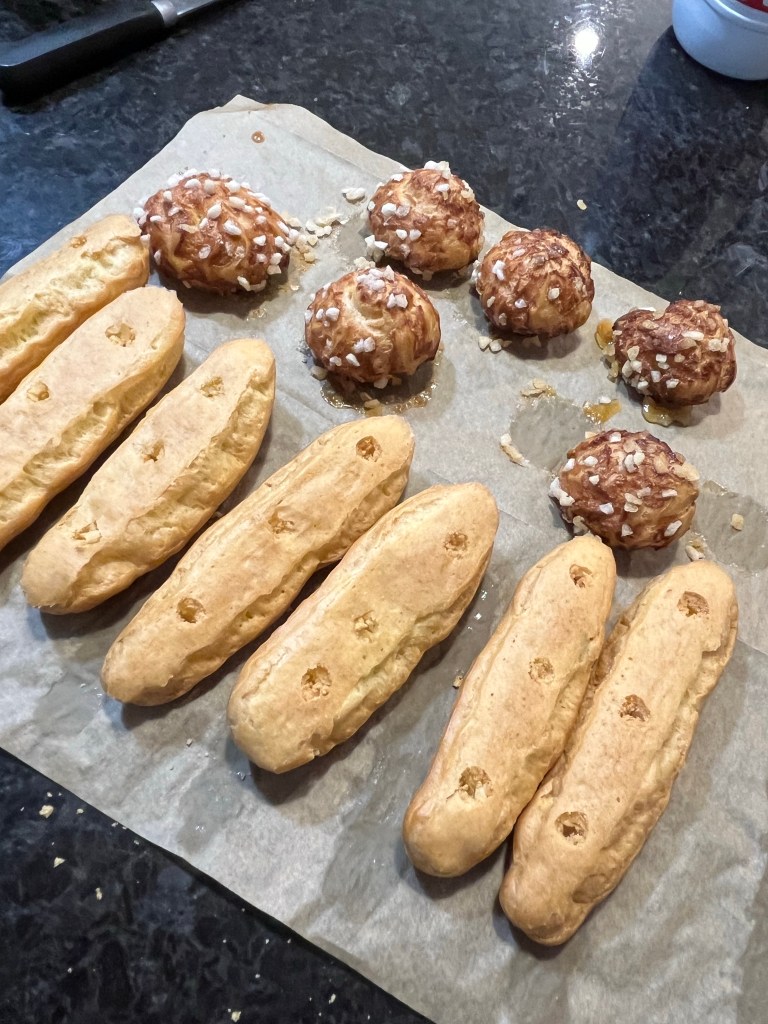
Two great tips for filling the eclairs, neither of which I knew. Use the tip of a knife to bore three holes in the bottom of each eclair. Let gravity be the force, do not push the knife down or you will break the eclair. Also, fill each end hole first. When you fill the center last the creampat will push up through the two end holes assuring the entire eclair is full. Believe me, this works great.

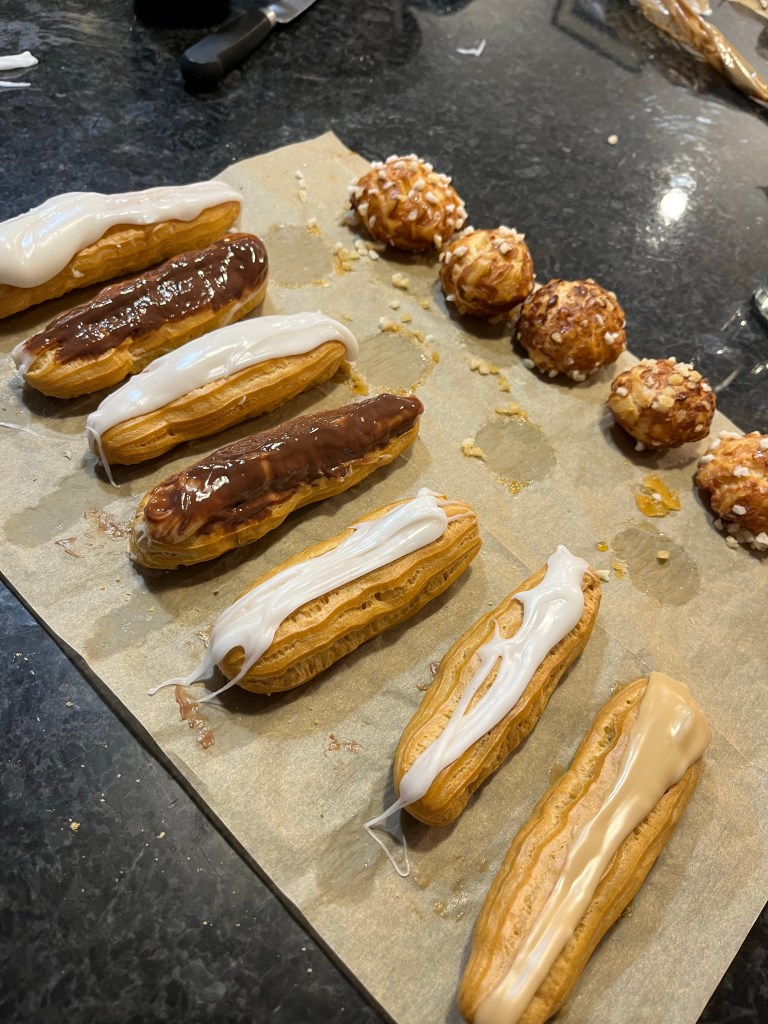
James made the topping in advance. I usually just use a simple chocolate ganache, but learning this technique was fascinating. It was so messy neither Mary or I were able to photograph the procedure.

Don’t tell QC, but I could imagine a week of baking courses in Paris, learning so many new techniques. It was a blast.

nGDS Pretzels with Kim’s Flour Blend

(nGDS – Non Gluten/Dairy/Soy)

I was not a fan of my previous pretzel experiment using KAB Measure For Measure gluten free flour. While the taste was acceptable, the texture was wrong and the resulting pretzels (both dough and baked) were very fragile. That batch ended up being binned.

This batch used Kim’s Flour Blend, the flour used to make the Artisan nGDS bread a few days ago. This flour provided the correct texture and dough strength for the pretzels to hold their shape, although the taste was not as close to a traditional pretzel as the Measure For Measure flour. As an extra precaution I cut the parchment paper under each un-baked pretzel and used a large spatula to carefully slide the pretzel and paper into the alkaline bath. The paper slid off the boiled pretzel and was discarded.

This recipe required a longer bake time. Depending on your oven, bake 9 to 10 minutes, rotate the baking tray, then bake another 9 to 10 minutes.

nGDS Soft Chewy Pretzels with Kim’s Flour

Ingredients:
• 3 cups (420g) Kim’s blend GF flour – weighed or poured & leveled
• 1 ½ tsp xanthan gum
• 1 ½ tsp psyllium husk powdered
• 1 tbl active dry yeast
• 1 tsp salt
• 1 cup water
• 3/4 cup almond milk
• 2 tbl olive oil
• 1 tbl honey
• 3 ½ tbl red palm and coconut oils shortening (Nutivia) melted – cooled slightly

Directions:

  1. Heat the water in the microwave for 20-30 sec to achieve a temperature of about 120-130 deg then combine with the cold milk in a small bowl for a resulting solution temperature of 110 to 115 degrees F. Add the sugar and salt to the warmed water and milk and stir to combine. Sprinkle in the yeast and mix with a fork. Allow the mixture to sit for about 5 minutes or until it becomes foamy.
  2. Pour the foamy mixture into the bowl of a stand mixer fitted with a dough hook and add the melted, cooled, unsalted butter and flour. (I add the flour a cup at a time to be sure it mixes well.) Mix on low speed for until combined and no dry flour remains in the bowl. Scrape the bowl as needed. Continue to mix for about another 7 minutes or until the dough pulls away from the sides of the bowl and is smooth. Scrape the dough from the hook if it comes up to far. Note: The dough may begin to pull away from the bowl after only 2 minutes, but may look a bit pulled or shaggy and still be sticky. It is not done kneading until it is smooth to the touch and no longer sticky.
  3. Remove the dough from the bowl and form into a ball. Wipe out the bowl, if necessary and grease it with 1-2 tablespoons of oil. Place the dough ball back into the bowl and turn over a couple of times to coat thoroughly with the oil. Cover the bowl with a dish towel or plastic wrap and place in a warm area , free from drafts or cool air (a microwave, turned off is a good location), for about 1 hour, until the dough has risen and doubled in size.
  4. Refrigerate covered for at least 6 hours, preferably overnight, but up to 10 days.
  5. On baking day, remove the dough from refrigerator and dump it out onto well-floured surface. Loosely cover with plastic wrap (the piece that covered the bowl in the fridge) and let the dough warm to room temperature.
  6. When the dough is ready, preheat the oven to 450 F and position the oven rack in the upper third of the oven. Line a large (15″ x 20″) baking sheet with parchment paper and spray with Bakers Joy. Set aside. Note: You may need 2 baking sheets to avoid crowding the pretzels. If only one small, puny sheet is available, make one batch of pretzels and keep the remaining dough covered, so it does not become dry. Between batches, allow the baking sheet to cool, before filling with remaining pretzels.
  7. Place in proofing oven (or other draft free, warm location such as an oven, turned off, with the light on) for 1 hour
  8. In a large, wide pot (6-8 quarts) add 8 cups of water, baked baking soda and malt powder. Stir to combine and bring to a full boil. Place a plate lined with paper towels nearby, as well as the kitchen spider or slotted spoon.
  9. In the meantime, dampen a kitchen towel with water and set aside. Heavily dust your work surface with Kim’s Blended Flour, remove the dough from the bowl, place it on the work surface and divide into 8 equal pieces. Cover the pieces that you’re not rolling with plastic wrap or a damp kitchen towel, so they don’t become dry. Using the palms of your hands, roll each piece of dough to a 24-30 inch long rope and then shape into a “U”. Don’t be afraid to use plenty of flour. The dough is sticky! Grab the ends of the rope and cross them over each other once or twice and then bring the ends down to the bottom of the ‘U” and press them down to seal, forming the shape of a pretzel. Place the pretzels onto the greased parchment-lined baking sheet and cover with a damp kitchen towel to prevent the dough from drying out, while you continue to roll the remaining dough. You can also cut some of them into 1 ½” logs to make nuggets.
  10. Place the formed pretzels in a warm, draft free location (such as a proofing oven, or regular oven (Off) with the oven light on to proof for an hour.
  11. The lack of gluten results in a more fragile structure than a traditional gluten pretzel dough. To help maintain the pretzel shape I cut the parchment paper around each pretzel and gently lowered them into the mixture as described in the next paragraph. The paper floats off when the pretzel is flipped. The boiling gave the dough more structure and helped they stay in shape.
  12. One at a time, lower each pretzel into the boiling water mixture for about 30 seconds. I push them down underwater a few times to assure the top is treated as well. The pretzels will puff up while boiling. Using a kitchen spider or slotted spoon, carefully remove the pretzel from the water, blot slightly on paper towels and then place back onto the parchment lined greased or sprayed baking sheet a few inches apart.
  13. Using a pastry brush, brush the top and sides of each pretzel with the almond milk wash and then sprinkle with coarse salt.
  14. Place the pretzel filled baking sheet on the upper oven rack and bake for about 7 minutes. Open the oven and quickly rotate the baking sheet so that the pretzels that were facing the front are now facing the rear of the oven. It may seem like a pain, but it’s quick and easy and will ensure even baking. Continue to bake for another 7 minutes or until pretzels are dark golden brown.
  15. Remove sheet from oven and place pretzels on a wire rack to cool slightly before serving. Outrageously good if served warm. Mildly spectacular if served later.

Kim’s Gluten Free Bread Flour Blend 700g (5 c) 1.4kg (10 c) 2.1kg (15 c) 2.8kg (20 c)
Bob’s Red Mill potato starch 285 g 570 g 855 g 1140 g
superfine white rice flour (DON’T use 250 g 500 g 750 g 1000 g
regular rice flour, ie Bob’s Red Mill)
Tapioca flour 75 g 150 g 225 g 300 g
Egg white protein 75 g 150 g 225 g 300 g
Xanthan gum 15 g 30 g 45 g 60 g

Soft, Chewy Pretzels

We needed a thank you gift for a friend, who happens to love my soft, chewy pretzels and as my golf was cancelled due to rain…

I had trouble rolling the dough into long enough ropes to make good pretzel “knots.” I believe the dough wasn’t wet enough to allow the 24”-30” rope. Today’s was only about 18”.

That aside the flavor and texture was wonderful. QC gave it a big thumbs up.