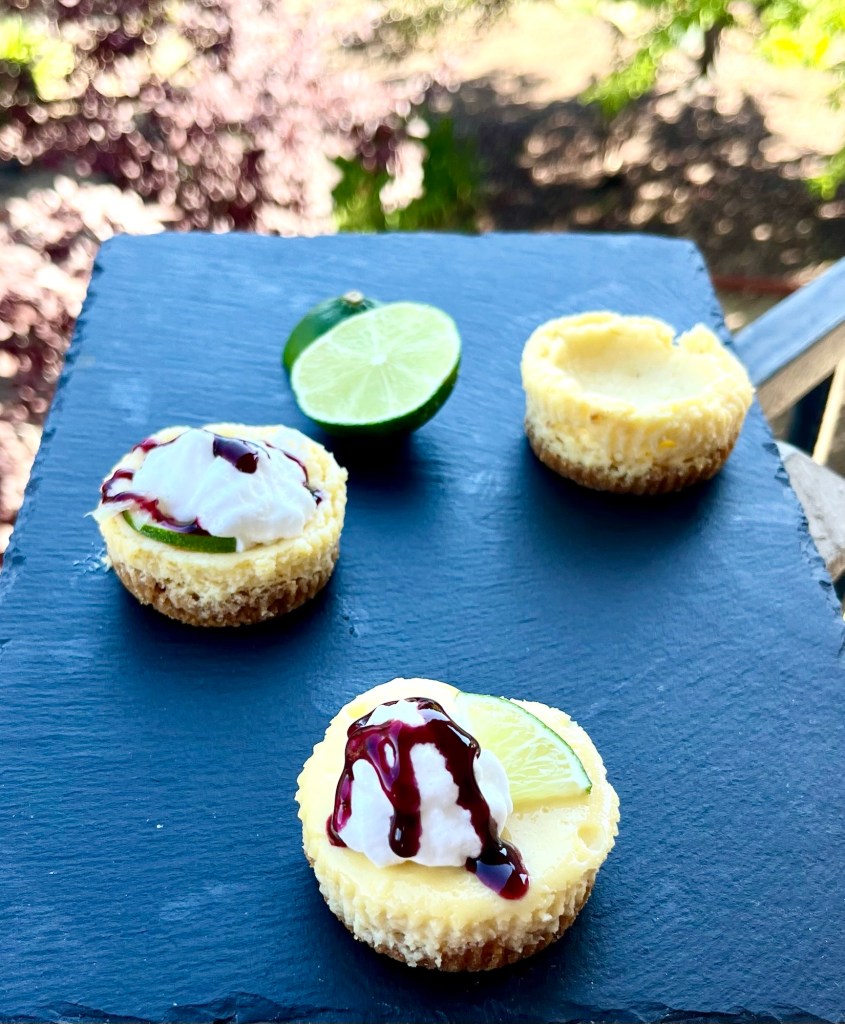
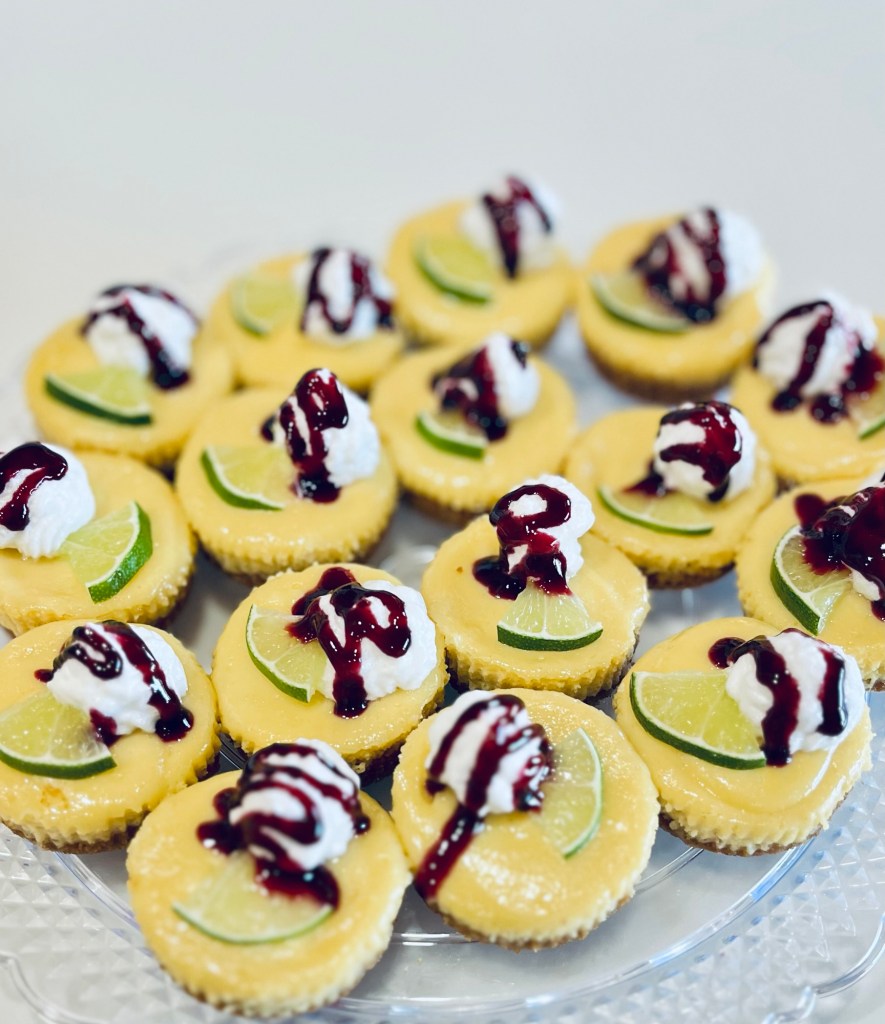
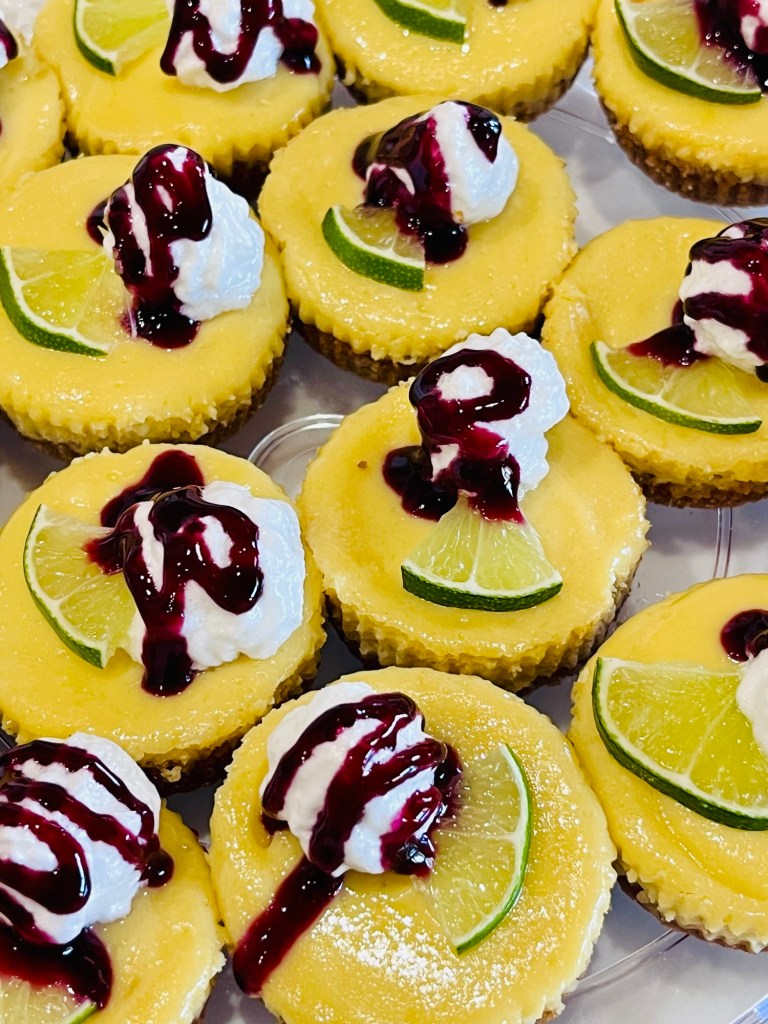
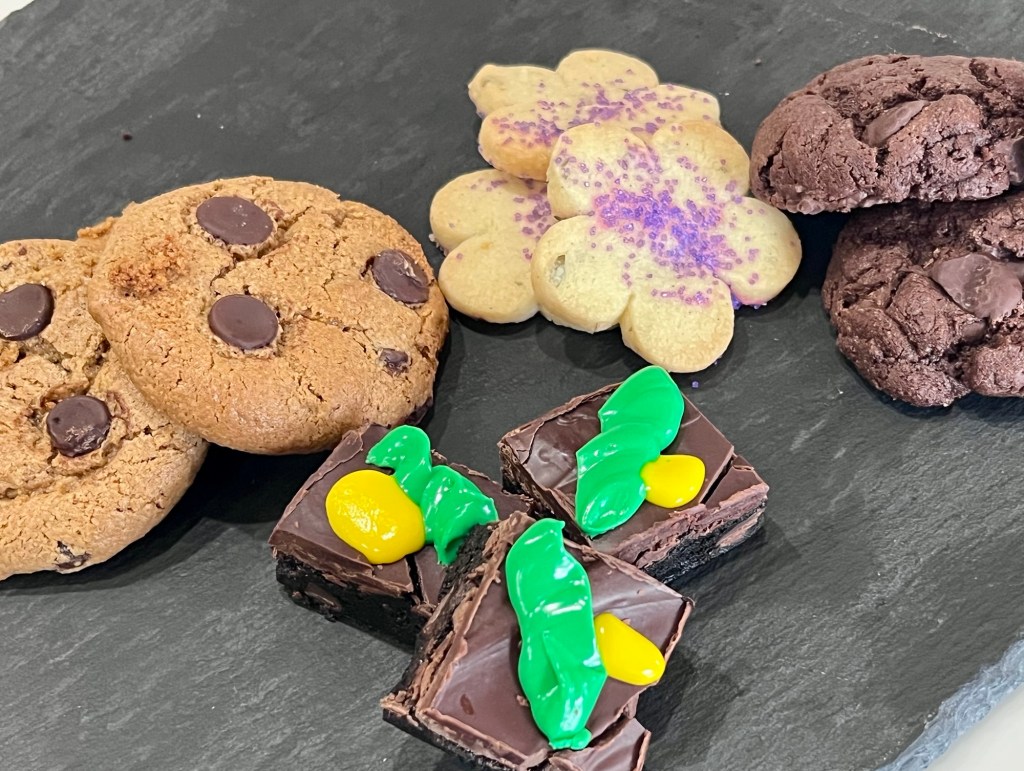
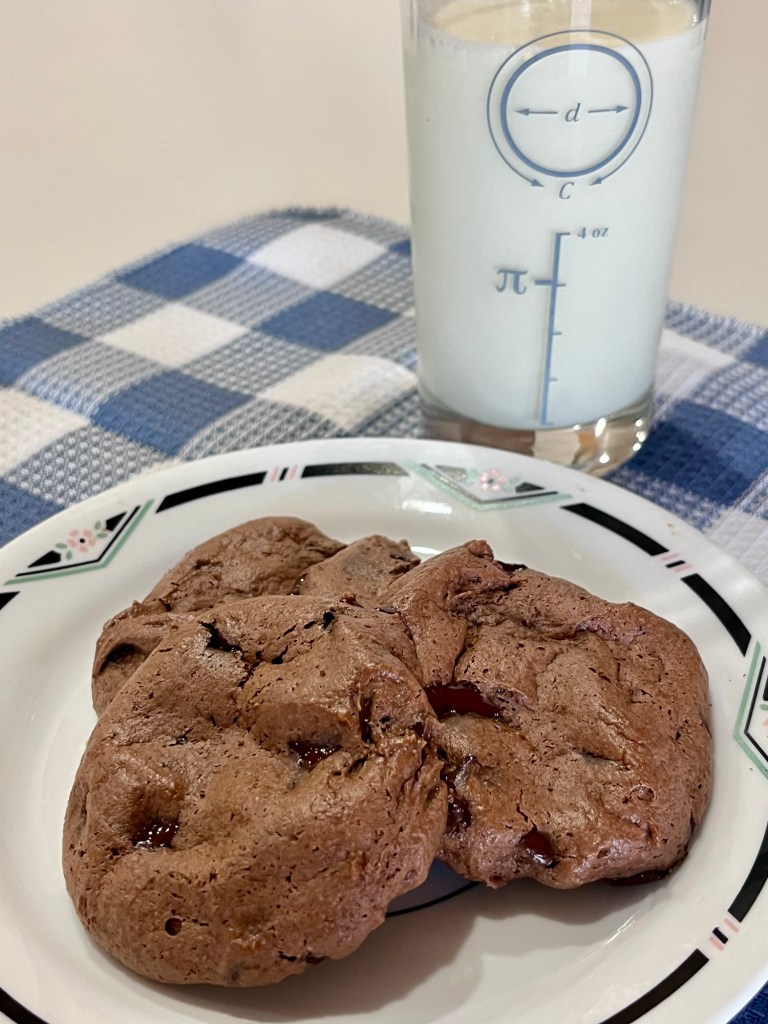
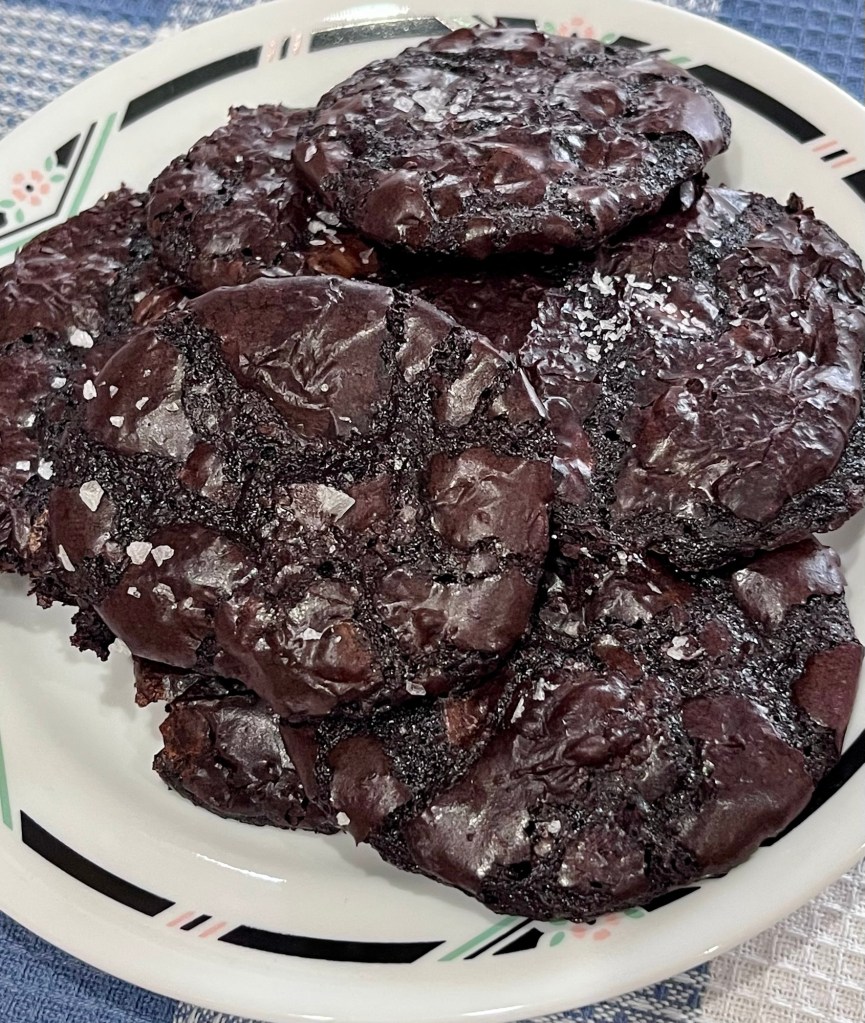
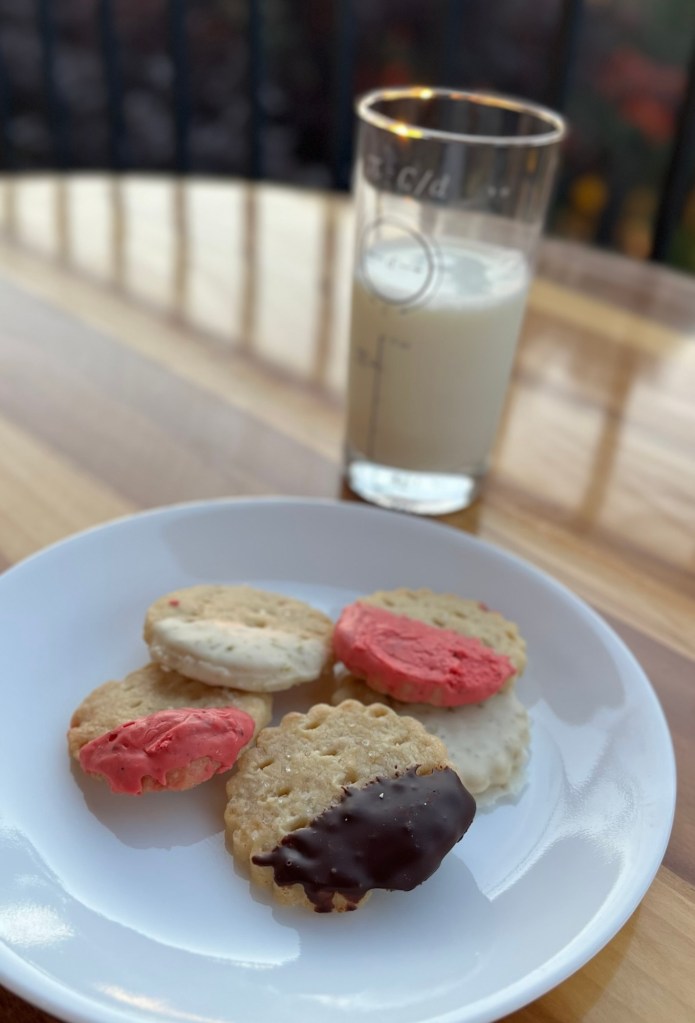
I need a variety of summery cookies for QC’s Mah Jongg group who will meet at our house. Some people do not like chocolate (philistines), some do not like tart and unbelievably, some do not like sweet. I dredged cookies in tempered 54% chocolate, hard setting key lime and raspberry icing to try to satisfy most of them.
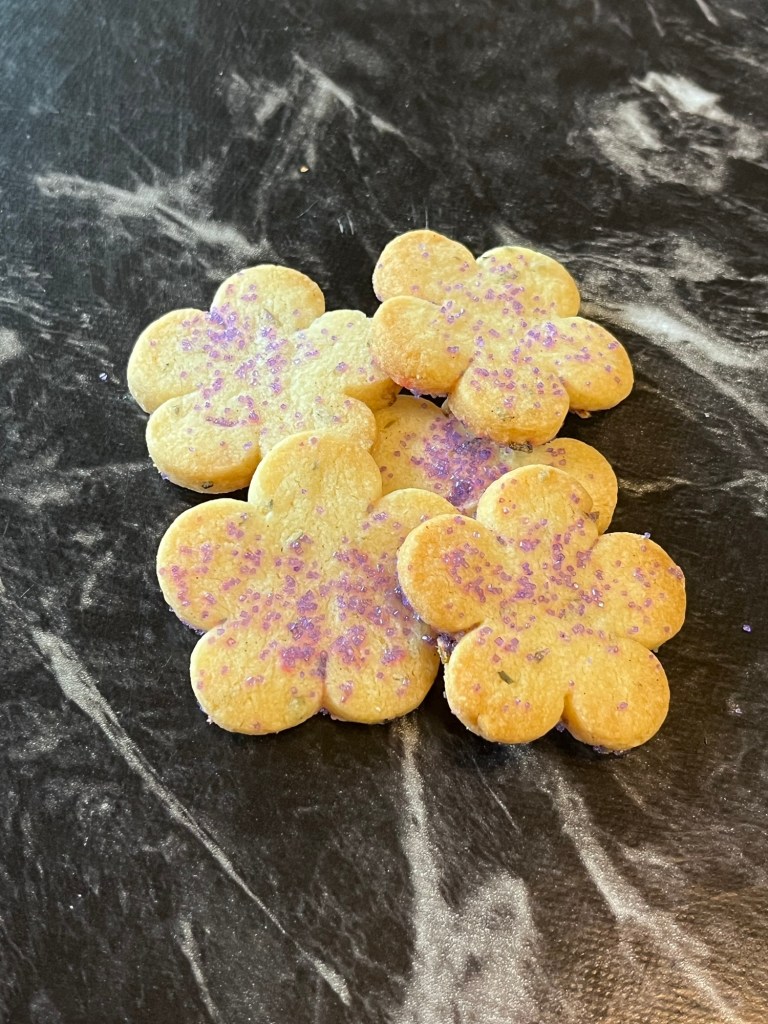
Shortbread Cookies
INGREDIENTS (Half Recipe)
• 336 g = 3 sticks, 36 Tbl (170g = 1½ sticks) unsalted butter, at RT
• 200 g = 1 c (100g = ½ c) sugar, plus extra for sprinkling
• 1 tsp (½ tsp) pure vanilla extract
• 420 g = 3 ½ c (210g = 1¾ c) all-purpose flour
• ¼ tsp (⅛ tsp) salt
• 175-200 g semisweet chocolate, finely chopped
• Optional: 3 Tbl fresh orange zest
METHOD
- In the bowl of an electric mixer fitted with a paddle attachment, mix together the butter and sugar until they are just combined. Add the vanilla, (and zest if using.)
- In a medium bowl, sift together the flour and salt, then add them to the butter-and-sugar mixture. Mix on low speed until the dough starts to come together. Dump onto a surface dusted with flour and shape into two flat rectangles ~ ¾ inch thick each. Do not overwork it and the flour will hydrate some in the freezer. Wrap in plastic and chill for 30 minutes.
- Roll the dough ~1/2-inch thick and cut into desired shapes. Place the cookies on an ungreased baking sheet dock with a fork (and optionally sprinkle with sugar.)
- Preheat the oven to 350⁰F. Refrigerate cut cookies while the oven heats. (~ 15 minutes)
- Bake for 20 to 25 minutes, until the edges begin to brown. Allow to cool to room temperature.
- If chocolate coating, when the cookies are cool, place them on a baking sheet lined with parchment paper.
a. Temper the chocolate as described below
b. Drag ½ of each cookie with just enough chocolate to coat it.
c. Optional: dust still warm chocolate lightly with zest
Tempering Chocolate with Mycryo
INGREDIENTS
Weigh 1% of the mycryo butter so it’s ready to add.
• 100g/3.5oz chocolate + 1/2 tsp (1g) Mycryo cocoa butter
• 200g/7oz chocolate + 1 tsp (2g) Mycryo cocoa butter
• 1kg/35.27oz chocolate + 5 tsp (10g) Mycryo cocoa butter.
METHOD
- Melt chocolate to 122-126°F (microwave or bain-marie). Leave the chocolate to cool to 93-95° F (or 91-93° F for milk, white or colored chocolate) at ambient temperature.
- When cooled, sprinkle the 1% Mycryo® cocoa butter as per table above and wait a few seconds as it melts then stir in to combine.
- Use a rubber spatula to scrape the chocolate off the sides and fold into the middle.
- Stir well and continue to stir well frequently
- Use immediately. To keep the chocolate in temper, maintain it within working temperatures: 88°F–91°F for dark chocolate, and 82°F–84°F for milk/white/colored chocolate.
- If the chocolate starts hardening, then heat it up and stir well until it warms back up to working temperature and the chocolate is smooth again. (Do this carefully, putting it in the microwave in 5 second bursts, stir vigorously and repeat until desired temperature is achieved.)
Key Lime Icing – Hardening
Sets Firm/Shiny
This creates a classic, hardened sugar glaze, which is perfect for bundt cakes and cookies.
INGREDIENTS
• 113 g (1 c) powdered sugar,
• 1 -2 Tbl fresh key lime juice
• ½ – 1 tsp meringue powder (optional, but helps it dry faster and harder).
• Zest from 1 small lime
METHOD
- Add ingredients to a small bowl
- Beat until completely smooth. The icing should be thick enough to slowly drip in a ribbon.
- Let it sit at room temperature for 12 to 24 hours to set completely dry and crisp.
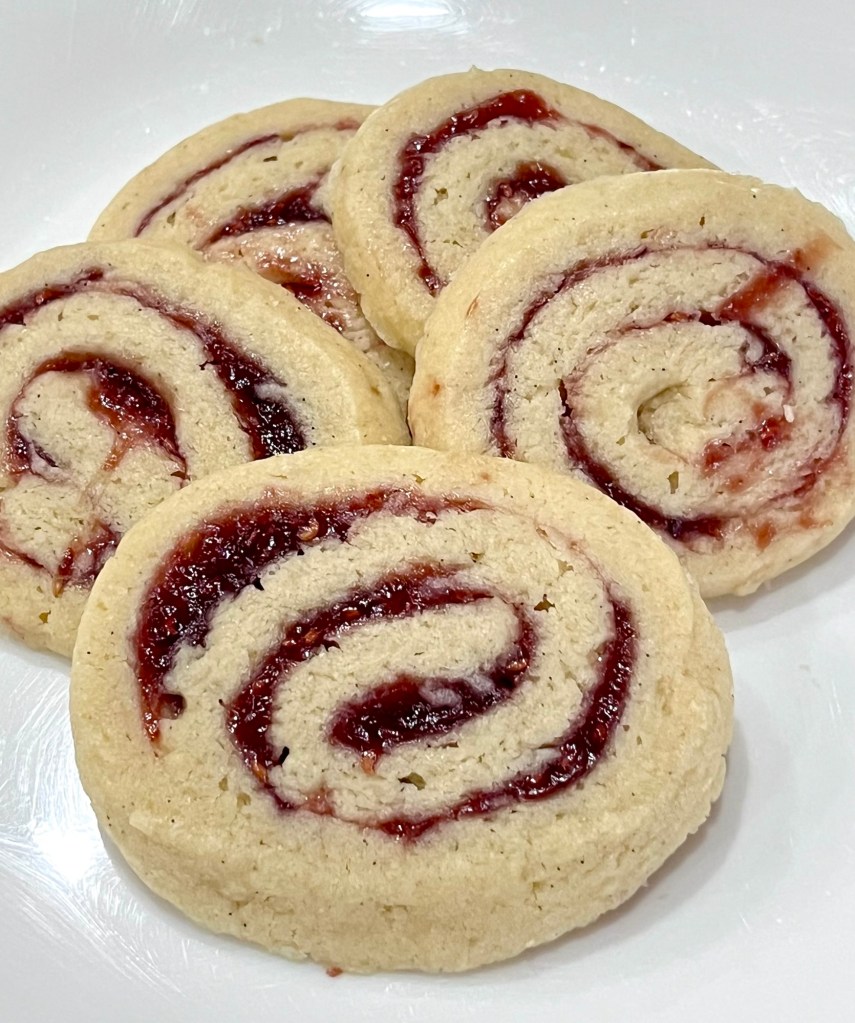
Raspberry Icing – Hardening
INGREDIENTS
• 113 g (1 c) Powdered Sugar
• 40 g (⅛ c) Seedless Raspberry Jam
• 2 – 3 ½ Tbl Milk or Heavy Cream
• ¼ tsp Vanilla Extract
• Pinch of salt
• ½ – 1 tsp freeze dried raspberry powder
METHOD
- In a medium bowl, beat the ingredients, and 1 tablespoon of milk.
- Beat until completely smooth. If the icing is too thick and difficult to pour or drizzle, add the remaining milk ½ teaspoon at a time until you reach a pourable yet thick consistency.
- If you want a perfectly leveled, mirror-like “melted” glaze that hardens quickly, gently warm the mixture in a double boiler or microwave for 10–15 seconds before pouring.
- Pour, dip or drizzle over your cookies, cakes, or pastries. Let it sit at room temperature for 1–2 hours to harden into a firm crust