Honey Pumpernickel Bread

After a grueling day of golf yesterday, praying to the golf gods the storms would stay away (they did) and preparing for another round tomorrow, I needed something to occupy my time today

I haven’t made white sandwich bread in a while so I made the dough early this morning. It needs a minimum 8 hour refrigerated rest which will be over at 2:30 this afternoon. I can then shape and bake it. If the results are good there will be a second post later.

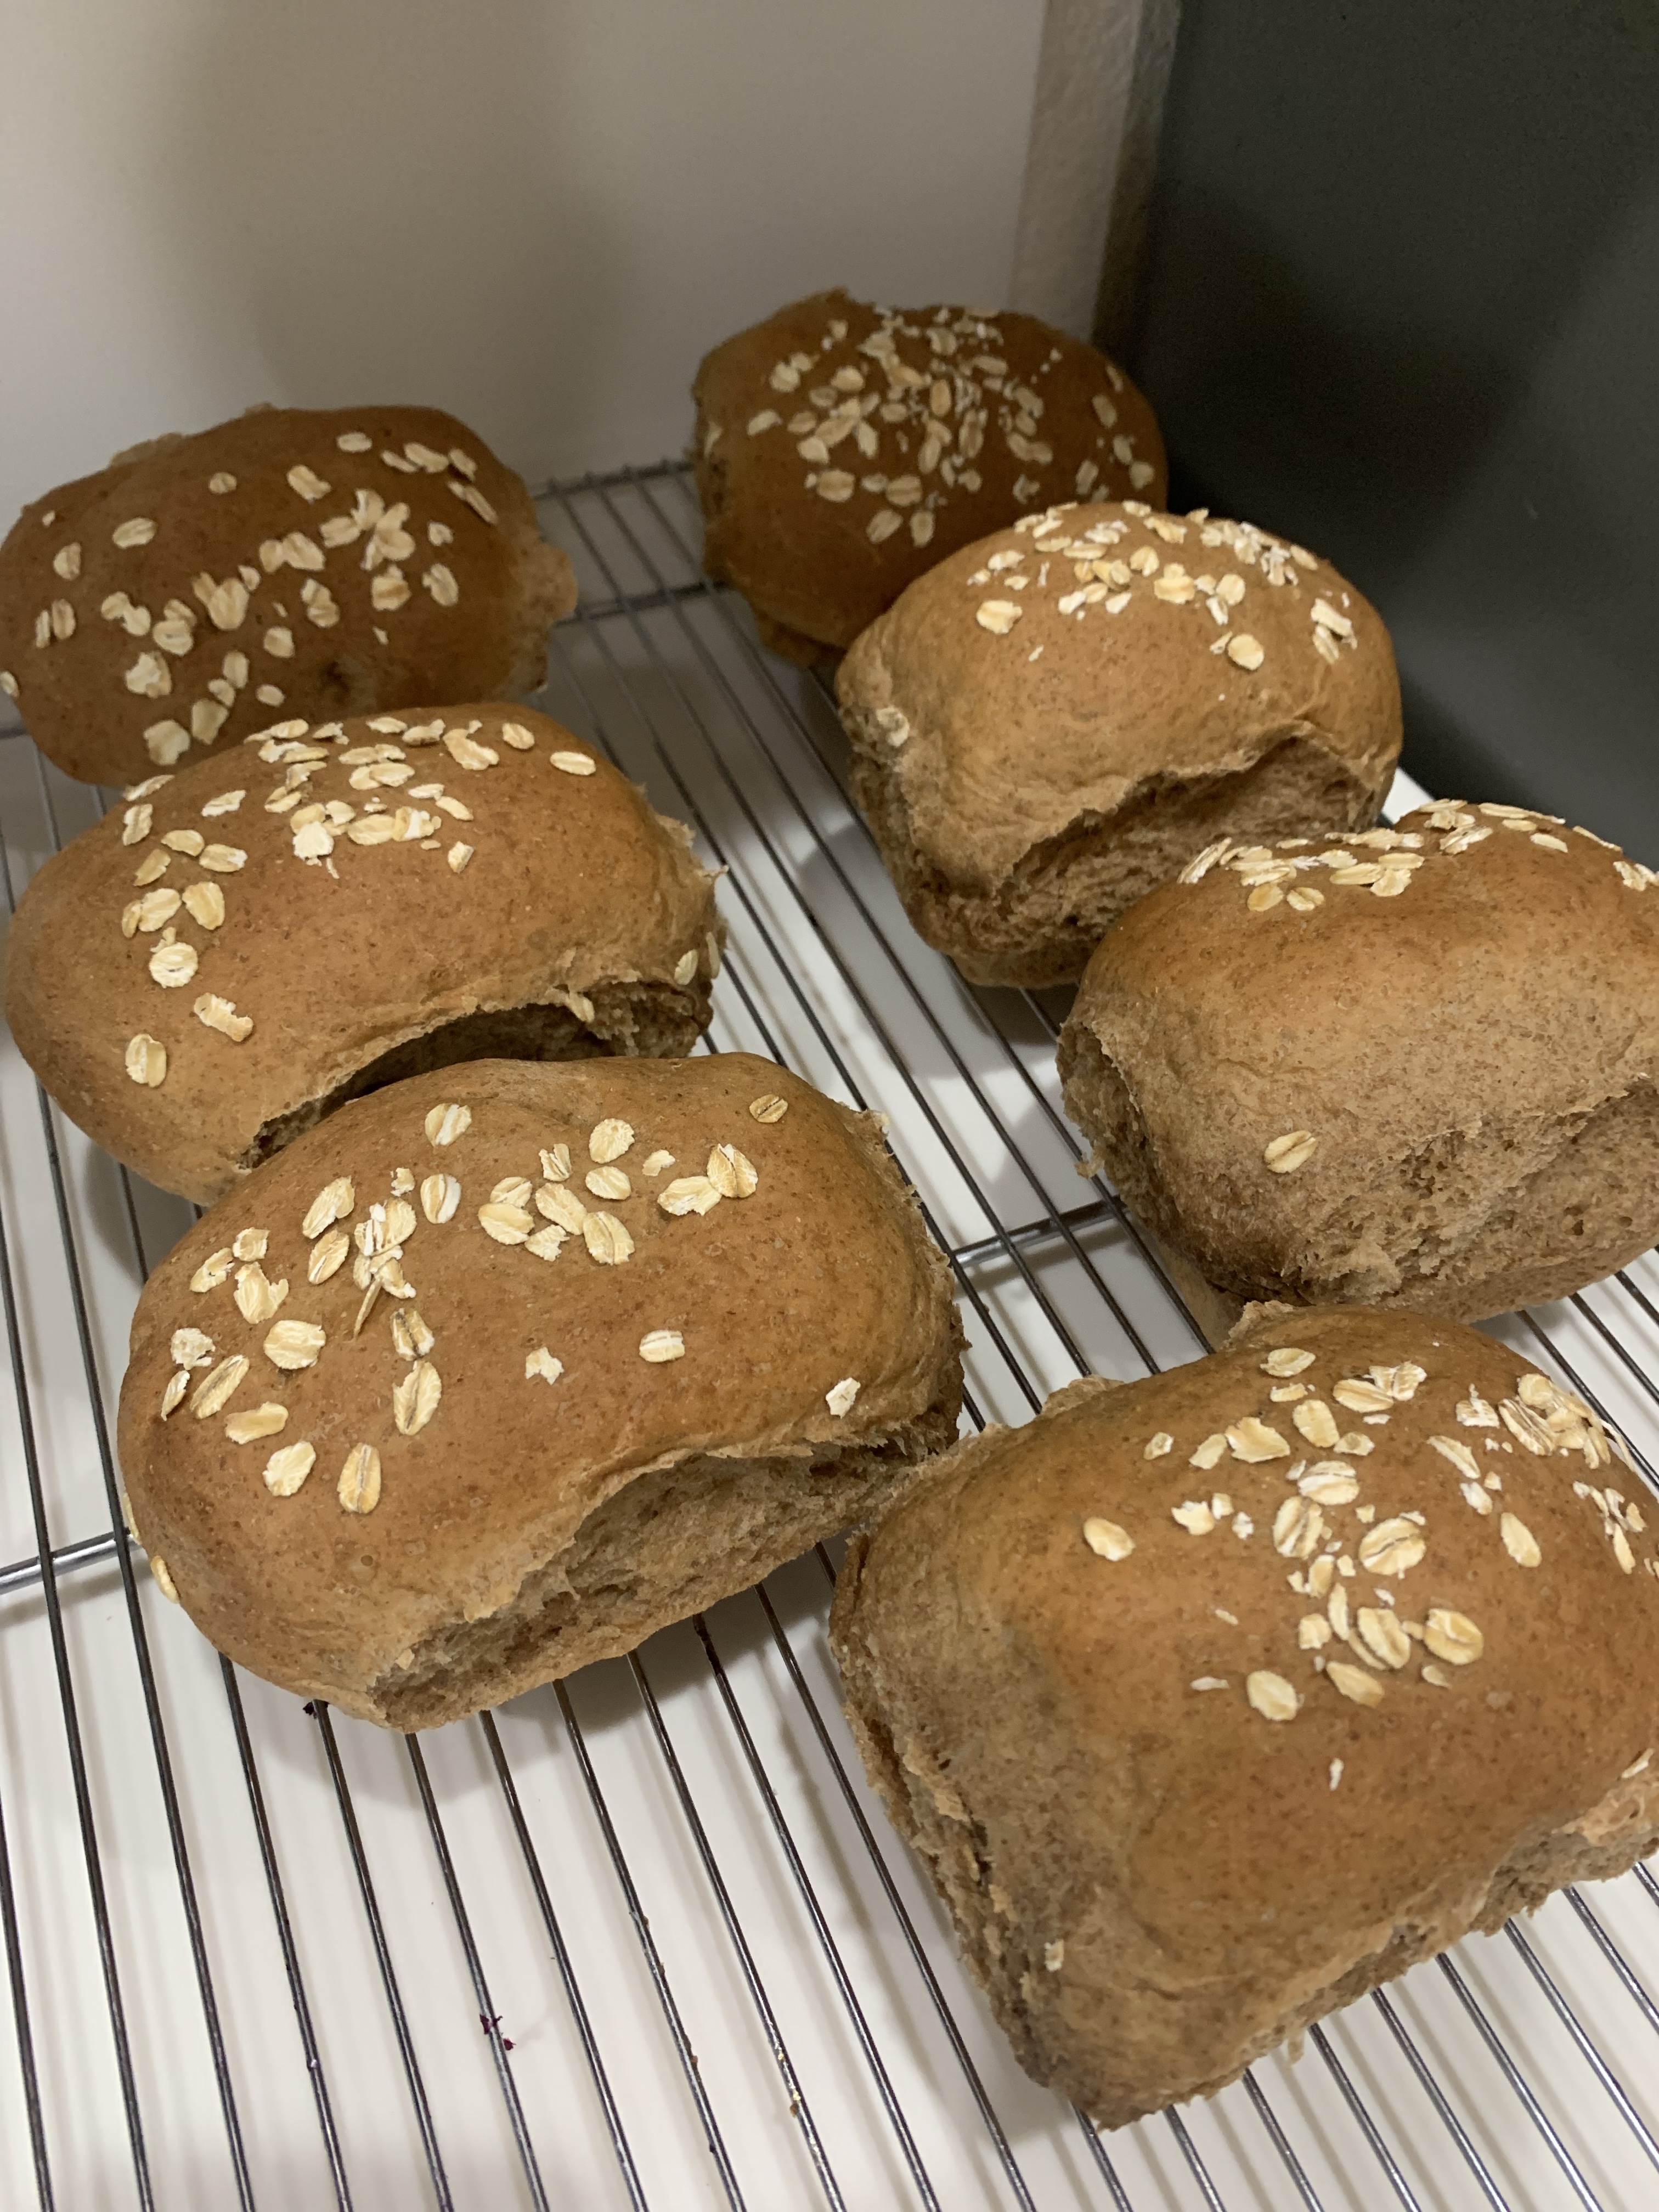
While waiting for the sandwich bread to rest and ferment I decided to make a recipe of honey Pumpernickel bread. I am glad I did. I made this once or twice before but never with such great results. Great flavor, texture and crumb.

Mini Loaf Pan

HONEY PUMPERNICKEL BREAD

INGREDIENTS

• 2 ½ cups warm water (100°-110°F)
• 50 g (1/4 cup) vegetable oil
• 40 g (2 Tbl) molasses
• 170 g (1/2 cup) honey
• 3 ½ cups (400g) pumpernickel flour
• 2 Tbl unsweetened cocoa powder
• 2 Tbl Vital Wheat Gluten
• 13.5 g (1 ½ tbl) instant yeast
• 1 tsp (6g) salt
• 240-360 g (2-3 cups) bread flour
• rolled oats (for dusting loaves)

INSTRUCTIONS

  1. In the bowl of a stand mixer fitter with a dough hook, stir together water, oil, molasses, and honey until mixed well.
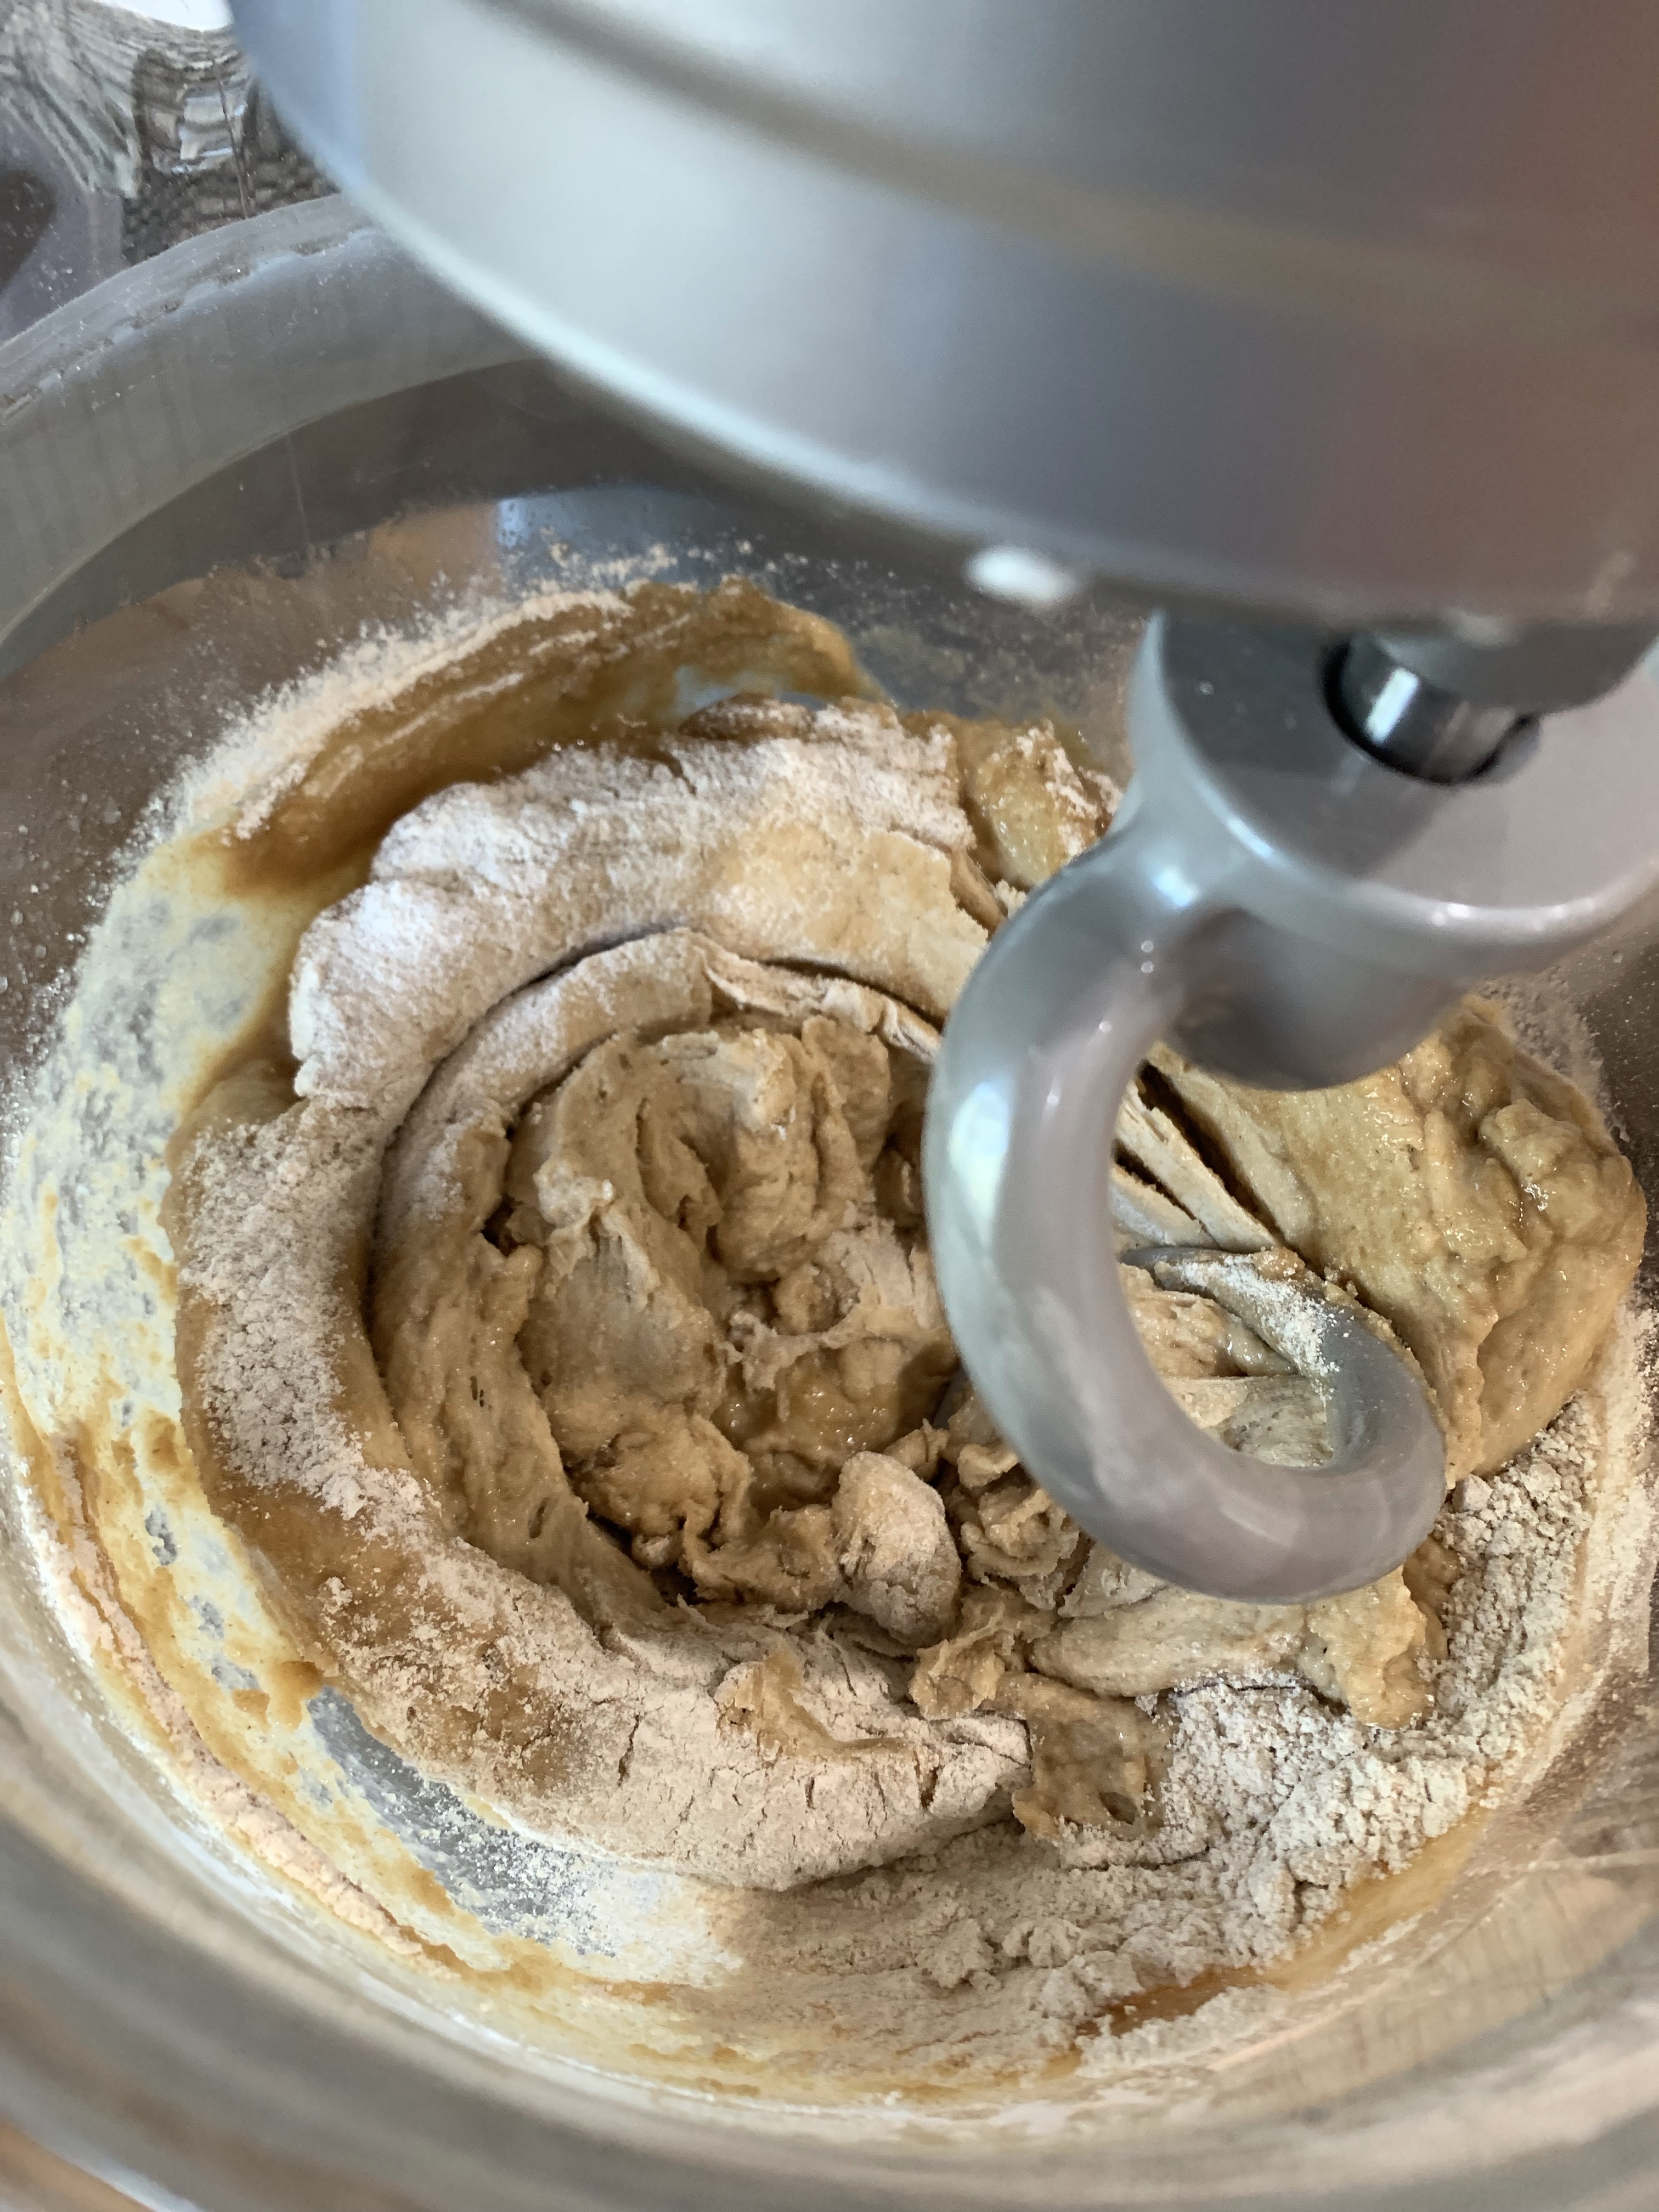
  2. Add pumpernickel flour and Vital Wheat Gluten to water mixture.
  3. Add cocoa, yeast, and salt, and stir until blended.
  4. Allow mixture sit for 10 minutes.
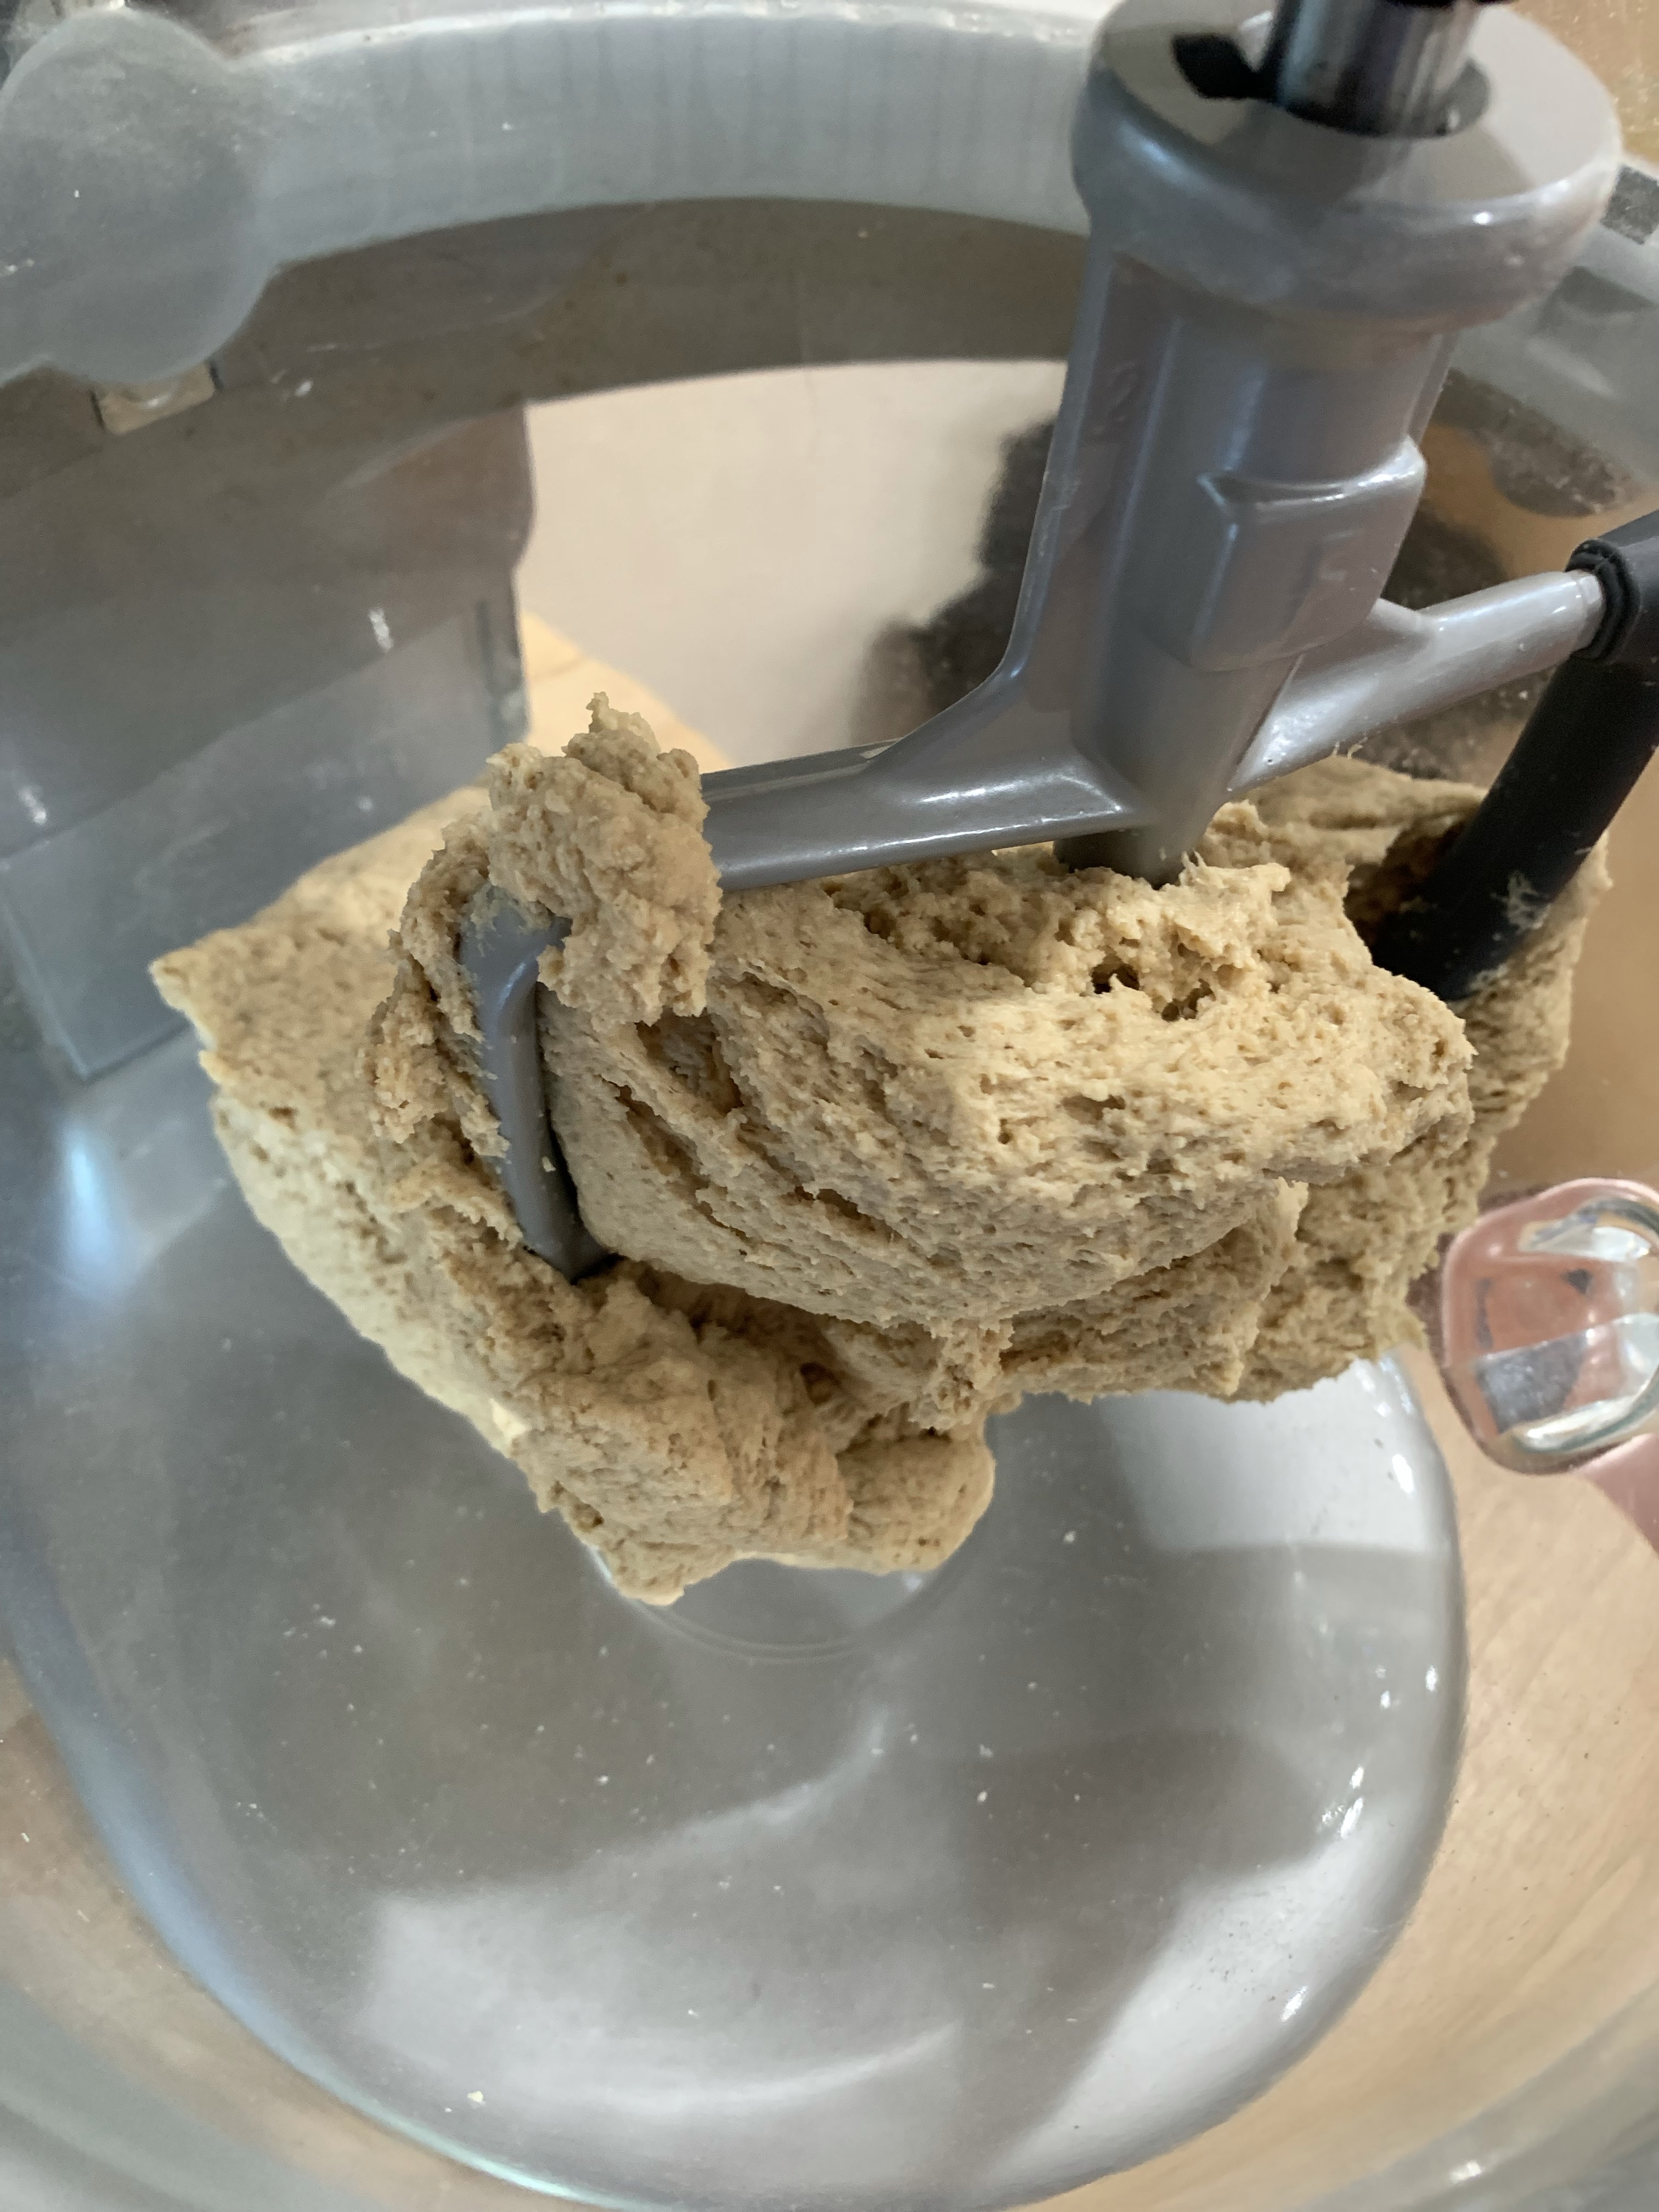
  5. Stir in bread flour, one cup at a time, until dough clings to hook and almost clears the sides of mixer, about 3-4 minutes. The dough should weigh about 1880 g.
  6. Cover bowl with greased plastic wrap.
  7. Allow dough to rise in the bowl until doubled, about 30-60 minutes.
  8. For two 9×5 loaves
    • Divide into 2 pieces.Each should weigh about 940g.
    • Cover each piece with greased plastic wrap, and let dough rest for 5 minutes.
    • Shape pieces into loaves, and sprinkle with oats.
    • Place each loaf in a greased 9×5-inch loaf pan.
    • Let dough rise until doubled, about 30-60 minutes.
    • Toward the end of the rising time, preheat oven to 350 F.
    • Bake for 30-40 minutes or until the internal temperature is about 200 F.
  9. For 16 mini-loaves
    • Divide into 16 balls 112 g each.
    • Cover with greased plastic wrap, and let dough rest for 5 minutes.
    • Shape pieces into loaves, and sprinkle with oats. (Gently roll into a small cylinder, don’t deflate!)
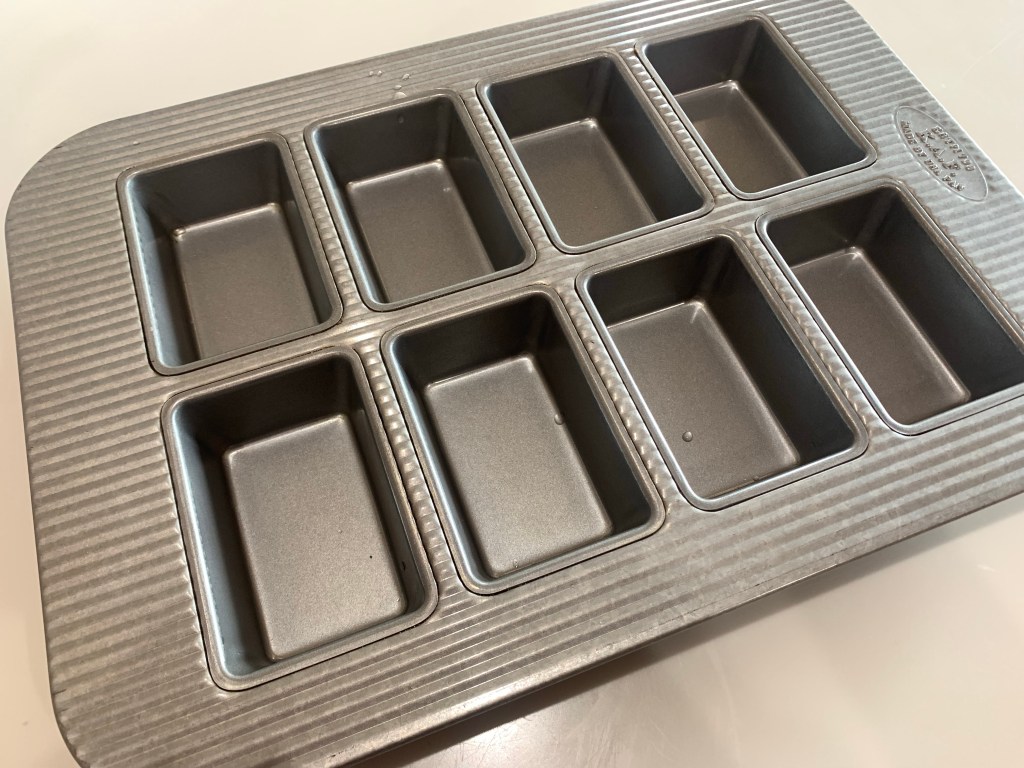
    • Place 8 loaves in a greased 8 cell mini loaf pan.
    • Place the remaining 8 balls in the refrigerator.
    o Let dough rise until doubled, about 30-60 minutes.
    o Toward the end of the rising time, preheat oven to 350 F.
    o Bake for 20 minutes or until the internal temperature is about 200 F.
    o Cool on a cooling rack and remove the remaining balls from the refrigerator
    o Gently place the second batch in the still warm to touch baking sheet and repeat 20 minute baking. Don’t roll these. Just gently place in the mini baking sheet.

Enhancing the Scarlet Pumpernickel

Amazingly, each batch of pumpernickel bread seems to be better than the previous. Today I enhanced my recipe with KAF Cake and Bread Enhancer.

This product is an emulsifier which “enhances” the ability of fats and liquids to combine more easily. This in turn makes the bread (or cake) softer, moister and stay fresh longer. Other than this addition (one Tbl per cup of flour) this recipe is the same as the last one. The result was exactly as advertised, great taste, soft, moist and delicious.

A quick story about how I came to have Cake and Bread Enhancer. I was visiting my home state which also happens to be the home of King Arthur Baking. We decided to take a road trip, not that I needed anything. Well, a couple of hours and -$395 later I had the mini loaf pan, enhancer and dozens of other baking items I did not need. QC no longer allows me to go into that store with any credit cards.☹️

New KAF Mini-Loaf Pan and RASPBERRY/PLUM Preserves

While on vacation I stopped by King Arthurs store in Norwich, Vermont. They had lots of real cool stuff that I didn’t need, so only bought a shopping cart full. One pan that I didn’t need and bought was their mini-loaf pan. There will be more cool stuff to come.

I have a new recipe for soft, light, fluffy whole wheat bread. I rarely have any luck in making whole wheat bread light and fluffy, but keep trying.

This pan was excellent and the recipe even better. I believe one ingredient and two method instructions make the difference. The ingredient is Vital Wheat Gluten. I use this with any flour that doesn’t have high gluten content such as wheat, pumpernickel, etc. I needed to replenish my supply and luckily the KAF store had it in stock. (OK, this was one thing I needed.) The two method steps that helped were to let the dough rest for 15 minutes before adding the balance of the flour and second, after the mixer finishes kneading the dough, give it a 5-10 minute hand kneading.

Whatever was responsible for making this the best whole wheat bread I ever made, I am glad I tried this new recipe

MINI WHOLE WHEAT BREAD

https://www.melskitchencafe.com/small-batch-whole-wheat-bread/

INGREDIENTS
• 5-6 cups whole wheat flour
• 1 1/2 tablespoons instant yeast
• 1/4 cup vital wheat gluten (see note)
• 2 3/4 cups warm water
• 1 tablespoon lemon juice (bottled or fresh)
• 1/3 cup oil
• 1/3 cup honey
• 1 tablespoon salt


METHOD

  1. In the bowl of a stand mixer fitted with the dough hook, mix together 3 cups of the whole wheat flour, yeast, and gluten. Add the warm water and mix well. Cover the bowl and let the mixture rest for 10-12 minutes.
  2. Add the lemon juice, oil, honey, and salt. Mix on low speed.
  3. With the mixer running on low speed, continue adding flour 1/2 cup at a time until the dough pulls away from the sides of the bowl (don’t over-flour! A little stickiness is ok as long as the dough forms a ball and doesn’t leave a lot of residue on your fingers).
  4. Let the mixer knead the dough for 5-6 minutes until the dough is soft and smooth.
  5. Turn the dough onto a lightly greased counter and divide in eights. (I found each loaf to be 159 g.) Shape each half into a taut loaf and place in a lightly greased mini-loaf pan (8 loaves per pan.)
  6. Cover the loaf pan and let the loaves rise until they are 1-2 inches above the edge of the loaf pan.
  7. Preheat the oven to 350 degrees F. Make sure an oven rack is in the middle/center position. Bake the loaves for 28-32 minutes until golden and baked through (an instant-read thermometer should register 180-190 degrees in the center of the loaf).
  8. Turn the bread onto a wire rack. Brush the tops with butter, if desired. Let cool completely.

NOTES
Letting the Dough Rise: this bread recipe does not require the dough to rise before being shaped into loaves and letting the loaves rise in the bread pans. However, if you find your bread is a little dense after baking and cooling, letting the dough rise after kneading may help with that, as well as making sure the dough isn’t over floured.

Vital Wheat Gluten: is often found in the baking aisle at the grocery store (near the flour). Many brands of vital wheat gluten have Vitamin C added; those are ok to use in this recipe. I buy mine at KAF.

RASPBERRY/PLUM JAM

INGREDIENTS
• 1 lb raspberries (454 grams)
• 3 lbs plums , sliced and pits removed (leave skins on) (1360 grams) (picked from our tree)
• 5 cups granulated sugar (1000 grams)
• ½ cup bottled lemon juice (120 ml)
• Zest of 1 orange (picked from neighbors tree)

METHOD

  1. Combine the raspberries, sliced plums, sugar, lemon juice, and orange zest in a large heavy-bottomed pot. Place over medium high heat and stir frequently as the sugar dissolves and the fruit begins to release its juices.
  2. Continue to cook, stirring frequently as the jam simmers and thickens. Skim any foam off of the surface with a spoon.
  3. While the jam is simmering, remove plum skins with a spider strainer. Clean the strainer often to reduce the amount of jam removed.
  4. Place a plate in the freezer and when the jam thickens wipe a little on the plate and return to the freezer for 2 minutes. Repeat until the jam stops running and has the consistency you want. Mine heated to 220 deg F.
  5. Once the jam is reduced and thickened, remove from heat and ladle jam into sterilized jars. Top with a lid and screw on with a ring. This recipe made 7 half pints.
  6. Process jars in a water bath for 10 minutes (15 minutes for 5,000+ ft elevation). Remove from water bath and let cool. Check that lids have sealed by pressing down into the center of each one. It should not move.
  7. Store jam in a cool dry place like a pantry and consume within 1 year.