I watched a woman on a FB reel make “30 Minute Rolls.” (Sorry, I don’t remember her name). I required two or three viewings of the reel before I was confident that I accurately transcribed the ingredients and method. (I did.) As is my preference, I converted the volume measurements to weights,.
Today, we wanted chicken salad sandwiches for lunch but the artisan bread I made a few days ago is now perfect for french toast or grilled cheese sandwiches but not un-toasted sandwiches. Anyway, any excuse to bake bread is a good excuse.
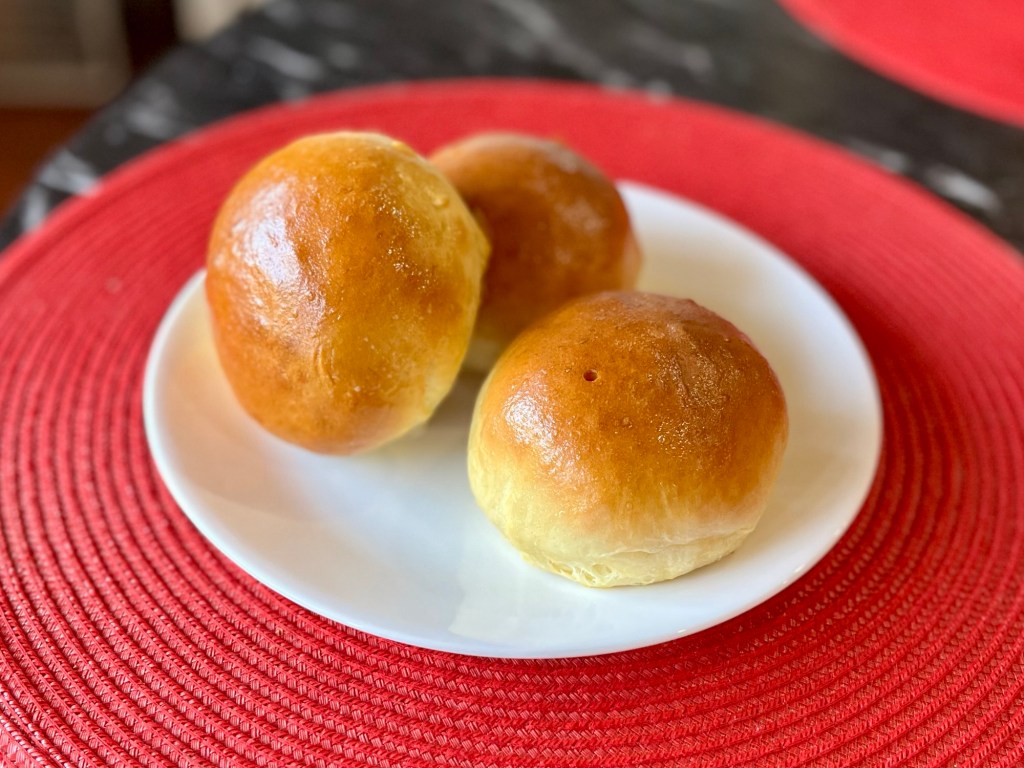
As per the FB reel instructions I made 90g rolls which yielded eight 4” diameter rolls. For hamburger rolls I would probably try six 123g rolls.
Unfortunately, I didn’t note the exact time I started baking, but I estimate the rolls were out of the oven and cooling in about 45 minutes.
Besides requiring only 30-ish minutes… they are soft, fresh and fantastic!!
30 Minute Rolls
INGREDIENTS • 236g (1 c) warm water • 6g (2 Tbl) yeast • 12g (1 Tbl) sugar • 1 egg • 50g (1/4 c) vegetable oil • 6g (1 tsp) salt • 360g (3 c) AP flour • 1 egg for egg wash • 2 Tbl butter for brushing
METHOD
Mix yeast, water and sugar in a stand mixer with paddle attachment for 3 minutes until it’s mixed and the yeast is activated and foamy.
Add egg, oil and flour and mix using dough hook until it comes together
Dump dough onto counter and knead until it it a bit smoother
Cut into desired portions, suggesting 8 (92g) for ~4” rolls and 6 (123g) rolls for a larger (~5”) hamburger rolls.
The dough was very sticky so I floured the bench top and patted each piece of dough in it before the next step.
Stretch and fold each portion into a ball, pinch the seam together and roll on the counter
Cover with a warm tea towel.
Preheat oven to 400⁰ F as the dough is resting
Move rolls to a parchment paper covered baking sheet and brush with egg wash
Bake 12-14 minutes, until the tops are nicely browned. Internal temperature should be 195⁰ F
Remove from oven and brush with butter while still hot.
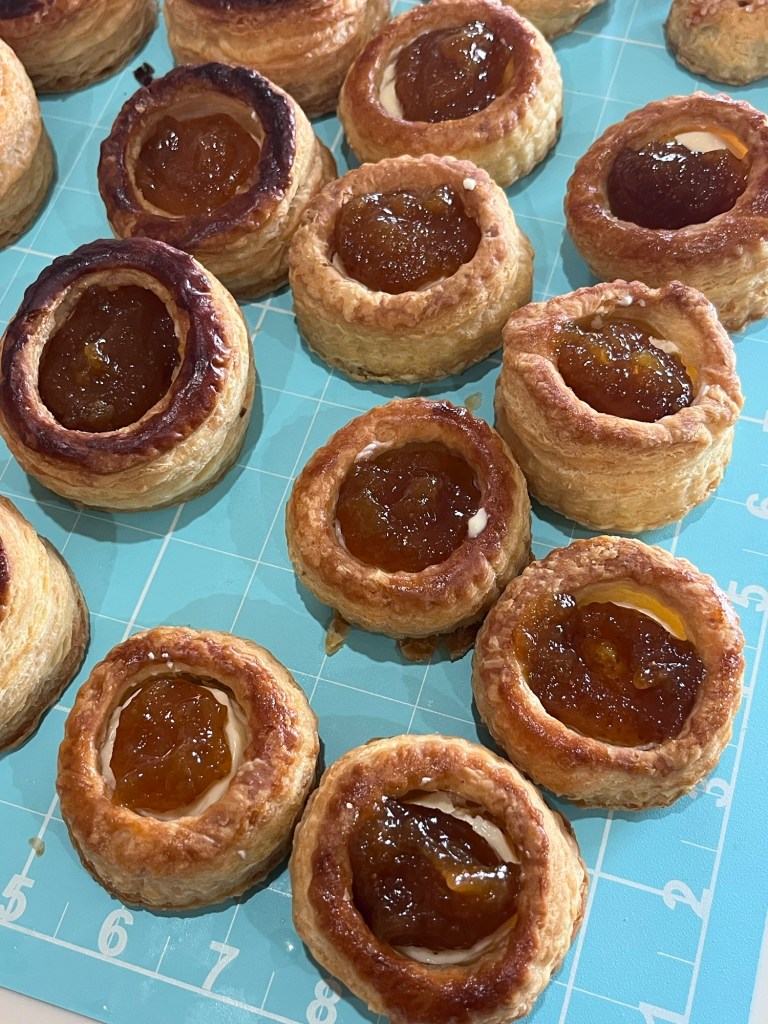
Sally’s rough puff pastry is so good. It’s flaky and rises perfectly I constantly look for places to use it. Recently, I envisioned a vol au vent (I don’t believe I ever made them before) using last year’s fig jam before this year’s crop ripens.
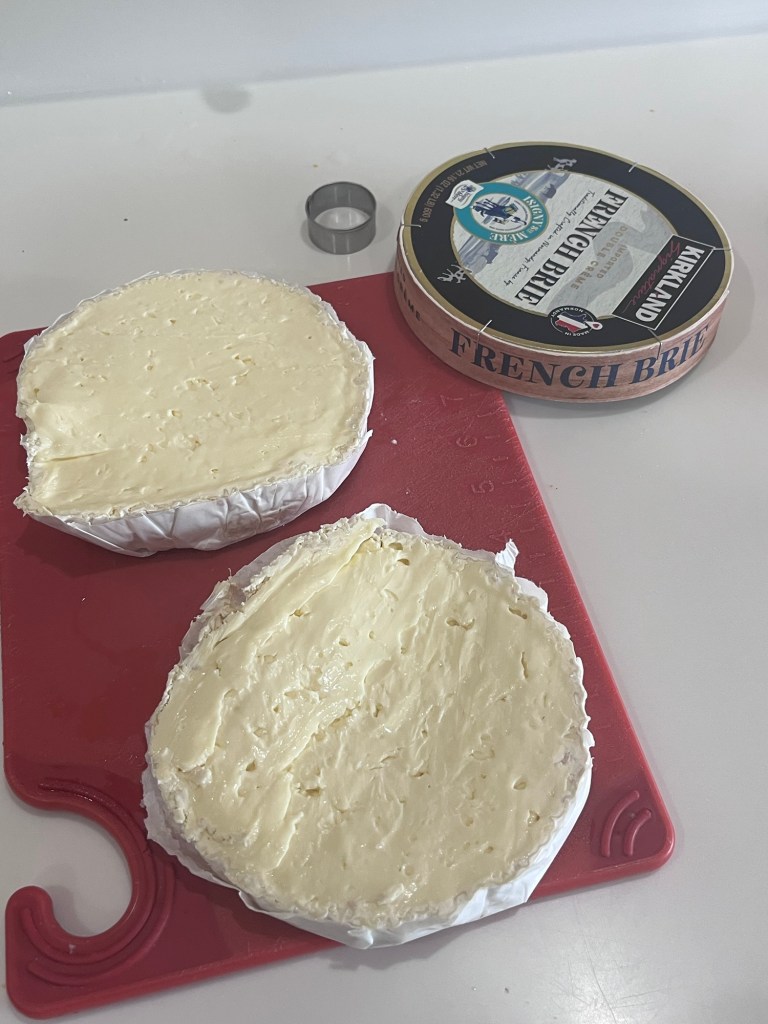
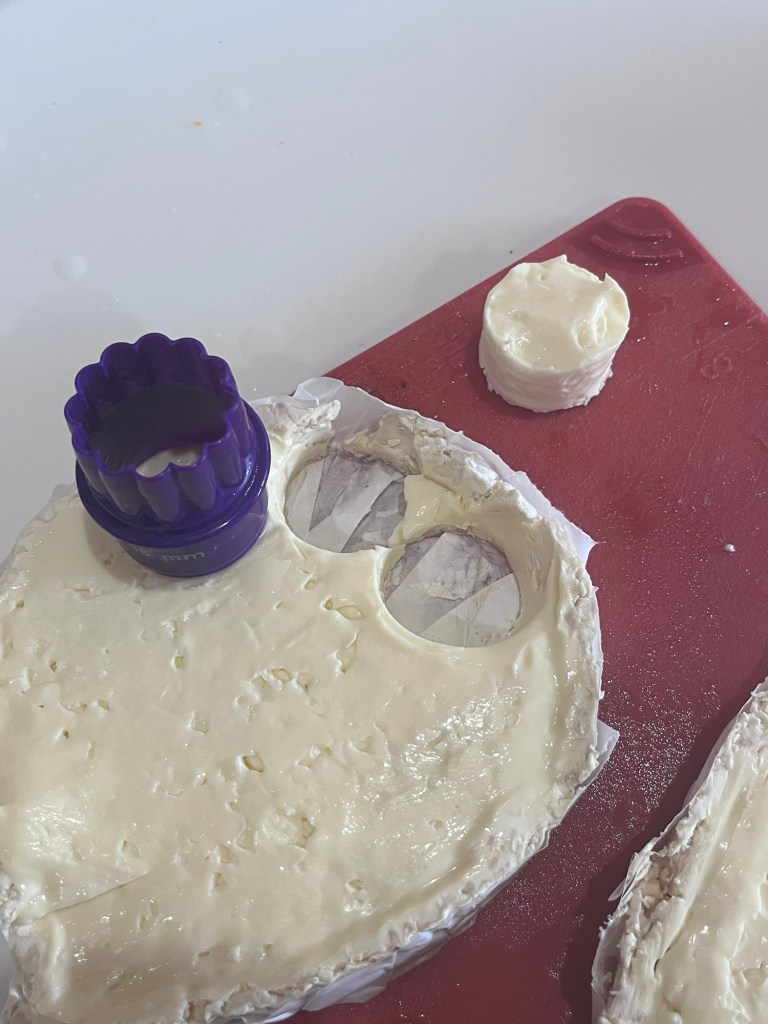
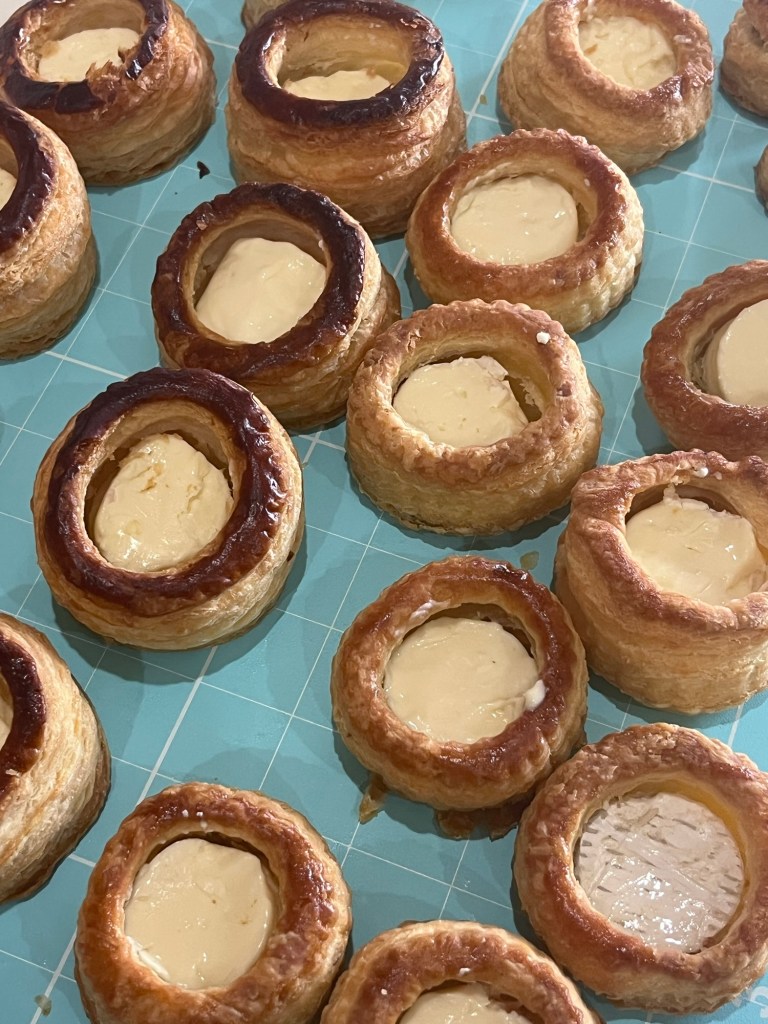
I needed something to pair with the fig, and eventually settled on brie. Have you ever tried to cut brie into a 0.25” thick by 1.5” diameter disk? It ain’t easy. I chilled the 1” thick wheel of brie then cut it into two ~0.5” disks before punching it 1.5” cylinders which then had to be cut in half to achieve the required size.
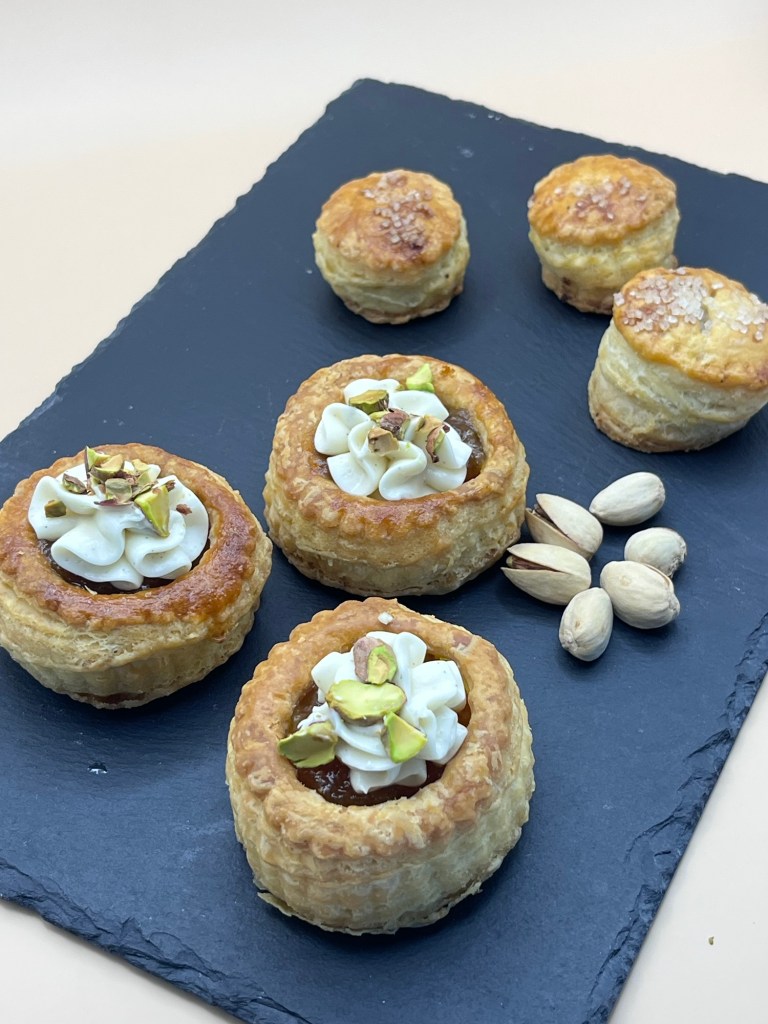
Then, there needed to be something to top it off and I decided on cream cheese frosting top with coarsely chopped pistachios for a little crunch. I am not convinced that is the best choice but was itching to make this pastry.
Any suggestions or an alternative to the cream cheese are welcome.
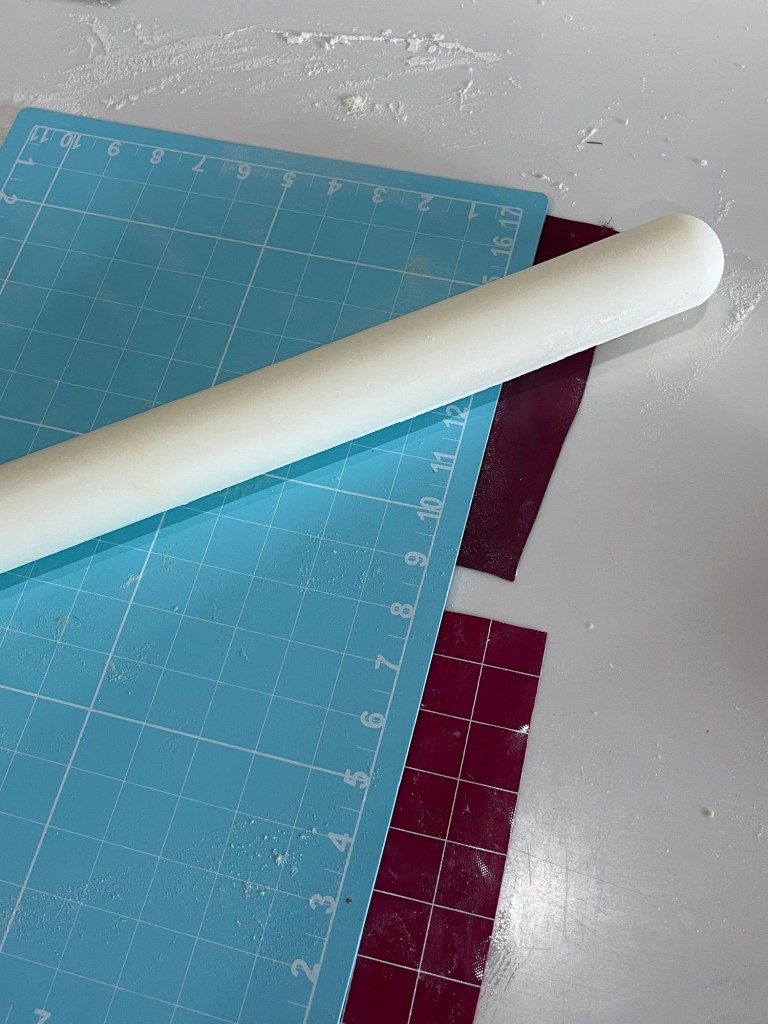
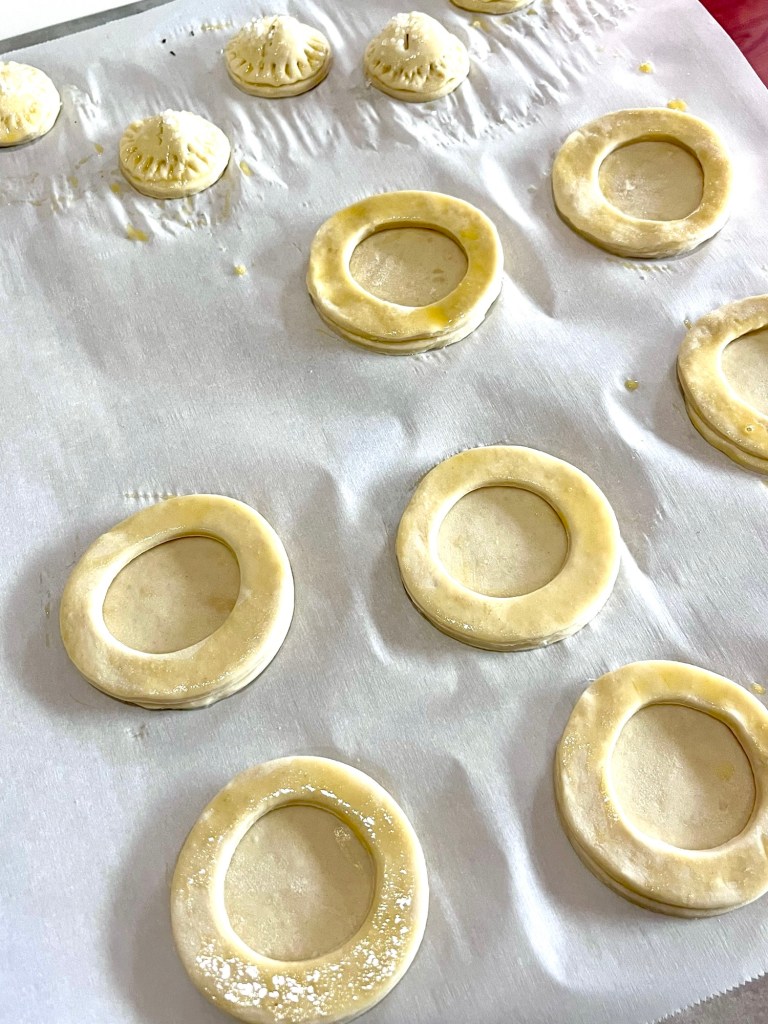
I rolled out the puff pastry dough on a silicon pastry mat. (Whenever I use this I put a couple of scram pieces of silicon under it to keep it from sliding on the counter.)
When the puff pastry was ready I rolled each piece (I made two) into a 10”x15” rectangle. One recipe makes almost exactly this size a sheet of puff pastry.
I cut 8 circles of 3” then cut a 2” hole in each. (FYI: I used the left over disk to make pseudo pain au chocolates. Waste not, want even more.) The “donuts” were dampened with water on one side and gently placed on a disk and patted down gently.
Bake the pastry “cups” and when done, use a fork to remove the “puffed up” center, return to the oven for 3-5 minutes then completely cool. Place a brie disk into each and fill to the top with fig jam. Pipe a bit of frosting on top and sprinkle some coarse chopped pistachios to finish. Ta da!
Fig Jam
Makes ~ 13 half pint jars
INGREDIENTS (Double recipe in parentheses)
• 3 pounds fresh figs (washed, stems removed) (6#) • 400g (2 c) granulated sugar (800g; 4 cups) • 118g (½ c) water (236g; 1 c) • 1 (2 Tbl) lemon (juice and finely grated zest) (4 Tbl)
METHOD
In a large, heavy-bottomed saucepan, combine the figs, sugar, water,lemon juice, and lemon zest.
Bring to a simmer over medium-low heat, stirring constantly. Cover and simmer over low heat for 1 hour, stirring occasionally.
Remove the cover, attach a candy thermometer to the side of the pan making sure the bottom of the thermometer doesn’t touch the pan’s bottom, and continue simmering, stirring frequently, until the mixture thickens. When the mixture gets quite thick, begin to stir constantly to keep from scorching.
Cook to 220 F and remove from the heat. Or test a small amount on a very cold saucer by putting the saucer in the freezer for a few minutes, put a little of the fig mixture on it, then returning it to the freezer for 1 minute. When a good gel stage is reached (220 F), the surface of the fruit mixture will wrinkle slightly when pushed with a finger.
While figs are cooking, prepare the jars and lids. Put the glass jars in a boiling water canner about half-filled with water. Bring to a boil, reduce heat, and keep jars in the water.
Put water in a separate saucepan, bring to a simmer, reduce heat to low, and add the jar lids. Keep in the hot water until ready to use. Do not boil.
Fill the jars with the hot fig jam mixture, leaving 1/2-inch headspace. Wipe jar rims and threads with a wet paper towel. Place lids on jars using tongs or a jar magnet then screw on the rings.
Place on a rack in the hot water in the canner. Lower into the water and add enough hot or boiling water to bring the water level to 1 to 2 inches above the jars. Bring jars to a boil for 10 minutes.
Using canning tongs, remove the jars to a clean towel on a flat work surface. Listen for the popping sound which indicates a good seal and tighten the rings.
Cream Cheese Frosting:
INGREDIENTS (I made a half recipe)
• 1 8 oz package cream cheese, softened • ¼ cup butter softened • 226g (2 cups) powdered sugar • ½ tsp pure vanilla extract • 1/8 tsp salt
METHOD
Beat together cream cheese, butter, powdered sugar, vanilla extract and salt until the proper viscosity is achieved.
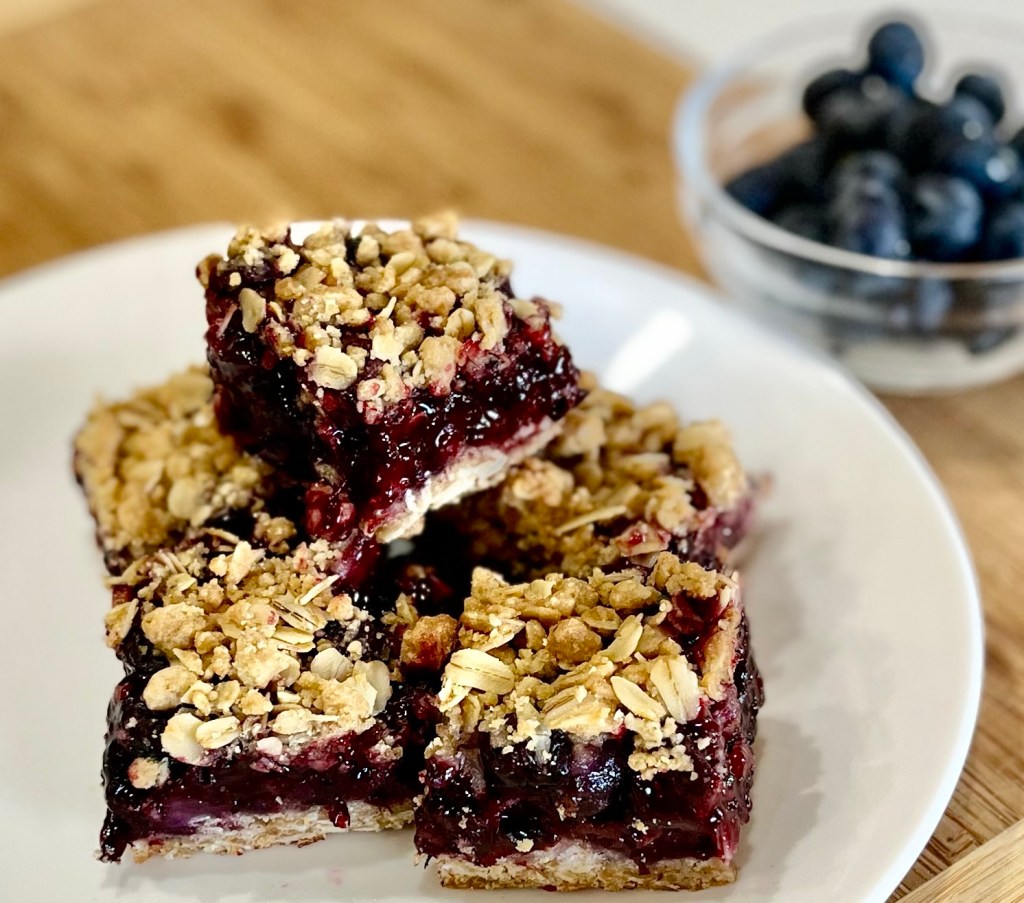
Preheat oven to 350°F. Line a 9-inch square baking pan with parchment paper, leaving an overhang on the sides to easily lift the bars out of the pan. Set aside.
Whisk the flour, 1 cup (85g) oats, brown sugar, baking powder, lemon zest, cinnamon, and salt together in a medium bowl. Add the melted butter and stir until the mixture resembles moist crumbly sand and no dry spots remain. You will have a little more than 3 cups of crust mixture, or about 520g. Press 2/3 of the mixture (about 2 cups/345g—doesn’t have to be exact) into the prepared baking pan. Press it into the pan with your hands, a large spoon or spatula, or the bottom of a measuring cup to form a crust. Bake for 10 minutes, and then remove from the oven to slightly cool.
Place the blueberries, sugar, cornstarch, and lemon juice in a saucepan over medium heat on the stove and stir gently to combine. Cook and stir for 2–3 minutes until the cornstarch and sugar begin to dissolve and the berries look evenly wet. Remove from heat and stir in the lemon zest.
Pour/spread the filling over the warm crust. Stir 2 Tablespoons oats into the remaining crumble mixture, then sprinkle it all over the filling, and lightly press it down with the back of a large spoon or flat spatula.
Bake for about 45–55 minutes, or until the top is lightly browned and the blueberry filling is bubbling around the edges.
Remove from the oven and allow the bars to cool completely in the pan set on a wire rack. Feel free to cover and refrigerate the cooled bars for up to 1 day before cutting into squares.
Lift the cooled bars out of the pan using the overhang on the sides and cut into squares.
Cover and store leftover blueberry pie bars at room temperature for up to 2 days or in the refrigerator for up to 1 week.
Notes
Make Ahead & Freezing Instructions: You can refrigerate the cooled bars before cutting into squares, see step 6. Baked and cooled bars freeze well up to 3 months. Thaw overnight in the refrigerator and bring to room temperature, if desired, before serving.
Can I Bake This in a 9×13-inch Pan? You can, but I have had better results baking a smaller batch, as written, in the 9-inch pan. If you want to make a larger batch, double each ingredient (only use 8 cups of blueberries) and bake in a 9×13-inch pan. Increase crust pre-bake time to 18 minutes. Increase the bake time after adding the filling & crumble topping to 1 hour, or until filling is bubbling.
Fresh Blueberries: It’s best to use fresh blueberries in this recipe. If you’d like to use frozen, follow the recipe as written and sub in frozen blueberries (do not thaw). Keep in mind that the filling will be much juicier.
I spent the last few days out of the bakery and took a short(bread) cut to return this afternoon.
I made variations of these cookies before (search abatteroldsuitecase.com for “shortbread”.)
I also included the recipe for making tempered chocolate for coating the cookies
Shortbread Cookies
INGREDIENTS (Half Recipe in parentheses) • 336 g = 3 sticks, 36 Tbl (170g = 1½ sticks) unsalted butter, at RT • 200 g = 1 c (100g = ½ c) sugar, plus extra for sprinkling • 1 tsp (½ tsp) pure vanilla extract • 420 g = 3 ½ c (210g = 1¾ c) all-purpose flour • ¼ tsp (⅛ tsp) salt • 175-200 g semisweet chocolate, finely chopped • Optional: 3 Tbl fresh orange zest
METHOD
In the bowl of an electric mixer fitted with a paddle attachment, mix together the butter and sugar until they are just combined. Add the vanilla, (and zest if using.)
In a medium bowl, sift together the flour and salt, then add them to the butter-and-sugar mixture. Mix on low speed until the dough starts to come together. Dump onto a surface dusted with flour and shape into two flat rectangles ~ ¾ inch thick each. Do not overwork it and the flour will hydrate some in the freezer. Wrap in plastic and chill for 30 minutes.
Roll the dough ~1/2-inch thick and cut into desired shapes. Place the cookies on an ungreased baking sheet and dock with a fork (and optionally sprinkle with sugar.)
Preheat the oven to 350⁰F. Refrigerate cut cookies while the oven heats. (~ 15 minutes)
Bake for 20 to 25 minutes, until the edges begin to brown. Allow to cool to room temperature.
If chocolate coating, when the cookies are cool, place them on a baking sheet lined with parchment paper. a. Temper the chocolate as described below b. Drag ½ of each cookie with just enough chocolate to coat it. c. Optional: dust still warm chocolate lightly with zest
Melt chocolate to 122-126°F (microwave or bain-marie). Leave the chocolate to cool to 93-95° F (or 91-93° F for milk, white or colored chocolate) at ambient temperature.
When cooled, sprinkle the 1% Mycryo® cocoa butter as per table above and wait a few seconds as it melts then stir in to combine.
Use a rubber spatula to scrape the chocolate off the sides and fold into the middle.
Stir well and continue to stir well frequently
Use immediately. To keep the chocolate in temper, maintain it within working temperatures: 88°F–91°F for dark chocolate, and 82°F–84°F for milk/white/colored chocolate.
If the chocolate starts hardening, then heat it up and stir well until it warms back up to working temperature and the chocolate is smooth again. (Do this carefully, putting it in the microwave in 5 second bursts, stir vigorously and repeat until desired temperature is achieved.)
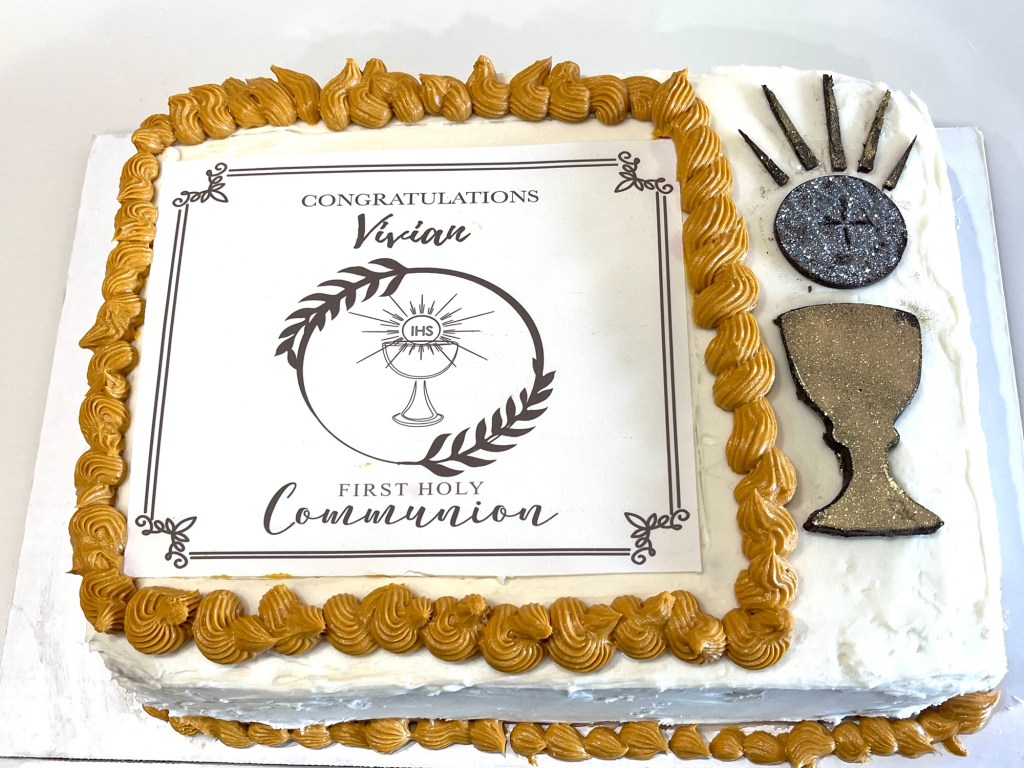
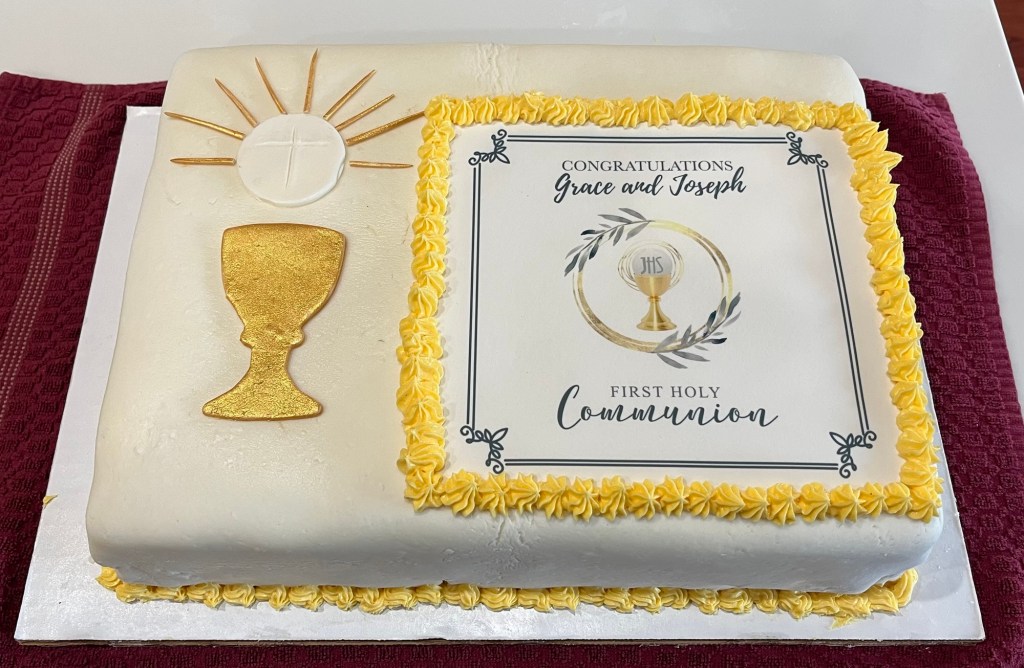
Our granddaughter Vivian’s First Holy Communion was this morning with a celebratory meal after. I finished her choice of a confetti cake two hours before services. Its design is much like her sister Graces except I made the chalice by cutting tempered chocolate and dusting with gold and/or silver sparkling dust.
I see all the imperfections, but will keep quiet.
Crusting gold buttercream was a bit of a challenge but mixing the appropriate quantities of yellow, brown and red food colorings yielded an acceptable shade. I wanted crusting so the sugar decoration would not melt (it did slightly) and I wanted the boarder piping to keep its form
Transform regular butter cream by substituting half the butter for and equal volume of vegetable shortening.
Note: volume, not weight. By weight half the butter weighs 113g and the vegetable shortening is 93g.
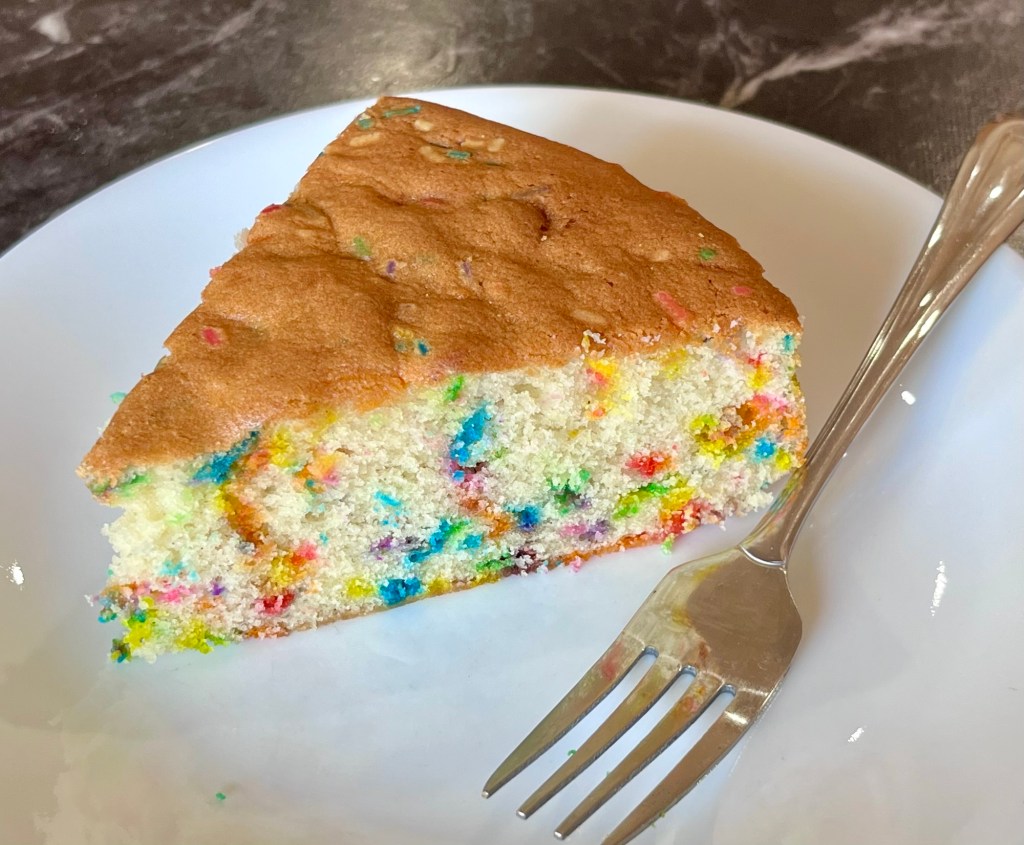
I have been looking for a new, soft and moist white cake. Thankfully, our younger granddaughter asked for a confetti cake for her First Holy Communion cake on Saturday. I made Sally’s Confetti Cake for practice this morning. The final cake will be crumb coated and frosted with a standard buttercream or perhaps a marshmallow fondant.
The final cake will need to feed about 70 people so I will make a double layer 11”x15” sheet cake. Layering the cake could be tricky as the cake is very fragile. The bake time will be adjusted, but as I bake by internal temperature that shouldn’t be an issue.
(I added a picture of her sister’s Communion cake from 2 years ago so you can see the final result.)
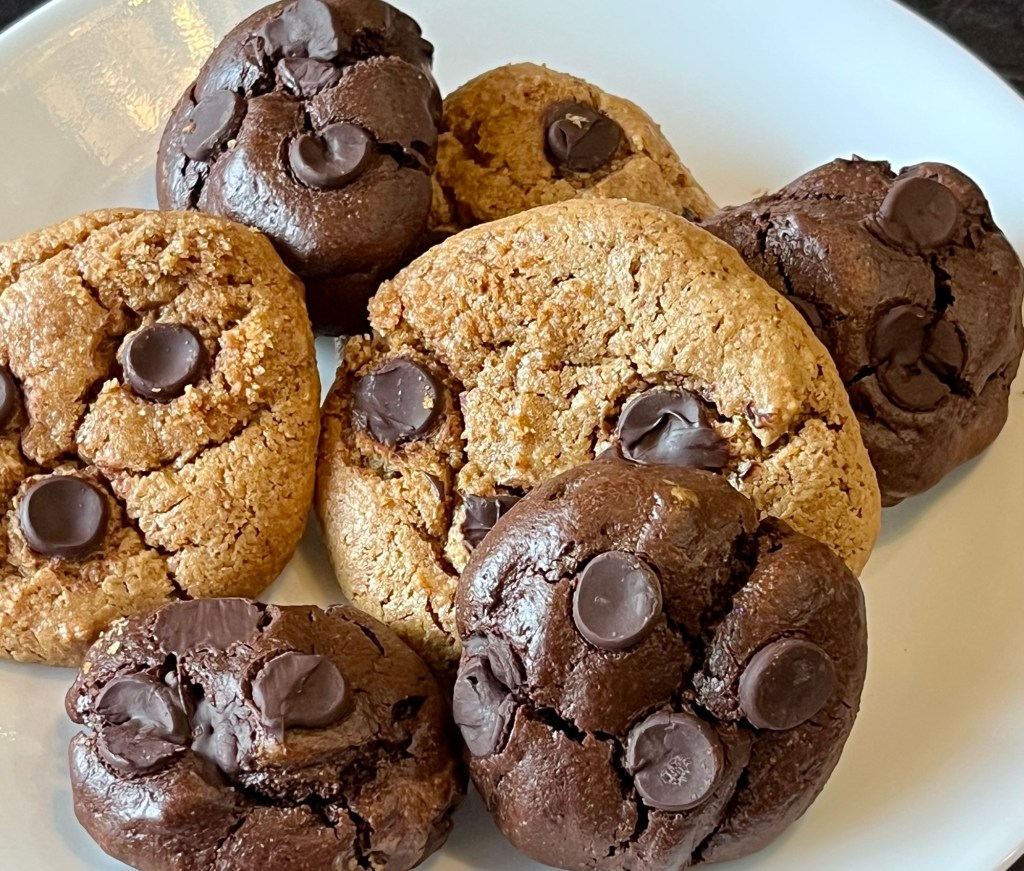
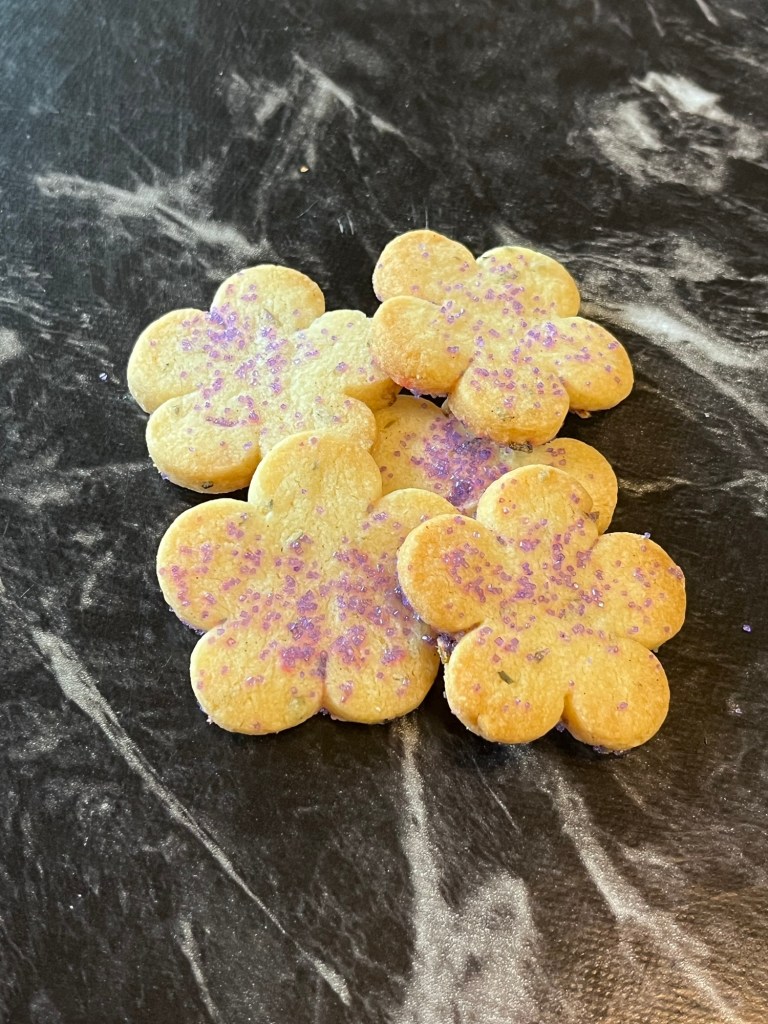
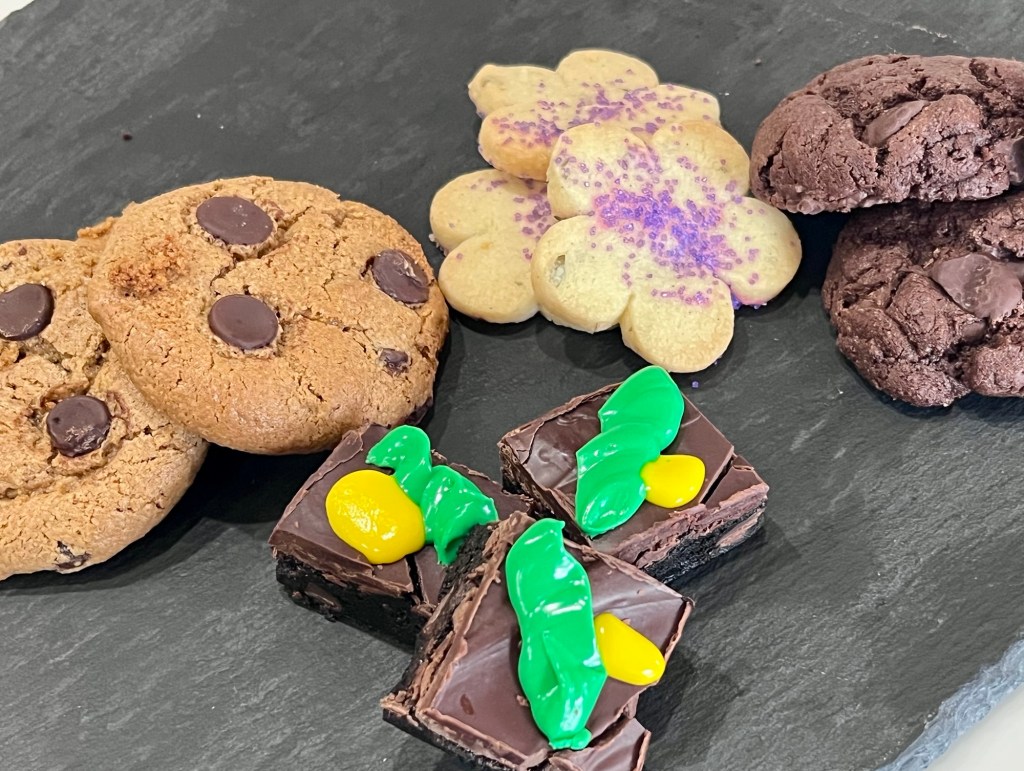
For our synagogues yearly fundraiser dinner last night I made Sally’s Almond Butter Chocolate Chip and Chocolate/Chocolate Cookies plus a Chocolate/RaspberryChocolate Ganache Brownies and Lavender/Mint/Lemon Shortbread Cookies.
Despite a major storm cutting the power as the buffet opened, everyone took in stride and used cellphone flashlights to continue the party.