
Finally I made the Princess Aurora cake for my granddaughter Vivian’s birthday – 20 Covid days late. The extra days gave me extra time to obsess and agonize on the design and execution. The original design was to be 4 layers of 10” cake for the base and 3 of 8” for the top and serve 60 people. We are down to 9 people and a scaled down cake.

I made most of the decorations a few weeks ago and kept them safely tucked away until now. All the flowers and birds are gumpaste. The roses were made using the typical technique of adding several rows of die cut petals. The other flowers were also die cut and while still flexible placed on a slightly crumpled sheet of parchment paper to give them some contour.


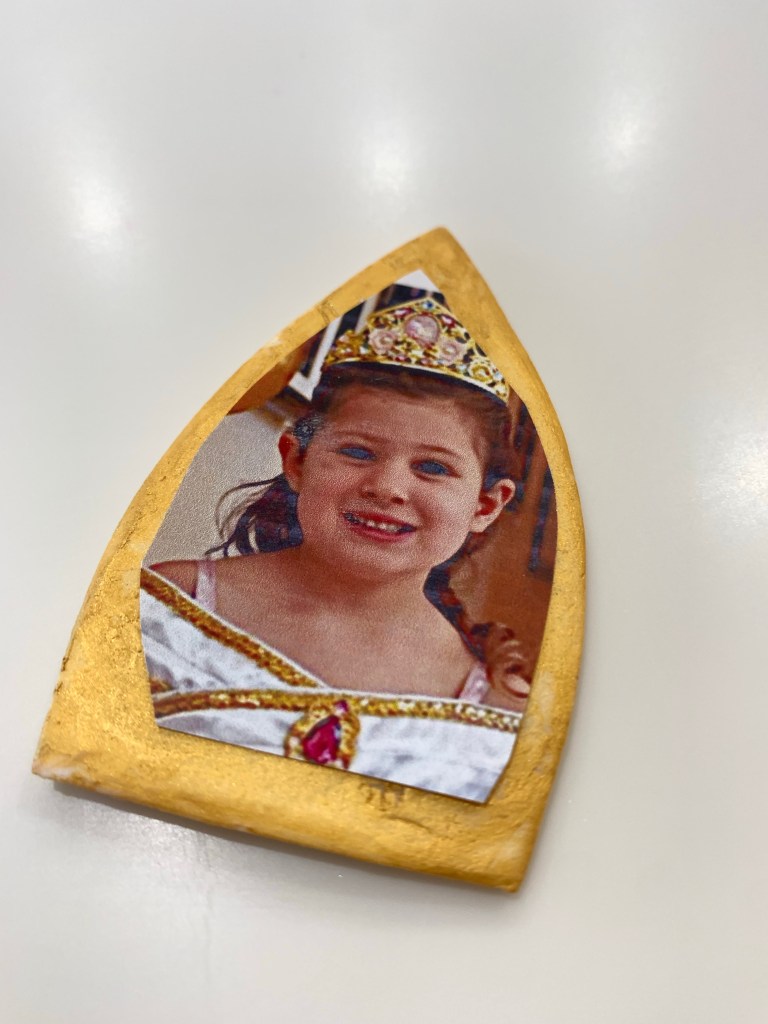
The letters fondant, rolled thick and cut with a die. A sharp knife cut the pattern into the letters which were airbrushed gold and dusted with glitter. The picture frame was cut from rolled gumpaste, allowed to dry and the edges were painted gold. Gumpaste glue stuck the picture to the frame.

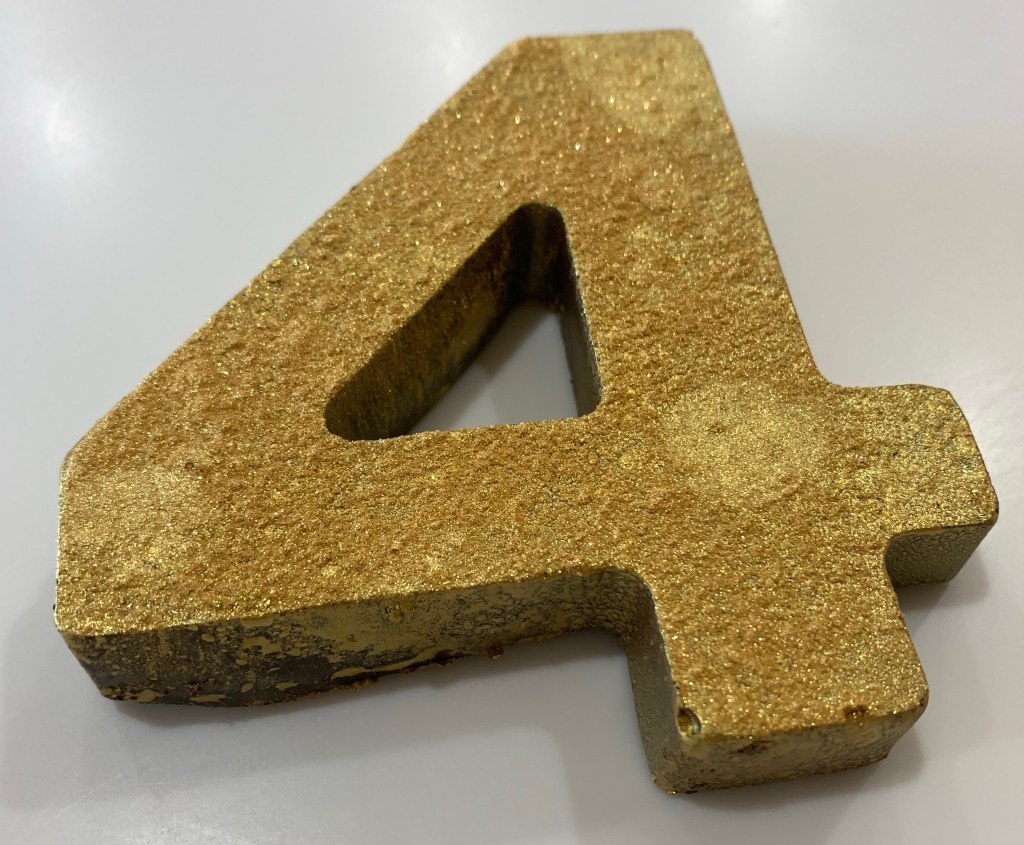
The drapes and dress are darker pink dyed, rolled fondant and dusted with silver petal dust. The crown is gold airbrushed gumpaste cut in the shape of Princess Aurora’s crown. Gold glitter was dusted on the still slightly wet crown. The “4” is tempered dark chocolate, airbrushed with gold and dusted (too heavily) with gold glitter. (The fingerprints are mine.)
The top two 6” layers are white cake and the bottom three 8” layers and my extreme chocolate cake (family favorite.) I am not a fan of this white cake. (I constantly and this far unsuccessfully search for a recipe that is light and moist.) The frosting is a simple buttercream with 3:1 butter to shortening ratio.
Many techniques, lots of time, tons of fun making this cake.
Tender White Cake
INGREDIENTS
• 326g (2¾c) Unbleached Cake Flour Blend
• 333g (1⅔c) sugar; superfine sugar is best
• 1 Tablespoon baking powder
• 3/4 teaspoon salt
• 170g (12Tbl) unsalted butter, softened
• 4 large eggs whites plus 1 whole large egg
• 227g (1c) whole milk (2% plus 4Tbl Heavy Cream)
• 2 teaspoons vanilla extract
• 1 teaspoon almond extract
METHOD
- Preheat the oven to 350°F. Prepare two 8″ x 2″ or 9″ x 2″ round pans; a 9″ x 13″ pan; or 2 standard cupcake pans (20 to 24 cupcakes) by greasing and flouring; or lining with parchment, then greasing the parchment. Note: Make sure your 8″ round pans are at least 2″ deep; if they’re not, use one of the other pan options.
- Mix all of the dry ingredients on slow speed to blend. Add the soft butter and mix until evenly crumbly, like fine damp sand. It may form a paste, depending on the temperature of the butter, how much it’s mixed, and granulation of the sugar used.
- Add the egg whites one at a time, then the whole egg, beating well after each addition to begin building the structure of the cake. Scrape down the sides and bottom of the bowl after each addition.
- In a small bowl, whisk the yogurt (or milk) with the vanilla and almond extracts. Add this mixture, 1/3 at a time, to the batter. Beat 1 to 2 minutes after each addition, until fluffy. Be sure to scrape down the sides and bottom of the bowl.
- Pour the batter into the prepared pans. Bake for 25 to 30 minutes for 8″ or 9″ rounds; 23 to 26 minutes for a 9″ x 13″ x 2″ sheet cake; or 20 minutes for cupcakes. A toothpick or cake tester inserted into the center will come out clean when done. Remove from the oven, remove from the pan, if desired (not advisable for a 9″ x 13″ sheet cake), cool on a rack, and frost.
- Yield: Two 8″ or 9″ round layers; one 9″x 13″ x 2″ sheet cake, or 20 to 24 cupcakes.
Basic Crusting Buttercream
INGREDIENTS:
• 1/2 cup solid high ratio shortening (1/4 cup Crisco, ¾ cup butter)
• 1/2 cup butter softened (see above)
• 1 tablespoon of merengue powder
• 1 teaspoon Clear Vanilla Extract (or extract of choice)
• 4 cups sifted confectioners’ sugar (approx. 1 lb.)
• 2 tablespoons milk
METHOD
- In large bowl, cream shortening and butter with electric mixer.
- Add vanilla and milk.
- Gradually add sugar, one cup at a time, beating on a slow speed. Scrape sides and bottom of bowl often.
- Keep bowl or covered with a damp cloth until ready to use. Refrigerated in an airtight container, this icing can be stored 2 weeks.
- Don’t over whip or it will bring air to the icing and will be impossible to smooth.
NOTE:
If you have a kitchen Aid use white attachment, not whip attachment.
YIELD: Makes about 3 cups.
