Good for the Soul

Some people say confession is good for the soul. They may be right but there is no question chocolate is. However, I do have a confession to make. Actually, I have two (at least two) confessions to make.

Fran, my wife of nearly, well let’s just say many, years, frequently tells me due to my New England heritage and upbringing I am a frugal person. Actually, she uses another word, frugal is mine. I acknowledge she is correct, but I contend that’s not a bad thing. For example, I found three 6 ounce bags of Scharffen Berger bittersweet (70% cacao) chocolate that bloomed while stored in the cupboard. As everyone knows chocolate bloom can be repaired by melting the chocolate and allowing it to re-crystallize.

Now I confess (#1) it seemed a waste for me to spend the time and energy, meaning expensive natural gas, to melt and re-crystallize the chocolate with nothing to show for the effort. Not only would it be wasteful, according to Fran, it would be contrary to my nature. Luckily, I recently acquired a new chocolate mold and had all the ingredients in the cupboard to make some peppermint cream filling. This allowed me to finish up the chocolate and test the new mold.
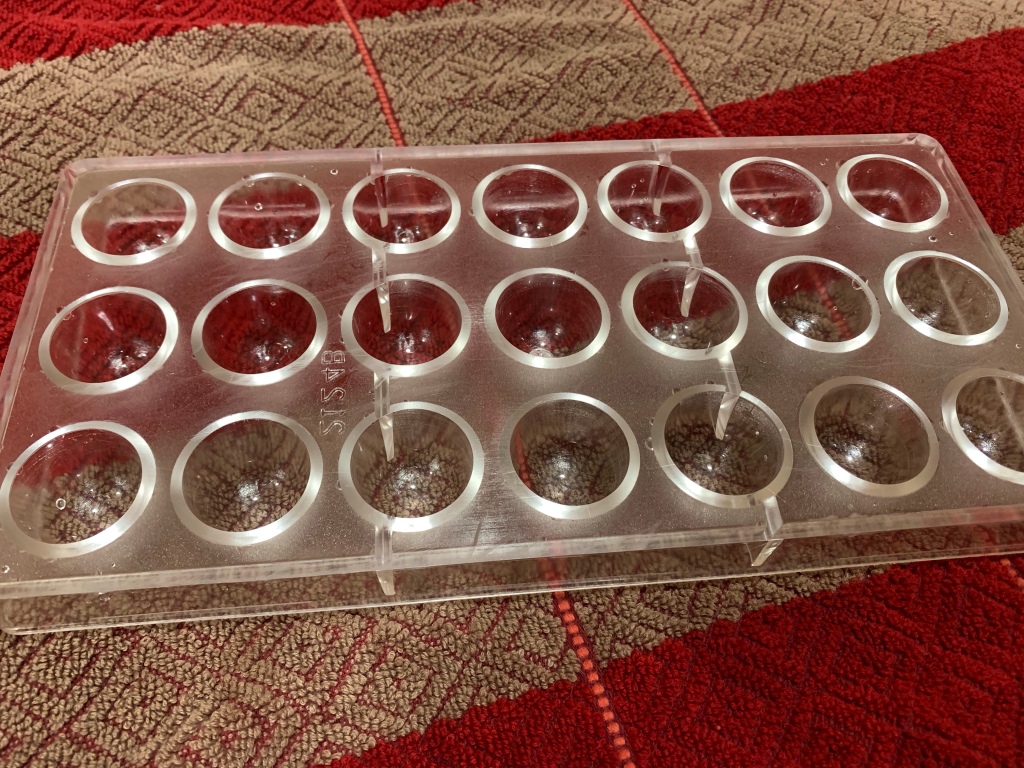
New Bullet Shaped Poly Carbonate Mold

After golf this morning I frugally decided to make some filled chocolates. I tempered and thereby repaired, all 18 ounces and made some peppermint cream filled candies.

The round candy is peppermint from the new mold. The cubes are caramels.

Unfortunately, there was too much tempered chocolate left over, but with my lucky streak intact I had some extra caramel from another batch of candies I made a couple of weeks ago. I dipped 20 caramel cubes in the remaining chocolate and set them aside to cure.

At this point there was barely enough tempered chocolate to fill and seal the new mold to make one more batch. I now have peppermint and previously made vanilla and raspberry. I also confess (#2) what I never tried, but wanted to, was chocolate coated marshmallow creams. While “fluff” is very sweet, the bittersweet chocolate provides a nice balance, plus I have only made marshmallow at home once before and I like to practice. Unfortunately, I only needed a few ounces and the recipe I have makes almost 2 pints, most of which is now sealed and sitting on the counter.

The marshmallow filled chocolates didn’t cut well but the texture is evident

I was pleasantly surprised I could hold the chocolate in temper for the 30 minutes or so it took to make and cool the marshmallow. The chocolate temperature varied between 85 and 95 degrees as it sat on a double boiler. I checked the temperature frequently and turned the burner on briefly from time to time to keep the temperature fairly constant.

Marshmallow Recipe

INGREDIENTS
• 1/3 cup water
• 3/4 cup granulated sugar
• 3/4 cup corn syrup or honey
• 3 large egg whites room temperature
• 1/2 tsp cream of tartar
• 1 tsp vanilla extract

METHOD
1. Place water, sugar, and corn syrup (or honey) in a medium saucepan. Stir to combine.
2. Insert a candy thermometer into the pot and heat over medium-high. Do not stir from this point on as crystals will form.
3. Ensure mixer bowl and whisk are completely grease free.
4. Place egg whites and cream of tartar in the bowl of a stand mixer.
5. When the sugar syrup reaches about 225°F, start whipping the egg whites to soft peaks. Approx 3-4mins.
6. When the whites are ready, the sugar syrup should be at 240°F. Remove from the heat, turn mixer to medium and very slowly and carefully pour the sugar syrup into the whites in a thin, steady stream.
7. Once all of the syrup is in, set mixer to medium/high and continue whipping. The whites will deflate at first, but they will thicken and fluff up.
8. Continue to whip for 7-8 minutes, or until the mixture is thick and glossy.
9. Add in vanilla and whip until the fluff has cooled.
10. Pour into an airtight container and store for up to 2 weeks at room temperature.

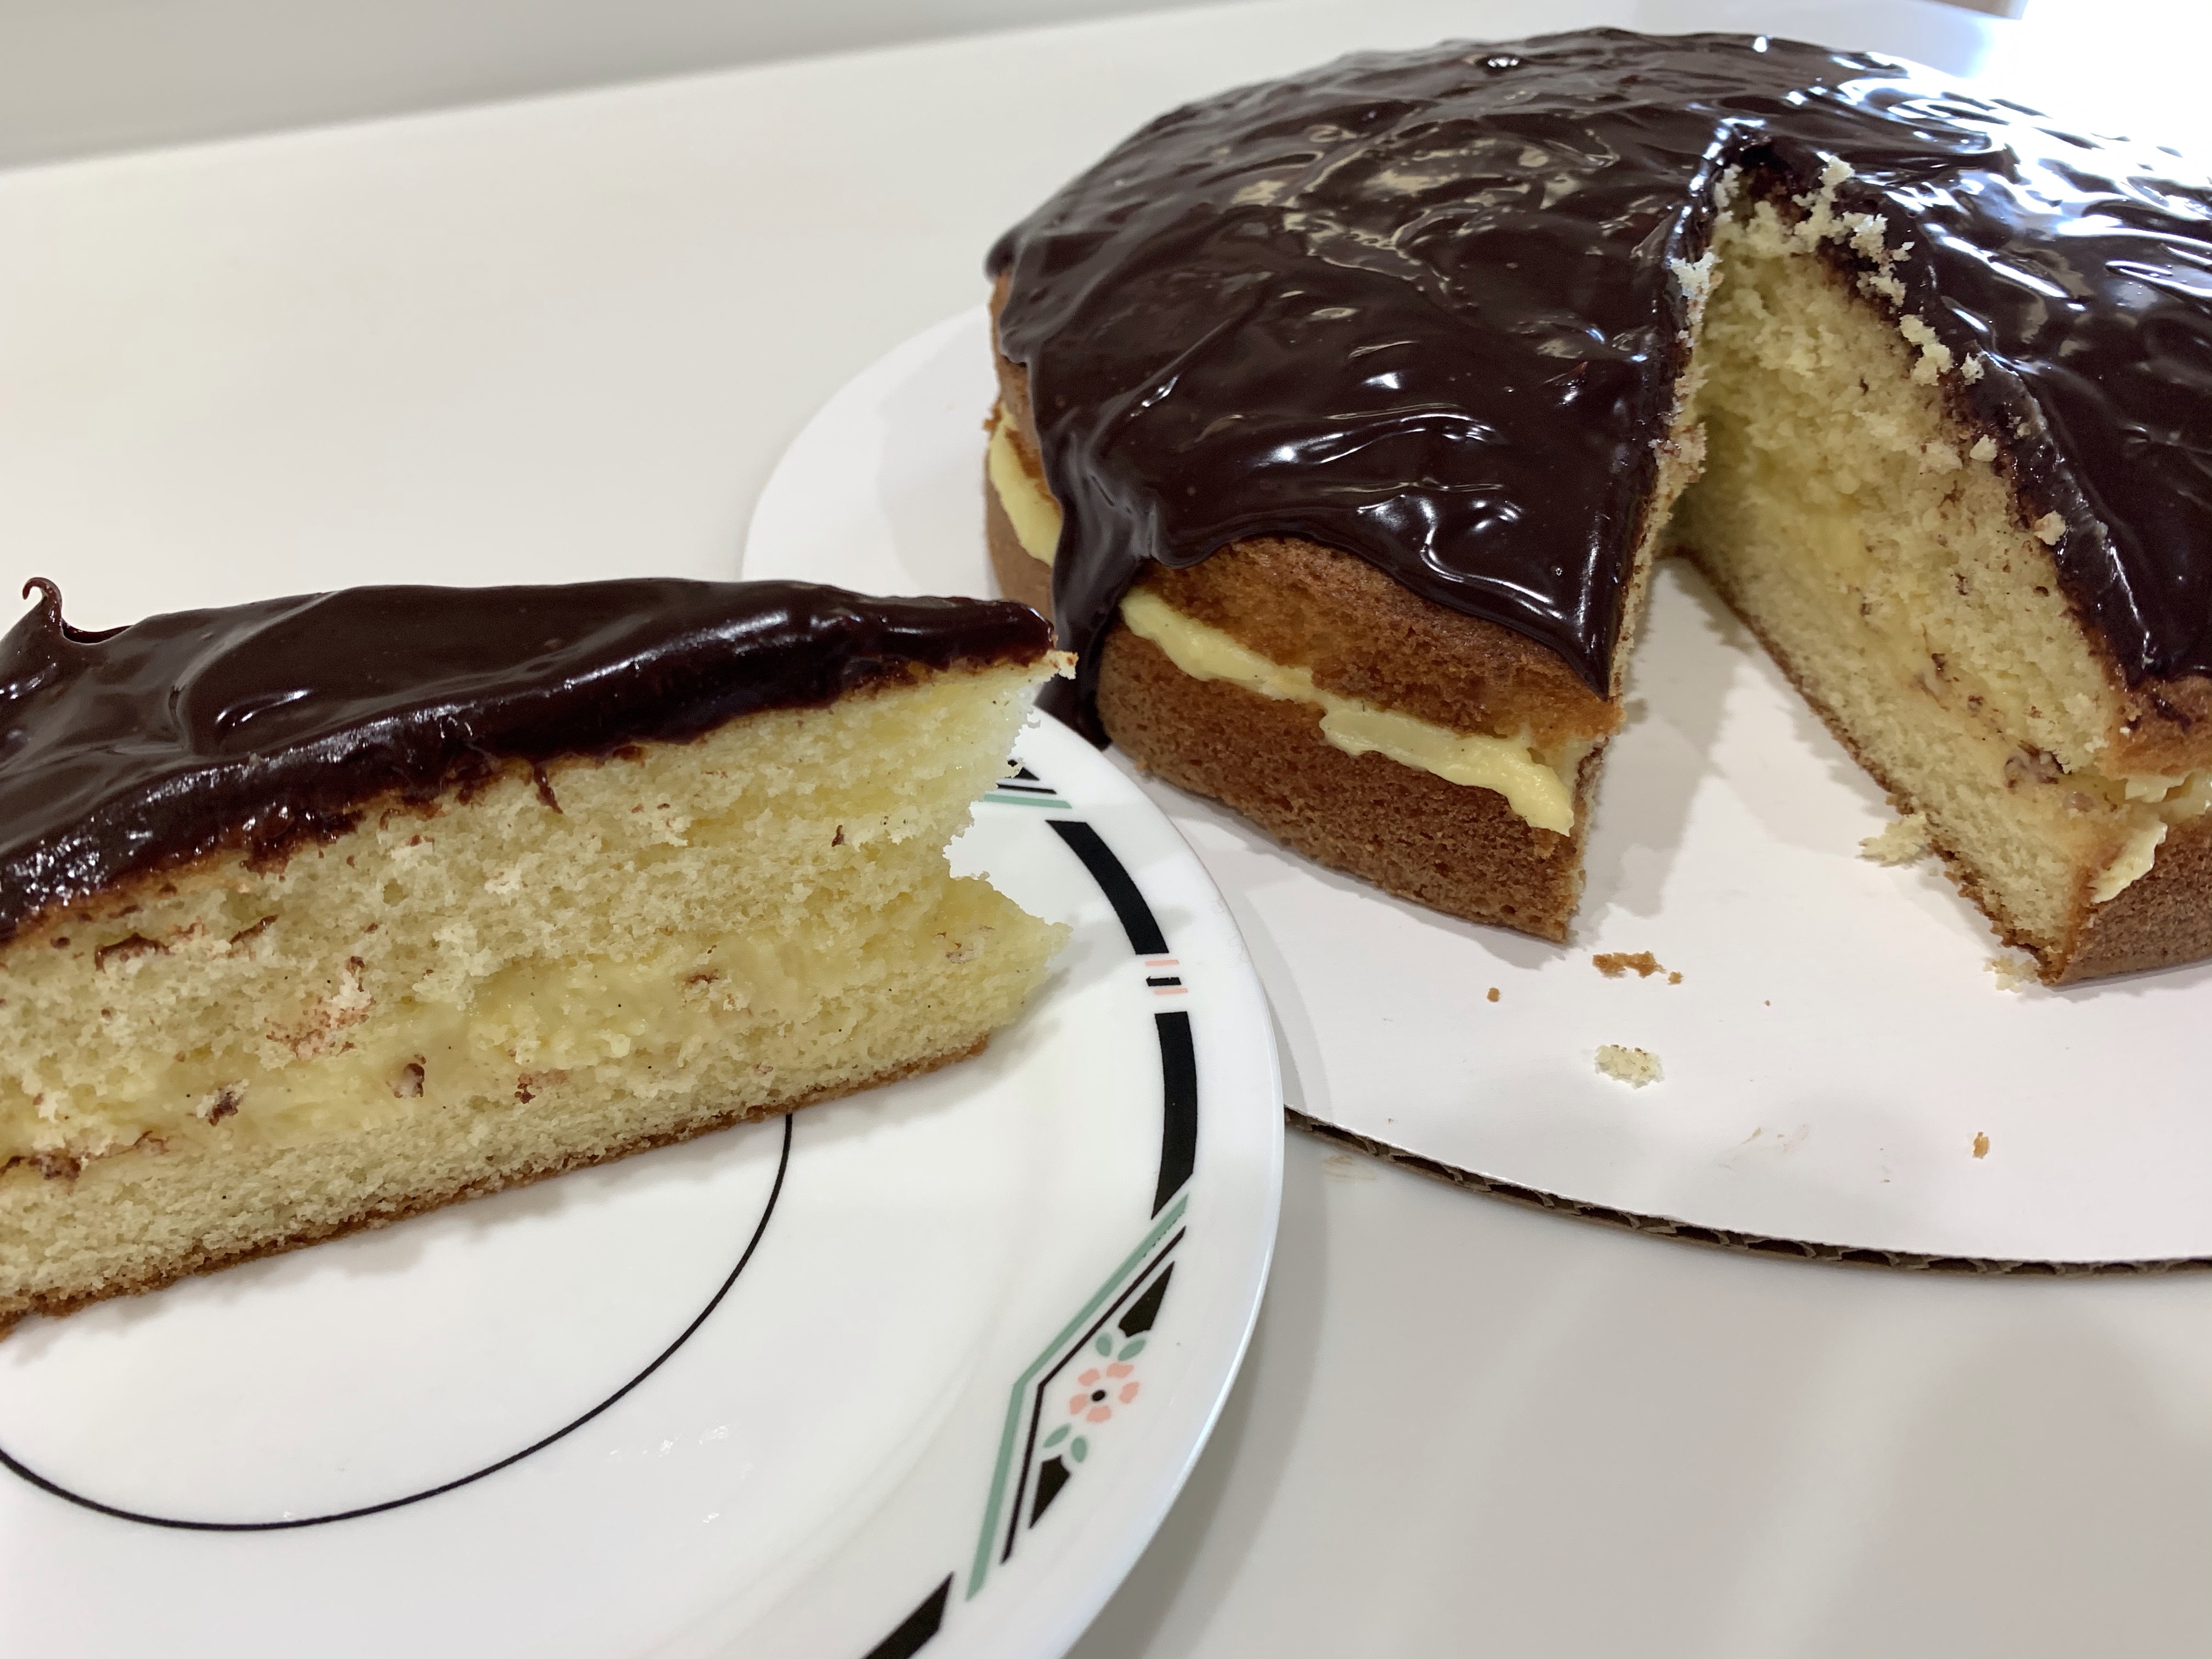
Boston Cream Pie

My friend Maggie asked if I would make a Boston Cream Pie using the same recipe she used. While her dessert was reportedly delicious, (I didn’t have any) the cake did not rise to her satisfaction. So, today I made the same cake (Betty Crocker’s recipe) with nearly identical results. The recipe called for a 9” pan sprayed on the bottom only, not the sides. Some cakes, like a angel food require dry sides for the cake to “grow” up the sides so I made sure the sides were dry. It didn’t help. The cake was just over an inch thick. Cutting it in half would result in two tortilla-thick disks rather than layers of cake.

I did a search for another recipe with significantly different ingredients and method. I chose one from Martha Stewarts Everyday Living. Following the recipe as written, Martha’s cake was nearly twice as high as Betty’s

Betty’s on the left – Martha’s on the right.

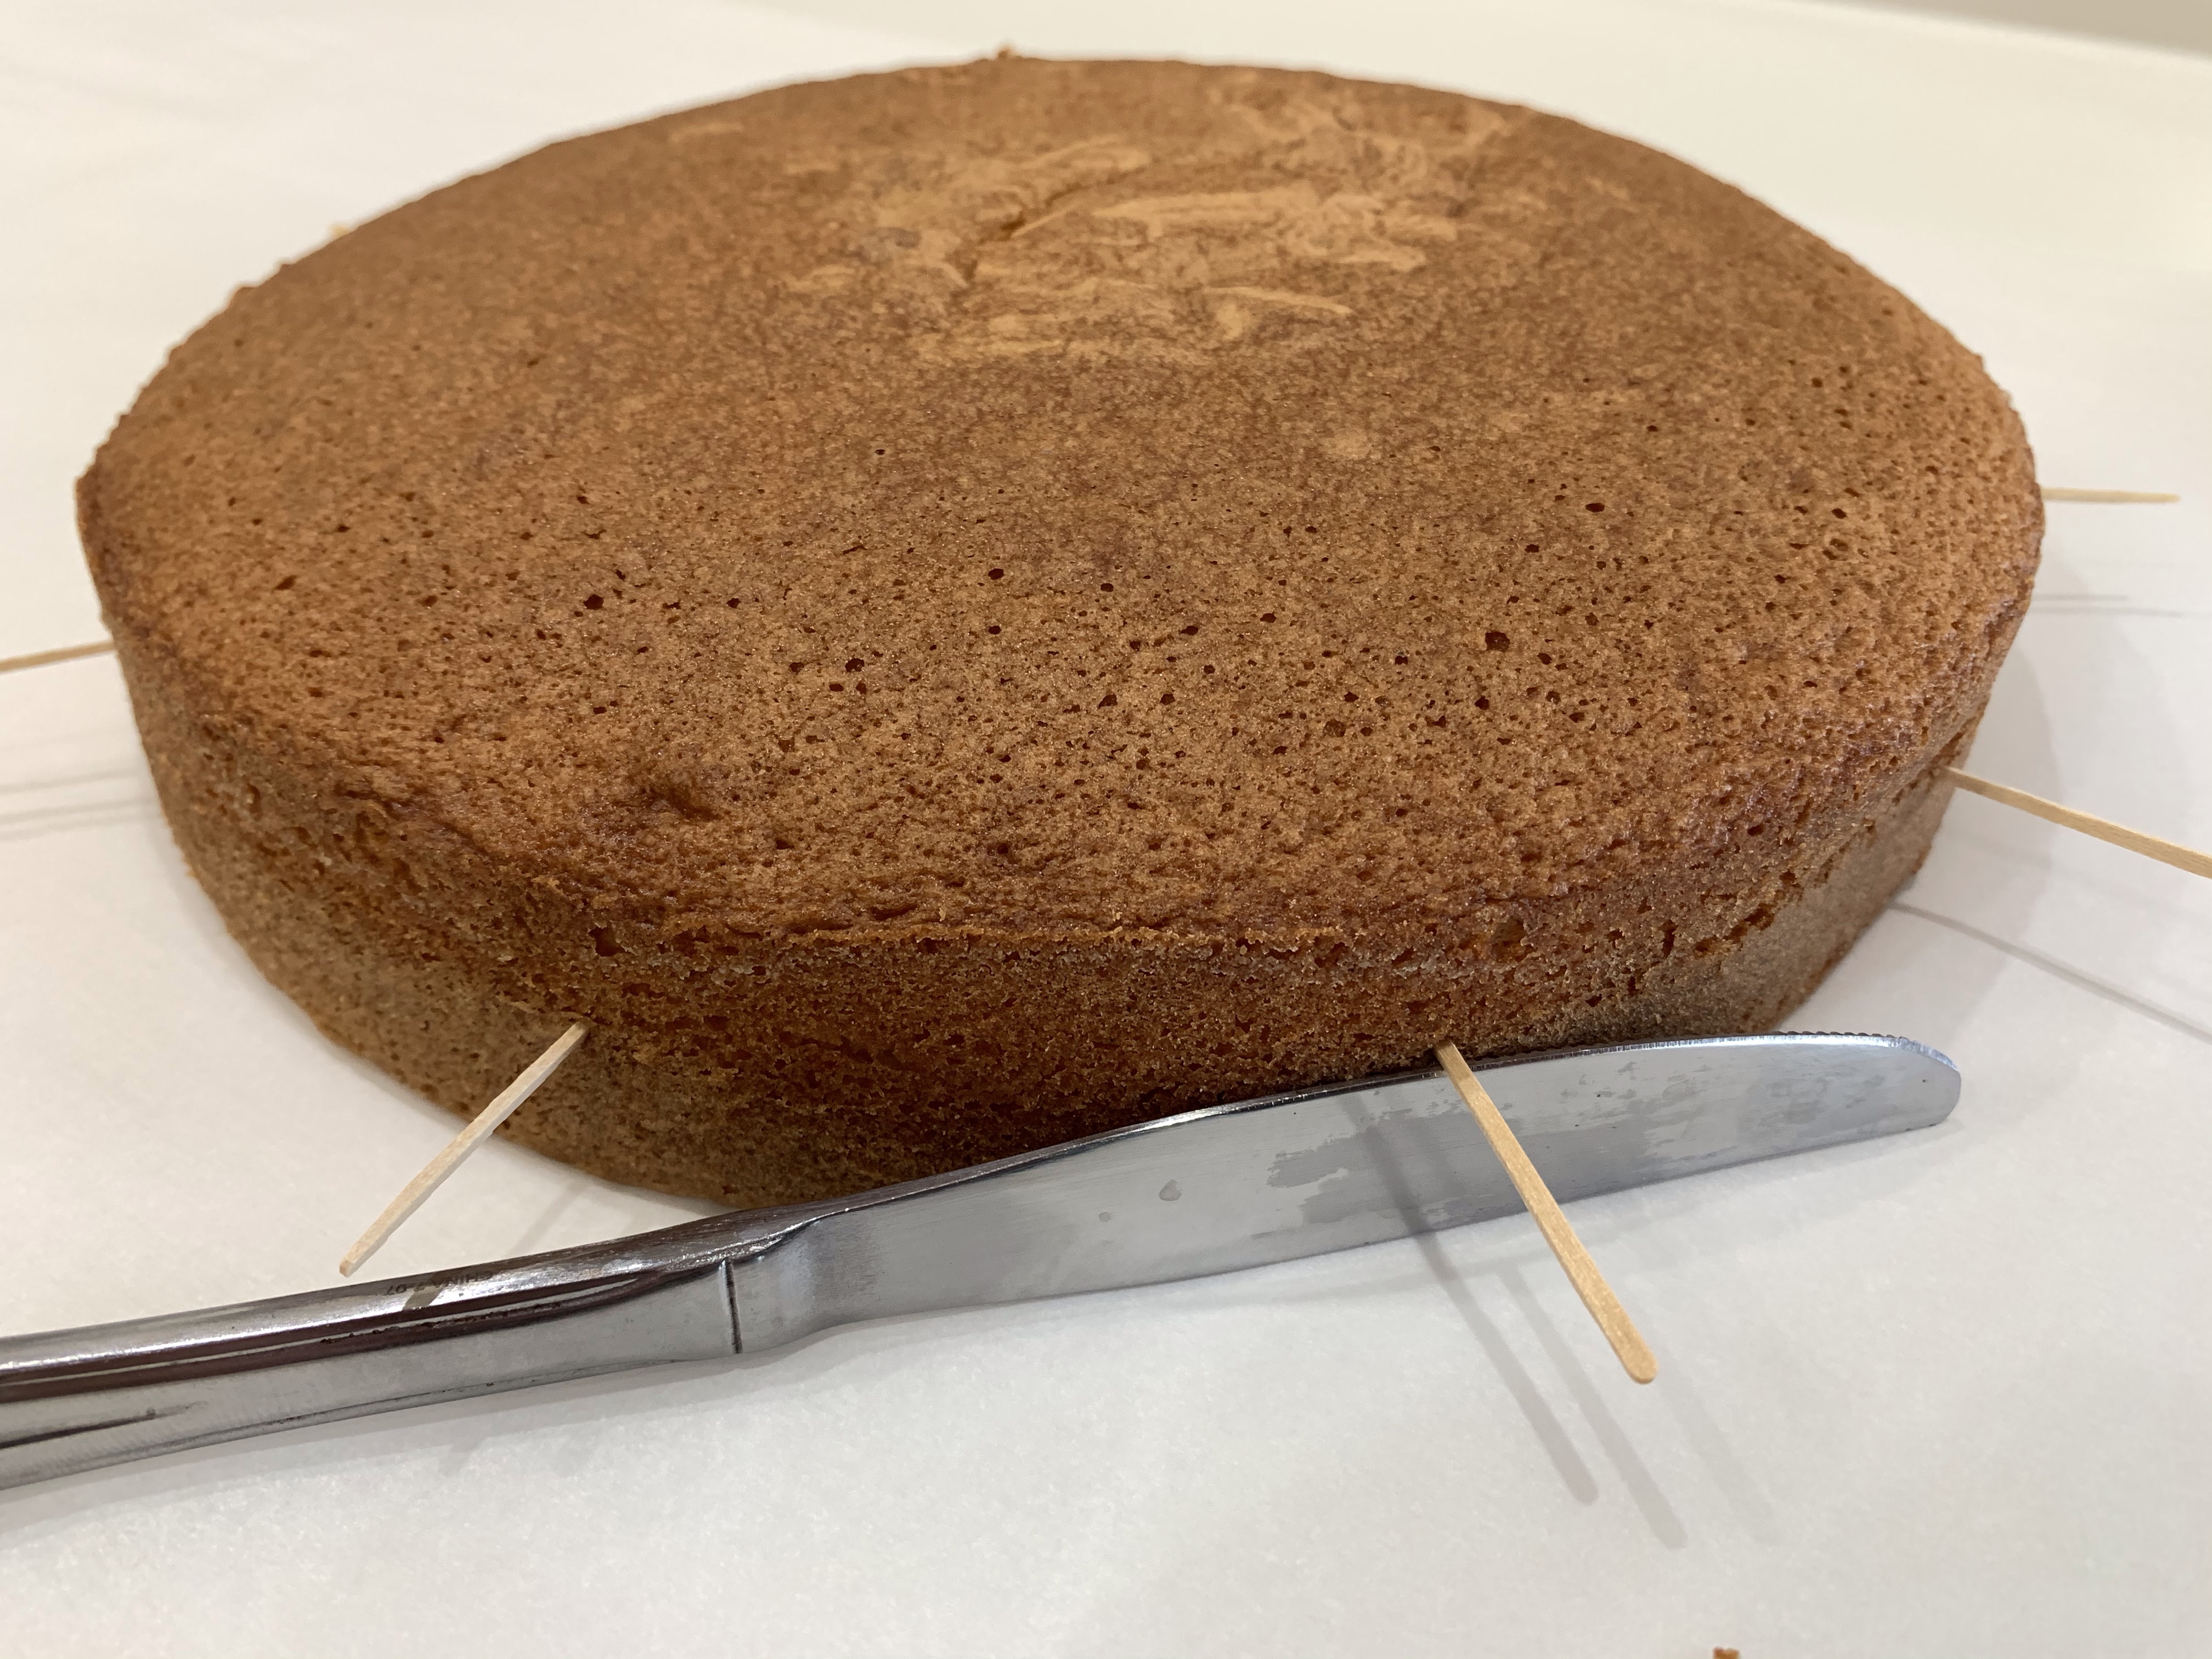
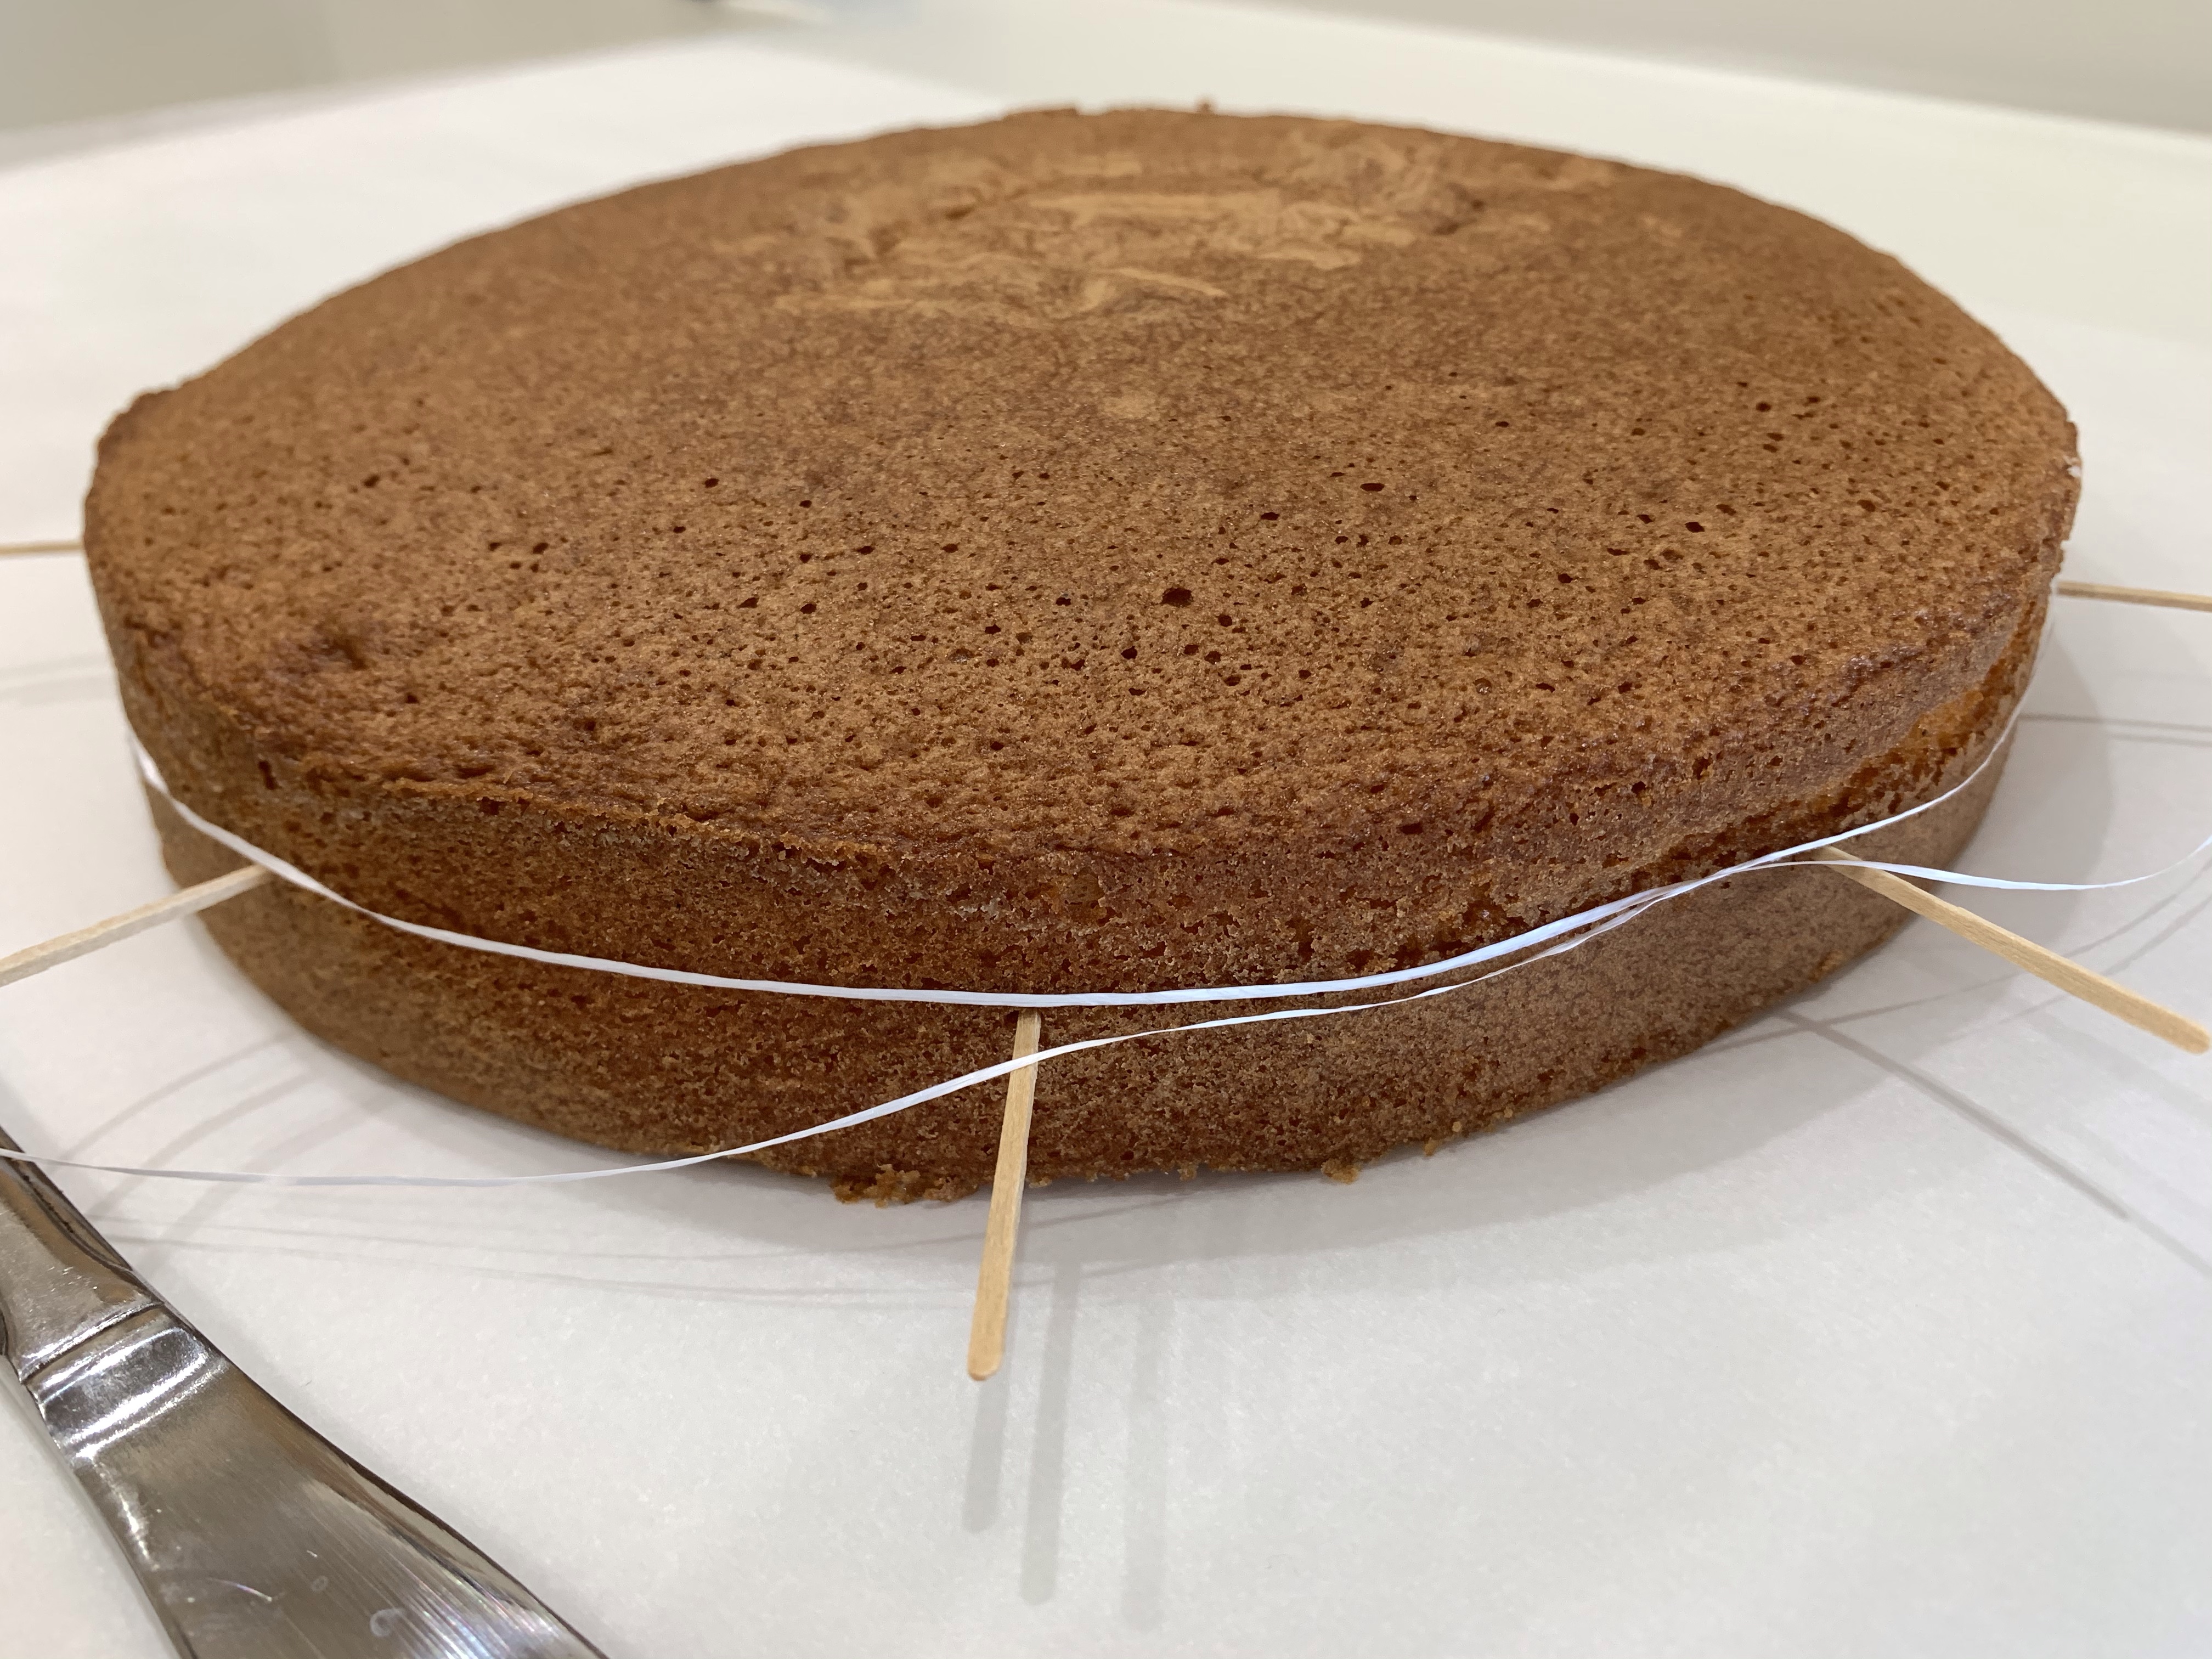
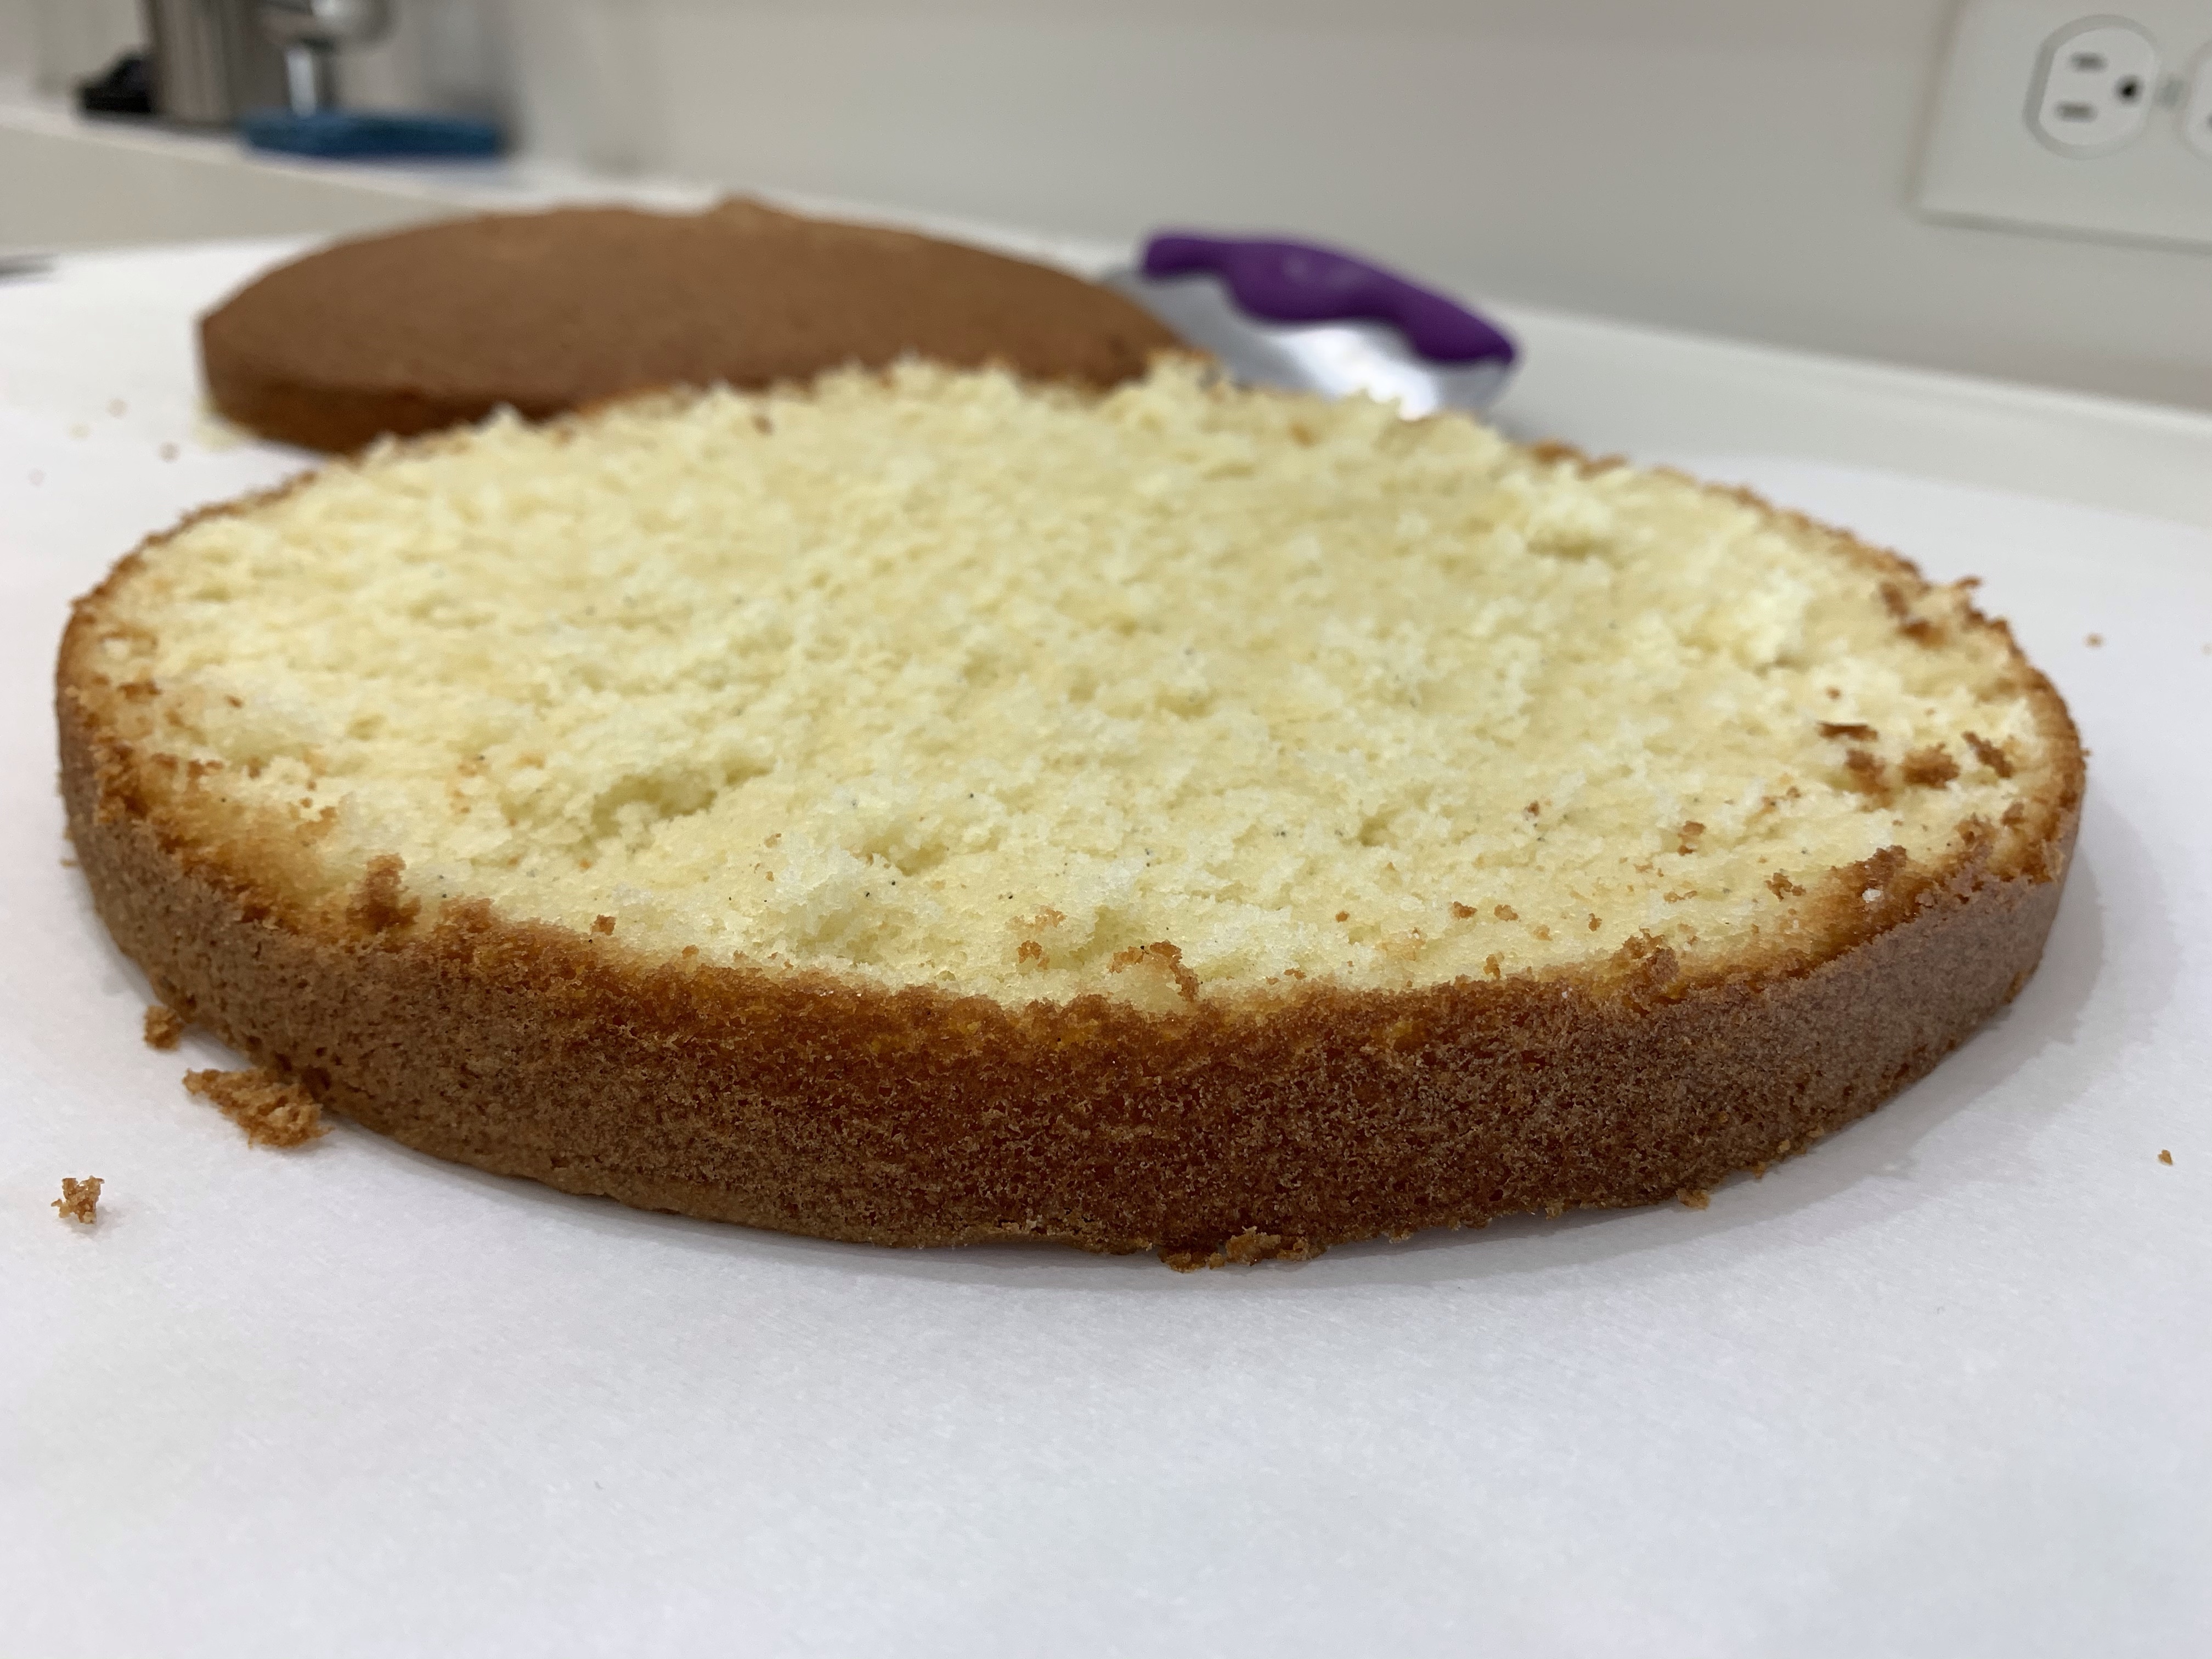
As I am inept at slicing a cake in half, this challenge provided the opportunity to use the “floss” technique. A butter knife was about half the height of the cake, so I used it to position tooth pics every few inches around the cake. I then laid the floss across the toothpicks and pulled it taut cutting cleanly through the cake, exactly where I wanted, resulting in two even, level layers of cake. THAT is a beautiful trick!

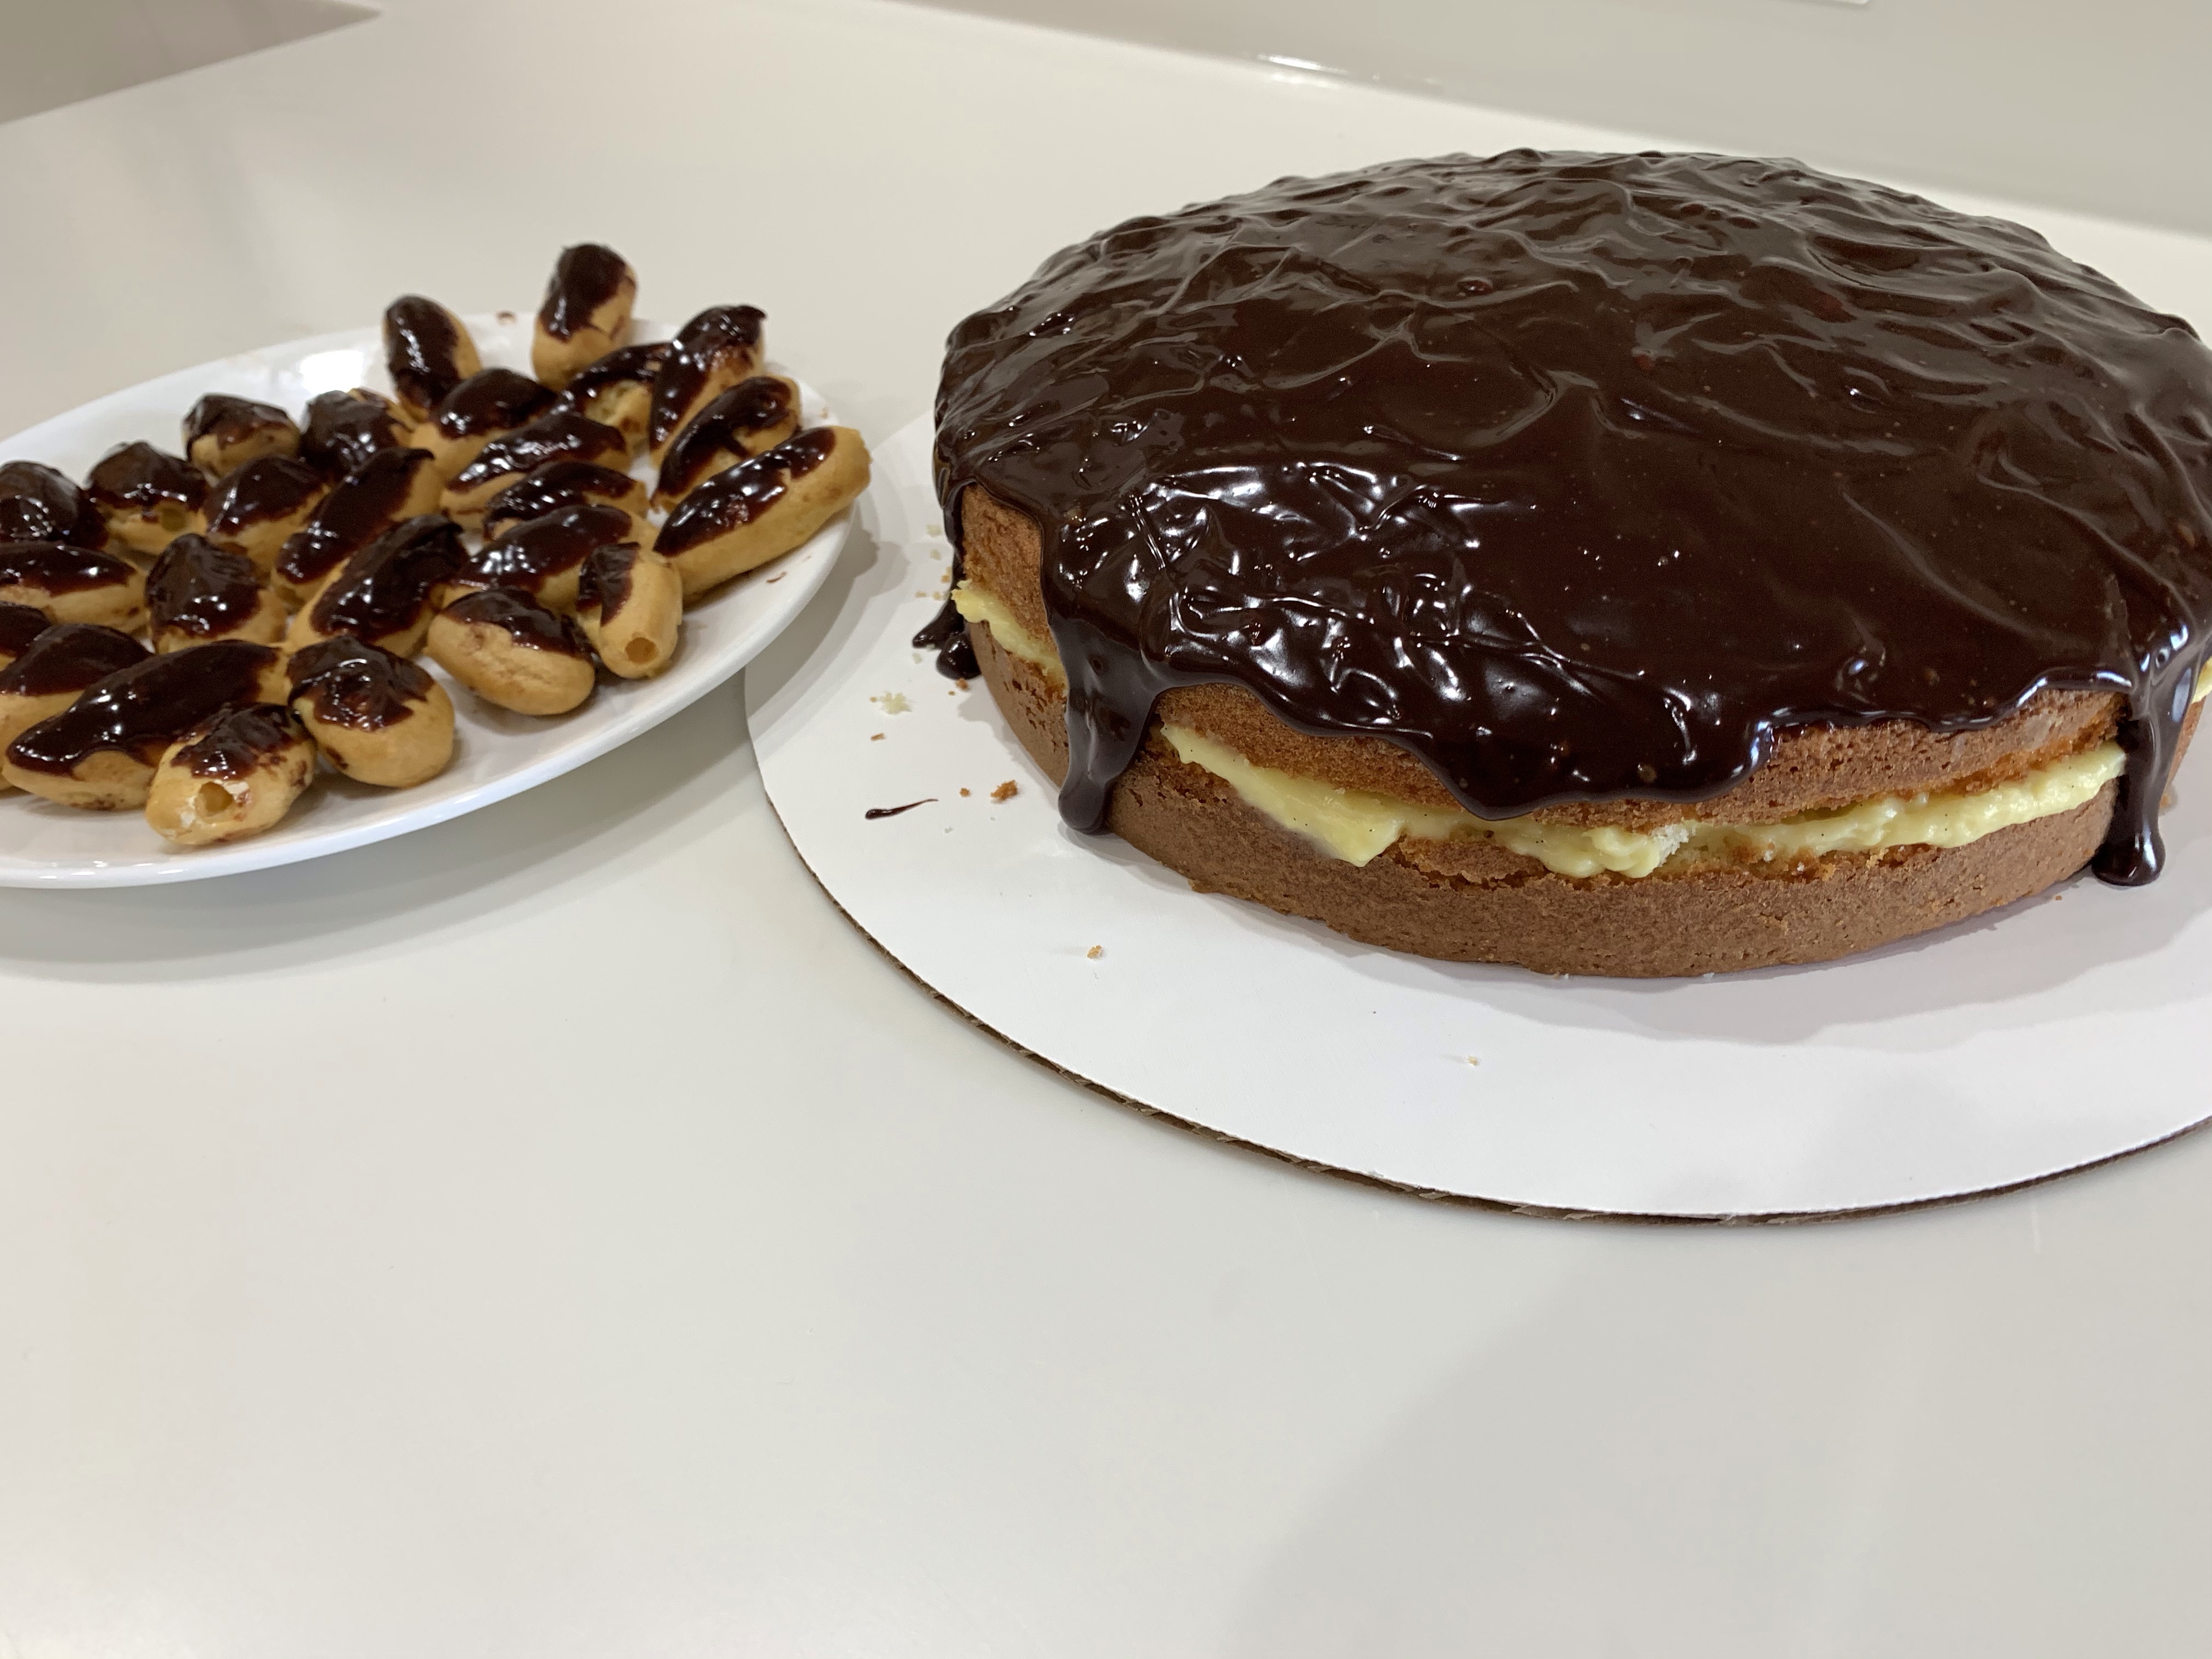
(Make a note for yourself – if you are making something that uses cream-pat and ganache be sure you have some frozen eclairs on hand. They are easy to thaw out, fill and dip in the extra ganache.)

The cake was moist, the cream-pat smooth and chocolate, well you know my opinion of chocolate. Incidentally, I used the cream-pat and ganache from my eclair post elsewhere in this blog.

Re-No Knead

After my childhood Neighbor and still friend, Martha read my No Knead bread post she messaged me her go-to no knead bread recipe, which I tried and thought was both easy and excellent. I subscribe to the Washington Post weekly Voraciously Baking Basics Newsletter and last week was their no knead bread.

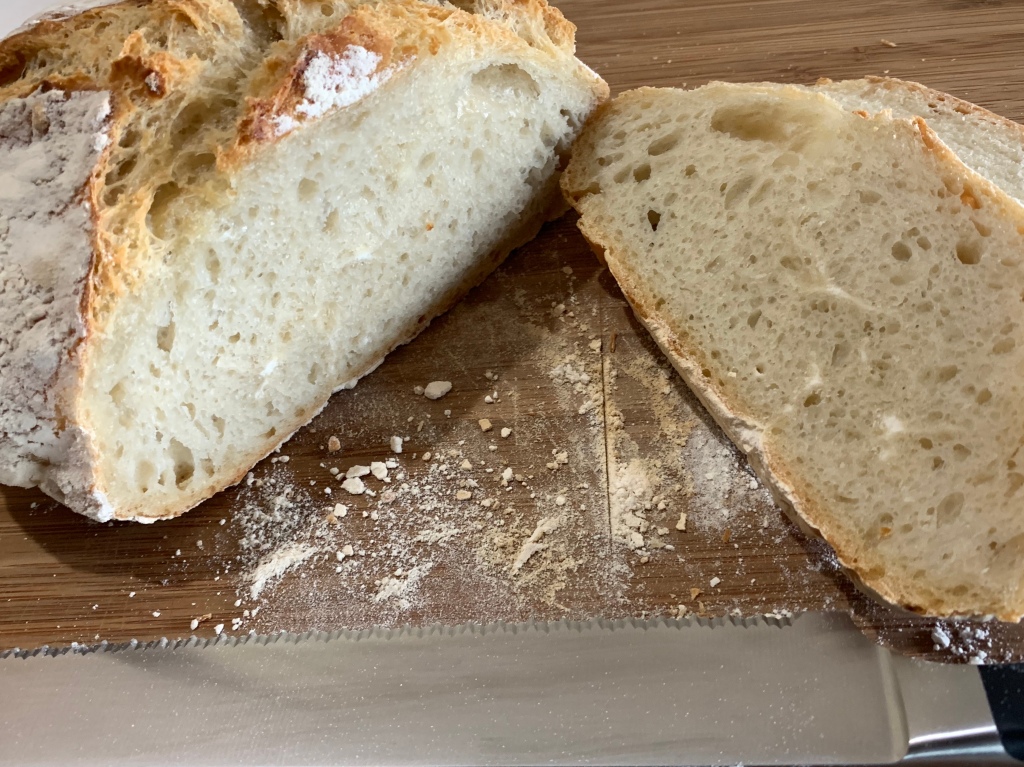
There is no question this is the best no knead bread I have made. Full disclosure I used Martha’s short rise version which only requires a 4 hour rise. I should go back and try the over night 14 hour rise to be a fair comparison to WashPo’s, which did undergo a 14 hour rise.

Voraciously Baking Basics No Knead Bread

INGREDIENTS

Makes one 8-inch round loaf (8 to 10 slices)
Prep time: 20 mins, plus 14 hours rising time
Bake time: 55 to 60 mins

  • 3 cups (375 grams) flour, plus more for kneading the dough
  • 3/4 teaspoon instant yeast
  • 1 3/4 teaspoons kosher salt
  • 2 tablespoons uncooked grits (optional)
  • 1 tablespoon flaxseeds (optional) 
  • 1 1/3 cups (319 milliliters) warm water
  • 1 tablespoon extra-virgin olive oil 

METHOD

  1. In a large bowl, whisk together the flour, yeast and salt, plus grits and flaxseeds (if using). Make a well in the center of the flour mixture and add the water and olive oil. Using a wooden spoon, stir until a shaggy, wet and sticky dough forms.
  2. Cover the bowl with greased plastic wrap — greased side facing inside the bowl — and leave at room temperature for at least 8 hours and up to 14 hours. The dough will rise and bubble and flatten across the top. 
  3. Toward the end of the rising time, place a 6-quart Dutch oven and lid on a rack in the middle of the oven. Preheat the oven to 450 degrees.
  4. Generously flour a clean work surface and, using a rubber bench scraper or lightly greased silicone spatula, scoop the dough out of the bowl onto the counter. The dough will still be very wet and sticky, but there’s no need to knead it — just flour the top and sides to keep the outside of the dough dry enough to shape it into a roundish ball by pulling the edges to the center of the dough. You can use the bench scraper to assist in the folding.
  5. Flour a 14- to 16-inch piece of parchment paper. Cupping your hands around opposite sides of the dough, gently but decisively transfer the dough to the paper, fold-side down. Dust with more flour wherever sticky dough becomes exposed and loosely cover with a clean, dry kitchen towel. Allow to rest for 30 minutes. The dough will have risen slightly and should bounce back when gently poked.
  6. Remove the Dutch oven from the oven and set the lid aside. (I like to keep pot holders on the lid and handle of the Dutch oven to remind myself it’s very hot.) 
  7. Lift the towel off the bread and, using a serrated knife, slash two vents into the surface of the dough to make a big “X.”
  8. Holding two sides of the parchment paper, lower the paper and dough into the hot Dutch oven. Re-cover the pot and place in the oven. 
  9. Bake for 35 minutes, then remove the lid and bake for another 20 to 25 minutes, until the bread is golden brown across the top and sounds hollow when tapped. Remove from the oven and let cool in the Dutch oven for 15 minutes, then transfer to a wire rack and cool for 1 hour before slicing and serving. 
  10. The bread is best within 2 days of baking but will keep, well wrapped, at room temperature for up to 4 days.