Sally’s rough puff pastry is so good. It’s flaky and rises perfectly I constantly look for places to use it. Recently, I envisioned a vol au vent (I don’t believe I ever made them before) using last year’s fig jam before this year’s crop ripens.
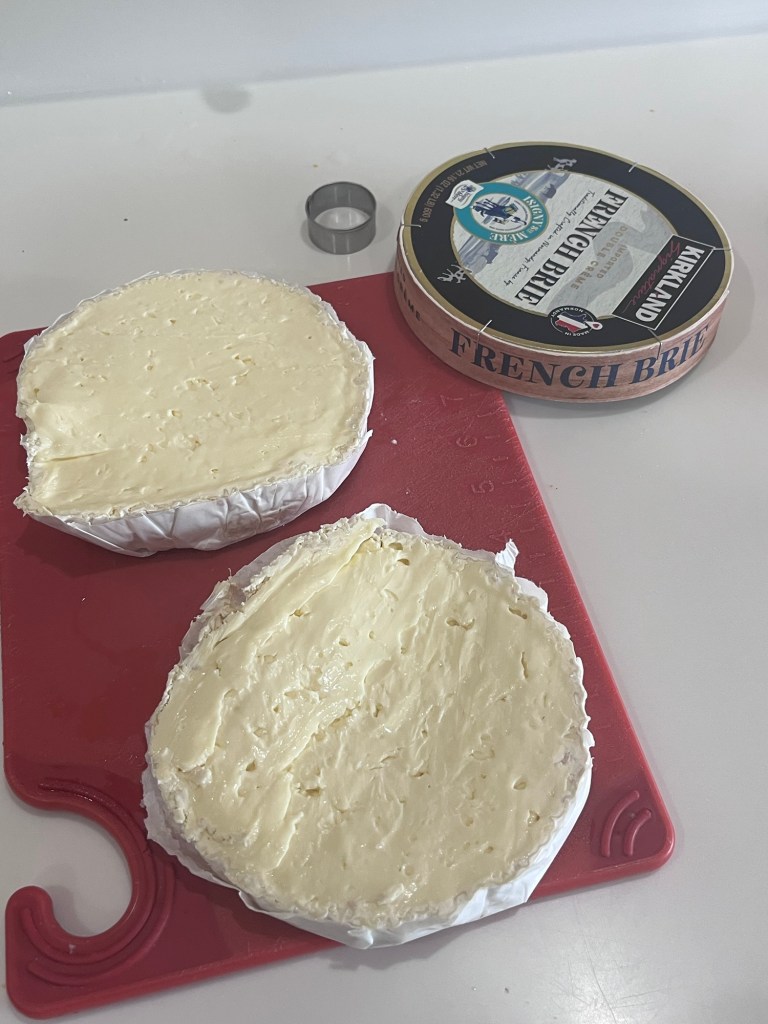
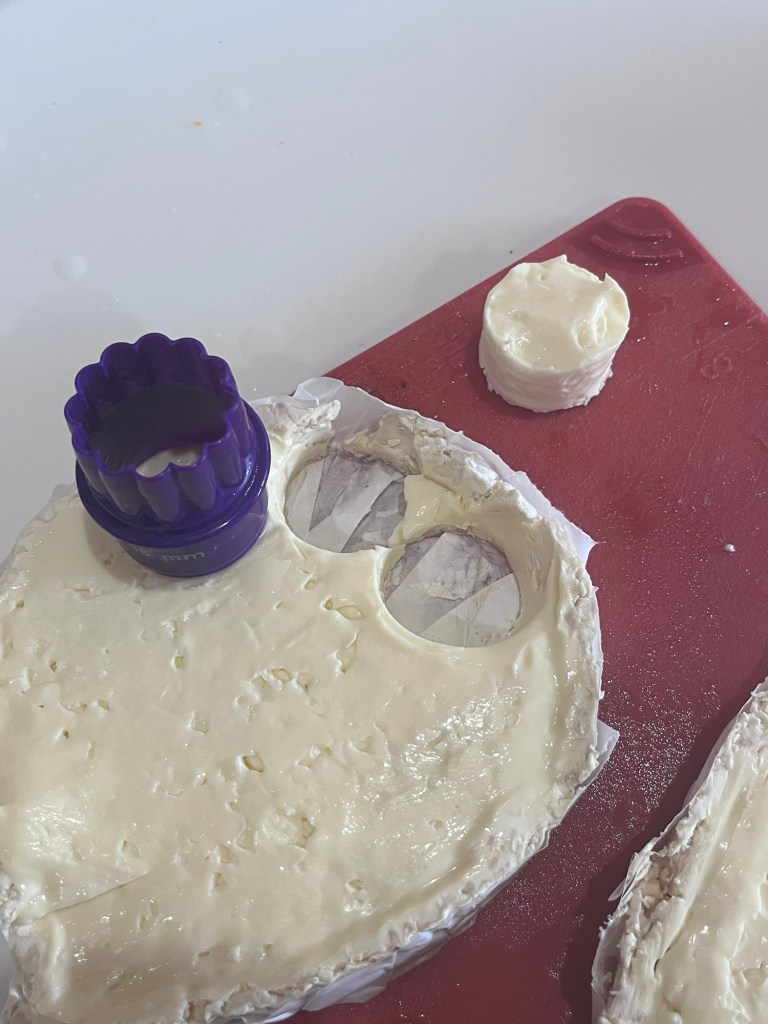
I needed something to pair with the fig, and eventually settled on brie. Have you ever tried to cut brie into a 0.25” thick by 1.5” diameter disk? It ain’t easy. I chilled the 1” thick wheel of brie then cut it into two ~0.5” disks before punching it 1.5” cylinders which then had to be cut in half to achieve the required size.
Then, there needed to be something to top it off and I decided on cream cheese frosting top with coarsely chopped pistachios for a little crunch. I am not convinced that is the best choice but was itching to make this pastry.
Any suggestions or an alternative to the cream cheese are welcome.
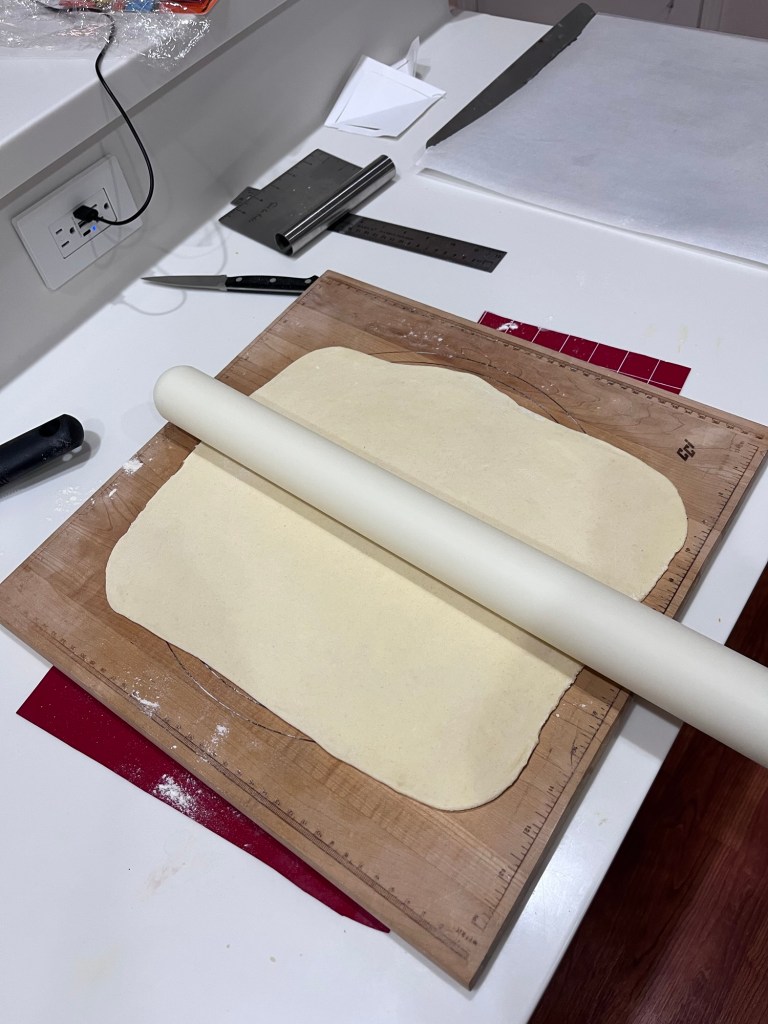
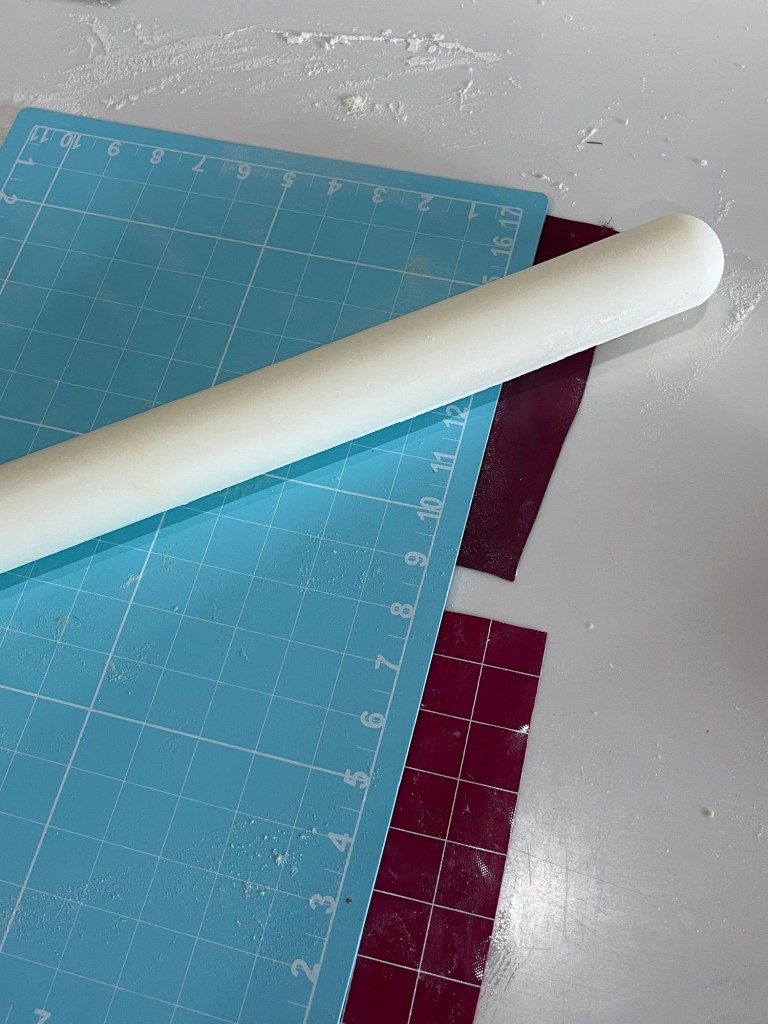
I rolled out the puff pastry dough on a silicon pastry mat. (Whenever I use this I put a couple of scram pieces of silicon under it to keep it from sliding on the counter.)
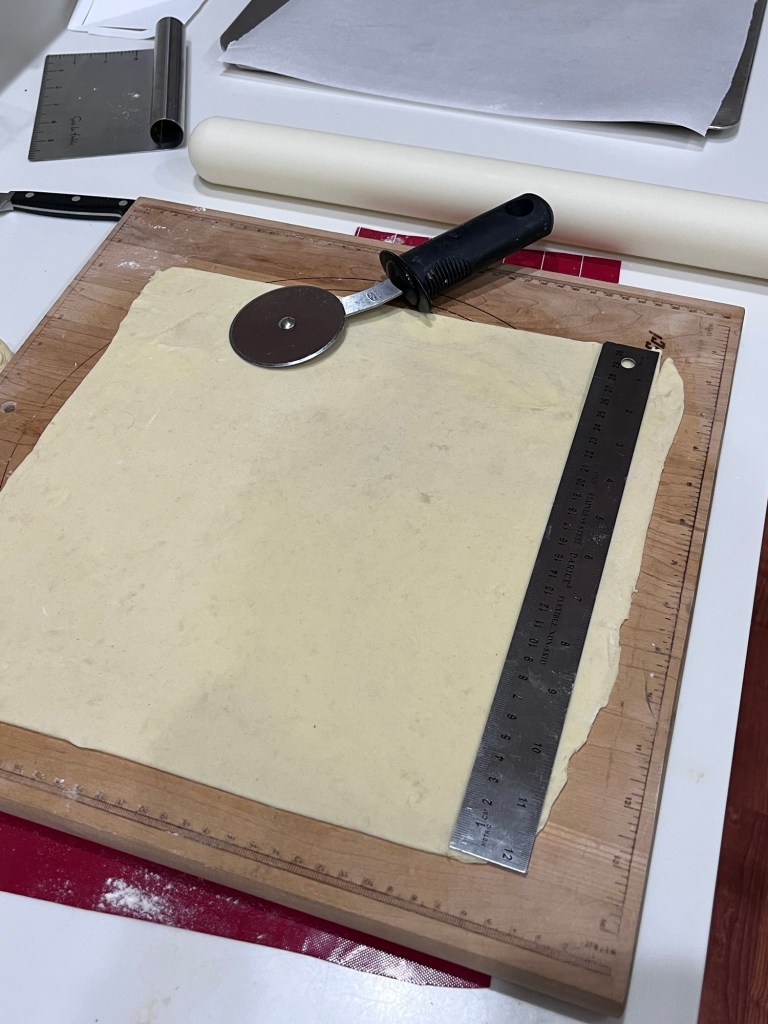
When the puff pastry was ready I rolled each piece (I made two) into a 10”x15” rectangle. One recipe makes almost exactly this size a sheet of puff pastry.
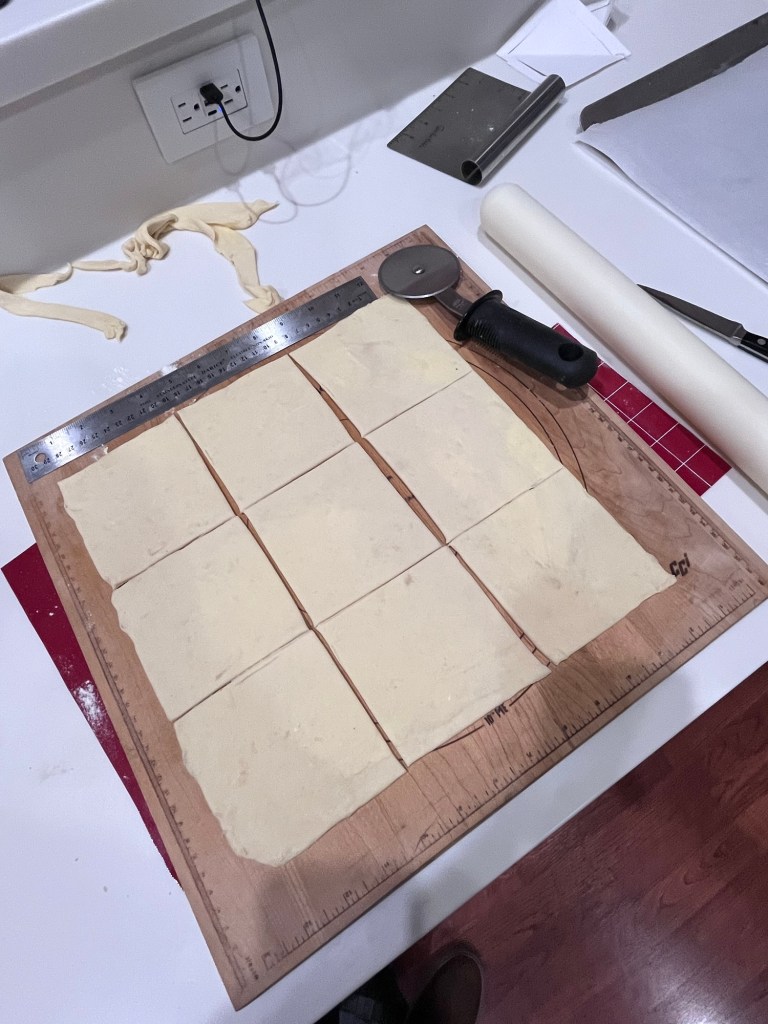
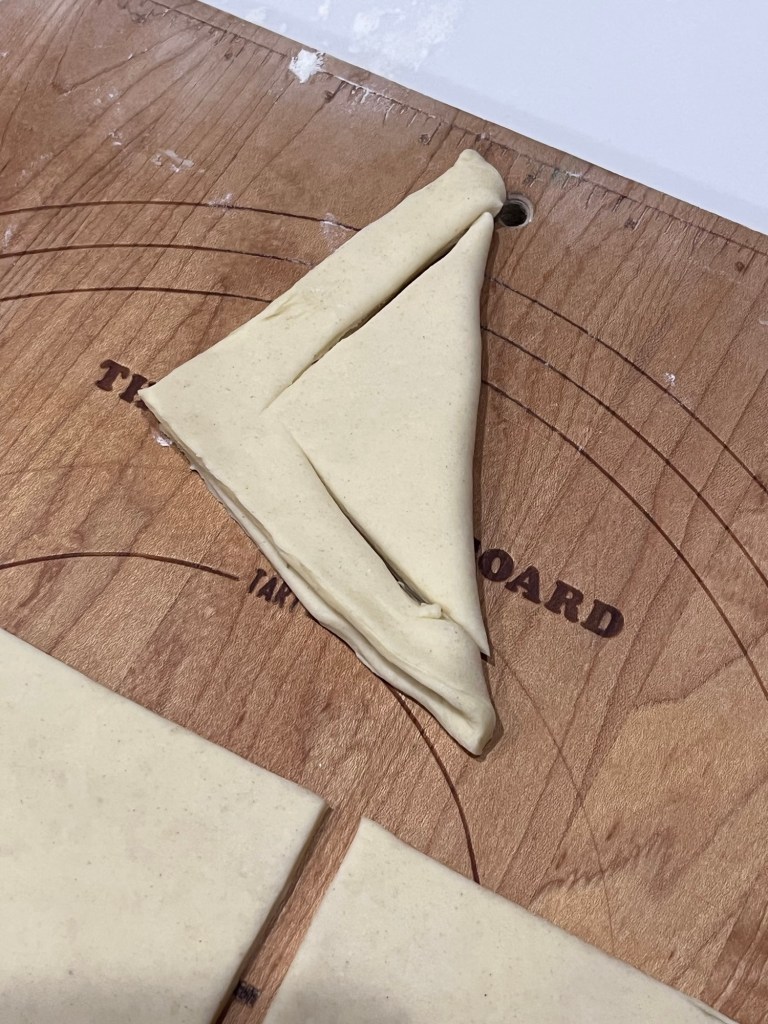
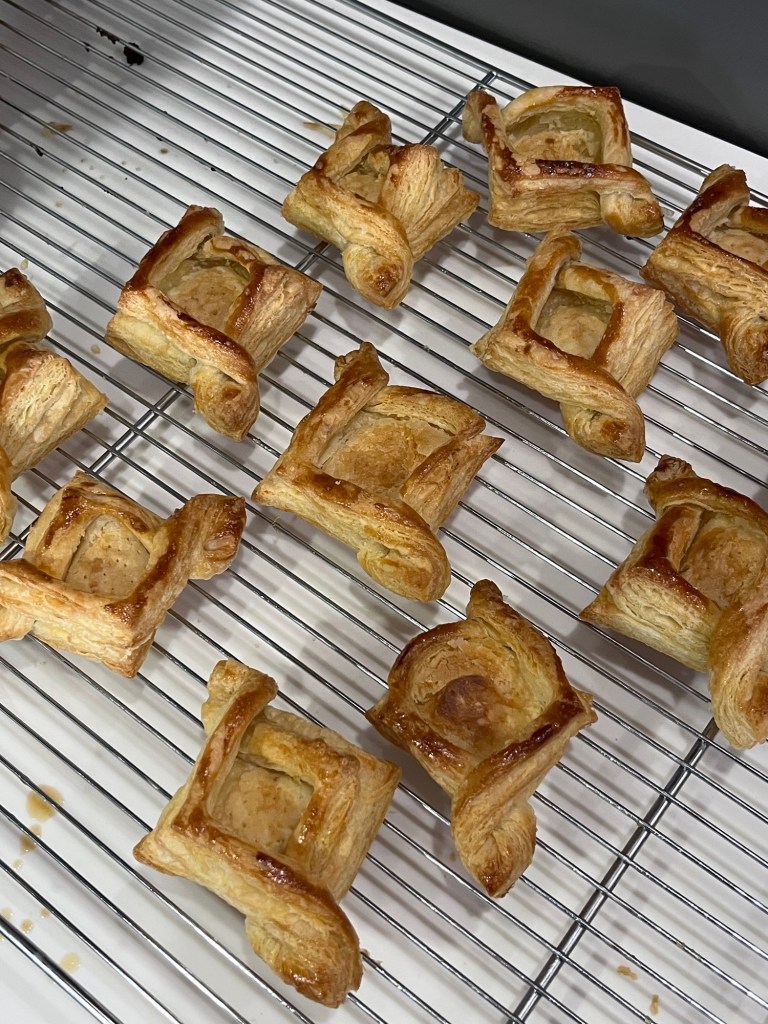
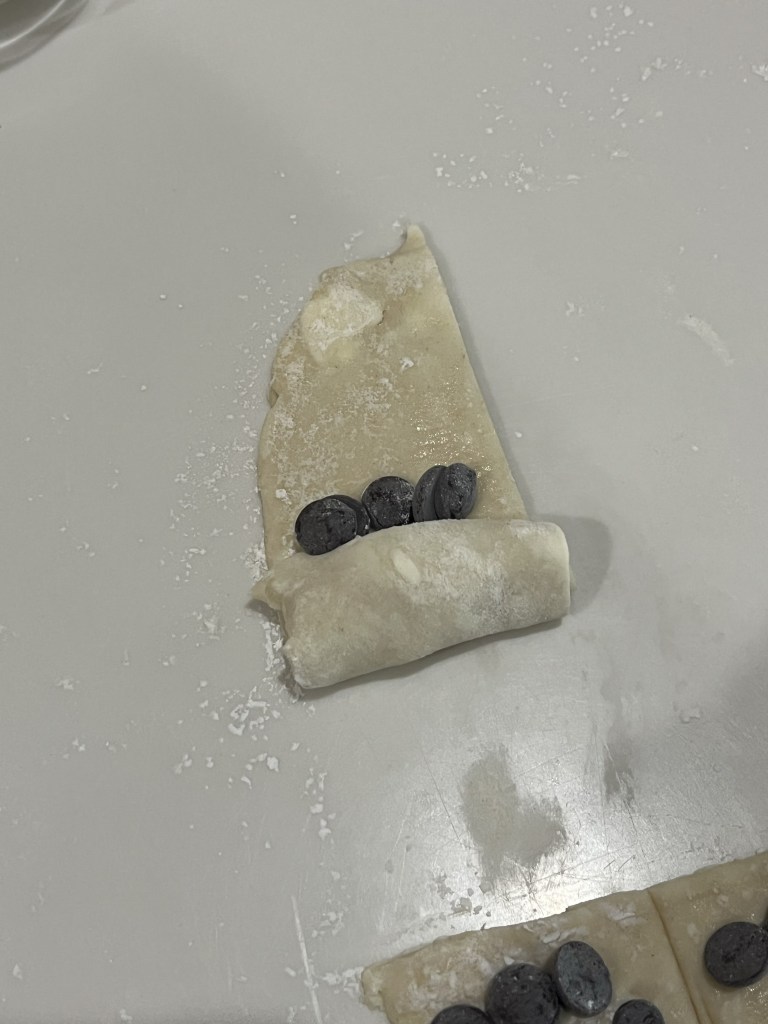
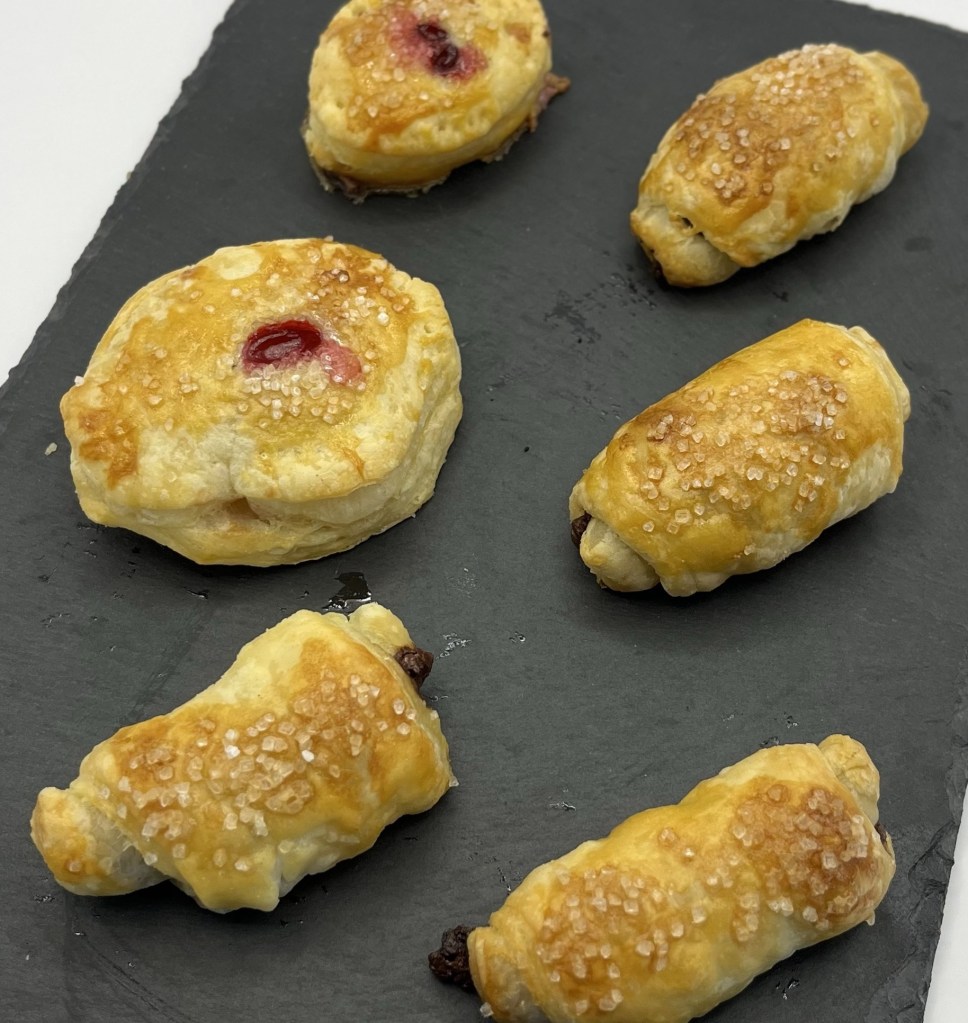
I cut 8 circles of 3” then cut a 2” hole in each. (FYI: I used the left over disk to make pseudo pain au chocolates. Waste not, want even more.) The “donuts” were dampened with water on one side and gently placed on a disk and patted down gently.
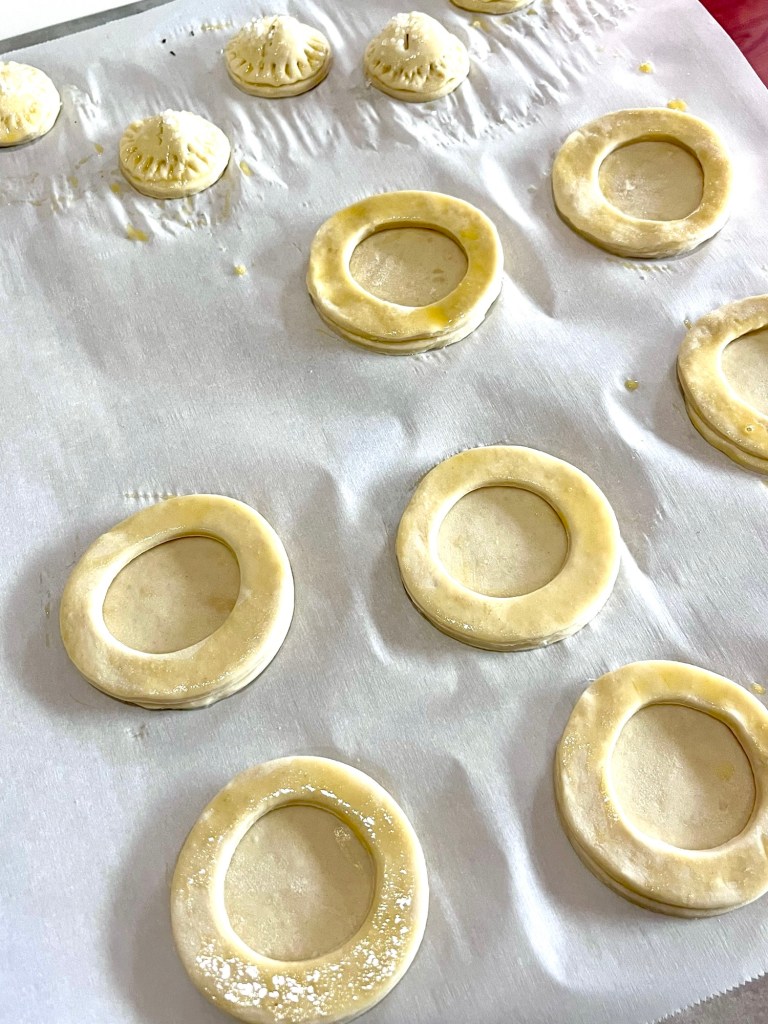
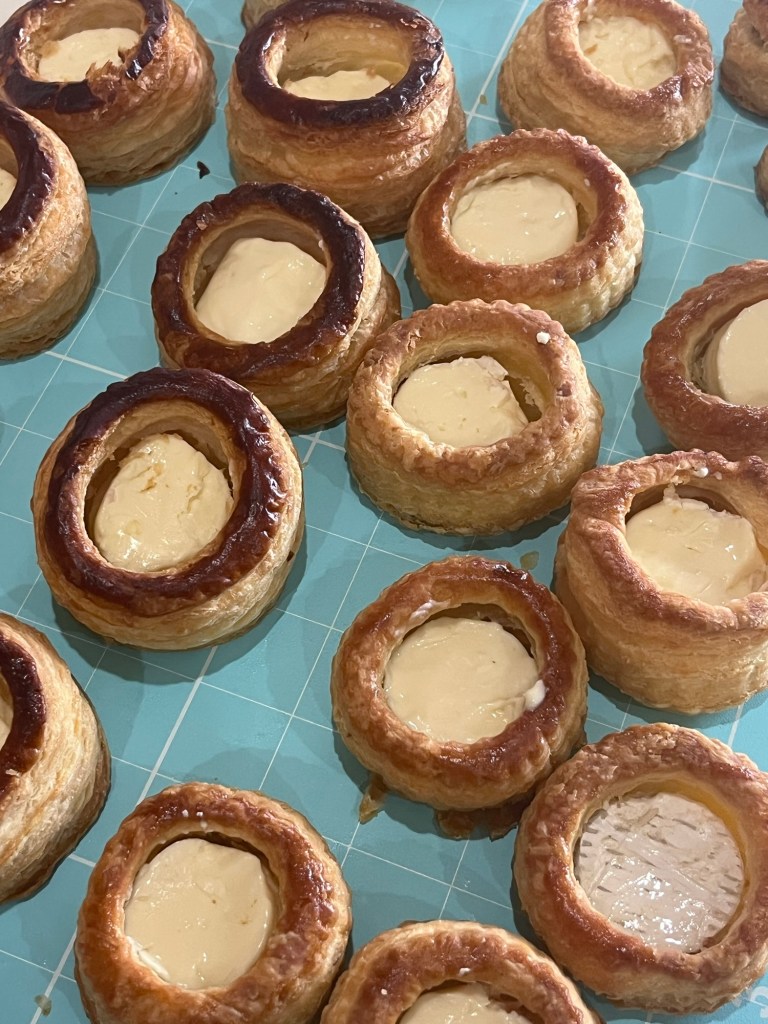
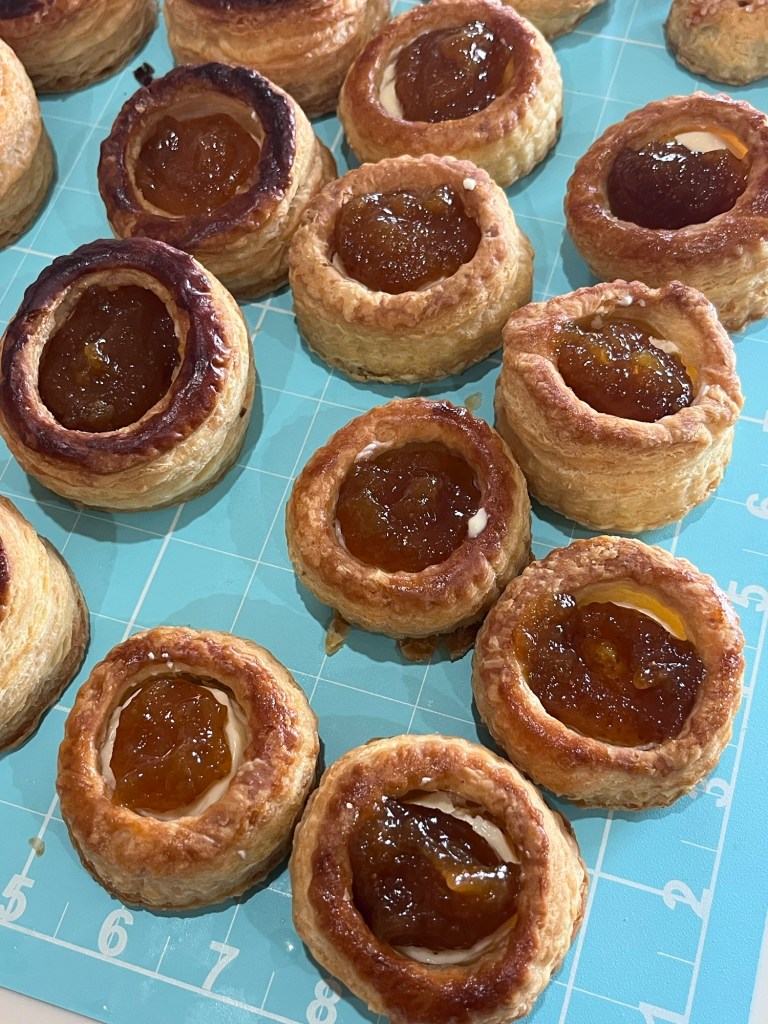
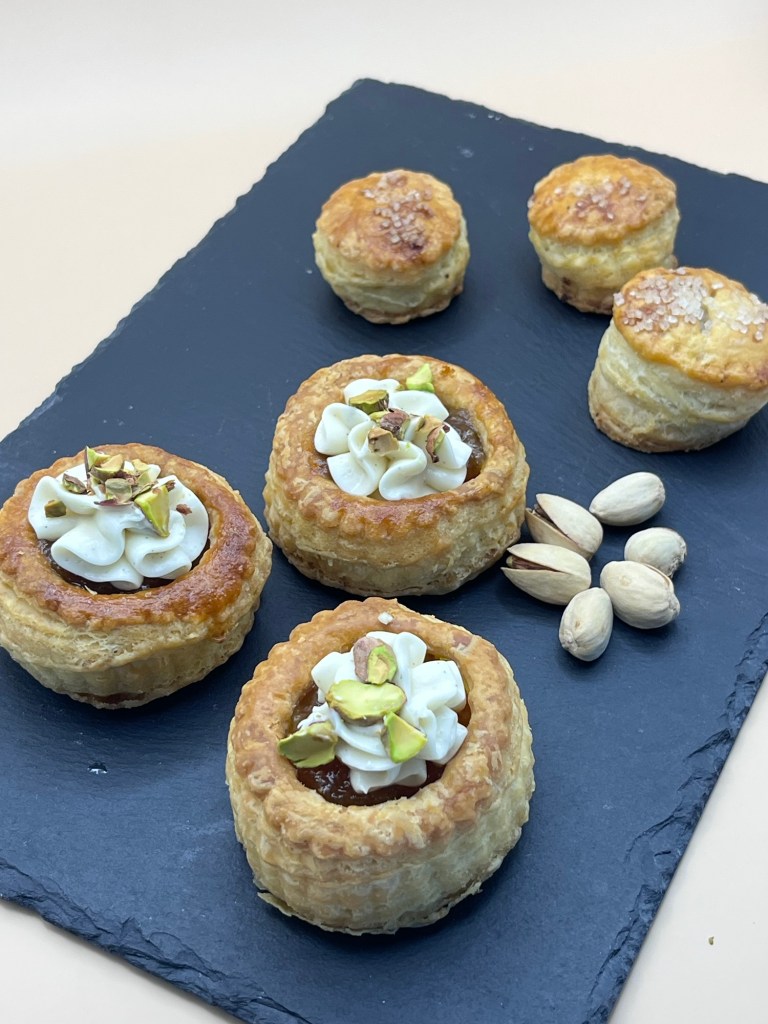
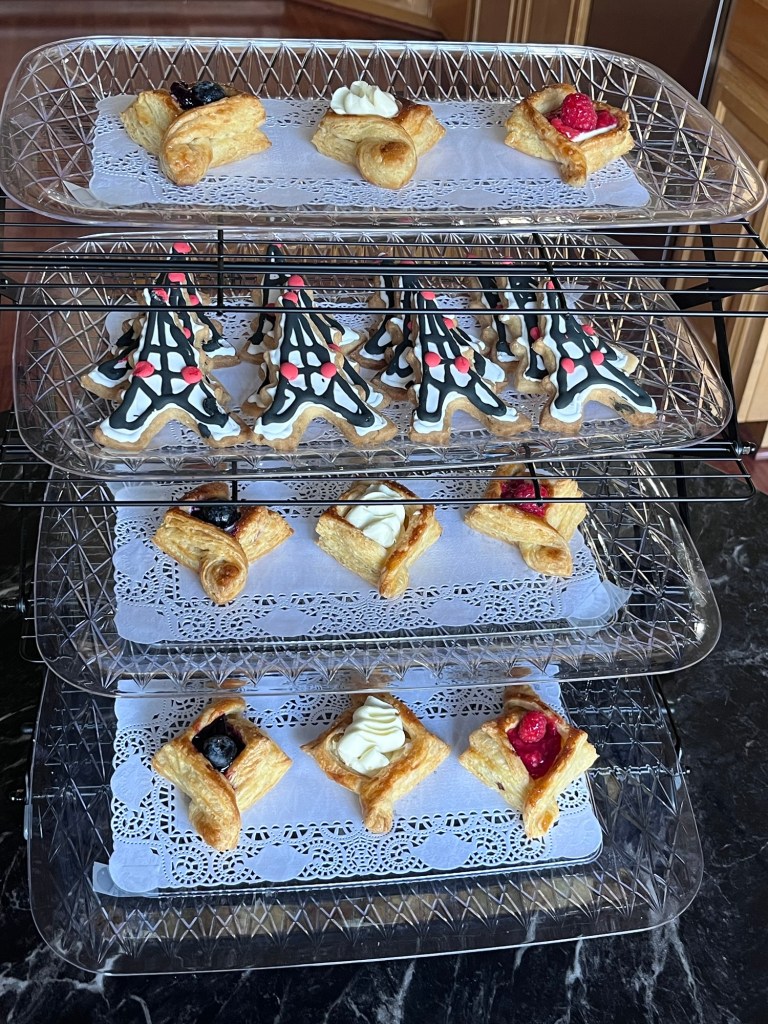
Bake the pastry “cups” and when done, use a fork to remove the “puffed up” center, return to the oven for 3-5 minutes then completely cool. Place a brie disk into each and fill to the top with fig jam. Pipe a bit of frosting on top and sprinkle some coarse chopped pistachios to finish. Ta da!
Fig Jam
Makes ~ 13 half pint jars
INGREDIENTS (Double recipe in parentheses)
• 3 pounds fresh figs (washed, stems removed) (6#)
• 400g (2 c) granulated sugar (800g; 4 cups)
• 118g (½ c) water (236g; 1 c)
• 1 (2 Tbl) lemon (juice and finely grated zest) (4 Tbl)
METHOD
- In a large, heavy-bottomed saucepan, combine the figs, sugar, water,lemon juice, and lemon zest.
- Bring to a simmer over medium-low heat, stirring constantly. Cover and simmer over low heat for 1 hour, stirring occasionally.
- Remove the cover, attach a candy thermometer to the side of the pan making sure the bottom of the thermometer doesn’t touch the pan’s bottom, and continue simmering, stirring frequently, until the mixture thickens. When the mixture gets quite thick, begin to stir constantly to keep from scorching.
- Cook to 220 F and remove from the heat. Or test a small amount on a very cold saucer by putting the saucer in the freezer for a few minutes, put a little of the fig mixture on it, then returning it to the freezer for 1 minute. When a good gel stage is reached (220 F), the surface of the fruit mixture will wrinkle slightly when pushed with a finger.
- While figs are cooking, prepare the jars and lids. Put the glass jars in a boiling water canner about half-filled with water. Bring to a boil, reduce heat, and keep jars in the water.
- Put water in a separate saucepan, bring to a simmer, reduce heat to low, and add the jar lids. Keep in the hot water until ready to use. Do not boil.
- Fill the jars with the hot fig jam mixture, leaving 1/2-inch headspace. Wipe jar rims and threads with a wet paper towel. Place lids on jars using tongs or a jar magnet then screw on the rings.
- Place on a rack in the hot water in the canner. Lower into the water and add enough hot or boiling water to bring the water level to 1 to 2 inches above the jars. Bring jars to a boil for 10 minutes.
Using canning tongs, remove the jars to a clean towel on a flat work surface. Listen for the popping sound which indicates a good seal and tighten the rings.
Cream Cheese Frosting:
INGREDIENTS (I made a half recipe)
• 1 8 oz package cream cheese, softened
• ¼ cup butter softened
• 226g (2 cups) powdered sugar
• ½ tsp pure vanilla extract
• 1/8 tsp salt
METHOD
Beat together cream cheese, butter, powdered sugar, vanilla extract and salt until the proper viscosity is achieved.