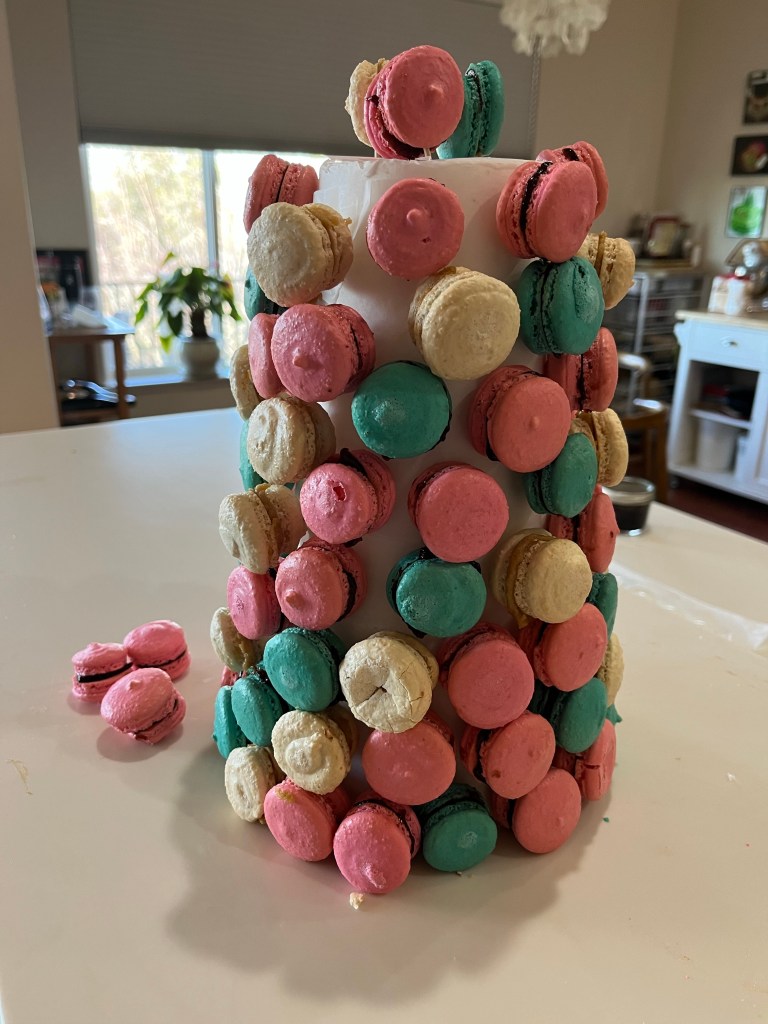
I have been remiss in posting bakes recently. There are TMI reasons, but I am back now.
I haven’t made filled chocolate confections in a while and Valentines Day is one of my reasons for making them again.
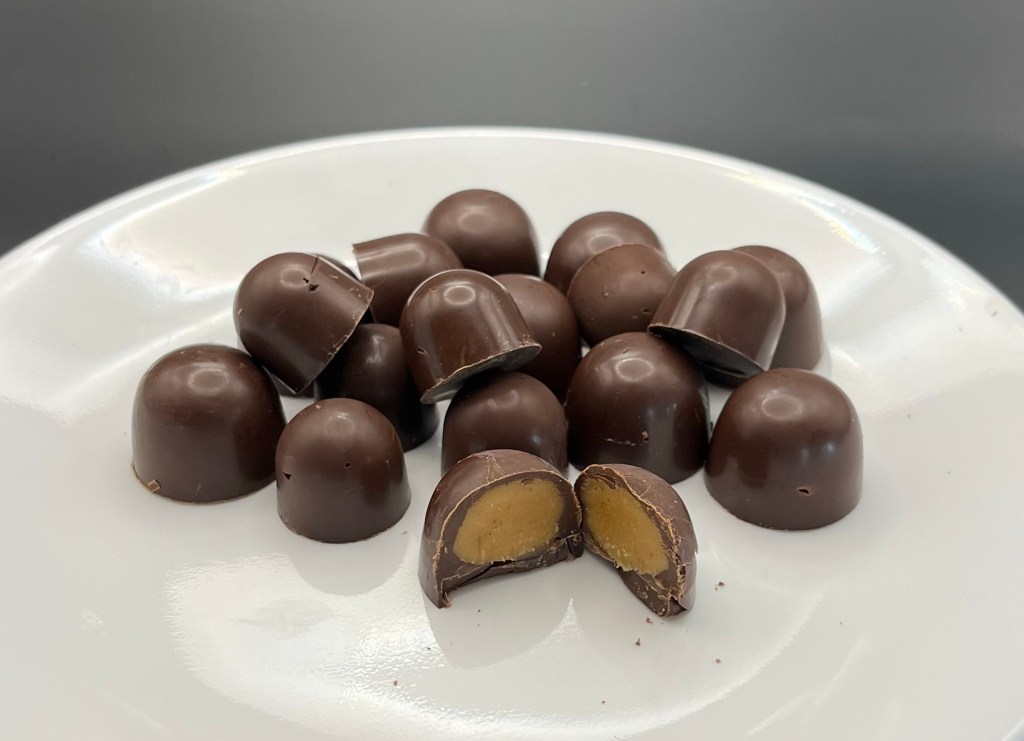
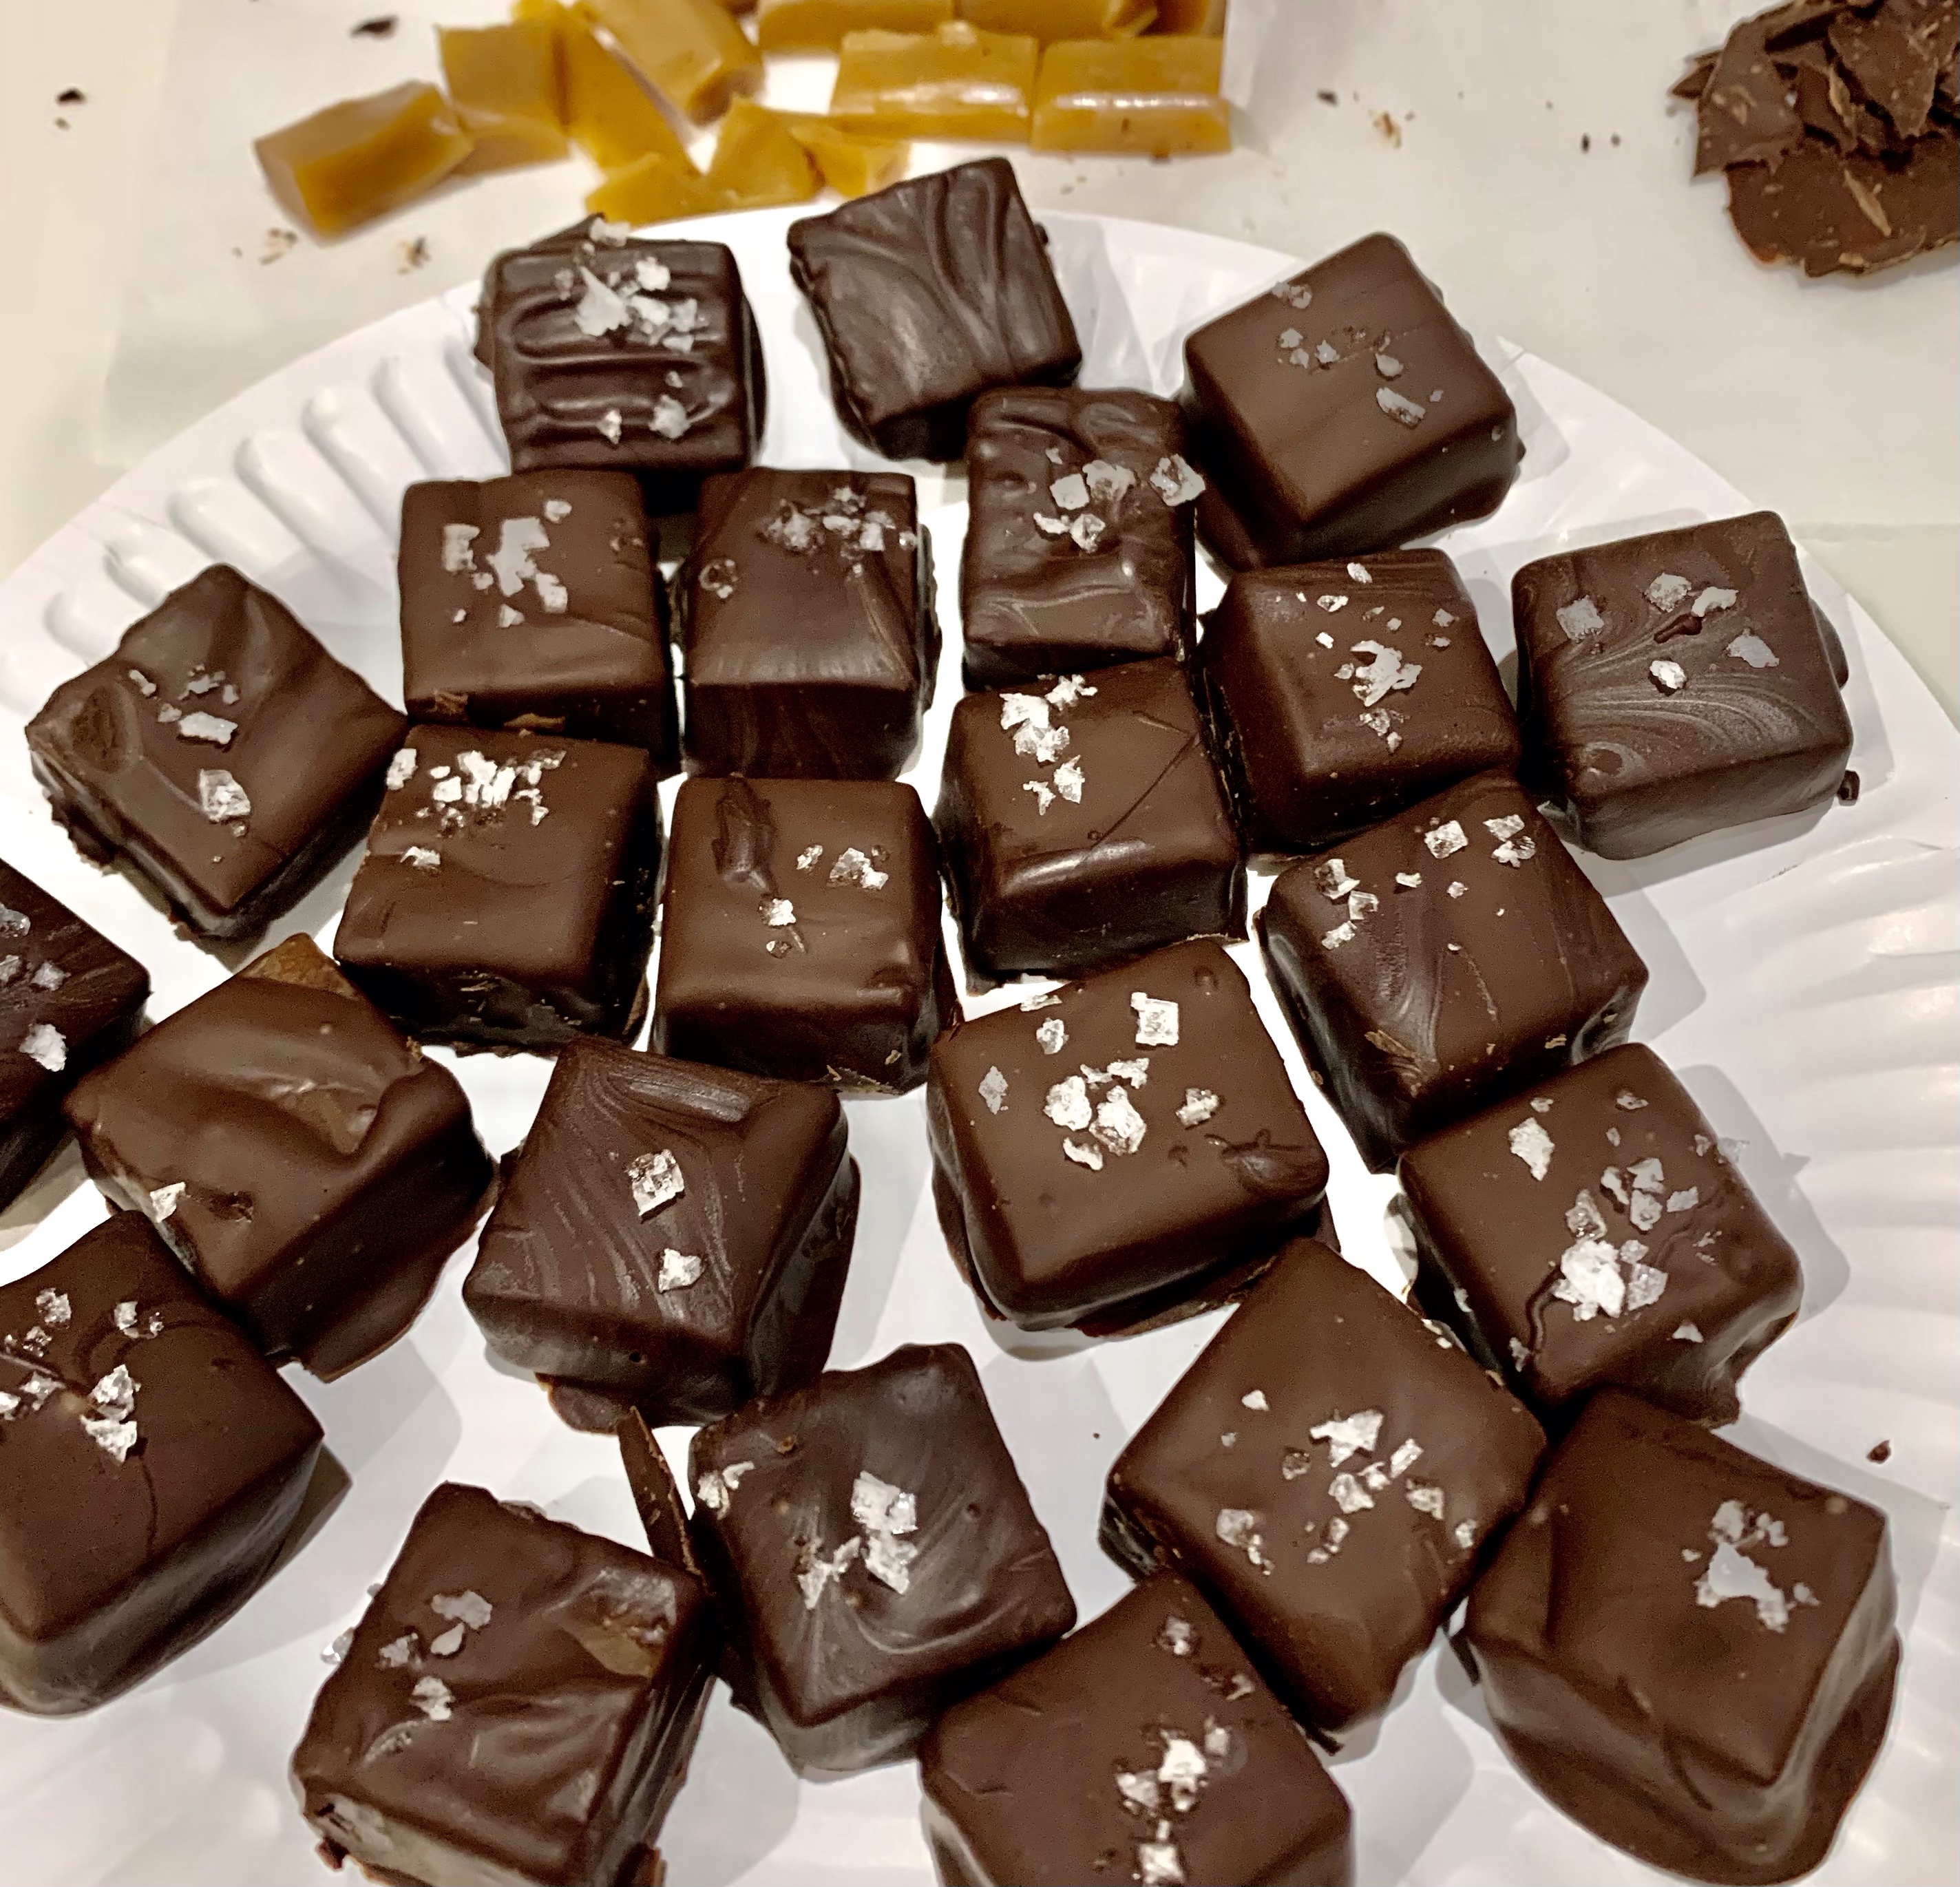
These are all 54% dark chocolate and clockwise from top we have, raspberry jelly, orange jelly, orange creme and caramel creme confections. Not shown are dipped caramel cubes.
The oranges were poached (with permission) from our neighbors trees. It took a few attempts to achieve the correct tartness and consistency of the jelly and creme, but they have LOTS of oranges. Basically, the same with the raspberry, but this time of year I bought them.
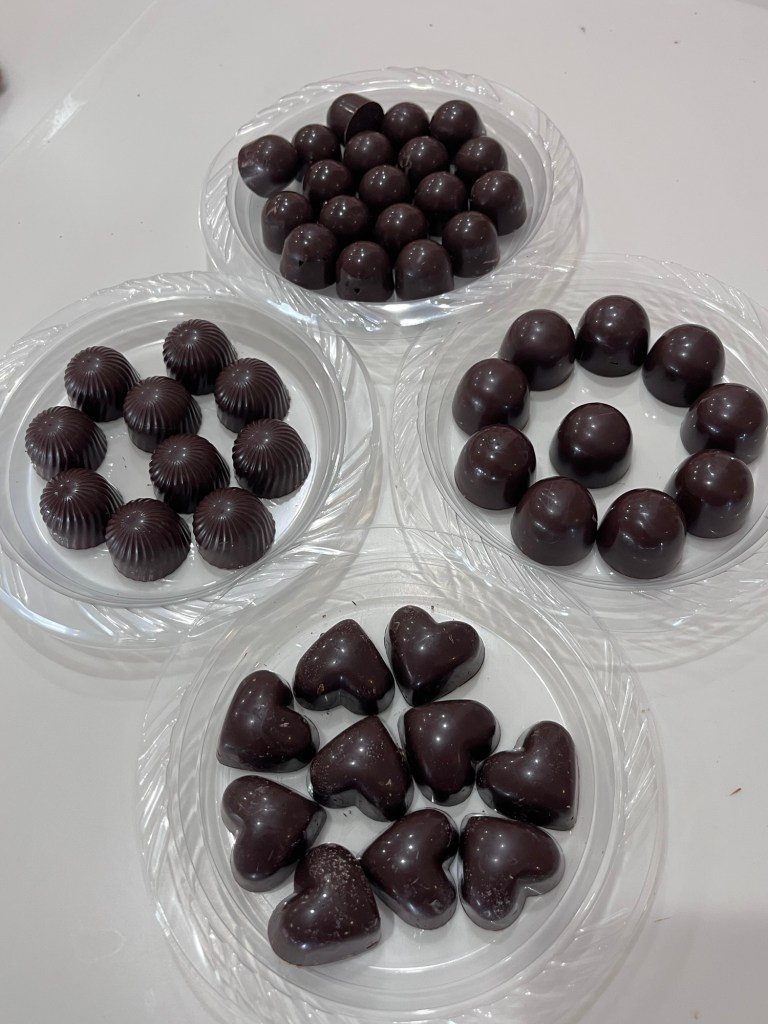
It was fun going back and making these, most rewarding was when tapped upside down 100% released from the mold with a beautiful tempered chocolate shine.
Orange Jelly
Makes ~ 1 ½ cup of jelly
INGREDIENTS
• 2 c orange juice (3-4 oranges)
• 1 ½ Tbl pectin
• ½ tsp butter or margarine
• 300g (1 ½ c) sugar
• 2 Tbl lemon juice
METHOD
- Add the juice to a clean pot. Stir in the lemon juice, butter and pectin.
- Bring the mixture to a full rolling boil (a boil that doesn’t stop bubbling when stirred) over high heat.
- Stir in the sugar (175g) all at once. Return the mixture to a full rolling boil and boil hard for exactly 1 minute, stirring constantly.
- Remove from heat and skim off any foam. Ladle the hot jelly into sterilized jars, leaving ¼ inch of headspace.
- Wipe the rims, apply lids, and process in a boiling water bath for 10 minutes. Let sit undisturbed for 24 hours to set
Notes:
- Optionally add zest from one orange to the orange juice
- To soften firm jelly: Heat small amount of water in a bowl, then place a portion of jelly in a smaller bowl such that the water from the larger does not flood the jelly. Stir for about a minute until the jelly softens and becomes pipeable.
Raspberry Creme
INGREDIENTS
• 265g (2 ½ c) frozen raspberries
• zest of 2 lemons
• 60g (¼ c) freshly squeezed lemon juice
• 190g ( ¾ c plus 2 Tbl) granulated sugar
• 3 large eggs
• 85g (6 Tbl) softened butter
• 1 tablespoon cornstarch for a thicker curd (use when baking into a pie or bars)
METHOD
- Set out two bowls, one with the butter in it and one with a fine mesh sieve over it.
- Place the frozen raspberries, the zest and the lemon juice in a small pot. Cook on medium to low heat until the raspberries soften and burst and it’s mostly liquid.
- Press the raspberry mix through the fine mesh sieve to remove the seeds and zest, scraping the bottom of the sieve. You should have ¾ cup raspberry lemon juice. Discard the seeds and rinse the sieve and pat dry, and set it over the bowl with the butter in it.
- Return the raspberry juice to the pot and add the sugar and stir. The mix should have cooled quite a bit by now, if it’s hot, wait a bit. Whisk in the eggs (and starch if using) then return the pot to the stove, cooking at medium heat and whisking until the curd is thick at the bottom and covers the back of a wooden spoon or rubber spatula.
- Pour the curd through the sieve and press to get as much curd out as possible, scraping the bottom of the sieve. Stir the curd and the butter until the butter is fully melted and you have a shiny, smooth curd. Transfer to a mason jar and chill, then store in the fridge. The curd will become more tart-tasting and stronger in flavor as it chills.
Orange Creme
INGREDIENTS
• 65g (⅓ c) granulated sugar
• Zest of 2 large oranges
• 3 large eggs
• 120g (½ c) freshly squeezed orange juice
• 2 Tbl freshly squeezed lemon juice
• 58g (4 Tbl) butter cold and sliced
• Pinch fine sea salt
• 1 Tbl cornstarch
METHOD
- Slice the butter and place it into a bowl and set a fine mesh sieve over it. Set aside.
- Pour the sugar in a pot, and zest the oranges over the sugar. Use your fingers to rub the zest into the sugar until you feel it begin to release its oils and become like wet sand. Add the orange juice and lemon juice.
- Add the eggs and starch to the pot and whisk well to combine. Do your best to break up the egg bits. Set over medium low heat and begin cooking.
- Use a rubber spatula or wooden spoon to stir the creme as it cooks. You’ll keep stirring as it warms and thickens. It will thicken on the bottom first, keep stirring until it reaches about 165⁰ F (it should cover the back of a spoon).
- Pour the thickened creme into the bowl through the sieve. Scrape it to get as much curd out as possible, and scrape the bottom of the sieve too.
- Stir until the butter fully melts and you have a runny, silky creme. Transfer to a heatproof jar and let come to room temperature. Then set it in the fridge to store.
- Creme will keep for about 2 weeks in the fridge.