Efficient Saturday Bake

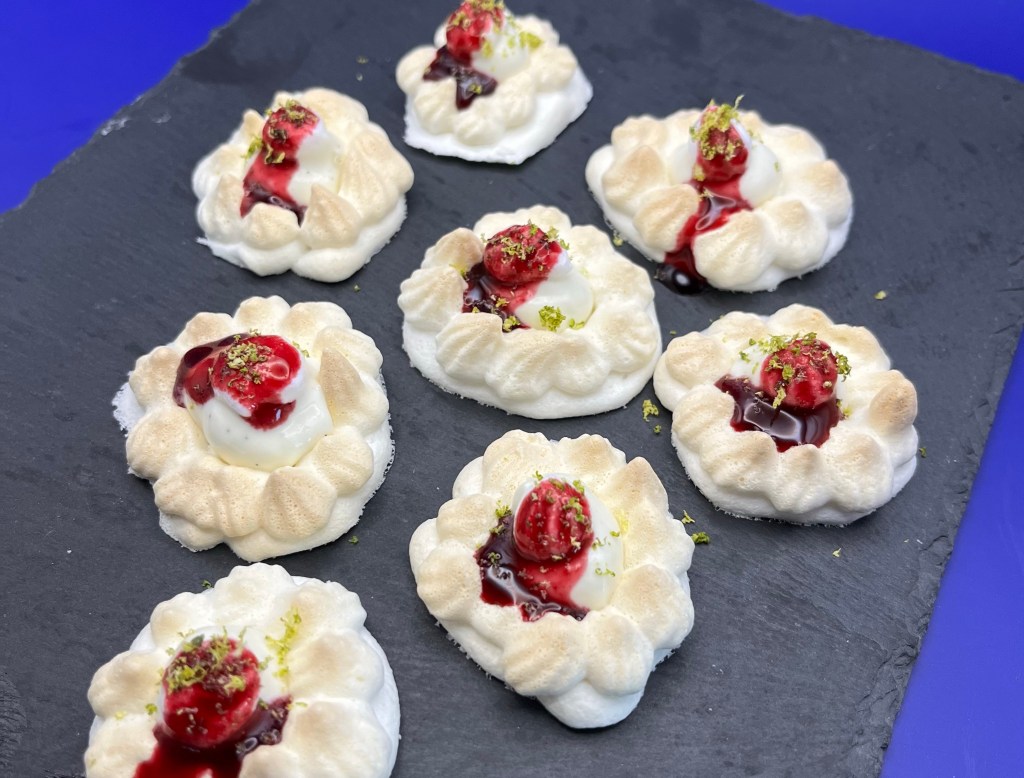
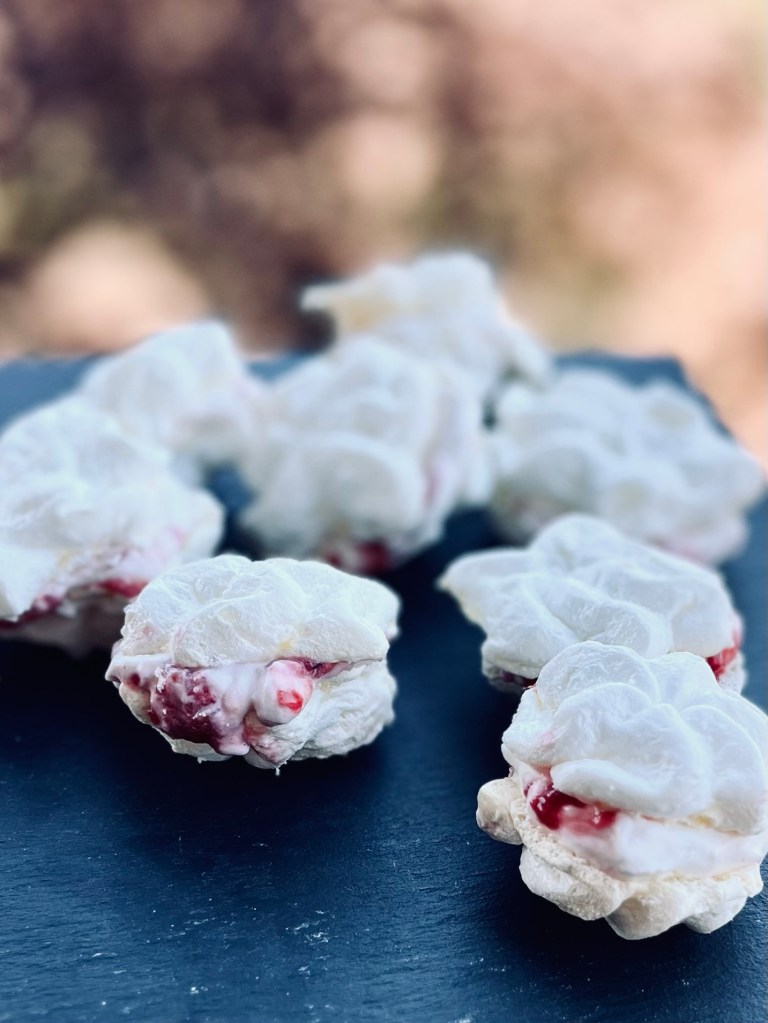
I had an idea for making sandwich meringue cookies filled with raspberry curd folded into cream cheese whipped cream. I did not consider the effect of putting wet filling between to layers of meringue. (Bring a spoon.)

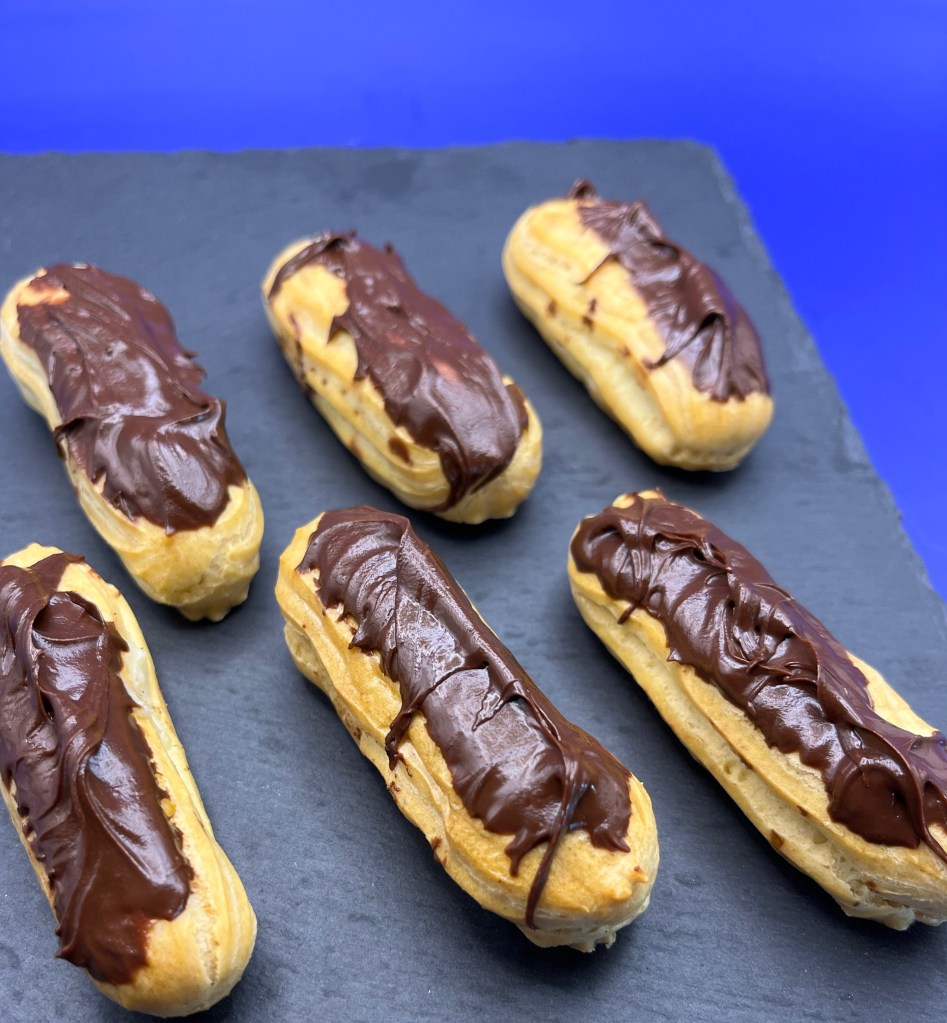
Making meringue cookies requires many egg whites. So what do you to with a bunch of egg yolks? Make creme patisserie, of course. What do you do with a bowl of creme patisserie? Make eclairs of course.

I did all of the above.
Choux Pastry

INGREDIENTS
• 250g Water
• 80g Butter cut into small pieces
• 150g Bread Flour
• 6 or 7 Eggs
• 1/8 tsp Salt

METHOD

  1. In a saucepan that can hold four times the quantity of liquid to be used, add the water, salt and the butter.
  2. Bring the water to a boil over medium heat, stirring from time to time. Be sure the butter is completely melted before the water comes to a boil ; if not, a portion of the water will evaporate, rendering the batter too dry.
  3. Remove the boiling water/butter mixture from the heat and add the flour (this is done off the heat to avoid excessive evaporation of the liquid). Make sure the flour is added all at once to avoid lumps.
  4. Work the mixture with a spatula, moving slowly at first to avoid splashing the water or spilling out any of the flour. Work with the spatula at an angle to the mixture, to avoid splashing and ensure a smoother mixture. Once the mixture begins to stiffen, work it rapidly until a homogeneous mass is obtained.
  5. Put the saucepan back on a high heat while working the batter rapidly with the spatula. Continue stirring until the mixture coats the bottom of the pan with a heavy film.
  6. When working the batter over the heat, it is preferable to stop the process early rather than overworking.
  7. Transfer the batter to a stand mixer bowl and beat at medium speed until it cools to 115 deg
  8. Add one third of the eggs and mix until fully absorbed, then incorporate the remaining eggs carefully, one beaten egg at a time, until the desired consistency is obtained
  9. The batter should form a ‘ribbon’. Take a small quantity of the batter on the end of the spatula and hold it 5 to 10 cm (2 to 4 in) above the surface of the bowl, at a 45 degree angle. The batter should fall off slowly without breaking or running off as a liquid.
  10. Run a finger through the batter at about 1 cm (1/2 in) depth. The indentation left in the batter should slowly close in on itself.
  11. Take a small quantity of the pastry on the tip of the finger and hold the finger upright. The pastry should form a small hook at the end.
  12. For large pastries and for individual-sizes, a #12 pastry tip should be used. For ‘petits fours’ pastries, use a #7 tip.
  13. Be sure to arrange the pastries in staggered rows, to allow the heat of the oven to circulate among the individual pieces. – Brushing these pastries with egg wash improves their appearance. Be sure to use a very little egg wash. If too much is used, it drips down the sides, hardens during the cooking, and prevents the pastries from rising. Once the egg wash has been applied, lightly streak each pastry with the back of a fork that has been deep in cold water (to prevent sticking). That will even out the shapes of the pastries and break up the bubbles that may be trapped in the pastries, Wich would distort their shape during the cooking.
  14. Places the pastries in a very hot oven preheated at 500 F. Turn it off and leave the pastries 15 min. Turn on the oven at 160 C (320 F) and bake the pastries for 15-20 more minutes. The choux must be golden brown and not light
  15. The cooking of the pate å choux is complete when it is firm enough to not fall when taken from the oven. The pastries should have a golden brown color on all their surface and should be slightly paler on the sides. As soon as they come out the oven, it is best to remove them to a cake rack to cool. Otherwise, moisture is likely to accumulate on the bases and cause them to dampen and become soft. If, however, they seem too dry, it is best to cover them with a towel after transferring them onto cooling racks.

Meringue Raspberry and Cream Cheese Filled Cookies

INGREDIENTS

• 4 (120g) large RT egg whites

• ½ teaspoon cream of tartar

• ⅛ teaspoon salt

• 200g (1 c) granulated sugar

• 1 teaspoon vanilla extract

METHOD

  1. Preheat oven to 225F (105C) and line a large cookie sheet with parchment paper.
  2. Combine egg whites, cream of tartar, and salt in a large, completely clean, grease-free bowl.
  3. Using a stand mixer with the whisk, stir on low speed until mixture becomes foamy then Increase speed to high.
  4. With mixer on high, gradually add sugar, about 1 Tablespoon at a time, stirring after each addition until sugar is dissolved (about 15-20 seconds between each addition).
  5. Beat until mixture is thick, shiny, and has increased in volume. Mixture should have stiff peaks and sugar should be completely dissolved (you can test this by rubbing a small bit of the mixture between your fingers, if it feels gritty, the sugar isn’t dissolved).
  6. Stir in vanilla extract and any other extract you may like to use. If using food coloring, add the food coloring at this stage, too.
  7. Fit a large disposable piping bag with a large tip and transfer meringue to prepared piping bag and pipe onto prepared cookie sheet. The meringue cookies can be pretty close to each other as they won’t spread, and you will want to bake all of the cookies at the same time, so make sure you make enough space.
  8. Bake on 225F for 1 hour. Turn off the oven once the baking time has passed, and do not open the oven. Leave the oven door closed and allow cookies to cool completely in the oven (1-2 hours) before removing.
  9. Meringue cookies should be crisp and can be stored in an airtight container. Keep away from heat and moisture as it can soften your meringues.

Cream Cheese Whipped Cream


INGREDIENTS

• 85g (3 oz) full-fat block RT cream cheese
• 240g (1 c ) heavy cream, cold
• 23g (3 Tbl) confectioners’ sugar
• ½ teaspoon vanilla bean paste or pure vanilla extract

METHOD

  1. Using a stand mixer fitted with the whisk attachment, beat the cream cheese on medium speed until smooth and creamy, about 1 minute. Add the confectioners’ sugar and vanilla, and beat until completely smooth (absolutely no lumps!).
  2. Add a few Tablespoons of the cold heavy cream, and beat until the mixture loosens and smooths out.
  3. With the mixer running on low speed, slowly stream in the remaining heavy cream.
  4. Increase to medium high speed and whip until medium peaks form, about 3 minutes. Spread or pipe as desired

Strawberry Mango Margarita Cupcakes

I saw this recipe on Facebook and decided to make it for QC’s Mah Jongg group. I made a number of changes from the published recipe and they are incorporated below.

Next time I’ll punch the flavors up as mango is not a strong flavor and can be overpowered by the strawberry. The tequila didn’t add much either, so maybe a little lime in the cupcake batter would add some punch. (No coconut, so it cannot be “Put the lime in the coconut.”

The were pretty and were well received by the group. I always make a gluten free selection so added some crème patisserie/chocolate ganache topped with chopped pistachio nuts, and had some eclair shells in the freezer that I needed to use up and had the crème patisserie and chocolate ganache anyway and finally, plums from our tree as the season is now over.

Strawberry Mango Margarita Cupcakes

Makes 48 mini-cupcakes

INGREDIENTS :
Cupcakes:
• 3 1/2 cups all-purpose flour
• 1 1/4 cups caster sugar
• 3 tsp baking powder
• 1/2 tsp fine salt
• 1/2 cup unsalted butter, softened
• 2 large eggs
• 1 1/2 cups full cream milk
• 1/2 cup vegetable oil
• 2 tbsp Greek yogurt or sour cream
• 1 tsp vanilla extract
• Pink and red food gel (for strawberry color)
• 2-3 tsp strawberry freeze-dried powder
• Yellow food gel (for mango color)
• 2-3 tsp mango freeze-dried powder
• 8-10 tsp tequila (optional)
Frosting:
• 1 batch American or Swiss Meringue Buttercream
• Food gels: Pink and red for strawberry; yellow for mango
• Flavorings: Strawberry and mango freeze-dried powder
Decorations:
• 1 cup granulated sugar
• 10 limes, cut into 40 wedges
• 10 strawberries, halved

METHOD:

  1. Preheat oven to 275°F (140°C) for fan-forced or 320°F (160°C) for conventional.
  2. Line two mini cupcake tins with liners and spray with bakers spray.
  3. In a large bowl, mix flour, sugar, baking powder, and salt.
  4. Add butter and mix until crumbly.
  5. In another bowl, combine eggs, milk, oil, yogurt, tequila, and vanilla; mix well.
  6. Fold dry ingredients into egg mixture until well combined.
  7. Divide the batter into two portions.
  8. Separately, by hand, mix each freeze-dried powder with 3-4 teaspoons of tequila
  9. Add pink and red food gels and strawberry flavoring to one portion. Mix by hand.
  10. Add yellow food gel and mango flavoring to the other portion. Mix by hand.
  11. Pipe alternating layers of strawberry and mango batter into the liners.
  12. Bake for 10–15 minutes or until a toothpick inserted into the center comes out clean. Cool completely.
  13. Prepare the buttercream frosting, dividing it into two portions.
  14. Add pink and red food gels and strawberry flavoring to one portion.
  15. Add yellow food gel and mango flavoring to the other portion.
  16. Dip the rims of the cooled cupcakes in water, then roll in granulated sugar to mimic a margarita glass.
  17. Pipe frosting in swirls on each cupcake, alternating between strawberry and mango flavors.
  18. Decorate each cupcake with a lime wedge and a strawberry half.

Christmas ‘23 – Like No Other

Covid sucks. No sense in beating around the bush, Covid just plain sucks. It totally disrupted our holiday today, and tomorrow and…

We were invited to a family dinner tonight and I was asked if I could bring my dinner rolls and one of my desserts, to which I said “Of course!” I decided to make rolls in the shape of a Christmas tree and eclairs suitable for a Christmas dinner.

When I contacted our relative and begged off due to possible Covid exposure she said I shouldn’t bring the rolls and dessert. I told her how I was looking forward to baking and making them and would be very disappointed to not be able to. (I dropped them off this afternoon.)

I know her husband loves the my eclairs so I modified my usual ones to be “Christmasy.” I glazed a few with my normal dark chocolate and made colored white chocolate for the rest, I reserved some of the white chocolate glaze and colored it using oil based food coloring. I “painted” the faces etc and realized in the future I need to make the eclairs larger to have a larger “canvas” to paint on. I call this “Tim Burton’s Eclairs for Christmas” eclairs.

Christmas Tree Dinner Rolls

INGREDIENTS
• 488 g (2 cups) warm milk
• 2 tablespoons instant dry yeast
• 50 g white granulated sugar
• 2 teaspoons salt
• 6 tablespoons salted butter softened
• 2 large eggs
• 750-850 g (6-7c) all-purpose flour
• 1 tablespoon melted butter
• 1 egg and 1 Tbl water for an egg wash
• ½ c fresh cranberries – choose the most uniform
• Several sprigs fresh rosemary.
• ½ c water
• 1 ½ c sugar, divided 1:½

METHOD

  1. In the Pro600 stand mixer bowl, combine and mix all ingredients except the flour. (This is to remind me to use my larger mixer.)
  2. Add in 5 ½ cups of flour. Using a dough hook, turn the mixer on and increase speed slowly to keep the flour from flying all over. Slowly add the remaining flour until the dough pulls away from the sides of the bowl. (I watch the bottom of the bowl and add flour until the dough just comes clean from the bottom.) Once the dough clears, knead for 8 minutes. The dough mixture should be sticky and soft.
  3. Transfer the dough to a lightly greased bowl. (I dump the dough on the counter, spray the stand mixer bowl with some olive oil and return the dough, cover and let rise 45 – 60 minutes, until doubled.)
  4. Form the the dough into into 45g balls.
  5. Arrange the balls into 8 rows, 3 for the base of the tree, then 7, 6, 5, 4, 3, 2, 1.
  6. Reserved one ball to shape the star. (I used a star cookie cutter.)
  7. Cover and let rise 45 – 60 min.
  8. Preheat oven to 375⁰F 15 minutes before the end of the final proof.
  9. Mix egg and water to make an egg wash and lightly brush the rolls.
  10. Bake the rolls for 12 to 14 minutes, until lightly browned.
  11. Remove rolls from oven and brush with melted butter. Best when served warm. To cool, let rest in the pan for 15 minutes then transfer to a wire rack. Once cooled completely, store in a plastic bag.

Sparkling sugar cranberries and Rosemary

  1. Wash cranberries and put in a heat proof bowl
  2. Bring the water and 1 c sugar to a simmer
  3. Let the mixture cool for 5 minutes then pour over the cranberries
  4. Cool for 1-2 hours in the fridge.
  5. Strain the berries and let dry
  6. Roll in granulated sugar, spread on parchment paper and let dry
  7. Repeat with the rosemary

Cleaning Up After Yesterday

I had some key lime mousse left over from yesterday and didn’t want to waste it, so I made more key lime tartlets this morning. I did NOT have any tart shells left over so I decided to experiment with meringue “tart shells.” I needed to do that anyway as I am making them for Passover in April. I made some fresh blueberry syrup to add some color. I also need to “tart up” these tarts and the meringue is very sweet.

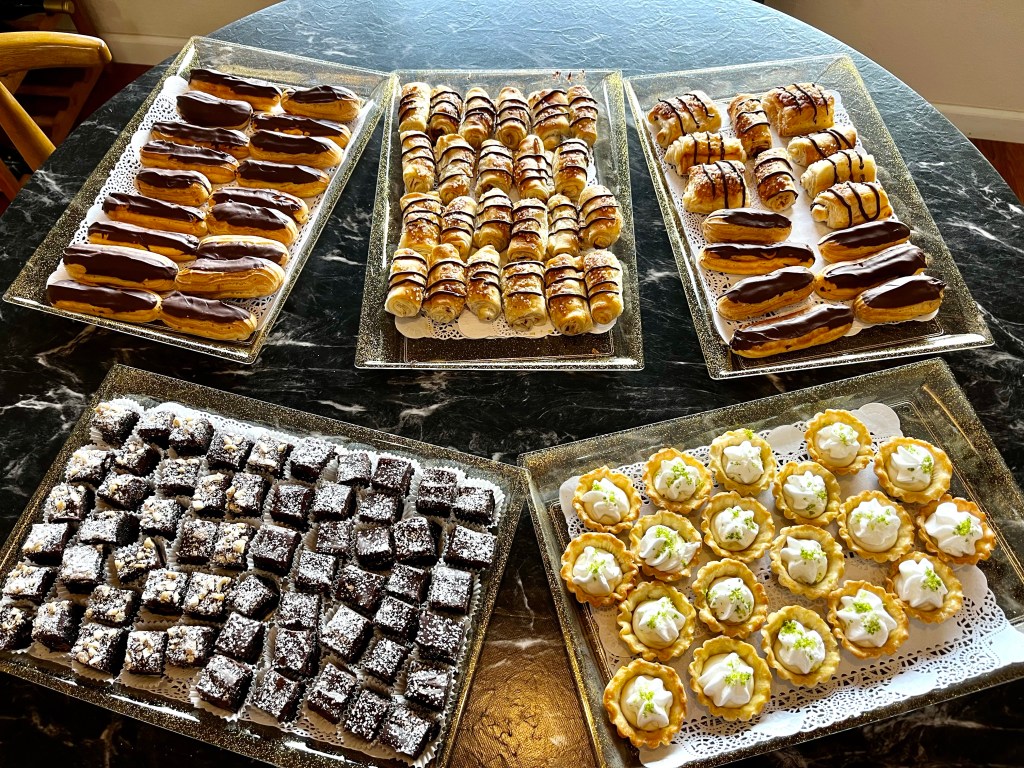
I also didn’t have room on my serving trays for all the eclairs I made so I finished them this morning.

The chocolate was a little thick but I managed to coat the eclairs with a nice, thick layer of chocolate. It’s a shame.

Time to update the Next Up in DeDe’s Bakery!

Key Lime Mousse Meringue Tartlets

INGREDIENTS

MERINGUE
• 80g (or 0.4 cup or 6.5 Tbl) granulated sugar
• 30ml (or 1/8 cup) water
• 60g (or ¼ cup) egg whites (about 2 large egg whites)
• ¼ tsp cream of tartar
MOUSSE
• 1 ½ c. heavy cream
• ¼ c. powdered sugar
• 1 c. sweetened condensed milk
• 1/3 c. freshly squeezed key lime juice
• Juice of one lime
• Zest of the same lime
• 1 tsp. pure vanilla extract
• Key lime zest , for garnish

METHOD
ITALIAN MERINGUE

  1. Whisk the egg whites into a light and fluffy foam, using a stand mixer.
  2. Add the cream of tartar and continue whipping until you’ve got a glossy stable foam. It should stay in place if you turn the bowl upside down. Set aside.
  3. Add the granulated sugar and water to a pan and bring to a boil. Once all the sugar has dissolved, refrain from stirring. Continue boiling at moderate/high heat while continuously until the solution has reached 240°F, then remove from the heat.
  4. While SLOWLY beating the egg whites, gently pour the hot sugar solution into the whipped egg whites.
  5. Once all the sugar syrup is in, turn up the speed to high and continue whisking until the foam is lukewarm. This may take 15 minutes.

MOUSSE

  1. In the bowl of a stand mixer fitted with the whisk attachment, beat cream and powdered sugar into stiff peaks.
  2. Zest the lime, then squeeze and collect the juice.
  3. In a medium bowl, combine condensed milk, key lime juice, lime juice, lime zest and vanilla. Add to bowl of whipped cream. Gently fold in until just combined.
  4. Keep refrigerated until ready to serve.

TARTLETS

  1. Pipe meringue into disks about ¼ “ thick and 3” diameter. Bake at 200F for 45 minutes, until they are dry to the touch.
  2. Remove from oven and let cool, then pipe kisses of meringue around the edges of the disks. Each kiss should be ¼” – ½” high. Bake at 200F for 45 – 60 minutes, not letting the tips of the kisses brown. Turn the oven off and leave the meringue in the oven to cool before removing.
  3. When cool, pipe the mousse into the well of each tart shell.
  4. Pipe (or place, see NOTE) a small kiss on each tart. NOTE: After making these tartlets I realized making individual small ( ¼” – ½”) diameter kisses could be placed on the piped mousse. Pipe them at the same time, with the same piping tip as the edges of the tartlets. Then, just place them on the piped mousse.)
  5. Spoon a small amount of berry juice (I used blueberry juice, but any tart juice would work.)
  6. Sprinkle some lime zest on top of the tart.
  7. Serve and enjoy.

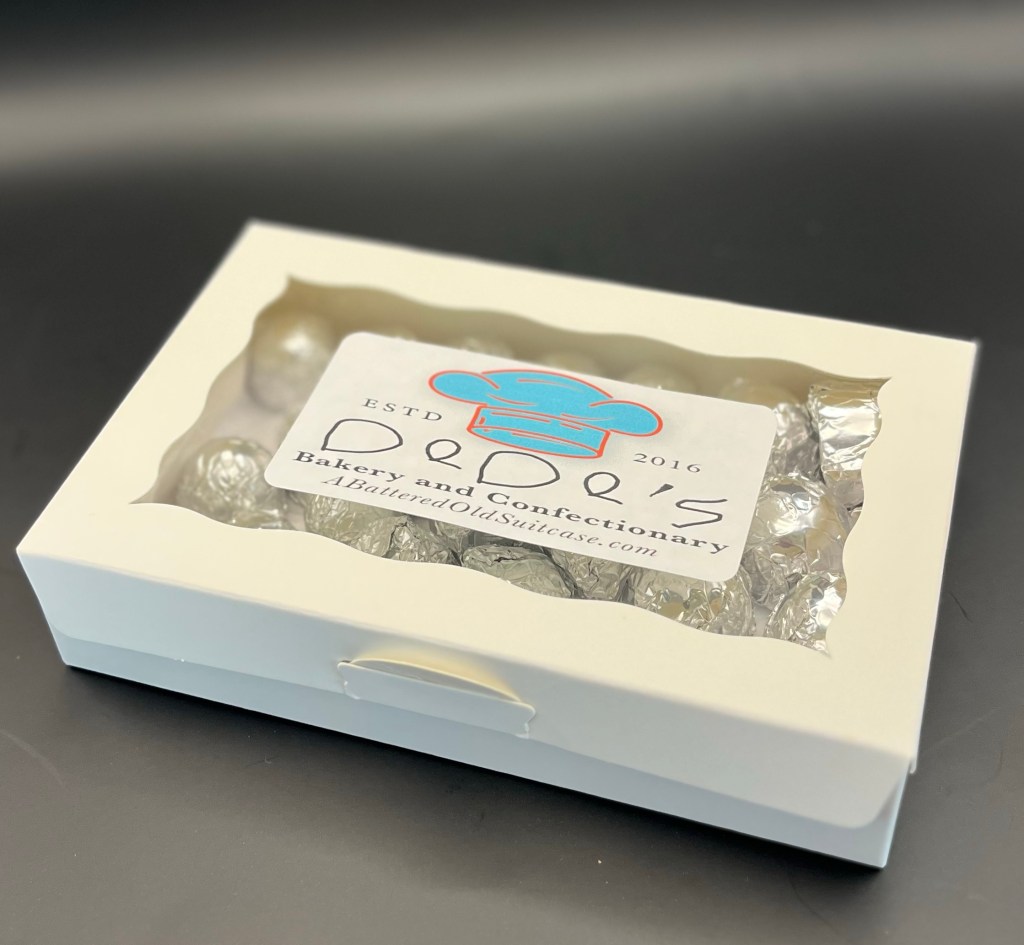
Dede’s Bakery and Confectionery- Estd 2016

Our synagogue’s fundraiser is tonight and the administrator asked me to provide some of the deserts and something for the auction. To identify my goods I asked Dan to create a logo for me. For those who do not know, DeDe is my granddaughters name for me because they couldn’t pronounce Zayde (Yiddish for grandfather) when they were younger and it just stuck.

Over the last week or so I made and froze choux pastry for the eclairs and shells for the tarts. I made all the fillings yesterday and assembled everything this morning except the pain au chocolat which I made in its entirety this morning. (They don’t take very long.)

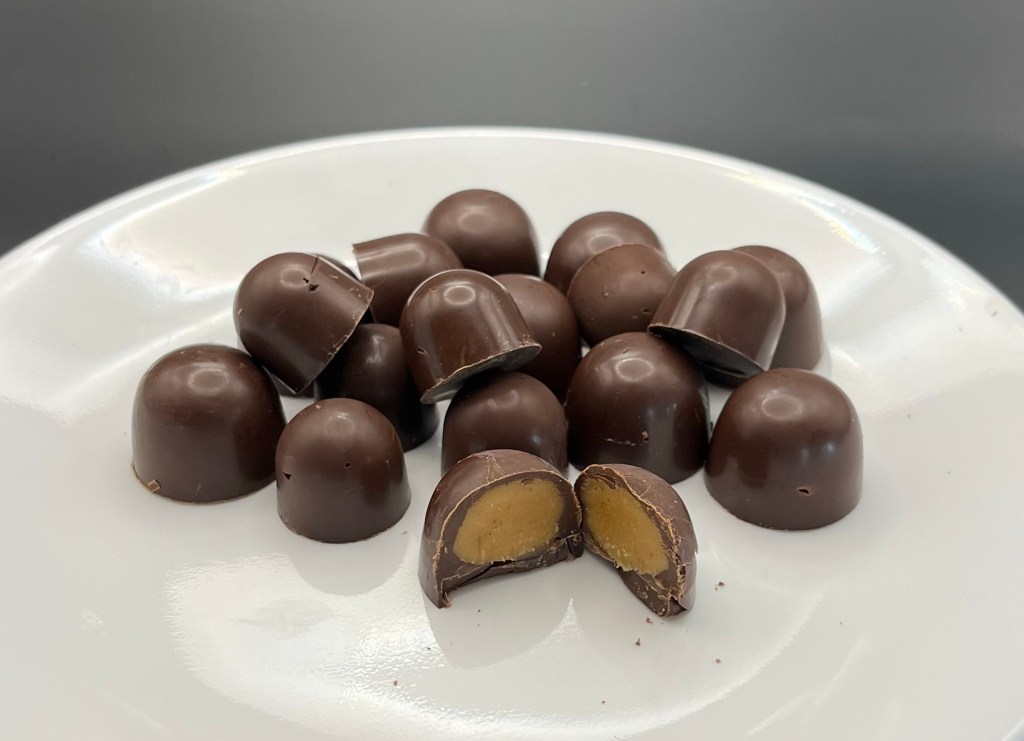
I made the chocolate covered caramels a few days ago, wrapped them and set them aside, (after sampling several.)

The Yolks on Me!

After baking something last week that required a lot of egg whites I had about 8 egg yolks left over. Of course, not being one to waste anything I put them in a container and stored them in the fridge. As they will only last a week or so I decided I needed to use them, and since today is my “day off” and remembering Creme Pat uses lots of egg yolks (4) and choux pastry uses lots of egg yolks (4) I suddenly had a solution. Eclairs!

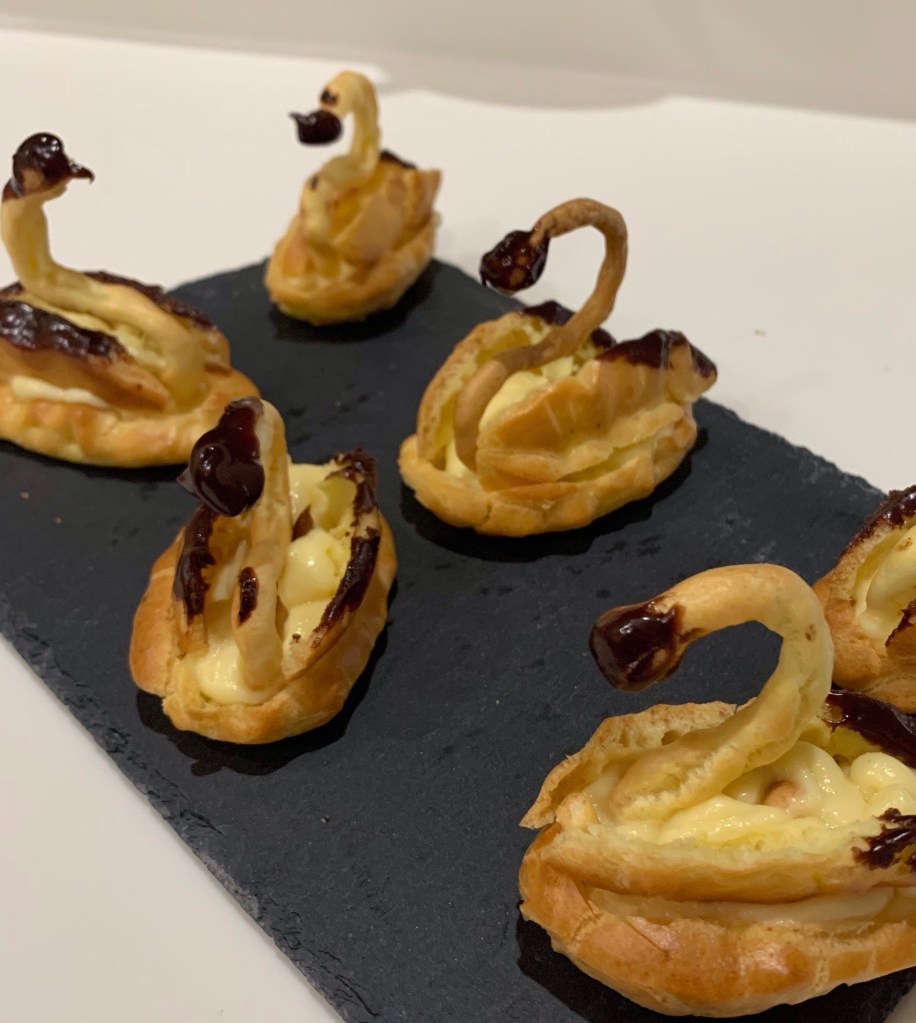
I also watched an old episode of GBBO where Brendan made choux swans I really wanted to try my hand at them.

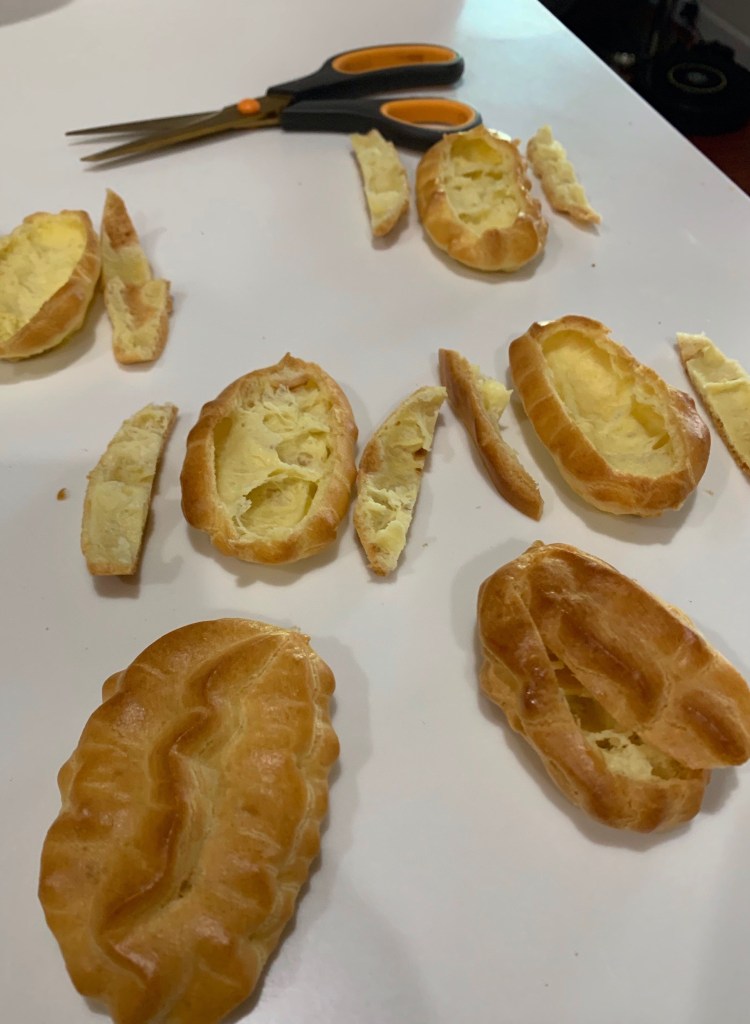
I made a batch of choux and piped a couple of dozen eclairs. I made about a half dozen of them shorter and thicker. Those would become the bodies of the swans. When cooled, cut the top of the swan bodies off with scissors. Then cut the tops lengthwise to form wings. Use a fine circular piping tip (#8) to pip the swan head and neck. Pipe a thin (5mm) ‘S’ about 5cm high. These will bake in about 10 minutes. If the necks are thinner they will burn. Trust me on this.

To assemble, pipe a good amount of Creme Pat into the body of the swan. I dipped the swans head and edges of the wings in the chocolate glaze used to coat the eclairs. Gently, (trust me again) push the bottom of the neck into the Creme Pat, then add the wings, chocolate edge up. Take a picture. Enjoy.

Chocolat de Couverture Noir

On a visit to a Restaurant Depot my Q.C. Department convinced me to buy 11 lbs of bulk Chocolat de Couverture Noir. (64% is dark chocolate is not very bitter. I use 73% for dark bitter chocolate.) My question is… what should I make with it?

I am thinking Pain au Chocolat, chocolate croissants, chocolate chip cookies and/or brownies. Note the fluidity on the package. This chocolate is suitable for coating caramel, creams, berries and other confections.

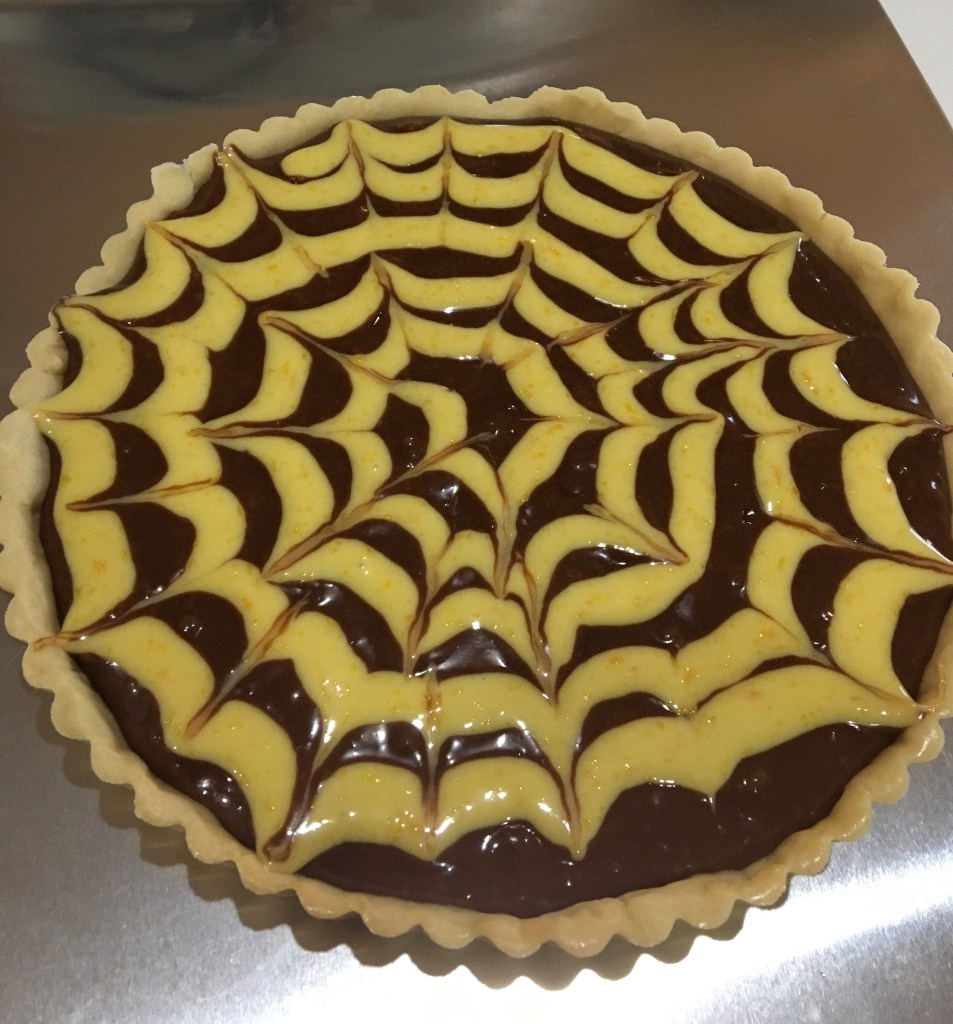
Last year I made an over the top chocolate/orange tart. My neighbor’s orange tree has a abundance of oranges too high up for her to harvest. Hmmm……

Maybe something I made before: Eclairs? Chocolate Babka? Soufflés? Chocolate pudding? (Try the easy home made chocolate pudding recipe.) Chocolate chip scones? Lava Cake? Chocolate Fudge? Oh yes, chocolate fudge!!! (Maybe chocolate/peanut butter fudge, the QC department doesn’t like Chocolate/peanut butter fudge.)

Andy other suggestions?????

I care. You Care. Eclairs!

It’s Wednesday and I don’t (usually) play golf on Wednesday. What will I do to occupy my time? What will I do? Well, I froze some choux pastry a couple of months ago, just to have some for an emergency. Choux freezes well but should be used within a few months. Plus I had some leftover chocolate glaze. All I needed was some creme patisserie (which I made before dawn today,) and I could have some eclairs! (I also made a loaf of bread later in the morning.) A very full day!!

Recipe and technique are here: https://abatteredoldsuitcase.com/2016/12/19/a-b-c-d-eclairs/