
This morning’s Pain Au Chocolat required a couple of hours in the fridge before baking. We needed another batch of hoagie, or sub or grinder rolls after finishing what we had with steak sandwiches last night, and I had time. I also had time for another loaf of honey white bread. Busy morning!!
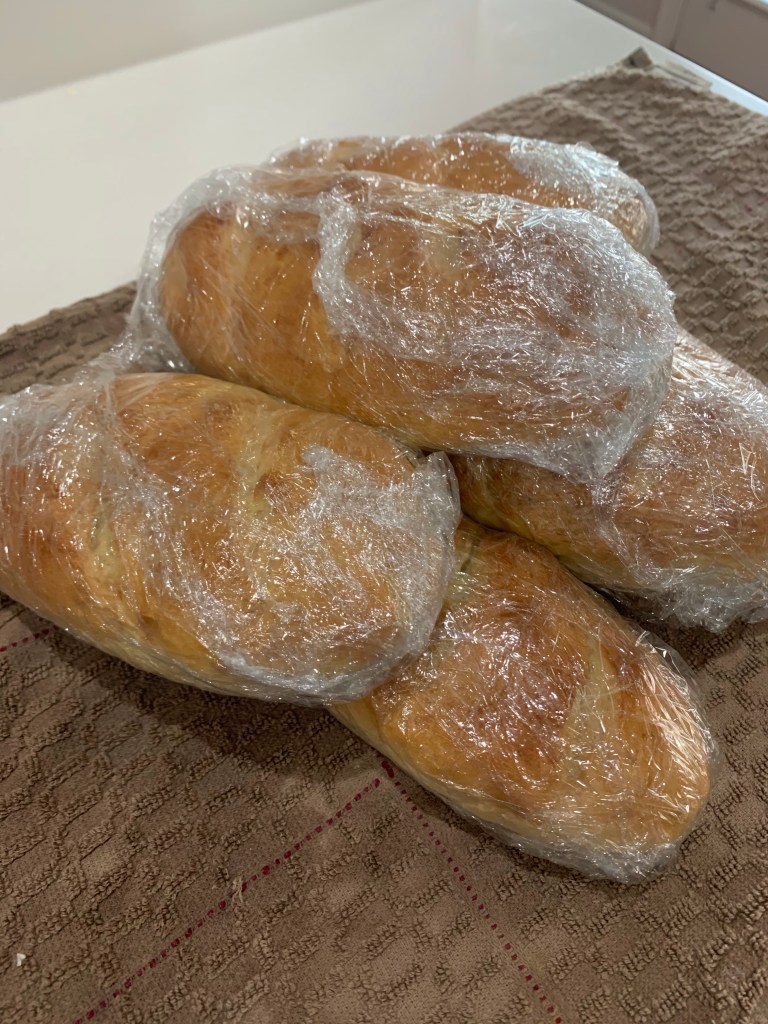
These are outstanding rolls and I am lucky to have stumbled across the recipe a month or so ago. I wrapped them for freezing before taking a picture so decided to photograph them as wrapped for the freezer. I double wrap them, then give them a couple of hours to thaw before using. After a month, or more, in the freezer, after thawing, they are as fresh as just baked.
Hoagie Rolls
INGREDIENTS
• 448-512g (3½ – 4) c. bread flour
• 308-355 g (1¼ cups plus 2 Tbl – 1½ c.) warm water (110-115F
degrees)
• 2 Tbl sugar
• 2¼ tsp instant yeast
• 1 tsp kosher salt
• 4 Tbl cold butter, cubed
METHOD
- Using a stand mixer fitted with the dough hook, mix 2 cups of flour, water, sugar, and instant yeast on low for 4 minutes.
- Add the salt and 1 cup at a time of the remaining flour and mix for 5-6 minutes until the dough is slack. (Slack dough is fluid but not liquid. Poured onto a board it could not be shaped. It would flow and not hold a shape.)
- At this point, your mixer should be at medium speed. If your dough, after 5-6 minutes is not slack add in a bit more water (2-4 Tbl). The additional water will fully depend on how humidyour room is.
- Add the butter 1 Tbl at a time and mix until almost fully blended before adding the next Tbl. In total, mix for 1-3 minutes or until the dough comes back together. Remove from bowl and transfer to a greased, covered bowl until doubled in size. ~1 hour.
- Punch the dough down and place on a very lightly floured board. Divide into 4-8 pieces and shape. I would advise using as little flour as possible when shaping these. The more flour you add, the tougher the hoagies will be. (Hoagie rolls: 125 g, Hamburger rolls: 75g)
- When you divide the dough, with your fingers, gently pat into a 4:3 rectangle where the dough is about 1/4″ thick.
- Envelope fold the short end of the rectangle towards the center and press gently to seal.
- Rotate the dough 180 degrees and repeat the above folding using your hand to seal the dough.
- The dough should be shaped like a log/snake. Gently cup your hand over the center of the dough and, without applying pressure/pressing down, gently roll the dough back and forth to reinforce the seal and roll it out into a log.
- Carefully pull the ends of the log outwards to stretch out dough (just an inch or so – again dependent on how long you want your rolls).
- To help round out the ends, cup each hand at the end of the roll and move them in opposite directions with a back and forth motion to roll the ends and then tuck underneath the roll.
- Transfer to a parchment lined tray and cover with lightly sprayed plastic wrap. Allow to rise again until almost doubled. ~30-45 minutes. Do NOT overproof them otherwise they will fall flat.
- Preheat oven to 375 F. If you want to slash your bread, using a lame, make your slashes. If desired, brush with coating of choice and bake for 16-23 minutes or until golden brown. To ensure doneness, test the internal bread temp. It should be at 200F.
