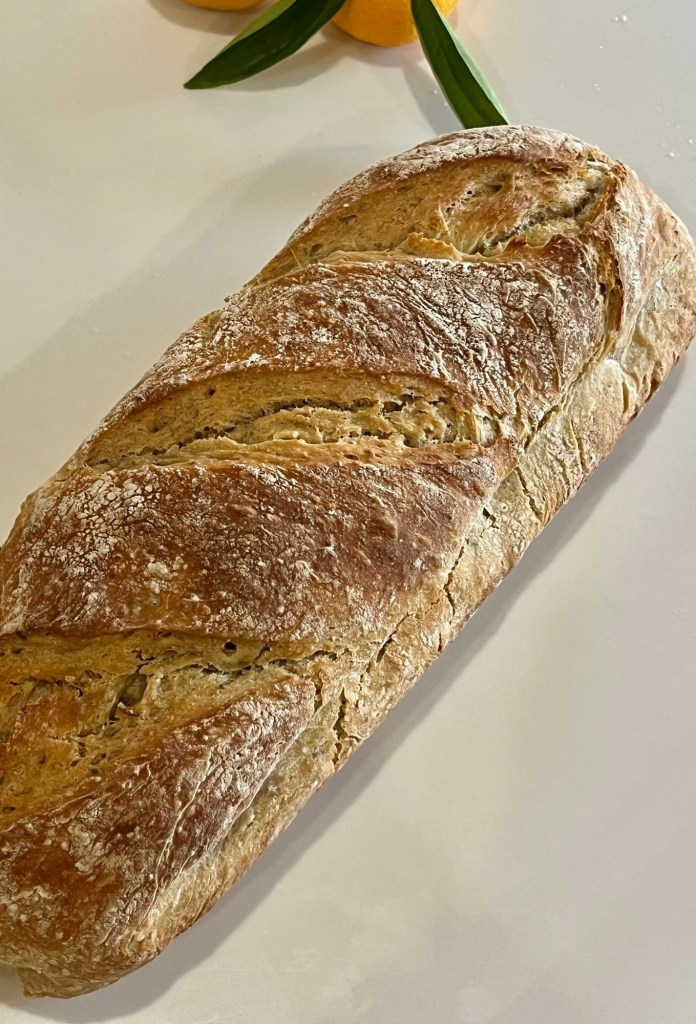
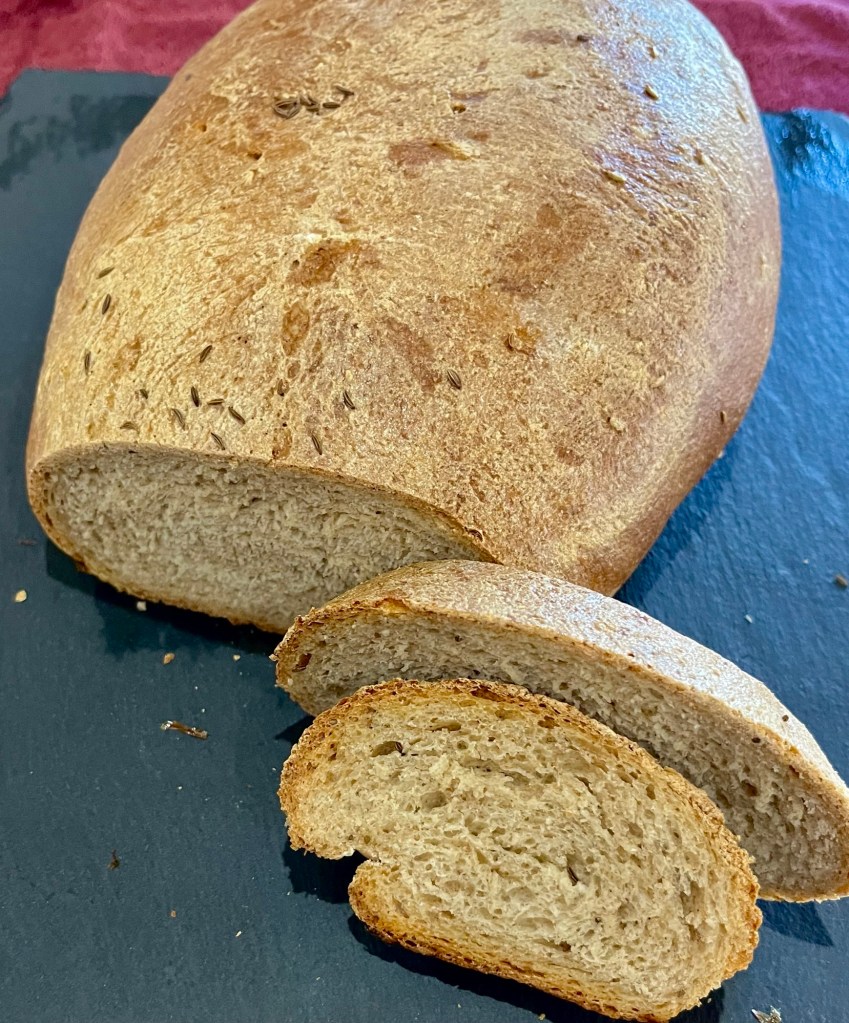
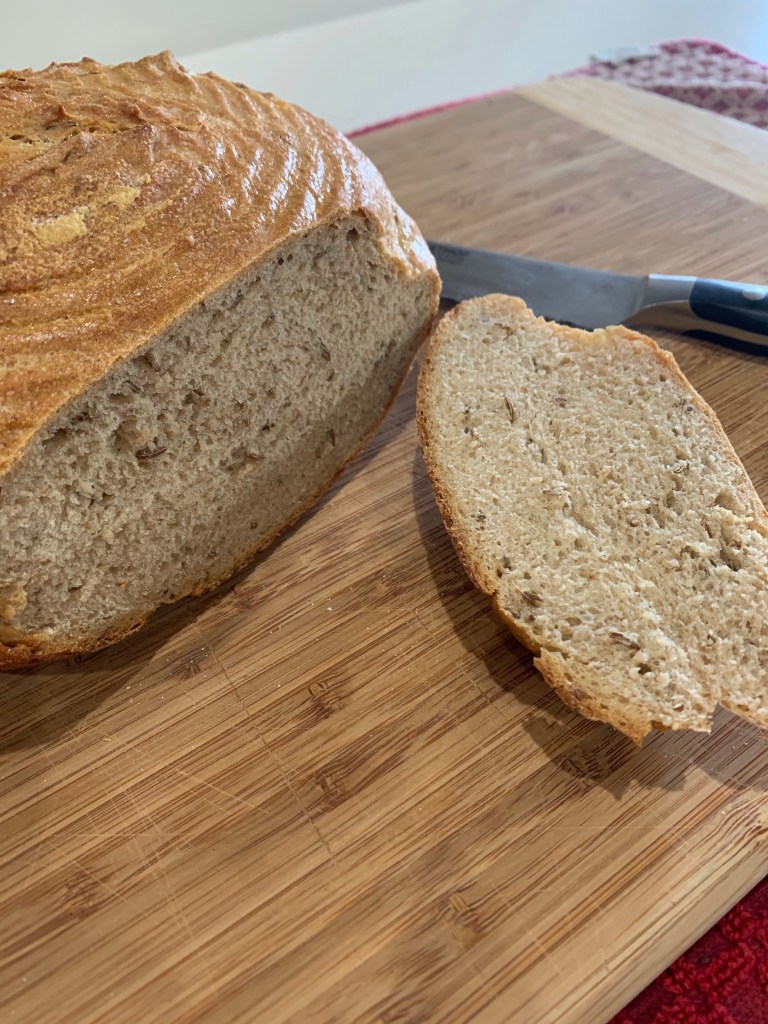
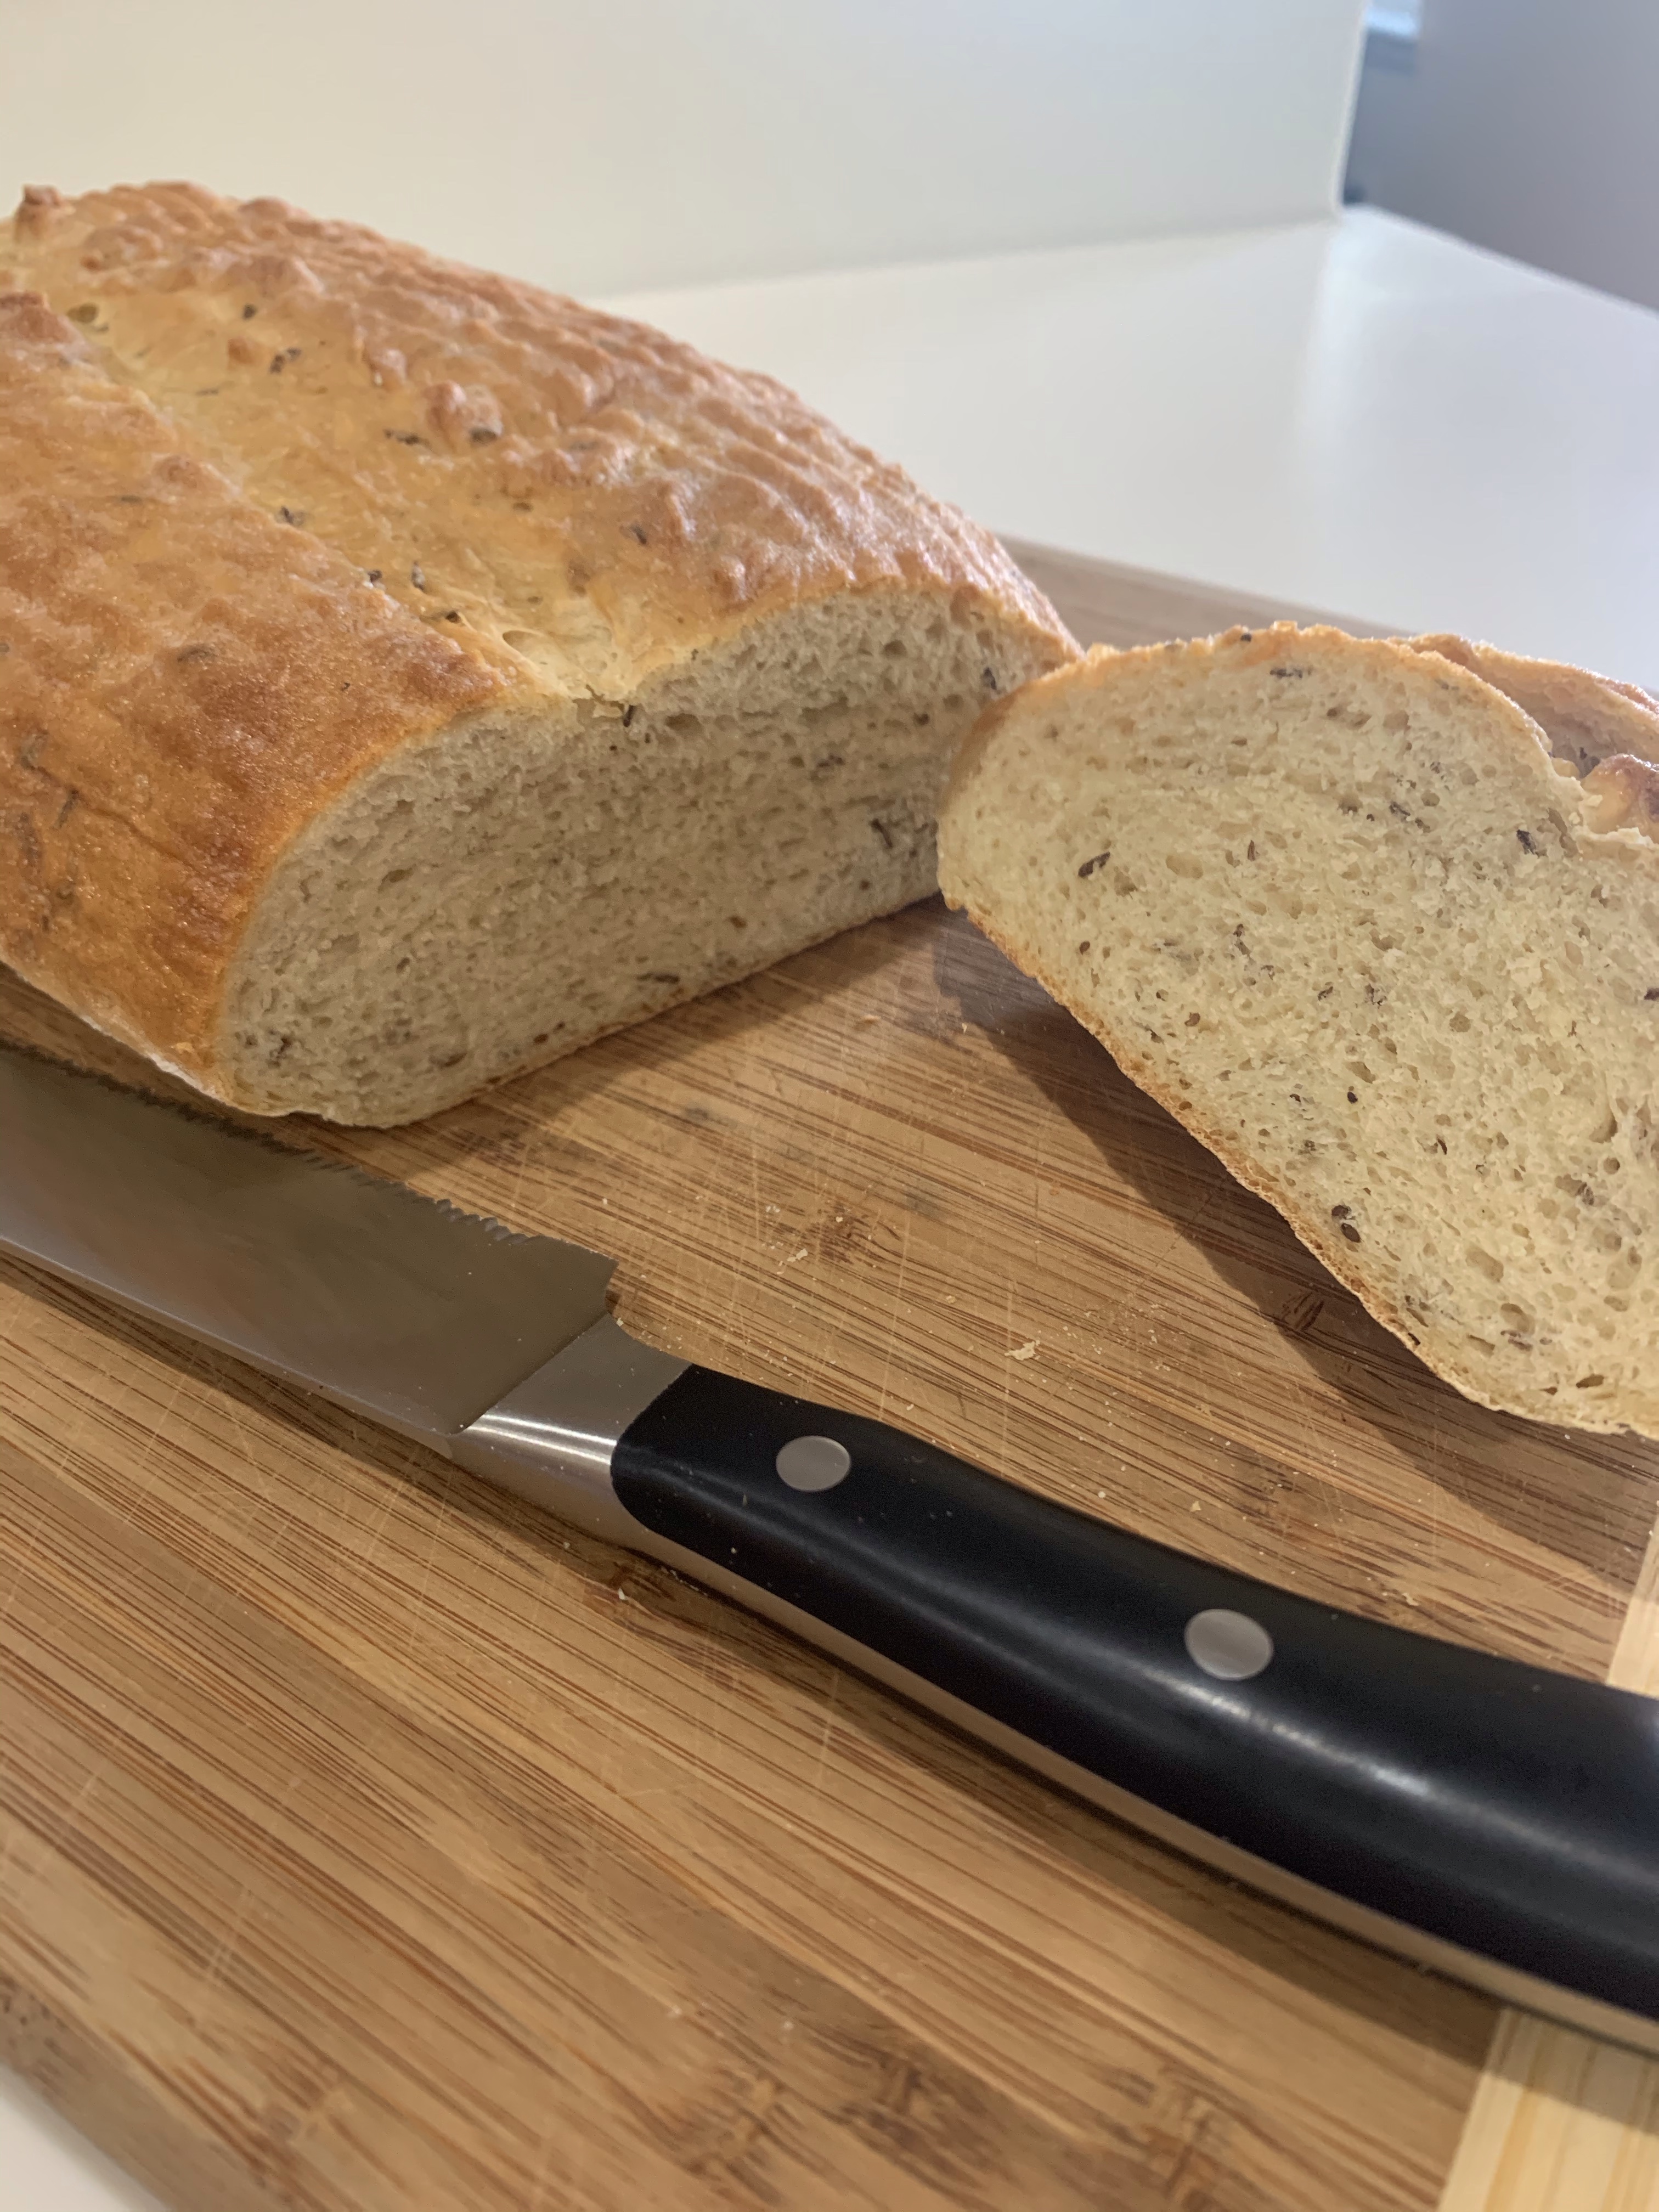
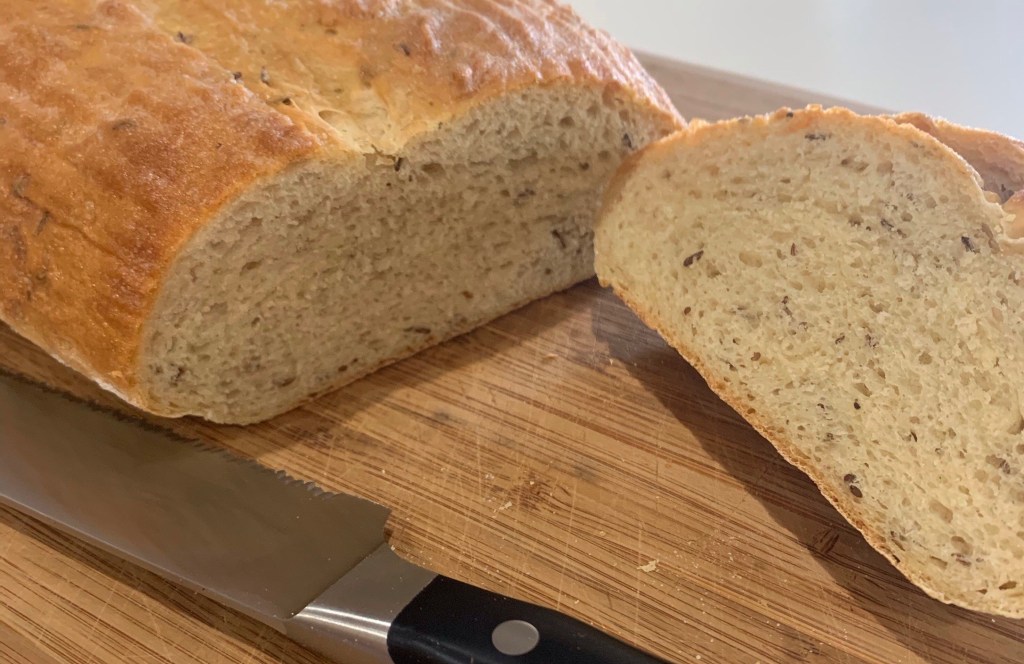
We love a good rye bread with soft, chewy interior and crisp, crunchy crust. If you do also, this breads for you.
It’s simple to make, it’s the first overnight rise that takes time. Combining the ingredients takes 15-20 minutes, then rise for 2 hours. Refrigerate overnight and the next day let it rise at room temperature for 2-3 hours, then bake for ~30 minutes.
Light Rye Bread – KAB
INGREDIENTS
• 340g (1 ½ c) lukewarm water
• 280g (2 ⅓ c) bread flour
• 163g (1 ½ c) light rye flour
• 28g ( ¼ c) nonfat dry milk
• 1 ½ tsp table salt
• 1 ½ tsp instant yeast
• 1 ½ tsp Deli Rye Flavor, optional
• 25g (2 Tbl) vegetable oil
• 1Tbl caraway seeds
METHOD
- Place the water in the bowl of a stand mixer.
- Combine the flours with the remaining ingredients with the warm water. Mix until there are no dry spots and all of the flour is moistened. The texture of the dough will be soft and sticky due to the pumpernickel flour.
- Cover the bowl and let the dough rise at room temperature for 2 hours. Then refrigerate overnight, or for up to 48 hours.
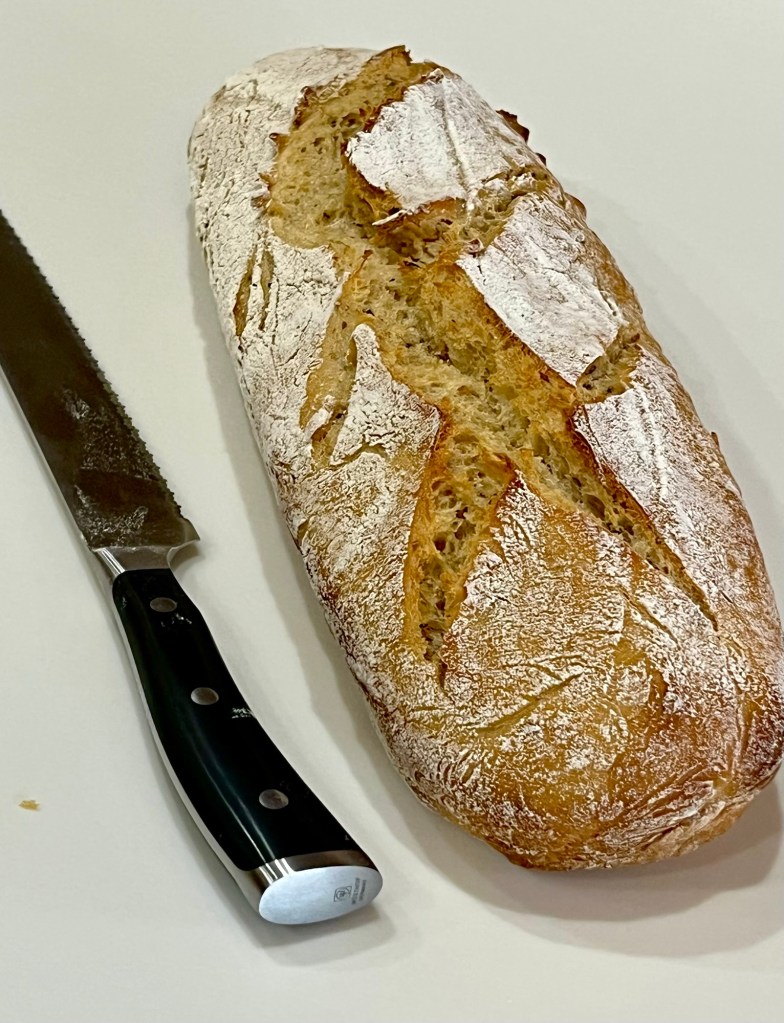
- Grease your hands, and scoop the dough out onto a lightly greased or floured work surface. Shape it into a ball or boule and place it, smooth side down, in a floured brotform. Let the dough rise, covered, for 2 to 3 hours.
- About 45 minutes before the end of the rising time, preheat the oven to 450°F with an appropriate Dutch oven.
- When the loaf is fully risen, remove the hot Dutch oven bottom from the oven, carefully grease it, and tip the risen ball of dough into it. Make several slashes in the dough. Cover with the lid, and place it on a middle rack in the oven.
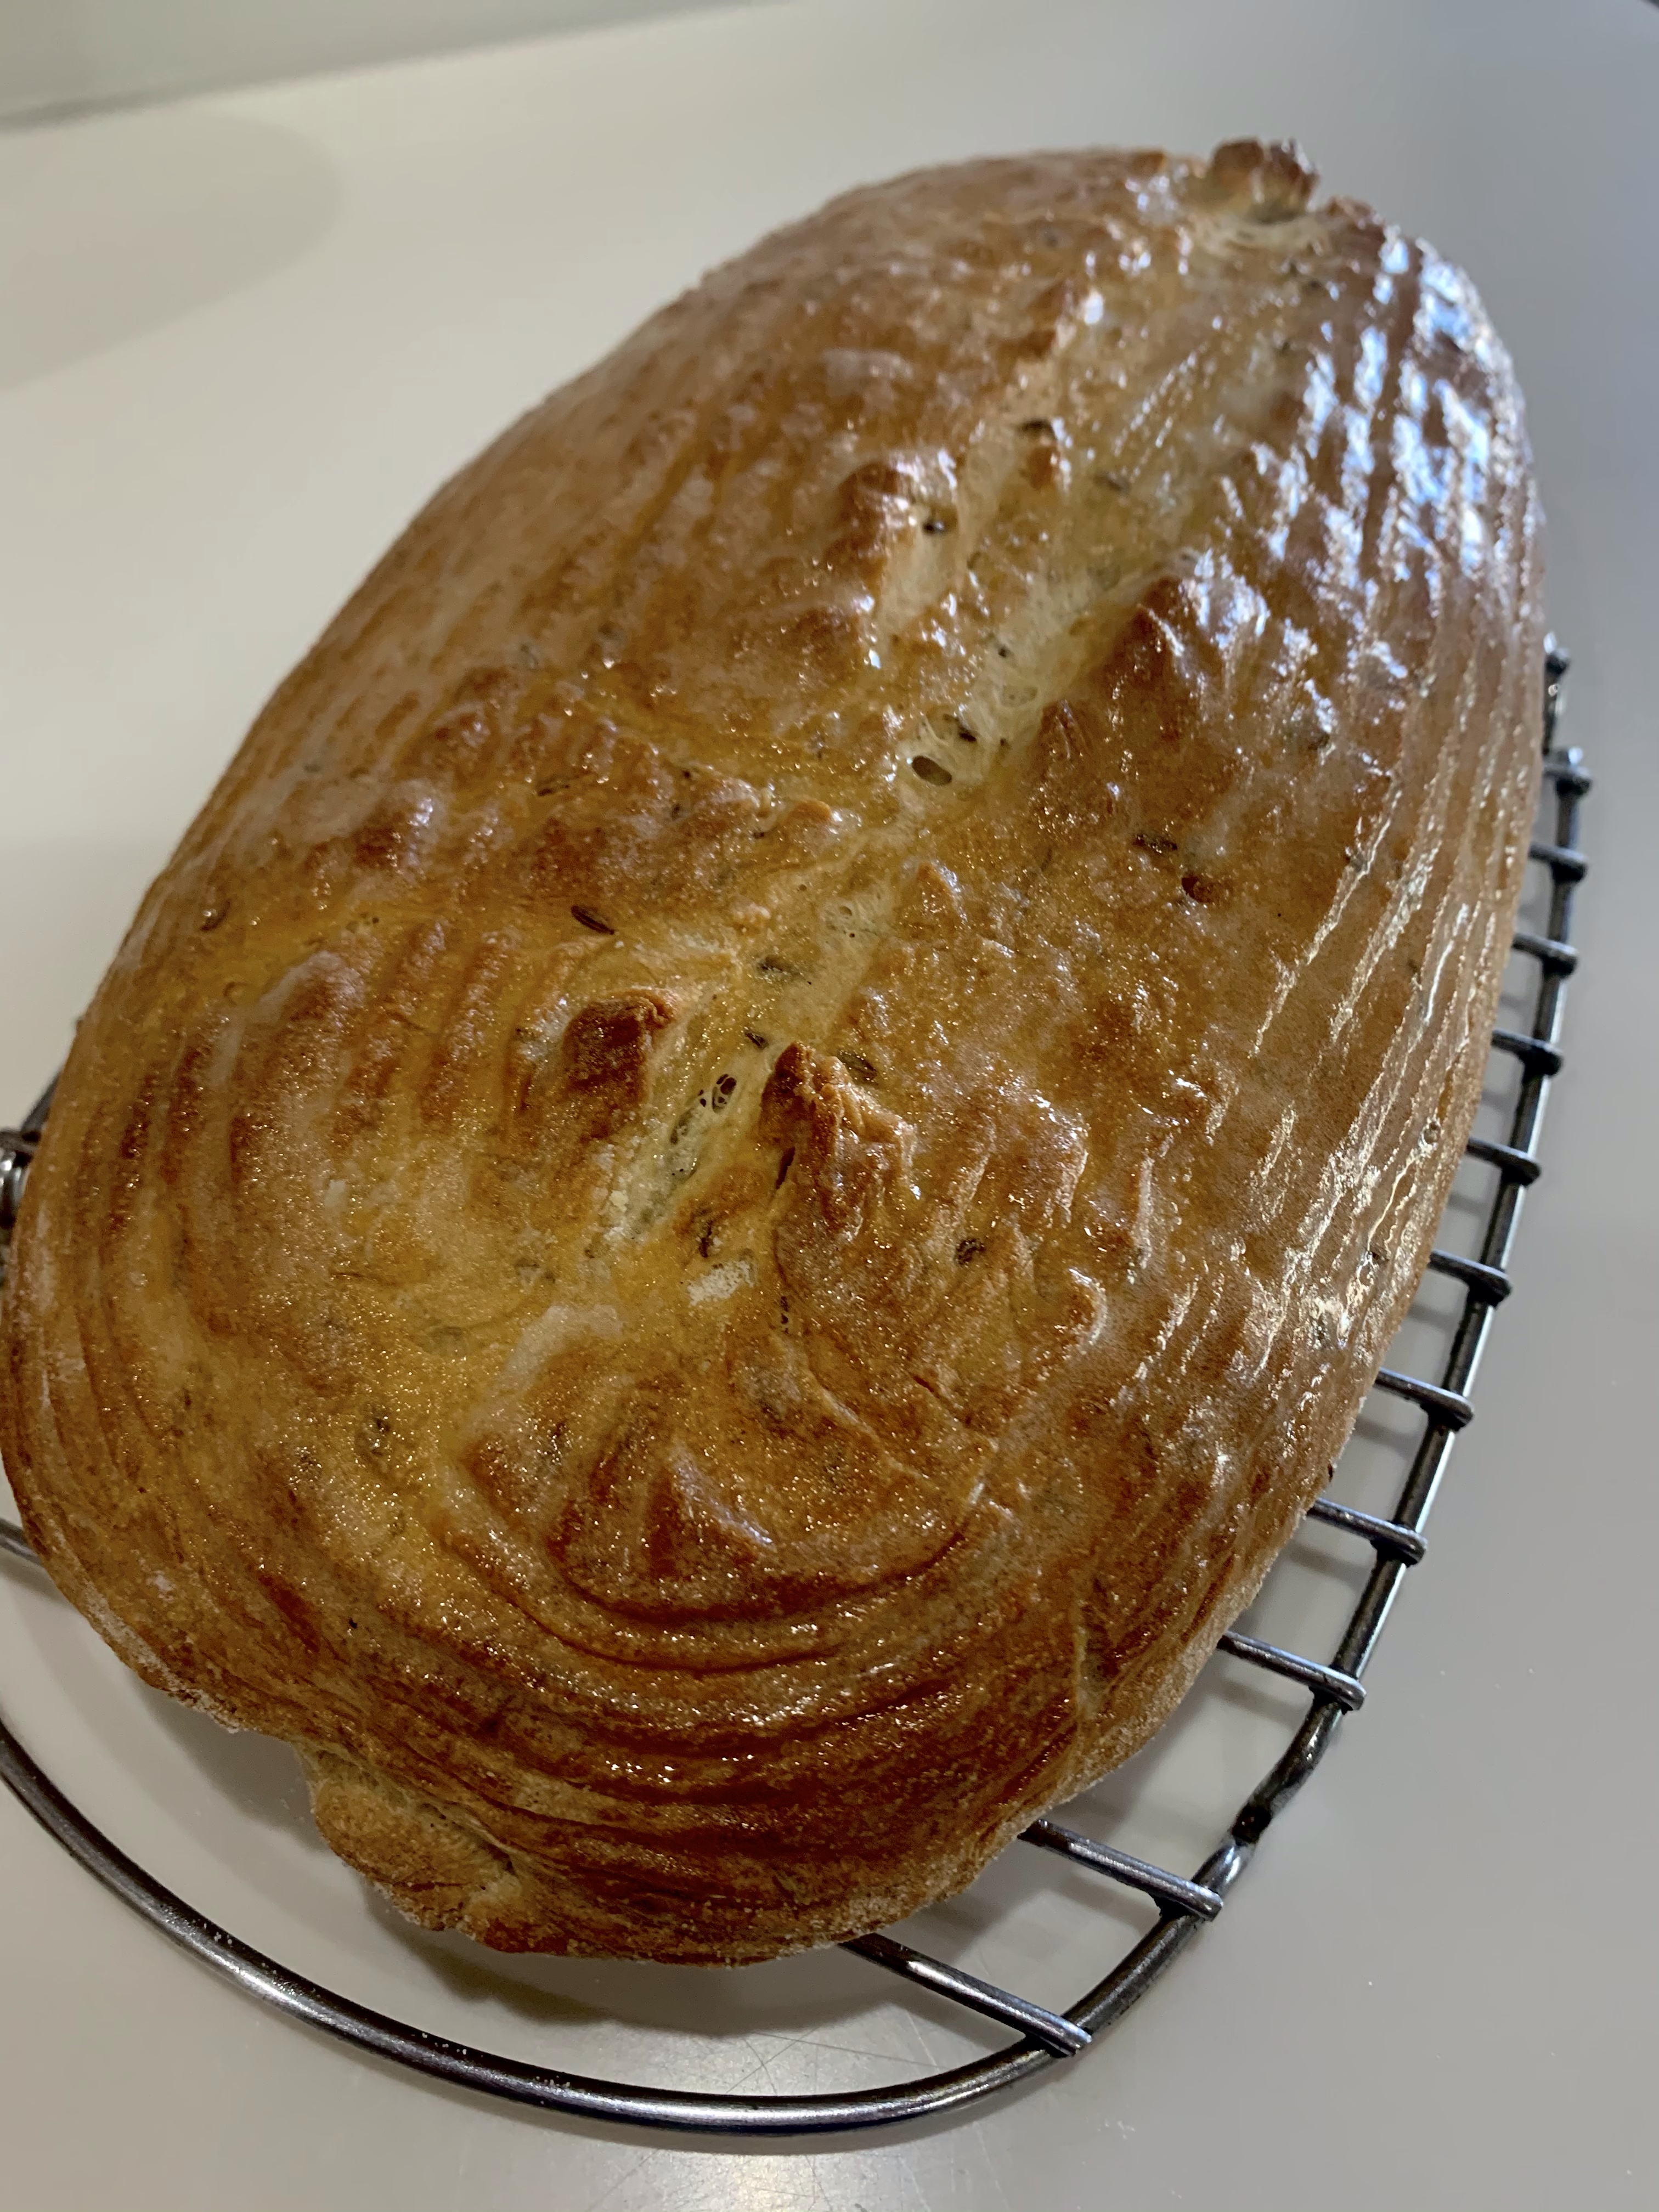
- Bake the bread for 25 minutes. Check the interior temperature with a digital thermometer. When fully baked it should register at least 195°F. If not, remove the lid and bake for an additional 5 to 10 minutes until the loaf should be lightly browned.
- Remove the bread from the oven and turn it out of the crock onto a rack. Cool for several hours before slicing.