It’s Wednesday and I don’t (usually) play golf on Wednesday. What will I do to occupy my time? What will I do? Well, I froze some choux pastry a couple of months ago, just to have some for an emergency. Choux freezes well but should be used within a few months. Plus I had some leftover chocolate glaze. All I needed was some creme patisserie (which I made before dawn today,) and I could have some eclairs! (I also made a loaf of bread later in the morning.) A very full day!!
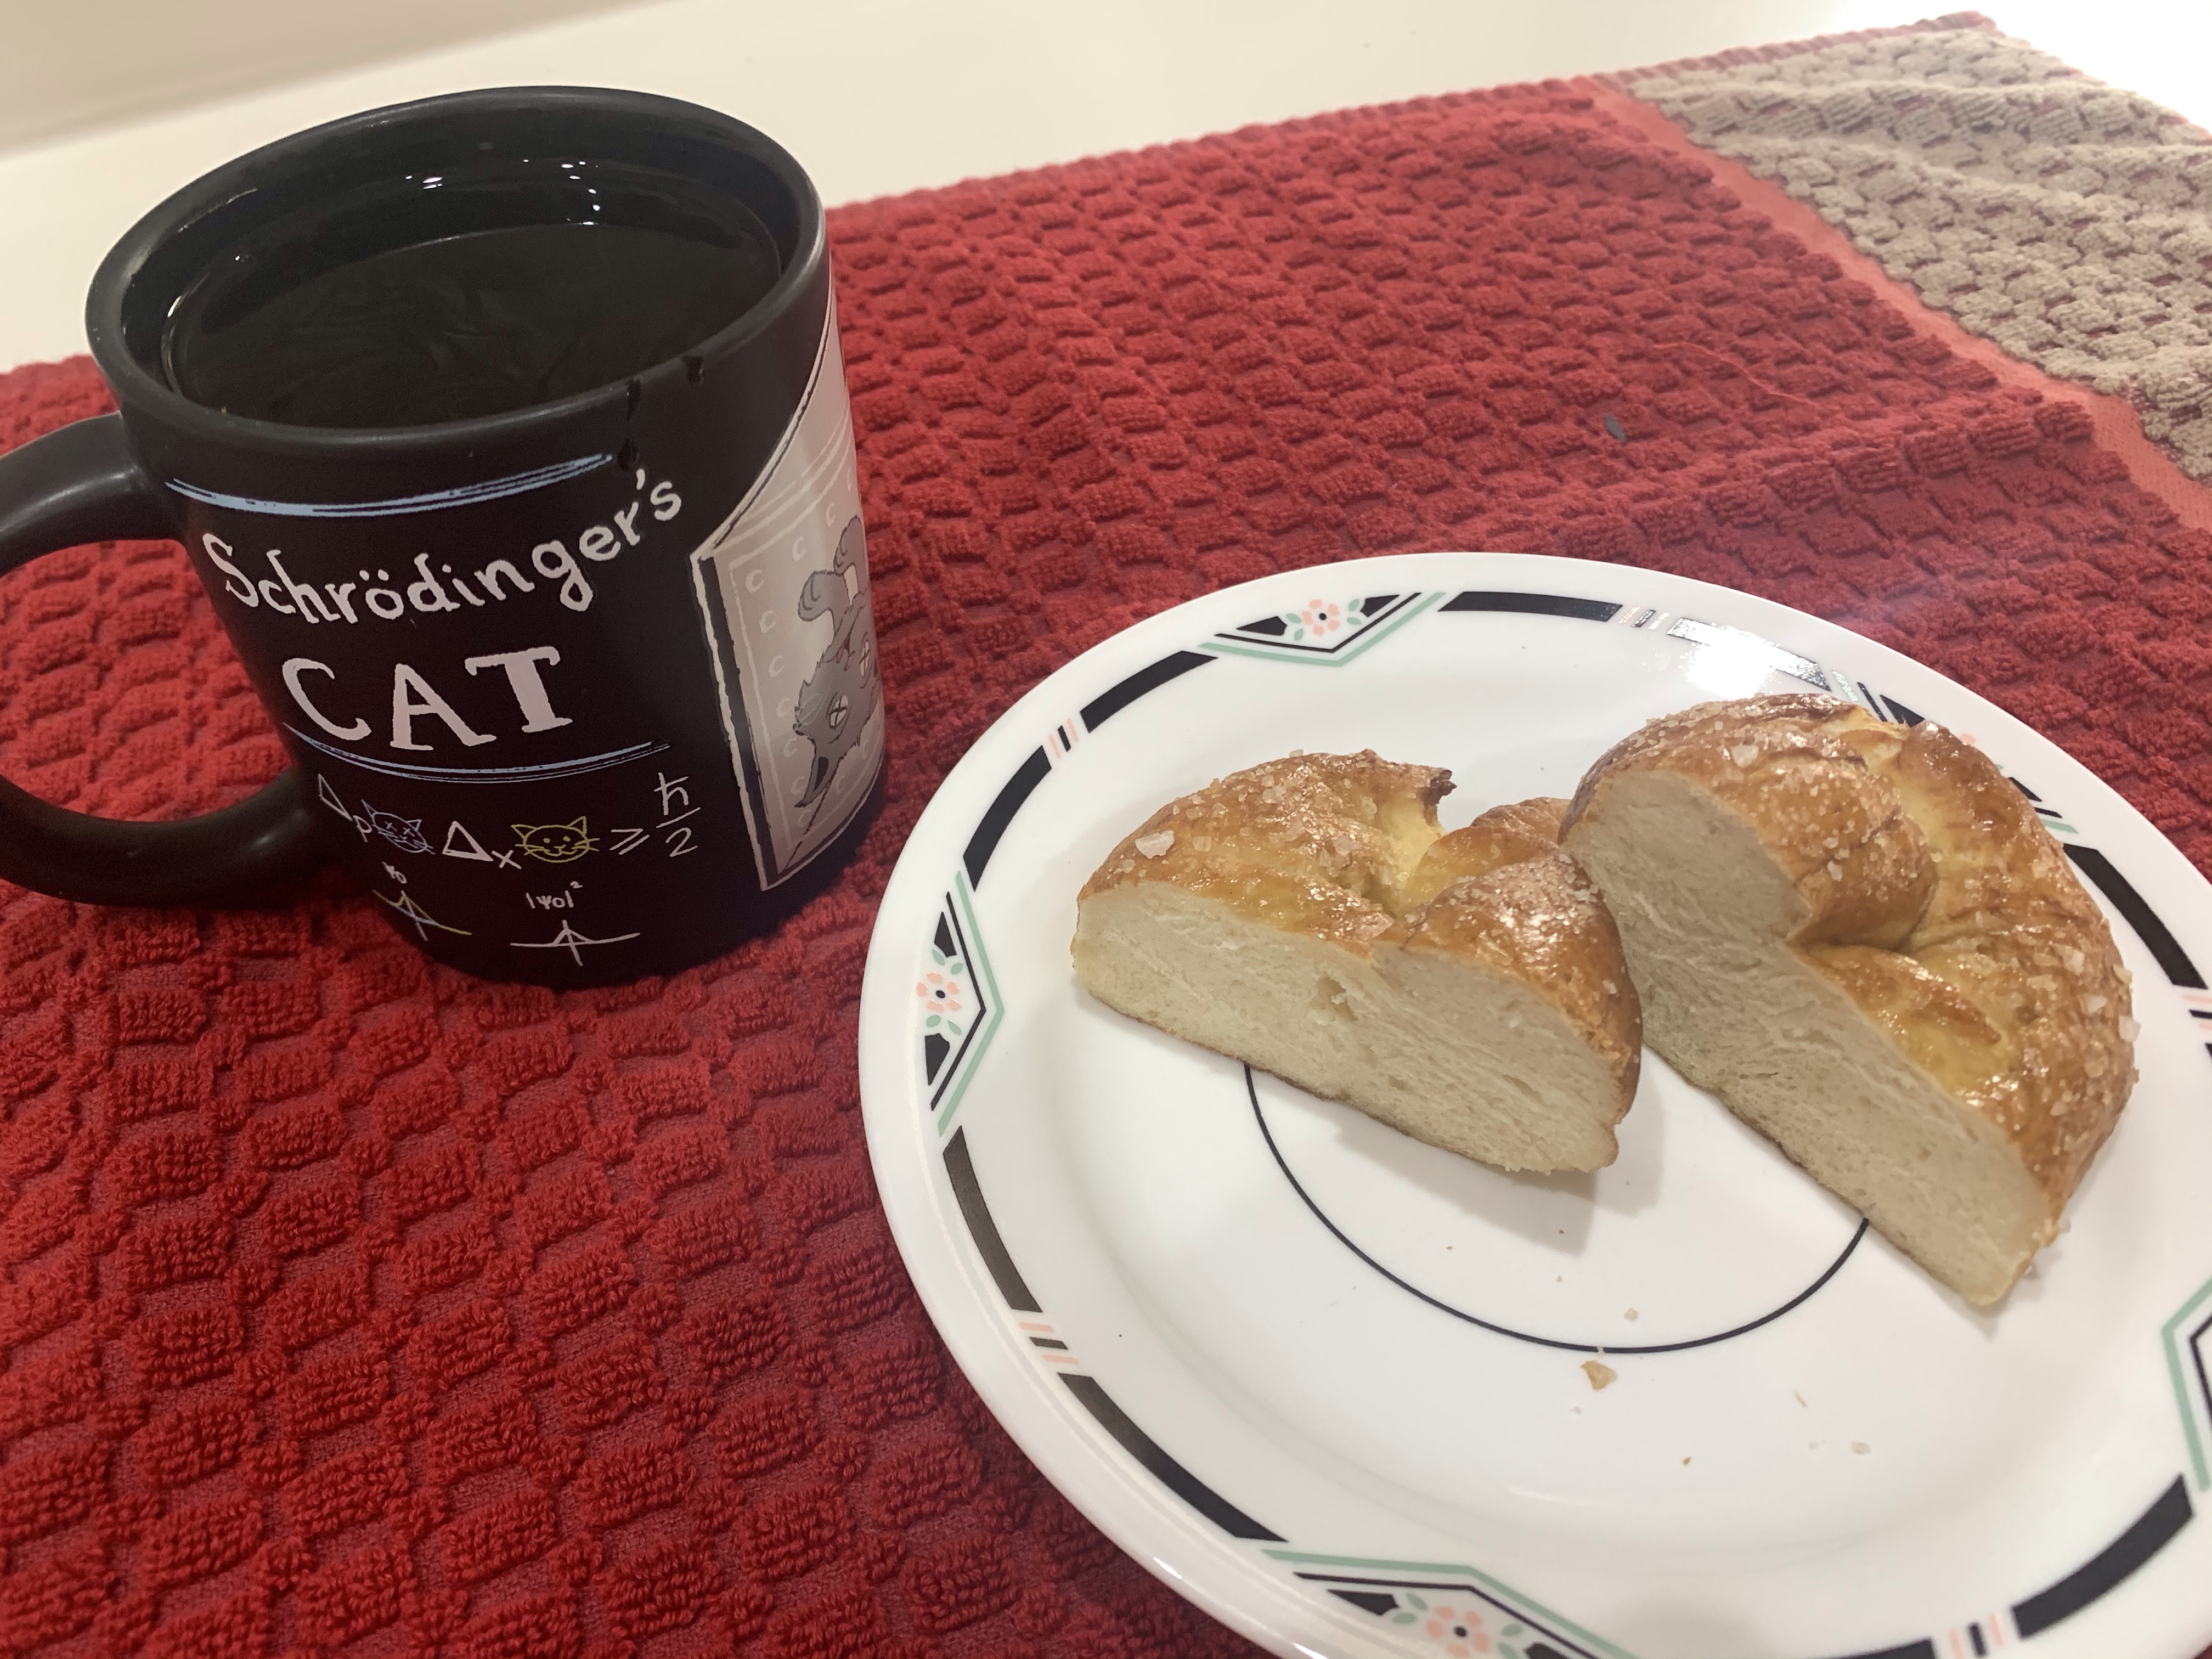
Recently, I mentioned I still had the alkali bath to boil, brown and make a nice skin on the pretzels and with minor changes would work for bagels as well. So…. today we have bagels.
I used the Chef Steps recipe I posted here some time ago. I also posted the recipe below.
I made four ET bagels for me and six plain bagels for Fran (and me). Notice how I cleverly worked the ET title into the text of the post?
Bagels from ChefSteps INGREDIENTS • 350 g Water, plus more for boiling • 650 g Bread flour, divided • 3 g Active dry yeast • 25 g Sugar, granulated, optional • 25 g Diastatic malt powder • 10 g Salt • Nonstick spray, as needed • 25 g Molasses • 10 g Baked baking soda OPTIONAL • 10 g Black sesame seed • 10 g Dried onion flakes • 10 g Salt, Maldon flake • 7 g Poppy seed • 5 g Sesame seed • 5 g Dried garlic flakes
METHOD
In a stand mixer bowl, combine 350 g room temperature water, 250 g of the flour, and the active dry yeast. Cover the bowl with plastic wrap or a damp cloth and let the mixture proof at room temperature until it doubles in size and makes frothy bubbles that collapse when you tap the bowl on the countertop. This takes about two to three hours. (Look for a foam that resembles the one on a root beer float. If you don’t see this yet, just give the yeast a bit more time to work its magic.)
In a bowl, combine the remaining 400 g of bread flour with 25 g sugar, 25 g diastatic malt powder, and 10 g salt.
Reattach the bowl containing the sponge (from Step 1) to the stand mixer and fasten on the dough hook. Set the mixer to low. Gradually spoon in the dry ingredients and let the dough mix until it becomes stretchy and smooth and pulls away from the sides of the bowl, about 15 to 20 minutes. (This will be rough work for your stand mixer.)
Cover the bowl with a damp cloth and let the dough cool in the fridge for 20 minutes.
Working quickly to keep the dough cool, divide it into 130 g portions and set them on a parchment paper lined pan. Keep the entire sheet covered with plastic wrap as you work, tucking each new portion underneath the plastic wrap to keep any crust from forming.
First, form a dome. Make a circle with one hand, place a piece of portioned dough halfway inside it, and use one finger of your other hand to turn the dough while gradually pushing it through the circle tightening the dough as you work around the outside. You want to end up with a nice, taut dome.
Next, turn that dome into a ball. Hold the dome with the concave underside facing up. Pinch the dough closed across the “bowl,” then roll the seam on the work surface until smooth. When you finish each piece, return it to its spot under the plastic wrap on the sheet pan.
Cool the dough balls in the refrigerator for 20 minutes.
Working with one ball at a time, use two fingers to pinch a hole through the center of the dough, turning it while you work. Once you break through the dough, turn it on its side (like a spinning wheel). Stick both of your index fingers through the hole from opposite directions, and spin them around each other, slowly stretching out the hole until you can fit three fingers through it. Return the shaped dough to its covered spot on the tray. (You might need a second tray.)
Allow to proof at room temperature until a dough ring floats when set in a bowl of water. This will take about 20–40 minutes. (If the test ring sinks, proof a bit longer.)
Make sure the tray(s) are wrapped tightly with plastic wrap, and let them cool in the refrigerator overnight to allow flavors to develop.
In a large pot over high heat, bring 5 L water, 25 g molasses, and 10 g baking soda to a boil.
Preheat the oven to 425 °F / 218 °C (Use convection if available)
Working in batches, drop the bagels into the water and boil for 60 seconds, then flip them with a spider strainer or fork and boil for another 60 seconds. Transfer them, smooth sides up, to a wire rack on a half-sheet pan.
(TRY AN EGG WASH ON SOME OF THE PLAIN BAGELS)
If you’re adding the seasoning mix—or your own choice of toppings—now’s the time to sprinkle it over the tops of the bagels.
Transfer the bagels to a parchment paper–lined half-sheet pan and move it to the center rack of the preheated oven.
Bake for seven minutes, spin the tray around to ensure even cooking, and continue baking until bagels have a nice, brown color—about seven more minutes.
I don’t know how I got by without one of these dough whisks. For everyone who does a significant amount of making dough for bread, pretzels, bagels, donuts etc, this is a must have took. It makes the initial mixing, prior to kneading or stretch and pull so much faster and easier. Do yourself a favor and buy one.
Yes, I watch baseball yesterday and it reminded me of nice hot pretzels. I made them before so won’t repeat the recipe, but will say, these are delicious, especially warm from the oven.
I am not sure there is much better than a fresh, warm, chocolate babka. For anyone who is unfamiliar with this bread/pastry/cake I strongly suggest you don’t wait but either make or buy a loaf. Warning, this recipe could ruin you for store bought.
I was going to take a few pictures to illustrate how to make and shape a babka, but the woman who posted this recipe did a great job of it. https://prettysimplesweet.com/shaping-babka. Copy and paste this link into your browser for details.
INGREDIENTS For the dough: • 3¾ cups (530 g) all-purpose flour , plus extra for dusting • ½ cup (100 g) granulated sugar • 1 tablespoon (10g) instant yeast • 3 large eggs • ½ cup (120 ml) water • ¾ teaspoon fine sea salt • ⅔ cup (150 g) unsalted butter , at room temperature, cut into small cubes • Neutral oil (sunflower, canola) for dressing For the chocolate filling: • ½ cup (50 g) powdered sugar • ⅓ cup (30 g) unsweetened cocoa powder • 130 g dark chocolate , melted* • ½ cup (120 g) unsalted butter , melted • ⅔ cup (120 g) chocolate chips or chunks OR 1 cup (100g/3.5oz) pecans, coarsely chopped (optional) For the sugar syrup: • ½ cup (120ml) water • ½ cup (100g) granulated sugar
METHOD Making the dough:
Place flour, sugar, and yeast in a standing mixer fitted with the dough hook and mix on low speed until combined. Add eggs and water, and mix on medium speed until dough comes together, 2-3 minutes. Add salt, then butter, adding a few cubes at a time, mixing until incorporated. Continue mixing for about 10 minutes on medium speed, until dough is completely smooth, elastic, shiny, and pulls away from the sides of the bowl. During mixing, you will need to scrape down the sides of the bowl.
Place dough in a large bowl brushed with oil, cover with plastic wrap, and leave in the fridge for at least half a day or overnight.
Grease two loaf pans (9×4 inch) with oil and line the bottom of each pan with parchment paper. Divide dough in half and keep one half covered in the fridge. Making the filling:
Whisk together powdered sugar, cocoa powder, chocolate, and butter until you have a spreadable paste.
Roll out dough on a lightly floured surface and shape into a rectangle measuring 15×11 inches. Position dough so that a long side is closest to you. Using an offset spatula, spread half of the chocolate mixture over the rectangle, leaving a ¾ inch border all around. Sprinkle half of the pecans or chocolate chips on top of the chocolate. Shaping the dough:
Use both hands to roll up the rectangle like a roulade, starting from the long side closest to you and ending at the other long end. Press to seal the dampened end onto the roulade, then use both hands to even out the roll into a perfect thick cigar. Rest the cigar on its seam.
Trim about ¾ inch off both ends of the roulade with a serrated knife. Then use the knife to gently cut the roll in half lengthwise, starting at the top and finishing at the seam, essentially dividing the log into two long even halves, with the layers of dough and filling visible along the length of both halves. With the cut sides facing up, gently press together one end of each half, then lift the right half over the left half. Repeat this process, but this time lifting the left half over the right, to create a simple two-pronged plait. Gently squeeze together the other ends so that you are left with the two halves, intertwined, showing the filling on top. Carefully lift the cake into a loaf pan. Don’t worry if there are gaps in the pan since the cake will rise and will eventually look fine, even if you feel like it’s messy at this point. Cover the pan loosely with plastic wrap or a wet tea towel and leave to rise in a warm place for 1 to 1½ hours. Repeat to make the second cake.
Preheat oven to 375°F/190°C, making sure to allow plenty of time for it to heat fully before the cakes have finished rising. Remove plastic wrap or tea towels, place cakes on middle rack of oven, and bake for about 25-30 minutes, until a skewer inserted into the center comes out clean with no dough attached.
While the cakes are in the oven, make the syrup. In a small saucepan over medium heat, bring water and sugar to a boil. As soon as the sugar dissolves, remove from heat and set aside to cool. As soon as the cakes come out of the oven, brush the syrup over them. Use all of the syrup, even if it looks a lot. Let cakes cool until they are warm, then remove from pans and let cool completely before serving. Serve warm or at room temperature.
Babka will stay fresh for 24 hours in an airtight container at room temperature. Don’t place in the fridge.
Babka freezes well for up to 2 months. To thaw, leave on counter or overnight in the fridge.
Recipe Notes
To melt butter and chocolate, place them in a heat-proof bowl, and heat in the microwave in 20 second-intervals, stirring in between each interval, until melted and smooth (or alternatively, set it over a saucepan of simmering water, stirring occasionally).
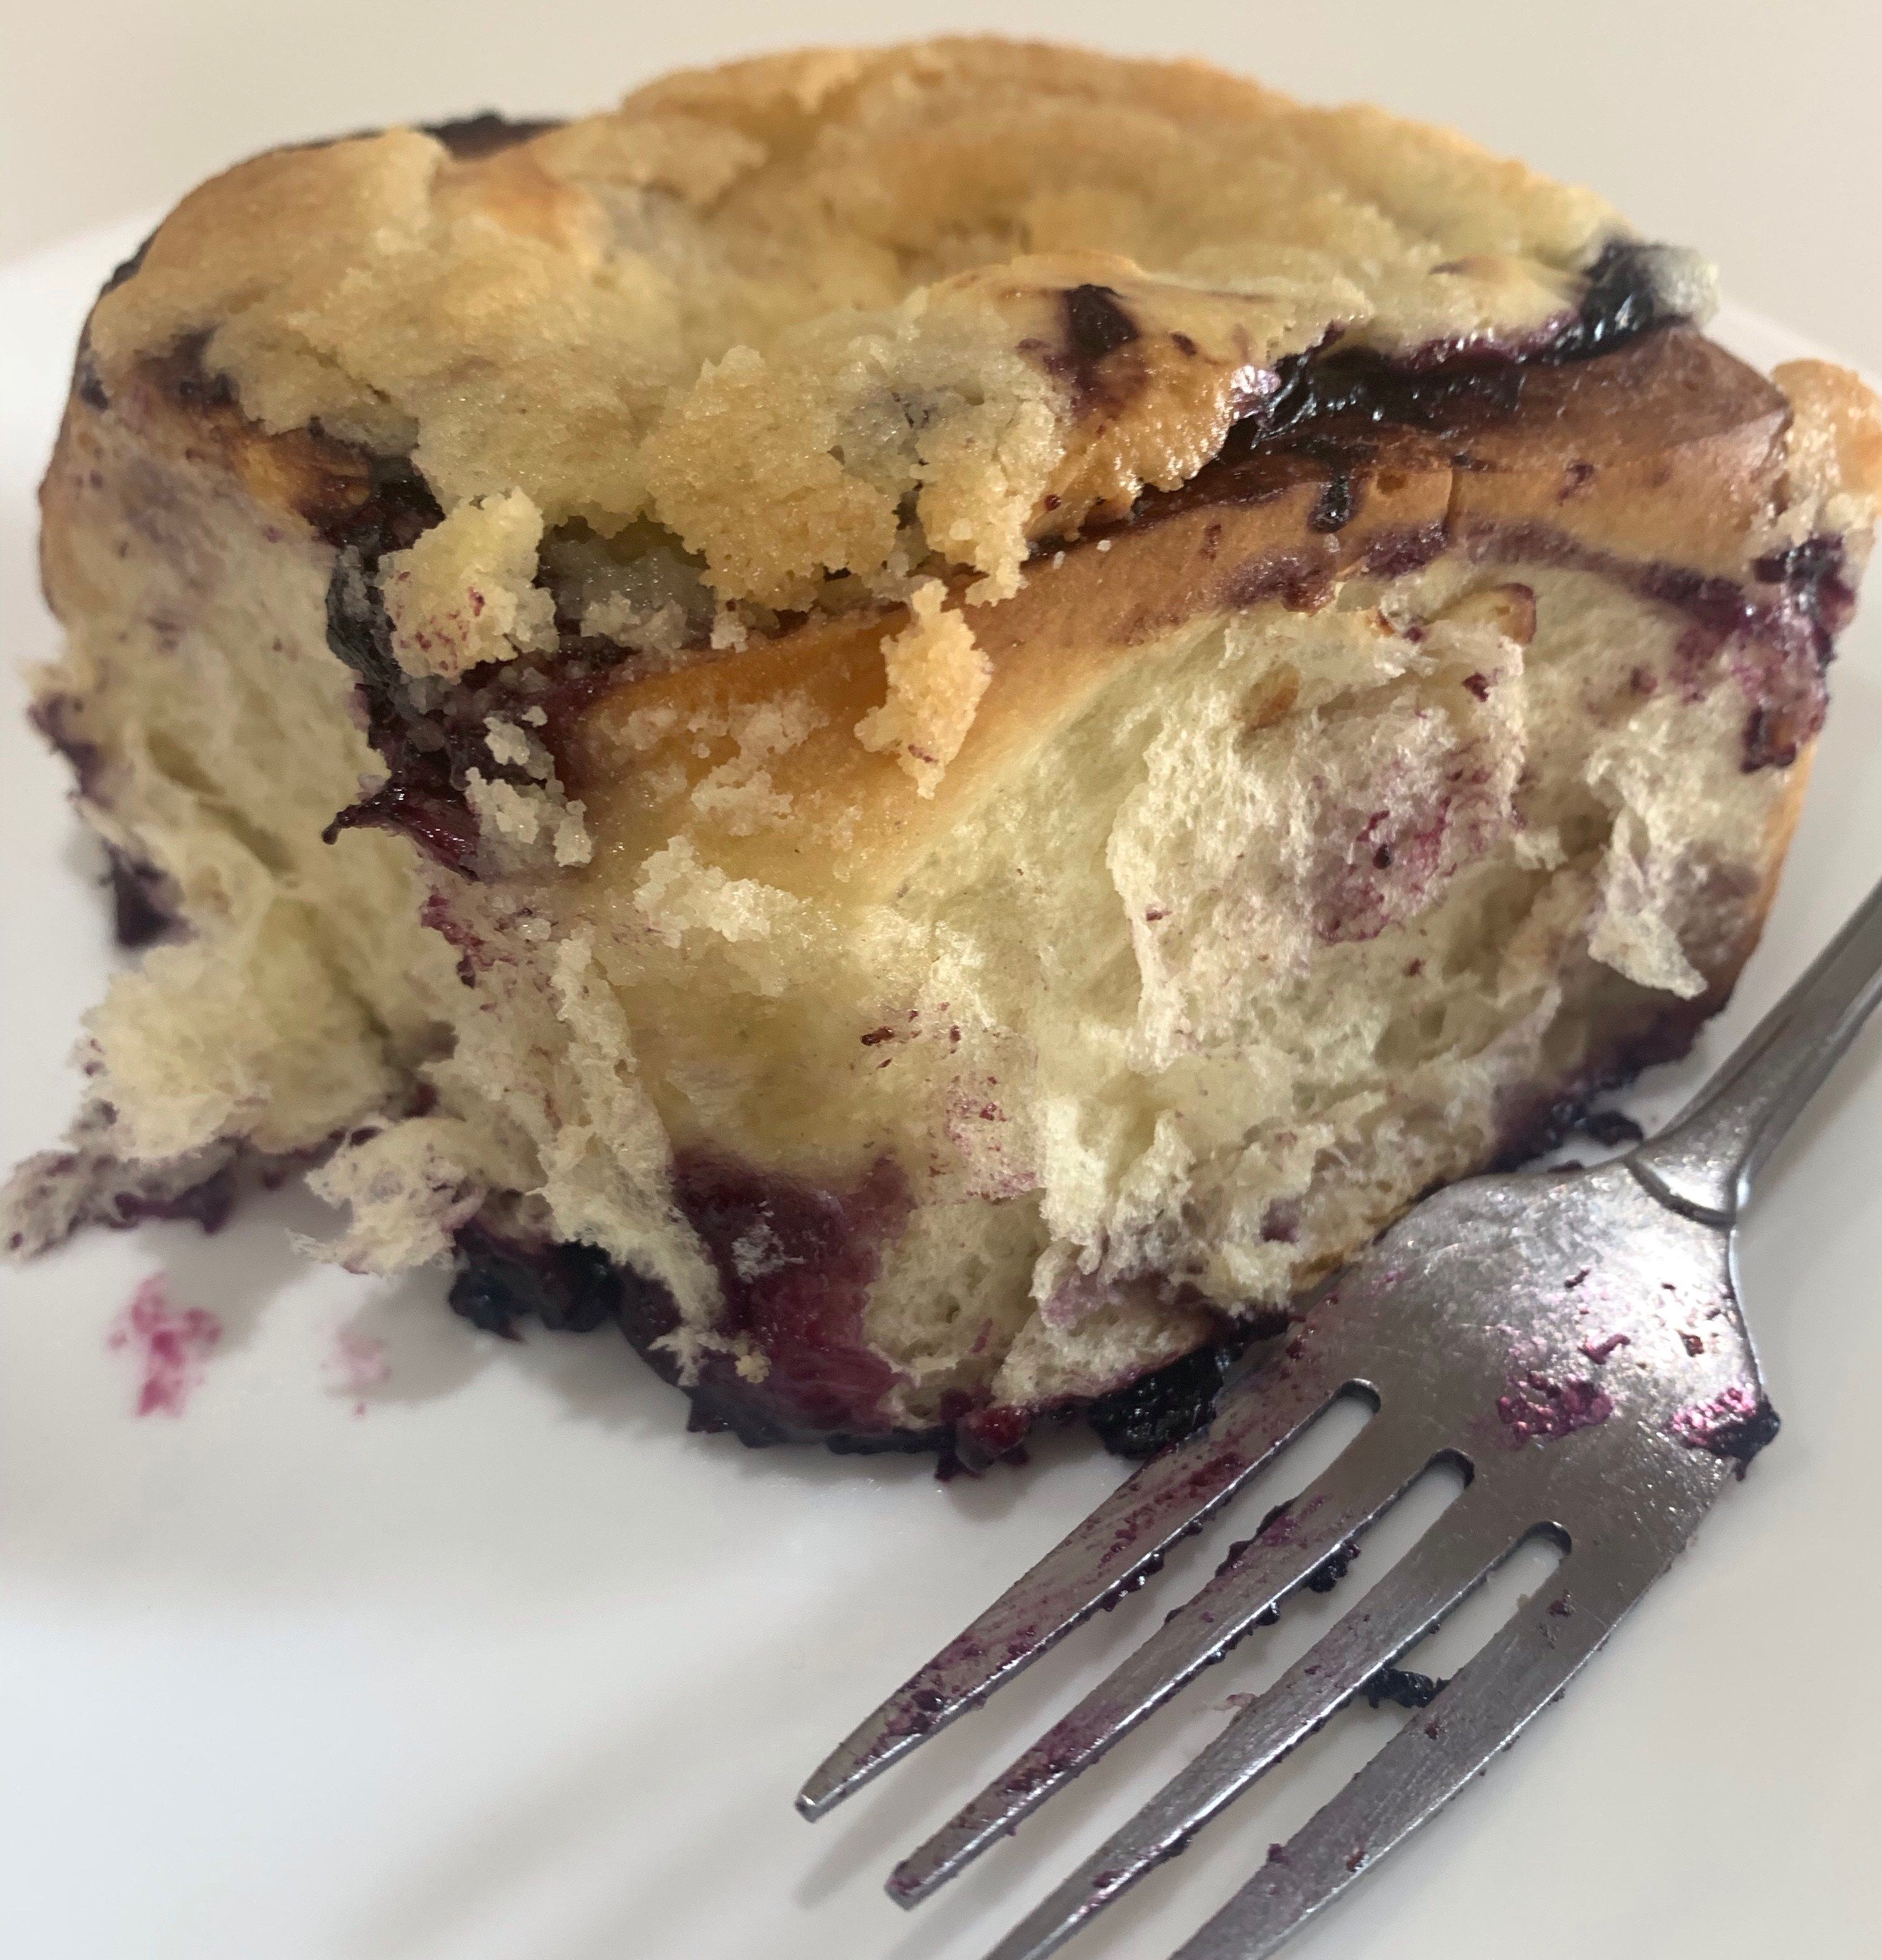
I received a recipe from King Arthur Baking (formerly Flour) for Blueberry/Cream Cheese rolls topped with the aforementioned crumble topping.
I mostly followed the recipe with a few exceptions; I used apple cider instead of wine for the filling. I also added the juice of 1/2 lemon to activate the pectin. Also, I wasn’t impressed with the streusel crumble. I would have preferred one similar to what is found on a cinnamon muffin or a pie.
I only baked them for 40 minutes, when the internal temperature was 205 deg F. It may be my oven.
However, the taste was excellent and will definitely be making these again.
Ingredients
Dough • 3/4 cup lukewarm milk • 4 tablespoons unsalted butter, melted • 2 1/4 teaspoons instant yeast • 1 1/4 teaspoons salt • 1 teaspoon vanilla extract • 1/4 cup granulated sugar • 1 large egg • 3 cups King Arthur Unbleached All-Purpose Flour Filling • 2 cups (425g) fresh or frozen blueberries • 1/4 cup fruit juice or red wine • 1/2 cup granulated sugar • 1 tablespoon pectin • pinch of salt Topping • 12 ounces (1 1/2 large packages) cream cheese, at room temperature • 1 cup confectioners’ sugar • 1 teaspoon vanilla extract • 2 tablespoons King Arthur Unbleached All-Purpose Flour • 1/8 teaspoon salt Streusel • 1/2 cup King Arthur Unbleached All-Purpose Flour • 1/2 cup granulated white sugar • 1/2 cup (8 tablespoons) butter, slightly softened
Method
To make the dough: Combine all of the dough ingredients and mix and knead — by hand, mixer, or in a bread machine set on the dough cycle — to make a soft, smooth dough. Place the dough in a lightly greased bowl and let it rise for about 60 minutes, until it’s nicely puffed.
While the dough is rising, prepare the filling. Place the berries and juice or wine in a medium-sized saucepan. Combine the sugar, pectin, and salt. Add the sugar/thickener to the berries/wine and cook over medium heat until the sauce is thick, about 5 to 8 minutes. Remove from the heat and cool to room temperature.
Gently deflate the risen dough, and roll/pat it into an 18″ x 20″ rectangle. Spread with the cooled blueberry filling, and roll up cinnamon-roll style.
Slice the roll into 12 equal portions. Place in a greased 9″ x 13″ x 2″ baking dish, cut (spiral) side up. Cover the dish with plastic wrap, and let rise for 40 minutes.
As the dough is rising, prepare the topping. Combine the softened cream cheese, confectioners’ sugar, vanilla, flour, and salt. Stir until very smooth. Place in a large zip-top plastic bag. Cut off a generous piece of the corner of the bag, leaving an opening the size of a quarter.
Prepare the streusel by combining the flour, sugar, and butter with a fork or your fingers until it’s in large crumbles, similar to large granola clusters.
Uncover the rolls and pipe a large dollop of cream cheese filling on top of each. Use your wet fingers to spread the filling completely over the top of each bun.
Sprinkle the streusel over the tops of the rolls. Use all the streusel; don’t worry if it falls off the top of the rolls and settles between them. Everything will bake together just fine.
Bake the rolls in a preheated 350°F oven for 45 to 55 minutes. They should be golden brown on the edges, and the streusel should be nicely browned, as well. A digital thermometer should read 200°F when inserted into the center of a roll.
Remove the rolls from the oven. Serve warm, or at room temperature. These large, rich buns make a very filling breakfast! Tips from our bakers
• For smaller buns, divide the dough into 24 equal portions and place in two well-greased 12-cup muffin pans. Reduce the baking time to 25 to 30 minutes.
Store these buns in the fridge for up to 3 days. A short warming in the microwave or toaster oven will take the chill off before eating.