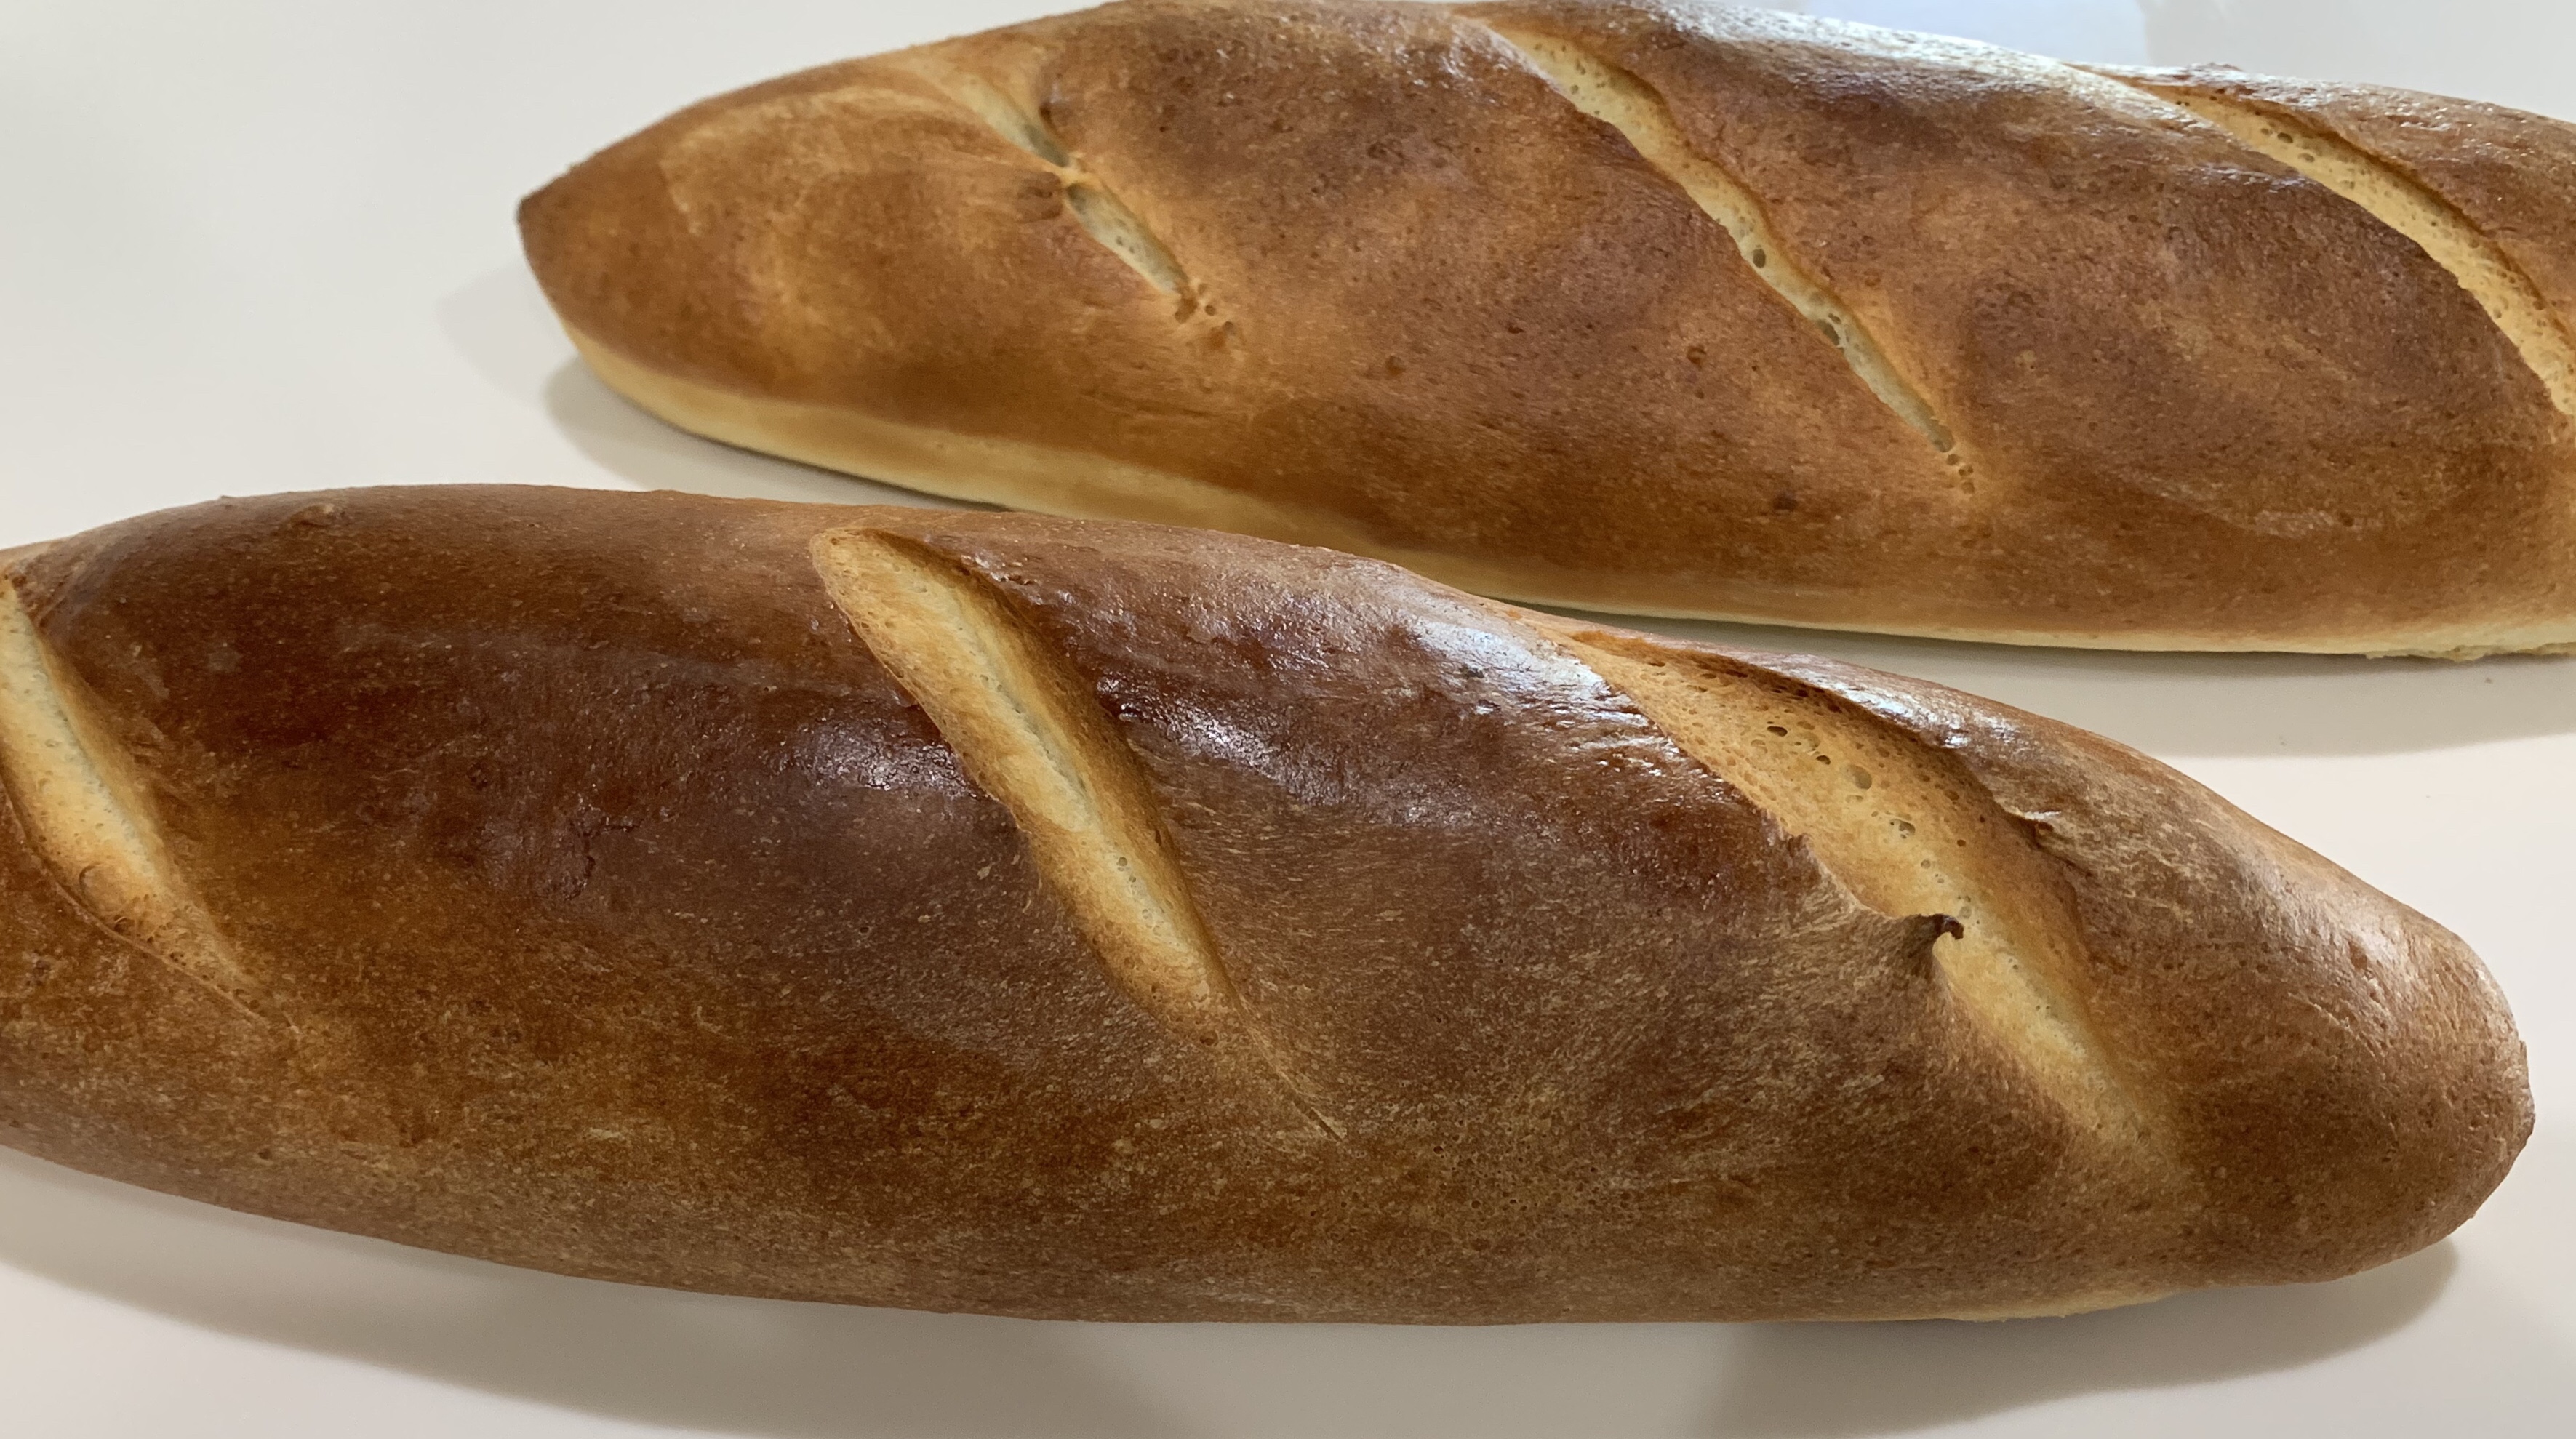
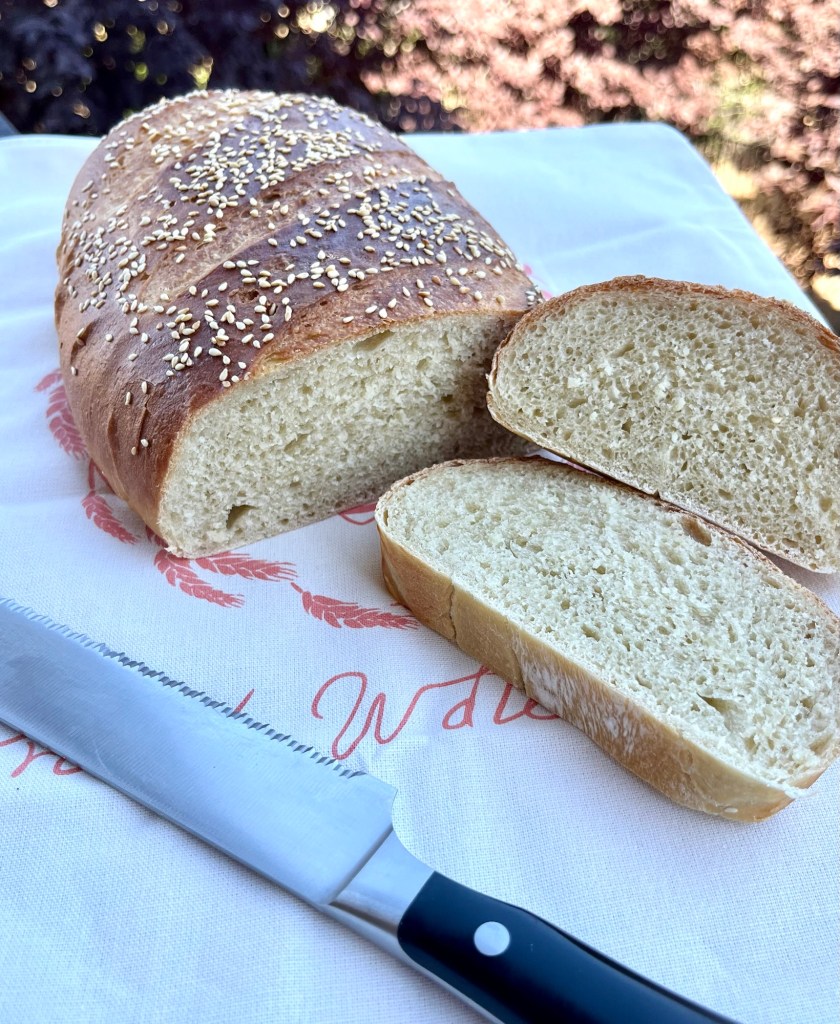
This bread hadn’t made an appearance in a while and to find out why, I made a loaf this morning. Unfortunately (?) it was very good which didn’t help me remember why I hadn’t made it in a year or so.
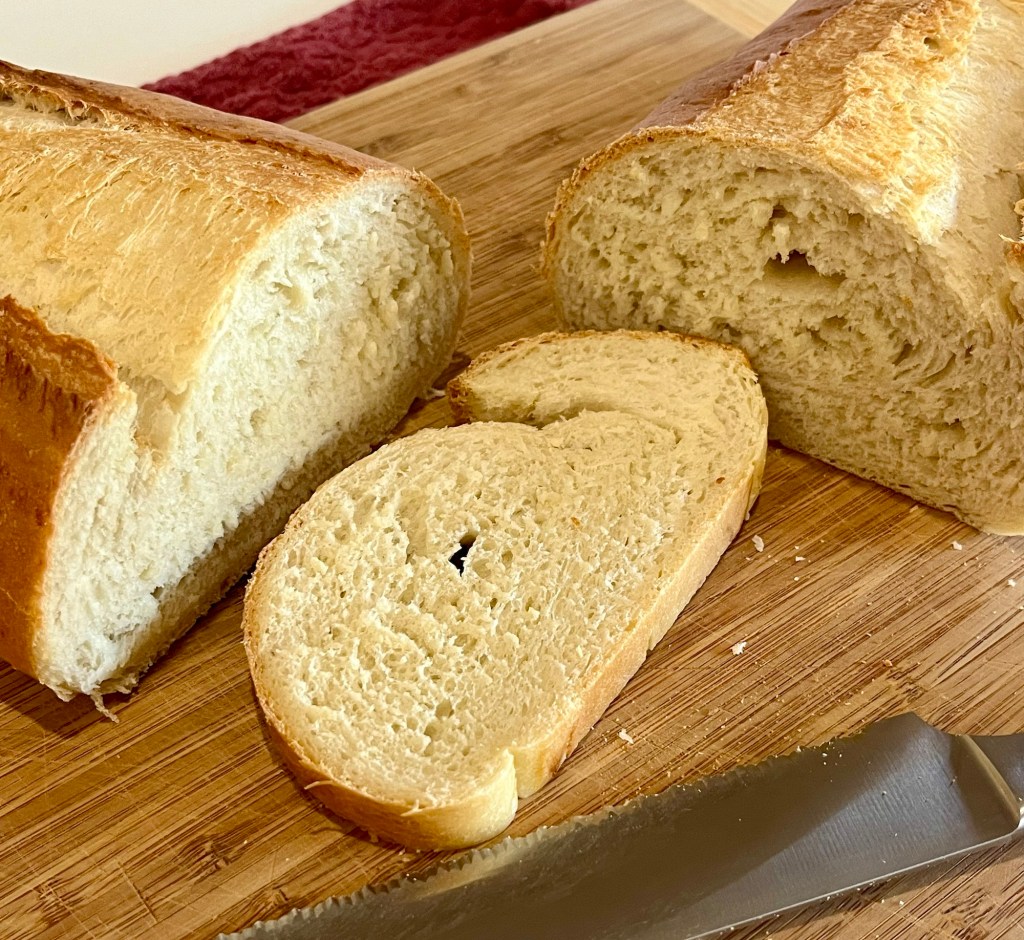
It has a nice crust and tight crumb, perfect for sandwiches. It’s similar to my go-to artisan bread with the exceptions of using AP flour plus a little brown sugar and olive oil. It can be mixed and kneaded in a stand mixer and has minimal fermentation and rise times.
The resulting bread is tasty, firm and worth making more often,
Crusty Italian Bread
INGREDIENTS
• 314 g (1⅓ cups) warm water
• 7 g (2¼ tsp) yeast
• 16 g (1 Tbl) brown sugar
• 18 g (1 Tbl) salt
• 21 g (1½ tsp) olive oil
• 500 g (~4 c) AP flour
• 1 egg yolk for wash
• 1 Tbl sesame seeds
METHOD
- Combine warm water, yeast, and brown sugar in a stand mixer bowl, stir and let stand ~8-10 minutes until it begins activate
- Add olive oil and salt, mix well. (Mixing and kneading can also be done in a stand mixer.)
- Gradually add the flour and mix with a danish dough whisk until the sides and bottom of the bowl come clean.
- Knead knead by hand for ~8 minutes until the dough is soft, smooth and not sticky. The dough should weigh ~865g
- Cover the dough and let rise until doubled, ~30 minutes.
- Punch it down, shape into an oval and book-fold into a boule
- Tension by rolling back and forth with a cupped hand. Pinch seams and roll to smooth out.
- Cover the loaf with a damp cloth and let it rise until doubled. ~20 min. Over-proofing will cause the loaves to flatten.
- Preheat oven to 375ᵒF degrees.
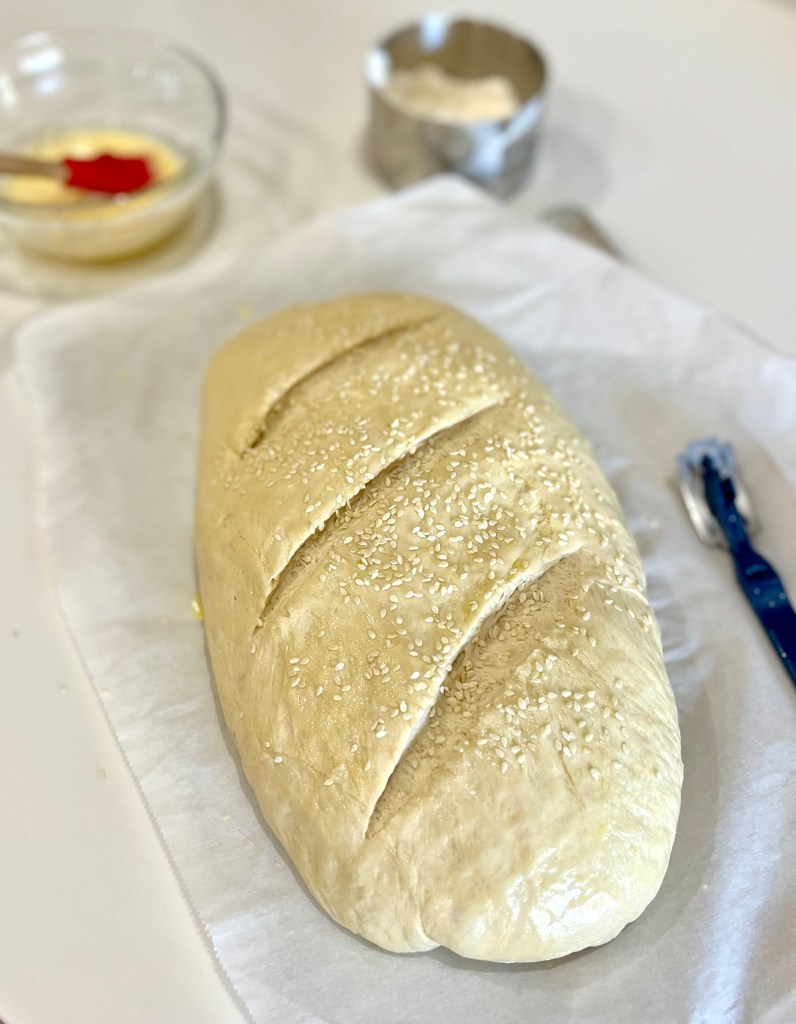
- Brush top of loaf with an egg wash (1 egg yolk and 1 Tbl water)
- Sprinkle top of loaf with sesame seeds (if desired)
- Score with a few, quick, cuts diagonally across the loaf.
- Pour 1 cup of hot water in a shallow pan on the rack underneath the bread in the oven.
- After 20 minutes put an oven-safe digital thermometer into the loaf.
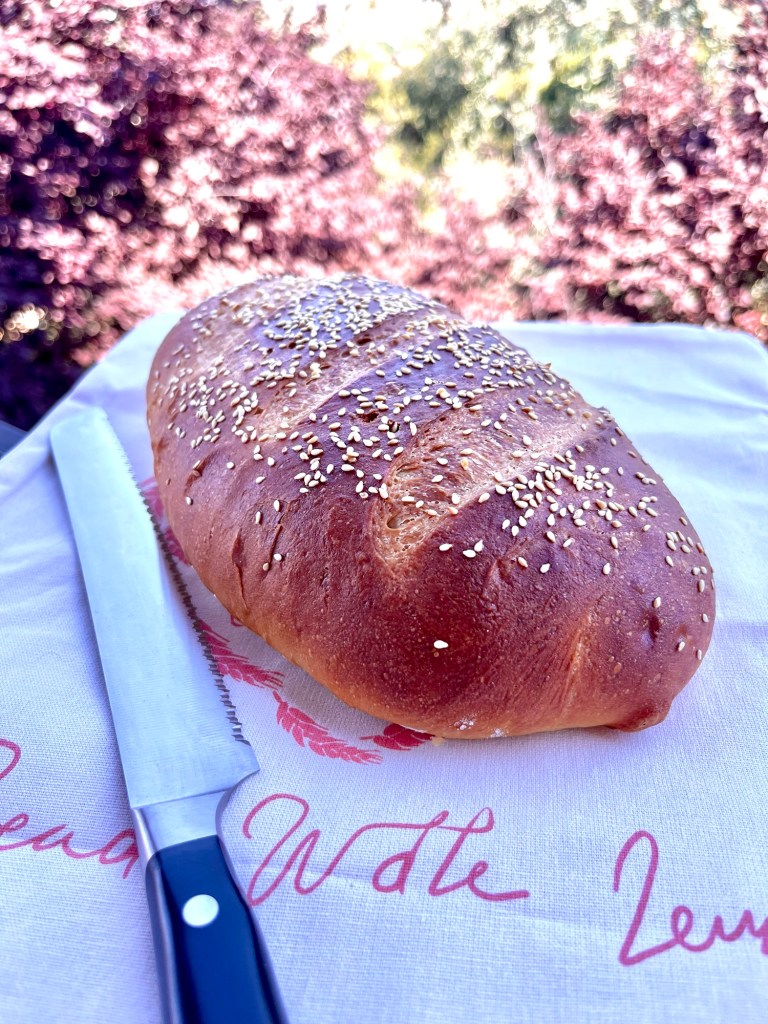
- Continue baking for an additional 5-10 minutes (internal temp reaches 190ᵒF) or until the loaf turn golden brown and produces a hollow sound when tapped.
- Remove from the oven and cool on racks.