Holy Jalapeños Batman!

I saw a recipe on Tasty.com for a Dutch Oven Jalapeño Cheese Bread and thought—that’s different and I wanted to try different. You see, I like things that change. I don’t like things that are always the same. Just ask the QA Department. She’ll tell you the truth.

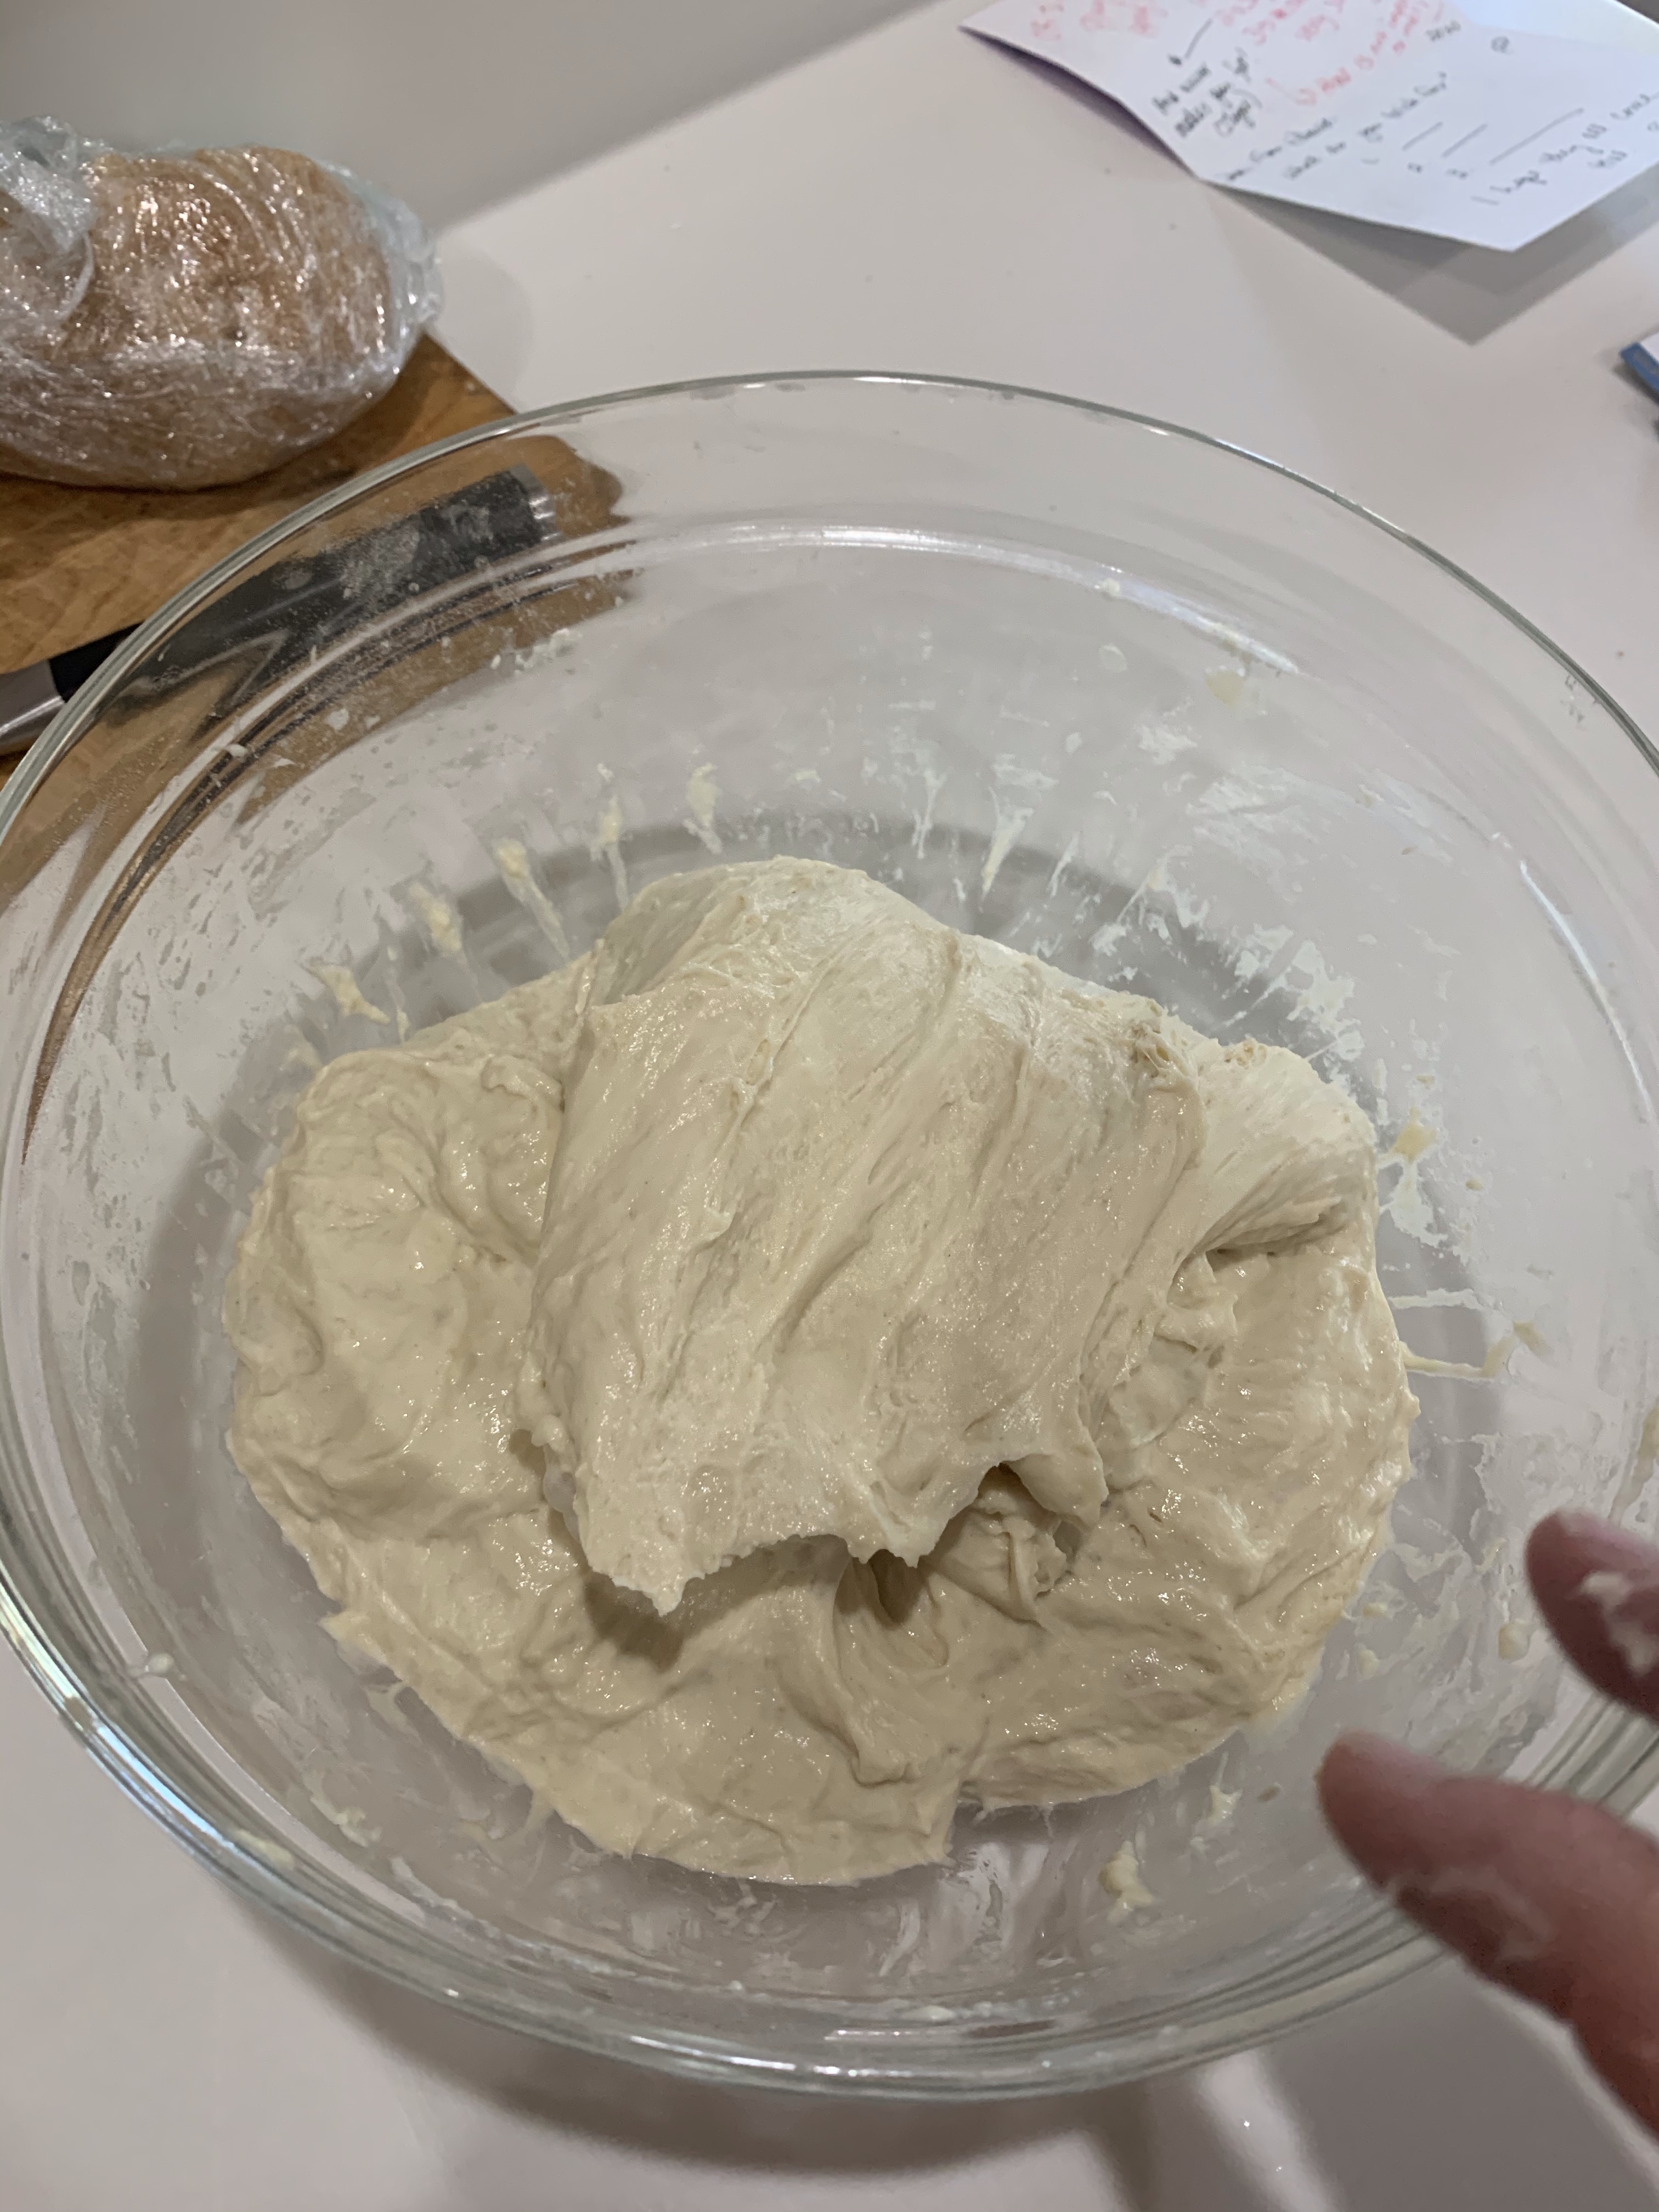
I made the bread diligently following the recipe. No changes. I used the stretch and fold method rather than kneading. This method is good for any high hydration bread. This particular techniques uses a silicone spoon to stretch the dough then fold it over. With other stretch and fold techniques the dough it placed on a lightly floured surface and either a bench scraper or your wet hands stretch, then fold.

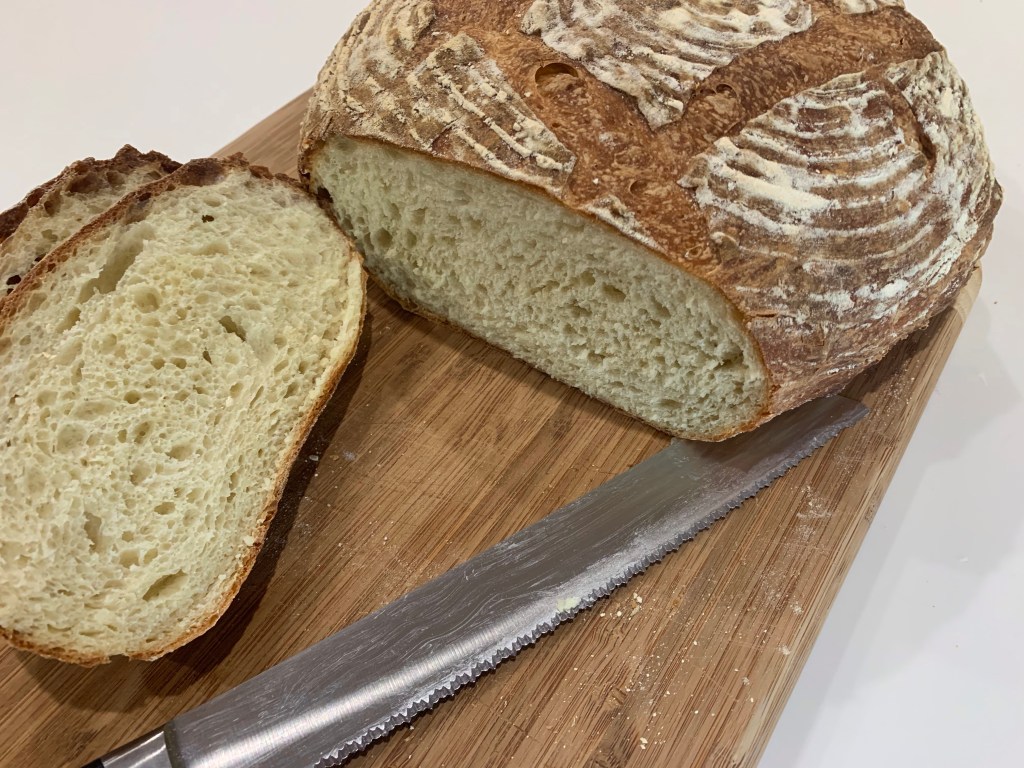
Once the dough has risen the second time use the bench stretch and fold technique to form, more or less, a ball. The following video is the first time I have tried recording any bread making technique.

Dutch-Oven Jalapeño Cheddar Bread

https://tasty.co/recipe/dutch-oven-jalapeno-cheddar-bread

INGREDIENTS
• 3 ½ cups bread flour, plus more for dusting
• 2 ½ cups shredded sharp cheddar cheese, divided
• 2 (70g) jalapeños, seeded and coarsely chopped
• 1 jalapeño, sliced into rings, divided
• 1 tablespoon kosher salt
• 2 cups warm water
• 2 ¼ teaspoons instant yeast
• 1 tablespoon olive oil

METHOD

  1. In a large bowl, combine the bread flour, 2 cups (200 g) of cheddar cheese, the chopped jalapeños, and salt. Stir well.
  2. In a separate large bowl, combine the warm water and yeast. Pour the flour mixture on top of the water and use a silicone spatula to stir until the dough comes together.
  3. With the spatula, fold the dough around the edges of the bowl toward the center, rotating the bowl each time and folding a total of 8 times. Cover with a kitchen towel and let rest in a warm place for 60 minutes, or until almost doubled in size.
  4. Using the spatula, fold the dough toward the center again 8 more times. Cover with the towel and let rest for 30 minutes.
  5. Add the Dutch oven and lid to the oven, and preheat to 450˚F (230˚C) for 30 minutes.
  6. Lightly flour a clean work surface and your hands. Carefully peel the dough out of the bowl and onto the floured surface. Flip over and carefully brush away excess flour. Fold the edges of the dough towards the center 8 times, then flip over the dough and transfer to a piece of parchment paper.
  7. Brush the top of the dough with the olive oil, so the cheese will stick. Sprinkle the remaining ½ cup (50 g) of cheese on top. Use a sharp knife to score the bread with an “X”, which will allow steam to escape. Arrange the jalapeño rings on top of the cheese.
  8. Carefully remove the Dutch oven from the oven and use the parchment to lift the bread into the pot. Cover with the lid and bake for 30 minutes, then remove the lid and bake for 20 more minutes, until the bread is golden brown.
  9. Carefully slide the bread out of the pot and onto a wire rack. Remove the parchment paper and let the bread cool for at least 1 hour before slicing.
  10. Slice the bread and serve as desired.

Yes, We Had Some Bananas

What do you do with over ripe bananas? Make banana bread, of course. I found a new recipe online and decided to give it a go. As the author said, “With a very few variations, the recipe I give below is universal to almost every church or community cookbook written in the last 50 years.” I believe her.

I thoroughly mashed the bananas to not leave any chunks but did cream the softened butter and sugar together first to give a more cake-like crumb.

The result was excellent. Better than other recipes? Probably not, but as easy as others so what the hey?

Banana Bread

https://www.thekitchn.com/how-to-make-banana-bread-the-simplest-easiest-recipe-139900

INGREDIENTS

• 8 tablespoons (1 stick) unsalted butter
• 1 cup granulated sugar
• 2 large eggs
• 1/4 cup milk
• 1 teaspoon vanilla extract
• 3 medium bananas, very ripe
• 2 cups all-purpose flour
• 1 teaspoon baking soda
• 1/4 teaspoon salt

METHOD

  1. Arrange a rack in the bottom third of the oven and heat to 350°F. Line an 8×5-inch loaf pan with parchment paper, letting the excess hang over the long sides to form a sling. Spray the inside with cooking spray.
  2. Soften the butter and cream it with the sugar in a stand mixer.
  3. Crack the eggs into the bowl. Whisk until completely combined and the mixture is smooth.
  4. Whisk the milk and vanilla into the batter.
  5. Peel the bananas and add them to the bowl. Using the end of the whisk or a dinner fork, mash them into the batter. Leave the bananas as chunky or as smooth as you prefer. If you prefer an entirely smooth banana bread, mash the bananas separately until no more lumps remain, and then whisk them into the batter.
  6. Measure the flour, baking soda, and salt into the bowl. Switch to using a spatula and gently stir until the ingredients are just barely combined and no more dry flour is visible.
  7. Pour the batter into the prepared loaf pan, using the spatula to scrape all the batter from the bowl. Smooth the top of the batter.
  8. Bake until the top of the cake is caramelized dark brown with some yellow interior peeking through and a toothpick or cake tester inserted into the middle comes out clean, 50 to 65 minutes. Baking time will vary slightly depending on the moisture and sugar content of your bananas — start checking around 50 minutes and then every 5 minutes after.
  9. Set the loaf, still in the pan, on a wire cooling rack. Let it cool for 10 minutes — this helps the loaf solidify and makes it easier to remove from the pan.
  10. Grasping the parchment paper sling, lift the loaf out of the pan and place on the cooling rack. Cool for another 10 minutes before slicing.

RECIPE NOTES

  1. Banana muffins: To make muffins, line a muffin tin with paper liners and fill each cup to roughly 3/4 full, and check for doneness after 20 minutes. Makes 8 to 10 muffins.
  2. Storage: Wrap leftovers tightly in plastic wrap and store at room temperature for several days, or wrap the bread in plastic wrap and then aluminum foil and freeze for up to 3 months.

Check Out My Buns!

How many great discoveries were the result of a simple mistake? Sometimes you just step in it. Lucky for me, after I tested the vitality of my yeast in the Tangzhong bread post, I realized I had the perfect starter for another yeast bread. Again, as luck would have it, the other half of our QA department mentioned she would love some cinnamon rolls. Oh lucky day!!

And, it’s good to learn from your (my) mistakes. While the recipe called for a 9×13” pan I suggest you use a pan large enough to provide an inch of room around each bun to allow room for further rise and oven spring. While not visible in the lousy the rolls over grew their space in the pan and “erupted” ending up very messy

Next time I will use an 11×5” pan and the final product will be more attractive. Nonetheless, they tasted phenomenal! After our QA samples we refrigerated a couple more and froze the rest to thaw, warm and test later.

Cinnamon Rolls

INGREDIENTS

Cinnamon Roll Dough:
• 1 cup milk warm (105 degrees F)
• ½ cup + 1 TBS granulated sugar divided
• 1 TBS Active dry yeast
• 2 large eggs room temperature
• 6 TBS butter melted
• 1 tsp pure vanilla extract
• 4 to 4 ½ cups all-purpose flour
• 1 tsp sea salt
• 1 tsp ground cinnamon

Cinnamon Sugar Filling:
• 1 cup brown sugar packed
• 2 ½ TBS ground cinnamon
• 6 TBS butter softened

Cream Cheese Frosting:
• 1 8 oz package cream cheese, softened
• ¼ cup butter softened
• 2 cups powdered sugar
• ½ tsp pure vanilla extract
• 1/8 tsp salt

METHOD
Cinnamon Roll Dough:

  1. Warm milk in the microwave milk for 45-60 seconds. It should be warm but not hot to the touch (about 105 degrees F).
  2. Place milk into the bowl of your standing mixer, then add 1 TBS sugar and 1 TBS yeast to the warm milk. Stir and let it sit (proof) for five minutes or until it becomes foamy.
  3. Add the ½ cup sugar, butter, eggs, and vanilla to the mixture in the bowl of your standing mixer. Use a dough hook to stir until combined
  4. Add 4 cups flour, salt and cinnamon and stir the dough hook, starting on low and increasing to high.
  5. Knead dough in the standing mixer until a large ball is formed. The dough should be smooth and only slightly tacky to the touch. If the dough seems too sticky and is not forming a ball, add more flour 1 TBS at a time until a smooth ball is formed.
  6. Transfer dough to a floured surface and knead with your hands until it is smooth and elastic (about 3-5 minutes). Form it into a ball.
  7. Grease a large bowl and place the dough inside.
  8. Cover the bowl with a warm, damp towel and put the bowl in a warm place to rise.
  9. Let the dough rise in a warm place about 1 hour or until dough has doubled in size.
    Filling:
  10. While the dough is rising, make the filing. In a small bowl, combine butter, brown sugar and cinnamon until mixture is homogenous (uniform throughout). Set aside.
  11. Alternately, you can combine the cinnamon and sugar. Then melt the butter and brush it on the rolled dough, then sprinkle the cinnamon sugar on the butter-brushed dough. (I think this way is easier)!
  12. Assemble Cinnamon Rolls
  13. Sprinkle a large work surface with flour.
  14. Gently press the gas out of the dough and form it into a rectangle.
  15. Roll the dough into a 24×12” rectangle, about 1/4 inch thick.
  16. Spread the filling all over the dough using greased hands or a greased spatula. This process can seem difficult but it gets easier as you spread it. (Alternately: if you only combined the cinnamon and sugar, then melt the butter and use a pastry brush to spread the melted butter all over the dough. Then sprinkle the dough with cinnamon sugar and pat it down gently to insure it sticks).
  17. Roll up dough cut into 12 equal sized rolls (feel free to measure and cut each roll to be 2” long).
  18. Line a 11×15 inch glass baking dish with parchment paper and lightly grease. Then place rolls in 4 rows of three, evenly spaced.There should be some room between each roll to allow for oven spring.
  19. Cover and let rise until nearly doubled, about 30 minutes and preheat the oven to 350 degrees F
  20. Bake Cinnamon Rolls
  21. Once rolls are doubled in size, bake them in the preheated oven until golden brown, about 18-20 minutes. They will rise more in the oven. (NOTE: Check the center cinnamon rolls and make sure they are baked through. If your oven bakes cool or unevenly you may need to increase the baking time up to 10 minutes longer. If the top starts to brown before the center is baked, tent the baking pan with foil to prevent further browning).
    Cream Cheese Frosting
  22. While rolls are baking, beat together cream cheese, butter, powdered sugar, vanilla extract and salt. Do NOT chill the frosting. Keep it at room temperature until the cinnamon rolls are baked.
  23. Once the cinnamon rolls have bene removed from the oven, spread the cream cheese frosting on them while they are still warm.
  24. Cool & Serve!
  25. Let cool and serve warm.

Notes

  1. To make ahead:
    a. After the cinnamon rolls have been assembled in a baking dish, wrap tightly with plastic wrap and cover with a tea towel or aluminum foil and place them in the refrigerator.
    b. In the morning, remove the baking dish from the refrigerator and let them come to room temperature and finish rising (this takes about 30-40 minutes).
    c. Then bake according to recipe instructions.
  2. To Freeze:
    a. Assemble the cinnamon rolls in the baking pan.
    b. tightly cover with plastic wrap and then with aluminum foil or a lid.
    c. freeze for up to 1 month.
    d. To bake, remove cinnamon rolls from the freezer the night before you’d like to bake them.
    e. Let them come to room temperature and rise overnight, then bake according to the recipe instructions.
    f. If filling “oozes out”
    g. If you find some of the cinnamon/sugar filling at the bottom of your baking pan when you pull them out of the oven, immediately place a lid or a baking sheet over the top of the cinnamon rolls and flip them upside down (invert them). This will cause the filling to reincorporate into the rolls!

Tangzhong Pillowy White Bread

Tangzhong was developed in Asia and used in both China and Japan as a method of keeping bread soft and fresh. Tangzhong is a mixture of flour, water and milk, heated while stirring until the “water roux” thickens. The tangzhong is added to the rest of the ingredients and processed more or less normally. The result is a soft, pillowy white bread (see how I cleverly incorporated the title into the body of this post?)

I found the rise and proofing times were much longer that suggested in the recipes. I thought my yeast may have lost potency so I tested it in a water/sugar solution. (1/2 cup water @ 110-115F, 1 tsp sugar, 2 1/4 tsp yeast. Mix and after 10 minutes the mixture should have grown to 1 cup. It was fine. The problem is I now had the beginnings of another bread/pastry or something. QA Department to the rescue—See subsequent post on cinnamon rolls.)

The long proof times were likely due to the cooler temperatures in the kitchen today. (It was only 62F when I started.)

Tangzhong Pillowy White Bread

INGREDIENTS

Tangzhong
• 3 tablespoons (43g) water
• 3 tablespoons (43g) whole milk
• 2 tablespoons (14g) Bread Flour

Dough
• 2 1/2 cups (298g) Bread Flour
• 2 tablespoons (14g) nonfat dry milk
• 1/4 cup (50g) sugar
• 1 teaspoon salt
• 1 tablespoon instant yeast
• 1/2 cup (113g) whole milk
• 1 large egg
• 4 tablespoons (57g) unsalted butter, melted

METHOD

Tangzhong

  1. Combine all of the ingredients in a small saucepan, and whisk until no lumps remain.
  2. Place the saucepan over low heat and cook the mixture, whisking constantly, until thick and the whisk leaves lines on the bottom of the pan, about 3 to 5 minutes.
  3. Transfer the tangzhong to a small mixing bowl or measuring cup and let it cool to lukewarm.

    Dough
  4. Combine the tangzhong with the remaining dough ingredients, then mix and knead — by mixer or bread machine — until a smooth, elastic dough forms; this could take almost 15 minutes in a
    stand mixer.
  5. Shape the dough into a ball, and let it rest in a lightly greased bowl, covered, for 60 to 90 minutes, until puffy but not necessarily doubled in bulk. (120 min in cool kitchen)
  6. Gently deflate the dough and divide it into four equal pieces; if you have a scale each piece will weigh between 170g and 175g.
  7. Flatten each piece of dough into a 5″ x 8″ rectangle, then fold the short ends in towards one another like a letter. Flatten the folded pieces into rectangles again (this time about 3″ x 6″) and, starting with a short end, roll them each into a 4″ log.
  8. Place the logs — seam side down and side by side — in a lightly greased 9″ x 5″ loaf pan.
  9. Cover the loaf and allow it to rest/rise for 40 to 60 minutes, until puffy. (I put the dough into a proofing oven for this and let it rise until the tops of the rolls were even with the top of the pan.)
  10. Towards the end of the rising time, preheat the oven to 350°F.
  11. Brush the loaf with milk and bake it for 30 to 35 minutes, until it’s golden brown on top and a digital thermometer inserted into the center reads at least 190°F.
  12. Remove the loaf from the oven and cool it in the pan until you can transfer it safely to a rack to cool completely.
  13. Store leftover bread, well wrapped, at cool room temperature for 5 to 7 days; freeze for longer storage.

Pane Rustico – Rustic Italian Bread

Italian Peasant Bread is a staple in Italy. The recipe changes slightly between locations depending on what grains are available. It has a good hole structure, soft crumb and firm crunchy crust. Unlike most Italian breads this one incorporated no milk or olive oil.

Italian Peasant Bread

This isn’t a difficult recipe and can be made on one morning. I hand kneaded the wet dough but may try the easier stretch and fold method the next time. The results were worth the little extra effort of kneading. The Q.A. Department is in favor of any method that turns out this delicious.

The final Bâtard was 17”x7”x4”.

Biga – (Mix 8 to 10 hours before mixing the final dough)

Measured Grams Ingredients
• 1 cup 227 g. Water (room temperature)
• ¼-tsp. ¼-tsp. Instant Yeast
• ½ cup 72 g. All Purpose Flour (King Arthur, Unbleached, Unbromated)
• ½ cup 81 g. Tipo 00 Whole Wheat Flour
• ¼ cup 41 g. Cornmeal (whole, stone ground)

  1. In a large mixing bowl, combine the water, instant yeast, all-purpose flour, whole wheat flour, and cornmeal.
  2. Mix with a rubber spatula to combine and then beat well. Scrape down the sides of the bowl.
  3. Cover with plastic wrap (cling film) and let ferment at room temperature 68º-74ºF (20º-23ºC) for 8 to 10 hours.

Final Dough
Measured Grams Ingredients
• 2-½ cups 421 g. Biga (fully fermented)
• 1 cup 227 g. Water (room temperature)
• ½-tsp. 3 g. Instant Yeast
• 3-½ cups 490 g. All purpose flour
• 2 tsp. 16 g. Sea Salt (fine)

Mixing, Kneading, and Fermenting the Dough

  1. Uncover the fermented biga and add the water, instant yeast, and half of the all-purpose flour.
  2. Use a rubber spatula to mix the ingredients until thick batter forms. Beat the batter until well combined.
  3. Add the remaining all-purpose flour and sea salt. Fold the ingredient together using the rubber spatula until the mixture becomes a shaggy mass.
  4. Scrape off the rubber spatula with the plastic scrape. Scrape down the bowl and turn the dough onto the work surface.
  5. Knead the ingredients for 1 minute to incorporate the ingredients. The dough will be sticky. “Do not add any flour to the work surface.”
  6. Continue to knead the dough for 6 to 8 minutes or until the dough is strong and elastic. Round the dough into a ball.
  7. Spray a bowl with non-stick spray or oil and place the dough into the bowl. Cover with plastic wrap.
  8. Ferment the dough for 1 hour at room temperature.
  9. After 1 hour. Lightly flour the work surface. Uncover the dough and turn it onto the lightly flour work surface.
  10. Fold the dough
  11. Place the folded dough back into the bowl and cover with plastic wrap.
  12. Ferment the dough 1 hour.
  13. After 1 hour. Lightly flour the work surface. Uncover the dough and turn it onto the lightly flour work surface.
  14. Degas and fold the edges of the dough to the center to start to form the dough into a round shape.
  15. Clear the work surface of the flour.
  16. Turn the dough over and continue to pre-shape the dough into a tight round. The seam will be on the bottom.
  17. Cover the dough with the bowl and let the dough rest for 15 minutes before the final shaping.
  18. Pre-heat the oven and baking stone to 500ºF (260ºC) for at least 1 hour before baking the loaf.

Equipment:

• Baking Couche
• Bakers Lame
• Large Stainless Steel Bowl
• Baking Stone 14″ x 16″
• ¼-Sheet of Parchment Paper
• Baker’s Peel/Pizza Peel

Final Shaping and Proofing the Dough

  1. After the 15-minute rest uncover the dough. Lightly flour the top of the round and turn the dough over onto the work surface with the seam side up.
  2. Degas and shape the dough into an oval.
  3. Shape the dough into “Bâtard” (loaf shape)
  4. Lightly flour the canvas baking cloth.
  5. Place the Bâtard seam side up onto the floured canvas and fold each side to cover the ends of the loaf first. Then fold the remaining canvas to enclose the Bâtard. This will keep the loaf from spreading while it is proofing.
  6. Proof the loaf for 50 minutes to a 1 hour at room temperature. Check to see if the dough is ready by the touch test. Lightly press the dough with your fingertip. The dough should hold the indentation if the dough should pushes back completely let it continue to proof until it holds an indentation from your finger.
  7. Place the parchment paper onto the baking peel.
  8. Uncover the proofed loaf and place it seam side down onto the ¼-sheet of parchment paper.
  9. Use a straight edge razor or sharp knife to cut a long slash from end to end of the loaf.
  10. Slide the loaf onto the 500ºF (260ºC) preheated oven onto the baking stone. Place the large stainless steel bowl over the loaf.
  11. Bake the loaf with the bowl over it for 10 minutes.
  12. After 10 minutes, remove the bowl using tongs and kitchen hot pads.
  13. Reduce the oven temperature to 450ºF (232ºC). Turn the loaf to get even browning and remove the parchment paper.
  14. Continue to bake the loaf for 20 to 25 more minutes or until the exterior of the loaf is a deep golden brown.
  15. Using the peel. Remove the baked Italian Peasant Bread from the oven.
  16. Place the baked Italian Peasant Bread onto a cooling rack and cool completely to room temperature before cutting.

Honey, I Made the Bread

Is it “poolish” to make a high hydration bread without an overnight pre-ferment? It may have been a “biga” mistake but I made this high hydration no-knead bread with honey in a morning, in time for lunch.

After recent great success with Italian Pugliese bread it was time to start experimenting with variations. Can the flavor, crumb, hole formation and amazing crust of the high hydration (84%) pugliese be reproduced without using the biga (overnight pre-fermentation?)

This high hydration (75%) breads use a stretch and fold technique rather than kneading. This degasses and equalizes the temperature of the dough and builds and aligns the gluten strands to form an excellent full body loaf.

Along with no pre-fermentation this recipe does not use the Tipo 00 flour.

Quality Assurance report is just in – Yes!! This is a great bread! Make more! It has similar flavor, crumb, crust and hole formation as the Pugliese, but can be made start to finish in about 5 hours.

Honey No Knead 75 Percent Hydration Bread

Advanced No-Knead Bread

INGREDIENTS – (I weigh everything)
• 600 g all-purpose flour (about 4 cups using ‘scoop and sweep’ method)
• 450 g water (2 cups, room temperature)
• 21 g honey (1 Tbsp)
• 14 g kosher salt (1 level Tbsp)
• 3 g SAF Gold instant yeast (1 tsp)

METHOD

  1. Add the water and honey to a large bowl and mix until the honey is dissolved.
  2. Add the rest of the ingredients and mix by hand, until a sticky homogeneous mass is formed. Cover the bowl with a plastic wrap and let rest for 1 hour.
  3. After one hour, perform stretch and folds every 30 minutes over the next 1½ hours. Let the dough continue its fermentation for additional 1½ hours or until it doubles in size.
  4. Shape the dough in a ball and transfer to a proofing basket dusted with a 50/50 mix of all-purpose and rice flour, seam side up.
  5. Cover with a piece of paper towel (this will prevent sticking of the dough to the plastic wrap), then with a plastic wrap. Let proof for about 60 minutes or until the dough passes the finger test. (Poked with a finger the indentation will spring back very slowly.) The dough will increase in size about one a half times or so.
  6. Place a baking stone and a steam pan in the oven. Preheat the oven to 500F. An hour of preheating is recommended.
  7. Turn the bread over on a piece of parchment paper. Score on top and place in the oven using a pizza peel. Be careful opening the oven, it will be full of hot steam. Spray the walls of the oven with a bit of water (gentle mist) to re-create some of the lost steam and close the door.
  8. Immediately drop the temperature to 450F and bake for 25 minutes.
  9. Remove the water pan from the oven, turn the bread 180 degrees and leave the door cracked open. You can use a wooden spoon for that. Bake until the internal temperature reaches 205-210F or about another 25 minutes.
  10. When the baking is done, remove the bread from the oven and place on a cooling rack. Cool for 1 hour at room temperature before slicing.