I am always pleased when asked to prepare some items for a party, large or small. Tonight is our annual temple baseball themed gala with an expected attendance of 100 people. I started this tradition in 2018, but missed a couple of years due to Covid etc.
Tonight Dede’ Bakery and Confectionary is serving chocolate/raspberry baseball field brownies, gluten free raspberry mousse tarts with baseball decorated cookies and key lime profiteroles with no baseball association whatsoever. (I just like them.)


GLUTEN FREE TARTS
INGREDIENTS
• 100 g cold butter cut into small cubes
• 60 g icing sugar
• 200 g Kim’s Bread flour blend
• ½ tsp vanilla
• ¼ tsp salt
• 2 eggs – 1 for the dough and the other 1 reserved for an egg wash
METHOD
- Mix dry Ingredients.
- Lightly beat egg then add the melted butter.
- Add wet to dry ingredients. Form into a dough ball.
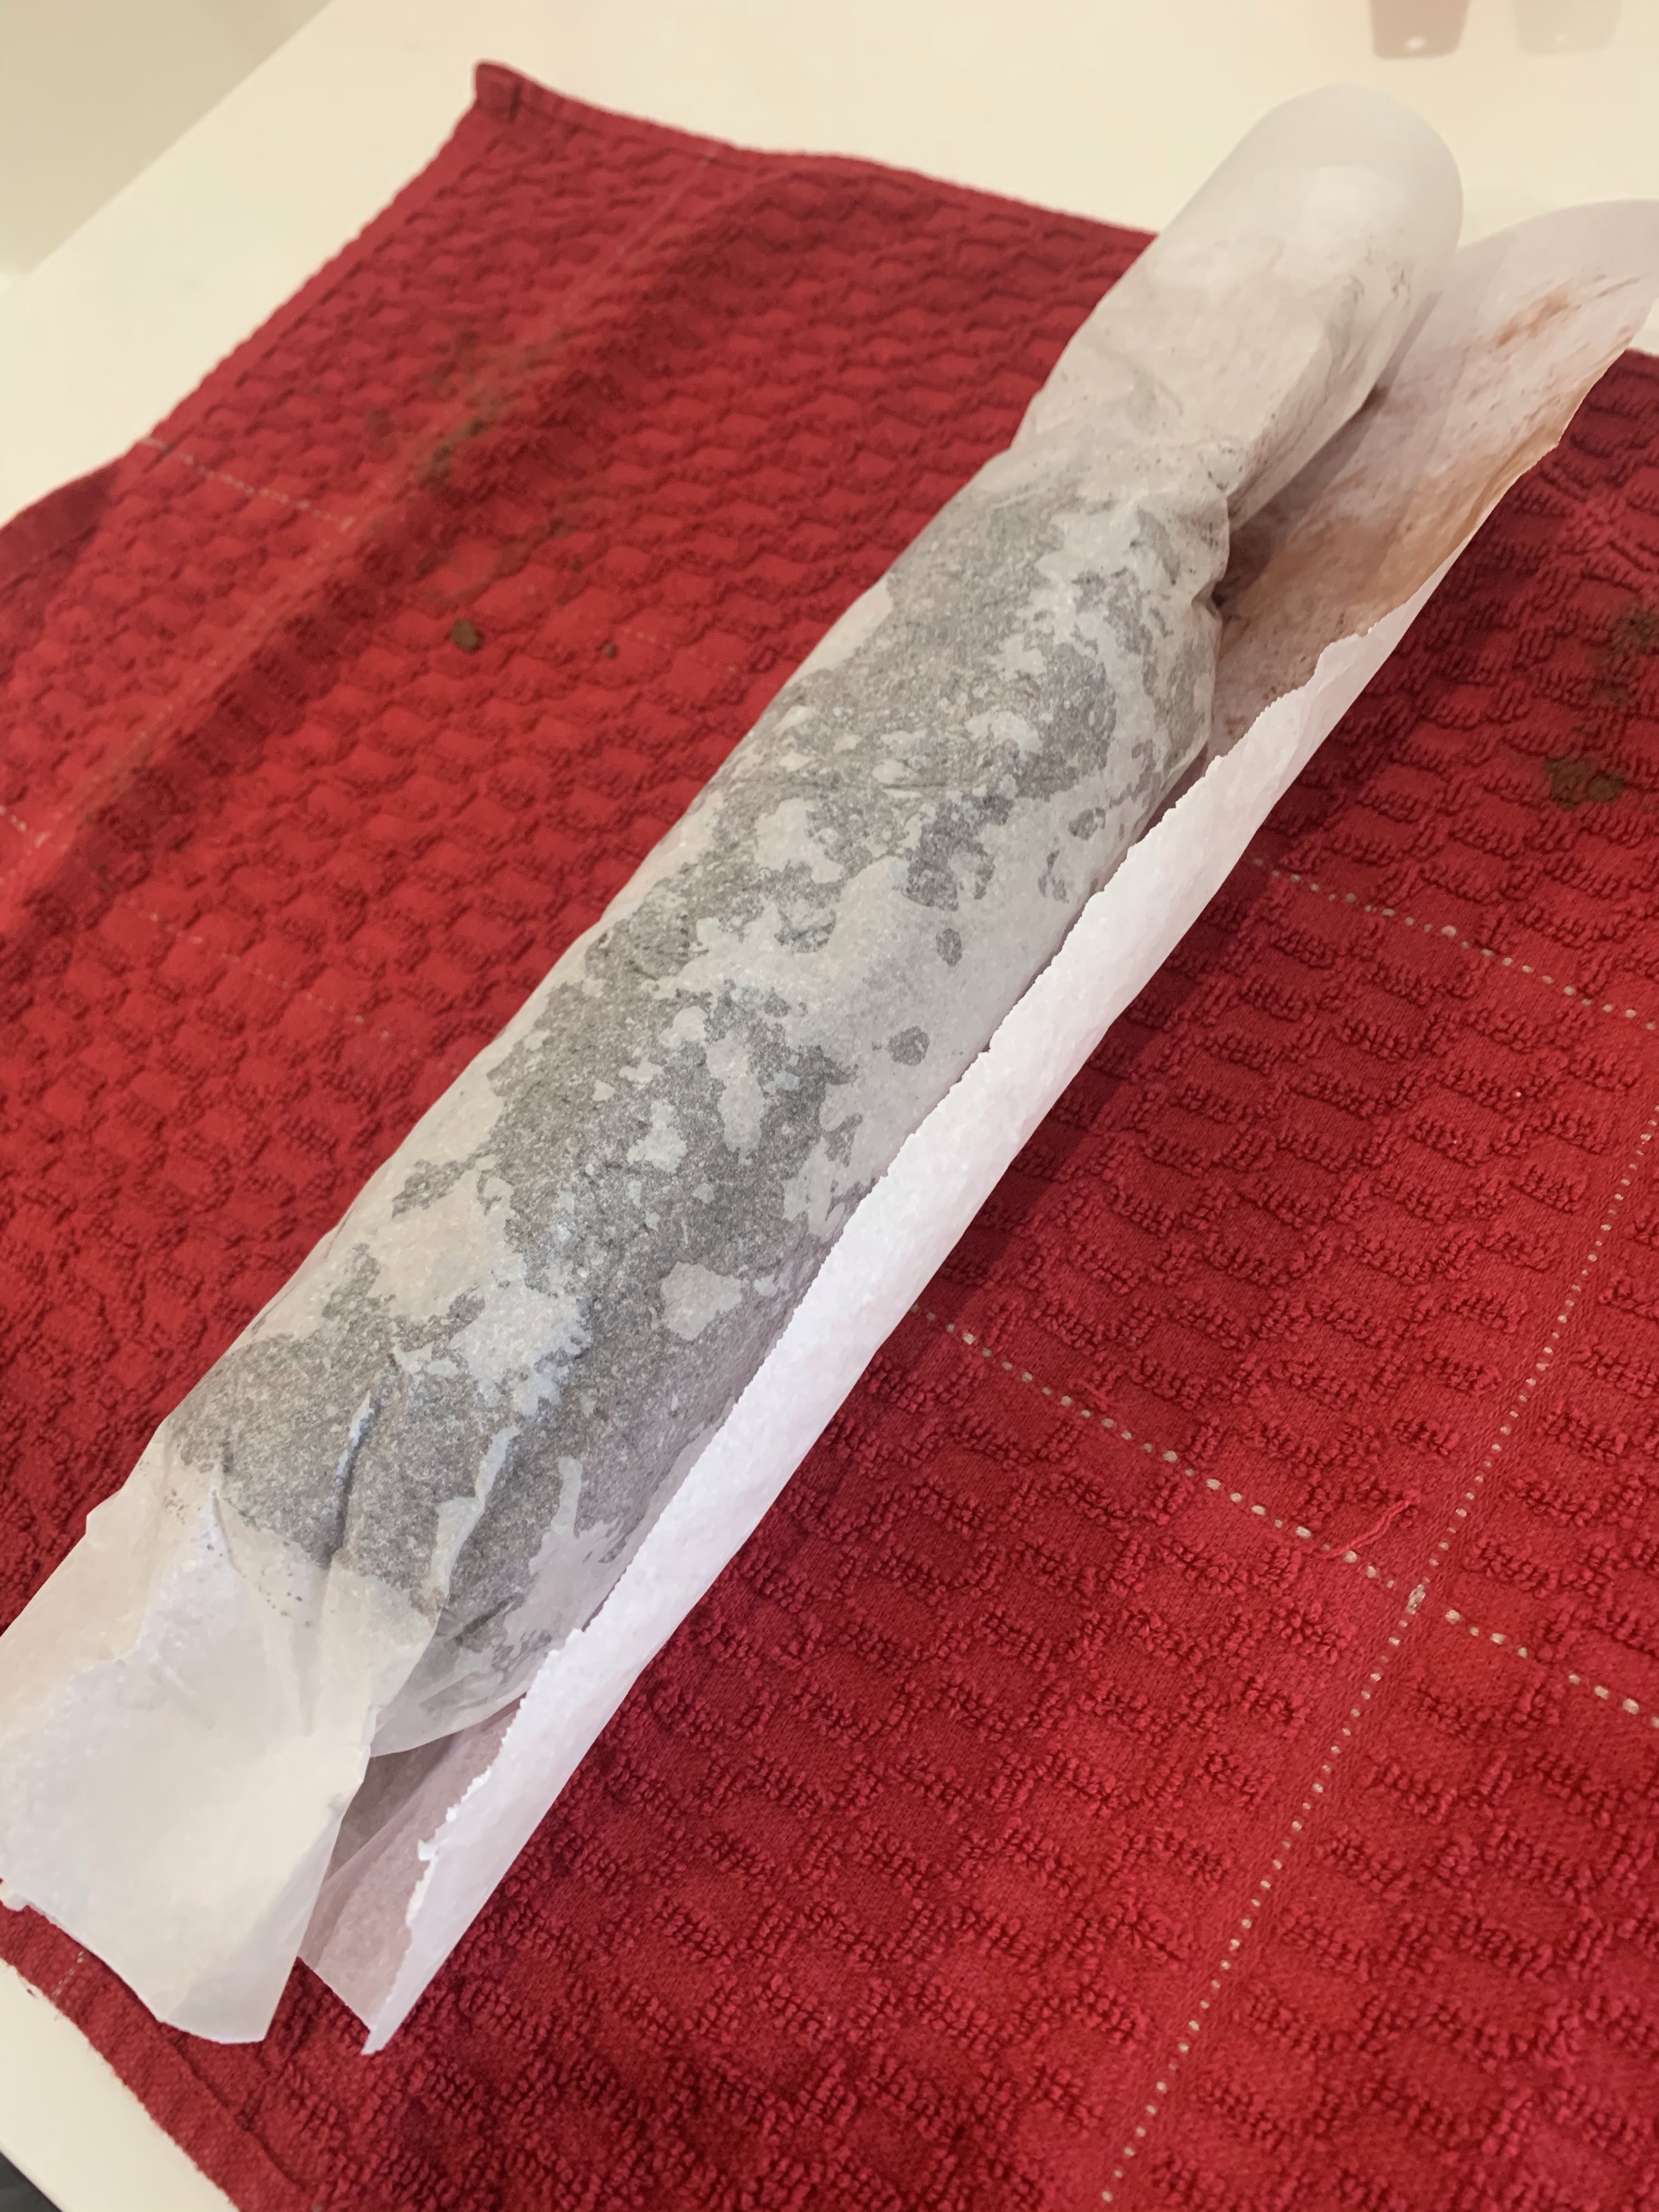
- Wrap the dough ball in plastic and refrigerate for 30 minutes.
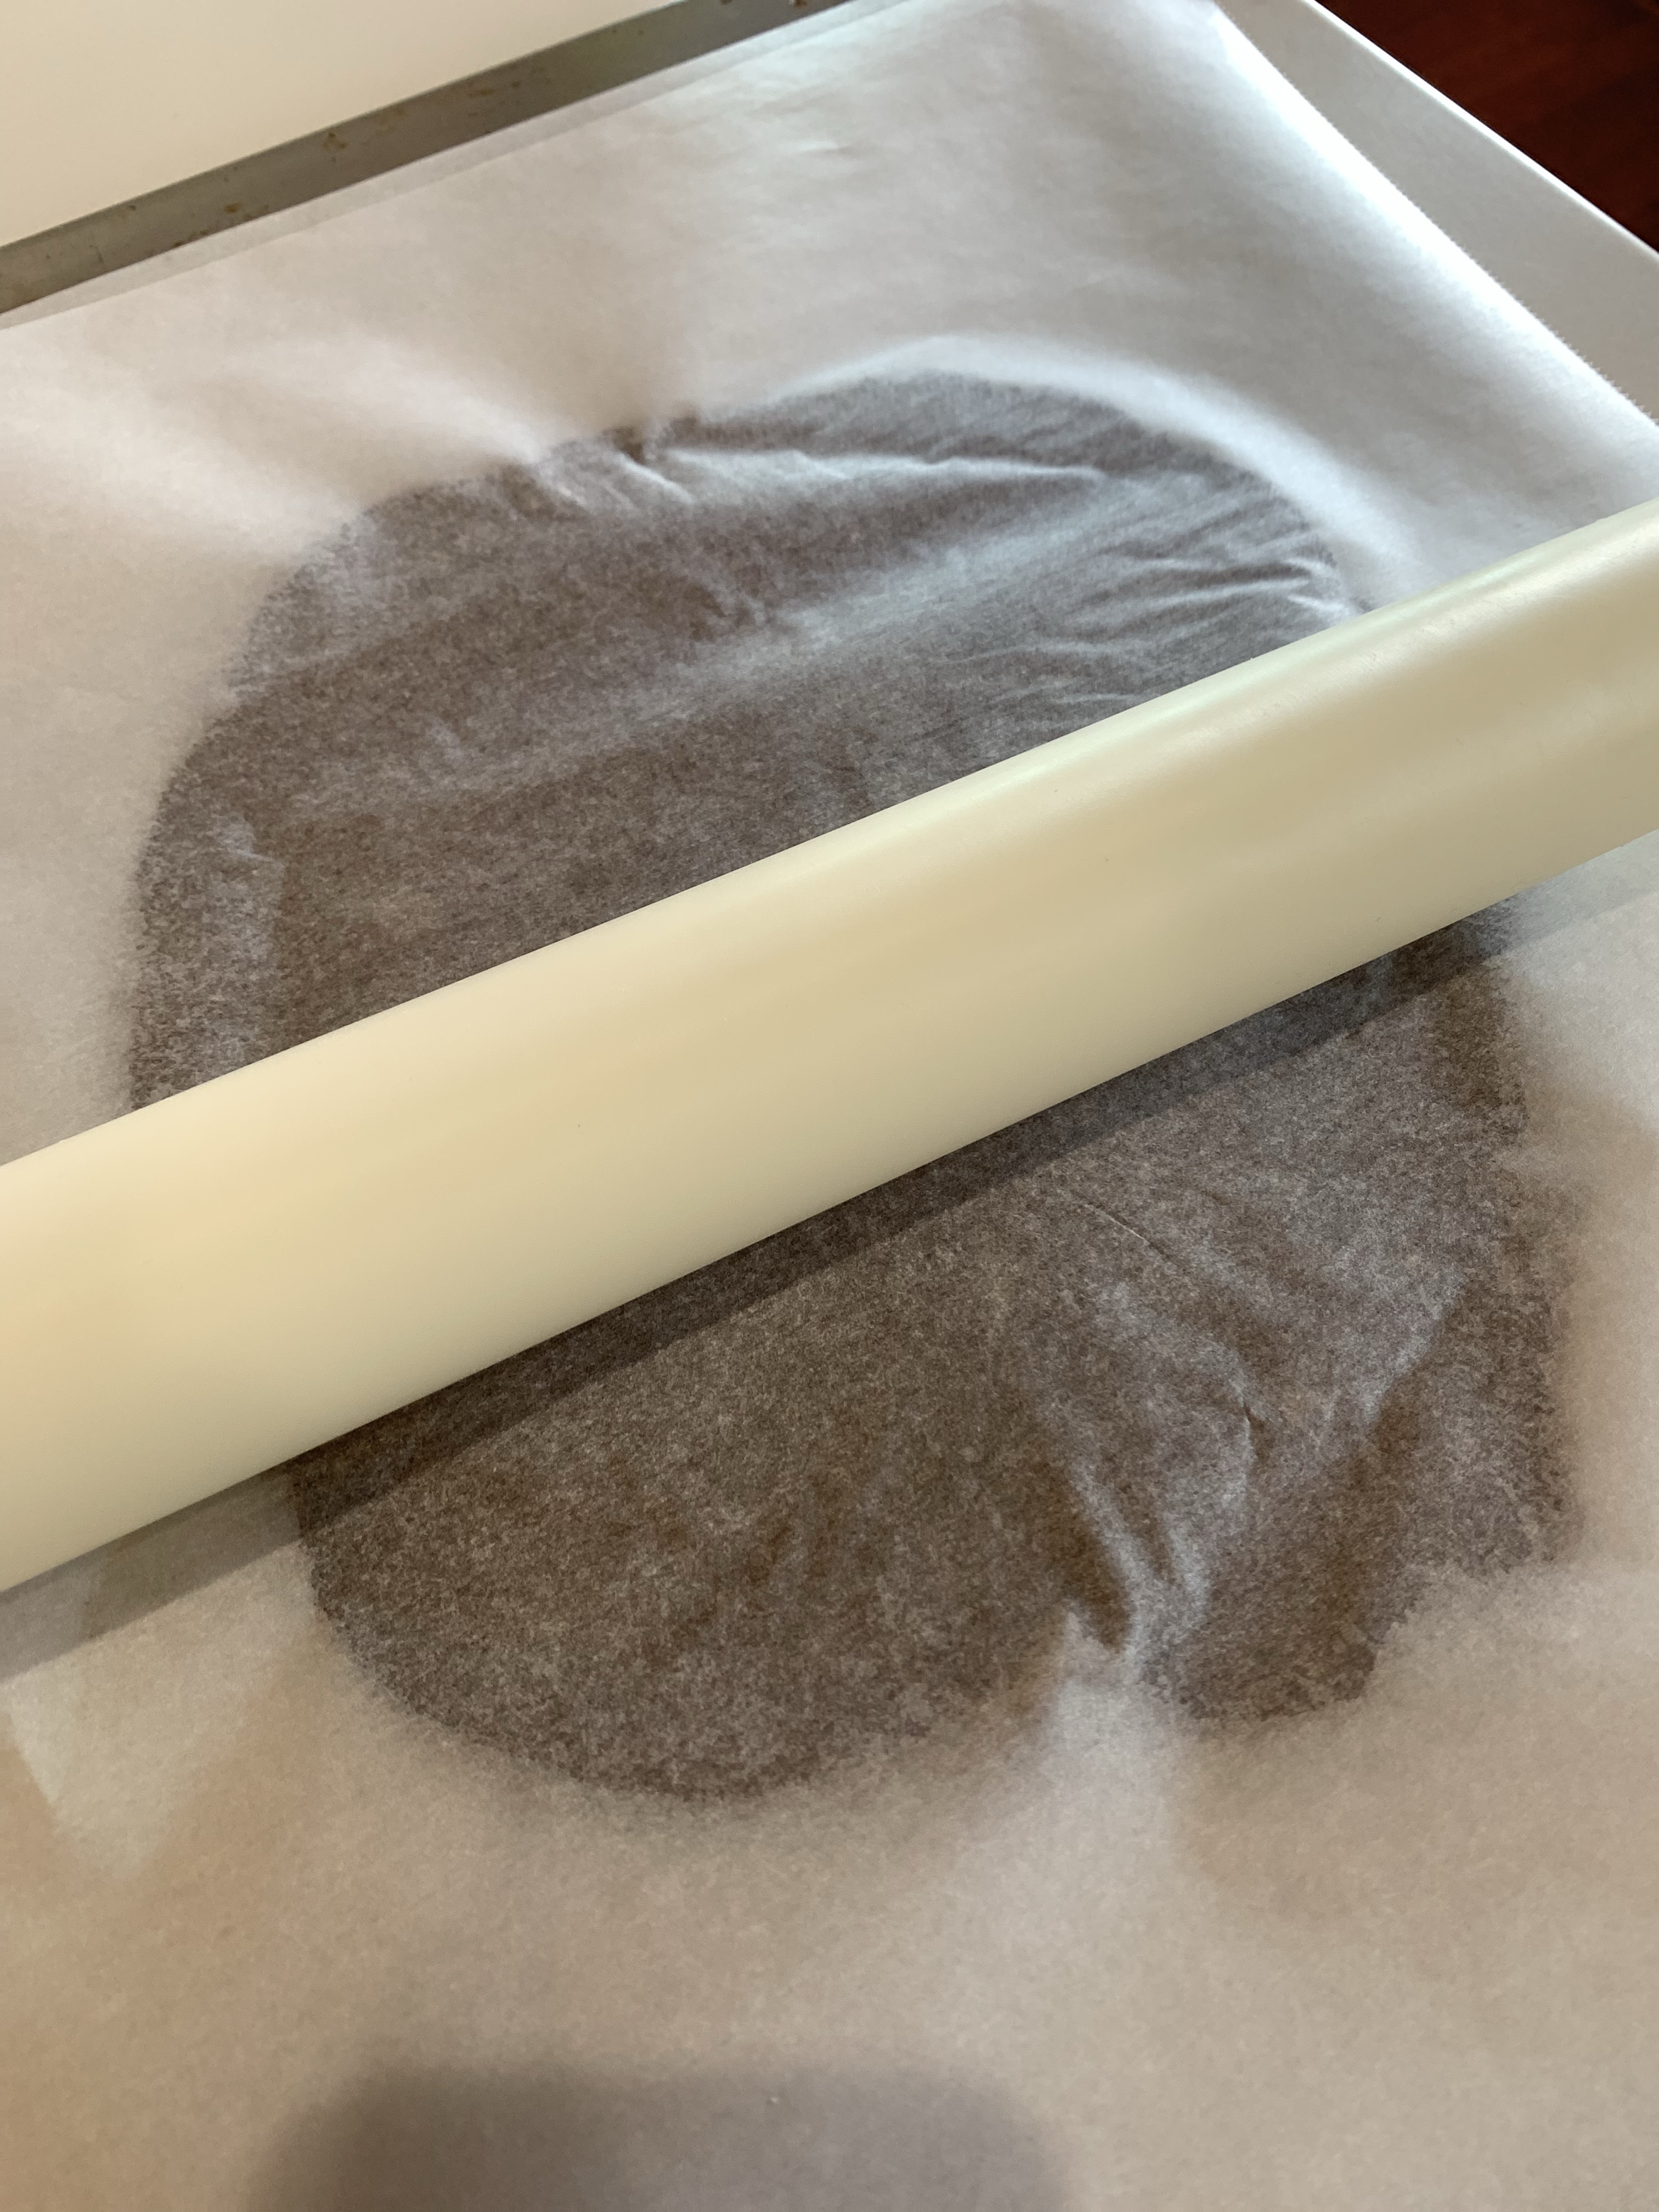
- Roll to a 1/8” thick sheet between two pieces of parchment paper or plastic.
- Cut rounds of the dough about an inch larger than the tart pans
- Gently press the dough circles into the tart pans pressing into any flutes
- Patch any breaks with extra dough
- Dock the bottom of the crust. Wrap and keep in freezer at least 30 minutes.
- Pre-bake the tart crust 8 to 10 minutes in preheated oven at 350 deg.
- Depending on recipe, you may want to protect the crust of the tart with foil
- Cool to room temperature
- Fill with raspberry mousse.
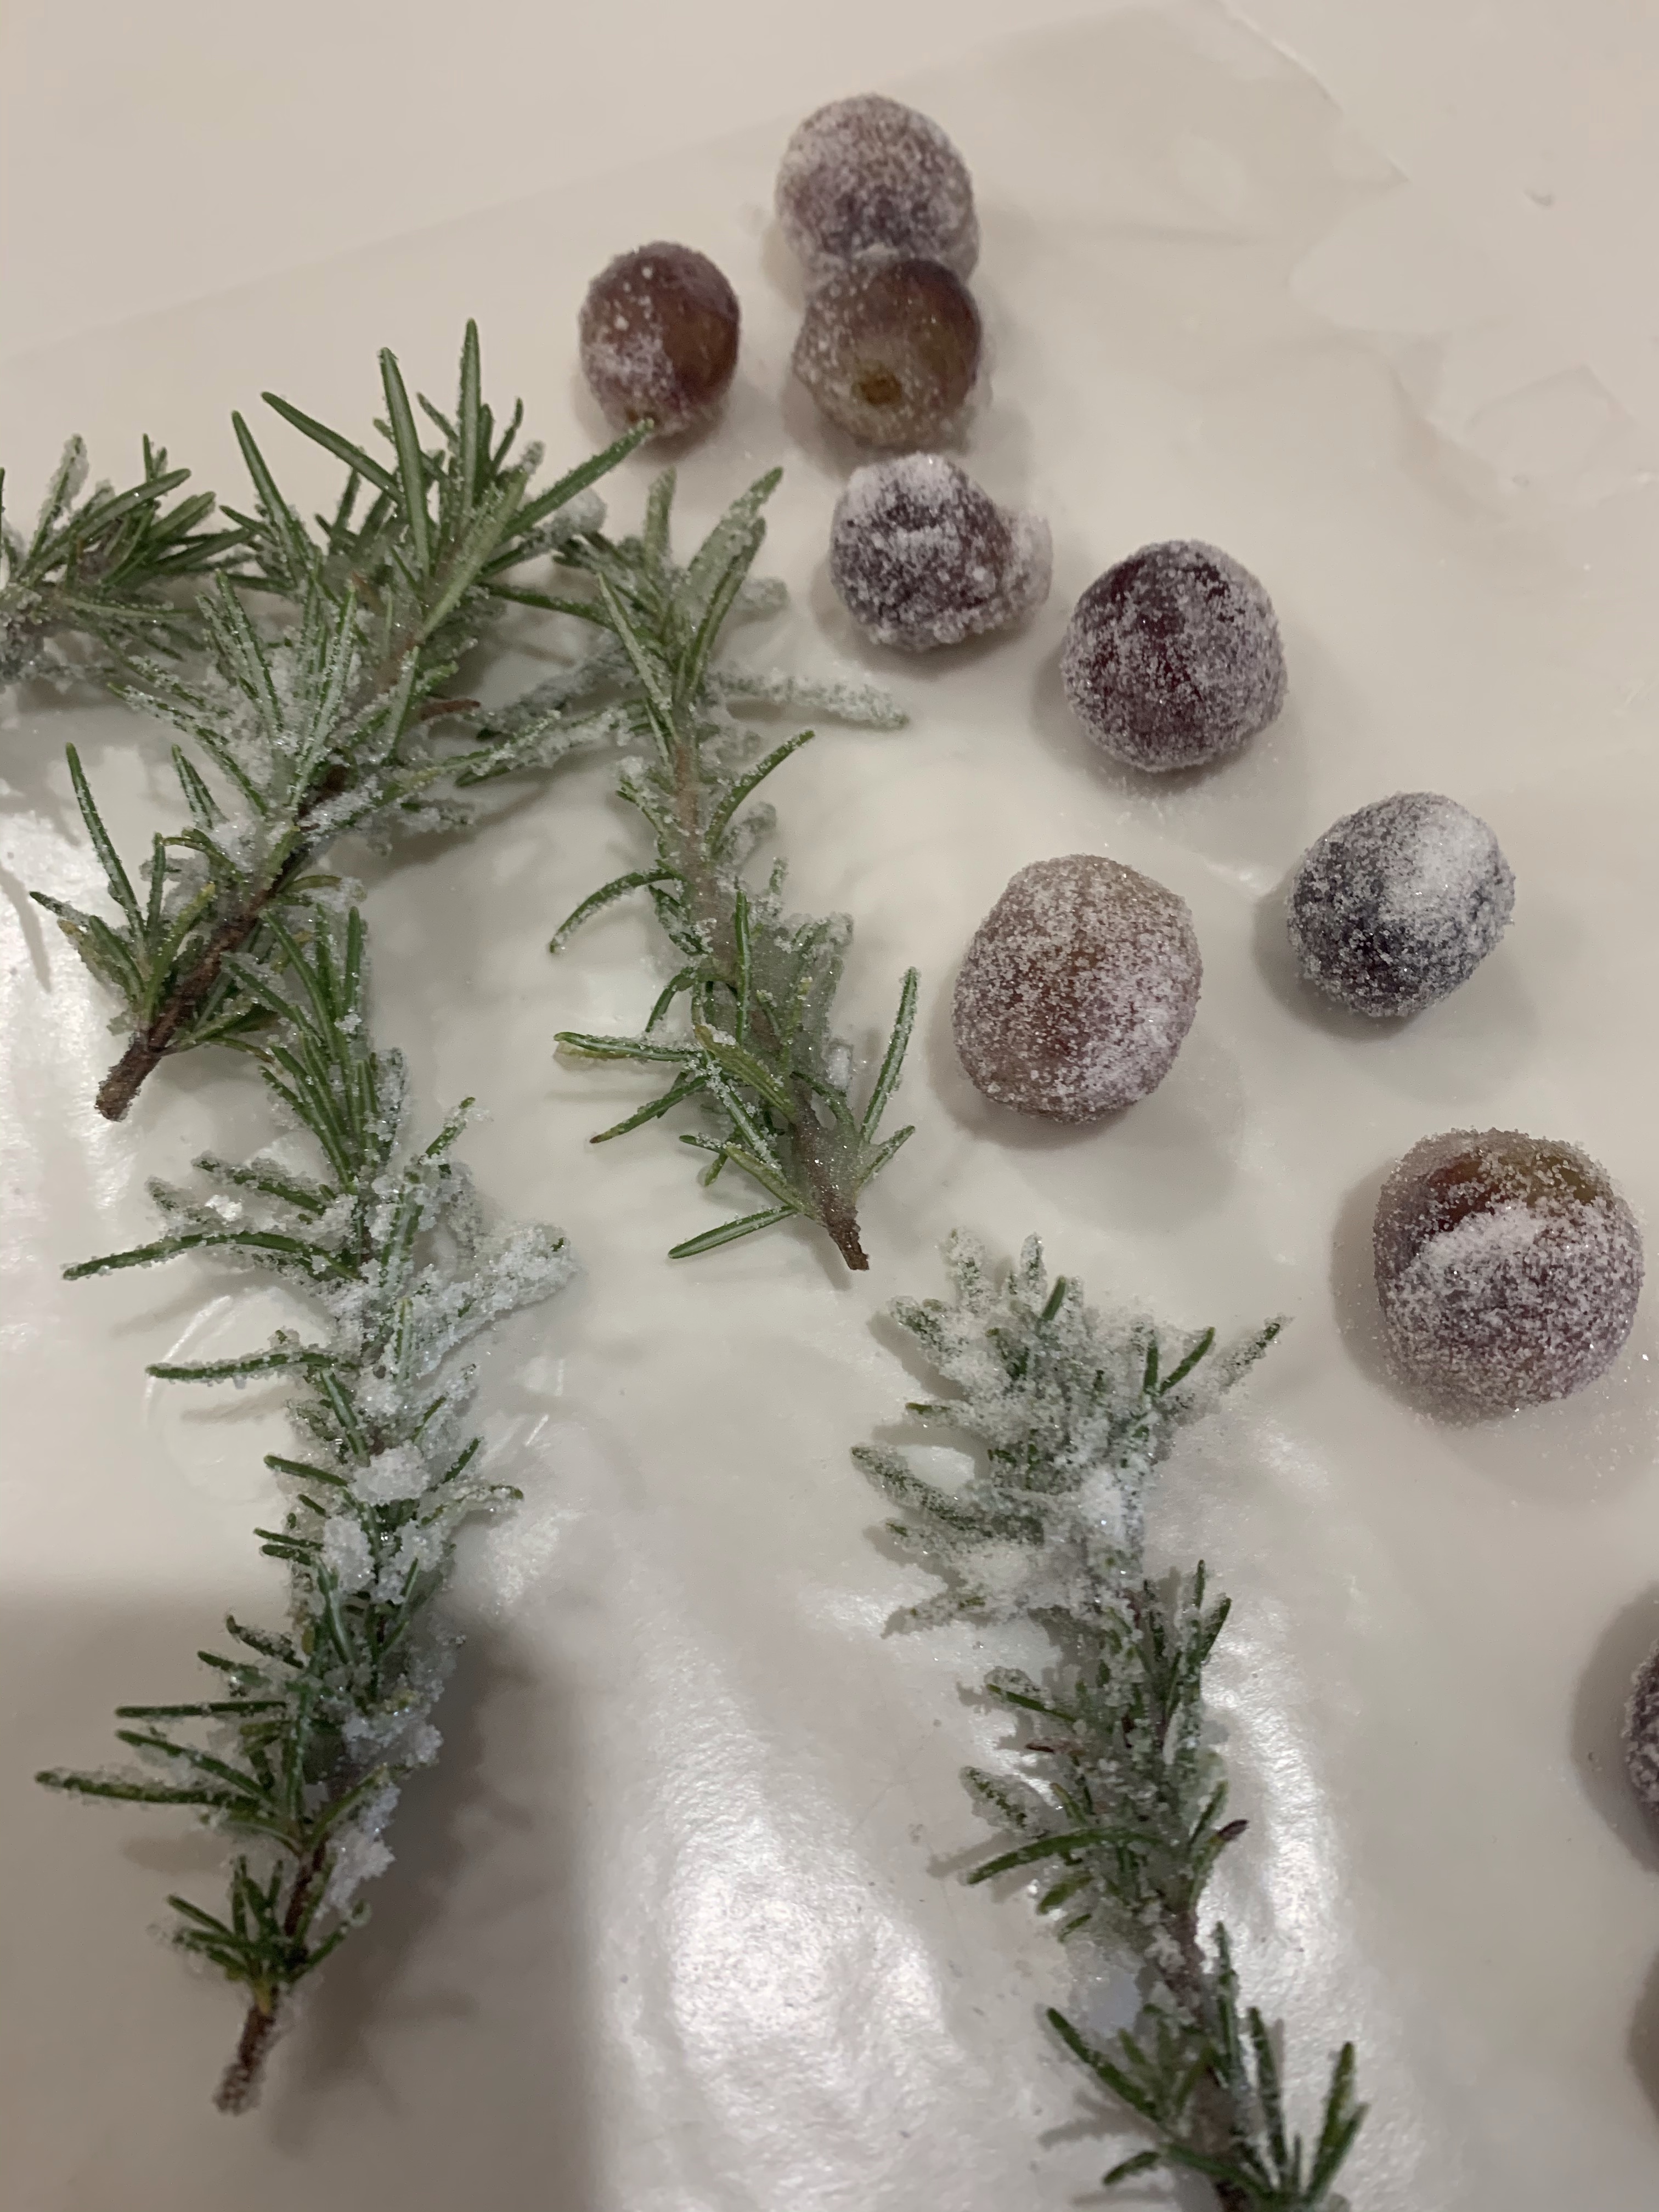
- Top with a raspberry and white sugar cookies with red baseball seams.
Raspberry – Cream Cheese Mousse
INGREDIENTS
Raspberry Puree
• 340 g (~2 ½ c, 12 oz) fresh raspberries
• 2 Tbl confectioner’s sugar
• 1 Tbl instant vanilla pudding mix (substitute corn starch if desired.)
• 112 g (4 oz) cream cheese softened
• ¼ cup Tbl powdered sugar
• 1 Tbl freeze-dried raspberry powder
• Optional: ¼ tsp red food coloring
• Optional: 1 tsp ouzo (for tartness)
Whipped Cream – Stabilized
• 1 cup heavy whipping cream, chilled
• 2 Tbl instant vanilla pudding powder (substitute corn starch if desired.)
• 2-3 Tbl powdered sugar
METHOD
- Combine raspberries and 2 Tbl confectioners’ sugar in a small bowl and add to a food processor and pulse until berries are reduced
- Sieve the mixture allowing enough time for most of the raspberry juice to drip into a bowl, (enough to make 200ml (2/3 c) puree)
- Add 1 Tbl vanilla pudding, softened cream cheese and 1/4 cup sweetener, raspberry powder and ouzo and beat until well combined (3-4 minutes on high.) Mix in red food coloring in 2 or 3 aliquots until desired color is attained.
- In a large bowl, whip the heavy cream, vanilla pudding mix and confectioners sugar.
- Add red food coloring (in several small amounts until desired color is attained) and whip to firm peaks.
- Fold the raspberry mixture into the whipped cream until combined. Divide the mousse among 6 dessert cups, cover, or fill a piping bag and chill until set, about 1 hour.
KIM’S GLUTEN FREE BREAD FLOUR BLEND
Yield: 700g (5 c)
INGREDIENTS
• 285g Bob’s Red Mill potato starch
• 250g superfine white rice flour (DON’T use regular rice flour, ie Bob’s Red Mill)
• 75g Tapioca flour
• 75g Whey protein isolate or egg white protein.
• 15g Xanthan gum
METHOD
- Weigh all ingredients and add to a stand mixer bowl
- Mix on low, with bowl covered for 30 seconds
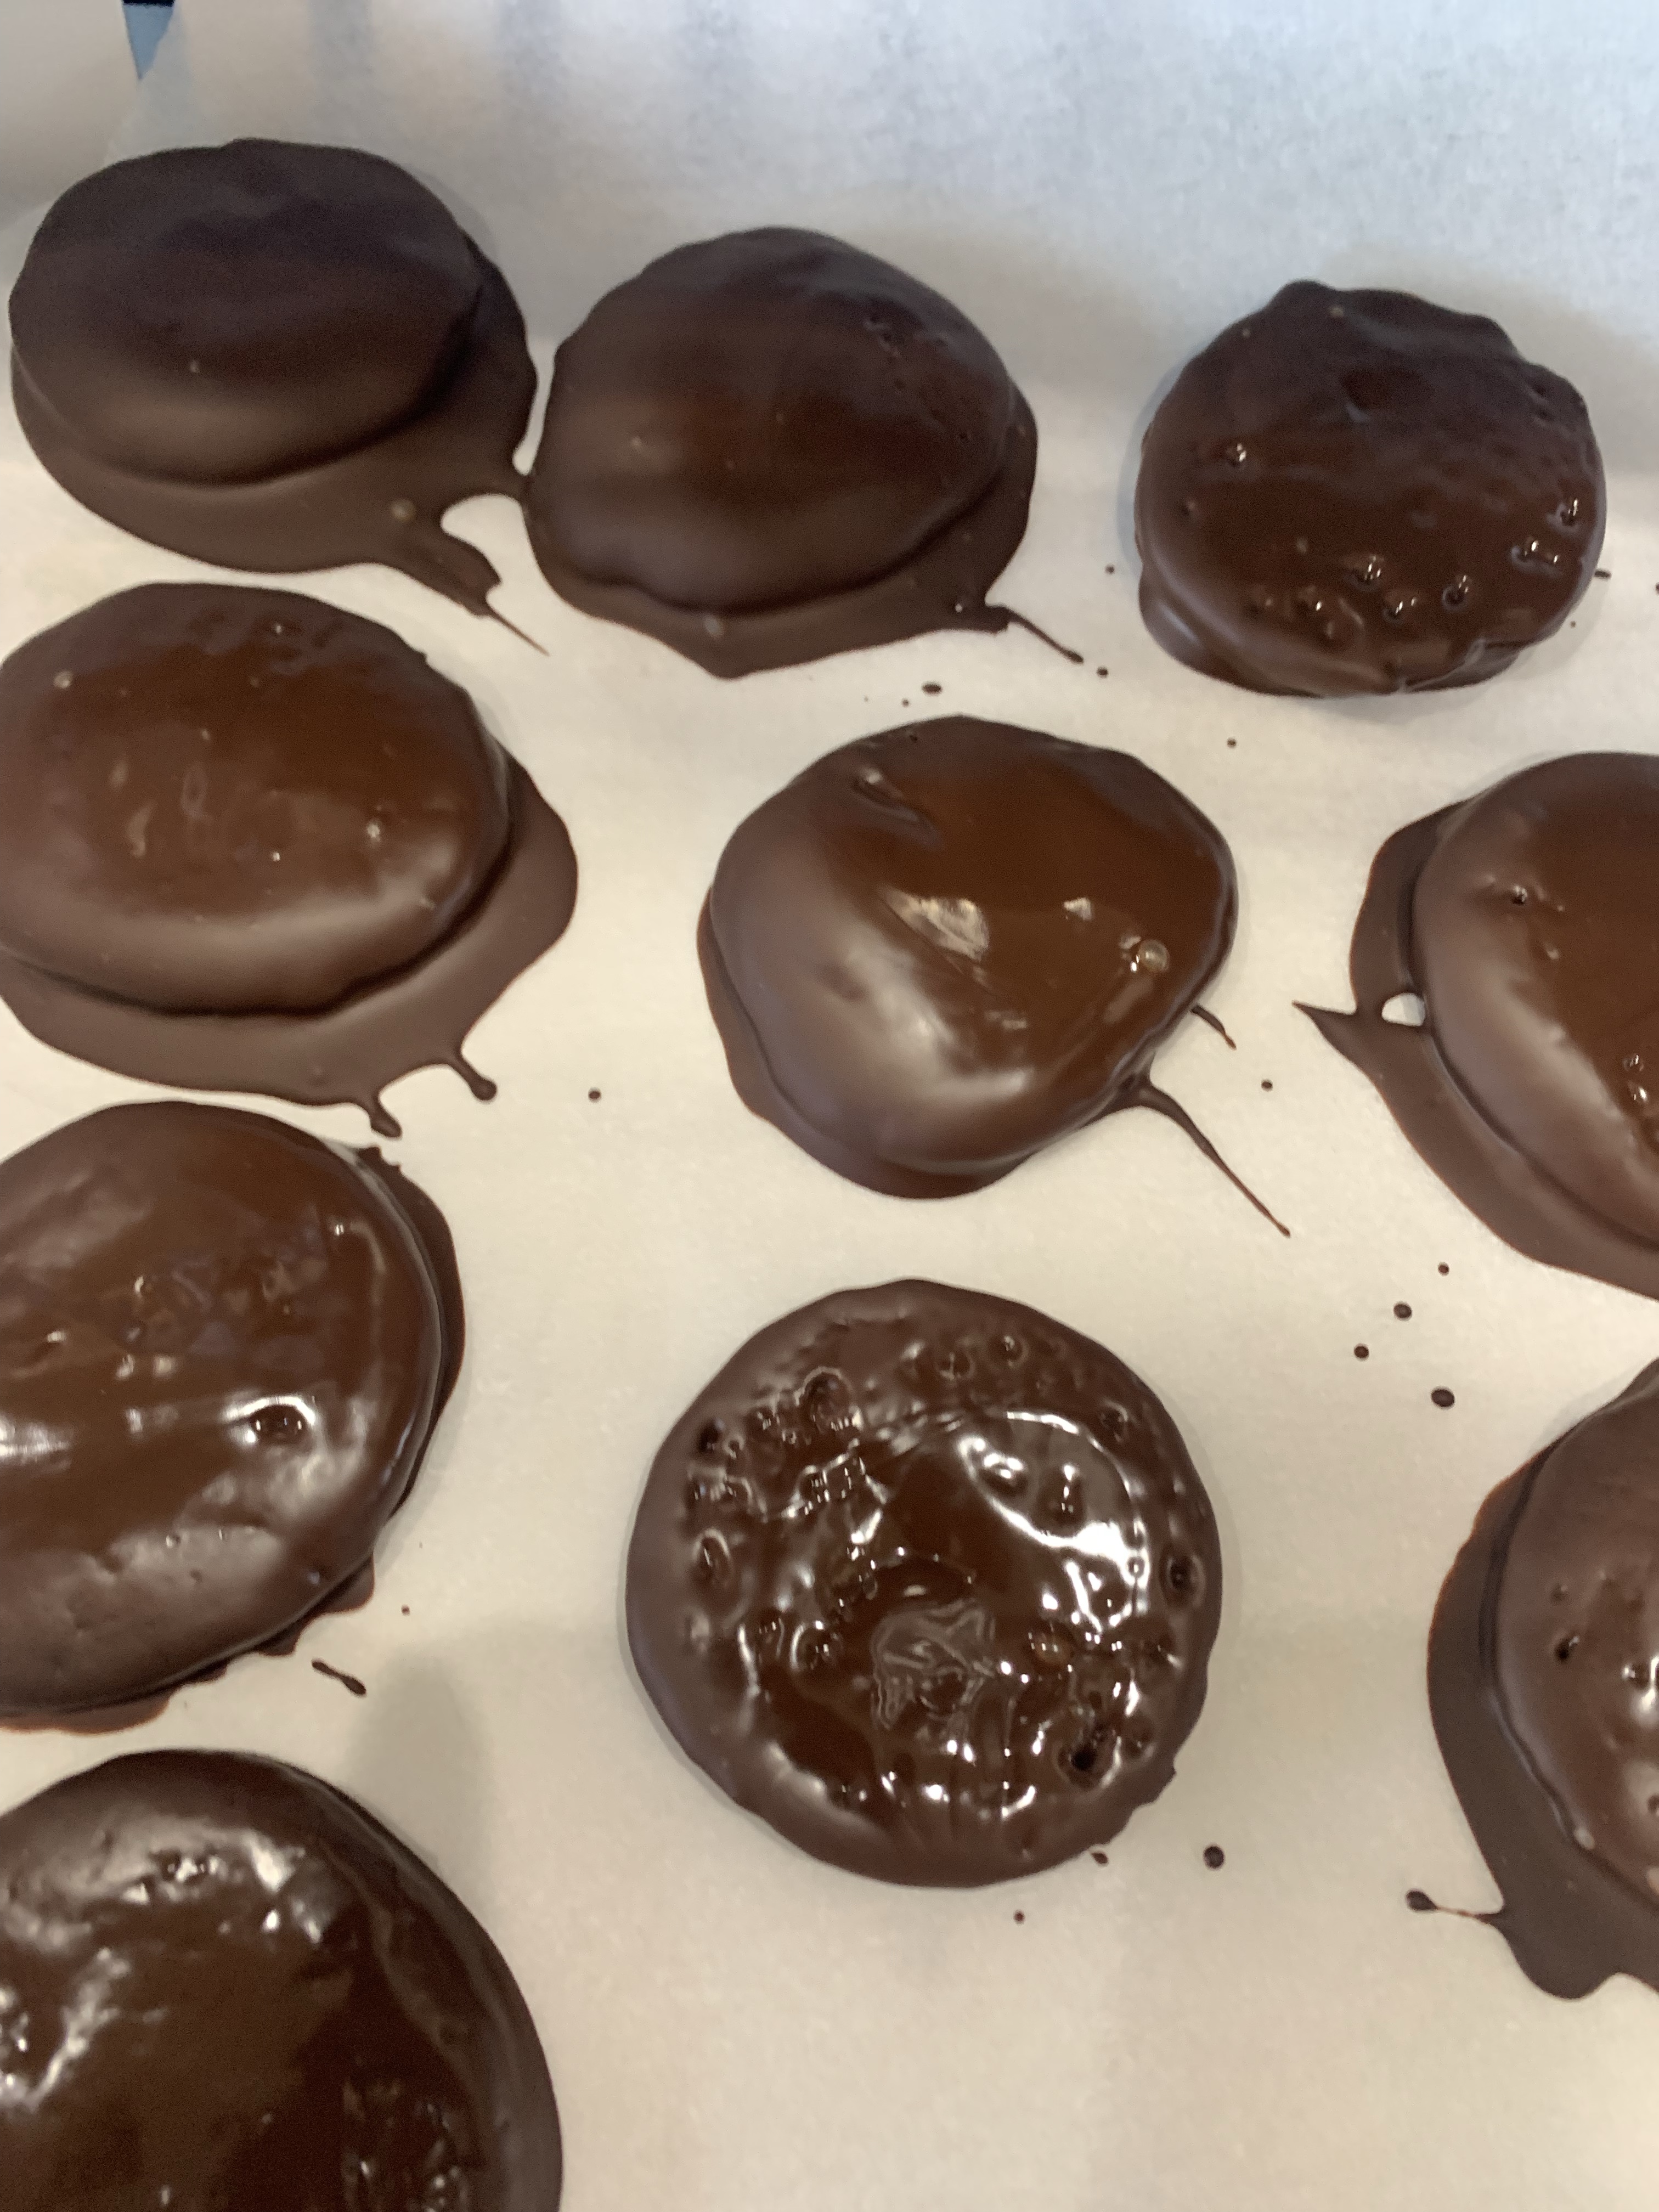
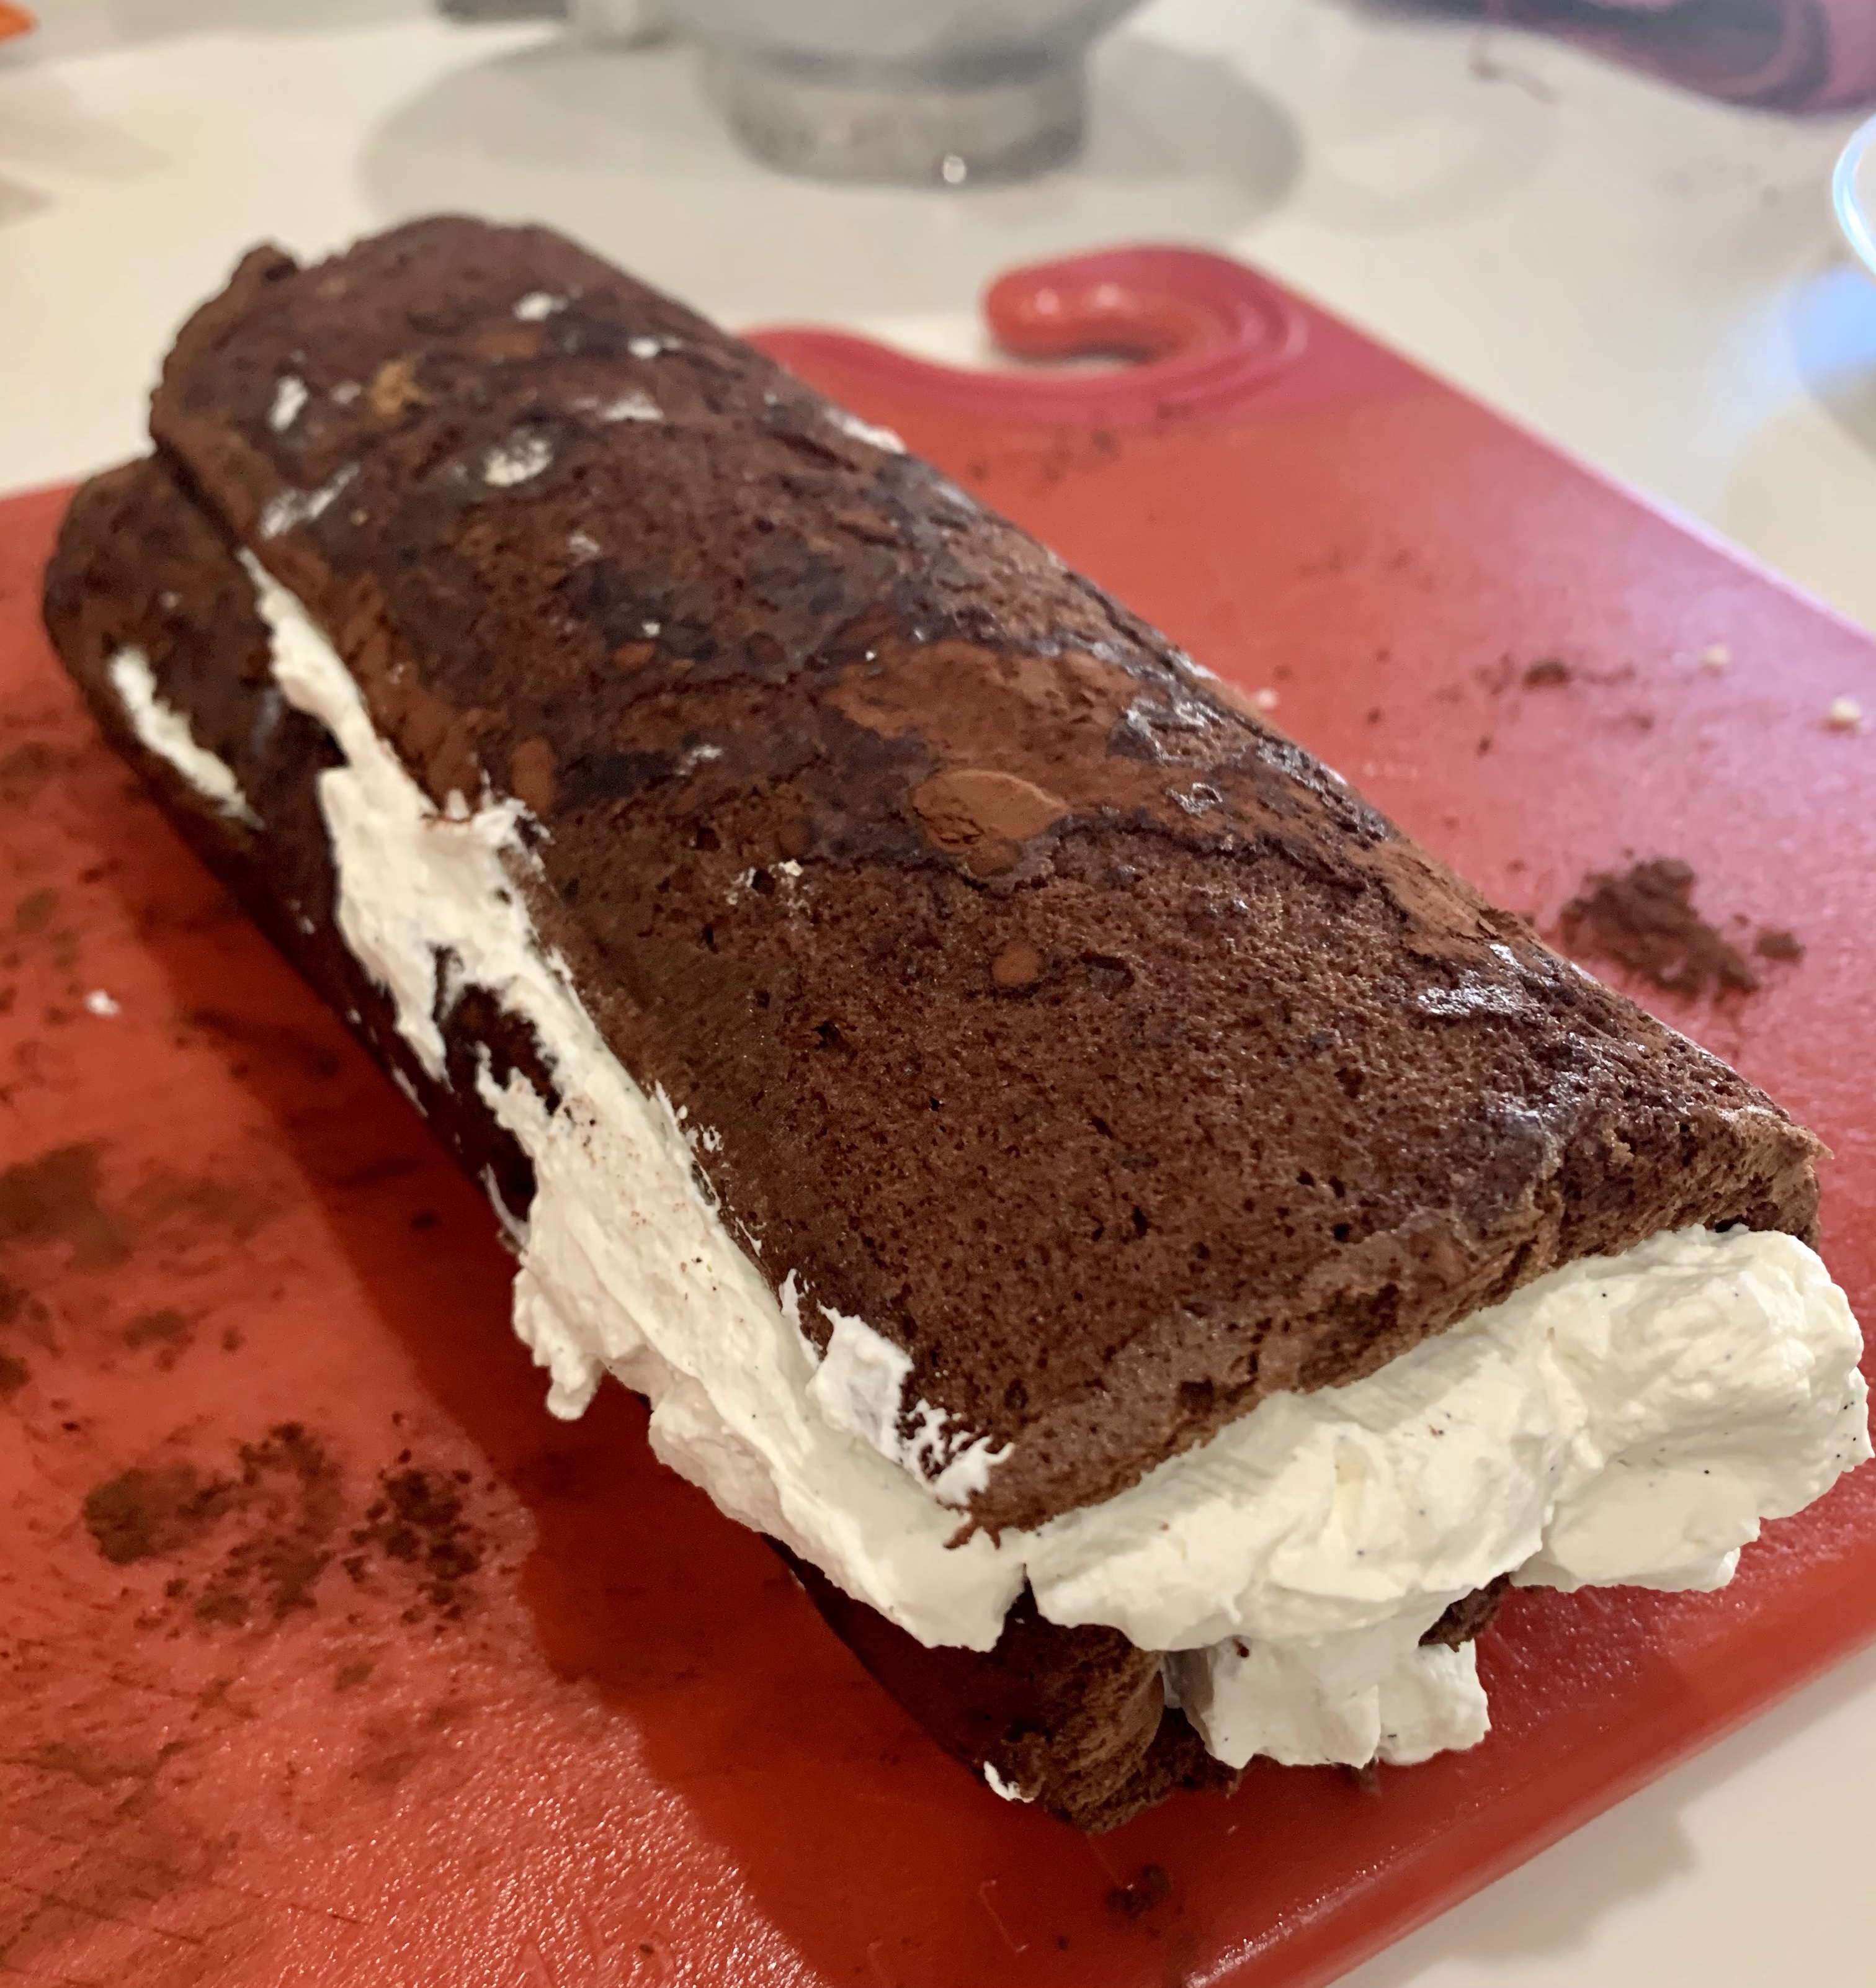
CHOCOLATE AND RASPBERRY BROWNIE BARS
I made a 1 ½ recipe and used an 11×15 pan.
INGREDIENTS
Brownies
• 4 large eggs
• 1 ¼ c dark cocoa
• 1 tsp salt
• 1 tsp baking powder
• 2 tsp vanilla extract
• 2 ¼ c sugar
• 1 c unsalted butter, melted
• 1 ½ c All-Purpose Flour
• 1 c chocolate chips
• 1 c Raspberry Jammy Bits
• 3 Tbl seedless raspberry jam
• 1 Tbl water
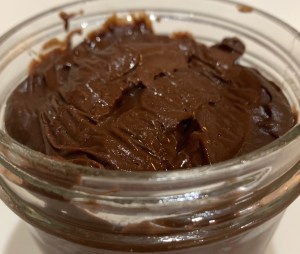
Chocolate Ganache Glaze
• 1 Tbl cup heavy cream
• 1 Tbl light corn syrup (20g)
• 2 ⅔ c (400g) semisweet or bittersweet chocolate, chopped
• 1 Tbl vanilla extract
METHOD
- Preheat the oven to 350°F. Lightly grease a 9″ x 13″ pan. To make very even bars, line the pan with aluminum foil before baking, leaving foil sticking up above the edges of the pan.
- Crack the 4 eggs into a bowl, and beat them with the cocoa, salt, baking powder, and vanilla until smooth.
- Add the sugar and melted butter, stirring until smooth.
- Add the flour, chips, and Jammy Bits, again stirring well. The batter will be very thick.
- Spoon the batter into the prepared pan and smooth.
- Bake the brownies for about 30 minutes, until a cake tester inserted into the center comes out clean (205 degrees,) or with just a few moist crumbs clinging to it. The brownies should feel set on the edges, and the center should look moist, but not uncooked. Do not over bake! Remove them from the oven.
- Heat the seedless raspberry jam with the water and stir until smooth. (I use 2 tsp of apple jelly, mixed with 1 tsp water and heated to melt the jelly.) Brush over the warm brownies. Set aside to cool for an hour or longer before topping with the ganache.
- To make the ganache, heat the cream and corn syrup until they begin to steam. Pour over the chopped chocolate in a bowl. Let sit for 5 minutes, add any flavorings, and whisk until smooth. Let cool for 15 minutes or so.
- Pour ganache over the brownies while it’s still warm but has begun to thicken — reheat if it thickens too much as you work. Allow several hours for the ganache to set up fully. You may refrigerate the brownies to hasten the setting of the ganache.
- Remove the brownies from the pan using the aluminum foil sling. Heat a knife in hot water, wipe dry and use to cut the brownies. Repeat with each cut.
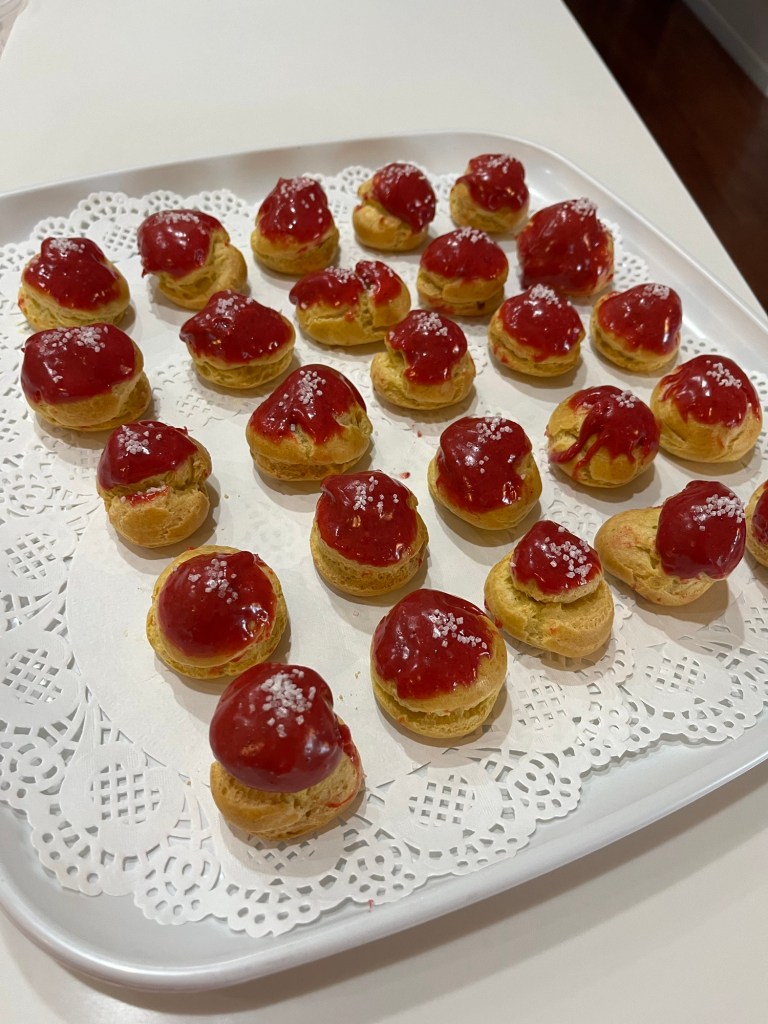
KEY LIME PROFITEROLES
INGREDIENTS
Whipped Cream Key Lime Curd:
• ½ c white sugar
• 2 Tbl cornstarch
• ¼ tsp kosher salt
• 1 large egg, plus 2 large egg yolks
• 2 tsp lime zest
• ⅔ c key lime juice
• ⅔ c sweetened condensed milk
• 2 Tbl butter
• ¾ c heavy whipping
Choux Pastry:
• ½ c (65 grams) AP flour
• ½ tsp granulated white sugar
• ¼ tsp salt
• 4 tbsp (55 grams) unsalted butter, cut into pieces
• ½ c (120 ml) water
• 2 large eggs, lightly beaten
White Chocolate Raspberry Ganache
• 150 g confectioner’s sugar
• 50 g heavy cream
• 1 Tbl freeze-dried raspberry powder
• Red food coloring
• Coarse decorating sugar
METHOD
- Preheat oven to 400° F (200° C) and place rack in center of oven.
- In a bowl whisk the flour with the sugar and salt.
- Place the butter and water in a saucepan over medium high heat and bring to a boil.
- Remove from heat and, with a wooden spoon, add the flour mixture, all at once, and stir until combined. It will look like mashed potatoes. Return saucepan to the heat and stir constantly until the dough comes away from the sides of the pan and forms a thick smooth ball (about 1-2 minutes). The dough will film the bottom and sides of the saucepan and make cleaning a pain.
- Transfer the dough to an electric mixer and beat on low speed to release the steam from the dough (about 1 minute).
- Once the dough is lukewarm start adding the lightly beaten eggs (dough will separate and then come together) and continue to mix until you have a smooth thick paste (dough will fall from a spoon in a thick ribbon).
- Place the dough in a pastry bag fitted with a large plain tip and pipe oblongs of dough (about 3/4 inch (2 cm) wide) onto the parchment lined baking sheet. (When piping hold the bag at a 45-degree angle.) If desired, with a pastry brush, gently brush the tops of the dough with the lightly beaten egg.
- Bake for 15 minutes and then reduce the oven temperature to 350o F (180o C).
- Remove from oven, pierce an end of each éclair with a small skewer to release the interior steam.
- Continue to bake for a further 25 minutes or until the shells are a nice amber color and when split, are almost dry inside. Remove from oven and place on a wire rack to cool.
- Warm white chocolate to soften (30 seconds in a 1000W microwave)
- Heat whipping cream to steam, but not boil and pour over the softened white chocolate
- Let sit 3-4 minutes then add freeze dried raspberry, red food coloring and beat with a spoon until the mixture is smooth
- After filling the profiteroles with the key lime curd dip the top into the warm ganache and sprinkle with decoration sugar.
ROYAL ICING
Makes ~3 cups of royal icing, (¼ recipe decorated 48 1” diameter cookies)
INGREDIENTS
• 4 cups (480g) confectioners’ sugar, sifted
• 3 Tablespoons meringue powder (not plain egg white powder)
• 9–10 Tablespoons room temperature water
METHOD - Sift confectioners’ sugar and meringue powder, into a large bowl and add 9 Tablespoons of water. Add half the water after sifting 2 cups of sugar. Add the remaining water or more, checking flow consistency of the icing is what you want for piping etc.
- Using a hand mixer or a stand mixer fitted with a whisk attachment, beat icing ingredients together on high speed for 1.5 – 2 minutes.
- When lifting the whisk up off the icing, the icing should drizzle down and smooth out within 5-10 seconds. If it’s too thick, beat in more water 1 Tablespoon at a time. I usually need 10 Tablespoons but on particularly dry days, I use up to 12-14 Tablespoons. Keep in mind that the longer you beat the royal icing, the thicker it becomes. If your royal icing is too thin, just keep beating it to introduce more air OR you can add more confectioners’ sugar.
- When applied to cookies or confections in a thin layer, icing completely dries in about 2 hours at room temperature. If icing consistency is too thin and runny, it will take longer to dry. If the icing is applied very thick on cookies, it will also take longer to dry. If you’re layering royal icing onto cookies for specific designs and need it to set quickly, place cookies in the refrigerator to help speed it up.