Retirement Cake

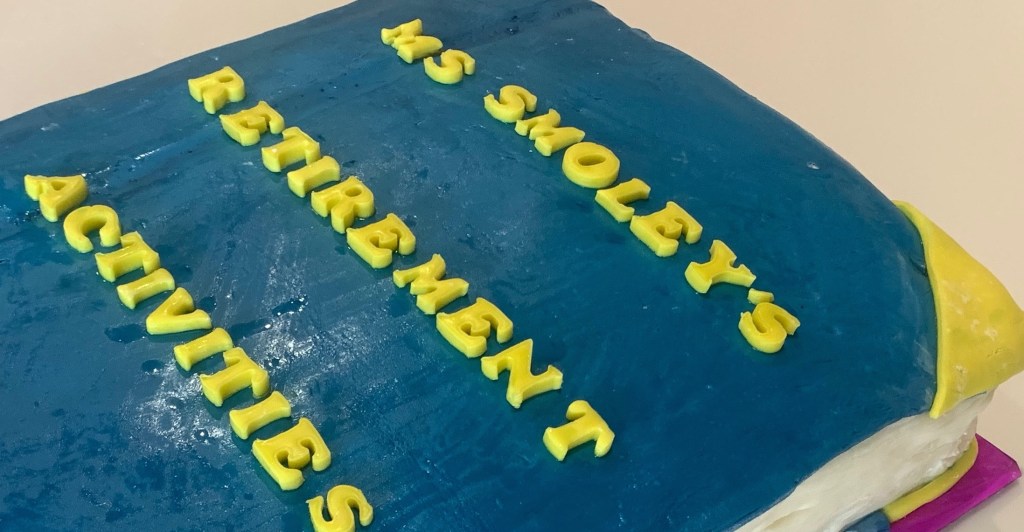
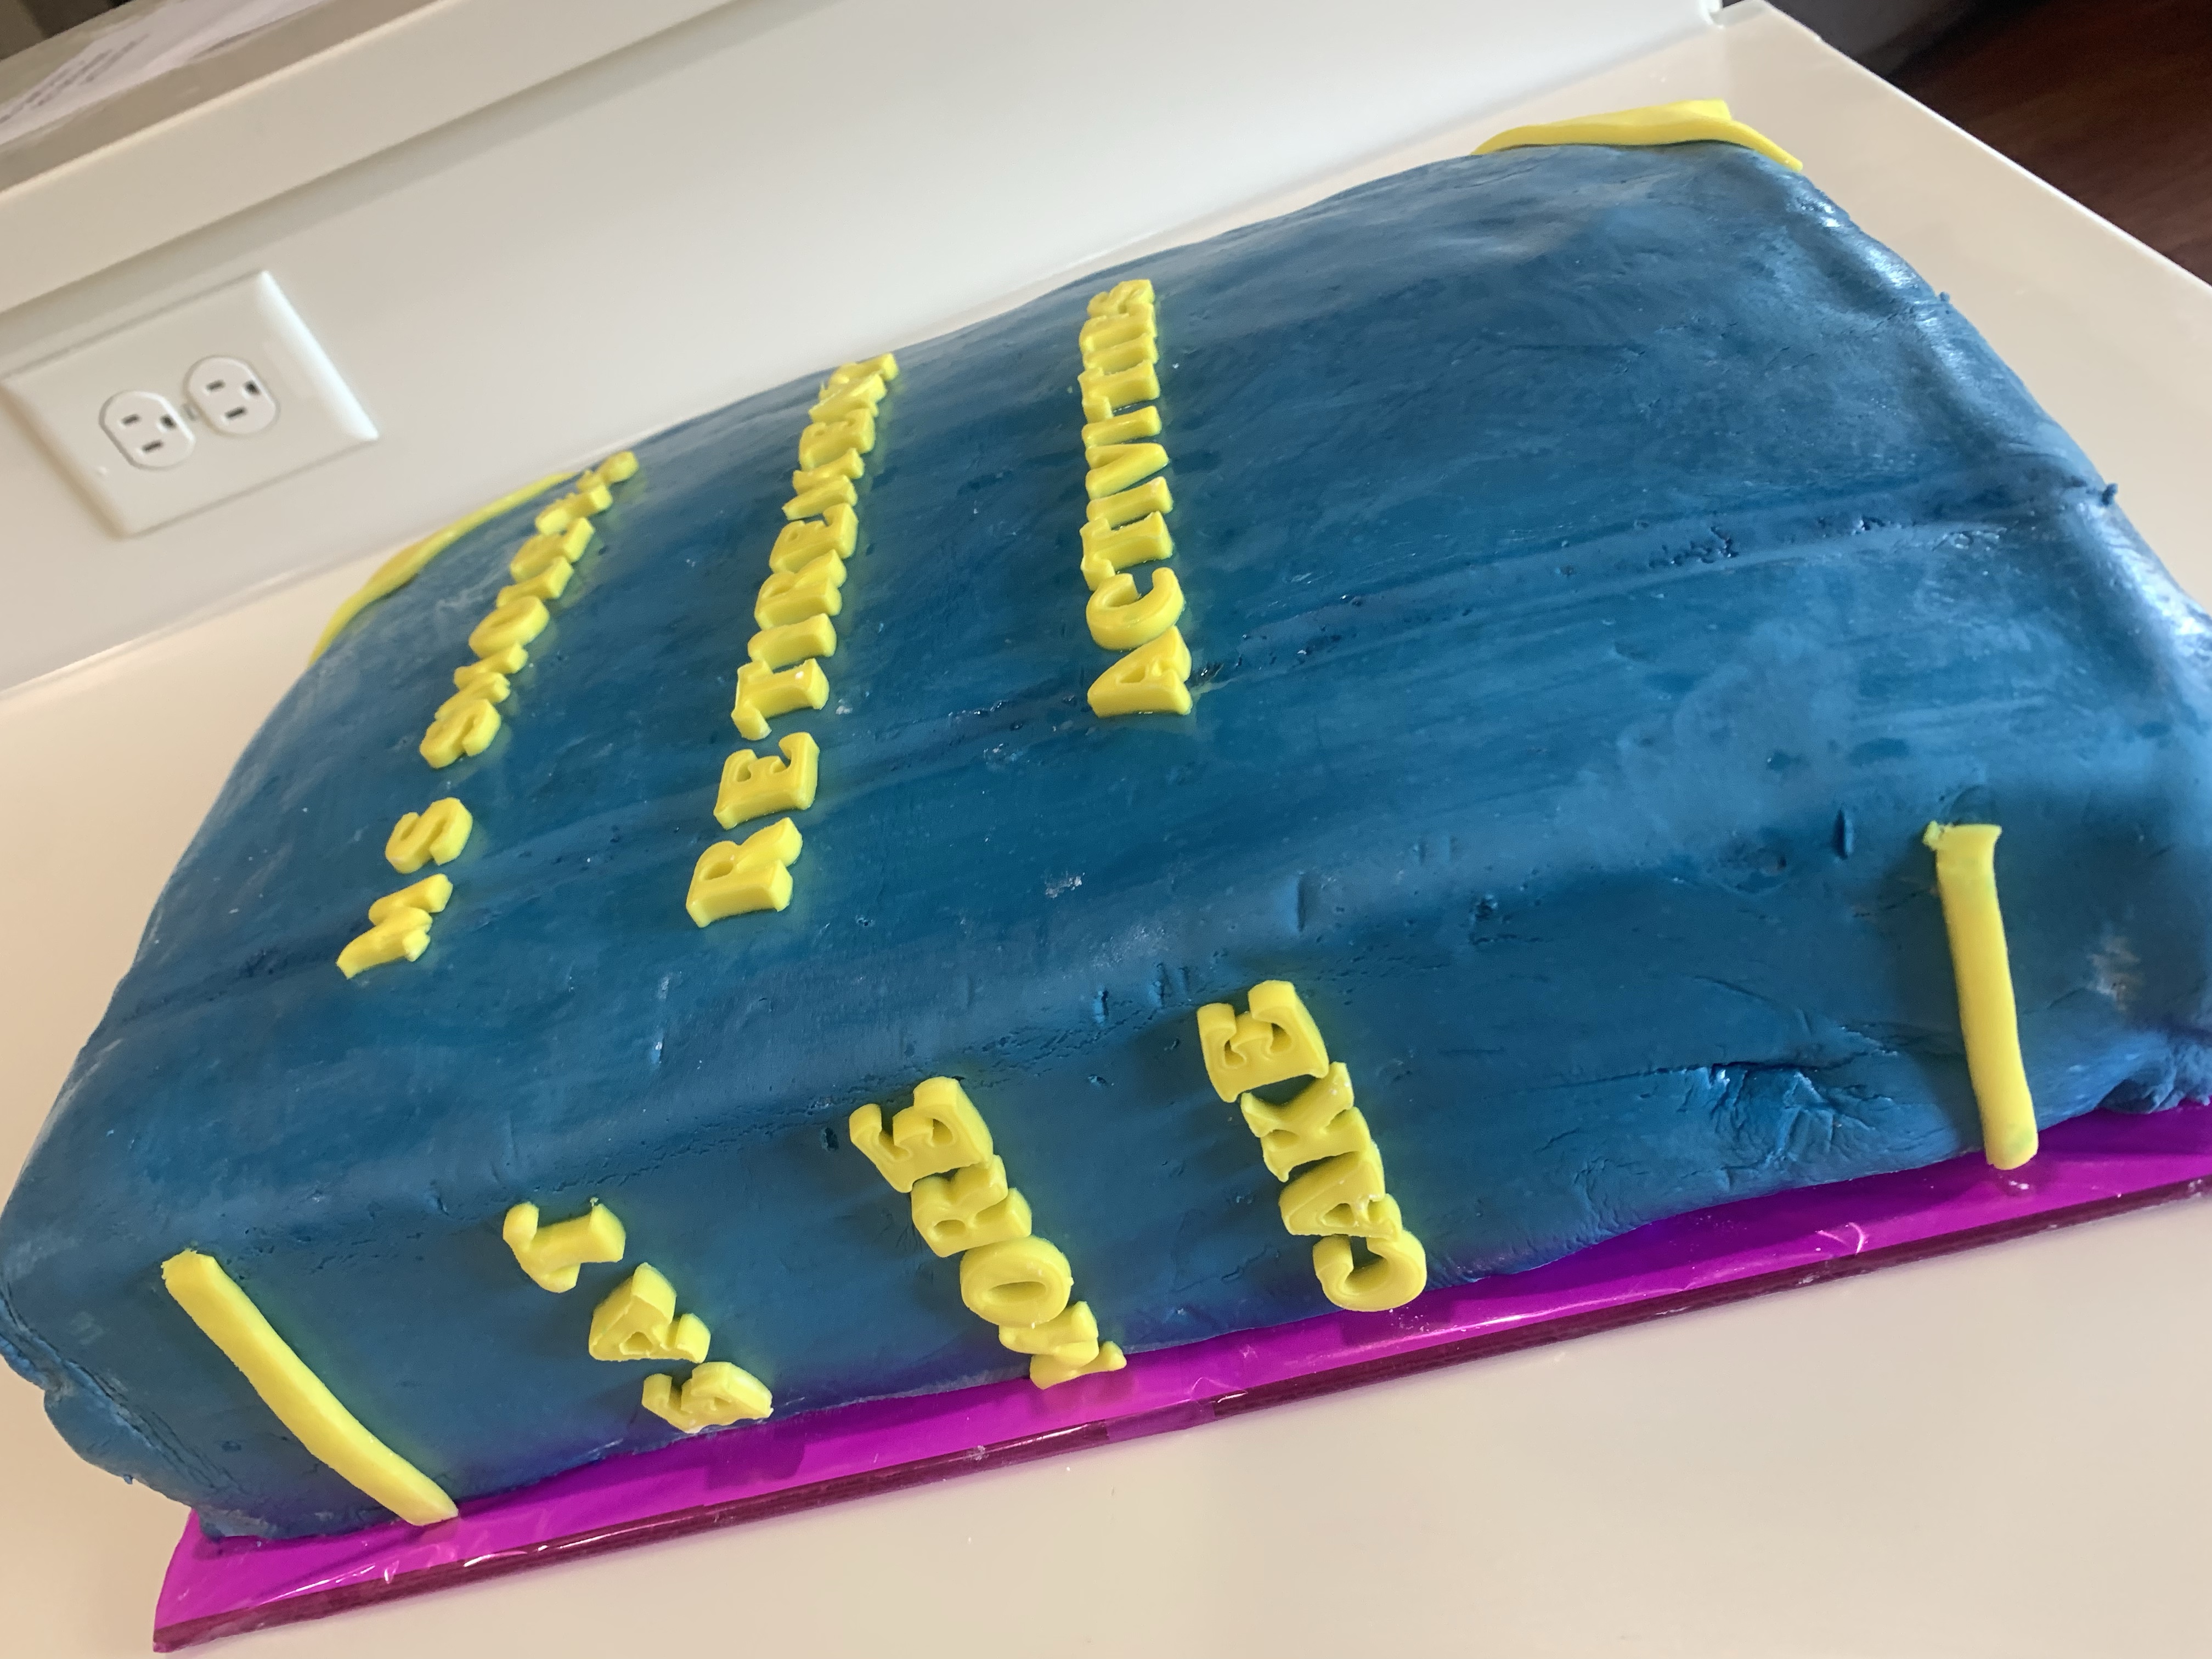
I thought a “Book Cake” would be an appropriate choice for a school principal’s retirement party. I was told she likes to read and likes chocolate cake, so….

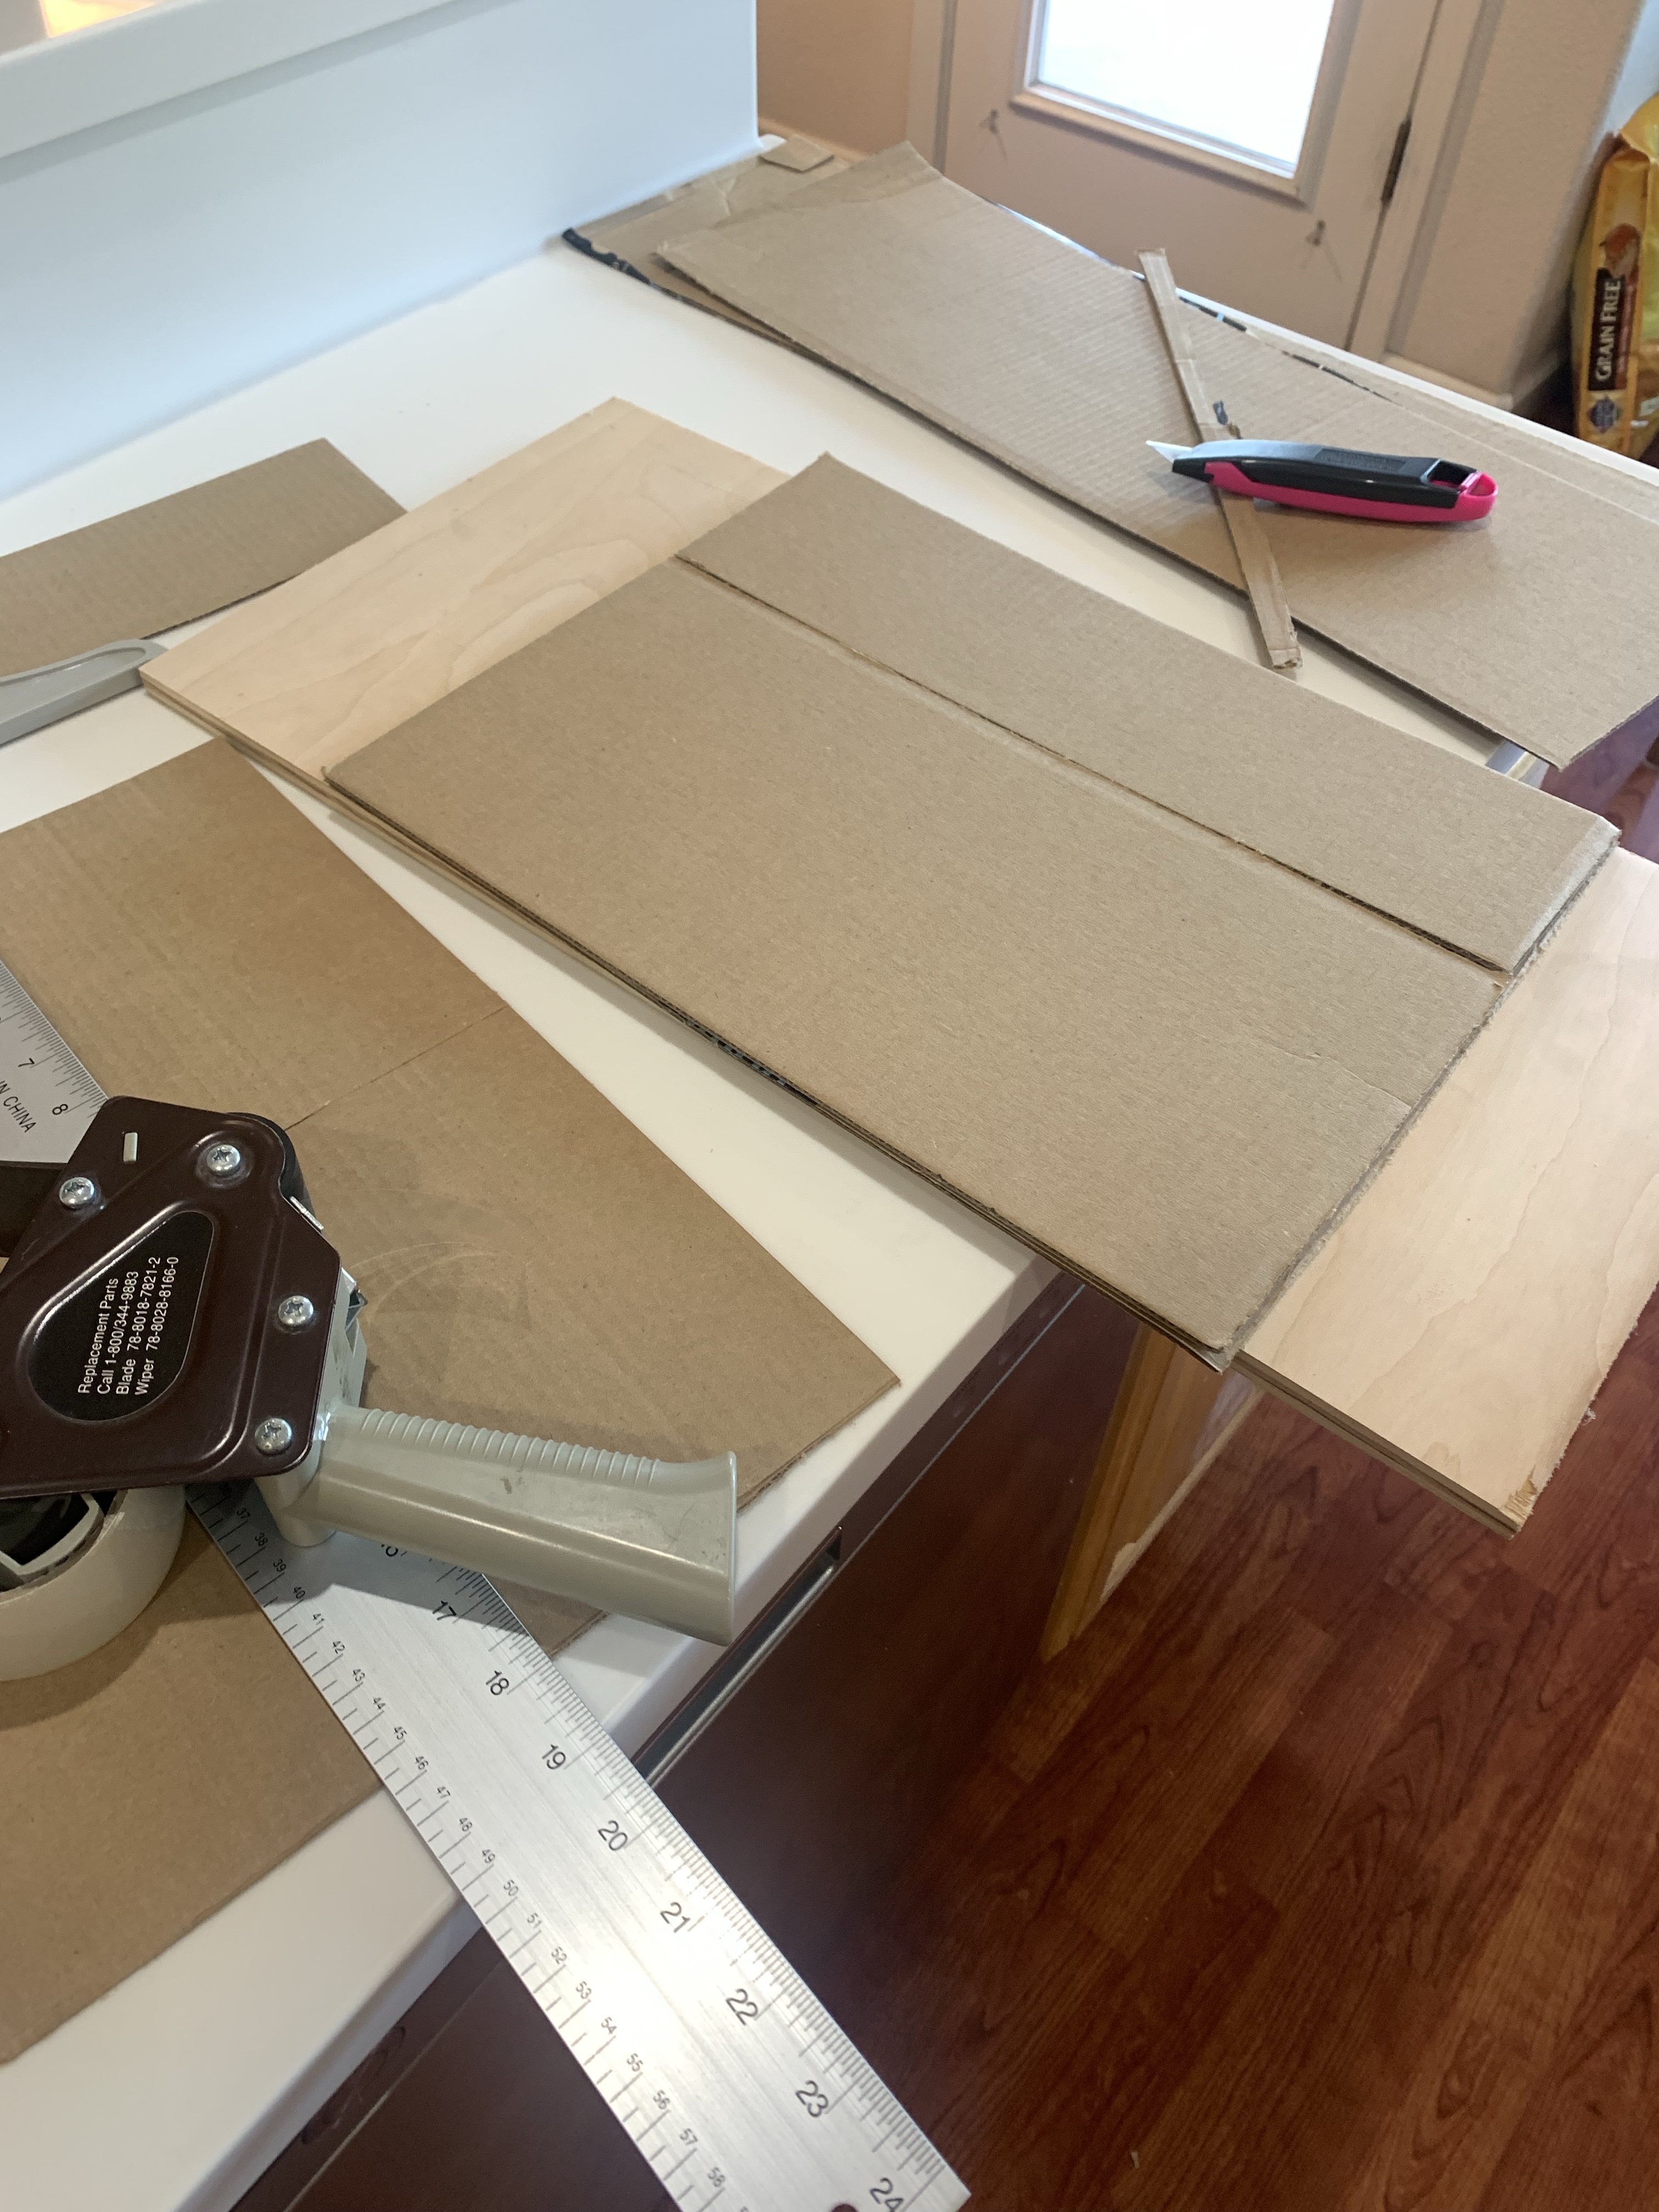
I didn’t have a rectangular cake board of the appropriate size (13”x17”,) nor did the local stores, so I made one from cardboard and food quality cellophane.

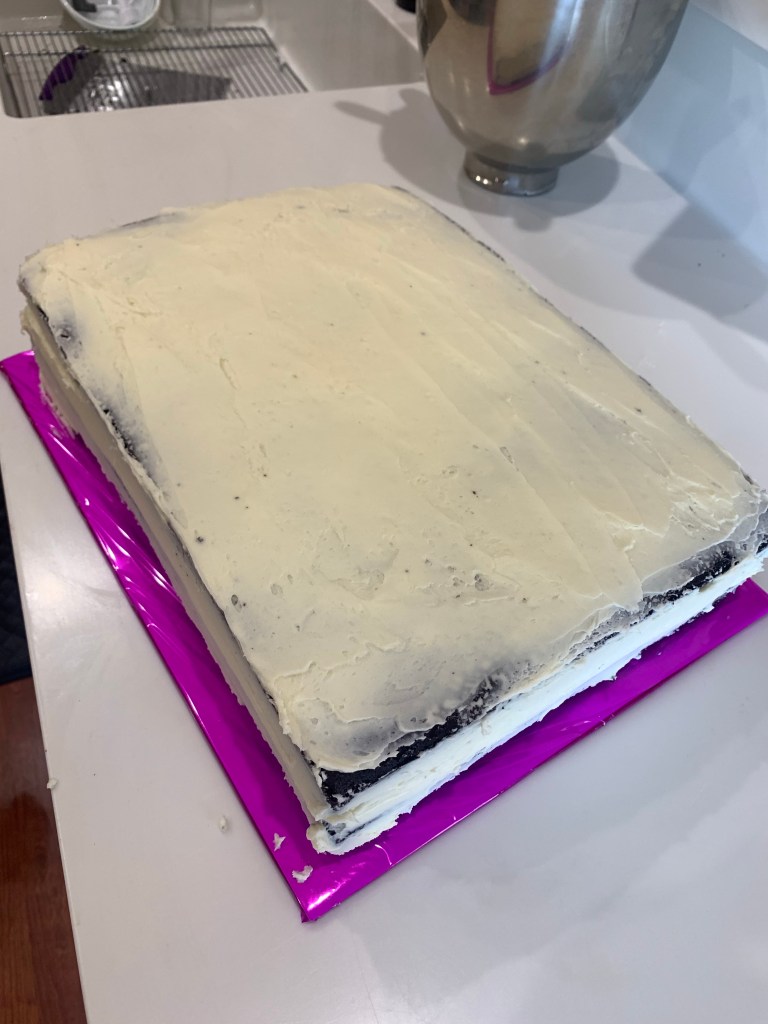
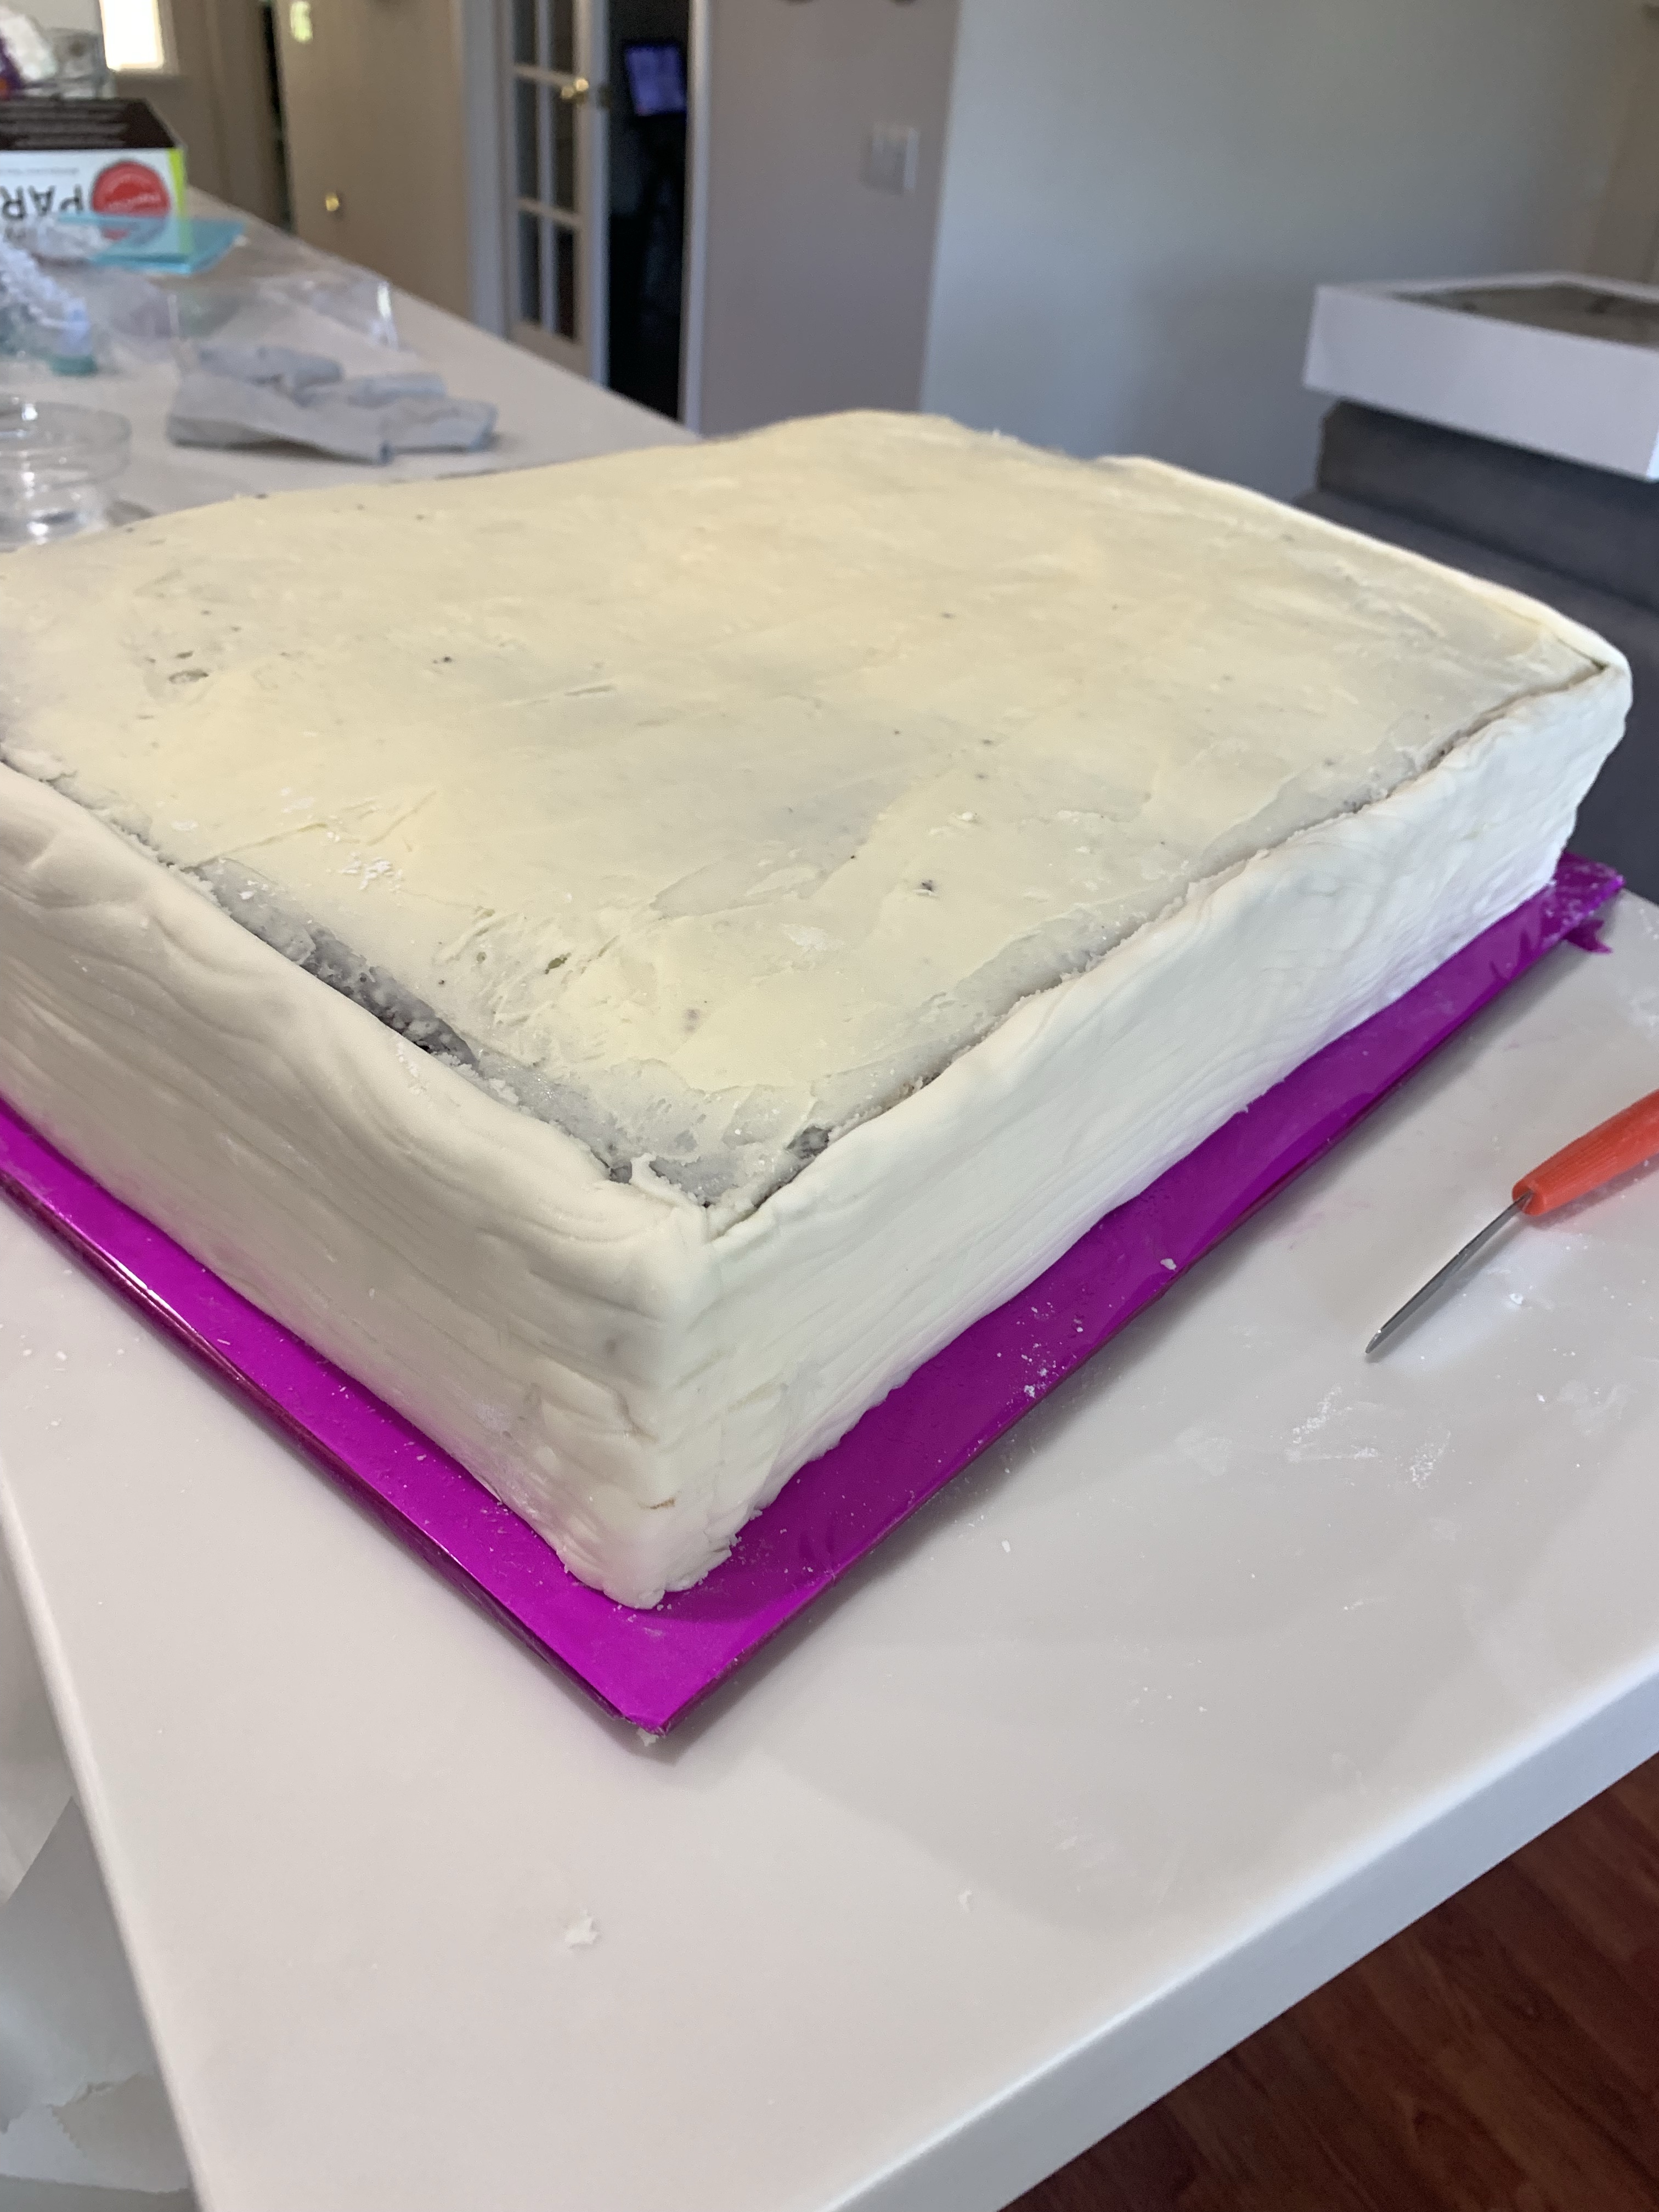
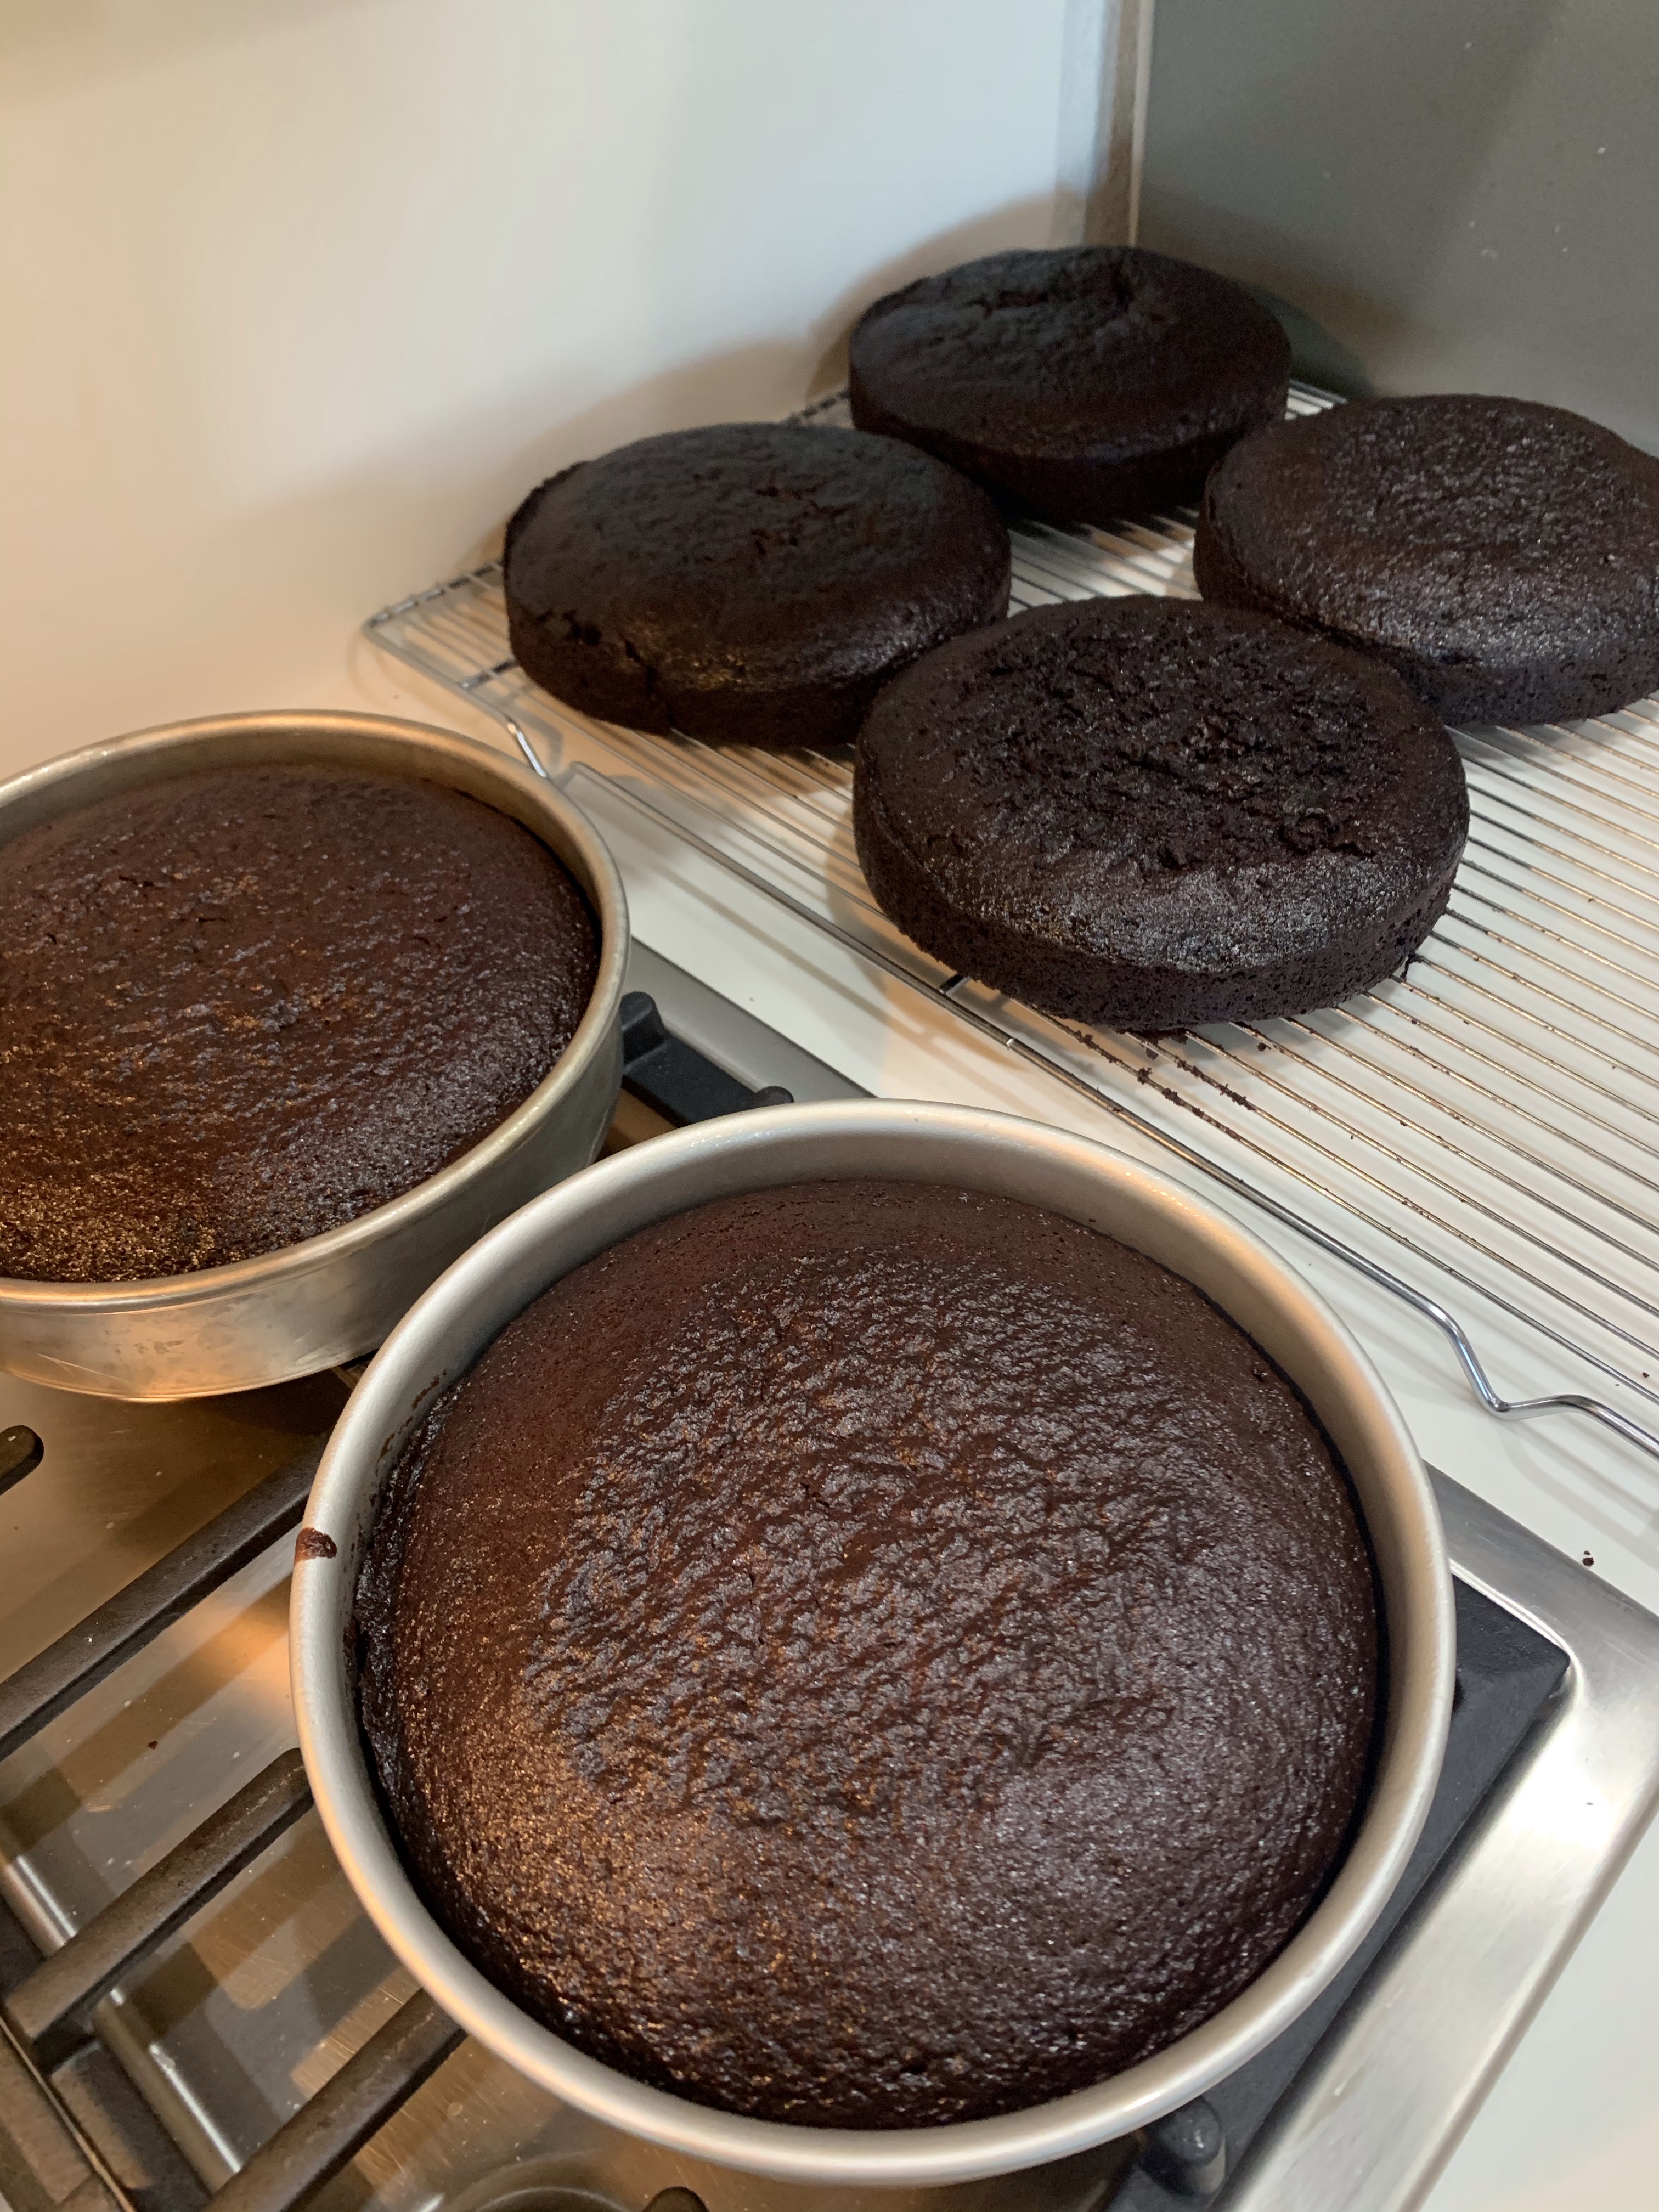
I made two 11×15” Extreme Chocolate Cakes and refrigerated them for a couple of days. When crumb coating, I like to cool (and firm) the cakes. Also, I make my buttercream frosting a little thinner when using it for crumb coating..

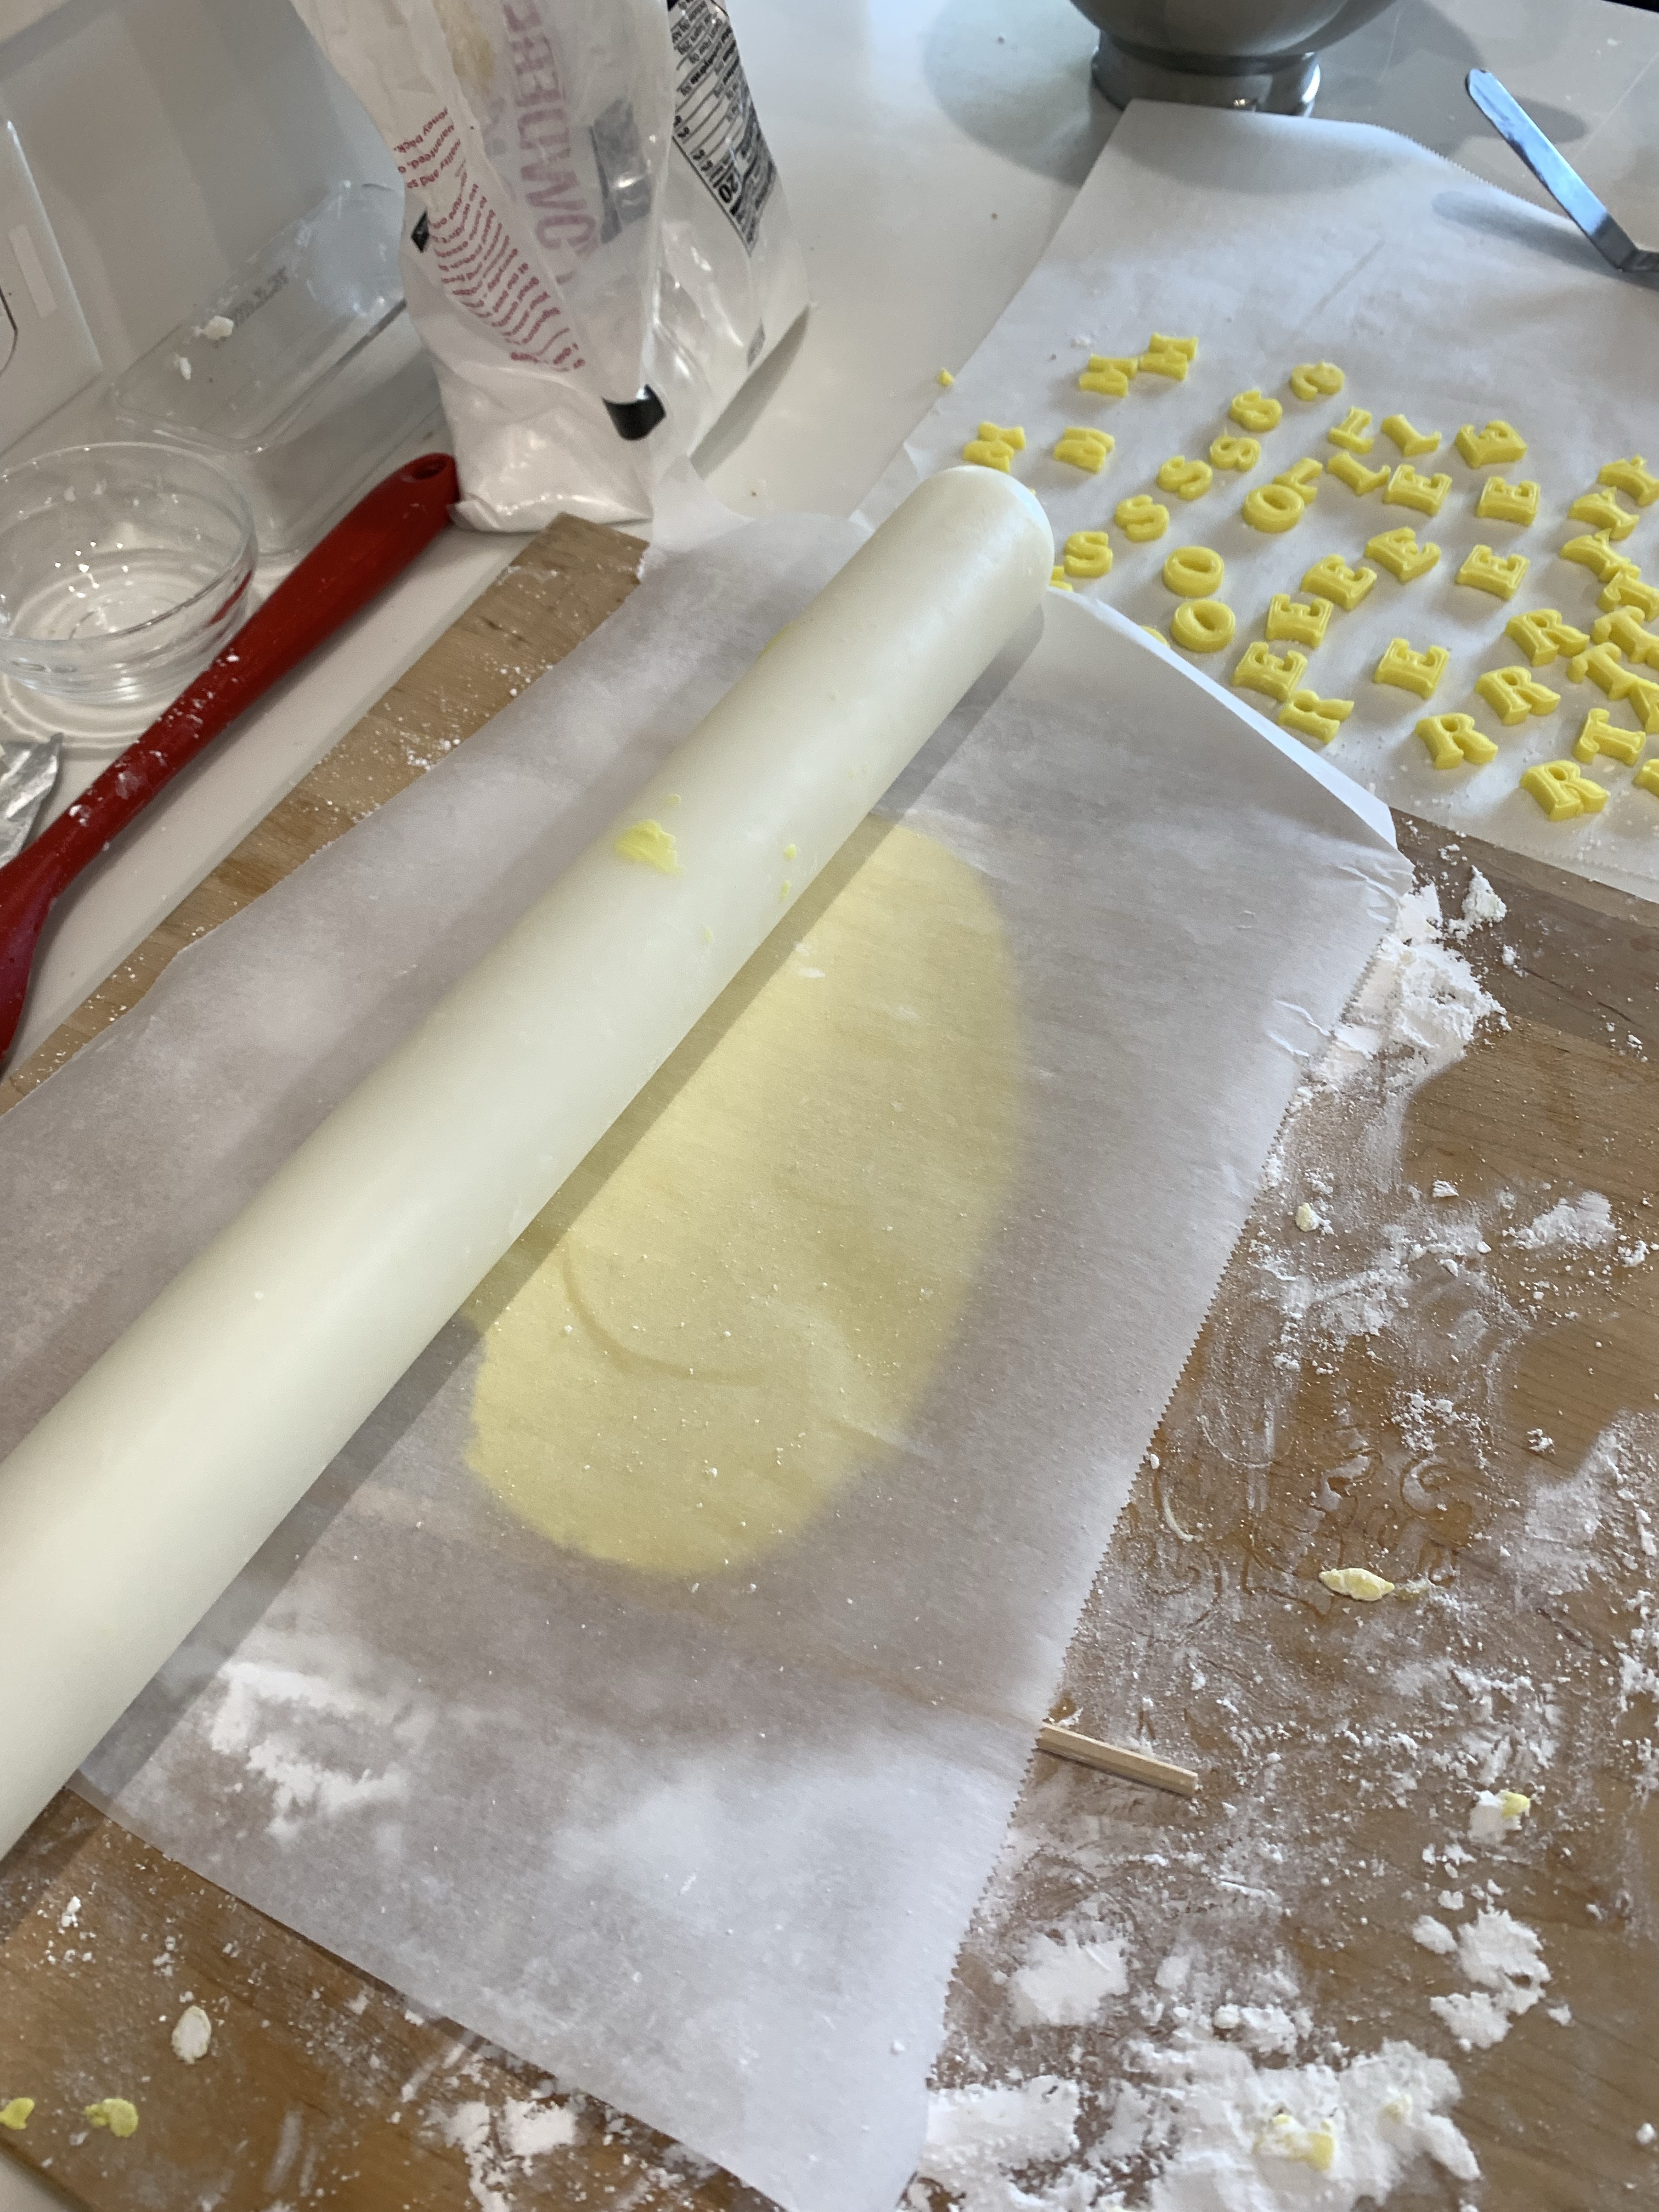
One batch of marshmallow fondant was divided 4:1. The large portion formed the edges and were striated to resemble pages of a book. The small portion was colored with the school color “yellow.” The white fondant was wrapped in plastic and left to rest for a couple of hours. The yellow portion was rolled out between parchment paper sheets. I use chopsticks of various sizes to roll the fondant into the desired thickness. The yellow fondant sheet was left to dry slightly, uncovered on a thin bed of powered sugar. After an hour or so, brush some additional sugar on the top of the sheet and flip it over, letting it rest until dry to the touch. I used the yellow to make the letters for the title and spline. (See the top of the pictures below. If they are dry, they are easier to punch out.

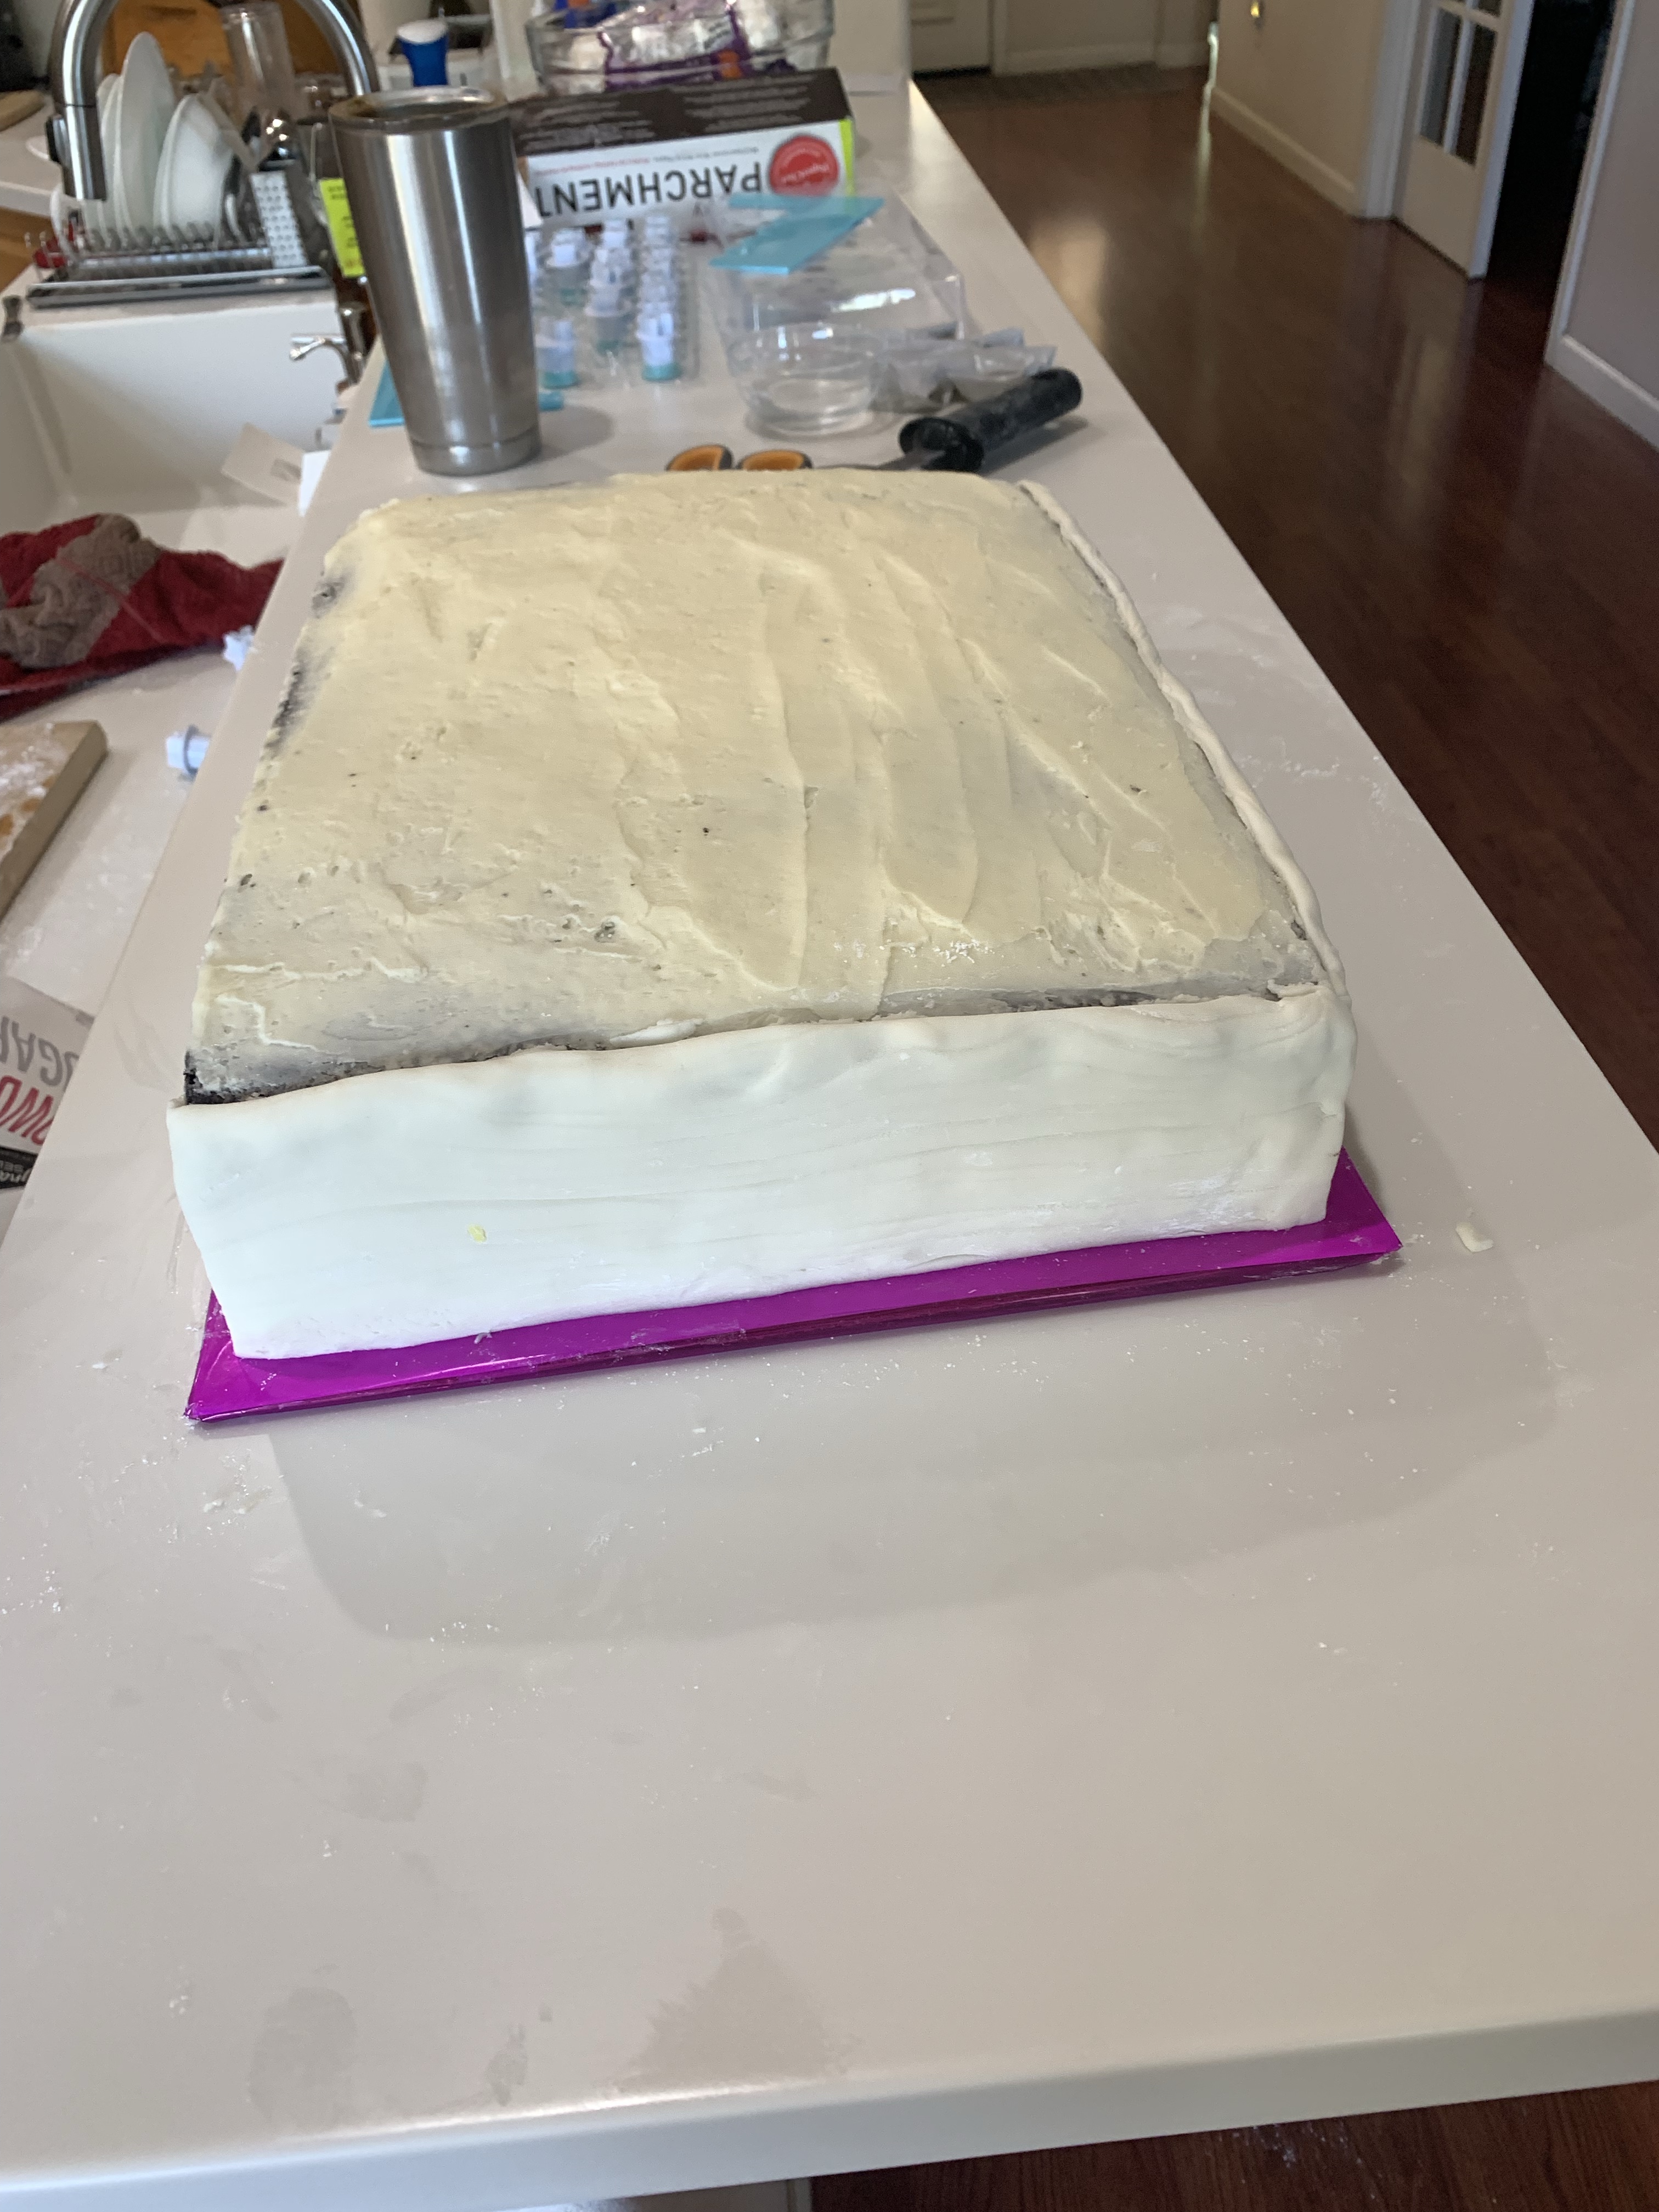
When the white fondant is firmer, roll three pieces long and wide enough to cover the edges of the cake. Use a sharp tool to score the fondant lengthwise to represent the pages of the book.

Before covering the cake with fondant smooth the surface of the crumb coat by wetting gloved hands and rubbing them over the surface. This also helps wet the crumb coat so the fondant will stick.

Cut the sheets of white fondant to be an inch longer and wider than the sides of the cake. Press them on, smoothing the joins on the corners and trim the top to be just wider than the book. Cut the bottom off even with the bottom of the book.

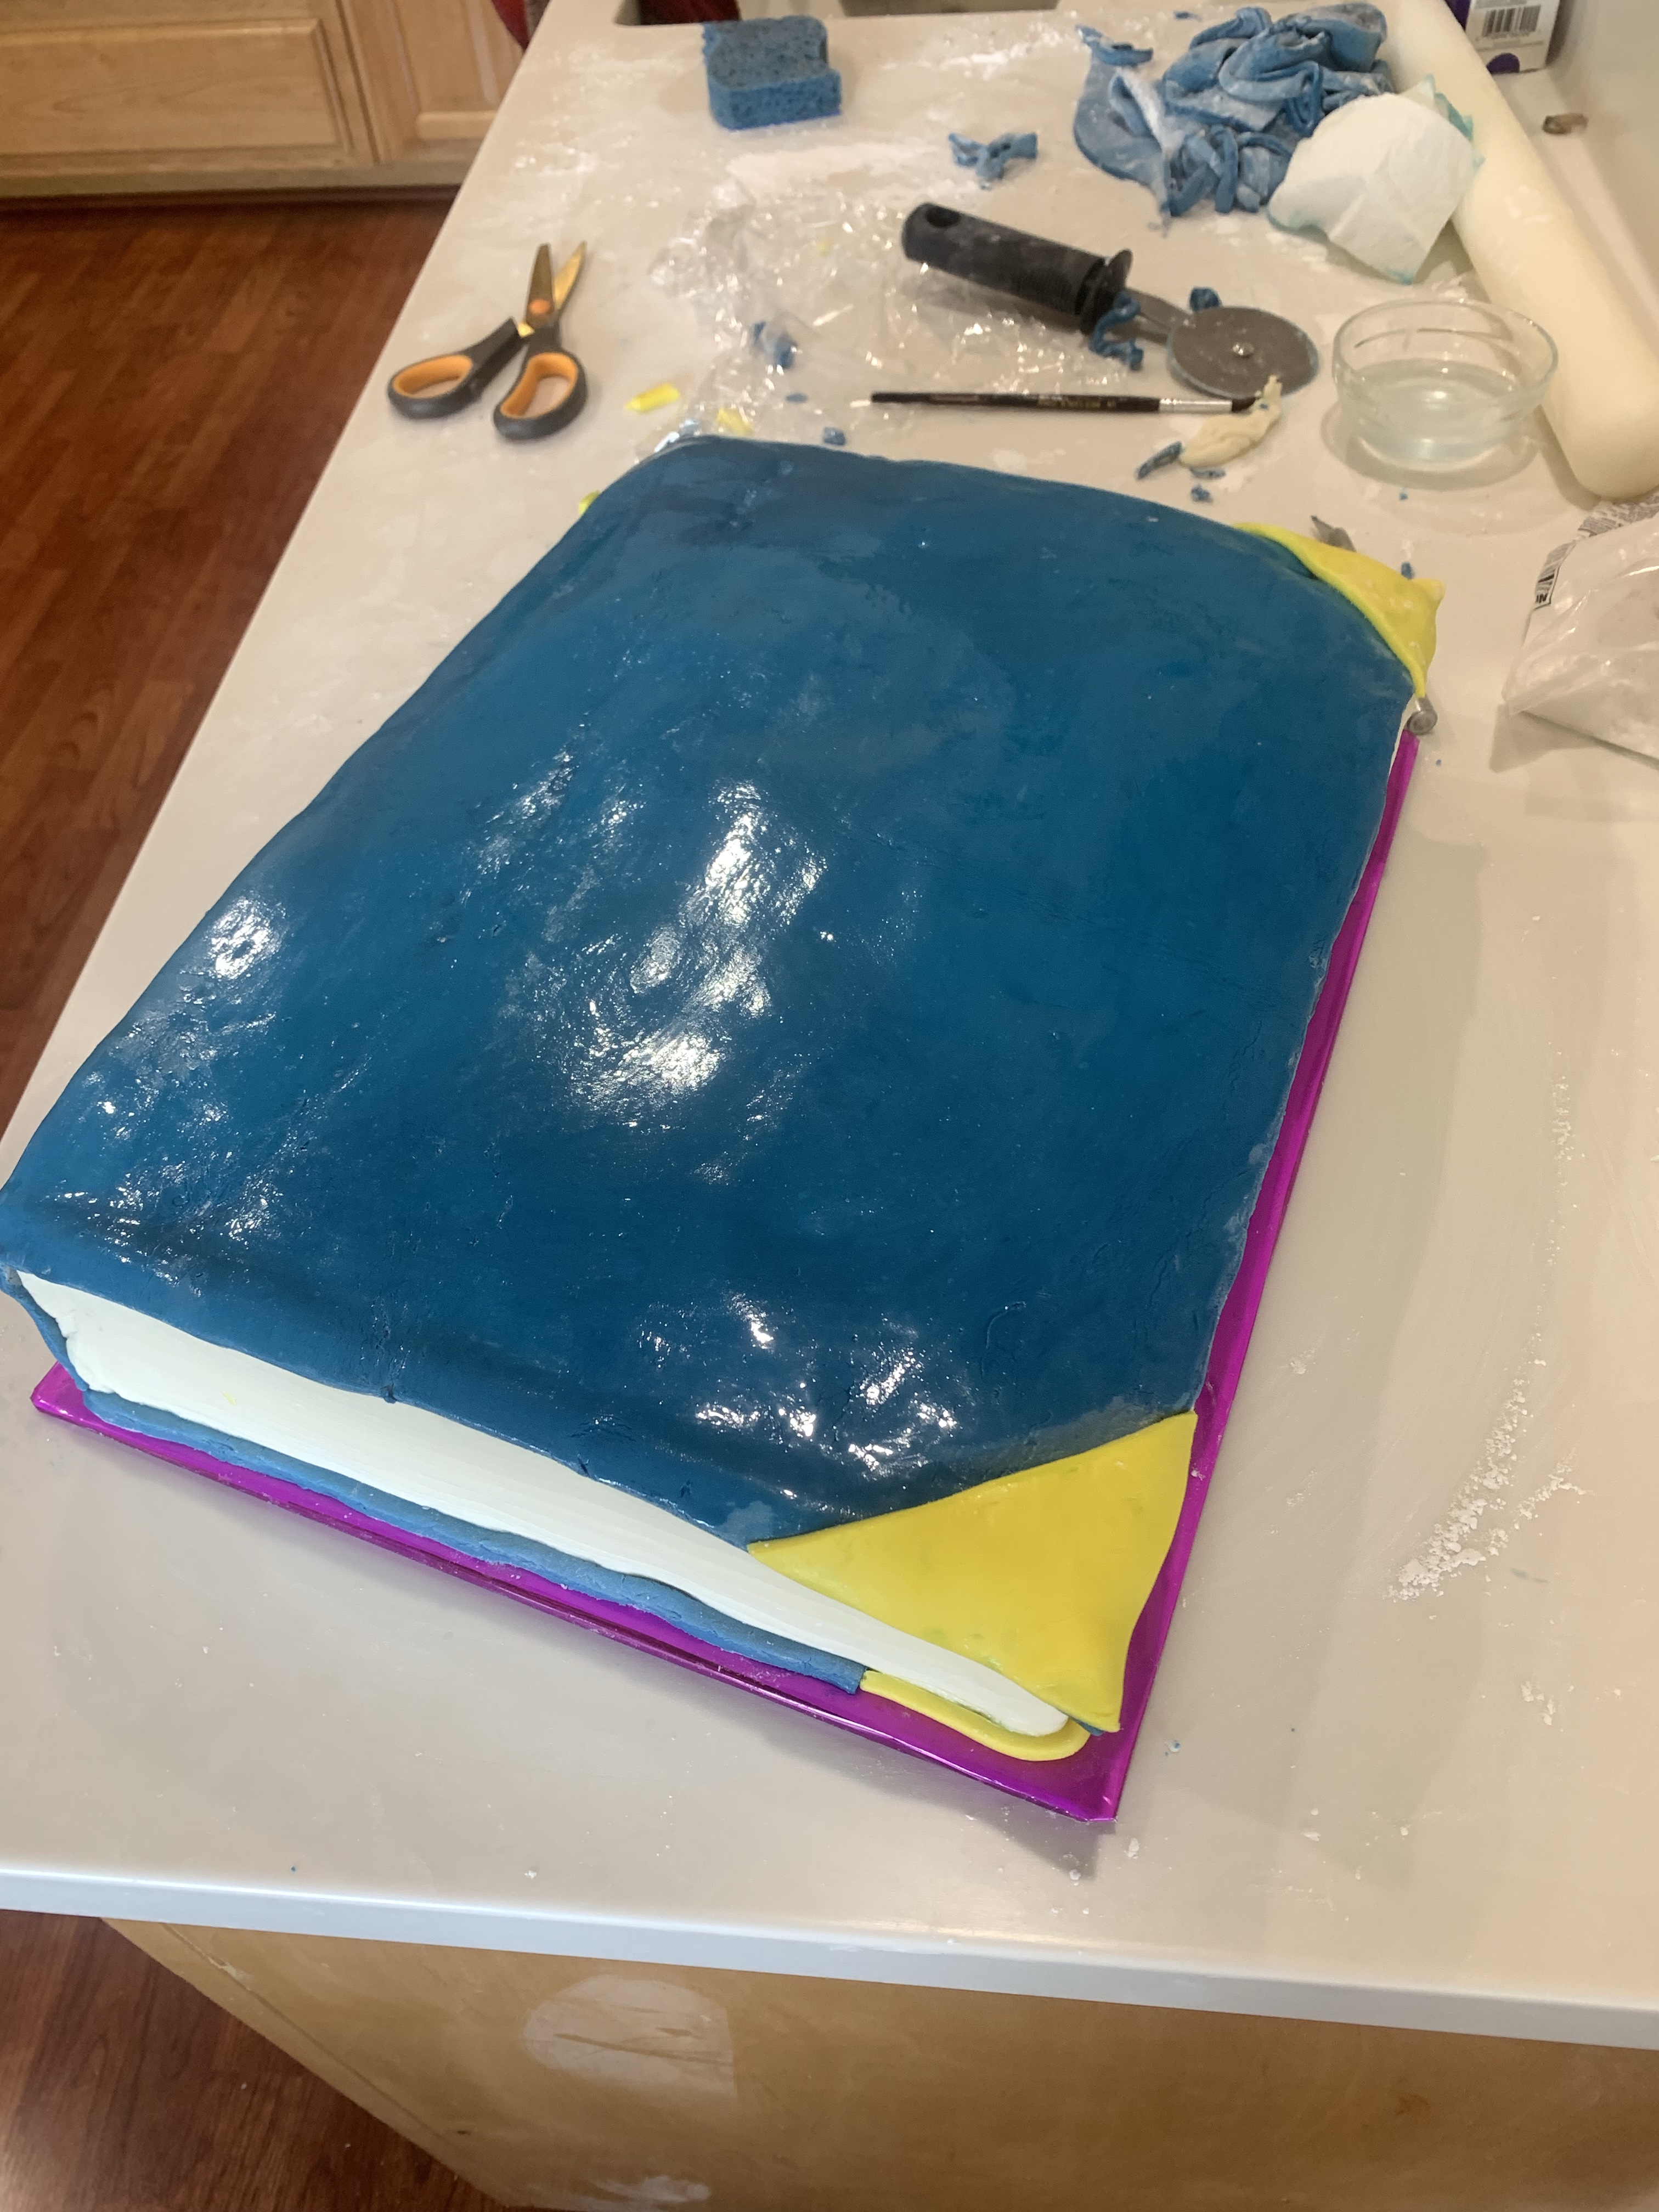
Make another batch of fondant. (Note to self: be sure to use fresh, mini-marshmallows. Life will be much easier.) This batch will be the book cover and can be colored “school blue” in the mixer. Once the consistency and color is correct, transfer the fondant to a vegetable-shortening-coated-surface and knead the fondant with gloved and grease covered hands to be sure the fondant is a uniform consistency and color. Let it set for an an hour, wrapped in plastic.

Roll the fondant out on a well sugar dusted table to be two inches wider and longer than the book. In my case it was 16”x16” and I used a 1/4” chopstick to roll it an even thickness. Fold it in half and carefully transfer to the cake. Trim to size and cut thin long pieces to be the bottom cover of the book. Paint water along the bottom edge and apply the thin pieces.

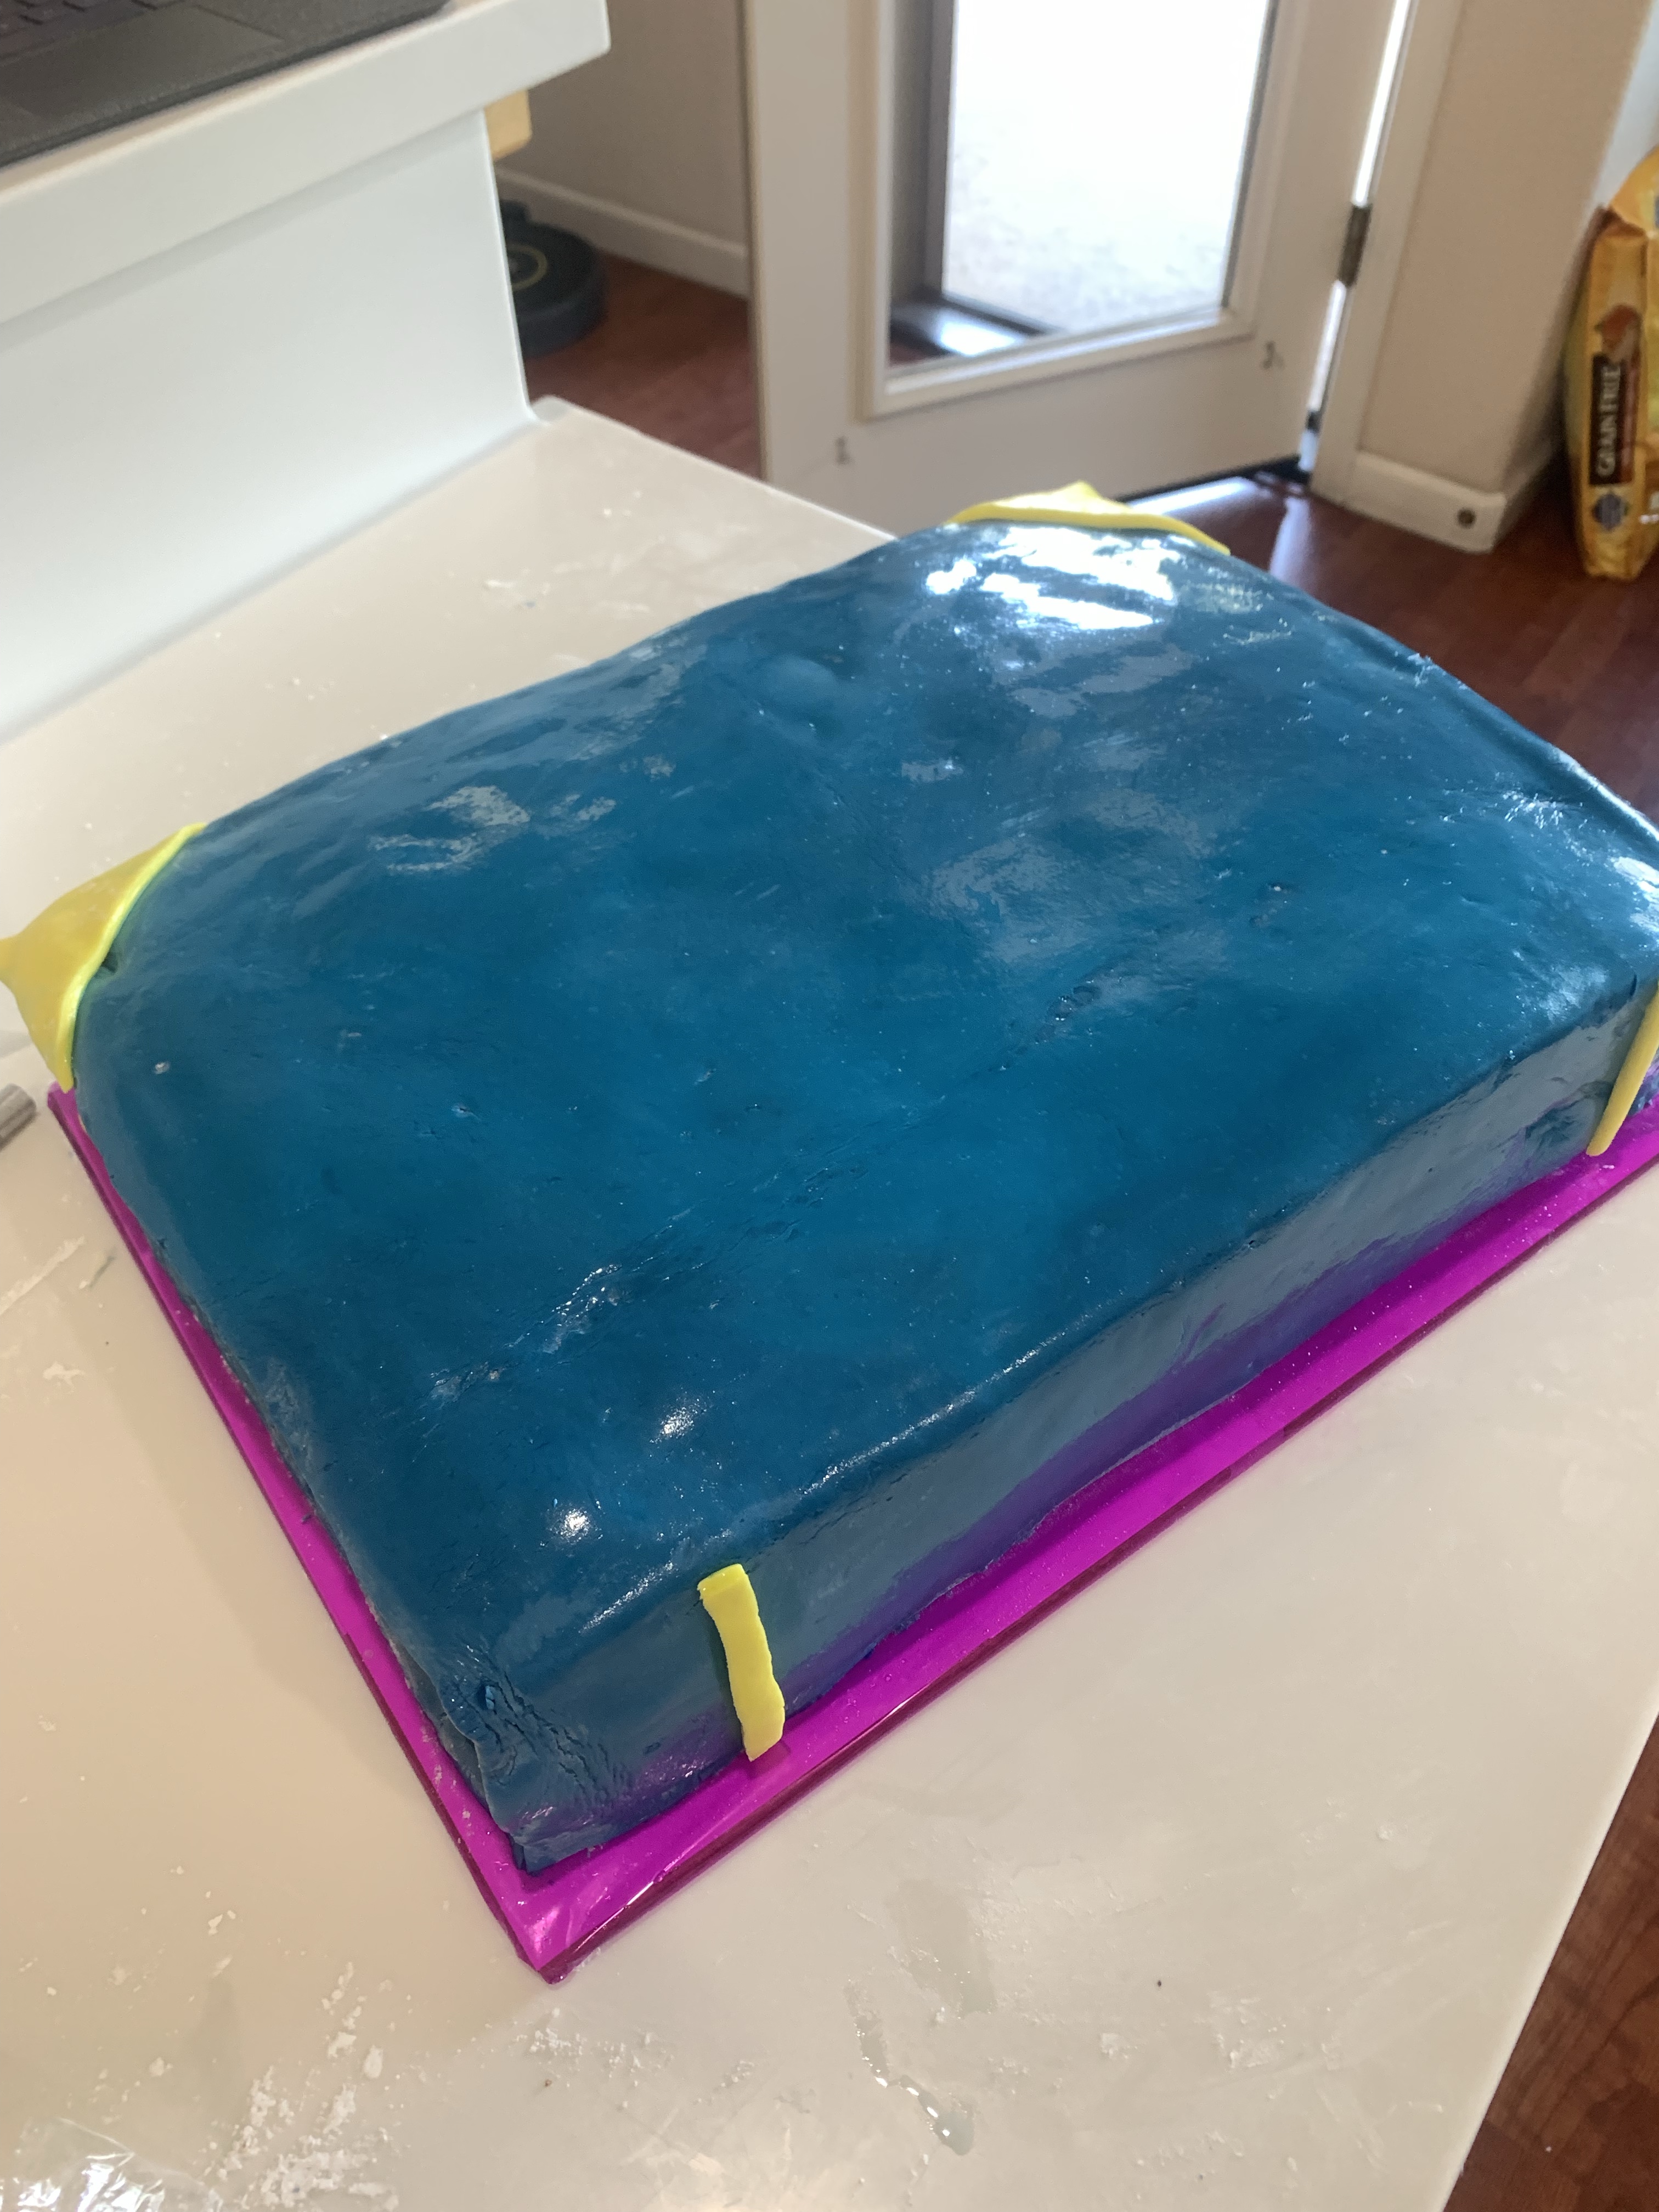
Use the yellow fondant and apply as reinforcements to the corners of the top of the book and thin pieces on the bottom corners. Two more short thin pieces were added to the spline. Wipe the book cover with a damp paper towel. This removes any residual sugar and makes the fondant sticky so the letters will adhere. If the fondant is still too soft, push a toothpick into the top corners to hold it in place. Just remember to remove the toothpick before delivering the cake.

If you have the talent you can brush or pipe the lettering on after the fondant dries. My handwriting is all but illegible so I opt to punch them out and place by hand.

Extreme Chocolate Cake

Makes two 9” round cakes
INGREDIENTS

(Makes one 10’ ROUND CAKE [and two 5”] – quantities are in parenthesis. Or one 11”x15”x2” sheet cake.)
• 2 cups white sugar (3)
• 1 3/4 cups all-purpose flour (2 2/3)
• 3/4 cup unsweetened cocoa powder (1 ¼)
• 1 1/2 teaspoons baking soda (2 ¼)
• 1 1/2 teaspoons baking powder (2 ¼)
• 1 teaspoon salt (1 ½)
• 2 eggs (3)
• 1 cup milk (1 ½)
• 1/2 cup vegetable oil (¾)
• 2 teaspoons vanilla extract (3)
• 1 cup boiling water (1 ½)

METHOD

  1. Preheat oven to 350 degrees F (175 degrees C). Grease and flour two 9 inch cake pans. (SEE QTY FOR 10” CAKES)
  2. Use the first set of ingredients to make the cake. In a medium bowl, stir together the sugar, flour, cocoa,
    baking soda, baking powder and salt. Add the eggs, milk, oil and vanilla, mix for 3 minutes with an
    electric mixer. Stir in the boiling water by hand. Pour evenly into the two prepared pans. (For cupcakes,
    portion ¼ scant cups in each cupcake paper.
  3. Bake for 30 to 35 minutes in the preheated oven, until a toothpick inserted comes out clean or 205F internal temp. Cool for 10 minutes before removing from pans to cool completely.

Marshmallow Fondant


INGREDIENTS
• 1 package (16 ounces) white mini marshmallows
• 2-5 tablespoons water
• 2 pounds (about 8 cups) sifted confectioners’ sugar
• 1/4 cup solid vegetable shortening

METHOD

  1. Grease your mixing bowl and a glass bowl that can be used to melt marshmallows in the microwave.
  2. Place the marshmallows, water and flavoring of your choice in greased glass bowl and microwave on high at 30 second intervals.
  3. Stir every 30 seconds until marshmallows are completely melted, about 2 minutes.
  4. Sift one half of the 2 pound bag of confectioner’s sugar in a greased mixing bowl. Make a well in the center of the confectioner’s sugar and pour in the melted marshmallows.
  5. I use the paddle attachment for my KitchenAid mixer for this first part of the mixture.
  6. Mix until all the melted marshmallows are incorporated in the confectioner’s sugar.
  7. Mixture will be thick but still runny.
  8. Sift the remaining half bag of confectioner’s sugar into the melted marshmallows.
  9. Mix on low until it comes together.
  10. Change to your dough hook attachment as this will get extremely thick.
  11. Fondant will be very thick and have a dough like consistency
  12. Wrap fondant in saran and make sure no air gets to it.
  13. Rest fondant for at least an hour before use.

Raspberry Fondant Filled Bonbons

I figured there must be something I could do while my Rye Bread Part 2a a loaves were proofing. I also figured there must be something I could do with the 4 Tbl of seedless raspberry coulis I had in the fridge. Also, if you remember I want to use more of the 11 lbs of bittersweet chocolate I have, so I decided some nice raspberry fondant filled bonbons would be a good way to kill a couple of hours this morning.

I tempered a cup of chocolate and poured it into one of my molds before draining the extra back into the bowl of liquid chocolate.

While the tempered chocolate was setting I mixed the raspberry fondant. I only made a half recipe but doubled the amount of raspberry coulis and halved the amount of sugar. I wanted the filling to be very soft. The recipe below does NOT reflect my modifications.

Once complete, I piped each chocolate coated well about 2/3rds full and let it set. Once set, I re-tempered the chocolate, poured it over the filled chocolate and let it almost set before scraping the bottom clean. It’s always a challenge to bang the finished chocolates out of the mold, but just keep banging them and eventually they will release.

Raspberry (or any) fondant center

INGREDIENTS
• 2½ tablespoons butter, softened
• 2½ tablespoons light corn syrup
• 1 teaspoon pure vanilla extract
• ¼ teaspoon salt
• ¼ cup seedless raspberry coulis, (but you can use your favorite.)
• 3 cups powdered sugar

METHOD

  1. In the bowl of a stand mixer fitted with the paddle attachment beat the butter, corn syrup, jam, vanilla extract and salt until smooth.
  2. Add the powdered sugar and mix on slow until completely combined. Turn the mixer up to medium and beat the mixture until smooth.
  3. Use the filling right away, or store in the fridge in an airtight container for up to a month. (I have it in a piping bag, sealed on both ends.)

I Ain’t Afraid Of No Ghosts

I was shown a picture of a Jack ‘O Lantern cake, found the tutorial and more of less followed it. It is supposed to be one of those plastic buckets used to collect your spoils during Trick or Treat. I am satisfied with my first attempt. The recipe called for chocolate cake, so I used my Extreme Chocolate Cake. I also used my recipe for buttercream frosting and marshmallow fondant.

While a little time consuming, most of the individual elements can be prepared well in advance. I made the cakes almost a week early and frozen them. When thawed they are every bit as good as fresh. Fondant needs to rest overnight and buttercream will stay in the fridge for several days before use.

Mark a 4” circle on the top and the mid-point down the cake. Try your best to carve a half a sphere, evenly around the center of the cake. I put a 4” flat plastic disk to serve as a base. The QC department suggested the top of a round plastic storage container that worked perfectly. Take a deep breath, hold the cake tight and flip it end for end. Repeat the same carving on what will now be the top of the cake, making a perfect sphere, or in my case a slightly distorted, but acceptable, ovoid.

  1. Make the cakes and cool, or if frozen, let warm to room temp.
  2. Mix the buttercream.
  3. Before coloring I set a piping bag full aside to frost some birthday party cupcakes I made.
  4. Frost between the layers, smooth any seepage and refrigerate overnight.
  5. Carve the cool cake and crumb coat, back to the fridge.
  6. Frost the cake and yup, refrigerate again.
  7. Make the marshmallow fondant, break off some of the un-colored fondant and set aside.
  8. Knead in the orange food coloring. Protect your work surface to avoid stains. I like to wear gloves for this.
  9. Knead black food coloring for the face into the white piece set aside.
  10. Find a face you like, or draw your own.
  11. Cut it out, pin it to the cake and cut out holes for the black fondant.
  12. Cut the black fondant to fit the template and fit into the holes on the cake.
  13. Cut a 4” circle on the top about 1/2” deep and line with fondant. (Which ever color you have left over.)
  14. Roll a piece of black fondant out into a long trip. Lay a piece of wire on it and wrap with the fondant, leaving a couple off inches of wire uncoated. Push the clean ends into each side of the top opening.
  15. Place a few pieces of wrapped candy in the shallow hole on the top.
Halloween/Birthday Cupcakes

How Would You Like to be Queen for a…

Double birthday celebration tonight!! Esther and Ilayne are just a day apart and as tonight was Book Club night it was a perfect time to celebrate both. In keeping with the theme of the event (no woman considers herself less than a princess) I thought a tiara on a pillow cake would be perfect.


First the tiara as it takes a couple of days to make. I found an online tutorial which showed how to make the tiara. I found a pattern that I liked, copied it and enhanced and printed it.I wrapped it around a plastic Tupperware type bowl and covered it with waxed paper, piped Royal Icing (appropriate, I think) using a #1 tip to follow the lines. Letting it dry for at least 2 hours I added a second layer being sure all the contact points were well connected. If you don’t do that the tiara will be to fragile to move. When the second coat is complete, leave it on the bowl for at least a day to dry completely. Carefully remove it and airbrush it with a silver edible paint. When that is dry I added the rubies by painting the areas with red gel food coloring. When everything was dry I dusted it with some silver to make it sparkle.Make two 9″x2″ cakes and bind them together with some chocolate ganache.
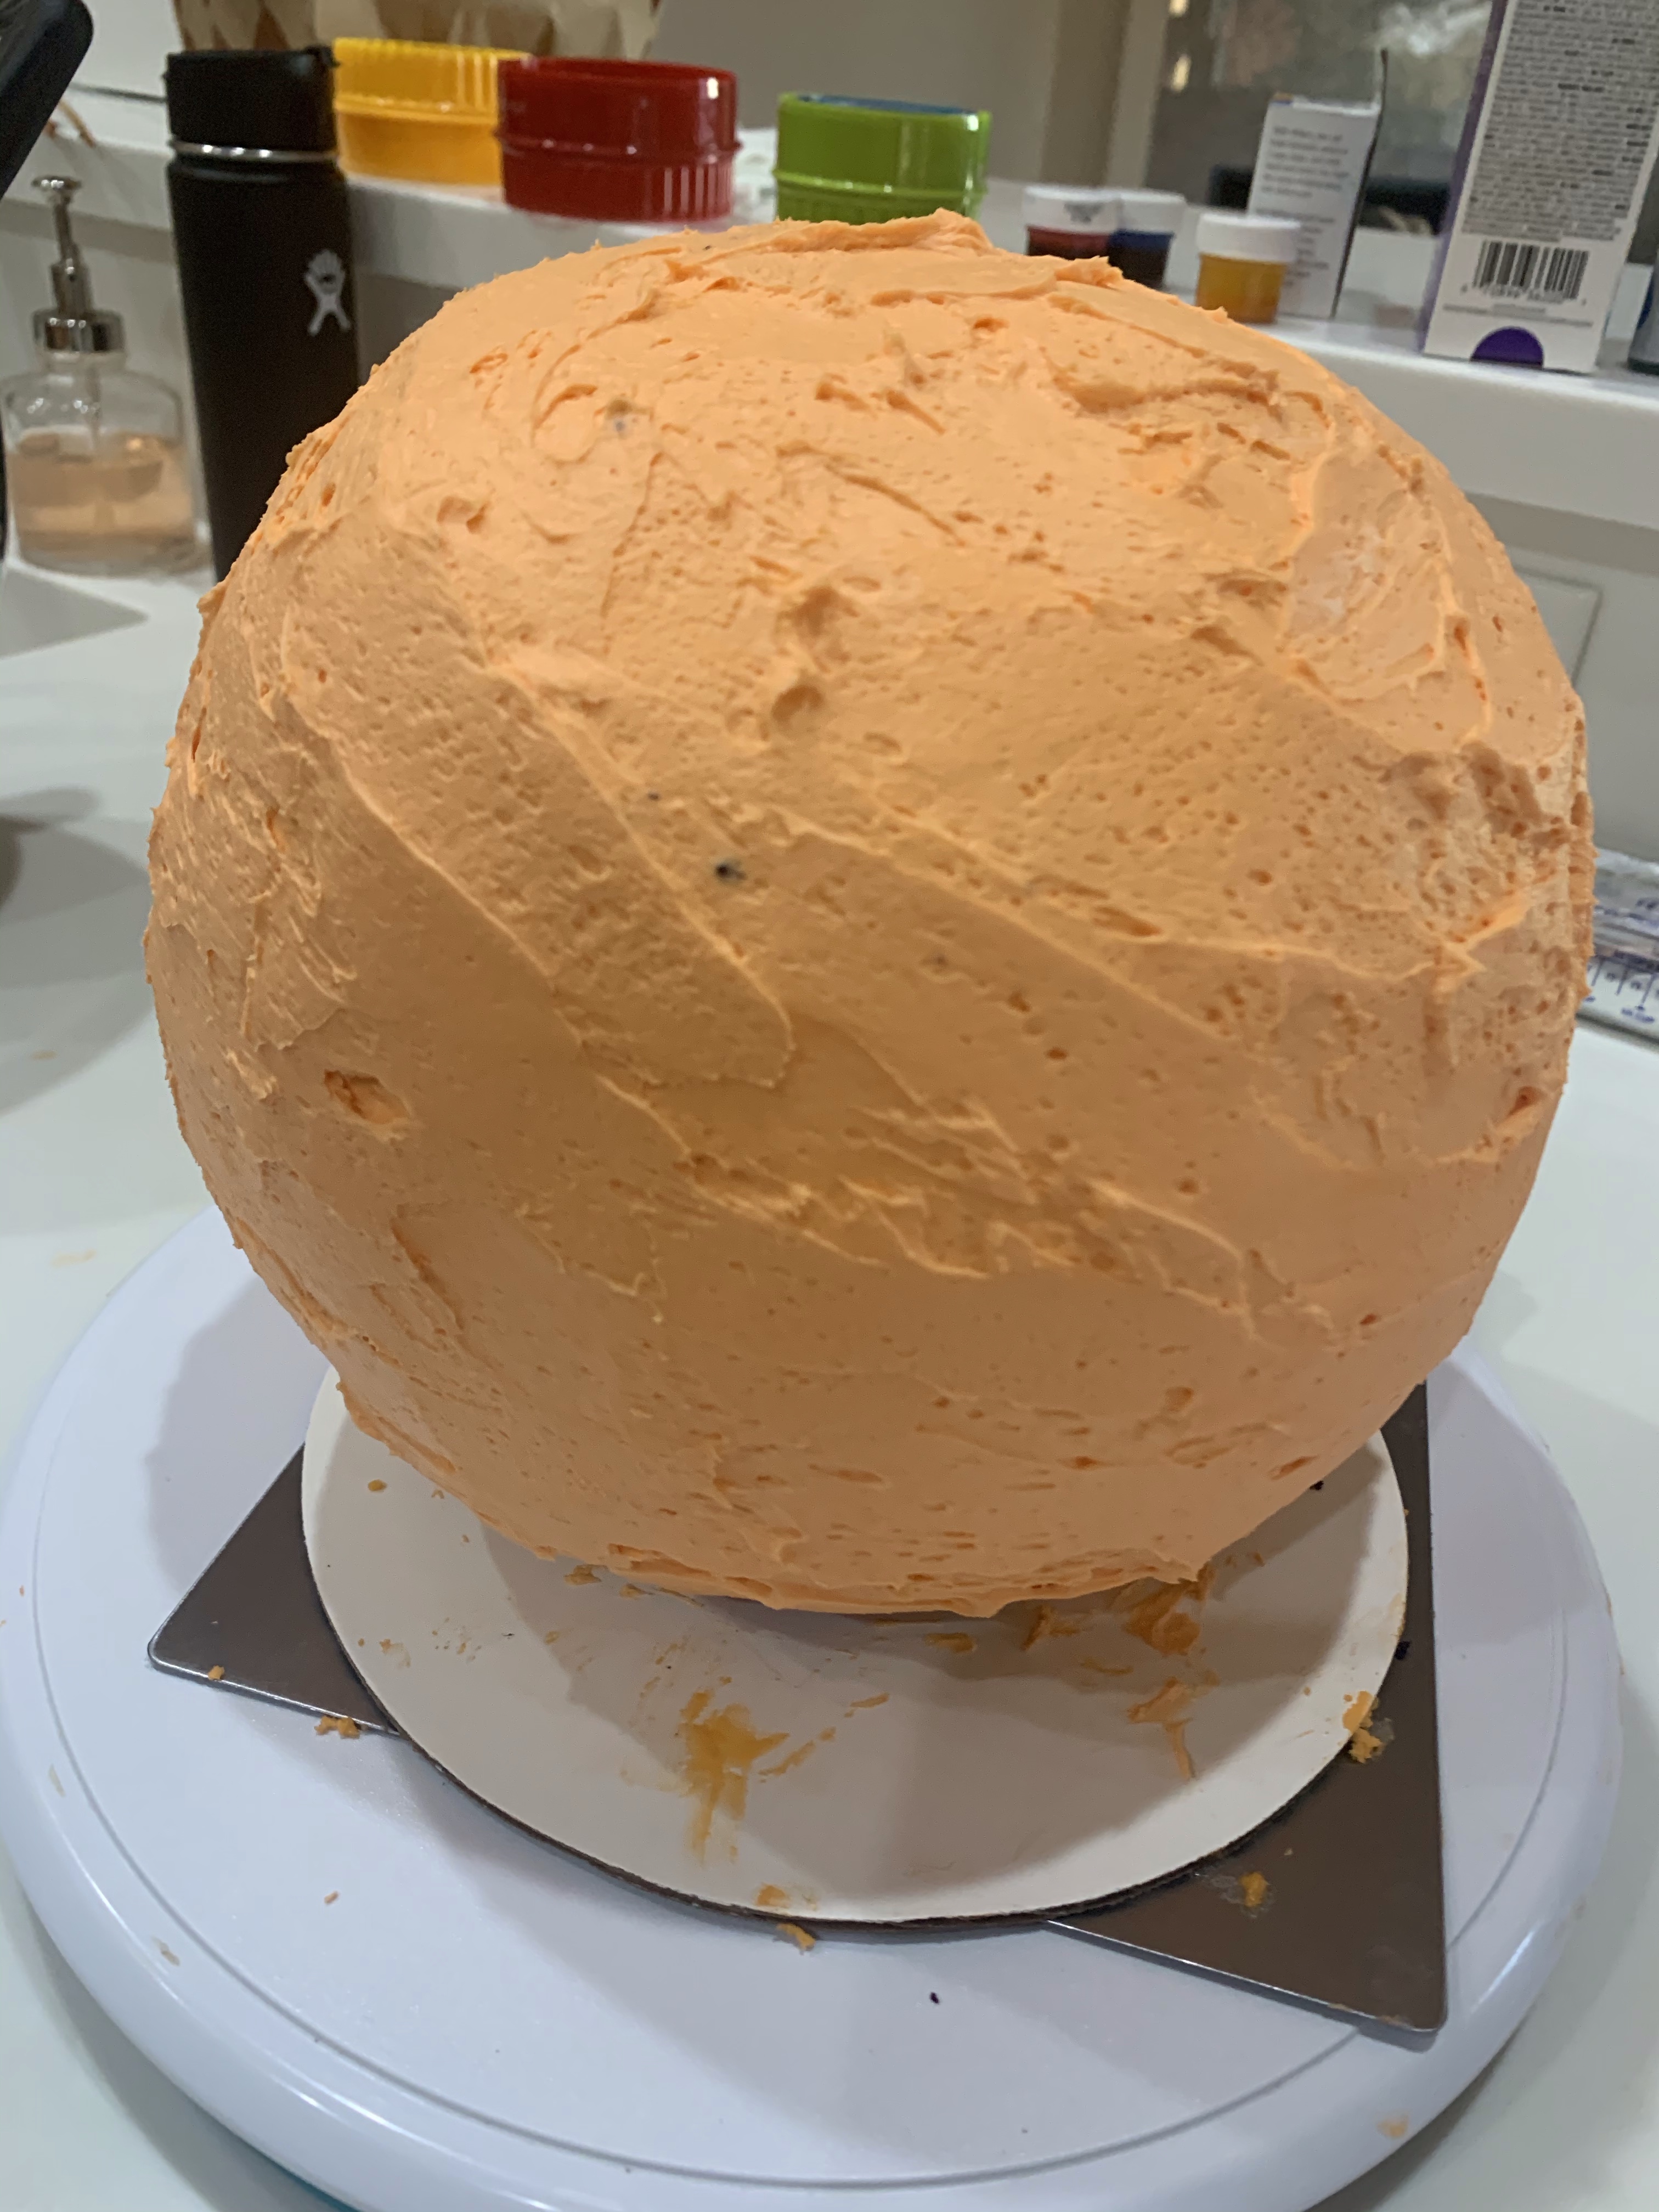
Freeze the cake overnight. To sculpt the cake place tooth picks in the center of each side, about one inch from the edge and cut a smooth curve from each corner, through the toothpick to the next corner. When completed, shave some of the cake away from the edges to make the rounded pillow look. Use some buttercream frosting to crumb coat the cake then put it back in the fridge to set. After a few hours I like to smooth it off with my gloved hands so the cake will have a very satiny finish.

Knead coloring into a large piece of fondant (about the size of your fist.) Roll the fondant until it is very thin and drape around the cake. Overlap the bottom to be sure it holds together and trim the rest. I used the remainder to cover the small 6″ crumb coated cake I used as the base. I airbrushed some pearl dusting to give the fondant a satin finish.

Let this sit for a while to dry, then using some more butter cream frosting (dyed pink this time) I piped the seams and tassels of the pillow. Finally with white butter cream I piped the names of my two royal princesses, Esther and Ilayne.

From what I heard it was well received. They seemed to love that they could eat the tiara… go figure!

East is left and West is right

and who-da-thought they would meet for Thanksgiving at our house in 2011. Faced with the dilemma of having Republican political consultants and still newly weds Daniel and Frances home for Thanksgiving and tree-hugging lefty pinko liberal Fran’s birthday the same week, what cake do I make for their anniversary and birthday? Not having been born just yesterday I realized I needed to make two cakes.

The elephant cake for Daniel and Frances was my standard chocolate cake crumb coated with butter cream frosting and covered with white fondant.

The donkey (see how nice I am to use that descriptor?) was white velvet again crumb coated with butter cream and covered with fondant.

The emblems were carved from fondant and painted the traditional colors.

The stars both on the emblems and around the base were piped with red, white and blue colored butter cream frosting

The white velvet cake recipe are found at: I am not on the white velvet ropes yet!

Chocolate Cake

Ingredients

  • 2 cups white sugar
  • 1 3/4 cups all-purpose flour
  • 1/4 cup unsweetened cocoa powder
  • 1/2 cup dark unsweetened cocoa powder
  • 1 1/2 teaspoons baking soda
  • 1 1/2 teaspoons baking powder
  • 1 teaspoon salt
  • 2 eggs
  • 1 cup milk
  • 1/2 cup vegetable oil
  • 2 teaspoons vanilla extract
  • 1 cup boiling water

Directions

  1. Preheat oven to 350 degrees F (175 degrees C). Grease and flour two 9 inch cake pans.
  2. Use the first set of ingredients to make the cake. In a medium bowl, stir together the sugar, flour, cocoa, baking soda, baking powder and salt. Add the eggs, milk, oil and vanilla, mix for 3 minutes with an electric mixer. Stir in the boiling water by hand. Pour evenly into the two prepared pans.
  3. Bake for 30 to 35 minutes in the preheated oven, until a toothpick inserted comes out clean. Cool for 10 minutes before removing from pans to cool completely.

Hall of Famers don’t hit home runs every time…

Not every at bat will be a homer, some are base hits, sometimes you strike out.

Last night was an extra base hit. The flavors were good, the presentation adequate

but, for me, it lacked snap. The mahi-mahi recipe was good, not great. I won’t do it again and won’t post the recipe. The rice was very good (thanks to Keith B.) The dessert was a cake I saw online. Again the flavor was good but the presentation – no so much.

Rice: Cut corn from a fresh ear and saute in a little butter and EVO until tender. Boil about 3/4th’s cup of water with 3-4oz of tomato juice. Remove from heat, add rice, corn and a little cut cilantro. Let the rice soak up the liquid and fluff with a fork.

The chocolate rolls were excellent (tasted like tootsie roll) made from chocolate fondant and white gum paste. Full disclosure: usually I make my own fondant and gum paste, but I have not been able to make a good chocolate fondant. I bought this at Michael’s.

rolled together, cut into rectangles and rolled up loosely. The cake was too high for what it was. The layers should have been half as high, 1/2″ rather than 1″. the cake would have been lower resulting in smaller portions but easier to balance.

Cake: the cake is a white velvet made in a jelly roll pan.

  • 1/2 cup shortening
  • 1 1/2 cups white sugar
  • 2 1/2 cups all-purpose flour
  • 3 teaspoons baking powder
  • 1 teaspoon salt
  • 1 cup milk
  • 3 egg whites
  • 1 teaspoon vanilla extract
  1. In a small bowl, sift 2 1/2 cups flour, baking powder, and salt together and set aside.
  2. Blend shortening and 1 1/2 cups sugar. Mix in the flour mixture. Add 3/4 cup milk; beat for 2 minutes. Add egg whites, 1 teaspoon vanilla and 1/4 cup milk. Beat well.
  3. Grease and flour 8 1/2 x 12″ Jelly Roll pan. Pour the batter into the pans.
  4. Bake at 350 degrees F (175 degrees C) for 30 to 35 minutes. Cool cake layers on a wire rack
The chocolate base for the cake is made by melting 2 squares of semi-sweet chocolate ( I use a double boiler) and adding 2 or 3 tablespoons of HOT heavy cream. Mix it well and when still hot and pliable spread a thin layer on waxed paper. The size should be about 1/3rd of the size of your cake pan.
Cut the cake into thirds so each will be about 8″ x 4″. Place the lower layer in the still warm chocolate. Frost the top of that layer with butter cream frosting. Add the second, and third layers with frosting in between.
I tried a number of ways to make the orange drizzle frosting. The easiest was to melt some apple jelly, add some orange essence and some orange food coloring. The best tasting was to mix 1/4 cup filtered orange juice (running through a coffee filter clarifies the OJ), adding 1 cup sugar and 1/2 packet of gelatin. I may want to cut back on the gelatin. bring it all to a boil then refrigerate until thick. Spread over the top letting it drizzle down the sides. Make a little royal icing (1 tsp meringue power, 1/2 cup powered sugar and 1 – 2 tablespoons warm water, depending on how thick you want the icing) and “glue” a chocolate roll on each piece of cake using the royal icing. Note: one of mine would not stick to the orange glaze so I pushed a toothpick through the icing into the cake.
Why is a nice easy chicken parmigiana, linguine and maybe a chocolate souffle sounding good to me? Or maybe wings at Bru’s room.