While on our anniversary/baseball stadium journey we stopped by King Arthur Baking in Norwich Vermont. This is my second time at this wonderful store and THIS time, I controlled myself and left after spending less than $100. Whew!
KAB sends me weekly recipes and I received this one while back east. I knew I had blackberries on the vine back home and couldn’t wait to give them a try. The wait was worth it!


KAB calls these “easy” jam bars and they are not incorrect. (Deliberate use of the double negative.)


https://www.kingarthurbaking.com/recipes/berry-easy-jam-bars-recipe
Berry Easy Jam Bars
INGREDIENTS
Dough
• 2 1/4 cups (270g) King Arthur Unbleached All-Purpose Flour
• 1 cup (89g) old-fashioned rolled oats*
• 1/2 cup (106g) light brown sugar, packed
• 1/4 cup (50g) granulated sugar
• 1 1/4 teaspoons baking powder
• heaping 1/2 teaspoon table salt
• 15 tablespoons (212g) unsalted butter, melted
• *Or substitute 1 cup (113g) King Arthur Rolled Oats.
Filling
- 1 pound (454g) blueberries, raspberries, and/or blackberries (try 2 cups blueberries, 1/2 cup blackberries, 1/2 cup raspberries)
- 1/2 cup (106g) light brown sugar, packed
- 3 tablespoons (23g) King Arthur Unbleached All-Purpose Flour
- zest and juice from 1 lemon*
- 1/2 teaspoon cinnamon
- pinch of table salt
*Aim to use about 2 tablespoons (28g) of fresh juice from the lemon.
Topping
- 1 1/2 teaspoons granulated sugar
- 1/4 teaspoon cinnamon
METHOD
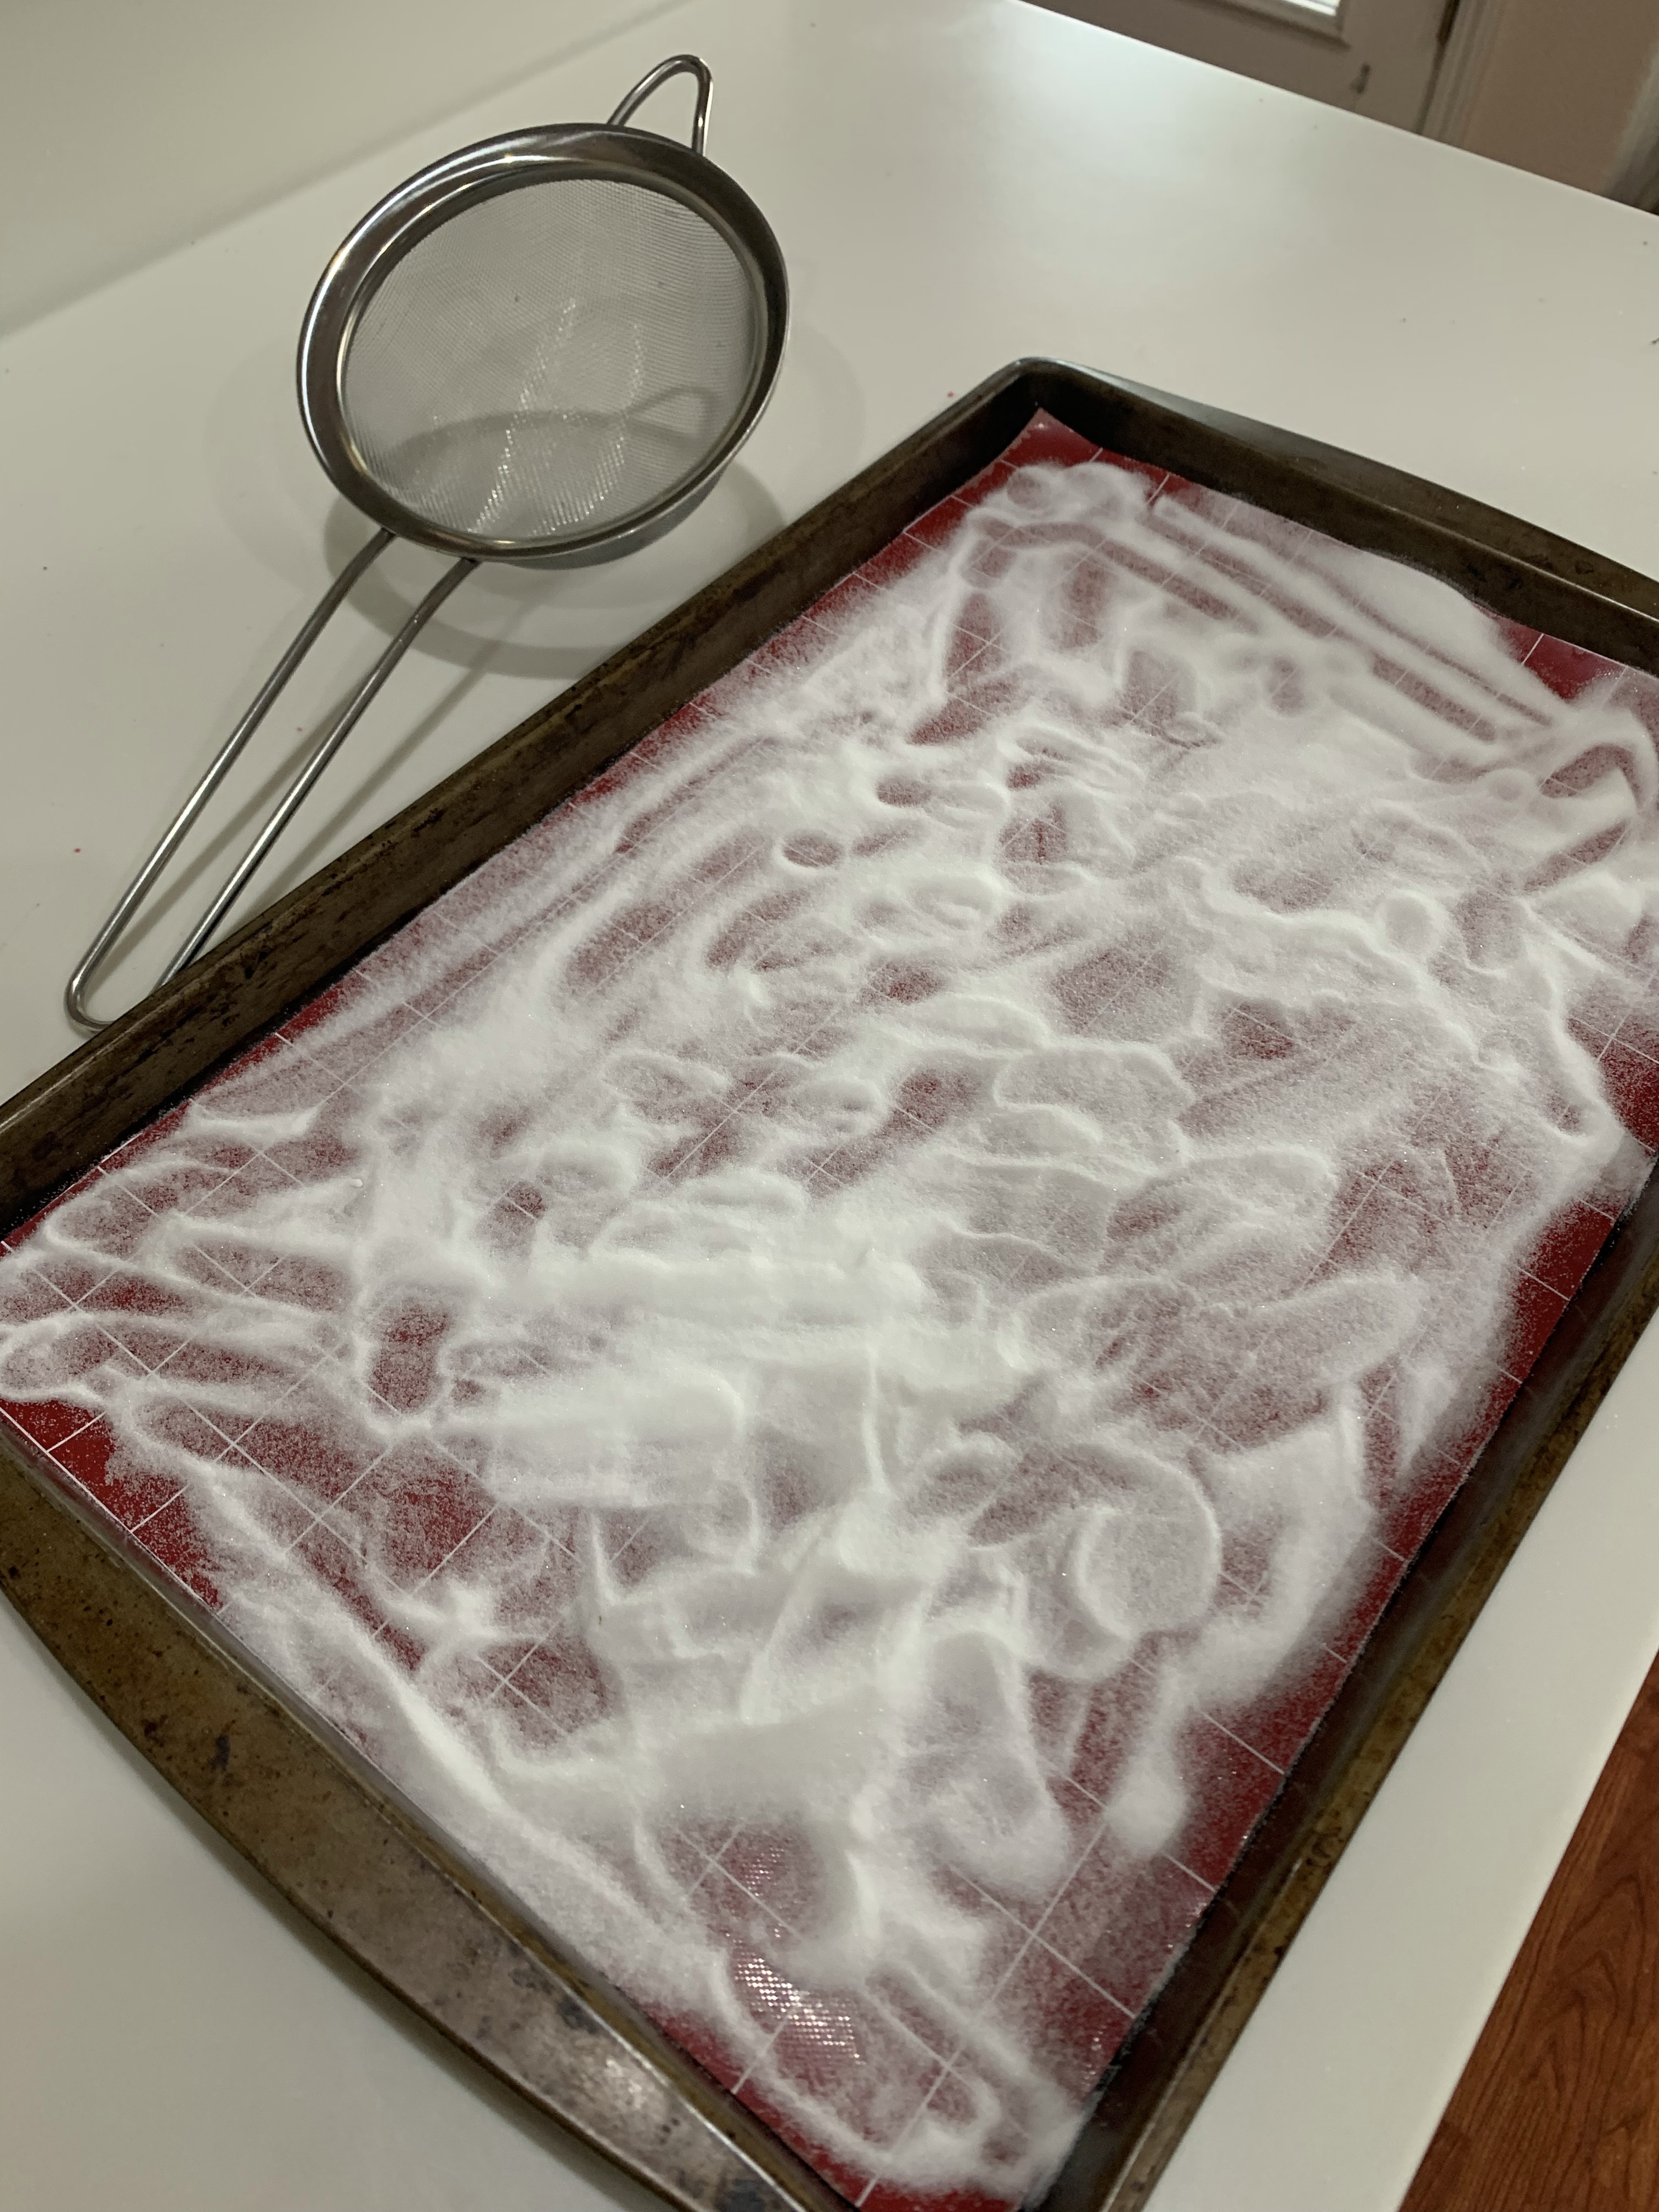
- Preheat the oven to 375°F with a rack in the center. Line an 8″ pan with parchment on all sides, then lightly grease.
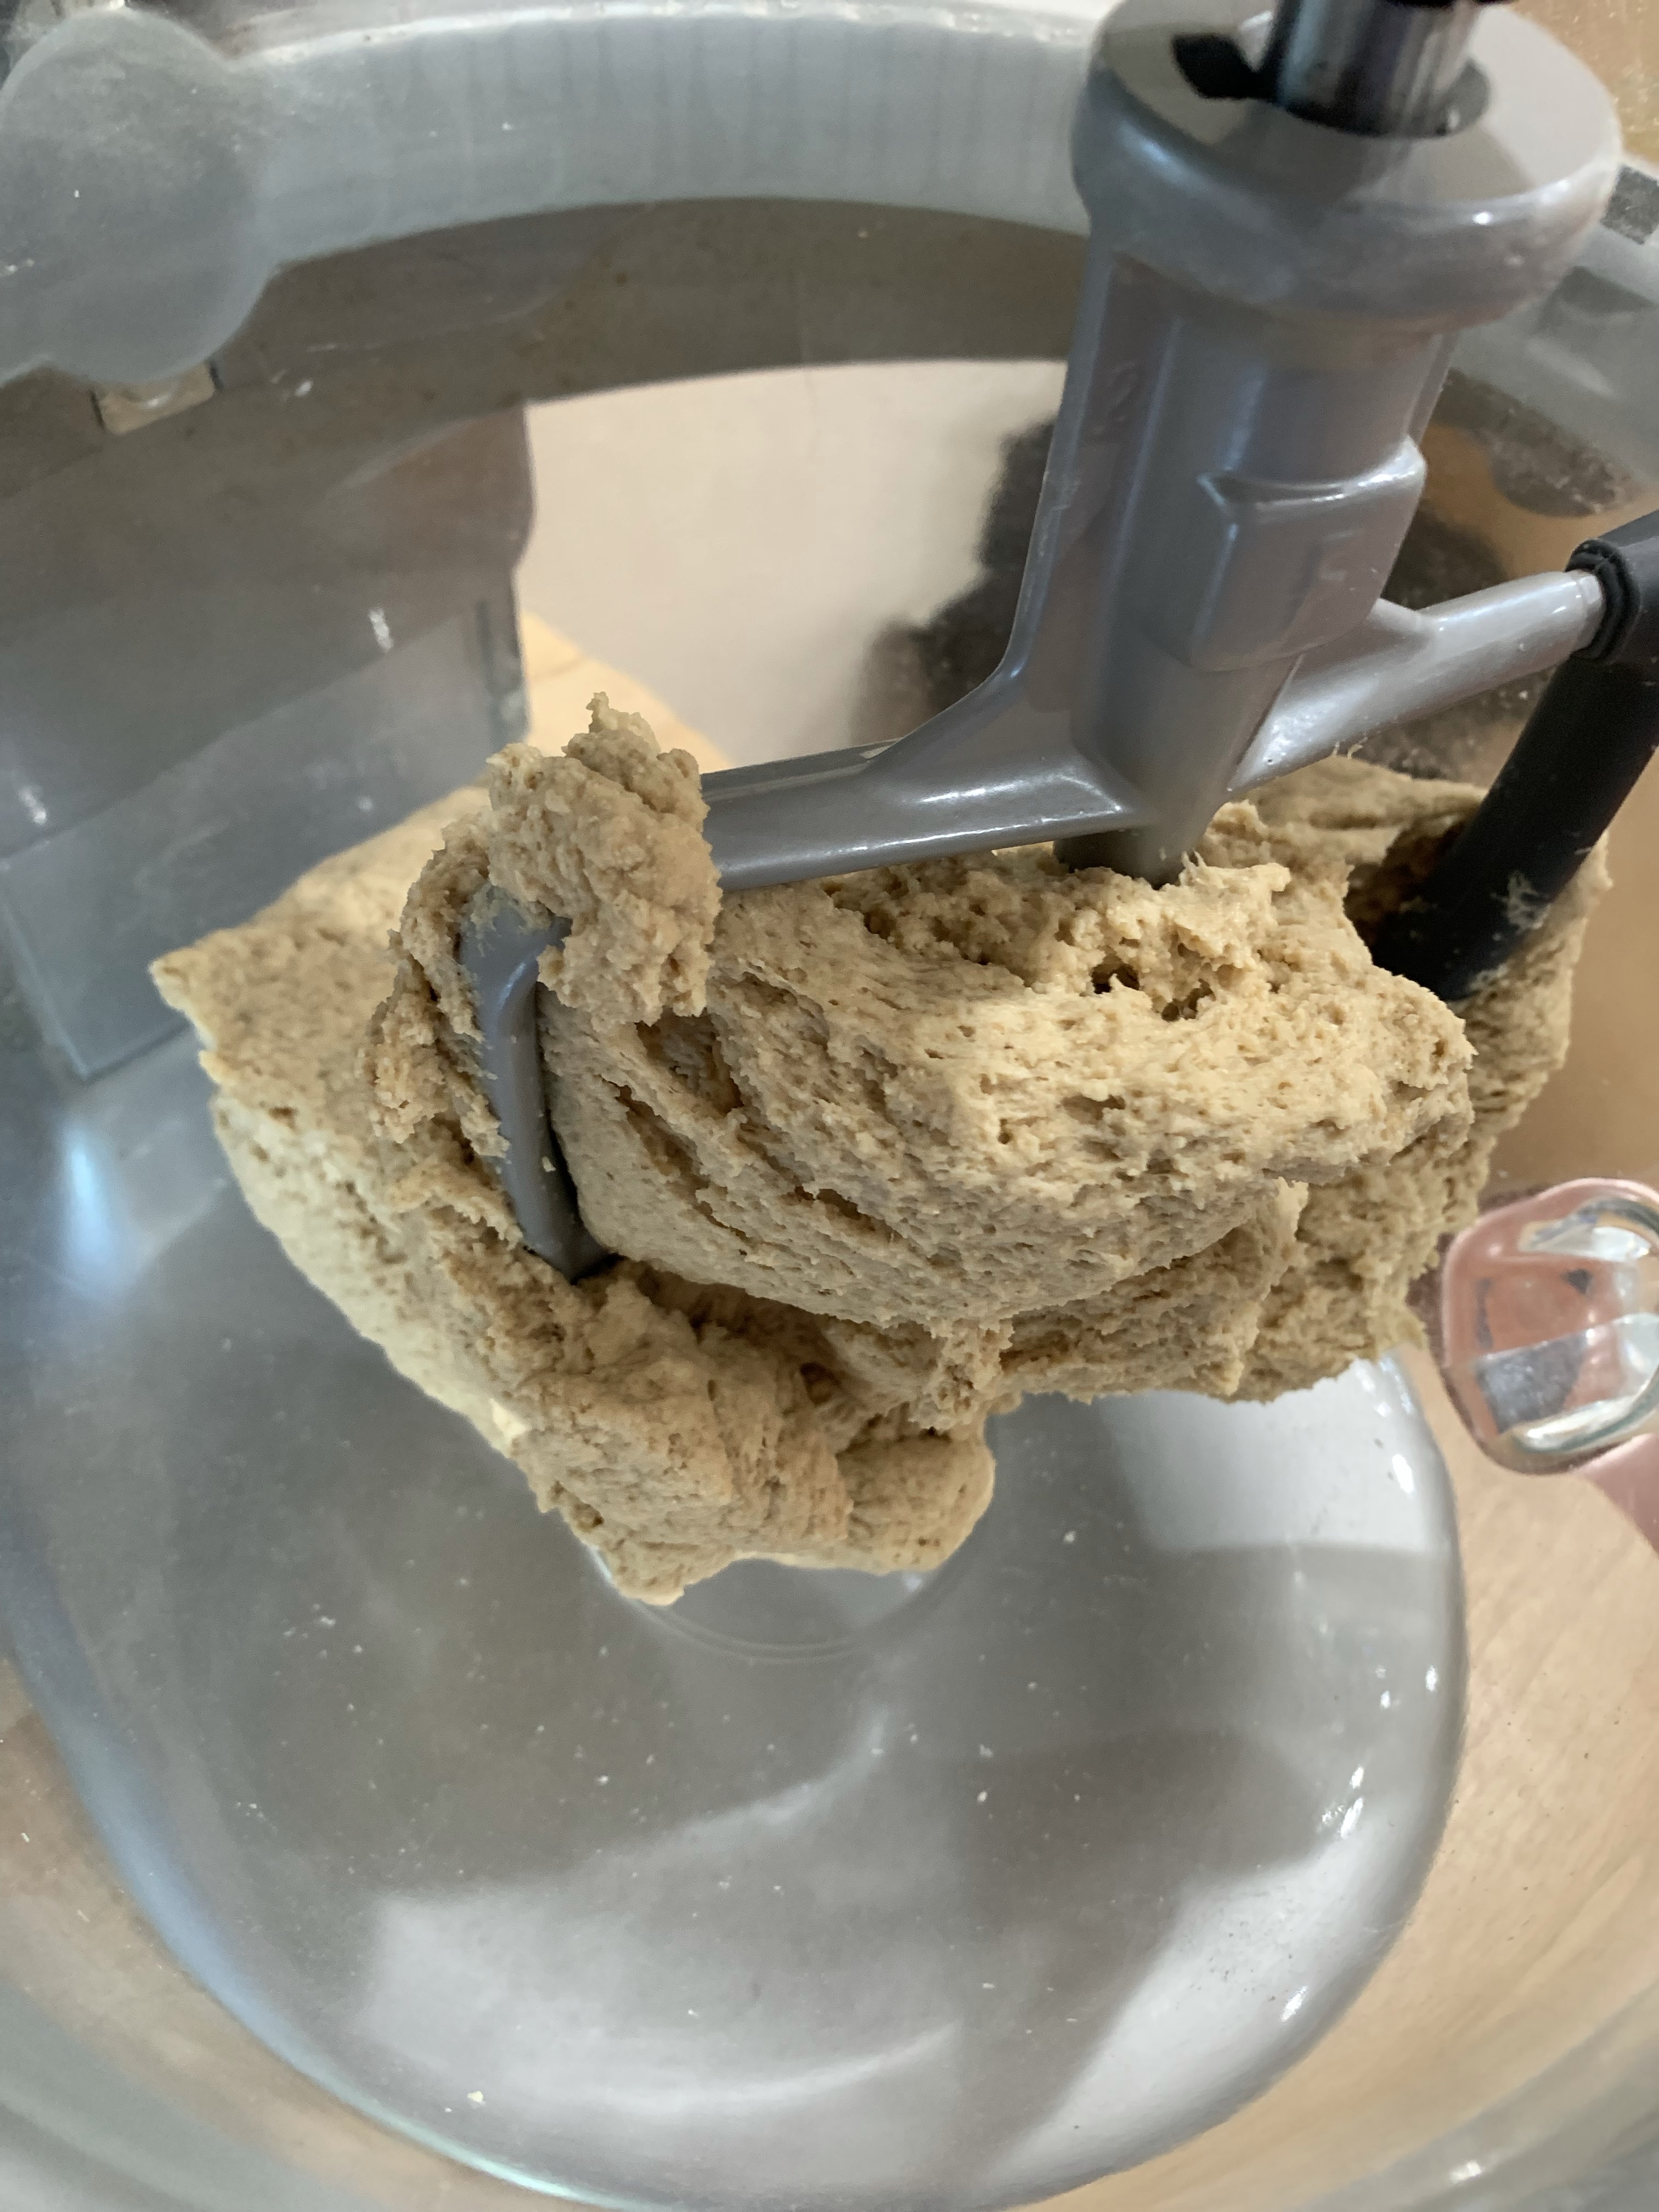
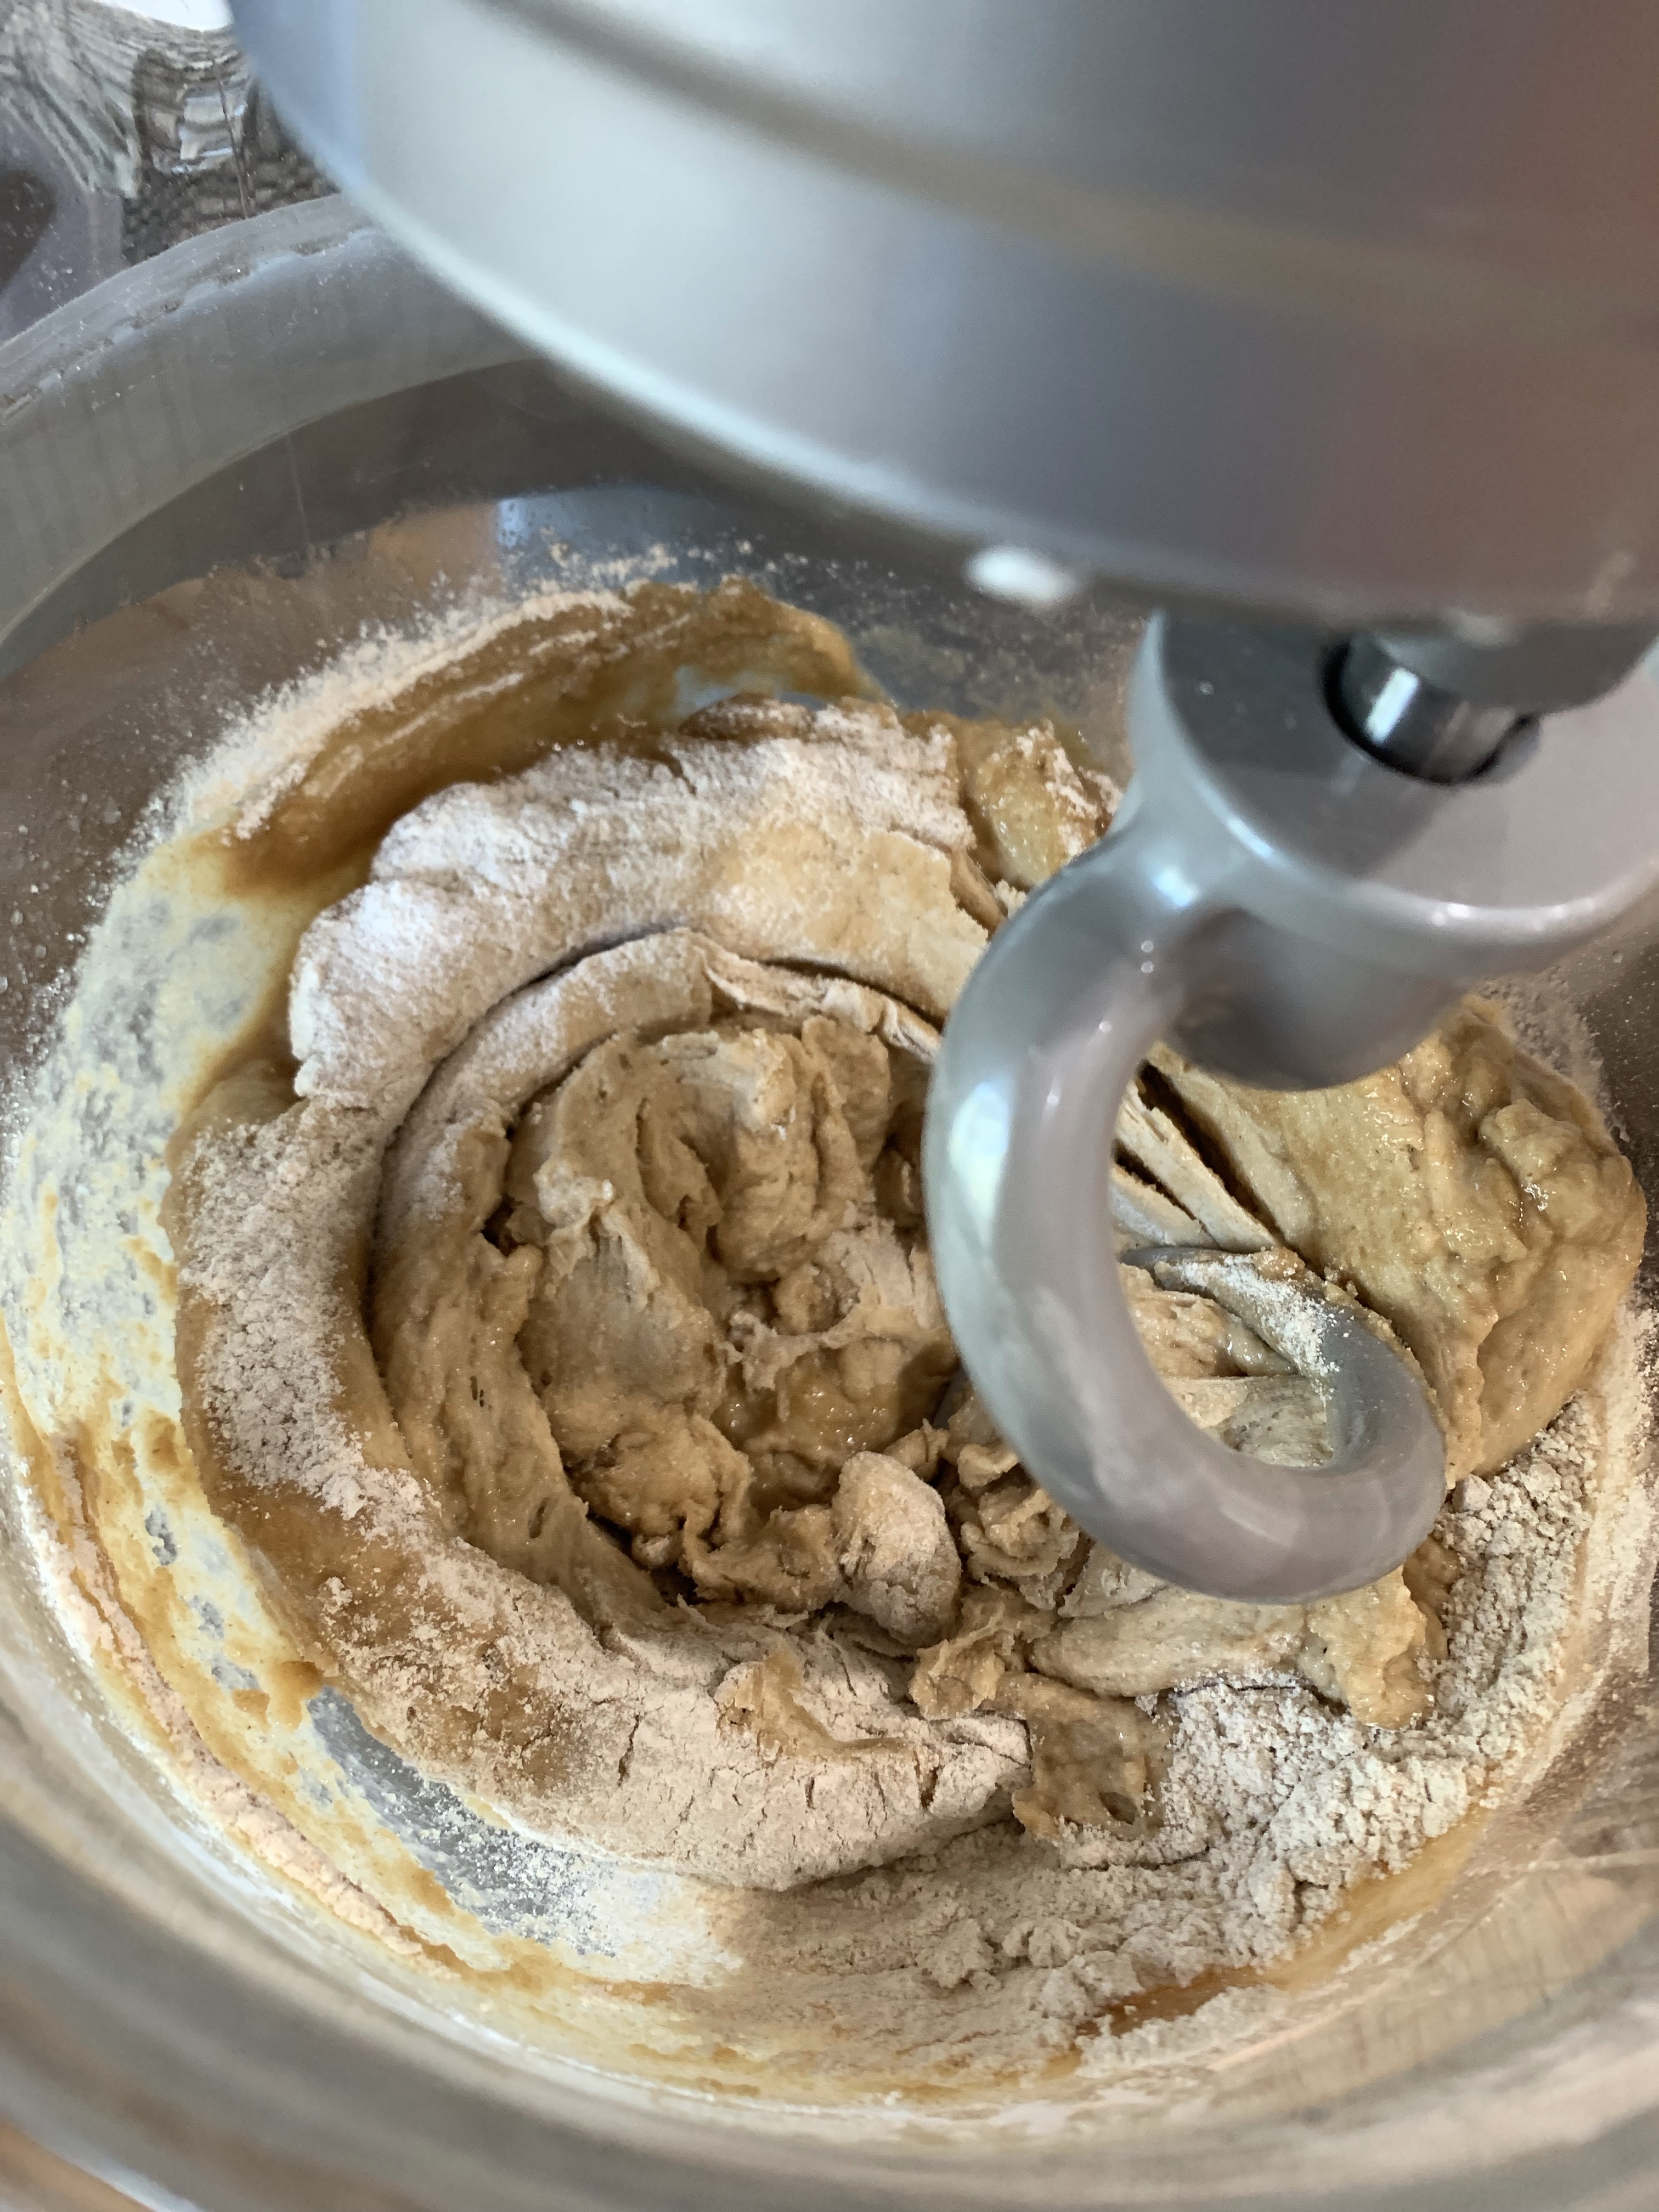
- In a large bowl, whisk together all of the dough ingredients except the butter. Use your fingers or a spoon to break up any brown sugar lumps. Add the melted butter and stir until fully combined and smooth.
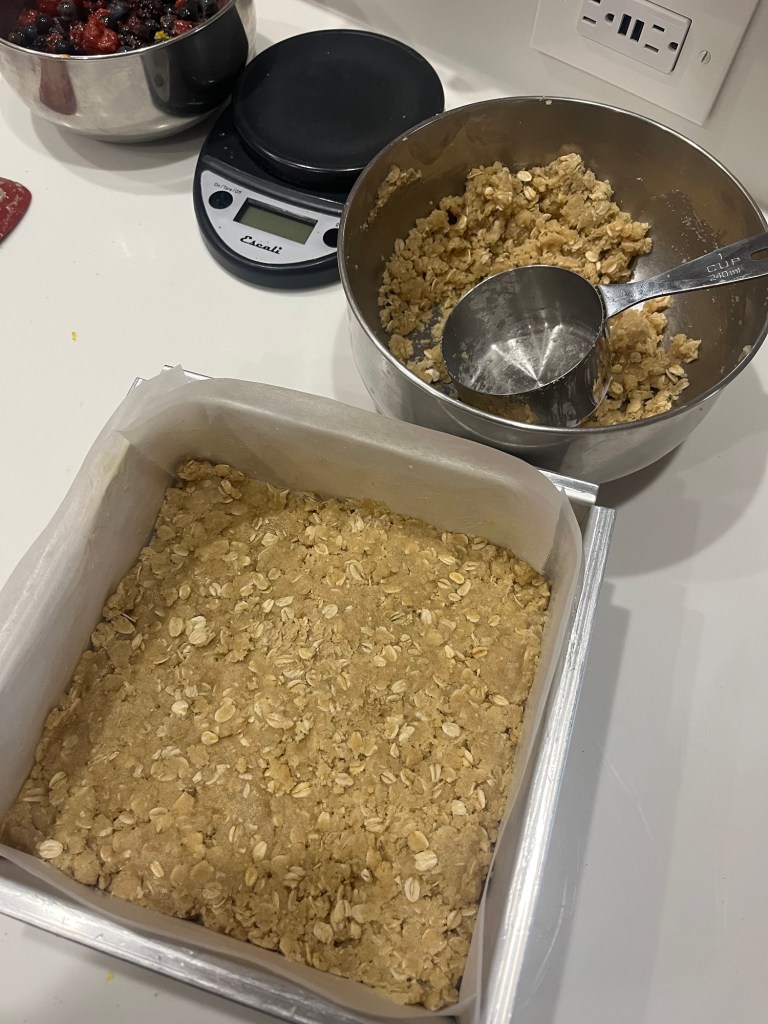
- Transfer about 2/3 of the dough (roughly 2 2/3 cups or 485g) to the prepared pan and press into an even layer.
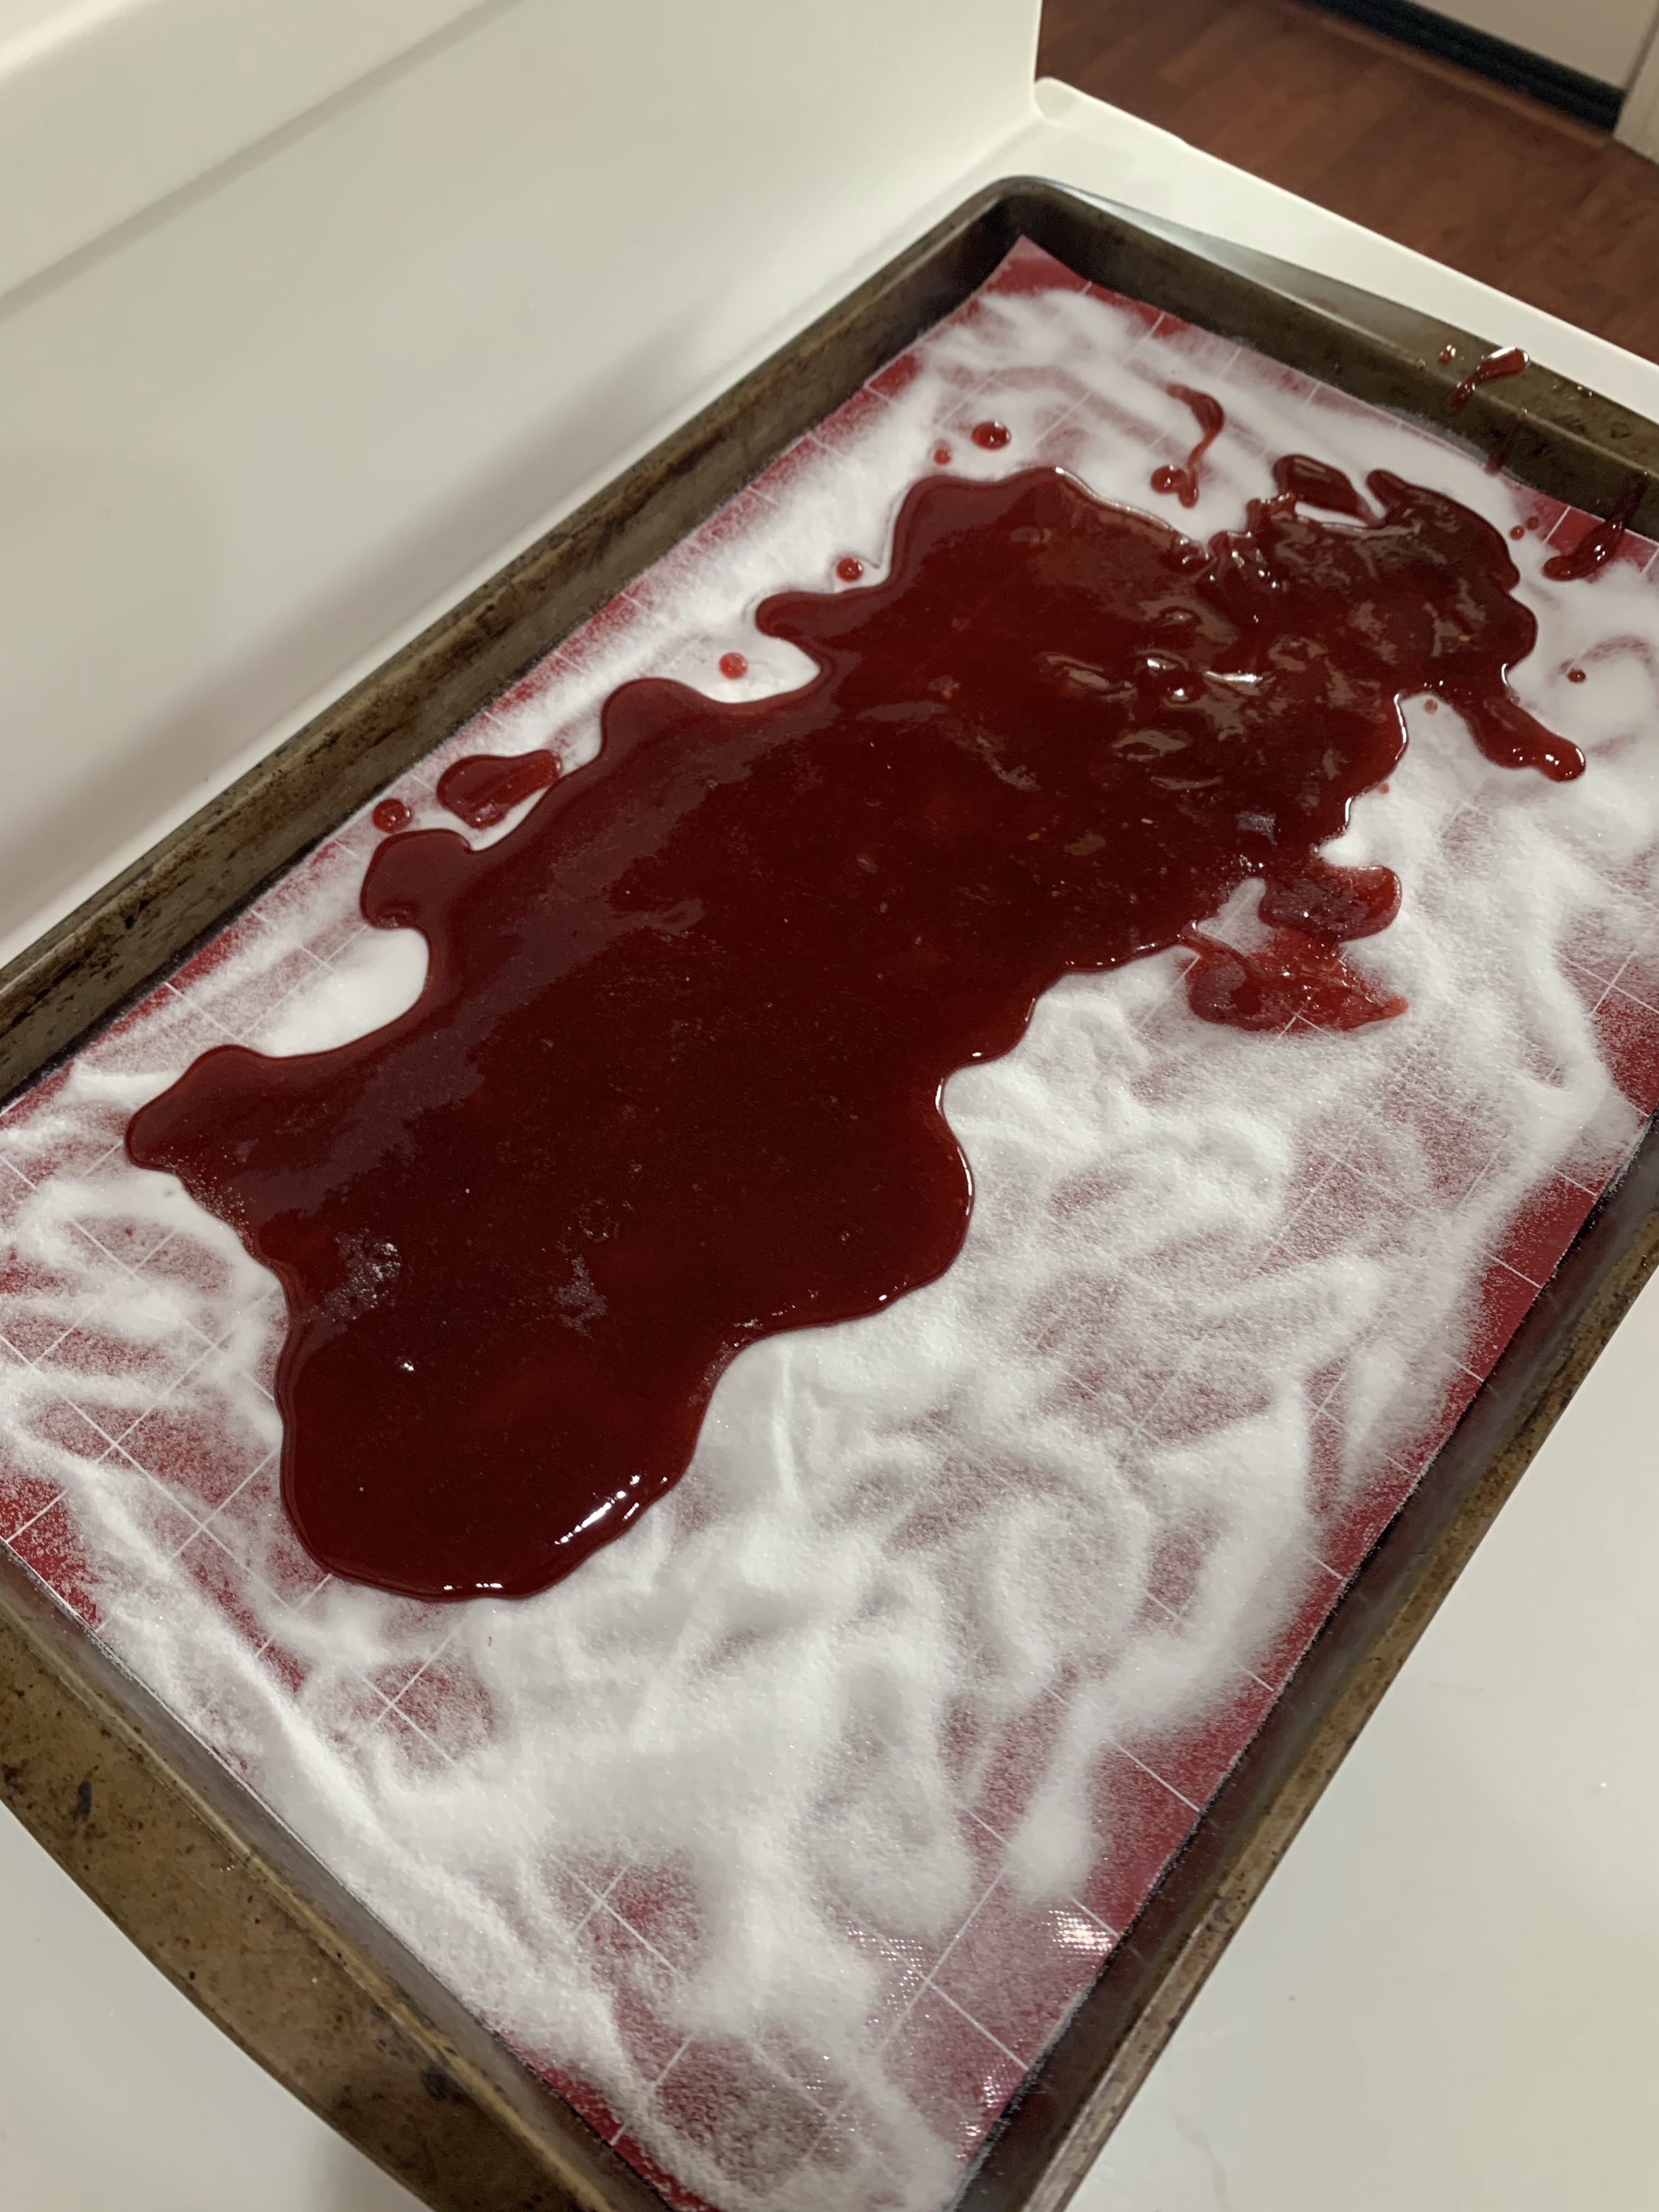
- In another large bowl, gently mix together all of the filling ingredients until the berries are evenly coated. Transfer the fruit to the pan and distribute it into an even layer.
- Crumble the remaining dough (about 1 1/3 cups or 240g) over the berries; squeeze the dough together to make bigger clumps or tease it apart for finer crumbles. (Even coverage is not important at this step.)
- In a small bowl, combine the topping ingredients. Then sprinkle the cinnamon sugar evenly over the top of the bars.
- Bake the jam bars for 50 to 55 minutes, covering the pan with foil if the top is browning too quickly, until the berries are bubbling and the topping is baked through.
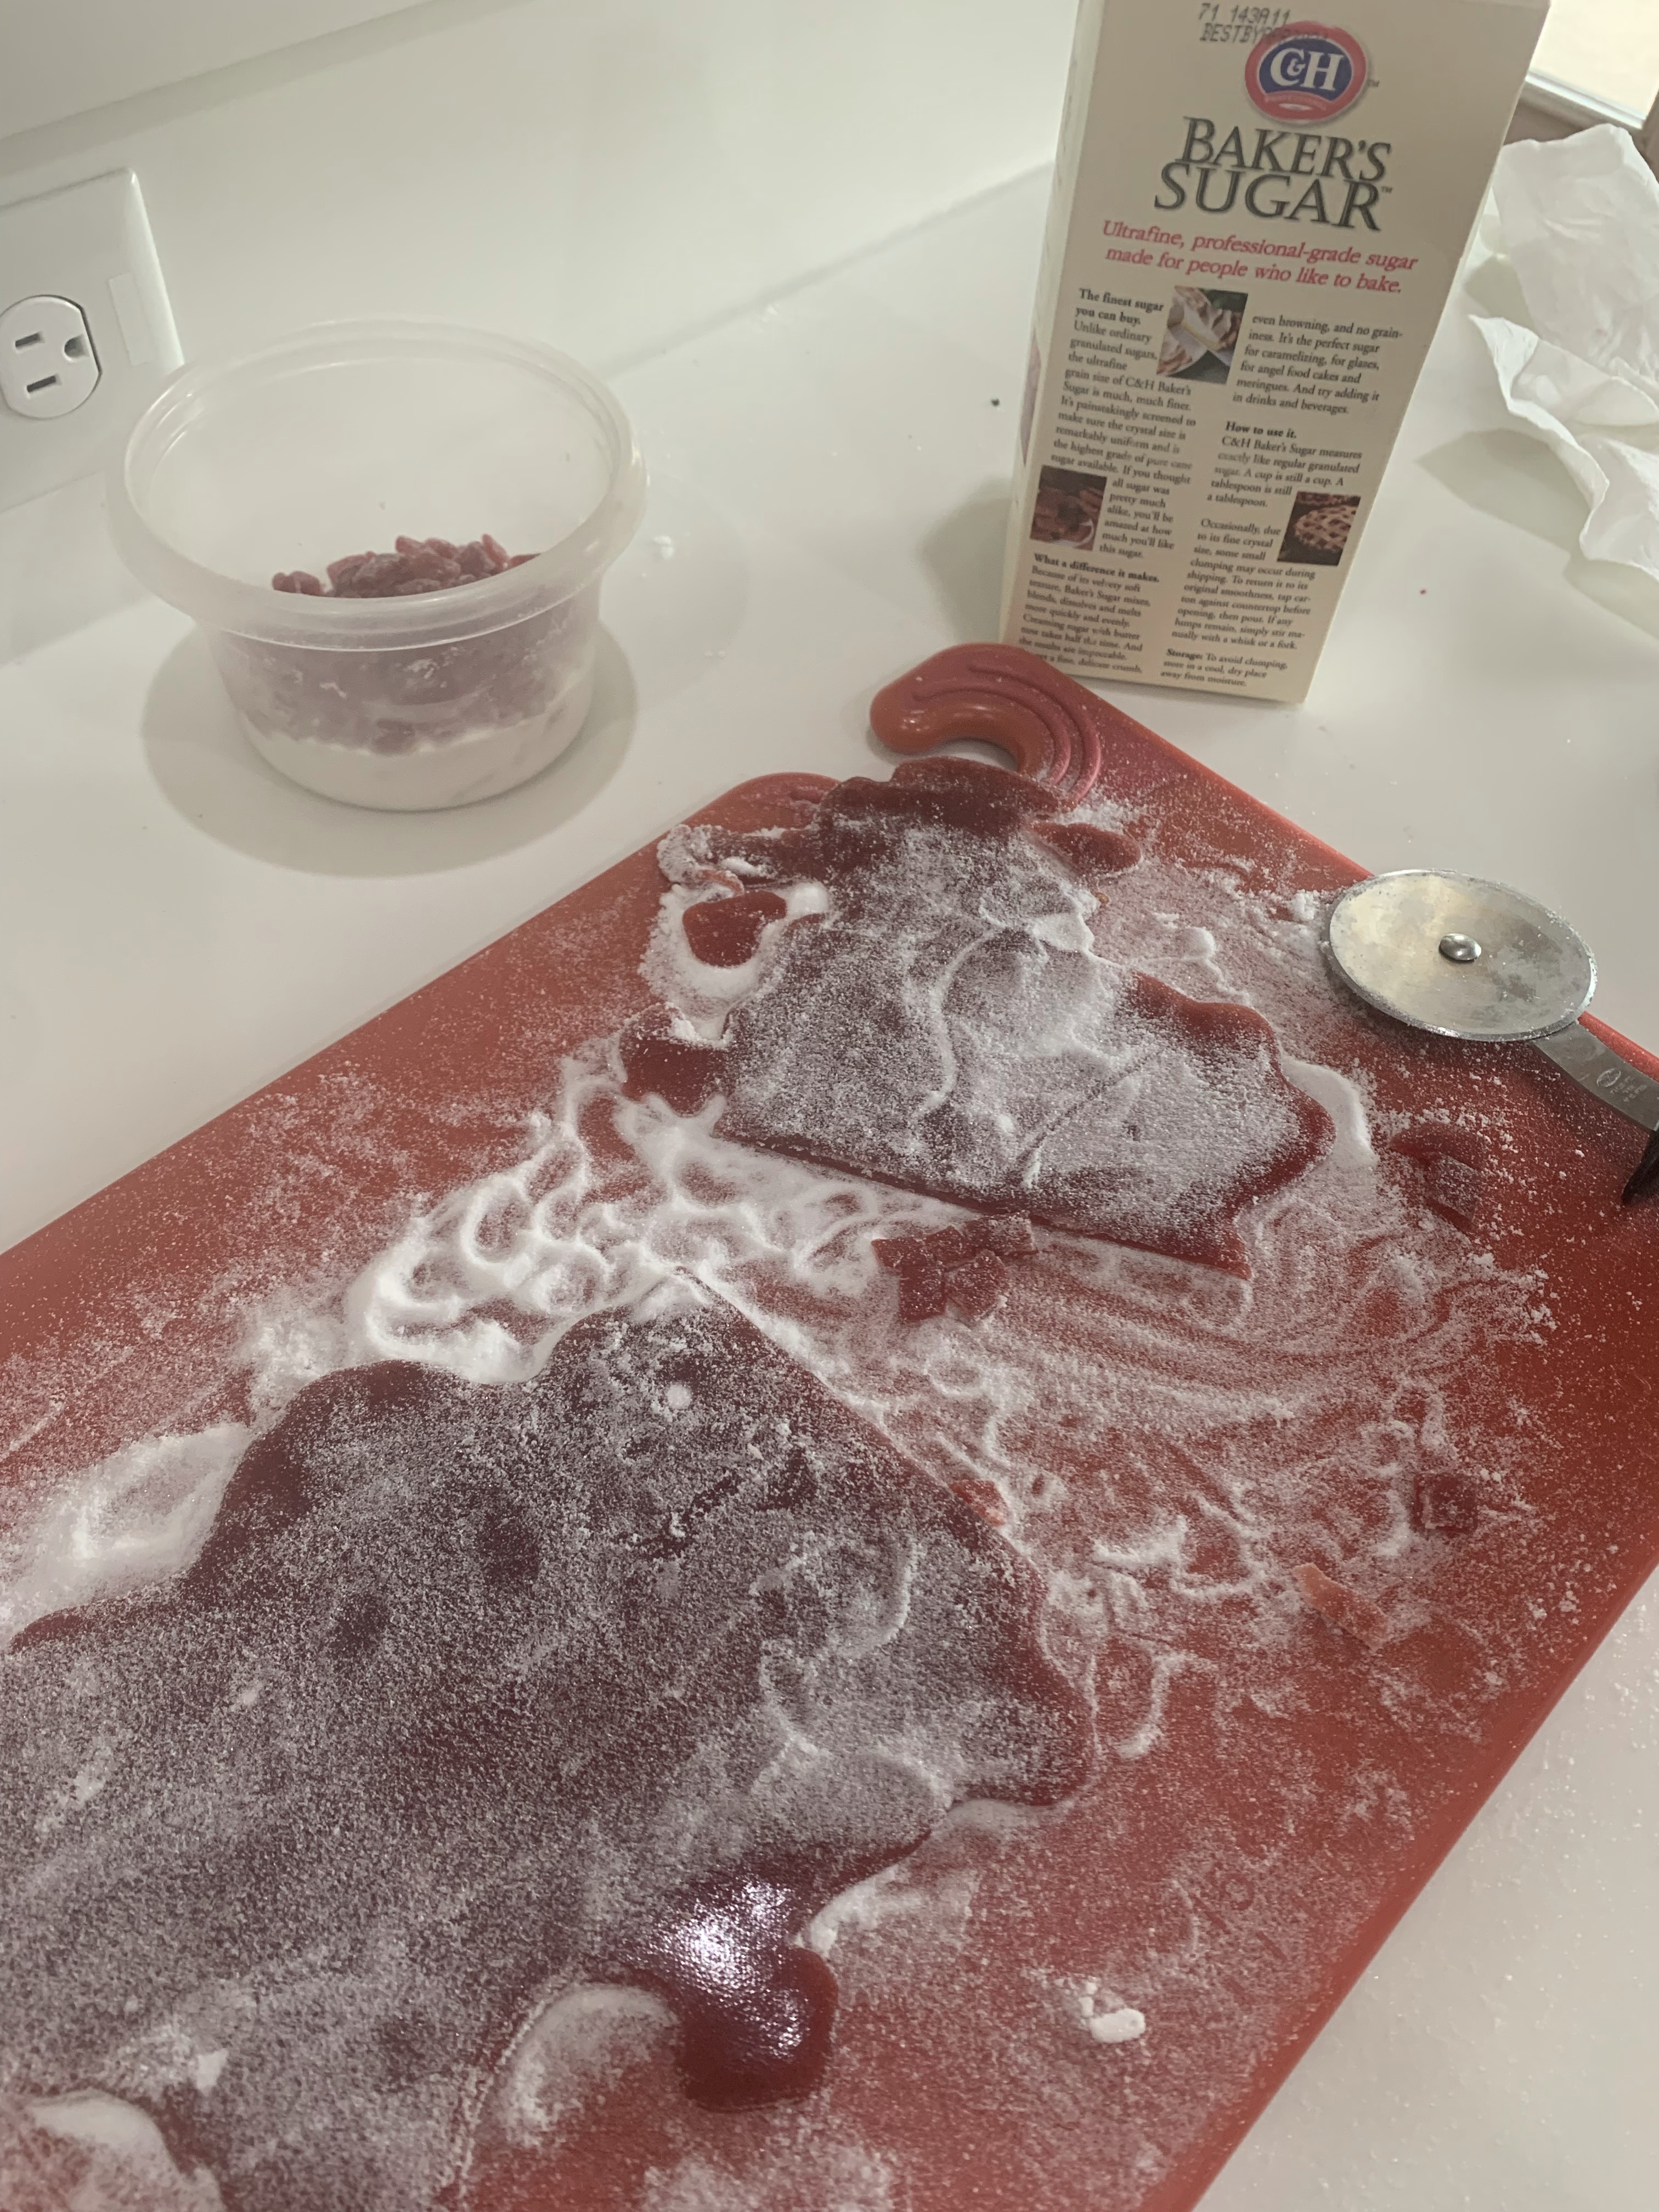
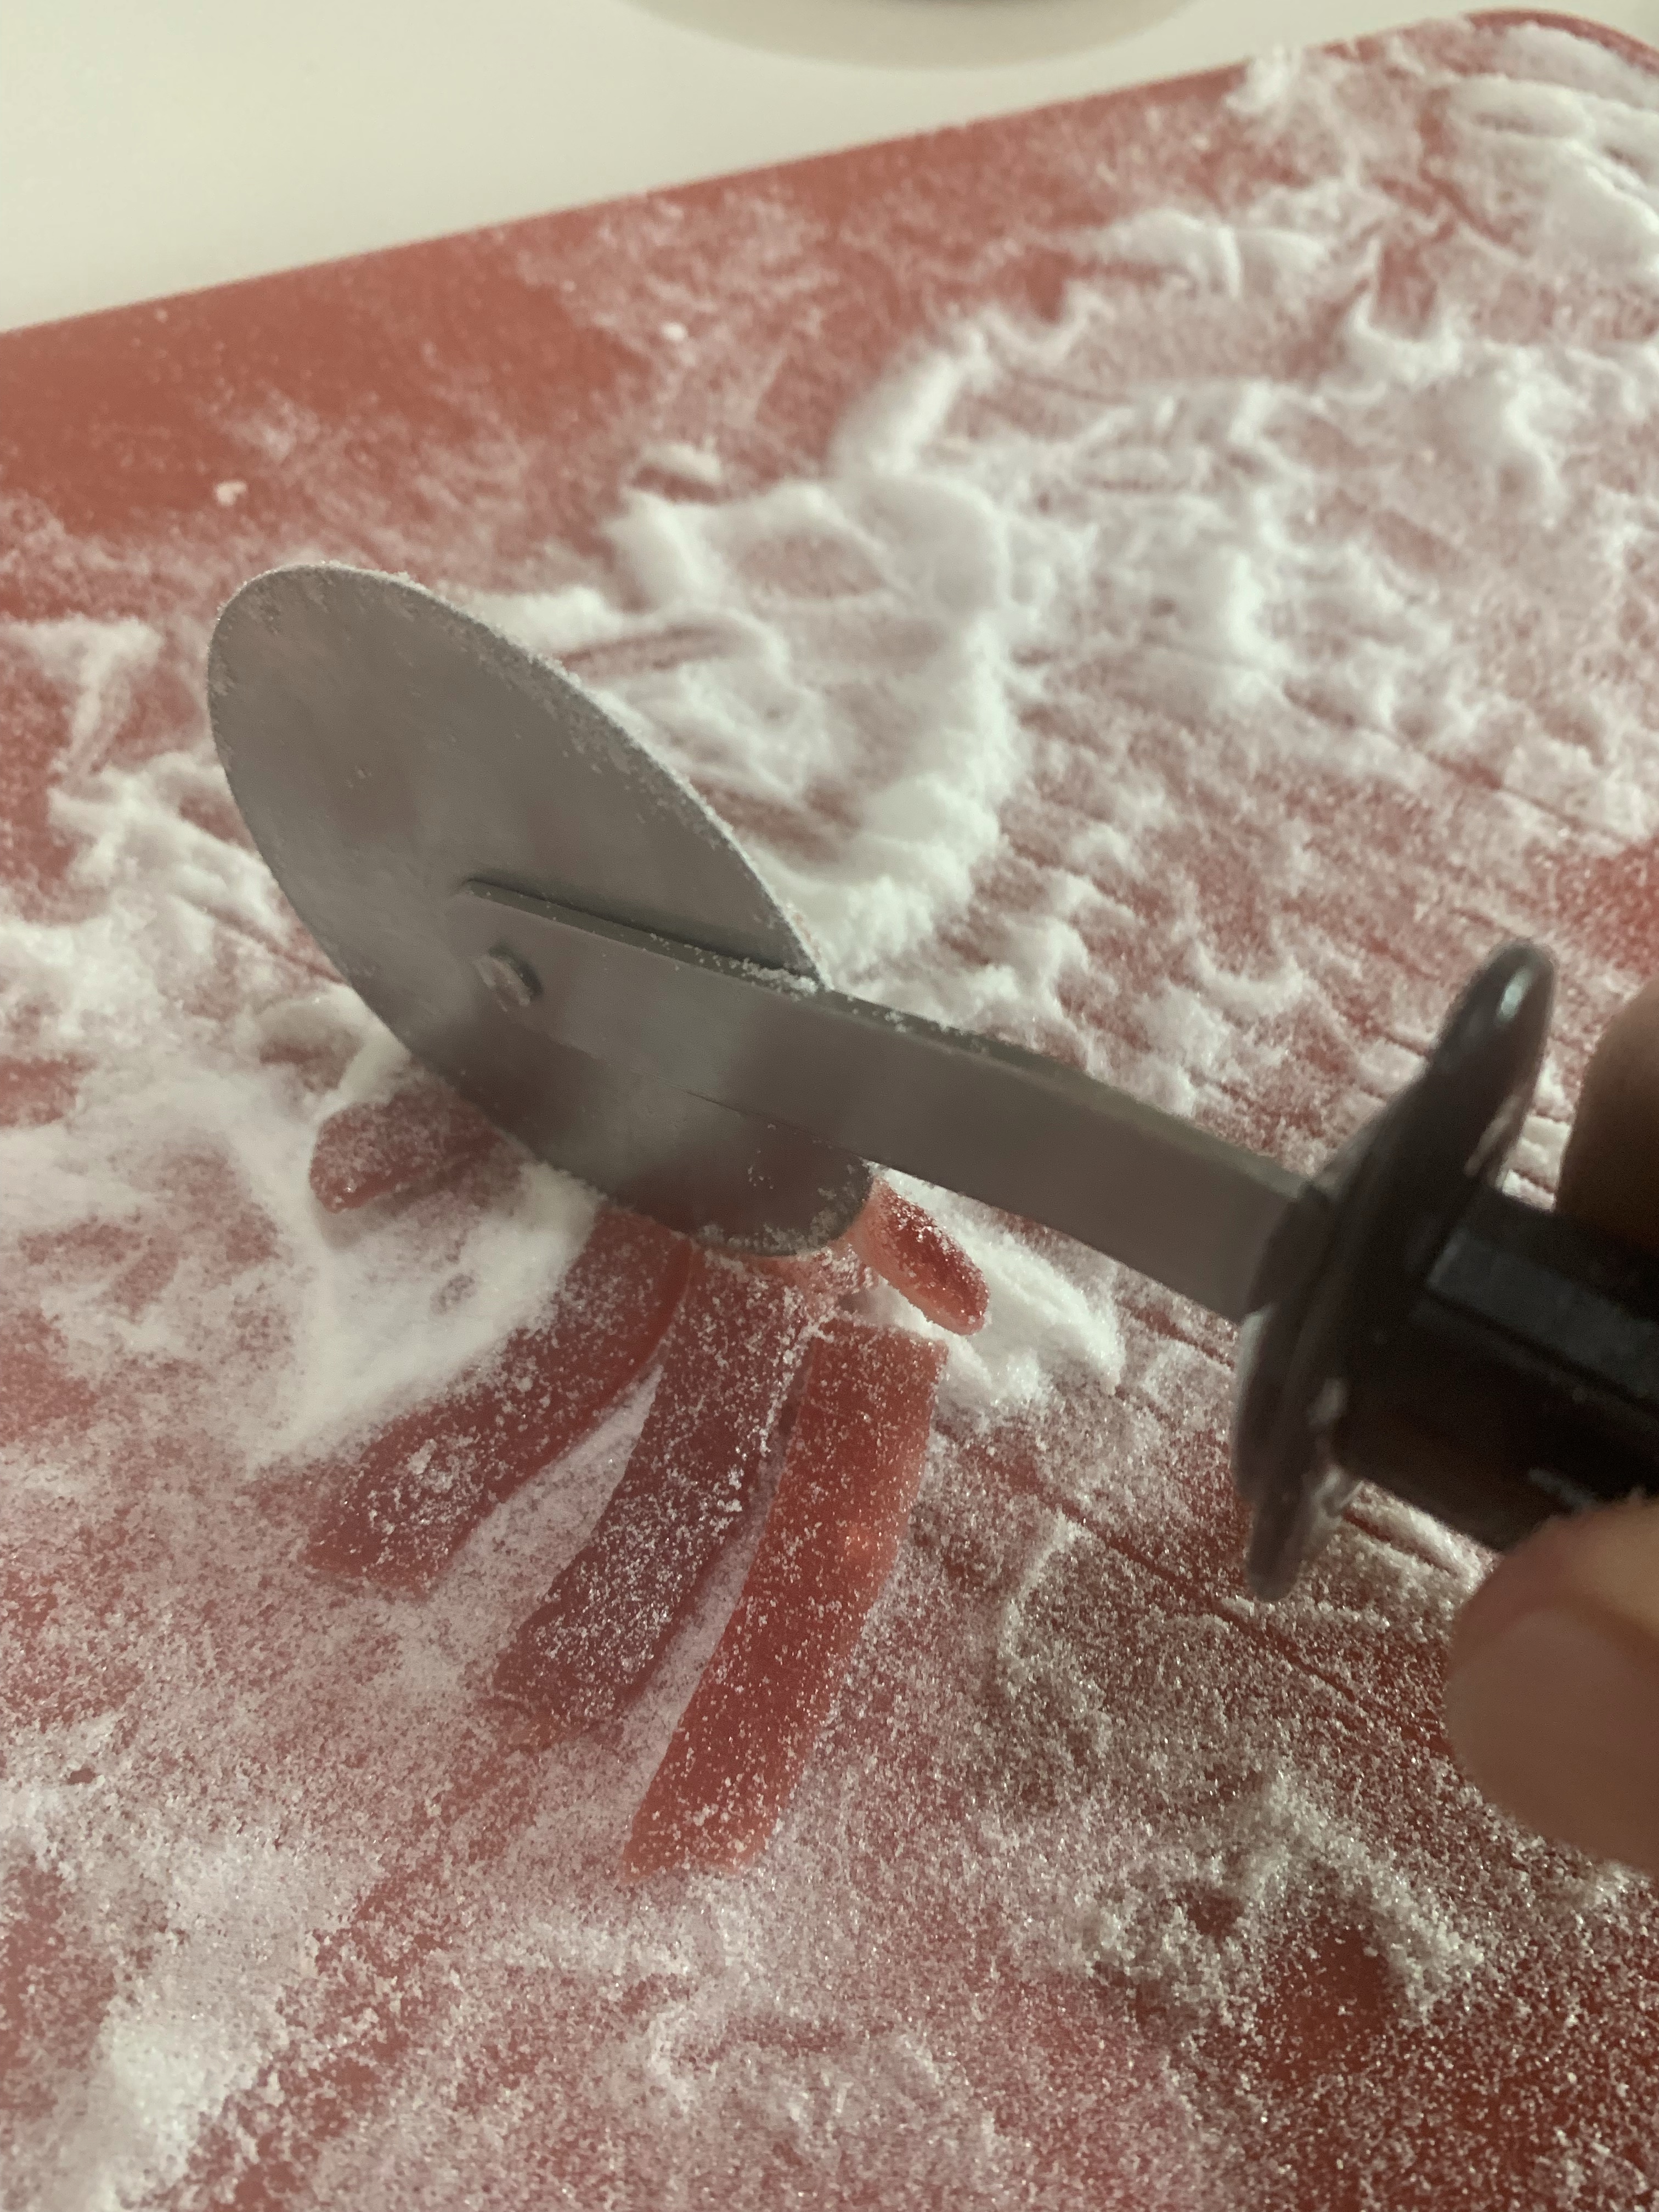
- Let the bars cool completely in the pan (or for at least 1 1/2 hours; if you’re really in a rush, you can stick them briefly in the refrigerator or freezer to expedite the process). As they cool, use a small offset spatula or knife to dislodge any jam from the sides to make removing them from the pan easier.
- Remove the bars from the pan using the parchment as a sling, then slice and serve.
- Store the sliced jam bars in an airtight container in the refrigerator for up to 4 days. They’re delightful cold.