
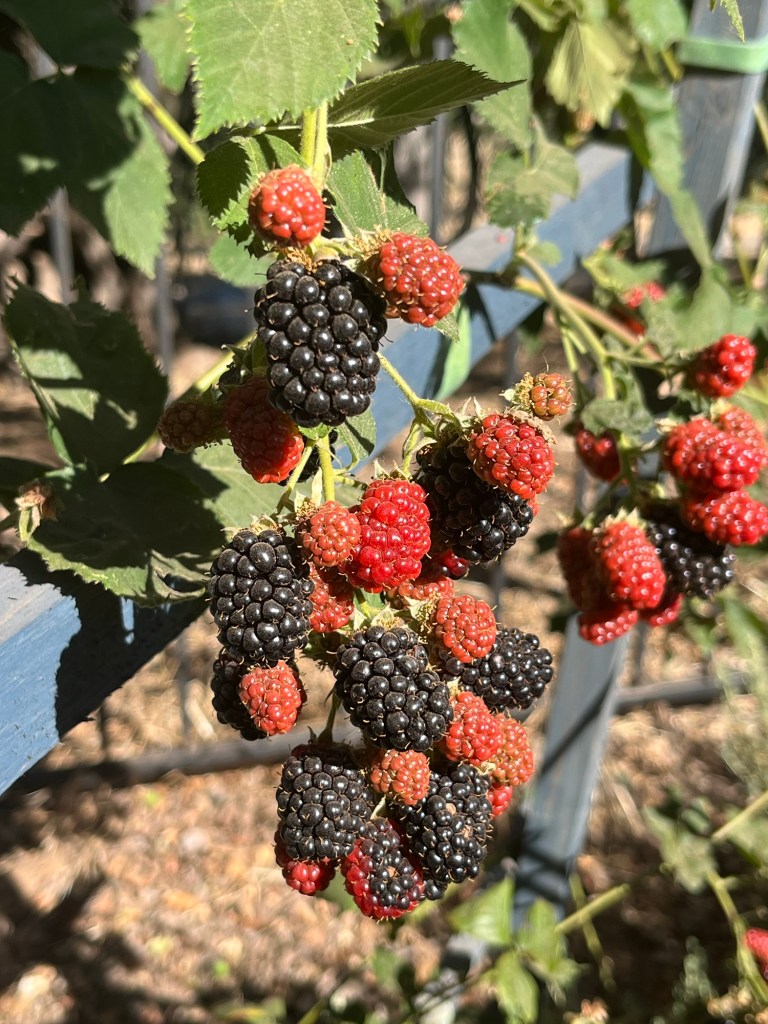
I know, I know… I need to be baking a chiffon cake for Sally’s July Baking Challenge, but these pastries were on my list for so long, and I have a surplus of blackberries and figs, so how could I not make these pastries.
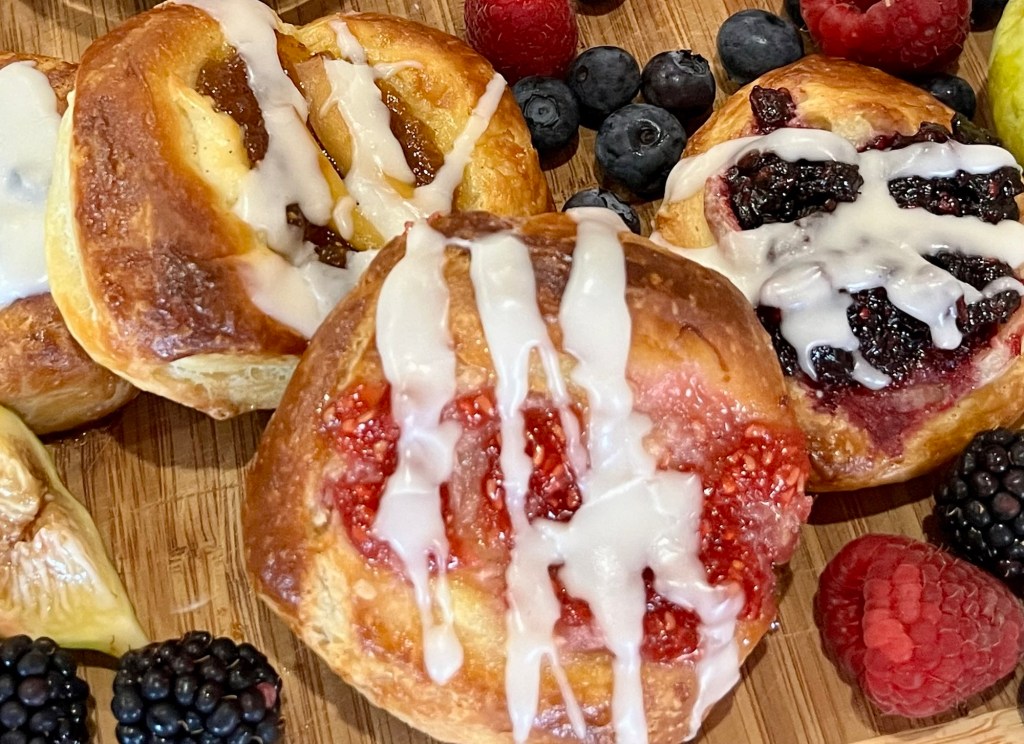
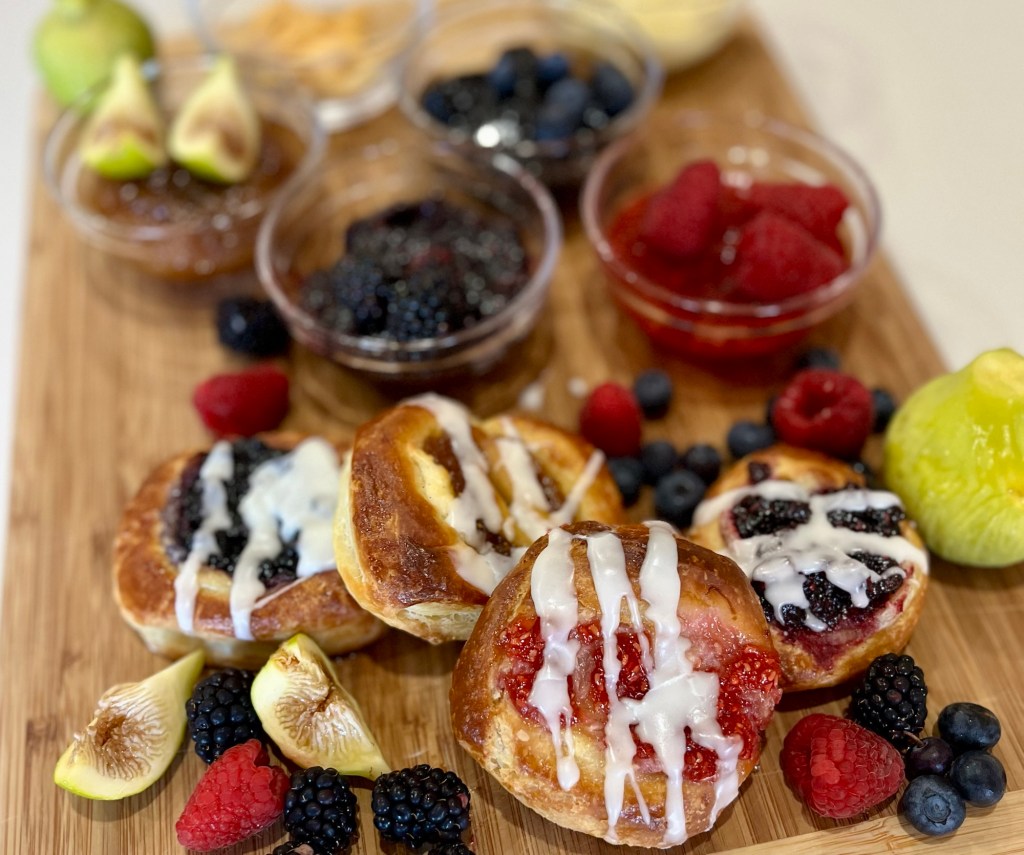
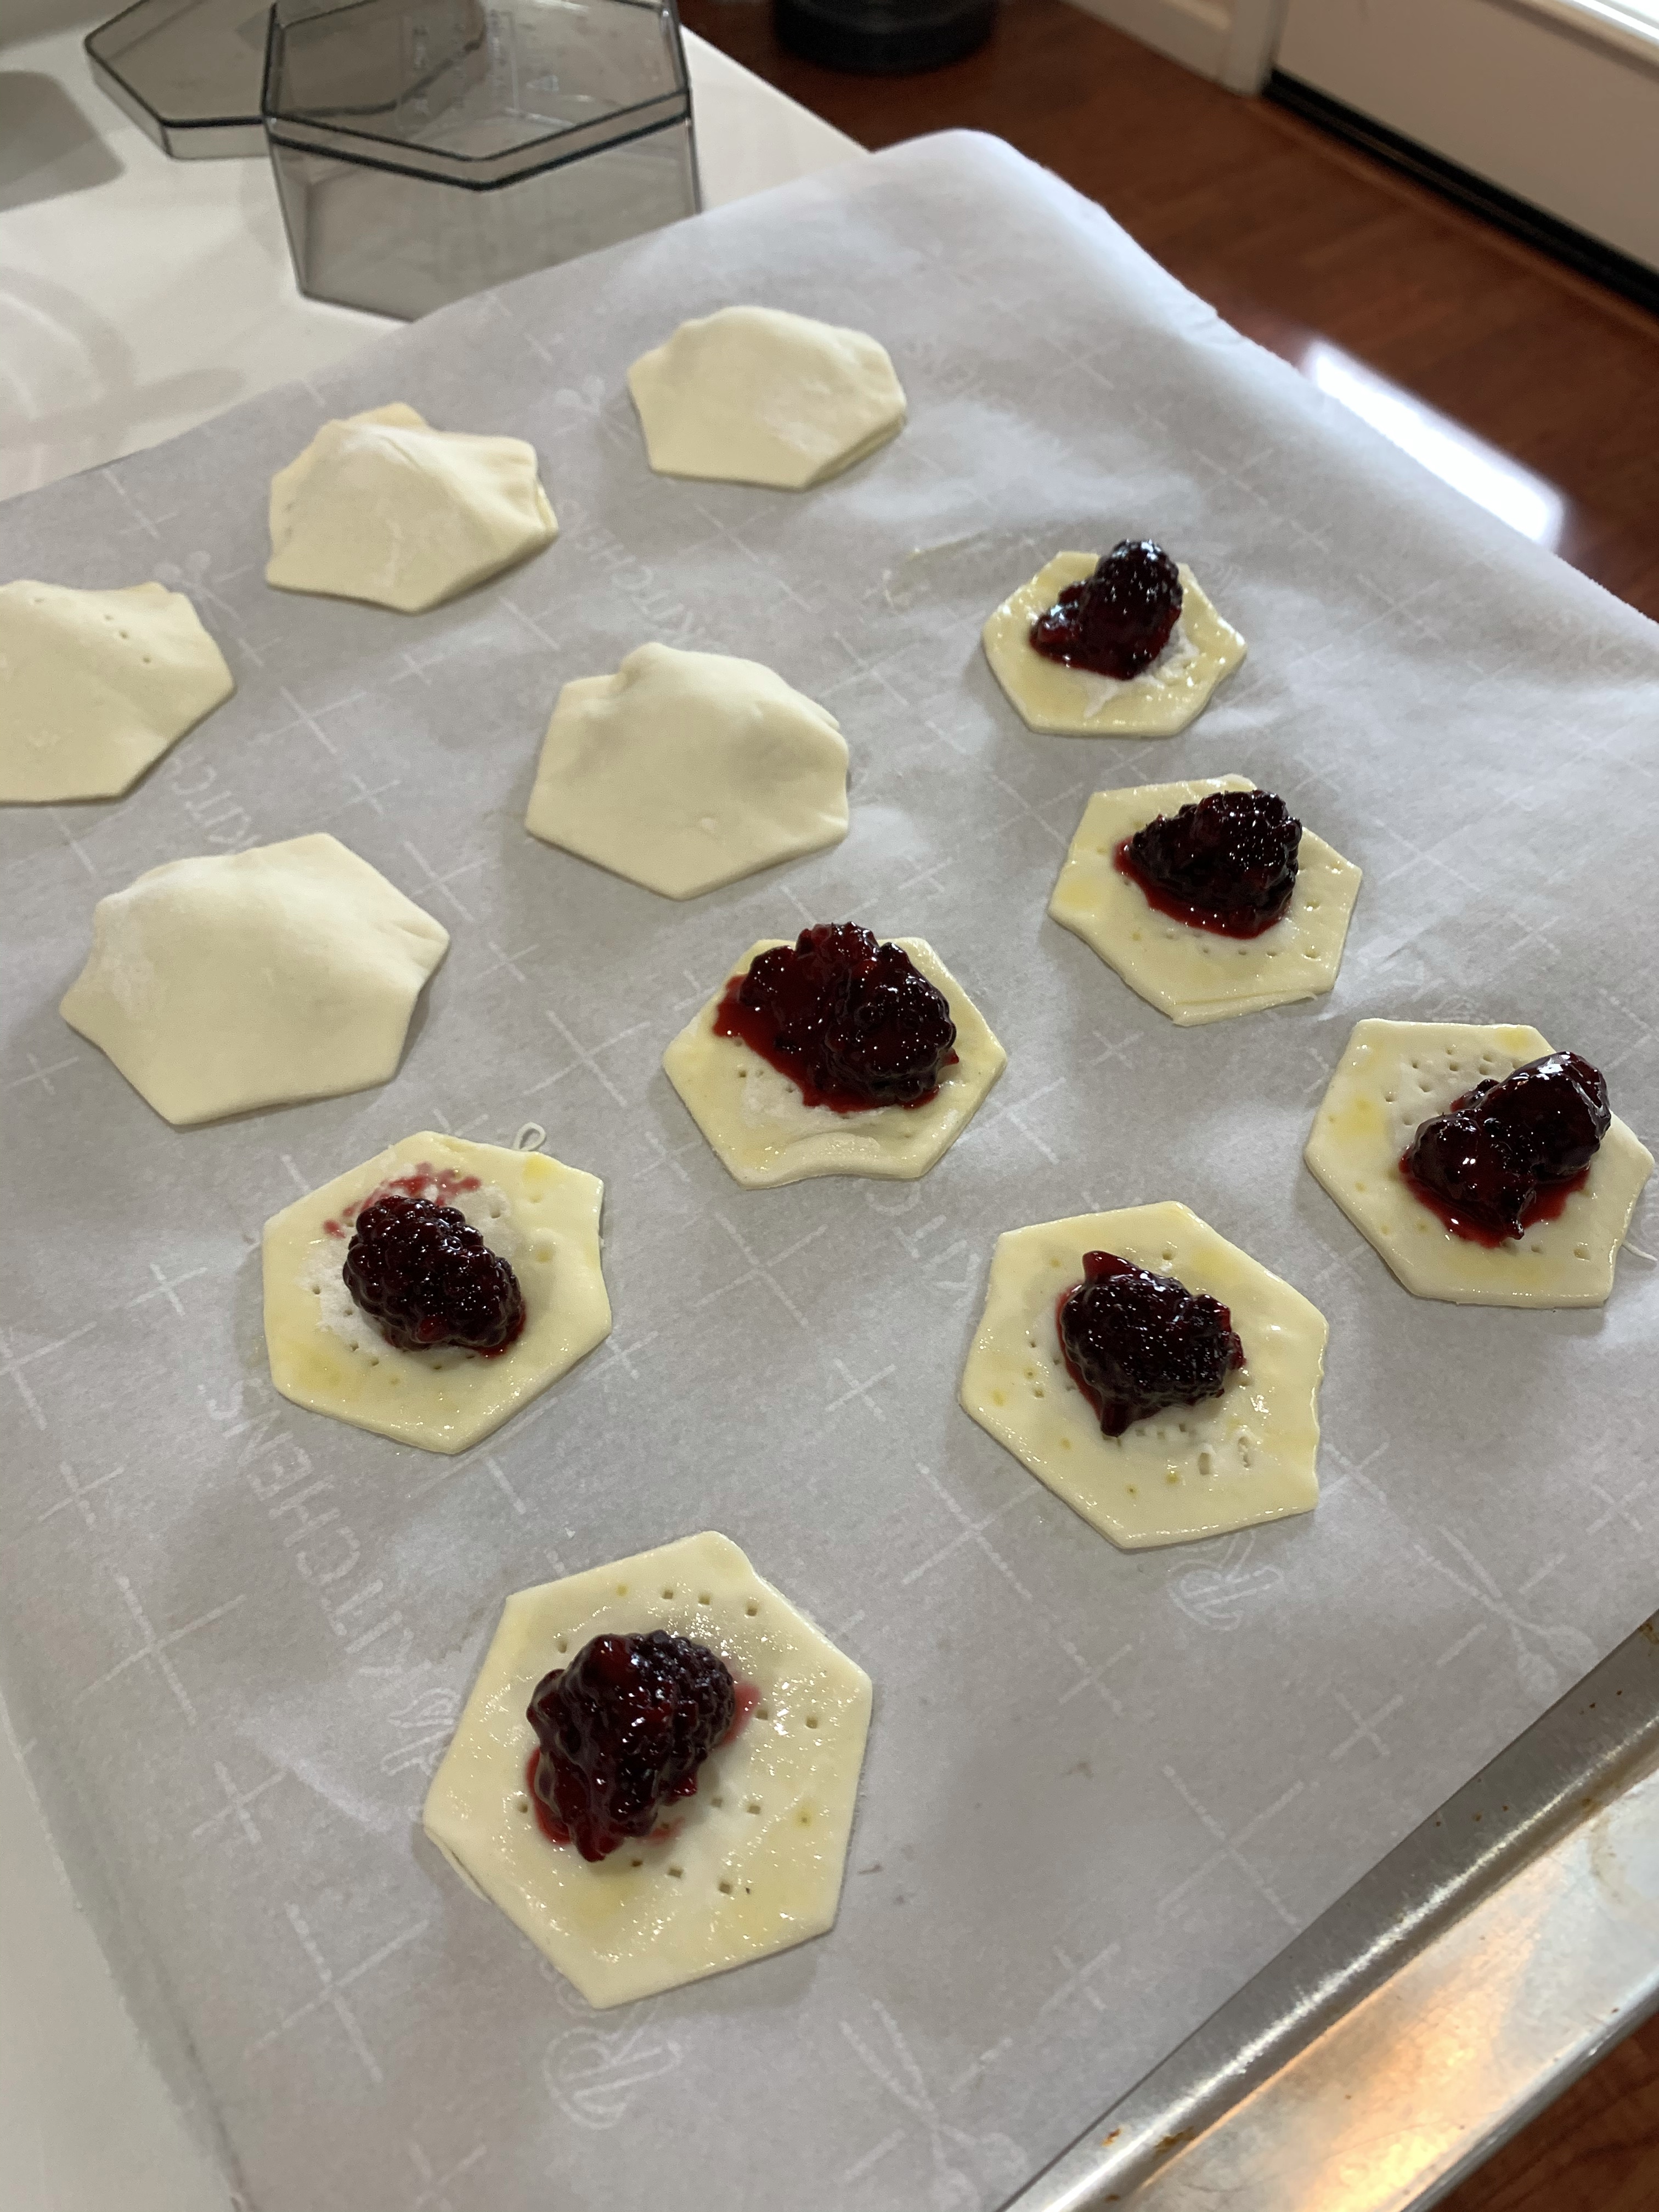
The pastry is straight from Sally’s website but the fruit fillings are mine. A base of whipped cream cheese and sugar was applied to each pastry, then they were topped with a layer of berry or fig preserves. Vanilla Icing was drizzled on the cooled berry pastry and shards of smoked Gouda were added to the fig pastry.
QC and the QC Cadre seemed to like them all,
Danish Pastry – Sally
INGREDIENTS
Pastry Dough
• 60 g ( ¼ c) warm water (between 100-110°F, 38-43°C)
• 2 and ¼ TSP
• 50 g ( ¼ C) sugar
• 120 g ( ½ c) RT whole milk
• 1 large RT egg
• 1 tsp salt
• 196 g (14 Tbl) unsalted butter, cold
• 313 g (2 ½ c) AP flour
Filling
• 2/3 cup filling (see recipe notes for options & cheese filling)
Egg Wash
• 1 large egg
• 30g (2 Tbl) milk
Vanilla Icing (Optional)
• 120 g (1 c) confectioners’ sugar
• 30 g (2 Tbl) milk or heavy cream
• 1 tsp vanilla extract
METHOD
Make the Pastry Dough:
- Whisk the warm water, yeast, and 1 Tablespoon (6g) of sugar together in a large bowl. Cover and allow to rest until foamy on top, about 5 minutes. If the surface doesn’t have bubbles on top or look foamy after 15 minutes (it should if the yeast isn’t expired), start over with a fresh packet of yeast. Whisk in remaining sugar, the milk, egg, and salt. Once these wet ingredients are mixed together, lightly cover and set the bowl aside as you work on the next step.
- Cut the cold butter into 1/4 inch slices and add to a food processor or blender. Top with 2 and 1/2 cups flour. Pulse the mixture 12-15 times, until butter is crumbled into pea-size bits. See photo below for a visual. Using a food processor or blender is best for this dough. Keeping that in mind, if you don’t have one, you can use a pastry cutter to work in the butter.
- Pour the flour mixture into the wet yeast mixture. Very gently fold everything together using a rubber spatula or wooden spoon. Fold just until the dry ingredients are moistened. The butter must remain in pieces and crumbles, which creates a flaky pastry. Turn the sticky dough out onto a large piece of plastic wrap and form into a rough rectangle.
- Wrap the dough/cover up tightly and refrigerate for at least 4 hours and up to 48 hours.
Roll & Fold:
- Take the dough out of the refrigerator to begin the “rolling and folding” process. If the dough sat for more than 4 hours, it may have slightly puffed up and that’s ok. (It will deflate as you shape it, which is also ok.) Very generously flour a work surface. The dough is very sticky, so make sure you have more flour nearby as you roll and fold. Using the palm of your hands, gently flatten the dough into a small square. Flour the top of the dough and roll into a 15×8” rectangle. As needed, flour the work surface and dough as you are rolling. Fold the dough into thirds as if it were a business letter. Turn it clockwise and roll it out into a 15 inch long rectangle again. Then, fold into thirds again. Turn it clockwise. You’ll repeat rolling and folding 1 more time for a total of 3 times.
- Wrap up/seal tightly and refrigerate for at least 1 hour and up to 24 hours. You can also freeze the dough at this point. See freezing instructions.
- Line two large baking sheets with parchment paper or silicone baking mats. Rimmed baking sheets are best because butter may leak from the dough as it bakes. If you don’t have rimmed baking sheets, when it’s time to preheat the oven, place another baking sheet on the oven rack below to catch any butter that may drip.
- Take the dough out of the refrigerator and cut it in half. Wrap 1 half up and keep refrigerated as you work with the first half. (You can freeze half of the dough at this point, use the freezing instructions below.)
- Cut the first half of dough into 8 even pieces. This will be about 1/4 cup of dough per pastry. Roll each into balls. Flatten each into a 2.5 inch circle. Use your fingers to create a lip around the edges. See photos and video tutorial if needed. Press the center down to flatten the center as much as you can so you can fit the filling inside. (Center puffs up as it bakes.) Arrange pastries 3 inches apart on a lined baking sheet. Repeat with second half of dough.
- Spoon 2 teaspoons of fruity filling or 1 Tablespoon of cheese filling inside each.
- Whisk the egg wash ingredients together. Brush on the edges of each shaped pastry.
- Chill the shaped pastries in the refrigerator, covered or uncovered, for up to 1 hour. You can preheat the oven as they finish up chilling.
- Preheat oven to 400°F (204°C).
- Bake for 19-22 minutes or until golden brown around the edges. Some butter may leak from the dough, that’s completely normal and expected. Feel free to remove the baking sheets from the oven halfway through baking and brush the dough with any of the leaking butter, then place back in the oven to finish baking.
- Remove baked pastries from the oven. Cool for at least 5 minutes before icing/serving.
- Whisk the icing ingredients together. If you want a thicker icing, whisk in more confectioners’ sugar. If you want a thinner icing, whisk in more milk or cream. Drizzle over warm pastries and serve.
- Cover leftover iced or un-iced pastries and store at room temperature for 1 day or in the refrigerator for up to 5 days. Or you can freeze them for up to 3 months. Thaw before serving. Before enjoying, feel free to reheat leftover iced or un-iced pastries in the microwave for a few seconds until warmed.
Notes - Make Ahead & Freezing Instructions: Prepare the dough as instructed in steps 2-4. At this point the dough can be refrigerated up to 48 hours. You can also prepare the dough through step 6. At this point the dough can be refrigerated up to 24 hours. During or after this second chilling time, you could also freeze the dough for up to 1 month. (I don’t recommend freezing the dough before the rolling and folding step.) Thaw overnight in the refrigerator, then continue with step 8. You can also freeze the unfilled pastries after shaping them in step 10. Thaw in the refrigerator, then continue with step 11.
- Fruity Fillings: You need around 2/3 cup (about 200g) of filling for the entire recipe (16 pastries). Use jam or fruit preserves, pumpkin butter, apple butter, lemon curd, cherry pie filling, etc. Or even Nutella! You need 2 heaping teaspoons per pastry. Feel free to mix and match, making different flavors in your batch.
- Cheese Filling: Using a handheld or stand mixer fitted with a paddle attachment on medium speed, beat one 8 ounce block (224g) of full-fat cream cheese that is softened at room temperature in a medium bowl until smooth. Beat in 1 large egg yolk, 1/3 cup (67g) granulated sugar, 1/2 teaspoon fresh lemon juice, and 1/2 teaspoon pure vanilla extract until smooth. Use 1 scant Tablespoon per pastry. Feel free to dot the cream cheese filling with fresh berries before baking or mix fruit preserves in with the cream cheese filling (still using 2-3 teaspoons of filling per pastry).
- Optional Step (step 13): Chilling the shaped pastries in the refrigerator helps them maintain their shape in the oven. Remember, cold pastry dough is best. I usually refrigerate them for 15 minutes as the oven preheats. If you’re nervous to chill the baking sheets in the refrigerator then bake them (which can cause warping), you have two other options. You can simply assemble the pastries on parchment paper or silicone baking mats, lift the parchment/baking mat as a whole and place on another baking sheet or directly onto a shelf in the refrigerator. After chilling, carefully lift up and place the entire parchment/baking mat onto the baking sheets for baking. Or you can use a thin spatula and very carefully transfer the assembled unbaked pastries to a large plate to chill.
Raspberry Jam
INGREDIENTS
• 356g raspberries (fresh or frozen) rinsed and dried if fresh
• 312g cups granulated sugar
• 65g lemon juice
METHOD
- Put the raspberries, sugar and lemon juice into a sauce pan or similar.
- Place pan over a gentle heat, stirring occasionally, until all the sugar crystals have dissolved.
- Bring the pan to a rolling boil until the temperature reaches 118-220℉.
- If there is foam on the surface of the jam mix it vigorously with a wooden spoon to mix it in to the jam.
- Use a ladle funnel transfer the jam to sterilized jars and seal with lids immediately – makes 2 half pint canning jars
- Once cool store in a cool, dry, dark place and refrigerate on opening.
Blueberry Jam – Preppy Kitchen
INGREDIENTS
• 280g (2 c) blueberries, washed and picked over, divided
• 100g ( ½ c) sugar
• ½ Tbl lemon juice
METHOD
- In a large pot over medium heat, add about 210g (1 ½c) of the berries and mash.
- Add in the remaining berries, sugar, and lemon juice. Stirring constantly, bring to a rolling boil. If necessary, skim off excess foam.
- Heat the jam to 218-220o F
- Carefully ladle the hot berry mixture into the prepared jars, or use a funnel, leaving enough headroom—1/4 inch is recommended. Be mindful that the jars and jam are very hot.
- With a clean dampened cloth, wipe the rims of the jars, and gently tap the jars to release any air bubbles.
- Place the flat lids on the jars. Firmly close the caps with screw-on rings.
Fig Jam – The Food Network
INGREDIENTS
• 6 lbs fresh figs.
• 7 cups sugar
• 1/3 cup lemon juice
• ½+ tsp vanilla
METHOD
- Chop the figs coarsely, and add them to a large stainless steel saucepan
- Add 7 cups of granulated white sugar, then toss to combine.
- Cover and let stand, refrigerated, for at least a few hours or overnight. The figs will naturally release some of their juices.
- Place the pot on the stove and place on medium-low heat. Bring the figs to a boil slowly, stirring frequently to dissolve the sugar and prevent scorching on the bottom.
- Raise the heat and cook briskly until the jam thickens and cascades from a spatula in sheets.
- Add 1/3 cup bottled lemon juice.
- ½+ teaspoon vanilla extract. Stir to combine, and cook another minute longer.
- Ladle the jam into hot sterilized jars. At this point the jam can be left to cool, then covered and stored in the refrigerator for up to one month. It can also be canned using the standard water bath canning method.

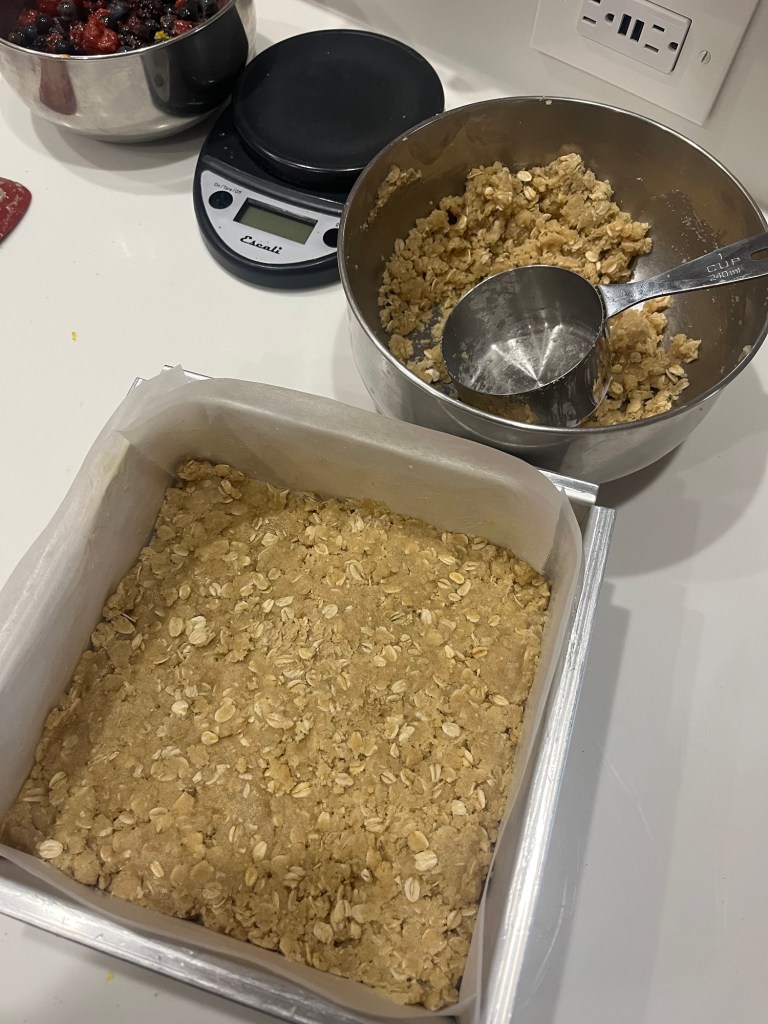




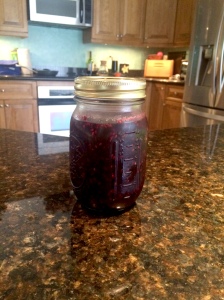 problem, but find a jar of blackberry without that insidious word “seedless” on the label? Good luck. Either you spend an inordinate amount of time searching your supermarket, or go to a farm or specialty market and shell out twice the cash. I look for BOGO’s on berries. It’s like getting jam free, almost.
