Il est temps pour un pain français batard

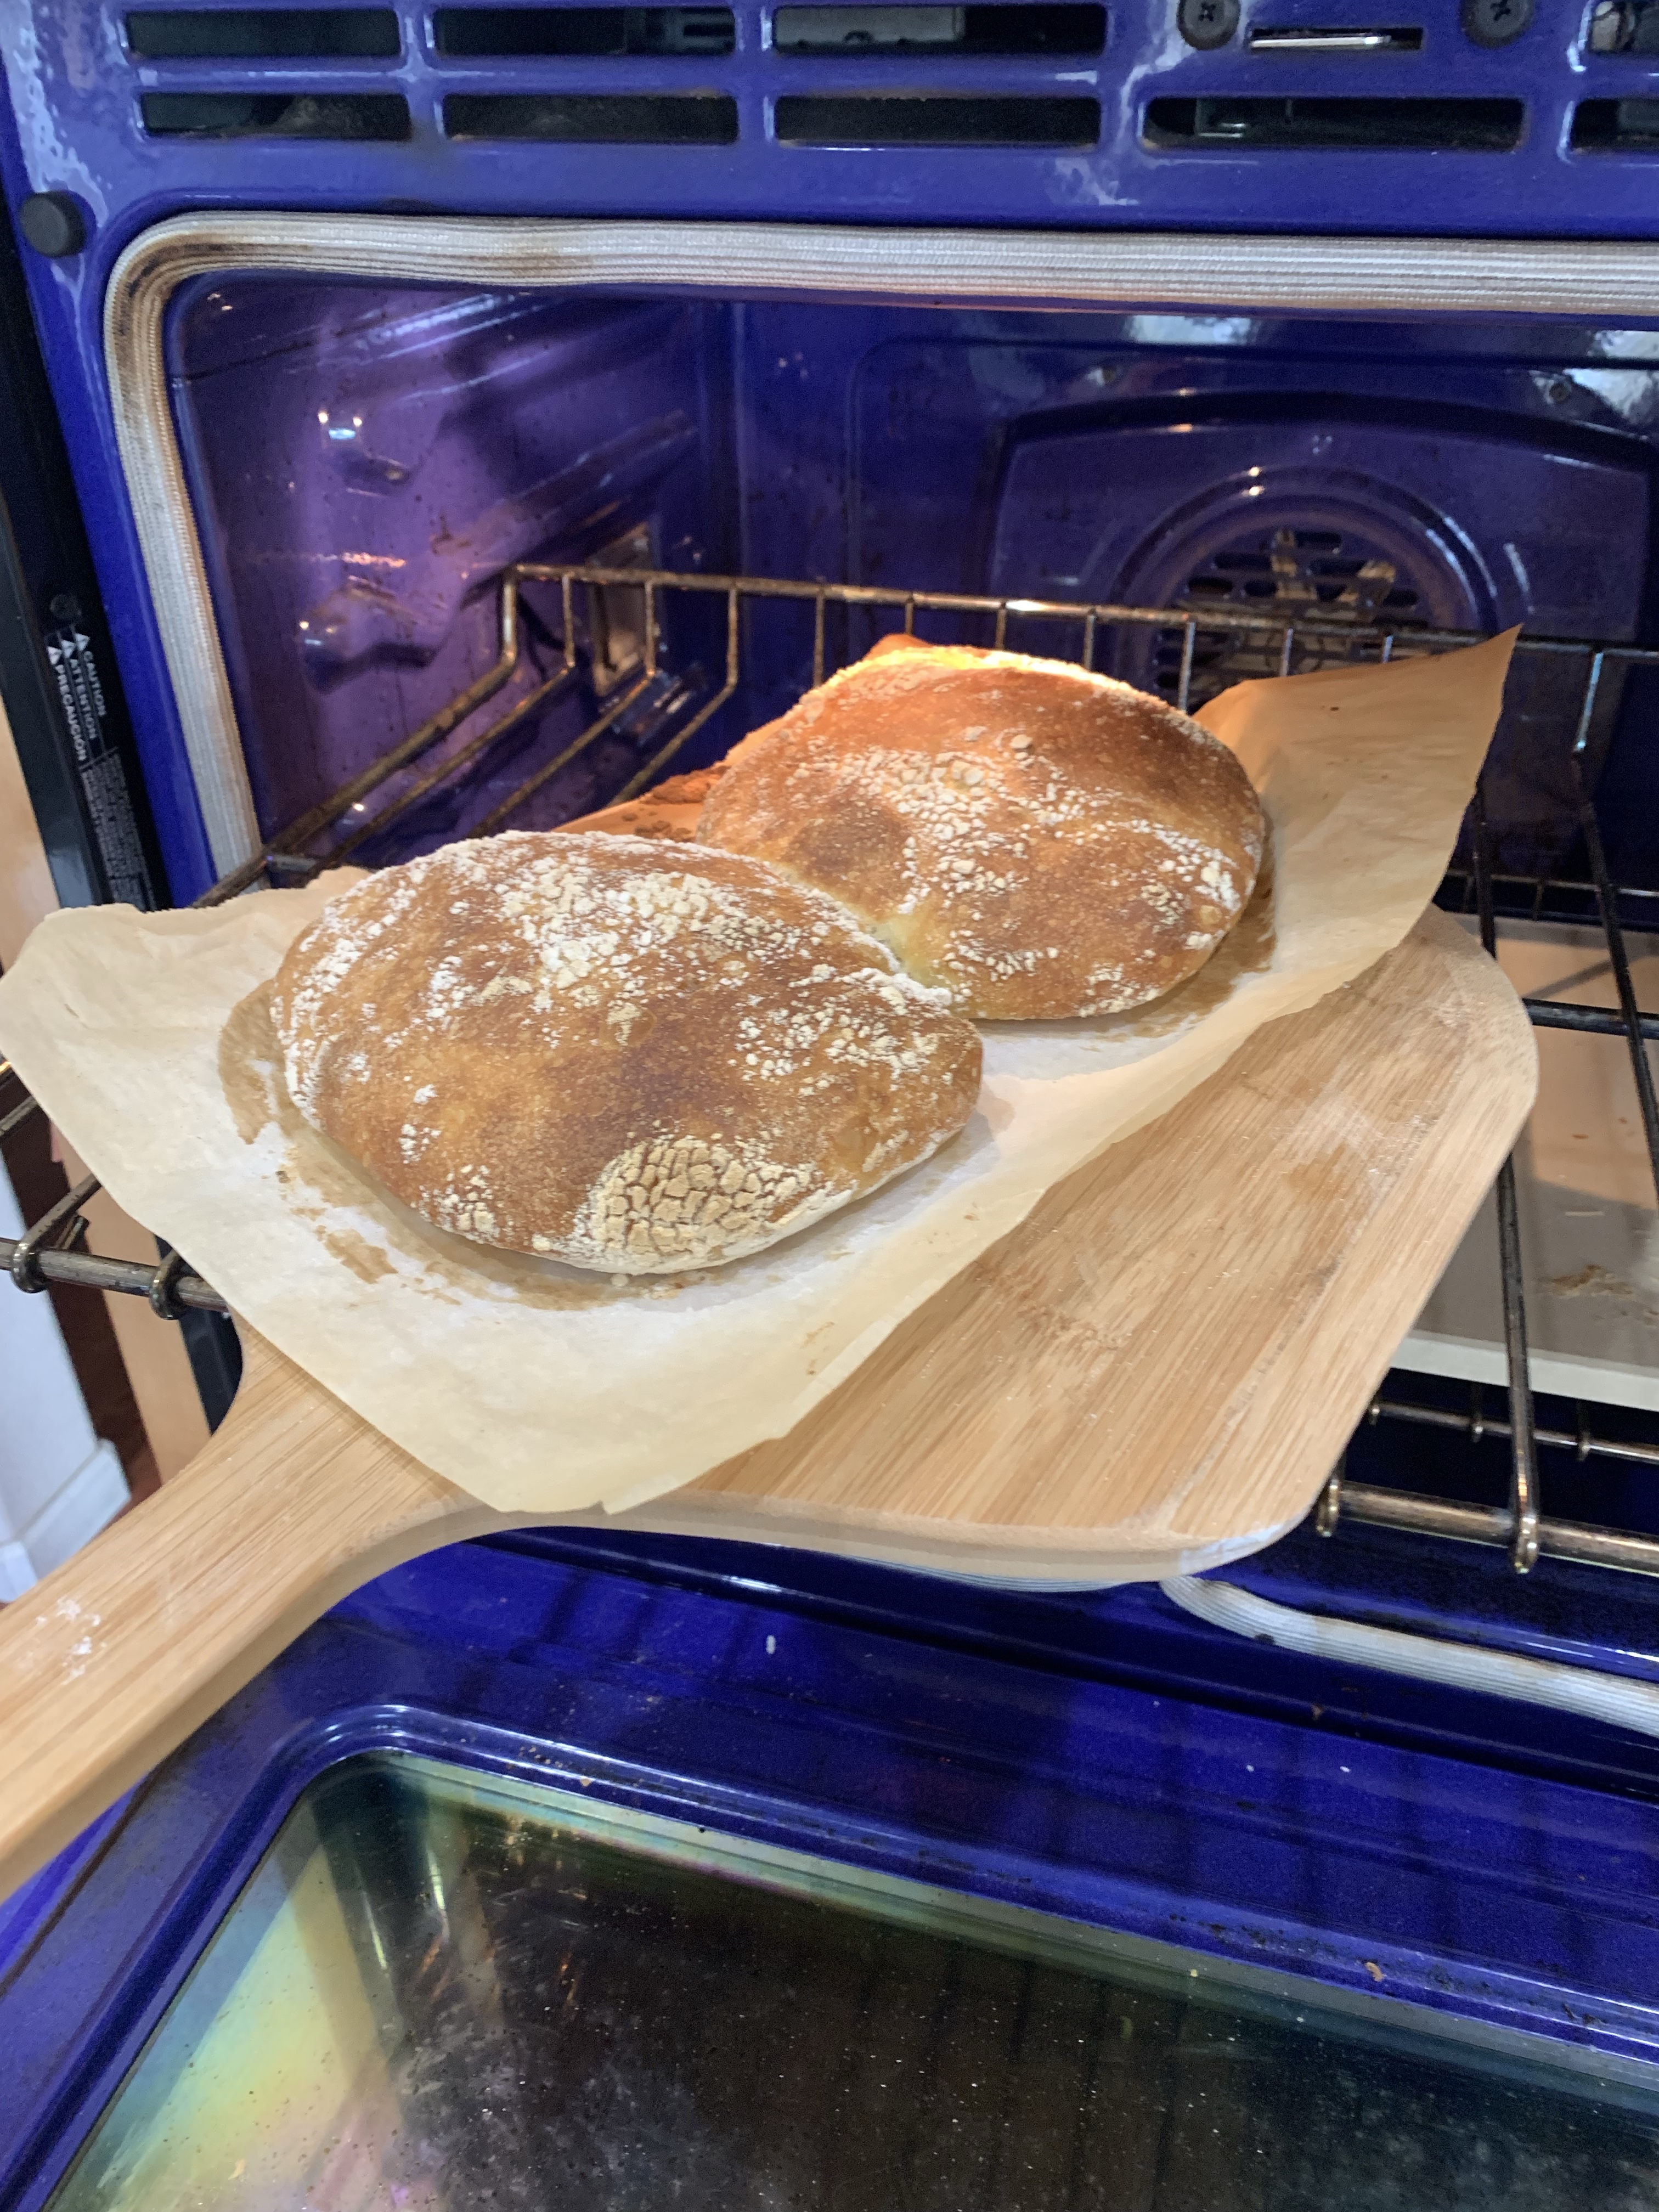
I wonder if my 9th grade French teacher would be proud of me? I looked up how to say “it’s time for a french bread batard” in French on Google Translate all by myself!

This is not my first rodeo with this bread, but it is the best loaf to date. While the Covid travesty has been horrible, my baking skills have improved enormously. Most of the METHOD steps are from KAB, but I added my own comments in places.

(Oh, I also baked a dozen chocolate chip cookies from dough I have in the freezer. The oven was on! What choice did I have?)

French Bread – Recipe and method from KAF which should be KAB now.

INGREDIENTS

Starter
• 1 cup (227g) cool to lukewarm water (90°F to 100°F)
• 1/2 teaspoon active dry or instant yeast
• 1 1/4 cups (149g) King Arthur Unbleached Bread Flour
• 1/4 cup (28g) King Arthur Premium 100% Whole Wheat Flour
Dough
• all of the starter (above)
• 1 cup (227g) lukewarm water (100°F to 115°F)
• 3/4 teaspoon active dry or 1/2 teaspoon instant yeast
• 1 tablespoon (14g) sugar
• 3 3/4 to 4 cups (450g to 480g) King Arthur Unbleached Bread Flour
• 1 1/2 to 2 1/4 teaspoons salt, to taste

METHOD

  1. To make the starter: Stir all of the starter ingredients together to make a thick, pudding-like mixture. Cover with plastic wrap and let it rest for at least 2 hours. For best flavor, let the starter rest longer; overnight (up to 16 hours) is best.
  2. To make the dough: Stir down the starter with a spoon and add the water, yeast, sugar, 3 1/4 cups (390g) of the flour, and the salt. The dough will be a loose, messy mass. Let it rest for 12 to 15 minutes, then stir it again; it should become more cohesive and a bit smoother. Dough handles better once it’s had time for the flour to absorb the water while resting and relaxing. By using this method, you’ll tend to add less flour, and have much bigger holes in your finished bread.
  3. Knead the dough, adding up to an additional 3/4 cup (90g) flour (as necessary to make a soft dough), 10 to 12 minutes. I use the dough hook on my stand mixer. For me, the dough should clean the sides of the mixer bowl. That’s how I know when adequate flour has bee added.
  4. Place the dough in a lightly greased bowl or plastic container, cover with lightly greased plastic wrap, and let it rise until almost doubled (depending on the weather, this could be 1 to 2 hours). If you’re going out, or if you prefer, let the dough rise slowly in the fridge. If your dough has been refrigerated, allow it to come to room temperature before shaping; it’ll warm up and rise at the same time. I used my proofing oven with only the light on for warmth. The same for the final proof below.
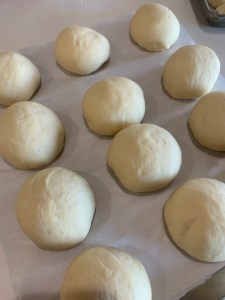
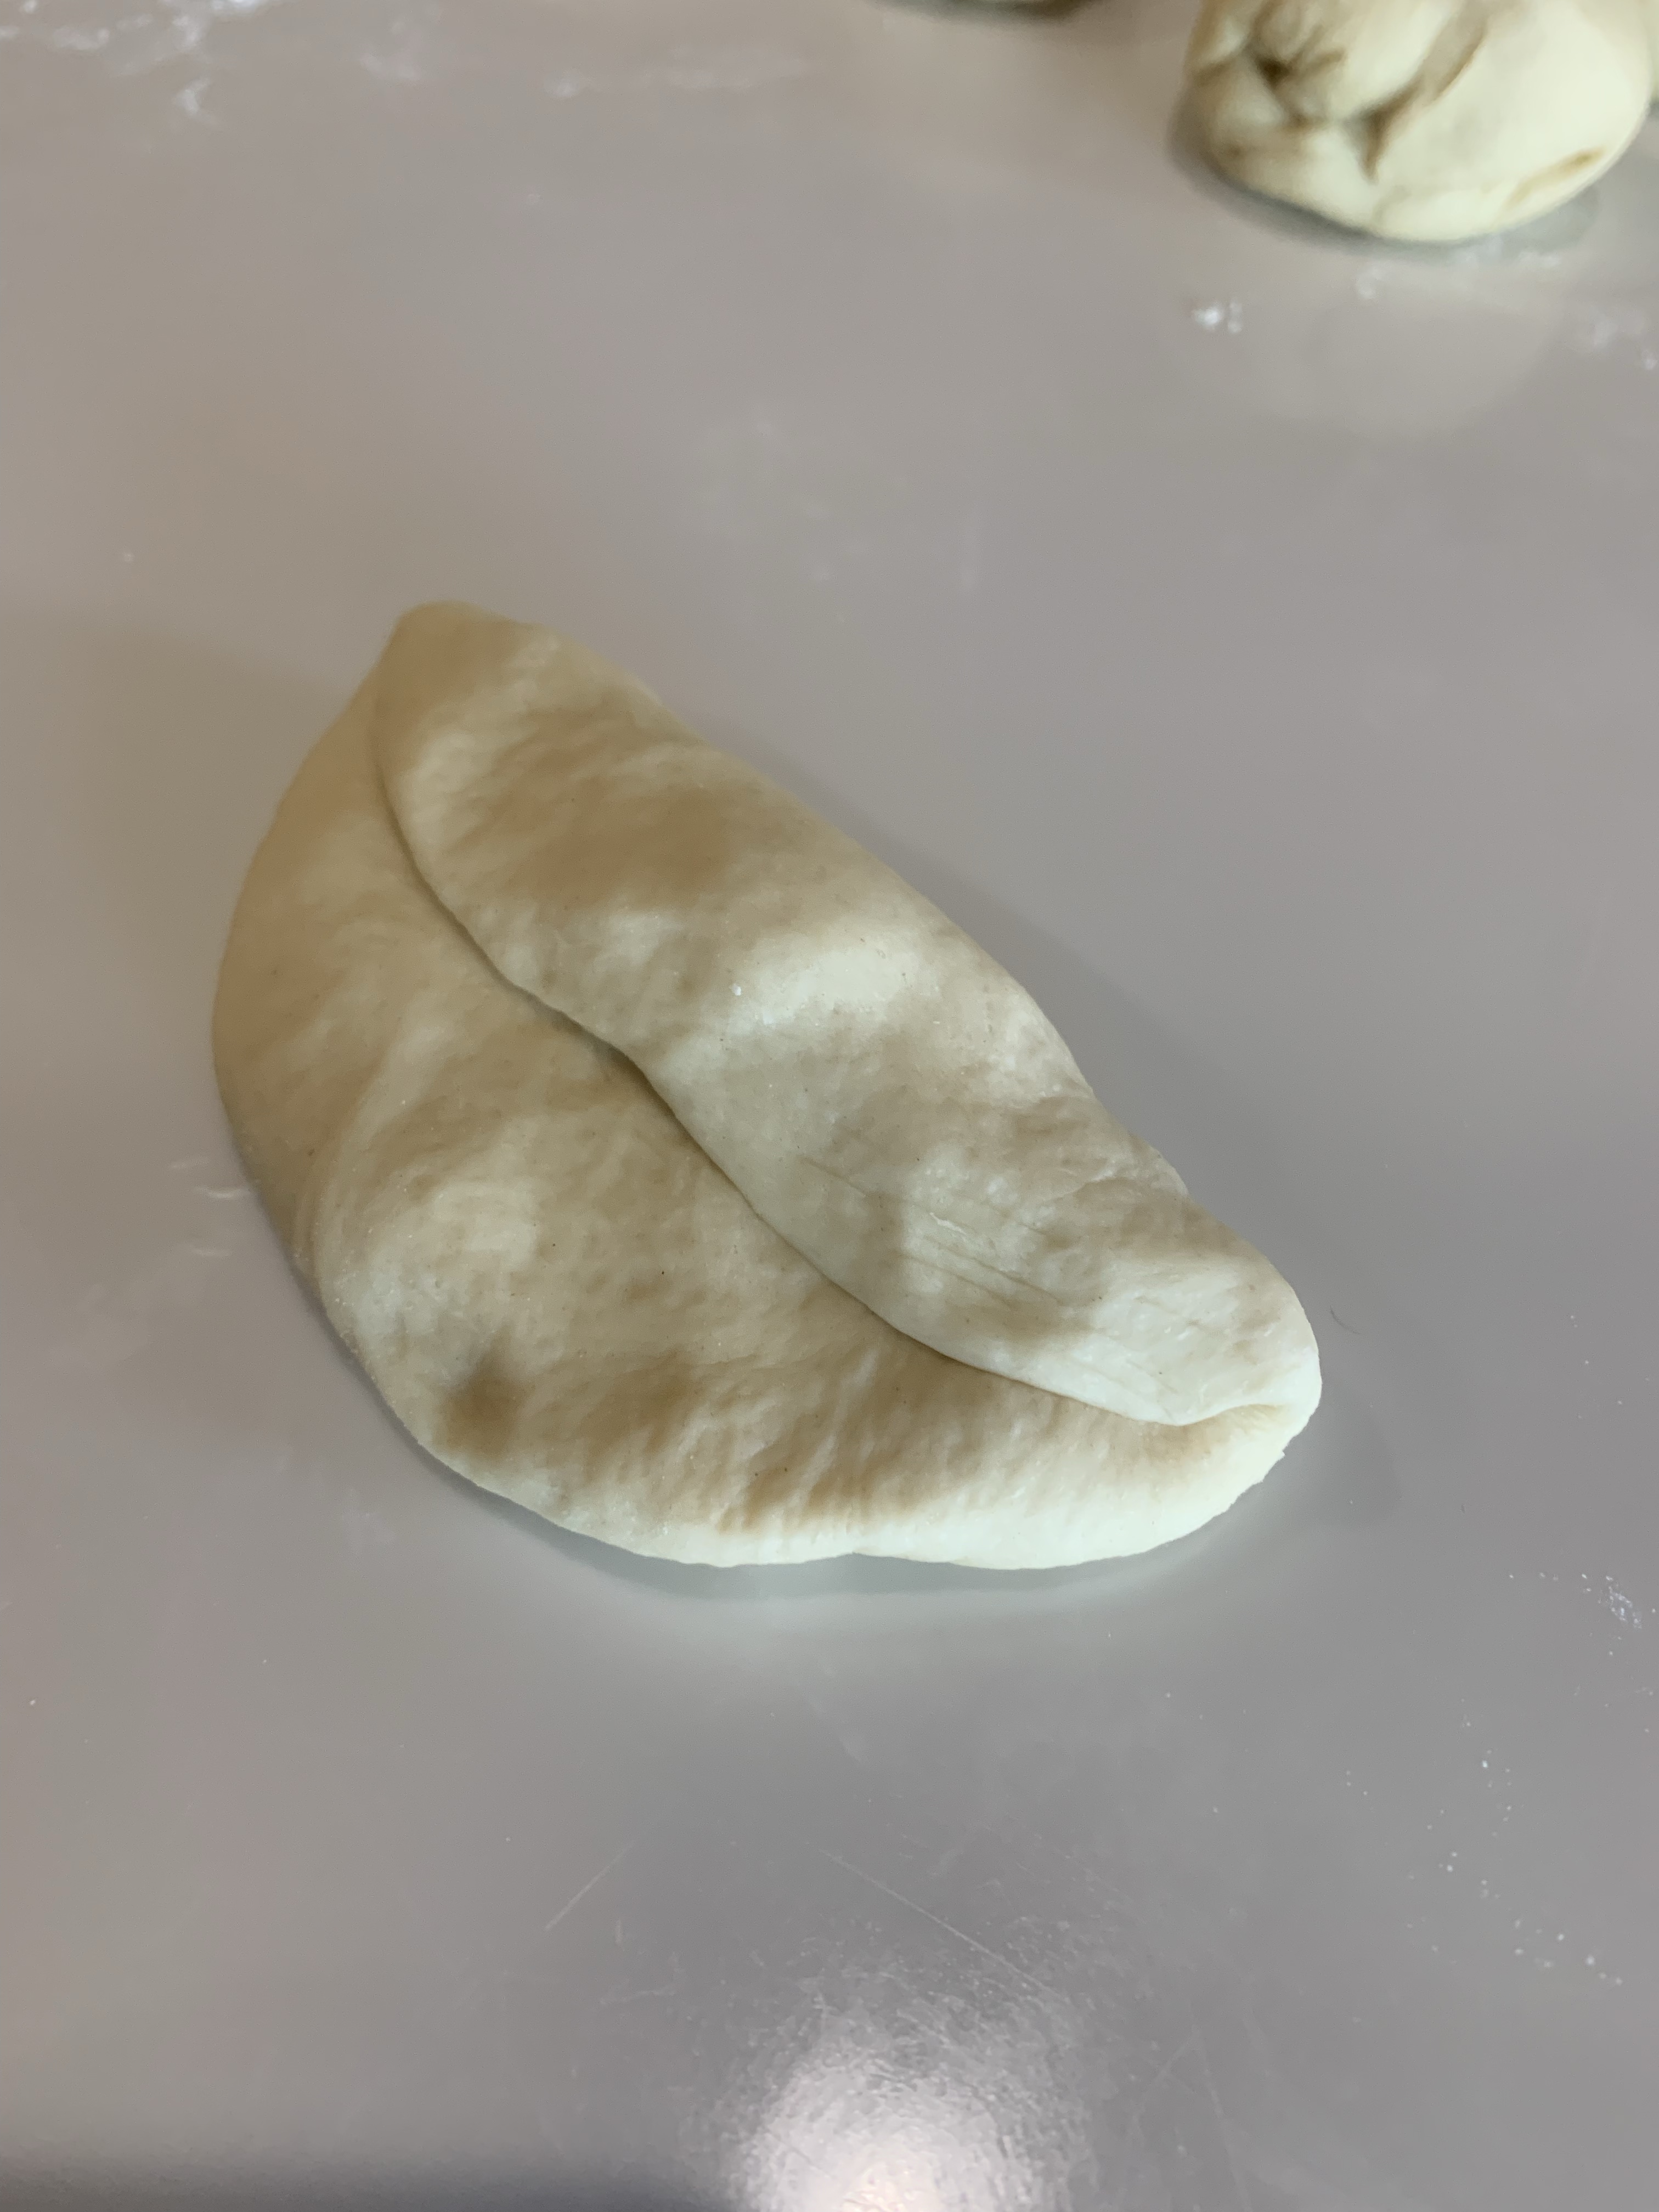
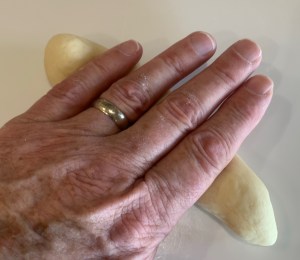
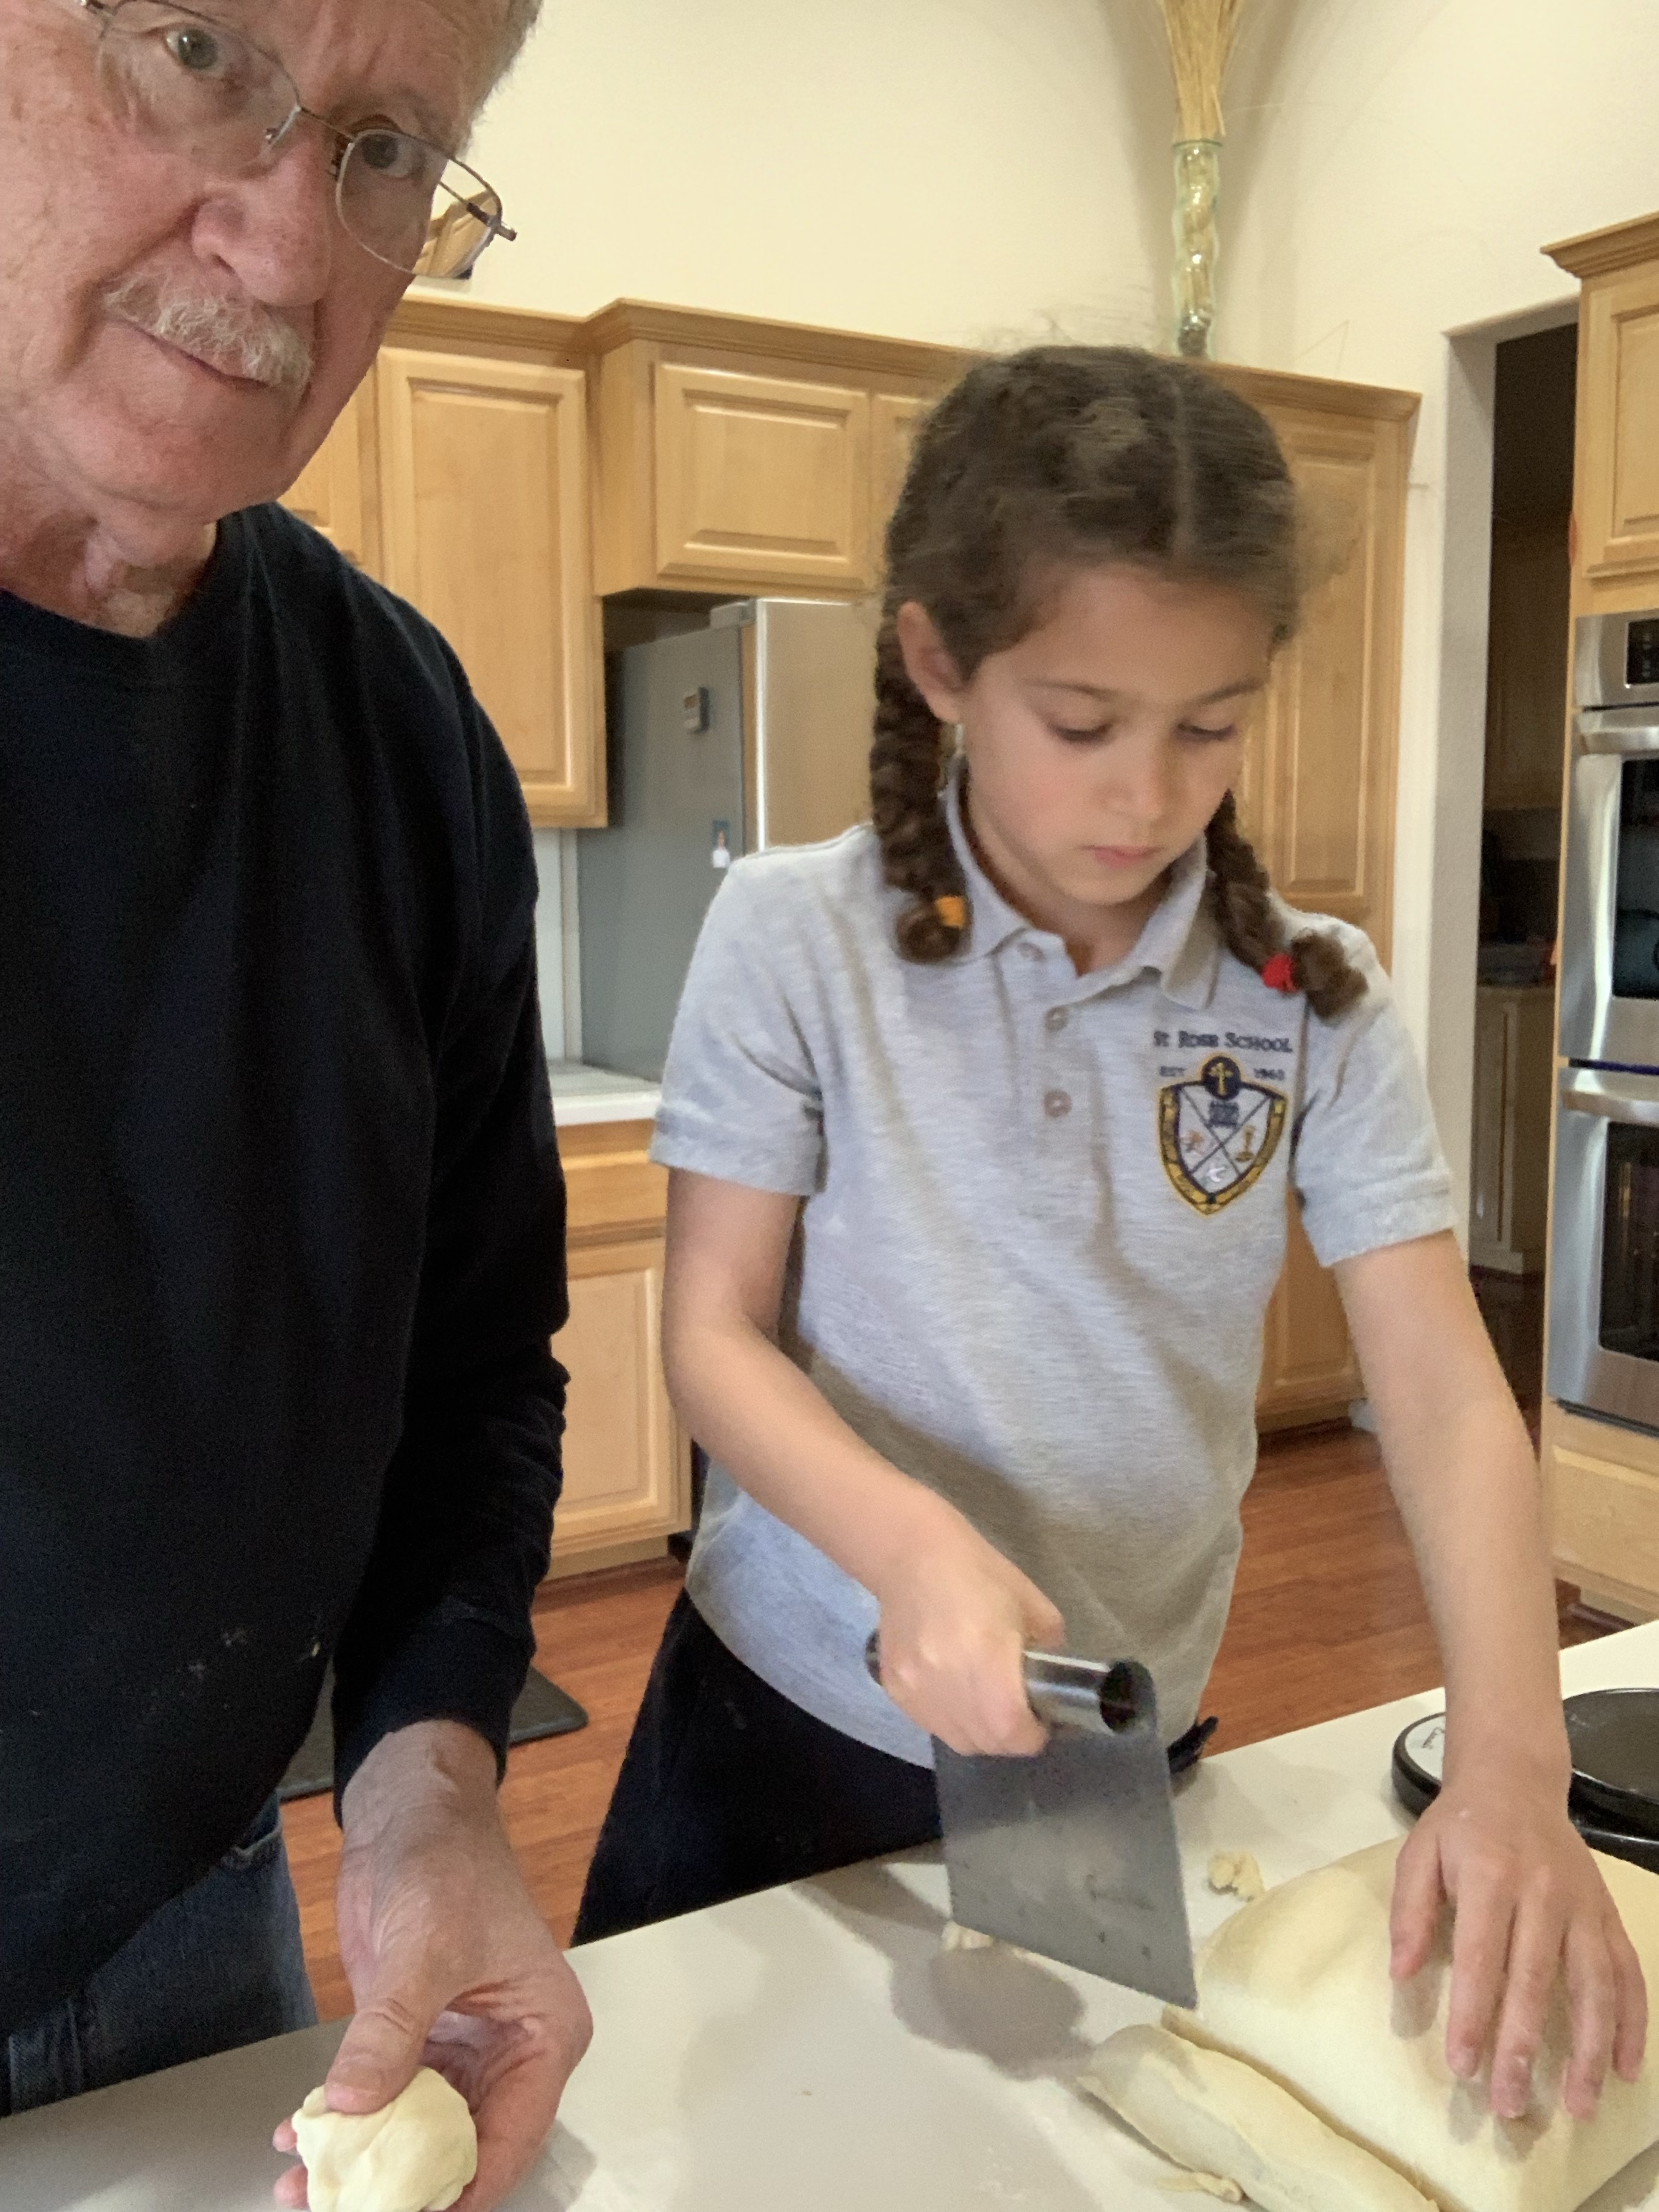
  5. Deflate the dough gently, but don’t knock out all the air; this will create those “holes” so important to French bread. For one large loaf, form the dough into a round ball; for two loaves, divide the dough in half and shape into two balls. For loaves, form into a battard about 2” diameter and 4” shorter than bread tray. Place on semolina floured French bread tray to rise..
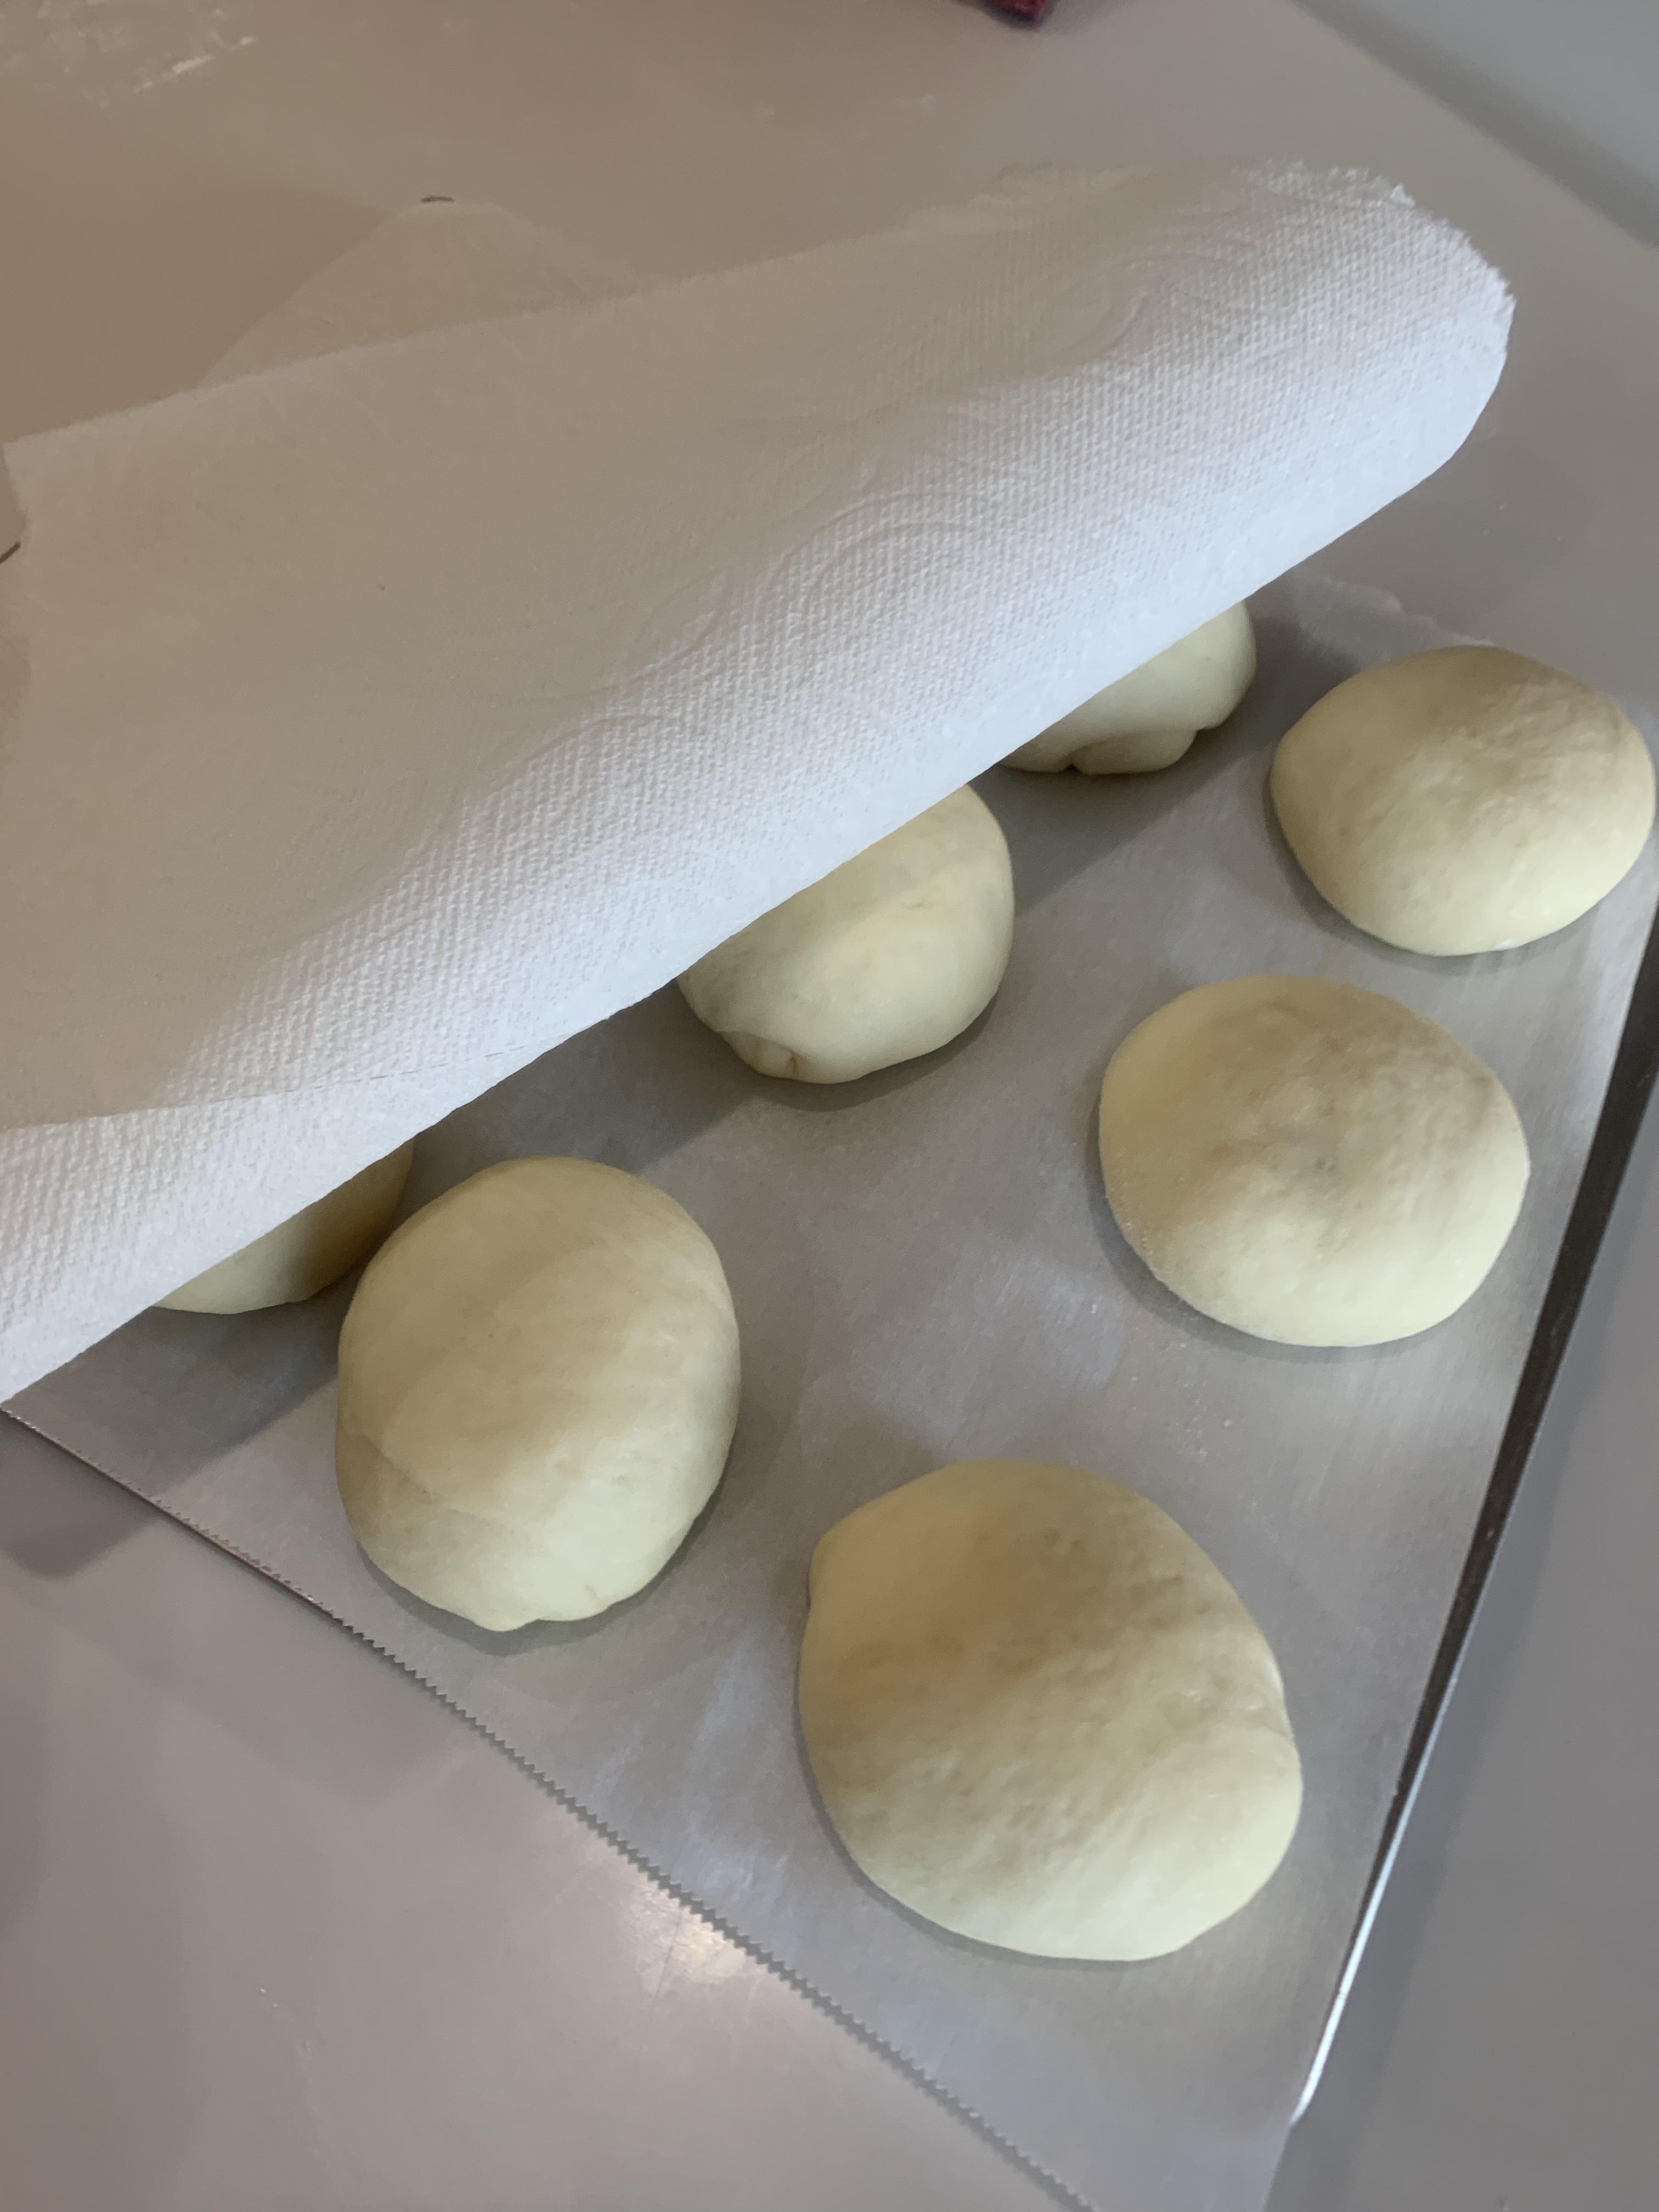
  6. Place a semolina- or cornmeal-dusted piece of parchment paper onto a baking sheet. (Note to self: Don’t go crazy with semolina. It WILL fall off the paper and onto the floor when transferring the loaves from the peel onto the baking stone in the oven,) Gently place the ball(s) of dough on the baking sheet, seam-side down. It is easiest to roll the loaves onto the baking peel.
  7. Cover the bread gently with lightly greased plastic wrap, and let it rise until it’s puffy and about 40% to 50% larger, anywhere from 30 to 45 minutes if using the proofing drawer..
  8. Preheat your oven to 475°F.
  9. Dust each loaf with a little flour. Slash or cross-hatch it with a sharp knife or lame. Spritz water into the oven with a clean plant mister, and place the bread in the oven. Reduce the heat to 425°F and spritz with water every few minutes for the first 15 minutes of baking.
  10. If you are using parchment paper, remove it after the first 15 minutes of baking.
  11. Bake the bread for about 25 to 30 minutes, or until it’s a rich golden brown, and its interior temperature registers at least 190°F on a digital thermometer. The smaller loaves will bake more quickly, so keep your eye on them.
  12. Remove the bread from the oven, and cool it on a rack. Store bread, loosely wrapped in paper, for a couple of days at room temperature; wrap it in plastic and freeze for longer storage.

Pain de Cristal

I subscribe to King Arthur Baking’s newsletter and occasionally they distribute a new recipe, or technique that I cannot resist trying. Well, this is one of those times. They included a video that demonstrated the techniques required to handle very high hydration breads. This one is 100%, which means 1:1 water to flour ratio and I could never have made this bread without their technique, (which worked perfectly.)

QC says it’s like eating air.

Big holes and perfect crust. Pair with butter, honey, or oil and vinegar. Oh my!
This was my dessert tonight. Buttered Pain de Cristal and honey.

While KAF’s videos demonstrating the bowl and coil folds I decided to make my own. (Theirs are better quality, mine may be truer to life.)

Mix all ingredients then let rest 20 minutes
First fold with extremely slack dough. With wet hand stretch a portion of the dough up and into the middle of the dish. Repeat at least 12 times then rest, covered, 20 minutes
This is the second (or third, I forget) coil fold. With wet hands pick up the dough about 3/4ths of the way, stretch it up and let it fall back under the bulk of the dough. Repeat with the other end, then repeat the entire fold several times. Note the dough becomes easier to handle and less sticky with each coil fold. There are a total of 4 coil folds.
Tip the dough out onto a heavily floured surface. Cover top with more flour so there are no sticky spots. Use a bench knife to cut into four equal pieces and flour the edges where you cut.
Carefully, without deflating, shape the dough and place on parchment paper. Let rest for 2 hours.
Note the bubbles formed in the dough. For future bakes I would let the dough rest longer than 2 hours to develop more aeration, bubbles and holes in the final brea.

Ingredients

  • 500g water (80 F in warm weather, 100F if cold)
  • 500g Bread Flour
  • 2.5g (3/4 teaspoon) instant yeast
  • 10g salt
  • 15g olive oil


METHOD

  1. Pretty much see the captions in the above videos.

Fruit Braided Tarts

Ok, so I made fruit tarts in braided tart shells. Should the title be Braided Tarts with Fruit, or Fruit Braided Tarts, or Braided Fruit Tarts? Reminds me of Eats, Shoots and Leaves.

QC had the day off and was out with some friends, leaving me home alone, heh, heh, heh. What to do, oh what to do?

There were braided tart shells in the freezer and I recently bought a kiwi and picked an orange from my neighbor’s tree. I promised a couple of friends I would make them some fruit tarts when everything came together and yesterday all the stars aligned.

First freshen the frozen tart shells (notice the braided sides) in the over at 400F for 5-8 minutes, then an additional 5 minutes at 320F.

Peel and cut the kiwi into thin slices and slice the orange and strawberries.

Make the Crème Diplomat and pipe into the cool shells, add the fruit in your best imitation of a pretty pattern. Sprinkle a few blueberries around the other fruit for color.

Serve as soon as possible as the Crème Diplomat will deflate fairly quickly.

A good, quiet “me” day.

Crème Diplomat

INGREDIENTS
• ½c sugar
• ¼c corn starch
• Pinch salt
• 2 c whole milk
• 4 egg yolks
• 2 Tbl butter
• 2 cups heavy cream, cold

METHOD

  1. Whisk eggs and milk together and add to all other ingredients (except vanilla) to a medium saucepan.
  2. Bring to boil whisking constantly
  3. Cook until thickened (it will look lumpy, its ok)
  4. Sieve lumpy mixture into a bowl and add 1 tsp vanilla, mix thoroughly
  5. When incorporated, cover with plastic directly on the cream and cool about an hour.
  6. Whip the cold heavy cream to medium peaks.
  7. Fold a few spoonfuls of the custard into the cream. Gradually add the rest of the custard, being careful to not knock the air out.

Notes

  1. You can make the custard or creme patisserie ahead of time, it will keep for a few days in an airtight container in the fridge. However, I would not add the whipped cream until you were ready to serve it. It is best served immediately.
  2. Mix crème patisserie 1::1 with whipped cream if making crème patisserie in advance,

I Needed No Kneaded Cinnamon Swirl Bread

I saw a picture of a loaf of cinnamon swirl bread online and that was it. I knew I would make it. It’s an enriched bread dough, stretched into a long rectangle, filled, and rolled up to make a swirl. It doesn’t require kneading, which is nice, although my Kitchen-aid mixer doesn’t really mind.

A few things I discovered as making the bread. When rolled out, stretch the rectangle to at least 18” and better if you can make it 10” x 22”. The longer the rectangle, and thinner the dough, the more rolls there will be and the better the cinnamon/sugar filling will be distributed.

If you have spring back when stretching the dough let it rest 5-10 minutes. The gluten is trying to contract and letting it rest will help. Other than that, the recipe is pretty accurate. BTW: it is delicious.

No Knead Cinnamon Bread

Makes 2 loaves
INGREDIENTS

DOUGH
• 6 cups (768g) unbleached all-purpose flour
• 1 tablespoon kosher salt
• ¼ cup (55g) granulated sugar
• 2½ teaspoons instant yeast
• 1½ cups (340g) buttermilk or milk
• 1 cup (236g) water
• 6 tablespoons (¾ stick, or 86g)) unsalted butter, melted
• Baking spray with flour
FILLING
• ¼ cup (32g) flour, for dusting the counter + 4 tsp to stabilize filling
• ½ cup (110g) granulated sugar
• 1 tablespoon ground cinnamon
• 1 egg beaten with 1 teaspoon water
• (Optional raisins, diced to less than ¼”)

METHOD
DOUGH:

  1. In the bowl of a stand mixer, whisk together the flour, salt, sugar and instant yeast.
  2. In a medium bowl, combine the buttermilk and water. Stir to combine, then heat to 100 -110F.
  3. Add the milk and water mixture then the melted butter. Mix until the liquid is absorbed and the mixture forms a sticky dough ball. (I added an additional ¼ c flour before it formed a good shaggy ball.)
  4. Cover and set aside in a warm spot to rise until the dough has doubled in bulk, about 1½ hours.
  5. Set a rack in the middle of the oven and preheat it to 375°F. Grease two 8.5-by-4.5-inch loaf pans generously with the softened butter.
  6. Release the dough from the sides of the bowl and pull it toward the center, then tip out onto a lightly floured bench. Gently deflate the dough and form into a rough ball.

ASSEMBLE THE BREAD:

  1. Separate the dough into two equal pieces. Using as much flour as necessary, dust your hands and the exterior of the dough, and shape each half into a ball. Let the dough balls rest, covered for 20 minutes without touching.
  2. Transfer one round to the clean, flour dusted bench and gently stretch the dough into a rough 9×20-inch rectangle. (The thinner the rectangle, the more swirls and better distribution of the filling.) If the dough springs back while stretching, let it rest 5 minutes, covered.( In a small bowl, mix 4 tsp AP flour, the sugar and the cinnamon. Brush the dough with the egg wash. Use a small sieve and evenly distribute the filling over the dough with half of the flour-cinnamon-sugar mix, saving the other half for the other dough ball. (Optional: thoroughly mix and coat diced raisins, no more than ¼” in size, into the mix.)
  3. Beginning with one short end, roll it tightly into a coil and place it in a sprayed loaf pan. Repeat with the remaining round. Do not cover the pans. Let the coils rise on the countertop near the oven (or another warm, draft-free spot) until the top of the dough just crowns the rim of the pans, about 10 minutes. (It took mine 20+ minutes in the proofing drawer)
  4. Transfer the pans to the oven and bake until the tops are golden brown and firm to the touch, 40 to 45 minutes. Check the loaves after 20 minutes. The tops were browning and the internal temperature was only 135F. I tented each loaf with aluminum foil and set the timer for an additional 10 minutes. Check every 10 minutes until the internal temperature reaches 185F.
  5. Remove the loaves from the oven, turn them out onto a cooling rack and cool on their sides for 20 minutes before slicing.

NOTES:
According to KAF adding flour to the cinnamon/sugar mix and assuring any added fruit chunks are less than ¼” diameter, will reduce the gaps between the rolls of dough.

Hot Dog! Hamburger Rolls

I like to keep a dozen or so hamburger rolls in the freezer for ‘impulse’ dinner nights. (You know what I mean: “What do you want for dinner?” “I don’t know, what do you want?” The one constant through all the years, Ray, has been… hamburgers. We always agree on hamburgers. My supply was down to three, meaning there was plenty of room in the freezer for more.

Since I found (and made) a new recipe for dinner rolls with one of my granddaughters yesterday, I decided to make some hamburger rolls today. Also, I wanted some homemade hotdog rolls and this was a perfect opportunity to fulfill that wish. This bread is very briochey. The addition of milk, butter and eggs enriches the normal bread dough resulting in a soft, moist, delicious bread.

A question I am often asked is: “how do I know when I have the right amount of flour in the dough?” I am not sure mine’s the ‘correct’ method, but once the dough starts to clean the sides of the stand mixer bowl, I add flour by the tablespoon until the bottom is clean as well. The two short videos following show the dough cleaning the side of the bowl, and, after adding a few more tablespoons, the bottom.

You probably already know this but the difference between dinner rolls as posted yesterday and the hamburger rolls in todays post is how far apart each ball of dough is positioned when baked. The dinner rolls were allowed to grow together in a baking pan and the hamburger rolls were more widely separated on a baking sheet.

I found a few methods of forming the dough logs to make the hotdog rolls. One is to press or roll a portion of dough into a 3”x3” square, perform an envelope fold, pinch the joins together then roll out into the cylindrical shape, about 6” long and 1” diameter.

The other method (and the one I used for hotdog rolls #2 – 12) is to stretch and tension each portion of dough into a ball then roll out into a log 6” long. It seemed easier and faster than the fold and roll method.

Roll to make the center thinner than the ends. The rise and oven spring tends to enlarged the center more than the ends.

I like to cover the dough with a paper towel, then plastic wrap before putting them into the proofing drawer. I read this time somewhere that the paper towel reduces sticking. It works for me.

After proofing, the rolls are egg washed and baked for 12 – 14 minutes or when the tops are a nice brown and the internal temperature is about 180F.

Enriched Dinner, Hamburger and Hotdog Rolls

INGREDIENTS
• 488 g (2 cups) warm milk
• 2 tablespoons instant dry yeast
• 50 g white granulated sugar
• 2 teaspoons salt
• 6 tablespoons butter softened
• 2 large eggs
• 750 g all-purpose flour
• 1 tablespoon melted butter

METHOD

  1. In a stand mixer bowl, combine and mix all ingredients except the flour.
  2. Add in 5 ½ cups of flour. Using a dough hook, turn the mixer on and increase speed slowly to keep the flour from flying all over. Slowly add the remaining flour until the dough pulls away from the sides of the bowl. (I watch the bottom of the bowl and add flour until the dough just comes clean from the bottom.) The dough mixture should be sticky and soft.
  3. Transfer the dough to a lightly greased bowl. Cover and let rise 60 minutes, (until doubled.)
  4. Punch down the dough and form into 24 rolls. (My dough weighed 1630 g therefore, each roll should be 68g.) Place in an 11×15” greased baking pan. Cover and let rise 45 – 60 min.
  5. Preheat oven to 375 F. Bake the rolls for 12 to 14 minutes, until lightly browned.
  6. Remove rolls from oven and brush with melted butter. Best when served warm. To cool, let rest in the pan for 15 minutes then transfer to a wire rack. Once cooled completely, store in a plastic bag.

To Make Hamburger and Hot Dog Rolls

Use the same recipe as above. There will be enough dough to make twelve 70 g hamburger rolls and 12 hotdog rolls.

Hamburger

  1. Cut 70g portions of dough and stretch into a ball. Pinch the bottom together and tension each ball with the rolling “cupped hand” technique.
  2. Place on a parchment paper lined baking sheet. If you want the rolls to touch, during baking space the rolls about 1” apart. If you want to keep them separate, increase the spacing to 2”.
  3. Cover the rolls with a paper towel to keep them from sticking to the plastic wrap on top.
  4. Let the rolls rise for 45 min, until doubled.
  5. Coat each roll with an egg wash (1 whole egg::1 Tbl water)
  6. Bake at 375F for 12 minutes, until nicely browned and the internal temperature is 180F

Hot Dogs

  1. Cut 68g portions of dough. There are two options (that I tried) to form the hot dog dough into logs.
    a. Fold and roll method
    i. Form the portion into a 3”x3” square
    ii. Envelope fold the dough into an approximately 1”x3” log, then roll as you would a breadstick, or pretzel etc until the log is about 6” long and 1” thick.
    b. Roll Method
    i. Stretch the portion into a ball and tension as will the dinner rolls above
    ii. Roll the ball into a 6” log. (Why take the extra step to fold?)
  2. In either case try to make the center 3-4” of the log a little thinner as when the dough proofs and oven rises the centers tend to rise more than the ends.
  3. Bake the hamburger and hot dog buns as described in the hamburger roll section above.

Enriched Dinner Rolls

I have a recipe and method for making dinner rolls that receive great reviews and are in constant demand. With such a success why wouldn’t I try and new recipe, enriched this time?

I forgot to photograph the final rolls, so took this on the way to Grace’s house. Due to time restraints I had to remove the rolls from the pan early which led to their distortion. Believe me, they were perfect coming out of the oven.

I showed Grace how to cut the dough into small portions (68 g for this recipe) using a bench chopper. It took her a few try’s to figure out when to add or subtract dough from what was on the scale. When I say a few, I mean very few. Three or four tries and she could cut 68 g portions in seconds.

She tried to form dough balls with her hands, but alas, at 5 years old this size dough ball was too large for her to handle. We ended up with her cutting and weighing, and me forming the balls. I like to stretch the dough by pulling the it from front to back with my thumbs, rotating and repeating. Pinch the rough backside together, place on a dry counter, cup your fingers over the ball and quickly roll around the counter top. This will smooth and tension the dough providing a great shaped roll.

Enriched Dinner Rolls

INGREDIENTS

• 488 g (2 cups) warm milk
• 2 tablespoons instant dry yeast
• 50 g white granulated sugar
• 2 teaspoons salt
• 6 tablespoons salted butter softened
• 2 large eggs
• 750 g all-purpose flour
• 1 tablespoon melted butter

METHOD

  1. In a stand mixer bowl, combine and mix all ingredients except the flour.
  2. Add in 5 ½ cups of flour. Using a dough hook, turn the mixer on and increase speed slowly to keep the flour from flying all over. Slowly add the remaining flour until the dough pulls away from the sides of the bowl. (I watch the bottom of the bowl and add flour until the dough just comes clean from the bottom.) The dough mixture should be sticky and soft.
  3. Transfer the dough to a lightly greased bowl. Cover and let rise 60 minutes, (until doubled.)
  4. Punch down the dough and form into 24 rolls. (My dough weighed 1630 g therefore, each roll should be 68g.) Place in an 11×15” greased baking pan. Cover and let rise 45 – 60 min.
  5. Preheat oven to 375 F. Bake the rolls for 12 to 14 minutes, until lightly browned. (The internal temperature reached 180 F.)
  6. Remove rolls from oven and brush with melted butter. Best when served warm. To cool, let rest in the pan for 15 minutes then transfer to a wire rack. Once cooled completely, store in a plastic bag.

L1’s Should Do This Tort(e). It’s Simple!

I saw a picture of a chocolate – raspberry torte on King Arthur Baking’s website. With no hesitation I thought, “I am so making that.” However, my extreme chocolate cake cannot be beat and basic chocolate whipped cream is a piece of cake. (Well, sometimes cake, but this time torte.)

I made the cake and placed both 9” layers in the freezer, one to chill, the other to freeze until needed sometime in the future. Once chilled I sliced one layer in half. I used the toothpick and floss method, something I showed my 3 year old granddaughter today. She had never seen that before (no big surprise, after all she is only 3) but I am sure she will not forget it. That girl forgets nothing!

She and I then whipped up some chocolate whip cream, spread half over the top of the lower layer and spread about 4 oz of raspberries randomly around the cake. Be sure the whipped cream is thick enough so you can bury the raspberries.

Place the second layer of cake over the first and (we piped, KAF spread,) whipped cream over the top, adding the rest of the raspberries. KAF suggested dusting with cocoa, we decided to use powered sugar. I used 6 oz raspberries total.

Chocolate Whipped Cream

INGREDIENTS

  • 454 g (2 Cups) Milk
  • 56 g (4 Tbl) Caster Sugar
  • 20 g (4 Tbl) Special Dark Cocoa
  • 1 Tsp Vanilla

METHOD

  1. Chill mixing bowl and whisk in the freezer for 30 minutes.
  2. Add milk to mixing bowl and whip to soft peaks
  3. Slowly add caster sugar until firm peaks
  4. Add cocoa, but start the mixer slowly to keep the cocoa from flying all over.
  5. Increase the mixer speed to form stiff peaks and assure the cocoa is fully incorporated.