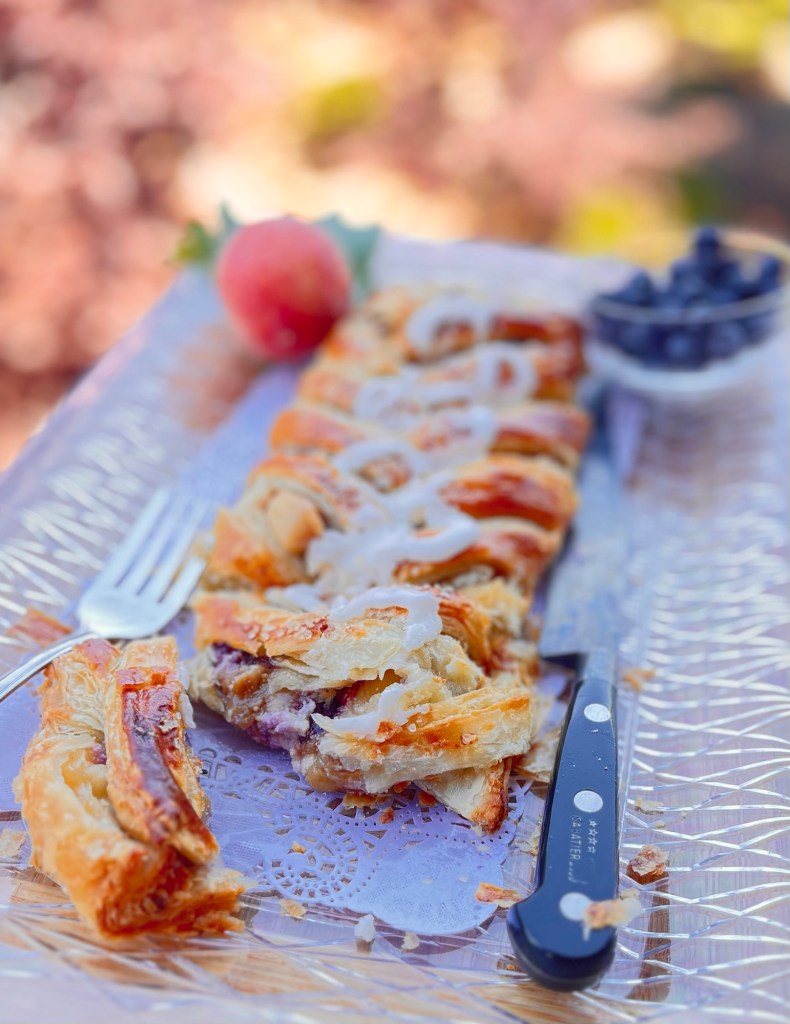
My neighbors went to Hawaii as the peaches on their tree were ripening, so they gave me a dozen peaches. It’s a shame they are missing some of their peach season but they are in Hawaii after all. I can’t feel too bad for them.
I studied several recipes to pick and choose the parts I wanted to create this pastry which would taste of fresh peach but not be soggy from all the peach juice.
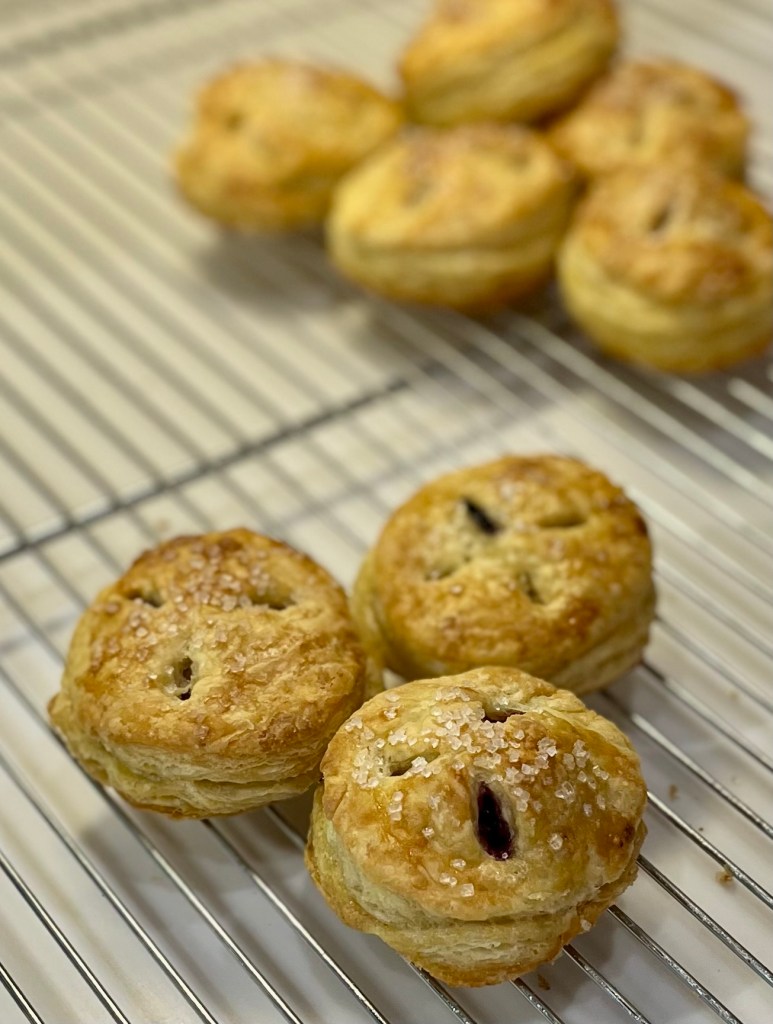
I succeeded.
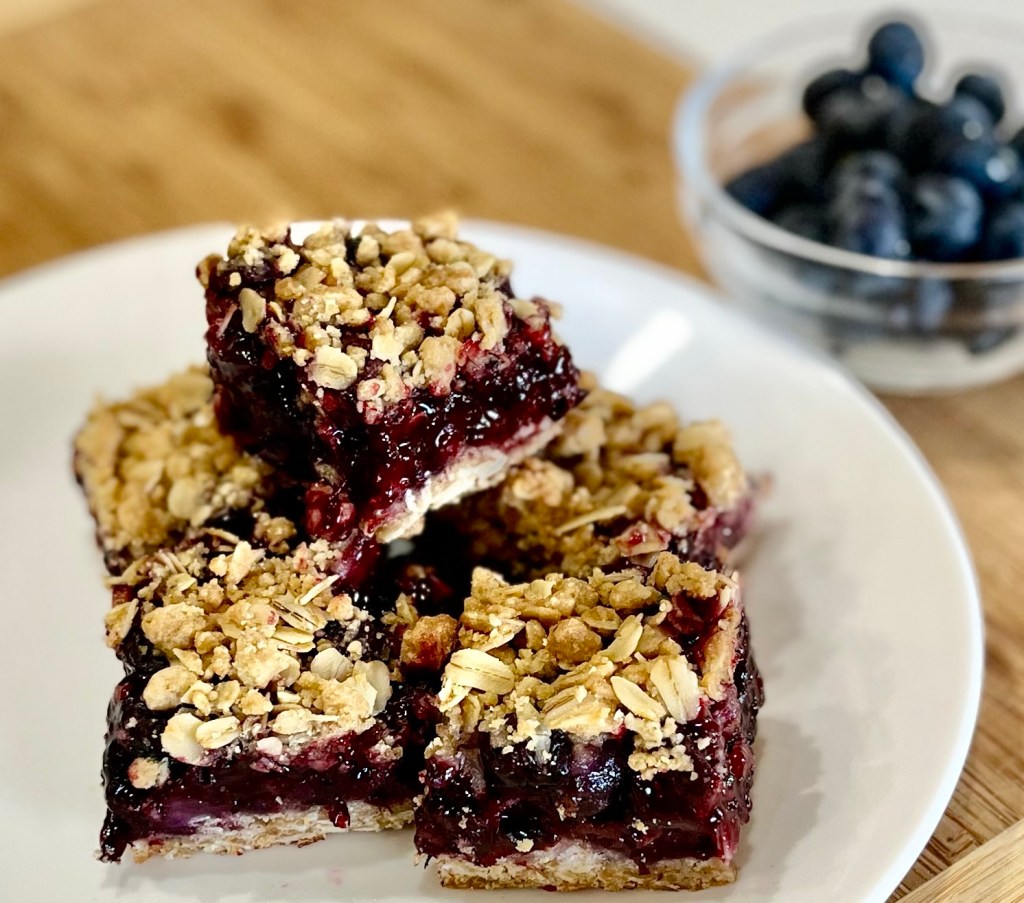
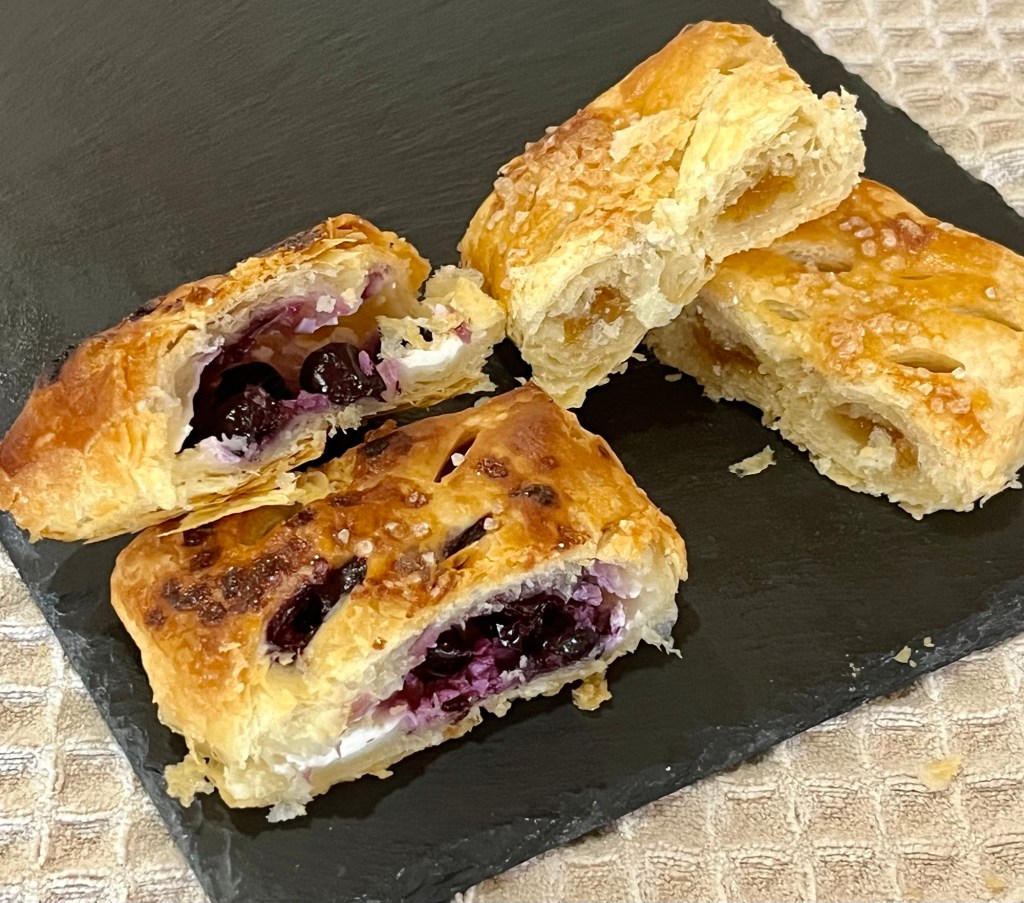
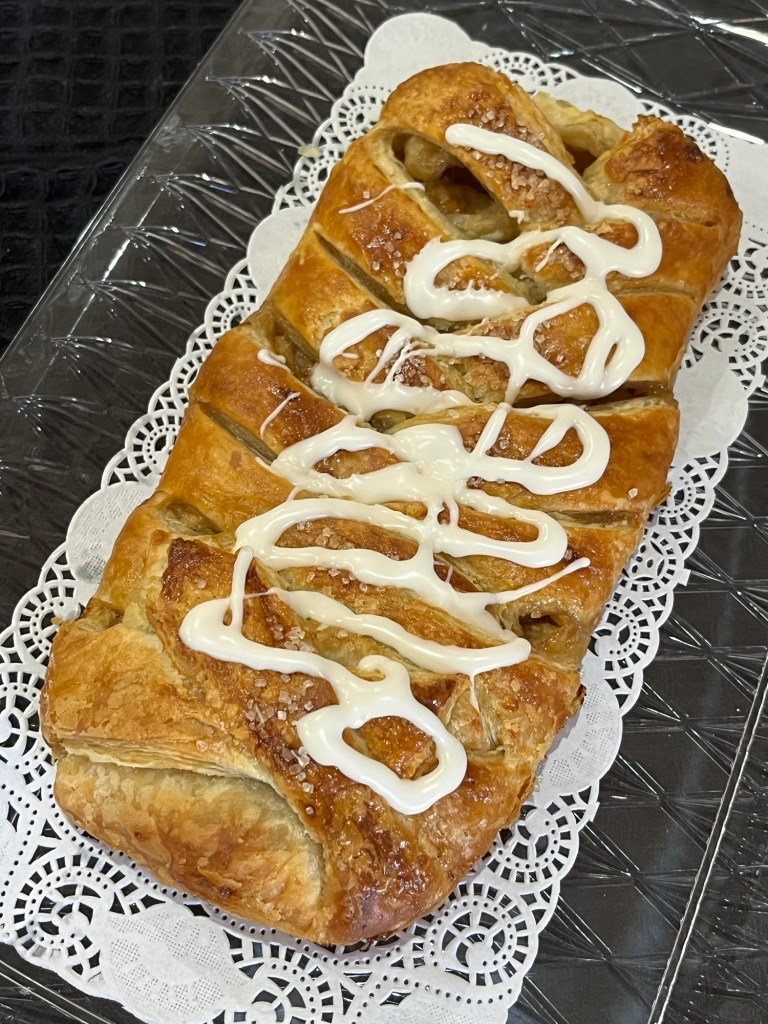
I made one with simple peach filling and a second one with a cream cheese/sugar paste and fresh blueberries along with the peach filling.
They were both delicious, crisp, and not soggy. The lemon/sugar drizzle added a touch of tartness to the sweet peaches.
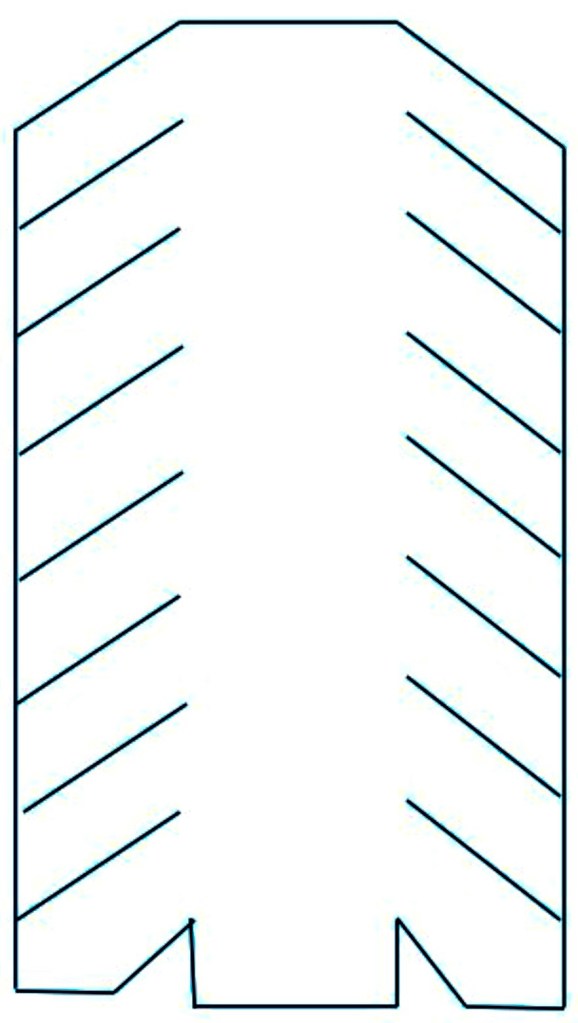
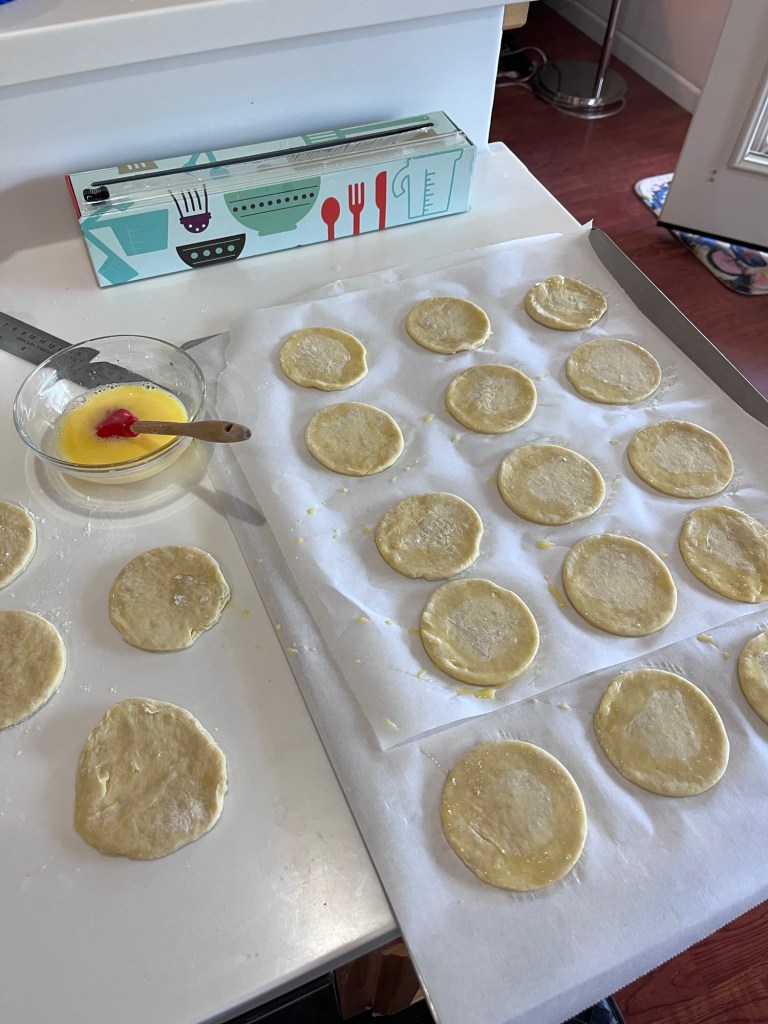
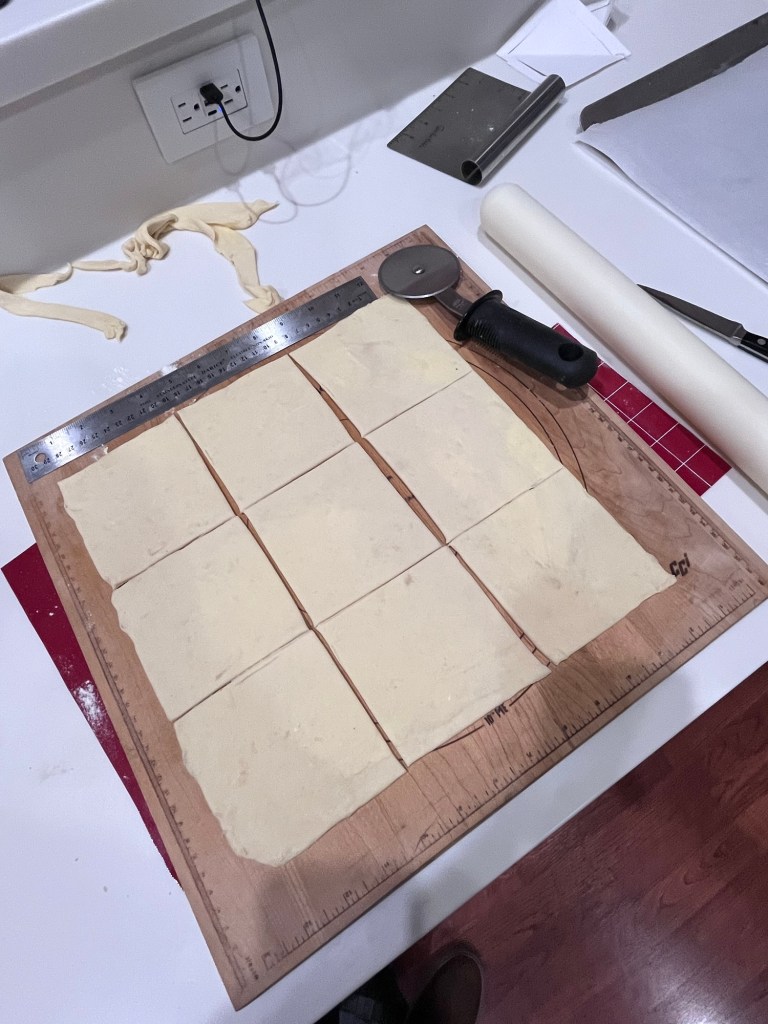
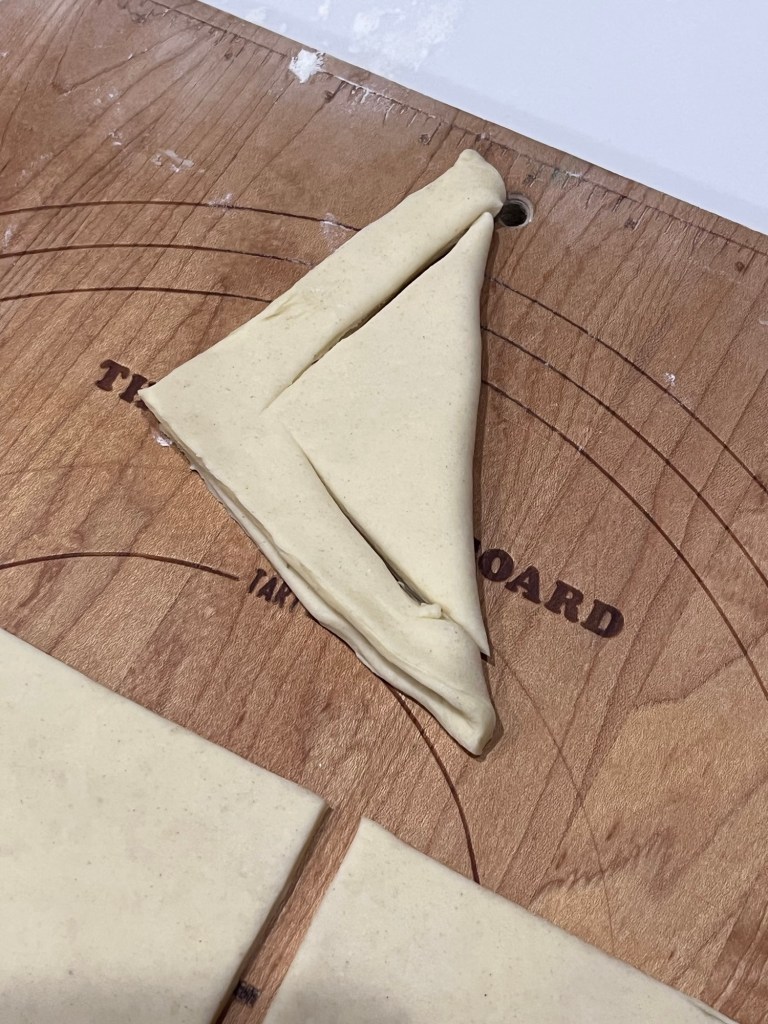
I created a template to remember how to cut and fold the pastry. After filling the ends fold up and over the filling.
I am sorry I didn’t include weights in the measurements but I didn’t take notes as I was creating/inventing. The weights of everything are well known except the peaches. I also hope I didn’t miss anything. I don’t think so.
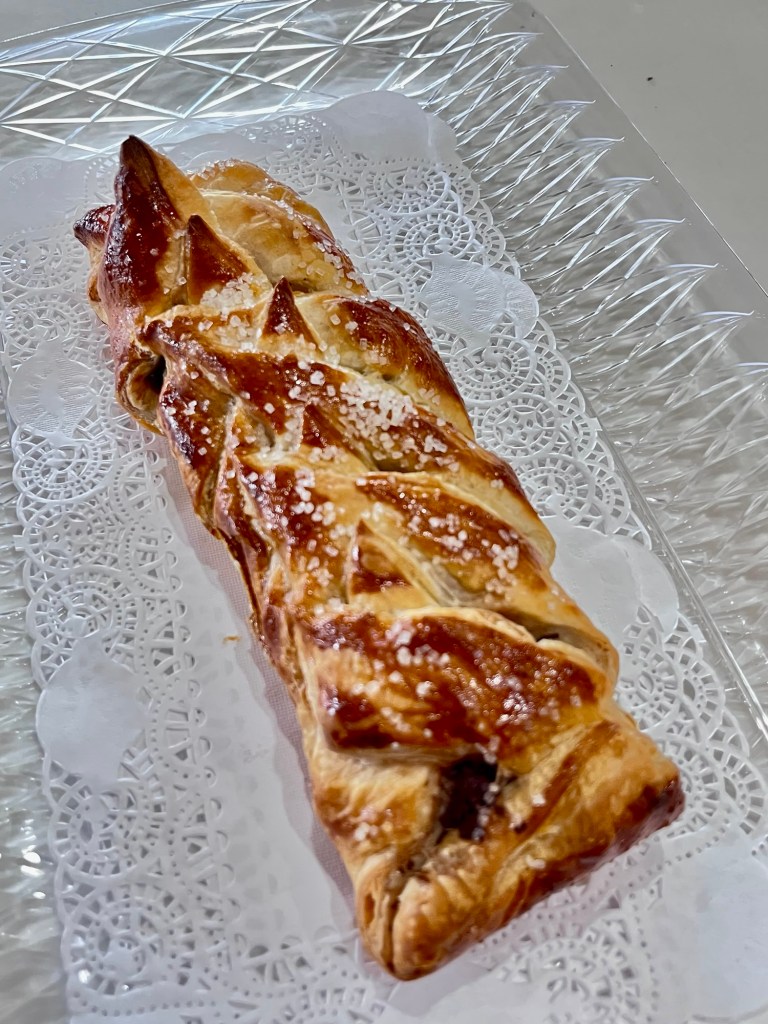
Fresh Peach Braided Puff Pastry
INGREDIENTS
Pastry & Filling:
• 1 sheet Sally’s puff pastry, thawed
• 3–4 (1 c) fresh peaches, peeled and sliced
• 1/3 c granulated sugar
• 1/3 c brown sugar
• 1 Tbl cornstarch
• 1/8 tsp nutmeg
• 1/2 tsp cinnamon
Egg Wash & Glaze:
• 1 whole egg + 1 tbsp water (whisked for egg wash)
• 2 tsp coarse sugar (or turbinado/granulated)
• 1/3 c powdered sugar + 3-4 tsp lemon juice (whisked for drizzle)
METHOD
- Preheat oven to 400°F (200°C) and line a rimmed baking sheet with parchment paper. (It’s important to use a rimmed baking sheet or you will have to clean the oven as I did.)
- In a small bowl mix the granulated sugar and cornstarch
- In a medium saucepan , mix the sliced fresh peaches, brown sugar, nutmeg, and cinnamon, heat on low.
- Add sugar and cornstarch mixture stirring to thoroughly combine, and continue heating until syrup thickens,
- Remove from heat and drain in a fine mesh sieve to remove excess juice.
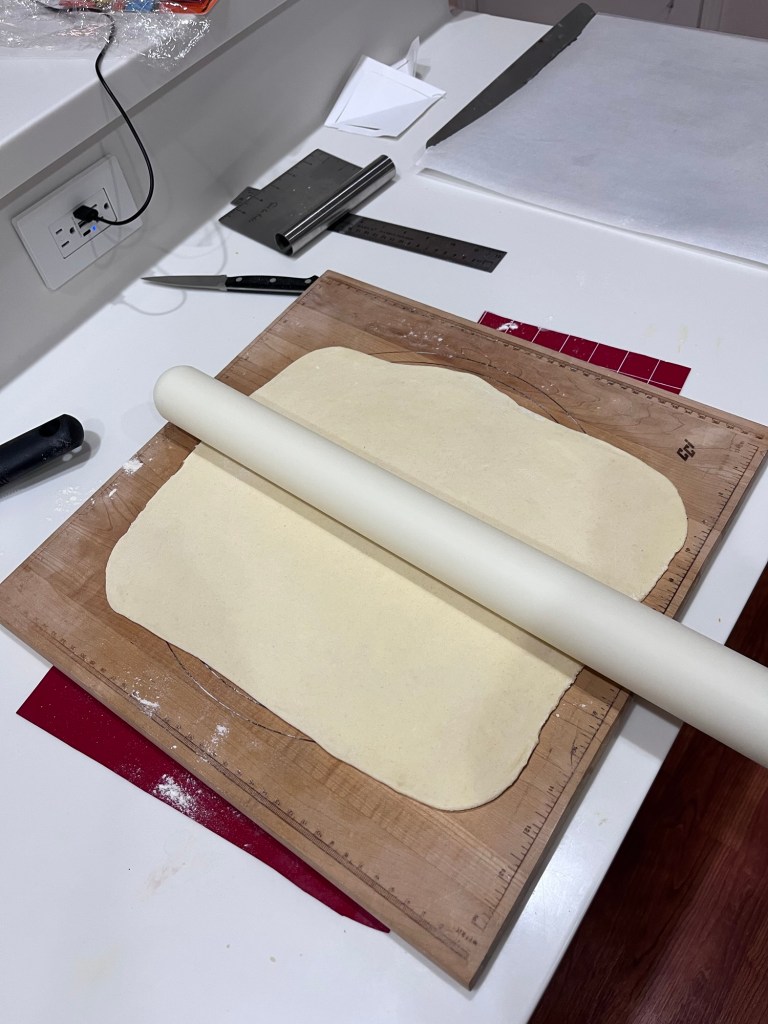
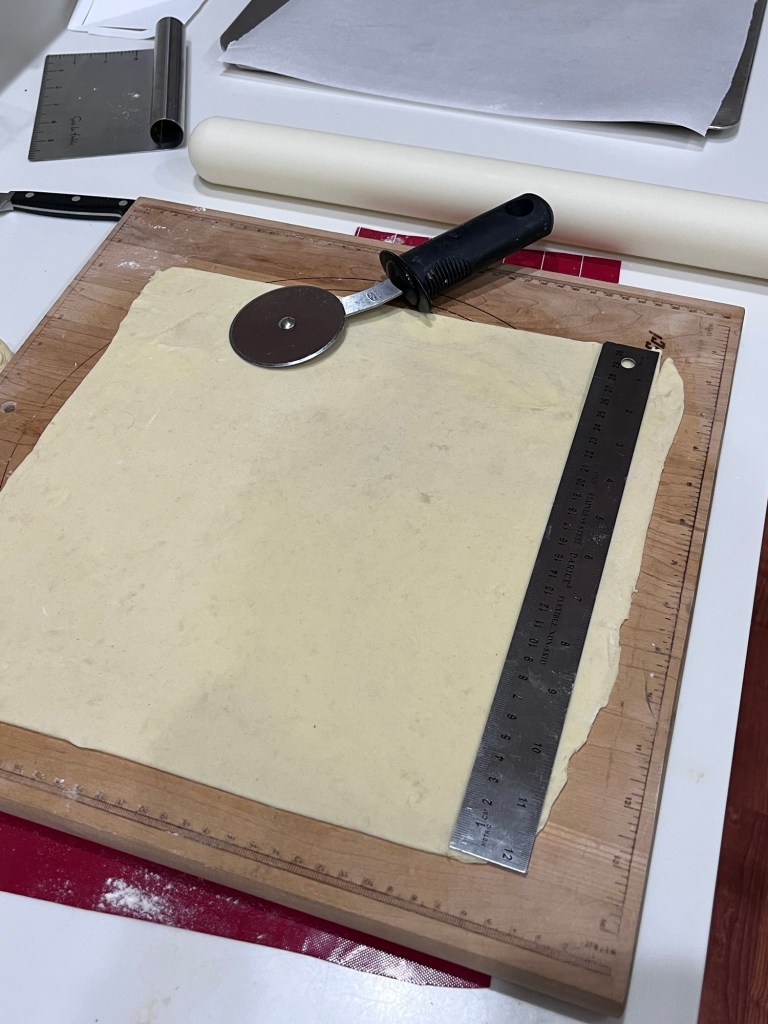
- Unfold the thawed puff pastry sheet onto a lightly floured counter. Roll to 12″ x 14″.
- (If including the cream cheese/sugar and blueberries spread the cream cheese mixture down the center of the pastry and place blueberries sparsely on top of it.)
- Spoon the peach mixture down the center third of the pastry. Using a pizza cutter, make 1-inch diagonal cuts along both long sides of the dough (up to the edge of the peach filling).
- Fold the strips over the filling, alternating left and right to create a crisscross braid effect. Pinch the top and bottom ends tightly to seal.
- Transfer to a parchment paper lined, rimmed baking sheet
- Brush the entire braid with your egg wash and sprinkle generously with coarse sugar. Bake for 25–30 minutes until golden brown.
- Mix 1/3 cup of powdered sugar and 4 teaspoons of lemon juice. Adjust the amount of lemon juice
- Let the braid cool for 15 minutes, then drizzle with the powdered sugar and lemon juice glaze.