
Actually, say mozzarella! No baking this past weekend, but I did make home-made mozzarella cheese. I read it is the easiest cheese to make and as I needed to run to the store for some for a pan pizza, I thought I would learn how to make it. For emergencies you understand.
It was reasonably easy, but I think I made a few minor errors this first time. I don’t think the curd set completely. On advice from cheese makers blogs I let it set much longer than the recipe specified, but it was still pretty liquid. I may need more rennet and/or let it set at a warmer temperature.

Set Curd 
Cut Curd Into Pieces 
Draining Curd 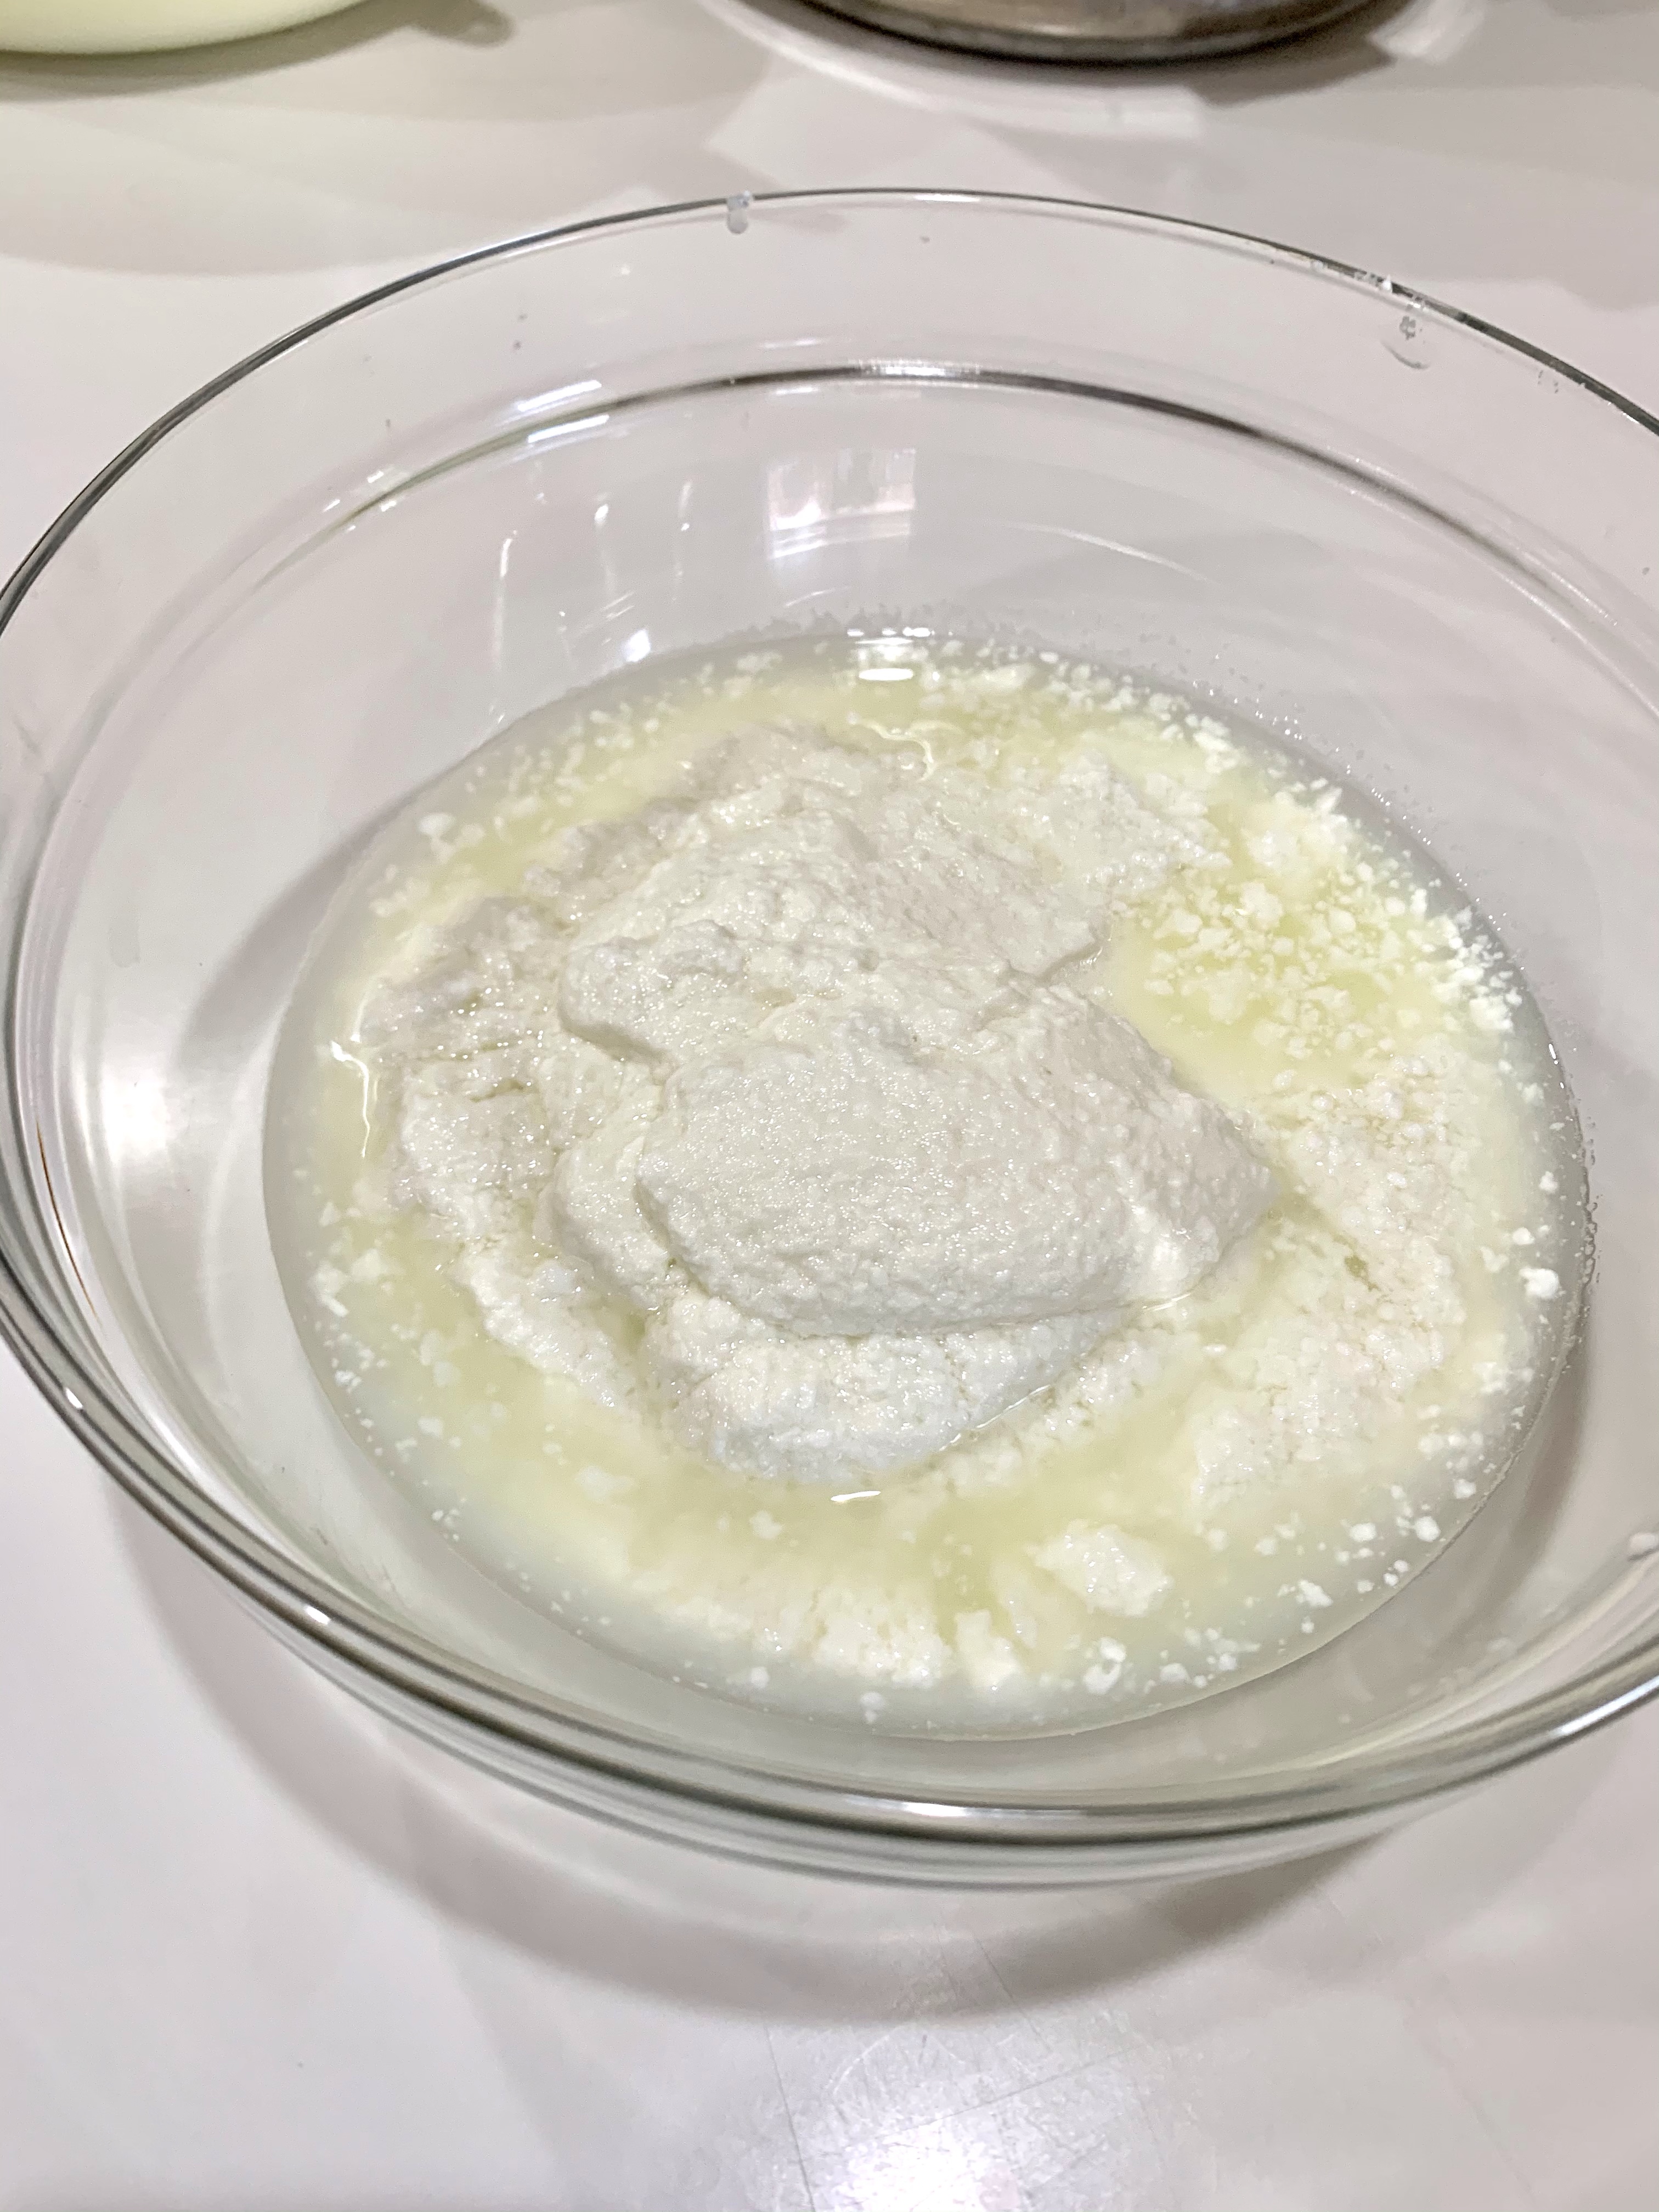
Drained Curd – Decanted Residual Whey and Begin to Stretch
Once I finished cooking the curd and started to knead and stretch it, I began to see the ‘cottage cheese’ texture, but it never came together to form a glossy mass.

Knead Curd 
Form Stretched Cheese 
Packaged Cheese in Whey
I packed two small balls of cheese in airtight containers with a little left over whey to let it set and continue curing overnight.
Much to my surprise, the final cheese had a good texture and excellent taste. In summary, it is very easy to make, just a little harder than driving the two miles to the market and buying it.
Mozzarella Cheese
https://www.thekitchn.com/how-to-make-homemade-mozzarella-cooking-lessons-from-the-kitchn-174355
Makes about 1 pound of mozzarella
INGREDIENTS
• 1 ¼ cup water
• 1 ½ teaspoon citric acid
• ¼ rennet tablet or ¼ teaspoon liquid rennet (Not Junket rennet, see note below)
• 1 gallon milk, whole or 2%, not ultra-pasteurized*
• 1 teaspoon kosher salt
METHOD
- Measure out 1 cup of water. Stir in the citric acid until dissolved. Measure out ¼ cup of water in
a separate bowl. Stir in the rennet until dissolved. - Pour the milk into the pot. Stir in the citric acid solution. Set the pot over medium-high heat and
warm to 90°F, stirring gently. - Remove the pot from heat and gently stir in the rennet solution. Count to 30. Stop stirring, cover
the pot, and let it sit undisturbed for 5 minutes. - After five minutes, the milk should have set, and it should look and feel like soft silken tofu. If it
is still liquidy, re-cover the pot and let it sit for another five minutes. Once the milk has set, cut it
into uniform curds: make several parallel cuts vertically through the curds and then several
parallel cuts horizontally, creating a grid-like pattern. Make sure your knife reaches all the way
to the bottom of the pan. - Place the pot back on the stove over medium heat and warm the curds to 105°F. Stir slowly as
the curds warm, but try not to break them up too much. The curds will eventually clump
together and separate more completely from the yellow whey. - Remove the pan from the heat and continue stirring gently for another 5 minutes.
- Ladle the curds into a microwave-safe bowl with the slotted spoon.
- Microwave the curds for one minute. Drain off the whey. Put on your rubber gloves and fold the
curds over on themselves a few times. At this point, the curds will still be very loose and
cottage-cheese-like. - Microwave the curds for another 30 seconds and check their internal temperature. If the
temperature has reached 135°F, continue with stretching the curds. If not, continue
microwaving in 30-second bursts until they reach temperature. The curds need to reach this
temperature in order to stretch properly. - Sprinkle the salt over the cheese and squish it with your fingers to incorporate. Using both
hands, stretch and fold the curds repeatedly. It will start to tighten, become firm, and take on a
glossy sheen. When this happens, you are ready to shape the mozzarella. Make one large ball,
two smaller balls, or several bite-sized bocconcini. Try not to over-work the mozzarella. - Using and Storing Your Mozzarella:
- The mozzarella can be used immediately or kept refrigerated for a week. To refrigerate, place
the mozzarella in a small container. Mix a teaspoon of salt with a cup of cool whey and pour this
over the mozzarella. Cover and refrigerate.
RECIPE NOTES - Adapted from New England Cheesemaking Supply Company
