A month ago, QC and I went to Apple Hill to buy some, wait for it,… apples! This is our traditional trip up past Placerville. It’s a nice drive up and we take a backroad home through the Sierra Nevada foothills. It looks a lot like Vermont.
I made a couple of dozen pints of applesauce, (we like applesauce.) and had leftover apples, beyond those we ate. I found a recipe for an apple pie designed to be prepared and frozen (for up to 2 months.) I also have a nice pie crust recipe I never used so along with the apples, the time was ripe. If you do not over-mix the fats and dry ingredients and do not over-work the dough the crust will be very flaky and delicious like this one.
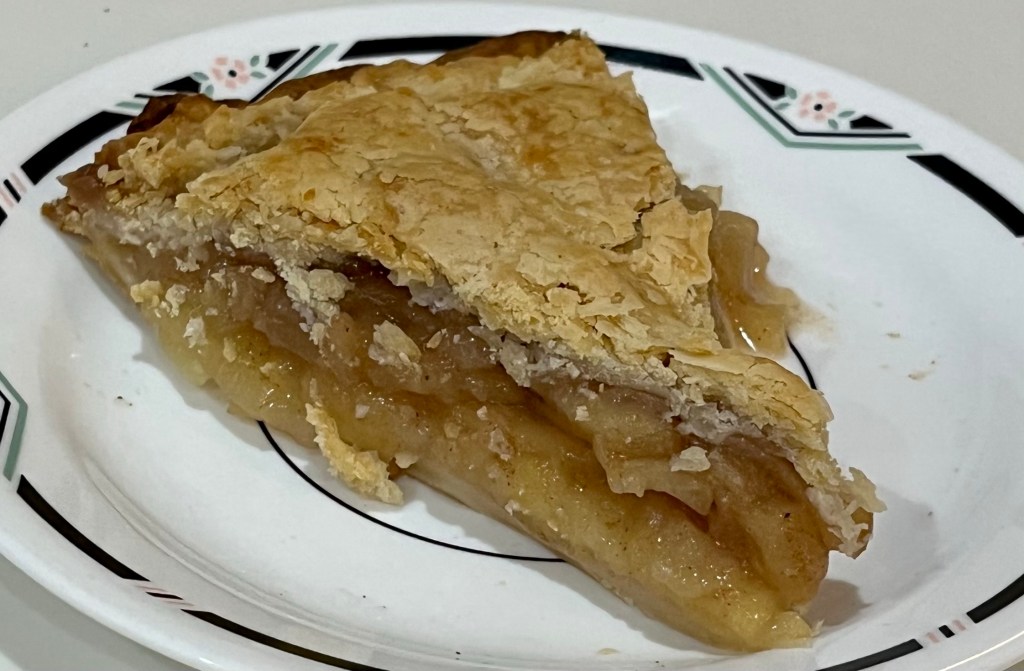
Unfortunately, I couldn’t wait the full two months to complete the test, and baked it today, almost exactly one month from freezing. (Next time I will make two pies.)


Apple Pie Ready for Freezing
PIE CRUST
• 2 ½ cups (315g) all-purpose flour plus more for shaping and rolling
• 1 teaspoon salt
• 6 Tablespoons (85g) unsalted butter, chilled and cubed
• 2/3 cup (130g) vegetable shortening, chilled
• ½ cup (120ml) ice cold water
INGREDIENTS – PIE FILLING
• 6 c thinly sliced, peeled apples (6 medium)
• ¾ c sugar
• 3 Tbl all-purpose flour
• ¾ tsp ground cinnamon
• ¼ tsp salt
• ⅛ tsp ground nutmeg
• 1 tsp lemon juice
METHOD CRUST
- Whisk the flour and salt together in a large bowl.
- Add the butter and shortening. Use a pastry cutter, cut the butter and shortening until it looks like coarse gravel. (A few larger bits of fat are OK). In this step, you’re only breaking up the cold fat into tiny little flour-coated pieces; you’re not completely incorporating it. Do not overwork the ingredients.
- Measure ½ cup (120ml) of water in a cup. Add ice. Stir it around. From that, measure ½ cup (120ml) of water, since the ice has melted a bit. Drizzle the cold water in, 1 Tablespoon (15ml) at a time, and stir with a silicone spoon after every tablespoon has been added. Stop adding water when the dough begins to form large clumps. Do not add any more water than you need.
- Transfer the pie dough to a floured work surface. Using floured hands, fold the dough into itself until the flour is fully incorporated into the fats. The dough should come together easily and should not feel overly sticky. Avoid overworking the dough. If it feels a bit too dry or crumbly, dip your fingers in the ice water and then continue bringing dough together with your hands. If it feels too sticky, sprinkle on more flour and then continue bringing dough together with your hands. Form it into a ball. DO NOT OVERWORK THE DOUGH!
- Use a sharp knife to cut it in half. If it’s helpful, you should have about 1 lb, 8 oz dough total (about 680g). Gently flatten each half into 1-inch-thick discs using your hands.
- Wrap each tightly in plastic wrap. Refrigerate for at least 2 hours and up to 5 days.
- After the dough has chilled for at least 2 hours roll it out, one crust at a time, keeping the other in the refrigerator until you’re ready to roll it out. Lightly flour the work surface, rolling pin, and your hands, and sprinkle a little flour on top of the dough. Use gentle-medium force with your rolling pin on the dough—don’t press down too hard on the dough. When rolling dough out, start from the center and work your way out in all directions, turning the dough with your hands as you go. Between passes of the rolling pin, rotate the pie crust and even flip it, to make sure it’s not sticking to your work surface. Sprinkle on a little more flour if it’s sticking; don’t be afraid to use a little more flour. Roll the dough into a very thin 12-inch circle. Your pie dough will be about 1/8 inch thick, which is quite thin. Visible specks of butter and fat in the dough are perfectly normal and expected.
- Carefully roll one end of the circle of dough gently onto the rolling pin, rolling it back towards you, slowly peeling it off the work surface as you go. Pick it up, and carefully roll it back out over the top of the pie dish.
METHOD – PIE FILLING
- Place 1 pie crust in 9-inch disposable foil or metal pie plate (do not use glass). Press crust firmly against side and bottom of pie plate.
- In large bowl, gently mix filling ingredients; spoon into crust-lined pie plate.
- Top with second crust. Wrap excess top crust under bottom crust edge, pressing edges together to flute and seal.
- Tightly wrap unbaked pie in 3 layers of plastic wrap, making sure all sides of pie are completely sealed and unexposed.
- When ready to bake pie, heat oven to 450°F. Remove frozen pie from freezer; cut a few slits in top crust and place in oven. Do not thaw pie.
- Bake 25 minutes. Reduce oven temperature to 375°F; bake 40 to 50 minutes longer or until crust is golden brown and apples are hot and soft when pricked with a fork. If necessary, tent the edges of the pie to reduce darkening and bake in 10-minute periods until the internal temperature of the pie is 190 – 200°F.

Hi Dave — I often freeze slices of baked pies . . . so I don’t eat the whole pie in one week!!! . . . and that works fine, but I’ve never frozen an unbaked pie! I’ll have to give your recipe a try. (You’ll have to come here in the fall and pick some of our Albright Farms apples!!)
Liz Albright
315-524-9127
albright_liz@yahoo.com