I saw this cookie design online and as the timing was perfect, how could I resist? I used my Macadamia Nut Shortbread and a basic royal icing recipe. The cookies are delicious, timely and fun to make.
Oddly, I tried piping the blue circle inside the red one (center cookie) but they just didn’t look as good. I could only frost a couple cookies at a time or the flood/fill would dry before I could feather the colors.
I used these small squeeze bottles to pipe the required small amounts of icing. I find I have better control than if I use a piping bag.
4th of July Cookies 2023
Macadamia Nut Shortbread Cookies
INGREDIENTS • 1 cup butter, room temperature • 3/4 cup powdered sugar • 1 tsp vanilla extract • 2 cups flour • 1 cup macadamia nuts, finely chopped
METHOD
Beat the butter until smooth and add in the powdered sugar and vanilla. Gradually add flour then mix in the 1 cup of chopped macadamia nuts.
Transfer the batter to a sheet of parchment paper. Lay a second sheet over top and roll to 1/4-inch thickness. Place it onto a cookie sheet and refrigerate until firm.
Preheat oven to 300°F and remove dough from refrigerator.
Cut the cookies using a star cookie cutter. Re-roll the scraps and use as much as possible.
Place the stars onto a parchment lined cookie sheet, cover, and chill for 30 minutes.
Bake for 20 minutes until edges begin to brown.
Cool the cookies completely.
Royal Icing
INGREDIENTS • 4 cups (480g) confectioners’ sugar, sifted • 3 Tablespoons meringue powder (not plain egg white powder) • 9–10 Tablespoons room temperature water
METHOD
Pour confectioners’ sugar, meringue powder, and 9 Tablespoons of water into a large bowl.
Using a hand mixer or a stand mixer fitted with a whisk attachment, beat icing ingredients together on high speed for ~2 minutes.
When lifting the whisk up off the icing, the icing should drizzle down and smooth out within 5-10 seconds. If it’s too thick, beat in more water 1 Tablespoon at a time.
The longer you beat the royal icing, the thicker it becomes. If your royal icing is too thin, just keep beating it to introduce more air OR you can add more confectioners’ sugar.
Assembly
Pipe a thin bead of white royal icing around the edges of the cookies and let dry.
Flood/fill 2 or 3 cookies and while still wet pipe a drop of red and a drop of blue in the center of the cookie.
Pipe a ring of red royal icing around the blue and white drops, then pipe a blue ring outside the red circle.
Use a toothpick to draw a line through the icing from the center to the tip of each star then leave to dry.
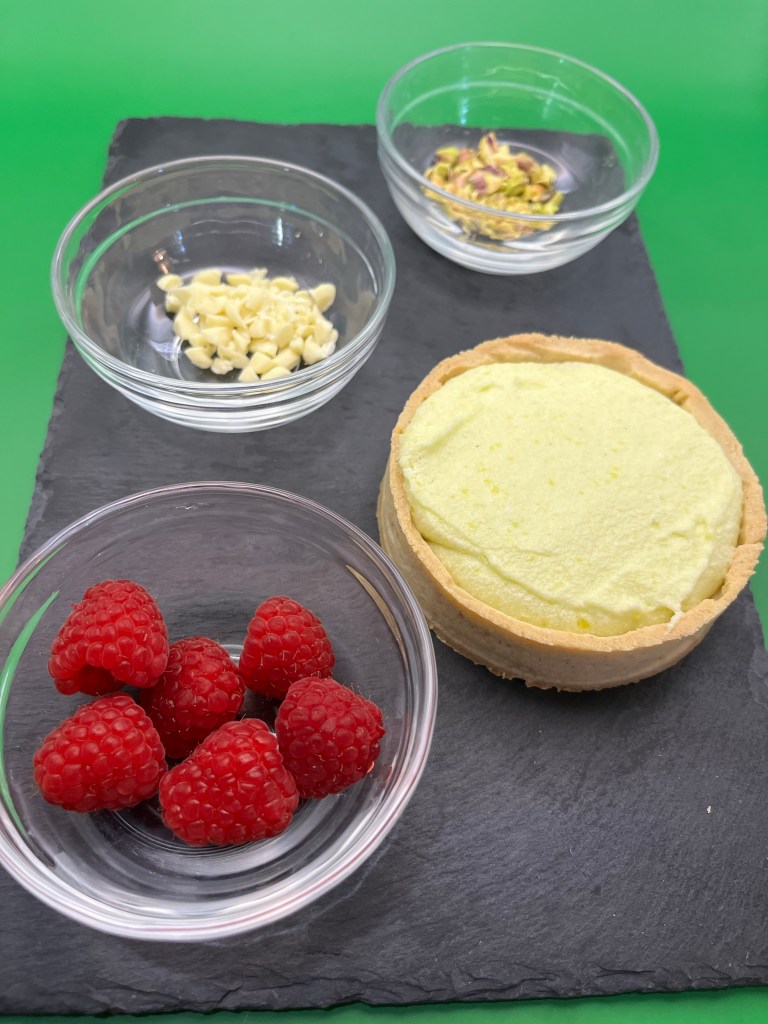
I saw a recipe for a raspberry/pistachio mini tart and my mind went “Boing!” It usurped everything else in Dede’s Upcoming list.
I made several modifications to the recipe. I used an alternate creme patisserie, alternate tart shell but used the same basic buttercream recipes. When I try these again (today was a test for an Independence Day party) I will try a pistachio creme chiboust. (It’s a bit lighter.)
Raspberry Pistachio Tartlets
INGREDIENTS Pastry cream • 2 egg yolk • ¾ c cup whole milk • ¼ cup heavy cream • ¼ c sugar • 4 Tbl cornstarch • Pinch of salt • 1 Tbl butter • ½ teaspoon vanilla extract • 3 tablespoon pistachio oil • 1-2 drops green food coloring Shell • 100 g cold butter cut into small cubes • 200 g all-purpose flour • 60 g icing sugar • ½ tsp vanilla • ¼ tsp salt • 2 eggs – 1 for the dough and the other 1 reserved for an egg wash • ½ cup seedless raspberry jam Buttercream • 4 tablespoon {½ stick} unsalted butter, at room temperature • 1 cup powdered sugar • 2-3 tablespoon heavy cream • 1 teaspoon vanilla extract • pinch of salt Garnish • fresh raspberries • chopped white chocolate • chopped pistachios
METHOD
In a small saucepan, whisk together the milk and egg yolks. (You can, so why not?)
Add the salt, sugar and cornstarch then beat until smooth. (We use 2% milk so I add heavy cream to it.)
Add the butter and heat while constantly whisking until it just starts to look lumpy
Sieve into a small bowl, cover with plastic wrap, and refrigerate.
Pre-heat oven to 350 degrees
Mix butter with sugar
Add salt then vanilla
Add egg and mix until incorporated
Stir in flour. Mix by hand like you are kneading bread until incorporated
Cover with plastic and refrigerate for 30 min
Butter tartlet pans, or use non-stick pans
Roll dough to about ⅛” thick
Lay over tart mold and press into all crevices
Roll top to cut off excess
Prick holes in bottom and sides of formed dough
Fill tarts with pastry weights. For mini tartlet pans I put beans in a cupcake paper. For large pans use crumpled parchment paper filled with beans. Remove 5 minutes before the end of the bake. Bake until the edges are lightly browned and the bottom is dry.
Paint edges of the tartlet with the egg wash.
Bake in preheated oven 350 deg F (175 C) for 15 min
Immediately remove from pans and cool on a wire rack.
In a medium bowl, using a hand mixer, beat the butter for the buttercream until smooth. Add in the powdered sugar, vanilla, salt, and cream, and mix until a fluffy frosting forms.
When ready to assemble, grab the pastry cream from the fridge. Whisk until smooth and creamy, then add in the pistachio cream and mix until well incorporated and silky. Add in a drop of food coloring if desired.
Gently fold the buttercream into the pistachio pastry cream.
Pour ~1/8” of raspberry jam to cover the bottom of the tart shell
Pipe the cream evenly among the prepared tartlets, smooth the top then refrigerate at least 2-3 hrs but optimally overnight.
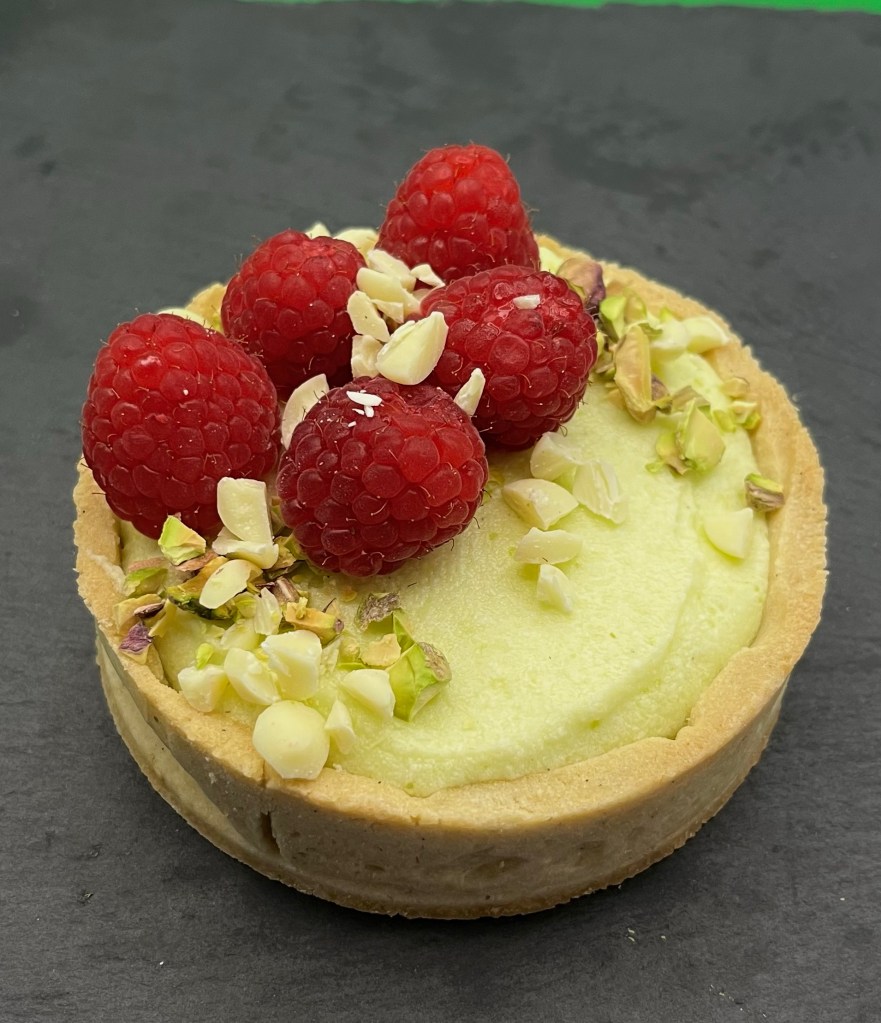
Just before serving, top tarts with raspberries, white chocolate, and pistachios. Serve chilled!
Do you have Roku? We bought it primarily to watch the first few seasons of GBBO that aren’t available elsewhere. While the BBC was learning how to produce GBBO the early seasons provided local knowledge and history about the various baked items. This in-depth part of the show has since disappeared. The show that contained Bath Oliver Biscuits was one of those shows.
After making these biscuits once I learned they should be rolled out to NO MORE than 2mm (~ 1/8”) thick. It will take several rest stops to relax the dough enough to roll it that thin. Be patient, it will get there.
Originally developed as a digestive aid for patients (and others) suffering from maladies such as obesity and gout. Supposedly, his biscuits helped balance the “four humors” of the body.
Bath Oliver Biscuits
INGREDIENTS • 30 ml (2 Tbl) warm water • 3g (1 tsp) dried yeast • 50 g butter • 150 ml (5 oz) milk • 5g (1 tsp) salt • 340g AP flour
METHOD
Combine the yeast and water and set aside to bloom.
Gently heat the milk and butter together over a low heat, keep the temperature down, just warm enough to melt the butter.
Combine the yeast and liquid in a bowl and add half the flour.
Mix well, cover and let it rest for 15 minutes.
Combine the rested batter with the remaining flour and salt to form a ball of dough. I had to wet my hands a couple of times to help the dough come together and form a ball.
Knead the dough until smooth, allowing it to rest now and then.
Place into a clean bowl and cover tightly, allow it to rest for about 30 minutes.
Preheat the oven to convection 350ºF and set up a rack in the top third and another in the lower third.
Roll out the dough into a rectangle about 2cm thick.
Fold into thirds and roll back out, repeat this 8 times. You will need to rest the dough every 2–3 folds as it will be resistant to re-rolling.
Roll the dough out to 2mm thick. You may need to let the dough rest (covered) several times to achieve this thinness.
Dock the pastry all over, then using a cutter press out large circles.
Arrange on lined trays, spray the rounds with a light misting of water and sprinkle over some flaky salt.
Bake for 25 minutes, swap the trays over halfway through, until golden and crisp, this may take a little longer sometimes.
When cooked move the biscuits to a cooling rack and then store in an airtight container
I made Millionaires Bars once before and decided it was time to make another batch. They are just as good the second time around! Follow the link for the recipe etc.
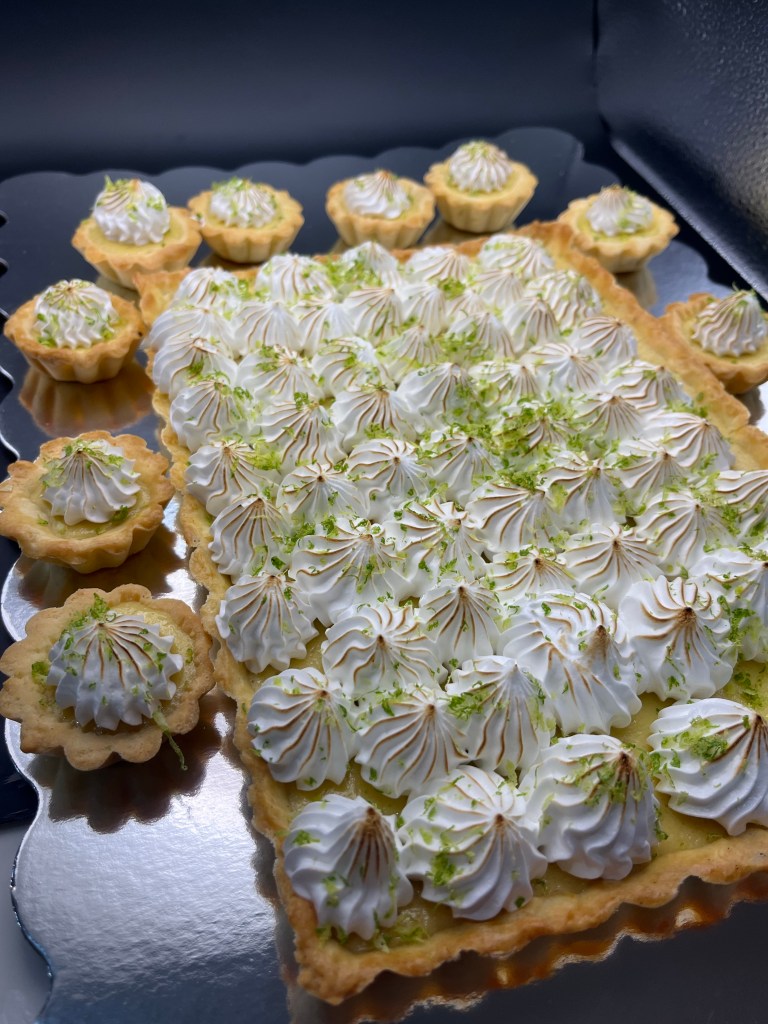
A sheet of cookies, or one BIG one?Sensible portion control
We went to a luncheon with a group of friends today. As usual, we volunteered to bring a dessert. During yesterday’s golf game I discussed this with one of my golf companions. I was vacillating between raspberry and key lime tarts or tartlets.
On the 18th green she asked me if I made a decision. I told her the key lime. Of course, I could still change my mind as I wasn’t baking until this morning. Untimately, I made a single 8”x11” key lime tart with a gluten free shell, Italian meringue and lime zest topping.
There were several desserts on the table, but at the end of the meal there was no key lime tart remaining.
Key Lime Tarts and Tartlets
(Gluten Free suggestions at the end)
INGREDIENTS SHELL • 100 g cold butter cut into small cubes • 60 g icing sugar • 200 g all-purpose flour • ½ tsp vanilla • ¼ tsp salt • 2 eggs – 1 for the dough and the other 1 reserved for an egg wash.
FILLING (For the large tart, double the amount of filling.) • zest (grated rind) of 1 lime • 4 large egg yolks • 14-ounce can (397g) sweetened condensed milk, (1 1/4 cups) • 3/4 cup (170g) Key lime juice or lime juice • 1/8 to 1/4 teaspoon lime oil, optional
METHOD
SHELL
Mix butter with sugar until well incorporated 3-5 min
Add salt then vanilla.
Add egg and mix 3-5 min – for almond flour: suggest using only the egg white to reduce the moisture in the dough.
Stir in flour. Mix by hand until incorporated and forms a thick smooth(ish) sticky dough
Cover with plastic and refrigerate for 30 min.
Pre-heat oven to 350 degrees
Butter or lightly spray tartlet pans or use non-stick pans. (I sprayed them then wiped with a paper towel.) For AP Flour a. Roll dough on floured surface b. Cut into circles 1” larger diameter than the mold c. Press into molds filling all parts of the mold For Kim’s Gluten Free Flour a. Roll dough between parchment paper to about ⅛” thick b. Freeze rolled dough still between parchment paper until firm: 20 – 30 minutes c. For tartlets: Cut frozen dough to rounds about 1” larger diameter than the mold. Cut all the rounds at once while still frozen. I used an offset spatula to remove the circles from the parchment paper. Keep the spatula clean. d. Lay tart dough circles over molds. This allows the dough to thaw slightly and be pressed into the molds and fill all crevices. e. For tarts: Refrigerate rolled dough and parchment paper on a cookie sheet for 15 minutes. f. Remove upper layer of parchment paper and gently lay the tart pan upside down on the cool rolled tart dough. g. Gently flip the cookie sheet, dough and tart pan h. Gently press the dough into the pan assuring there is adequate dough on all edges and corners. Pinch off excess with wet fingers. (Dough is sticky) i. Use excess scraps from the sides if necessary.
Prick holes in bottom and sides of formed dough
Fill tarts with pastry weights (I put beans in mini cupcake papers or parchment paper.)
Paint edges of the tartlet with the egg wash.
Bake in preheated oven 350 deg F (175 C) for 8 min until edges are dry
Remove pastry weights and bake an additional 4-6 minutes to dry the bottoms. Bake until the edges begin to turn light brown.
Immediately remove from pans and cool on a wire rack
FILLING
Whisk the lime zest and egg yolks at high speed of an electric mixer for about 4 minutes. The mixture will lighten in color and thicken somewhat, appearing similar to Hollandaise sauce.
Stir in the sweetened condensed milk, mixing until smooth. Beat at high speed for 3 minutes; the filling will become slightly thicker and gain a bit of volume.
Add the lime juice, stirring just to combine. The mixture will thicken again. Add lime oil to taste.
PIPE the filling into the crust and return the tart (on the baking sheet) to the oven. Bake the tart for 12 to 18 minutes, until it appears set around the edges though still a bit wobbly in the center. The center should read about 145°F on a digital thermometer.
Remove the tart from the oven and cool to room temperature. Refrigerate for several hours before serving.
Once chilled, serve the key lime pies cold with whipped cream, or merengue and a lime slice or zest, if desired.
Store leftover pies in the refrigerator (covered) for up to 1 week. If they last that long!
ITALIAN MERINGUE
INGREDIENTS • 80g (or 0.4 cup or 6.5 Tbl) granulated sugar • 30ml (or 1/8 cup) water • 60g (or ¼ cup) egg whites (about 2 large egg whites) • 20 g icing sugar
METHOD
Whisk the egg whites into a light and fluffy foam, using an electric (stand) mixer.
Add the icing sugar and continue whipping until you’ve got a glossy stable foam. It should stay in place if you turn the bowl upside down. Set aside.
Add the granulated sugar and water to a pan and bring to a boil. Once all the sugar has dissolved, refrain from stirring. Continue boiling at moderate/high heat while continuously keeping an eye on the temperature.
Once the solution has reached 121°C (250°F), take it from the heat immediately*.
While SLOWLY beating the egg whites, gently pour the hot sugar solution into the whipped egg whites (this is where the stand mixer comes in handy!).
Once all the sugar syrup is in, turn up the speed to high and continue whisking until the foam is lukewarm.
Use the meringue immediately to top whatever it is you want to cover.
NOTES Italian meringue can be made two days in advance and stored in the fridge until needed (covered with plastic wrap). Store in a piping bag, sealing the tip.
Kim’s Gluten Free Bread Flour Blend
Yield: 700g (5 c)
285g Bob’s Red Mill potato starch 250g superfine white rice flour (DON’T use regular rice flour, ie Bob’s Red Mill) 75g Tapioca flour 75g Whey protein isolate or egg white protein. 15g Xanthan gum
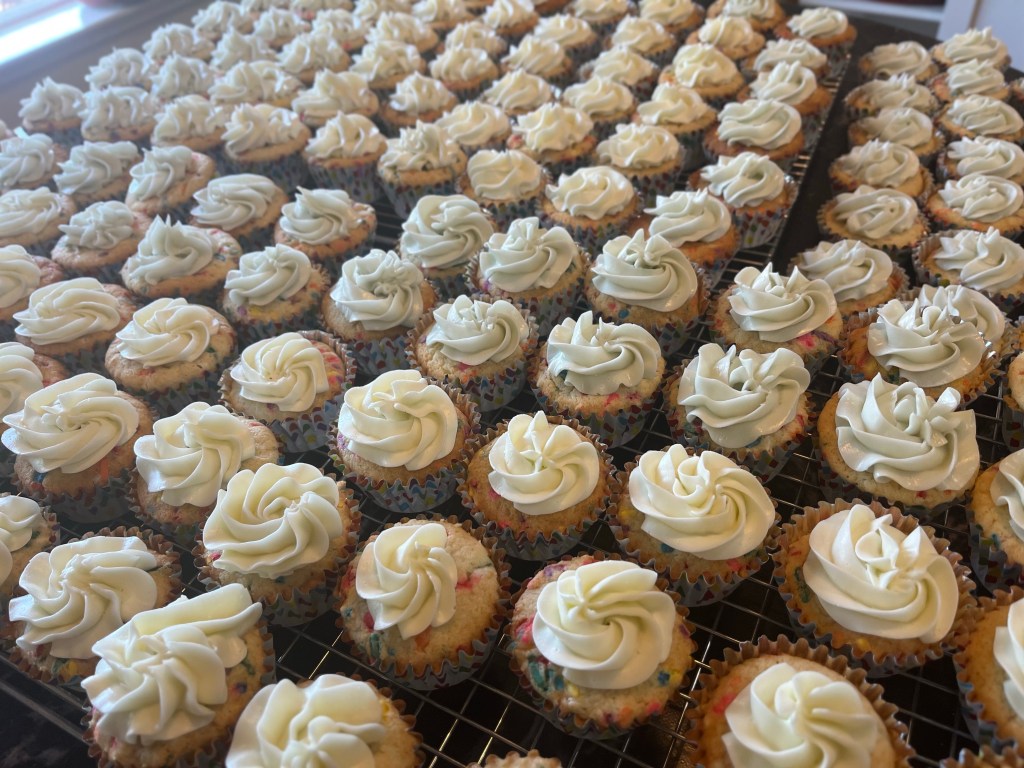
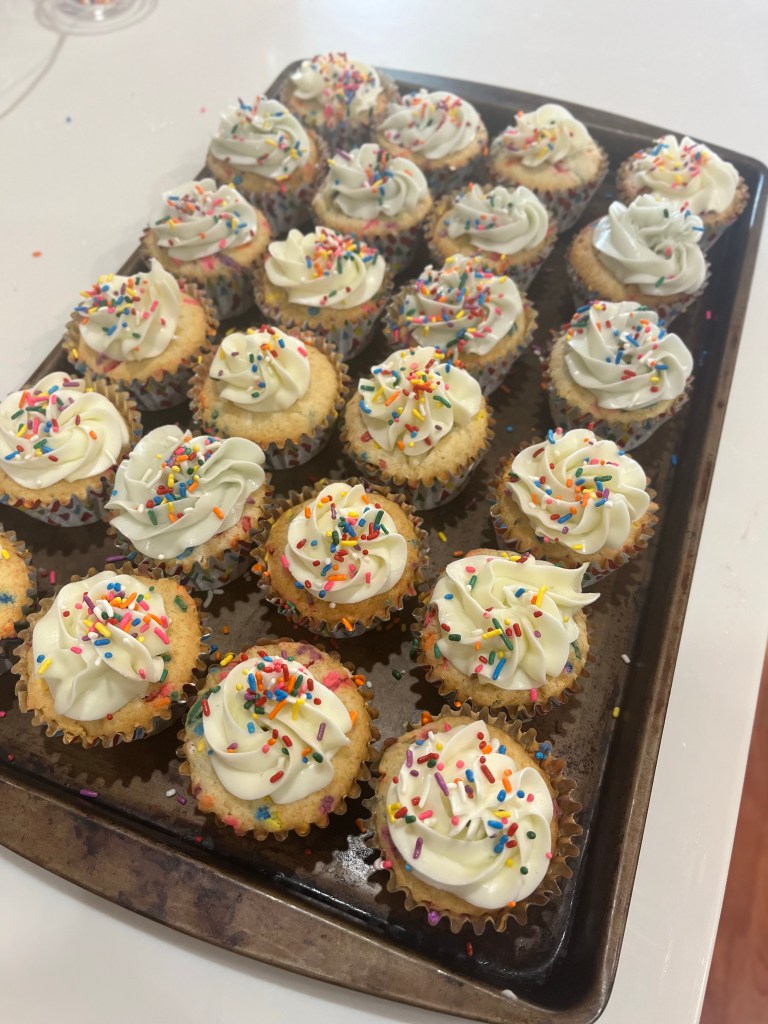
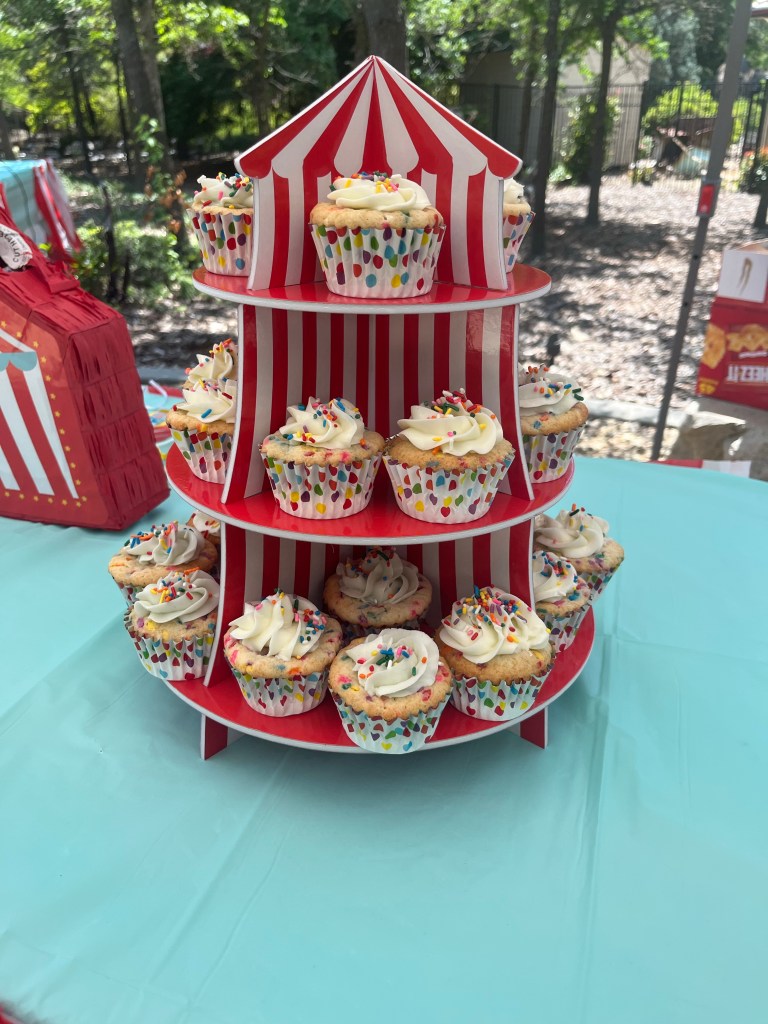
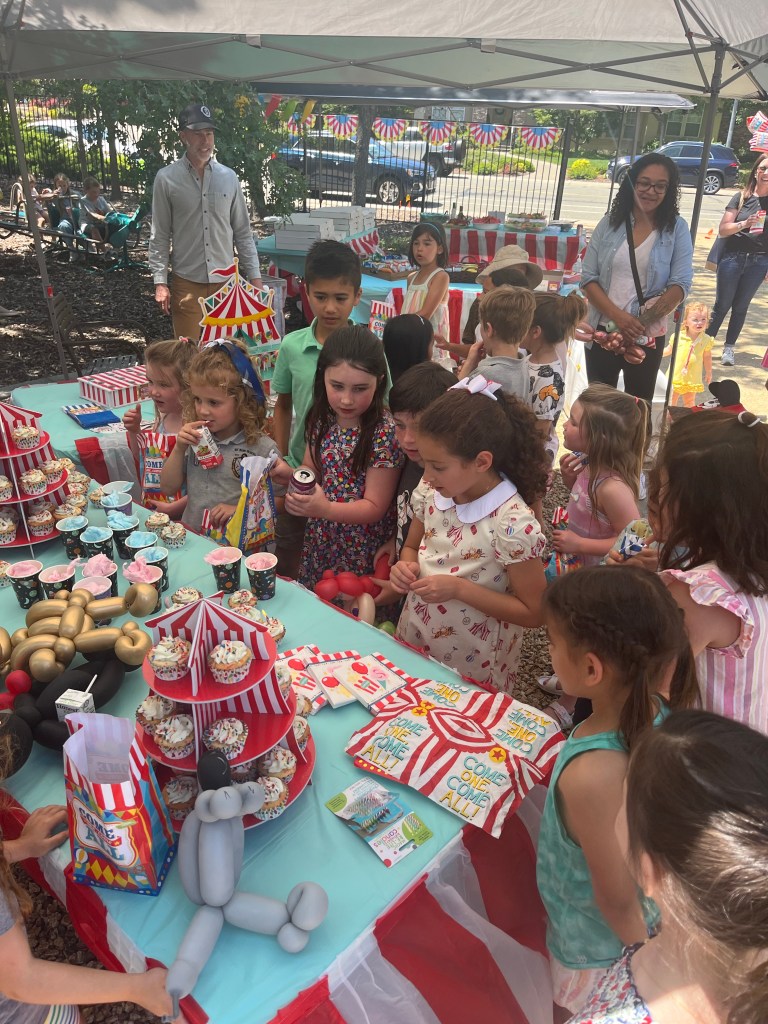
As they say, “Build it and they will come.” Dan and Frances built it and they came. It was our granddaughter Grace’s 7th birthday party and she requested FunFetti cupcakes as her party dessert. With an anticipated attendance of 100 kids and parents I figured 10 dozen cupcakes would be plenty. Well, I was wrong. They managed to eat only 40 cupcakes and we gave away an addition couple of dozen. Best laid plans of mice and men often go awry!
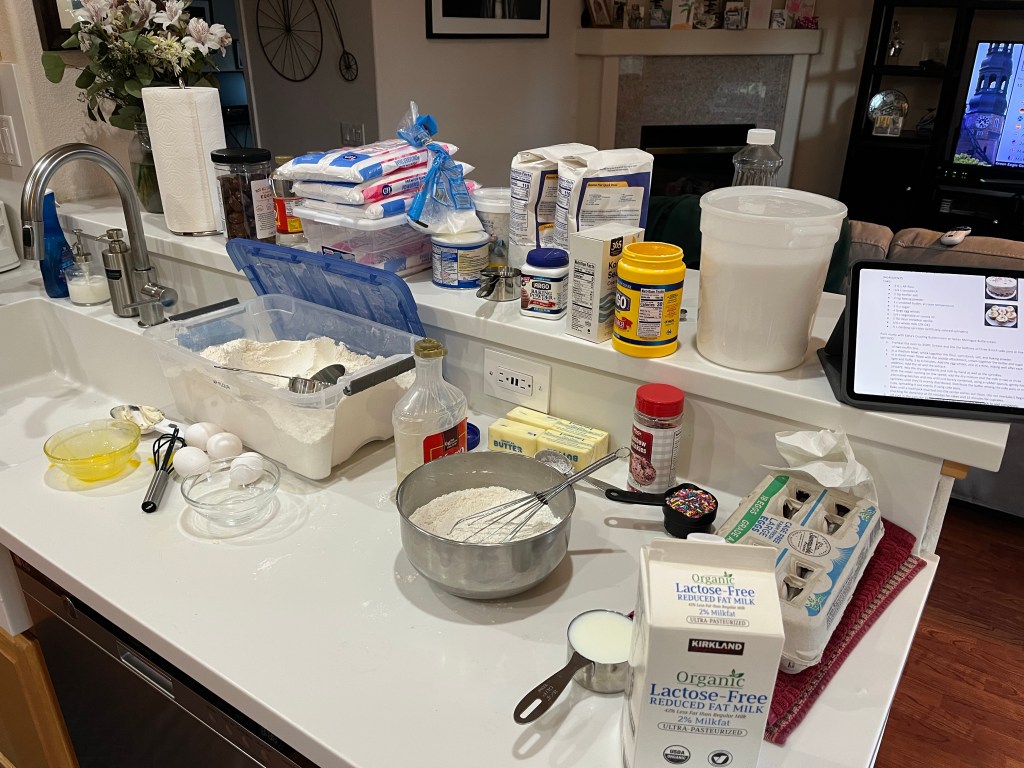
Kitchen at lift offField of dreamsFun!Ready for deliveryCupcake towerDessert tableReadySetGo!A little known fact. The candle was lit with a blowtorch!
FunFetti Cake
makes one 3-layer 8″ cake or 24 cupcakes
INGREDIENTS CAKE: • 2 ½ c AP flour • 1/4 c cornstarch • 1 tsp kosher salt • 2 tsp baking powder • 1 c unsalted butter, at room temperature • 1 ½ c sugar • 4 large egg whites • 1/4 c vegetable or canola oil • 1 Tbl clear imitation vanilla • 3/4 c whole milk (2% OK) • ½ c rainbow sprinkles (artificially colored cylinders)
Pairs nicely with Edna’s Crusting Buttercream or Italian Meringue Buttercream or Less Sweet Buttercream.
METHOD
Preheat the oven to 350ºf. Grease and line the bottoms of three 8-inch cake pans or line 24 cups of two muffin tins.
In a medium bowl, whisk together the flour, cornstarch, salt, and baking powder.
In a stand mixer fitted with the paddle attachment, cream together the butter and sugar until light and fluffy, 3 to 4 minutes. Add the egg whites, one at a time, mixing well after each addition. Add the oil and the extract.
By hand add the dry mixture and the milk in two or three alternating batches and mix until just barely combined, using a rubber spatula, gently fold in the sprinkles until they’re evenly distributed. Distribute the batter among the cake pans or muffin cups, spreading it out evenly if using cake pans.
Bake until a toothpick inserted into the center comes out clean. (~200 F. Do not overbake!) Begin checking for doneness at 20 minutes for cakes and 15 minutes for cupcakes.
Let cool in the pans for 10 minutes and then turn onto a wire rack to cool completely.
Buttercream Frosting – Less Sweet
For 3 cups of buttercream:
INGREDIENTS
• 1 1/2 cups (340g) unsalted butter, softened slightly • 2/3 cups (208g) light corn or glucose syrup • 1 1/4 cups (141g) powdered sugar (unsifted) • 1/8 teaspoon fine salt (to taste, start with a pinch) • 1 teaspoon vanilla extract • 3-6 tablespoons of heavy cream, room temperature • purple gel food coloring (optional)
METHOD
Add the softened butter to the bowl of your stand mixer. Using the whisk attachment, beat the butter on high speed until it’s paler in color and slightly more voluminous.
Add the corn syrup in 3 to 5 additions. Stop the mixer, add a little bit first, and mix it in at medium speed (still using the whisk attachment). Repeat until all the corn syrup has been added. Scrape down the bowl a couple of times to ensure everything is mixed well.
Once all the corn syrup has been added, mix at the highest speed for two minutes. This is an essential step, so make sure to time it. You need the butter to emulsify the sugar syrup, which won’t be visually apparent because the syrup is clear. If you under-whip at this step, your final frosting will have an overly buttery (fatty or greasy) feel. Proper emulsification will ensure that the syrup integrates evenly within the butter, giving it a much more pleasant texture.
Now give the frosting a taste. It should be smooth, creamy, and very buttery, with a slight sweetness. This is to gauge how much powdered sugar to add in this step. Notice how glucose (the sugar type in corn syrup) is not as sweet as the sucrose in powdered sugar.
Add the powdered sugar in a few additions, mixing on low speed to reduce the mess. Once all the sugar has been added, mix on high speed for 30 seconds. Give it another taste. Do you want it sweeter or need a firmer consistency of buttercream? Add more powdered sugar. You can add as much powdered sugar as you like. This buttercream can handle more, but remember that the more you add, the sandier the finished frosting will be.
Now let’s flavor and color the buttercream. Add the vanilla, a pinch of salt, and, optionally, a toothpick’s end of purple food coloring (to achieve a whiter shade). Mix on high speed for another minute.
Give it a taste. If it’s too buttery, add some heavy cream, one tablespoon at a time, until you like the consistency. Whip it in on high speed for at least one minute when you like the texture. (See my footnotes about this below.)
Switch over to a paddle attachment and run the frosting on low speed to get out any large air pockets. The finished buttercream will have minimal air bubbles and be ready to use.