A friend of ours and I are planning a Soup & Bread dinner with a variety of each. I always experiment with new bread recipes before allowing them to leave my kitchen. (Of course, that means QC and I have lots of bread on hand.)
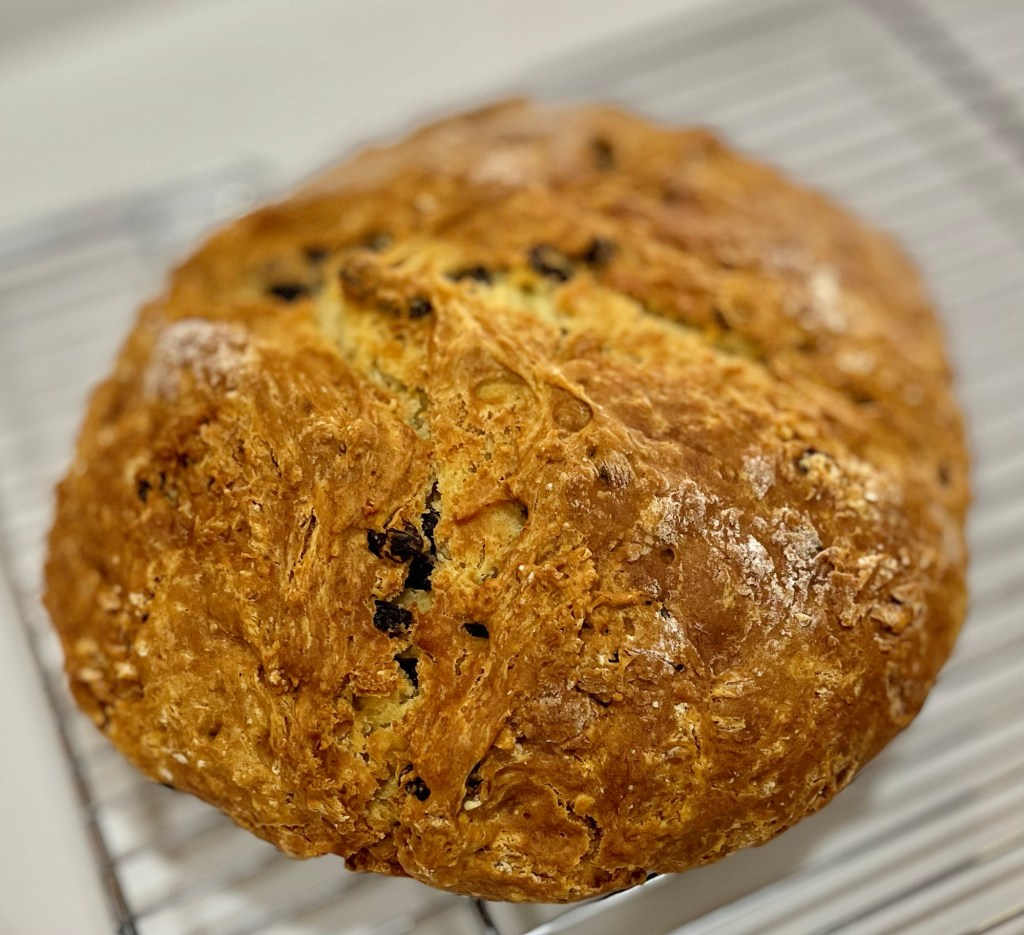
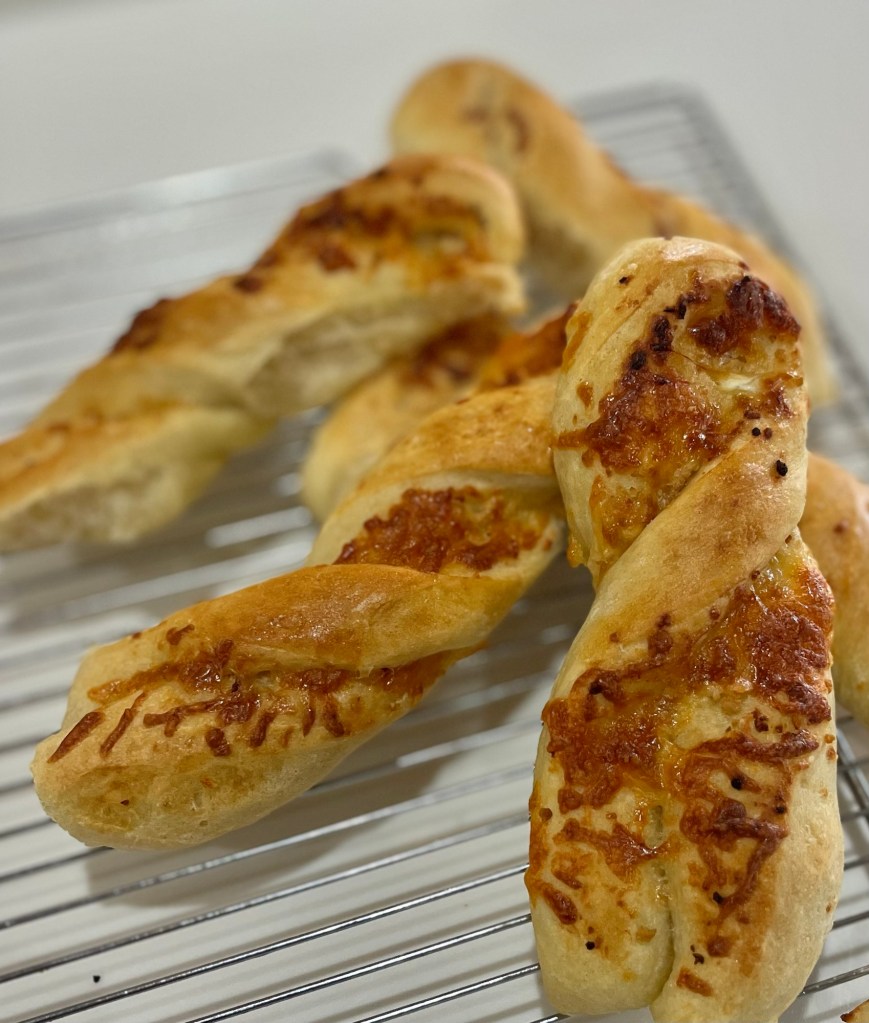
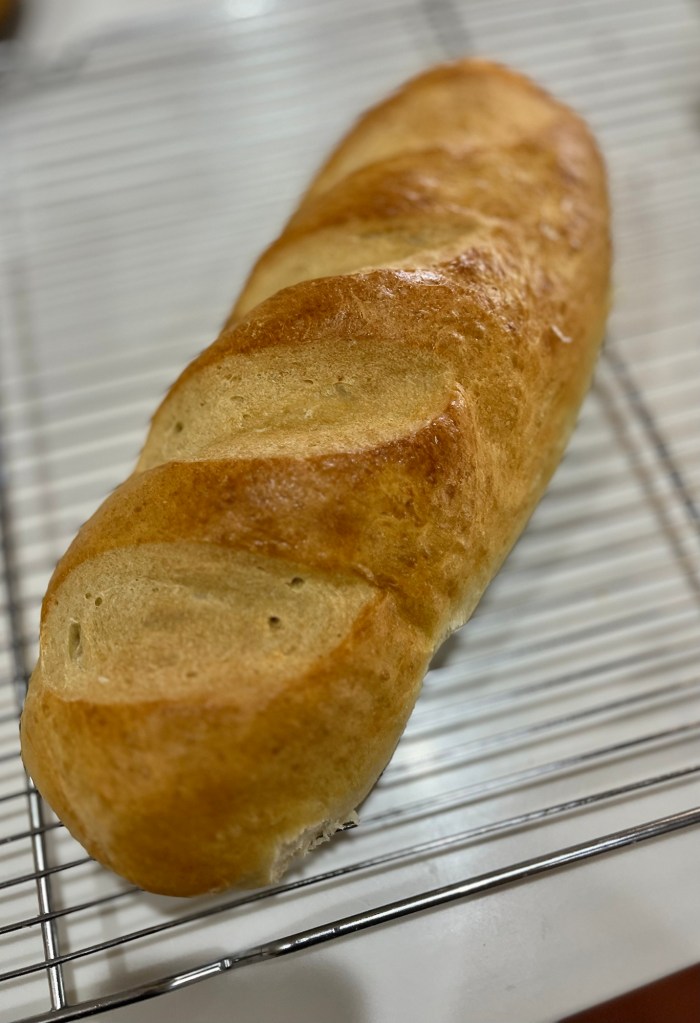
Today I used the versatile bread bowl recipe to make garlic knots and garlic cheese breadsticks. While at it I made a batard of sandwich bread, AND while all that was rising I completed my bread tour of Europe with a loaf of Irish Soda Bread. (Blushing, all were amazing!)
To make the batard I used half the recipe and formed it into a loaf. I used one fourth of the recipe to make the knots and the rest to make the breadsticks.

Roasted Garlic Breadsticks
INGREDIENTS
DOUGH
• 2 cups (250g) all-purpose flour
• 1 teaspoon Platinum Yeast
• 1 teaspoon granulated sugar
• 1 teaspoon table salt
• 2/3 cup (155ml) lukewarm water (90-100°F)
• 1 tablespoon olive oil
• 1 egg and 1 Tbl milk, mixed for egg wash
FOR THE FILLING:
• 1 head of garlic
• 3 tablespoons olive oil (divided)
• 1 cup (100g) shredded mozzarella cheese
• 1/4 cup (15g) grated Parmesan cheese
METHOD
- In a large mixing bowl with dough hook attachment, combine flour, sugar, salt and yeast. Add water and mix on low speed until the dough comes together. (Alternatively, you can make this dough by hand.)
- Once the dough starts coming together, add olive oil and knead for 2-3 minutes on medium speed. If kneading by hand, knead for 5 minutes. The dough should be soft and slightly sticky.
- Drizzle a little bit of oil into the bowl and coat the dough. Cover with a kitchen towel and place in warm place to rise for 1-2 hours, or until doubled in size.
- Preheat the oven to 400°F (200°C).
- Cut the top of the garlic head, exposing the garlic cloves, and place it in the middle of aluminum foil cut side up. Drizzle 1 tablespoon of olive oil and wrap the garlic. Roast for 45-75 minutes, or until the garlic is golden and soft. Start checking it after 45 minutes, at this point it should be ready, but for more color and flavor, continue to roast for another half hour.
- Once the garlic is roasted, cool it slightly and squeeze garlic cloves out. Press through garlic press into a small bowl and mix with remaining 2 tablespoons of olive oil.
- On a floured surface, roll the dough into 10×12-inch (25x30cm) rectangle.
- Spread the garlic-olive oil all over the dough.
- Sprinkle about half of mozzarella and Parmesan cheeses over dough.
- Fold the short side of the dough over so that cheeses are covered. The rectangle should now be 5×12 inches. Cut the dough into 12 strips.
- Twist each strip and arrange them on a baking sheet lined with a silicone mat or parchment paper.
- Egg wash then sprinkle remaining cheese over the breadsticks. Cover with a kitchen towel and rest for at least 30 minutes to rise.
- Bake for 20-25 minutes, or until golden brown.
Homemade Garlic Knots
INGREDIENTS
DOUGH
• 1 1/3 cups (320ml) warm water (100-110°F / 38-43°C)
• 1 (0.25oz) package (7g) or 2 1/4 teaspoons yeast
• 1 tablespoon (13g) granulated sugar
• 2 tablespoons (30ml) olive oil
• 3/4 teaspoon salt
• 3 1/2 cups (420g) all-purpose flour
TOPPING
• 5 tablespoons (70g) unsalted butter (melted)
• 3 garlic cloves (minced, or 1/2 teaspoon garlic powder)
• 1 teaspoon Italian Seasoning (see notes)
• 1/4 teaspoon table salt
• 1/4 cup canned or freshly grated Parmesan cheese
• 2 tablespoons chopped fresh parsley (optional, after baking)
METHOD
- Prepare the dough: Whisk the warm water, yeast, and granulated sugar together in the bowl of your stand mixer fitted with a dough hook or paddle attachment. Cover and allow to rest for 5 minutes.
- Add the olive oil, salt, and half of the flour. Beat for 15 seconds, then add the remaining flour. Beat on low speed for 2 minutes. Turn the dough out onto a lightly floured surface. With lightly floured hands, knead the dough for 3-4 minutes, until the dough is soft and elastic. The dough can be a little too heavy for a mixer to knead it, but you can certainly use the mixer on low speed instead. After kneading, the dough should still feel a little soft. Poke it with your finger – if it slowly bounces back, your dough is ready to rise. If not, keep kneading.
- Lightly grease a large bowl with oil or nonstick spray– just use the same bowl you used for the dough. Place the dough in the bowl, turning it to coat all sides in the oil. Cover the bowl with aluminum foil, plastic wrap, or a clean kitchen towel. (See notes for overnight option) Allow the dough to rise at room temperature for 1-2 hours or until double in size. Poke index finger into the dough, down to the second knuckle; if the indent remains after removing finger, dough has risen enough.
- Shape the dough: When the dough is ready, punch it down to release the air. Using floured hands on a lightly floured work surface, shape the dough into a 16×5-inch log. Using a very sharp knife, pizza cutter, or bench scraper, slice into 16 1-inch strips. Roll each strip into 8-inch ropes. Tie each into knots. You can tuck the two ends of the knots underneath the knot or leave them out, that’s up to you. Arrange the knots on the baking sheets.
- Lightly cover the shaped knots and let them rest for at least 30 minutes and up to 45 minutes. They will slightly puff up during this time. Lightly touch the dough with index finger, if indent remains then dough is ready to be baked.
- Preheat oven to 400°F (204°C). Line two large baking sheets with parchment paper or silicone baking mats.
- Topping: Stir the melted butter, garlic, Italian seasoning, and salt together. Brush on the knots. Reserve some of the topping for when the knots come out of the oven.
- Bake for about 18-23 minutes or until golden brown on top. Remove from the oven and brush the warm knots with remaining garlic butter. Sprinkle with Parmesan cheese and/or parsley, if using.
- Serve plain or with marinara sauce for dipping.
- Cover and store leftover knots at room temperature for up to 2 days or in the refrigerator for up to 1 week. Freeze baked and cooled knots for up to 3 months. Thaw on the counter, then reheat as desired.
Homemade Versatile Bread
INGREDIENTS
• 4 ½ teaspoons active dry yeast
• 2 ¼ cups (540ml) warm water (110°F – 115°F)
• 2 tsp granulated sugar
• 2 tsp salt
• 2 Tablespoons (30ml) olive oil
• 780 g (6 c) bread flour
• egg wash: 1 large egg beaten with 1 Tablespoon water or milk
METHOD
- Pour the warm water over yeast in the bowl of a stand mixer fitted with a dough hook attachment. Cover the bowl with a towel. The mixture should be frothy and foamy after 5 minutes.
- With the stand mixer running on low speed, add the sugar, salt, olive oil, 4 cups of bread flour, and seasonings. Beat on low speed for 1 minute, then add remaining 2 cups of flour.
- Keep the dough in the mixer and knead for an additional 5-6 full minutes. If the dough becomes too sticky during the kneading process, sprinkle 1 teaspoon of flour at a time on the dough or on the work surface/in the bowl to make a soft, slightly tacky dough. Do not add more flour than you need because you do not want a dry dough. After kneading, the dough should still feel a little soft. Poke it with your finger—if it slowly bounces back, your dough is ready to rise.
- Turn it out onto a lightly floured surface and form into a ball. Then place into a large, greased bowl, turning once to grease the top. (I just use the same mixing bowl—remove the dough, grease it with nonstick spray or olive oil, put the dough back in.) Cover the bowl with plastic wrap and place it in a warm environment to rise until doubled, about 90 minutes.
- Once doubled in size, punch down the dough to release any air bubbles. Remove dough from the bowl and turn it out onto a lightly floured surface. Punch down again to release any more air bubbles if needed.
- Using a sharp knife or dough scraper, cut into 6 even pieces. Form each into a large ball.
- Line 2 large baking sheets with parchment paper or silicone baking mats. Place 3 dough balls onto each. Cover lightly and set aside to rest for 20 minutes as the oven preheats.
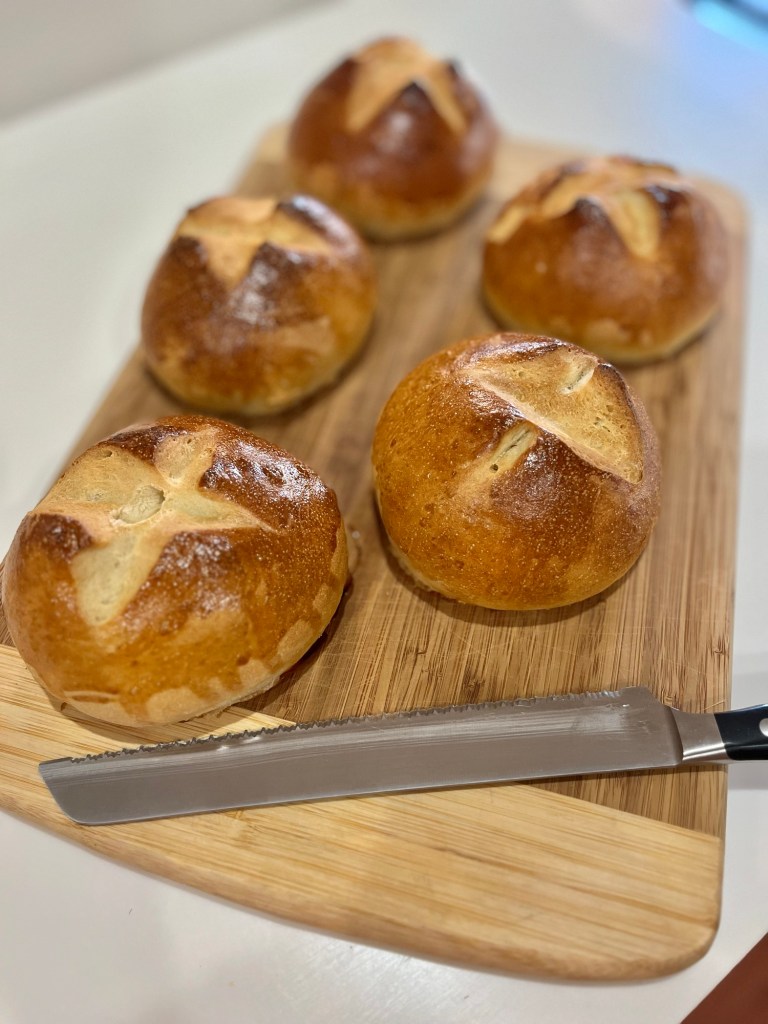
- Preheat oven to 400°F (204°C). Brush each dough ball with egg wash and, using a sharp knife, score an X into the tops of each.
- Bake for 30 minutes or until golden brown. For a more accurate test for doneness, the bread bowls are done when an instant-read thermometer reads the center as 195°F (90°C).
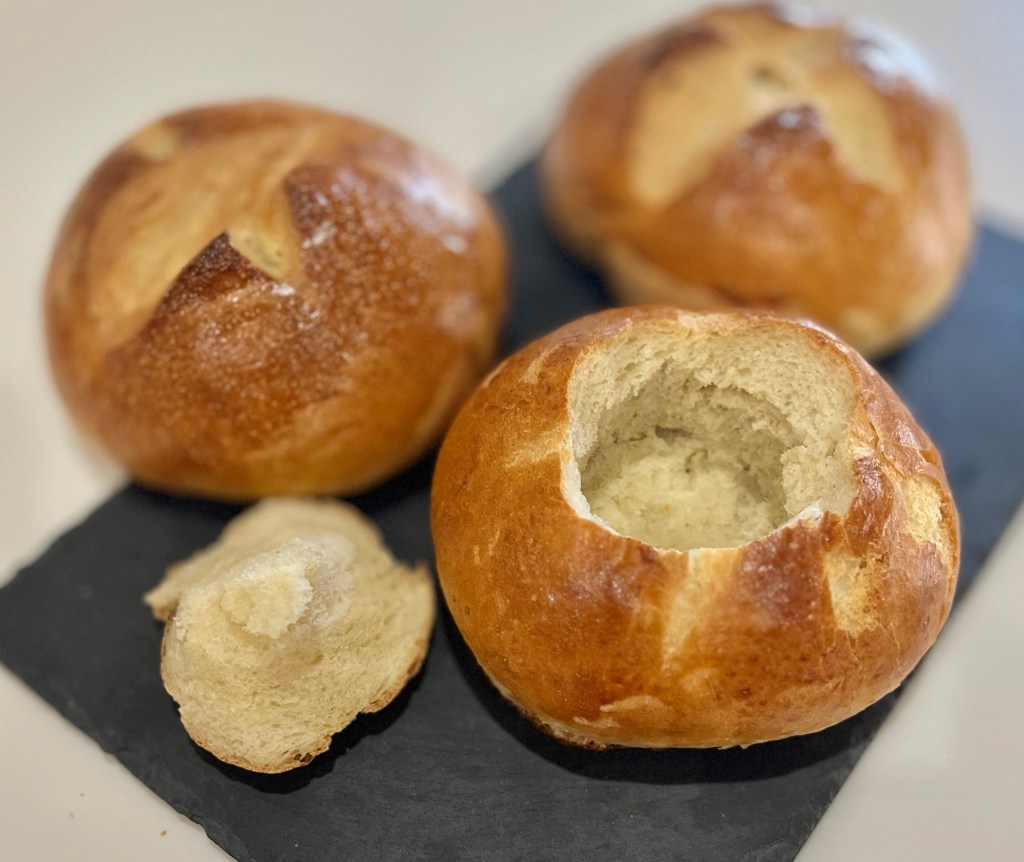
- Cool until ready to handle. The longer you cool, the easier they are to cut open. For serving, cut a large round out of the top of each bread bowl. Scoop out the center (save the center to dunk into soup!) and fill with soup.
- Cover and store leftover bread bowls at room temperature for a couple days or in the refrigerator for 1 week. You can also freeze the baked bread bowls for up to 3 months, then thaw overnight in the refrigerator. Bring to room temperature before serving.
Make Ahead Instructions: After dough has risen in step 3, punch down the dough inside the mixing bowl and cover the bowl tightly with plastic wrap. Refrigerate overnight or for up to 2 days, then remove from the refrigerator and continue with step 4. OR freeze for up to 2 months, then allow to thaw overnight in the refrigerator and continue with step 4.
Pizza Dough: Makes 4 12-inch pizza crusts, which is likely more than you need, but you can freeze half of the dough for later. Prepare dough through step 4. Instead of forming into 6 balls in step 5, divide the dough in half. Freeze half of the dough for later use (see make ahead tip) and form the other half into 2 large balls. Cover lightly and set aside to rest for 20 minutes. Flatten each ball of dough 1 at a time on a lightly floured surface or on a silicone baking mat. You could also do this directly on your greased pizza pan. Flatten and stretch into a 12-inch round circle. Brush with a little olive oil (no need for egg wash). Add toppings and bake in a super hot oven at 475°F (246°C). Pizzas typically take 12-15 minutes.
Crusty Bread Loaves: Makes about 3 loaves of crusty bread. Prepare dough through step 4. Instead of forming into 6 balls in step 5, divide the dough into 3 pieces. You can freeze 1 or 2 pieces for later use (see make ahead tip). Round into a ball as best you can and place onto a lined baking sheet. Cover lightly and set aside to rest for 30 minutes. The dough will spread out a bit. Brush with egg wash, score with an X, and bake at 400°F (204°C) for 30 minutes or until the tops and edges are golden brown.