I love John Kanell’s Artisan Bread and make it at least once a week. It has a soft chewy crumb and crunchy/crispy crust. Perfect.
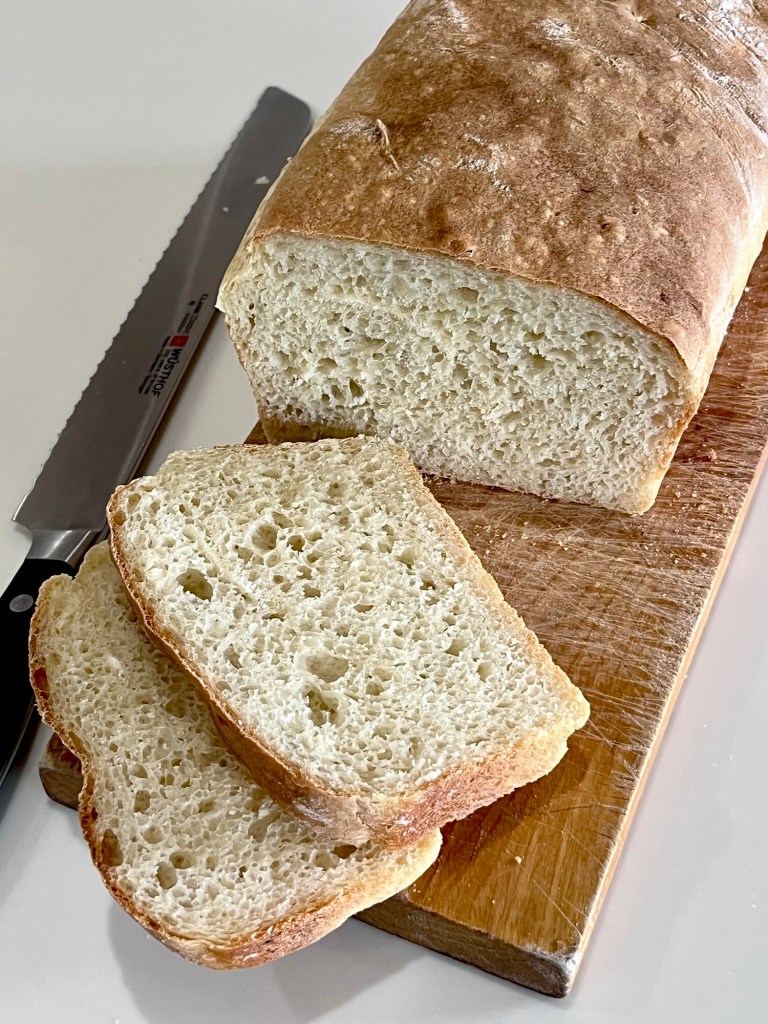
However, I recently discovered Ina Garten’s Sandwich Loaf on FaceBook and although a totally different bread it is now part of my rotation. It’s not a chewy and crispy as the artisan bread but is every bit as easy to make and is a perfect sandwich loaf (not that the artisan bread isn’t .)
Sandwich Bread – Ina Garten
INGREDIENTS • 440g (3 ½ c) all-purpose flour • 360g (1 ½ c) warm water • 2 tsp sugar • 1 ½ tsp salt • 2 ¼ tsp (1 packet) instant yeast
METHOD
In a bowl, mix warm water, sugar, and yeast. Let it sit for 5-10 minutes until foamy.
Add flour and salt, then stir until combined. The dough will be sticky—that’s okay!
Cover and let it rise, covered for about 1 hour, or until doubled in size.
Transfer to a greased loaf pan, smooth the top, and let it rise for another 30 minutes.
Bake at 375°F (190°C) for 30-35 minutes, until golden brown and internal temperature reaches 190°F.
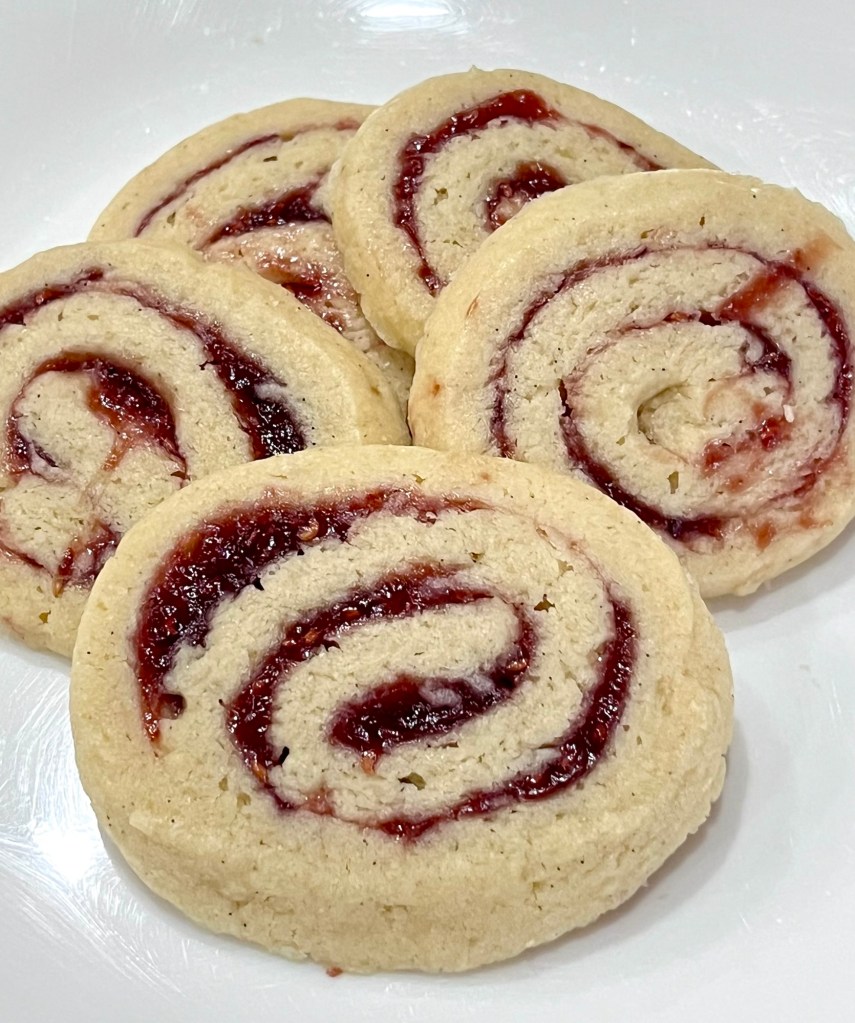
I saw this recipe online and as they are shortbread and raspberry I couldn’t resist. As expected they are delicious.
They are fairly easy to make and after my first attempt I made several notes on how to change the METHOD next time, and there will be a next time.
Raspberry Swirl Shortbread Cookies
INGREDIENTS • 227 (1 c or 2 sticks) unsalted butter, softened (not melted) • 150g (¾ c) sugar • 1 large RT egg • 1 tsp vanilla extract • 310 (2½ c) AP flour • ½ tsp baking powder • ½ tsp salt • ½ cup raspberry jam • 1 Tbl cornstarch
METHOD
In a stand mixer bowl, beat the softened butter and sugar until light and fluffy (about 3 minutes). Add the egg and vanilla; beat until combined.
Whisk the flour, baking powder, and salt together.
Gradually add to the wet mixture by hand or mix on low speed only until a soft dough forms.
Divide the dough in half. Roll each half between two sheets of parchment paper into a rectangle (about ¼-inch thick).
In a small bowl, whisk the raspberry jam with the cornstarch.
Remove the top layer of parchment paper and spread a thin, even layer of the jam mixture over the dough rectangles, leaving a small border at the edges.
Starting from the long side, tightly roll the dough into a log. See note below on rolling the dough.
Wrap the logs tightly in plastic wrap. Refrigerate for at least 2 hours (or freeze for 30 minutes). See note below for additional info on firming up the logs before slicing.
Preheat oven to 350°F. Use a sharp knife to slice the cold log into ½-inch thick rounds.
Place cookies 2 inches apart on a parchment-lined baking sheet. This recipe makes about 3 dozen cookies so you will likely need two cookie sheets.
Bake for 12 – 15 minutes, rotating the cookie sheets after 7 minutes. Start checking for browning after 10 minutes. The edges should be barely golden. Let cool completely on the baking sheet.
NOTES:
If the dough is too wet and sticky, refrigerate for 5 minutes before tying to roll up. 10 minutes was too long and the initial roll cracked.
The dough sticks to the wax paper. I used a clean offset spatula to slide under the dough to separate it from the wax paper.
The jam ran out while rolling when logs were frozen for 30 minutes a. Next time I will freeze for 1 hour to freeze the jam b. Also, cut both frozen logs in half and slice one while leaving the others in the freezer
The cookies spread and lost definition. Next time I will freeze for 30 minutes after slicing and arranging on the parchment lined cookie sheets
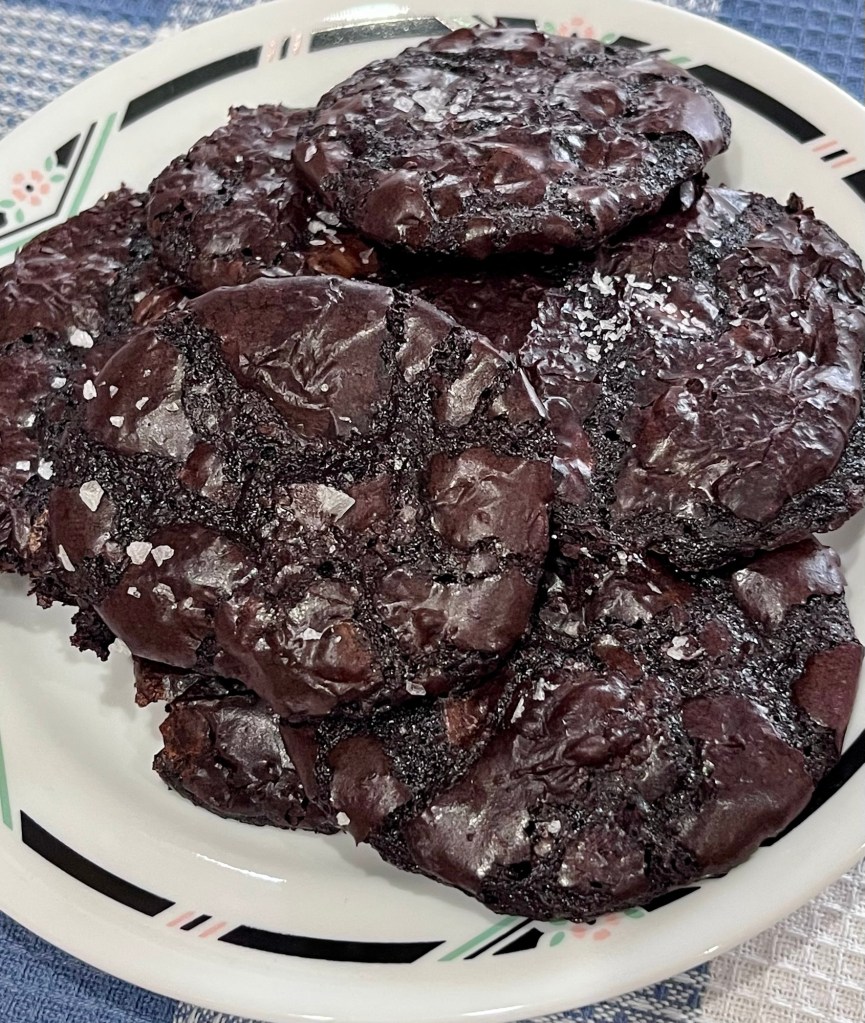
I saw this recipe by Sally and immediately added it to my list. Chocolaty doesn’t begin to describe these cookies. When I worked in Monroe, NY, we would go to lunch at a restaurant that served a chocolate cake for dessert that I described as having the density of iridium. If that was true, these cookies have the chocolate intensity of osmium.
Don’t get me wrong! They are delicious with a nice snap on the edges with a soft and chewy center. Well work making. Note the slight change made in the chocolate ingredient, and I had no nuts to add. Next time.
Tiny, Salty, Chocolaty Cookies
INGREDIENTS • 85g (6 Tbl: ¾ stick) unsalted butter • 282g (2½ c confectioners’ sugar • 60g (¾ c) unsweetened cocoa powder • 1 teaspoon kosher salt • 2 large egg whites • 1 large egg • 226g ounces bittersweet chocolate (at least 67 percent cacao), chopped (176g 54% and 50g 100%, because that is what I had) • ½ cup finely chopped hazelnuts, almonds, pistachios, pecans or walnuts (optional) • Flaky sea salt, such as Maldon or Jacobsen
METHOD
Heat the oven to 350⁰F. Line two baking sheets with parchment paper.
Melt the butter in a small pot over medium heat, swirling, until it’s starting to foam and brown, 3 to 4 minutes. (Whisk the butter from time to time so that the solids don’t stick to the bottom of the pot.) Let cool.
Sift then whisk the confectioners’ sugar, cocoa powder and salt in a medium bowl, ridding it of as many lumps as possible. (If you really want to, feel free to sift everything.)
Using a spatula, mix in the egg whites, whole egg and browned butter, stirring until you’ve got a good, smoothish mixture (any small lumps will take care of themselves), followed by the chocolate and any nuts you may want to add.
Using a spoon, drop quarter-size blobs of dough (the texture is really somewhere between a dough and a batter) onto the baking sheet, spacing them about 2 inches apart (they spread a lot). Keep them small. Sprinkle with flaky salt and bake until the cookies have flattened considerably and look baked through and a little wrinkled, 8 to 10 minutes, checking after 6 min.
Let cool before eating so they can firm up.
TIP Cookies can be baked up to 2 days ahead, wrapped tightly, and stored at room temperature.