OK, I realize you can’t hit ‘em all out of da park, and I realize that accidents do happen when baking, but sometimes there is simply a “perfect storm” that is unavoidable.
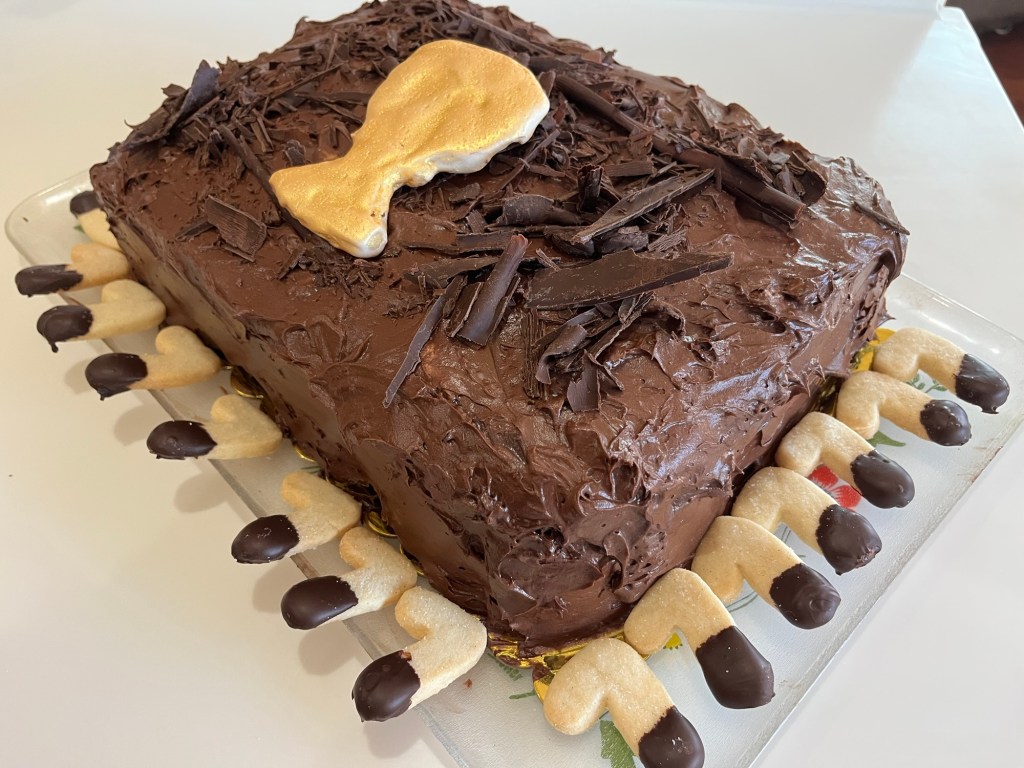
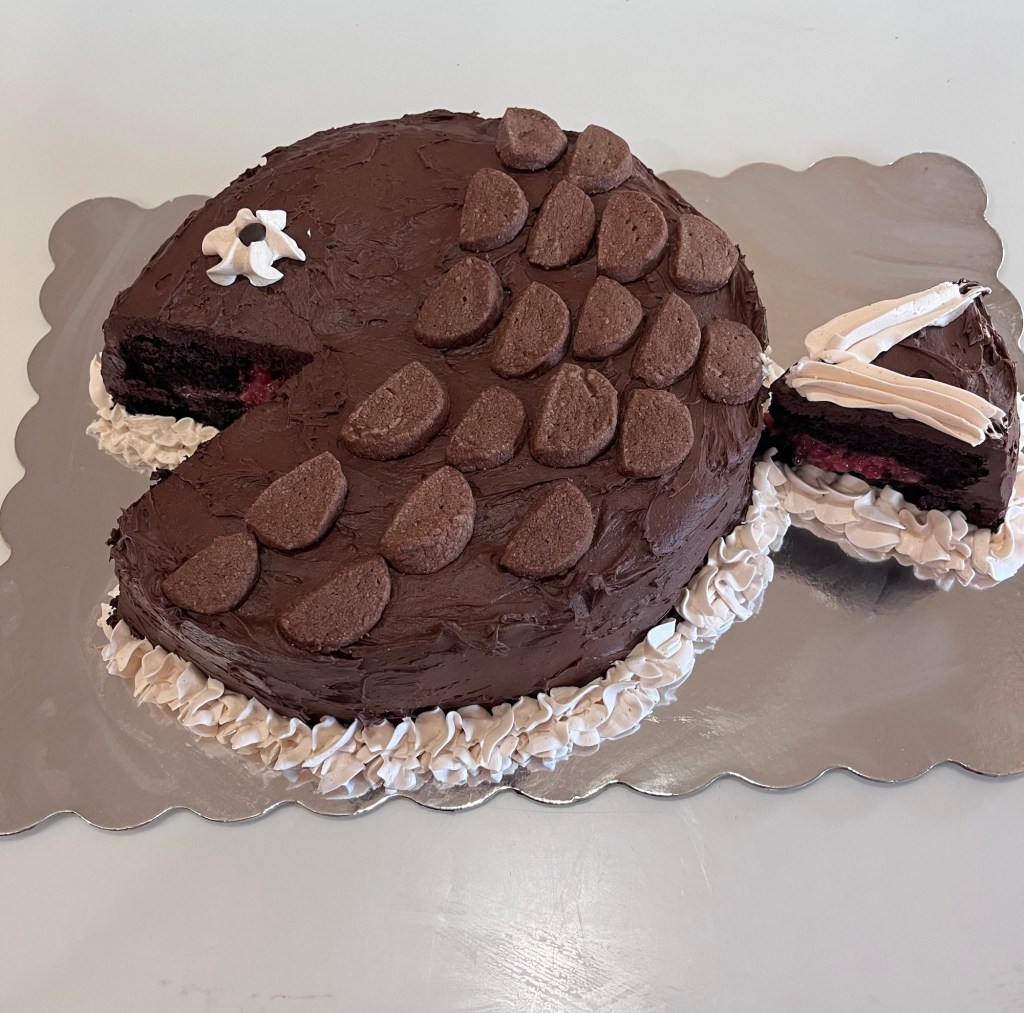
I saw a picture of a cake shaped like a fish which was perfect for the Fish Fry fundraiser dinner last night.
In no particular order here are the mistakes I made with my “Fish Cake”
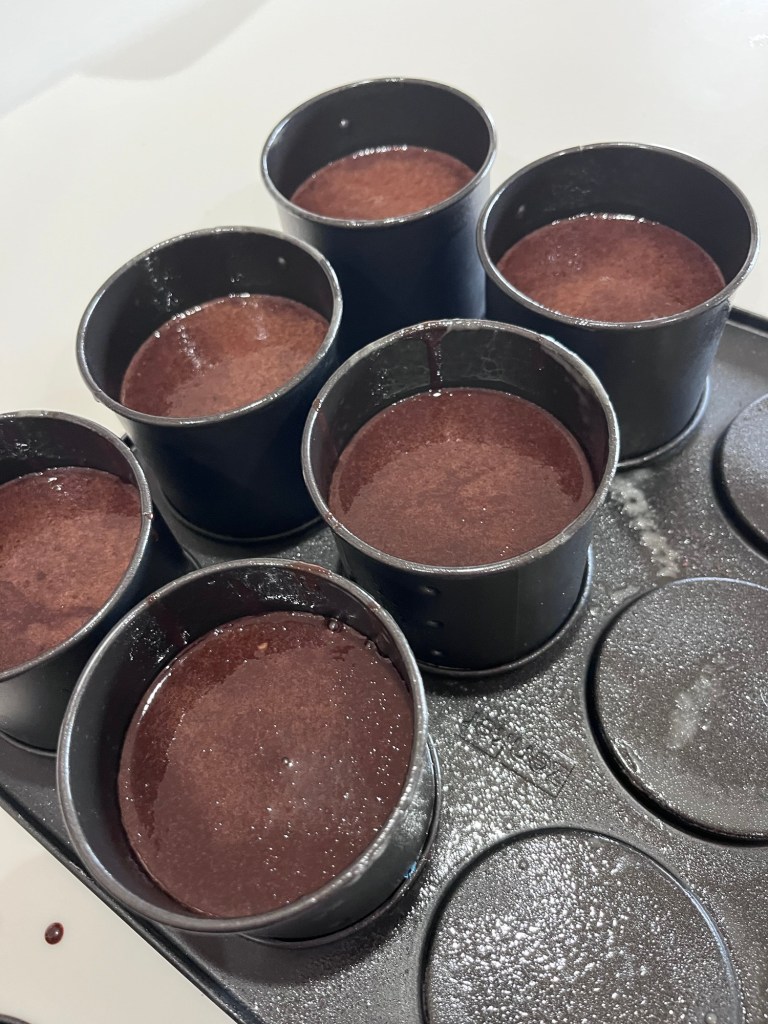
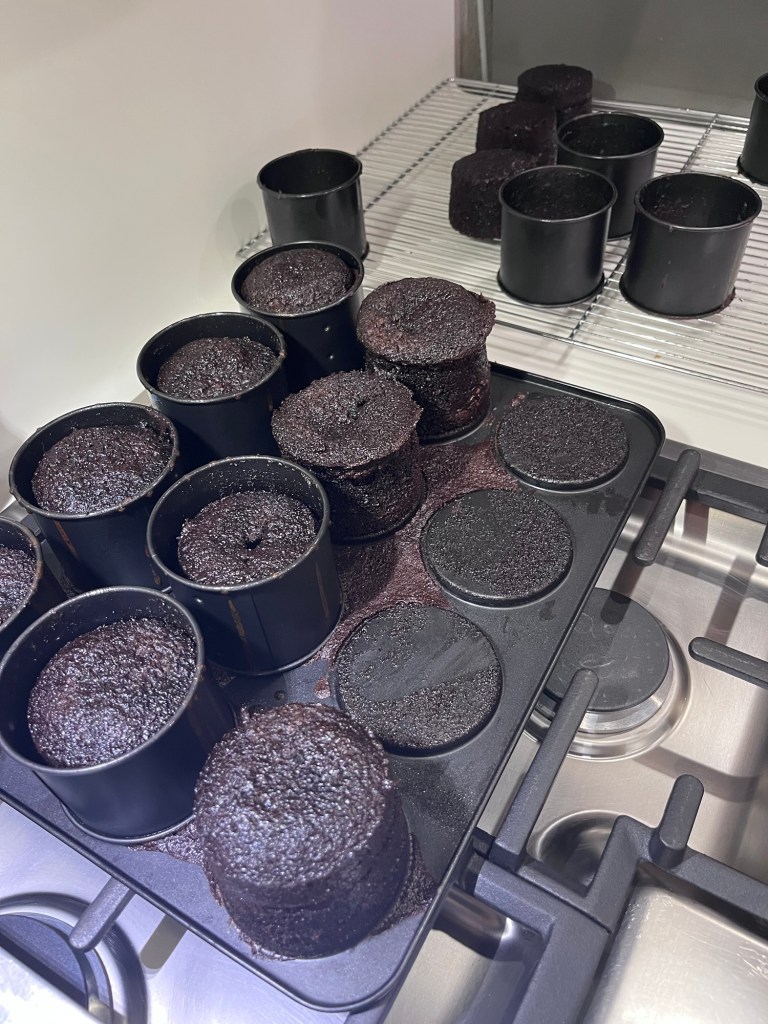
- I chose the wrong cake recipe for my cake. It was too fragile for the required shaping. I needed a denser cake to hold everything together. I considered starting over with a firmer cake, but it was like I was in a baking contest and had a time limit. As it turned out I baked most of the day and finished with 15 minutes left. Whew!
- The visual appeal was uninspiring for high value bids. While it may be a delicious cake, it must appeal to people to bid.
- I didn’t check my supplies and ran out of cocoa powder before finishing. (However, the QC Cadre came through in many ways to help out!)
- The chocolate shortbread cookie scales were almost perfect, but should have been lighter shade of brown than the frosting.
The cake ended up selling, but for much less than previous years entries. Note to self: Remember lessons learned this past week.
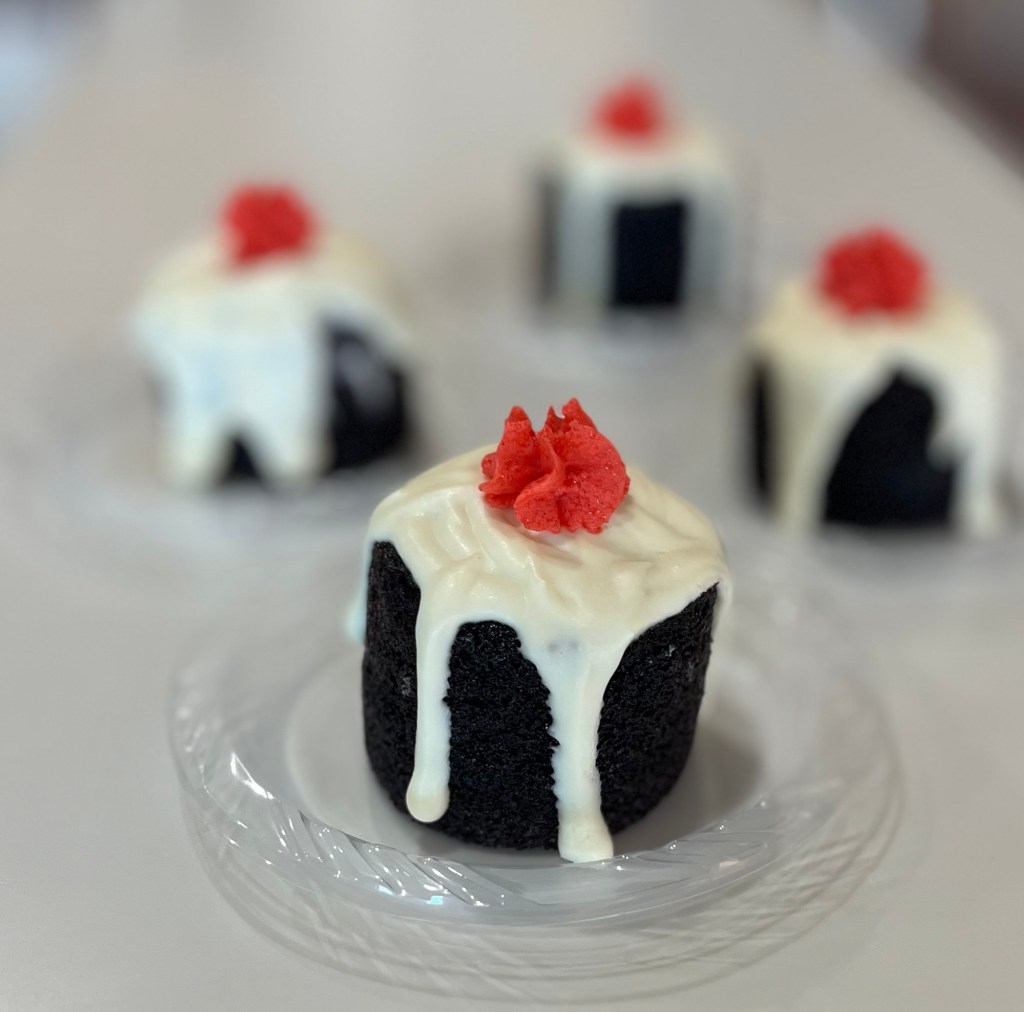
I used my standard Extreme Chocolate Cake and frosting. The flavor is outstanding. I used a new recipe for the chocolate shortbread cookies and they are delicious.
I filled the cake with a raspberry curd mixed with mashed fresh raspberries for the fresh berry tartness. ( It was so good I almost bought the cake so the QC Cadre and I could share it.)
Chocolate Shortbread Cookies
INGREDIENTS
- 226g (1 c) butter (use salted butter, see note)
- 113g (1 c) powdered sugar
- 20g (¼ c) unsweetened cocoa powder
- 1 teaspoon vanilla extract
- 217g (1 ¾ c) all-purpose flour
- ½ tsp salt
METHOD
- Cream butter and sugar in the bowl of a stand mixer (or in a very large bowl using a hand mixer), until fluffy and creamy, about 1 minute. Scrape the sides and bottom of the bowl.
- Mix in cocoa powder and vanilla, then again scrape the sides and bottom of the bowl.
- Add flour and mix until smooth, scraping the sides and bottom of the bowl (especially down in the bottom of the stand mixer bowl where things get caught) once during mixing.
- Lay out a piece of plastic wrap on a clean work surface. Scoop the dough onto the plastic and use your hands to form it into a log. Wrap up the log and roll to make into a uniform size. How long your roll is determines how many cookies you’ll get (or if you want small bite size cookies, make two rolls).
- Chill the rolls at least 1 hour, or until firm, before slicing and baking (or as long as overnight). To help the roll stay round, place it standing up in a tall drinking glass to chill in (this way it won’t flatten on one side).
- Preheat oven to 350°F. Line 2 cookie sheets with parchment paper or silicone baking mats.
- Slice log into ¼-inch thick slices and place 2-inches apart on cookie sheets. Bake for 14-17 minutes or until they just loose their glossy sheen. Cool completely before removing from cookie sheets.
Extreme Chocolate Frosting
Ingredients
• 168g ( ¾ c butter ½ c
• 125g (1 ½ c) unsweetened cocoa powder 1 c
• 624g (5 2/3 confectioners’ sugar 624g 3 ½ c
• 162g (⅔ c) milk .45 c
• 1 tsp vanilla extract
Directions
- Cream butter until light and fluffy.
- Stir in the cocoa and confectioners’ sugar alternately with the milk and vanilla.
- Beat to a spreading consistency.