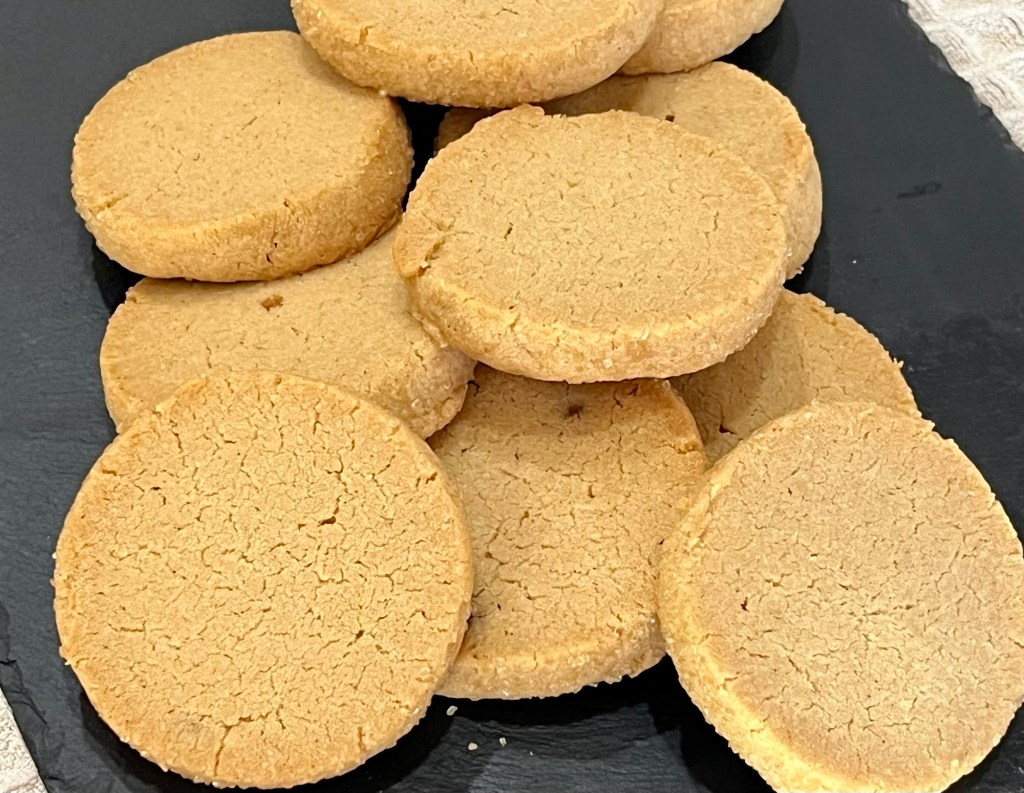
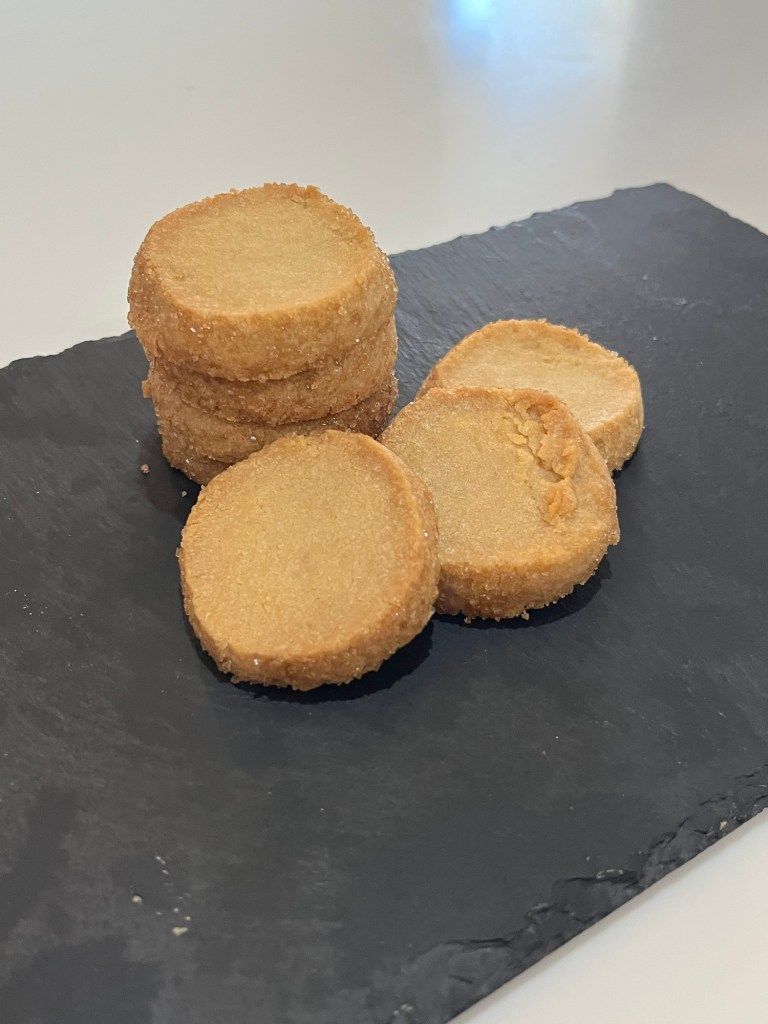
I saw this recipe online and as they are shortbread and raspberry I couldn’t resist. As expected they are delicious.
They are fairly easy to make and after my first attempt I made several notes on how to change the METHOD next time, and there will be a next time.
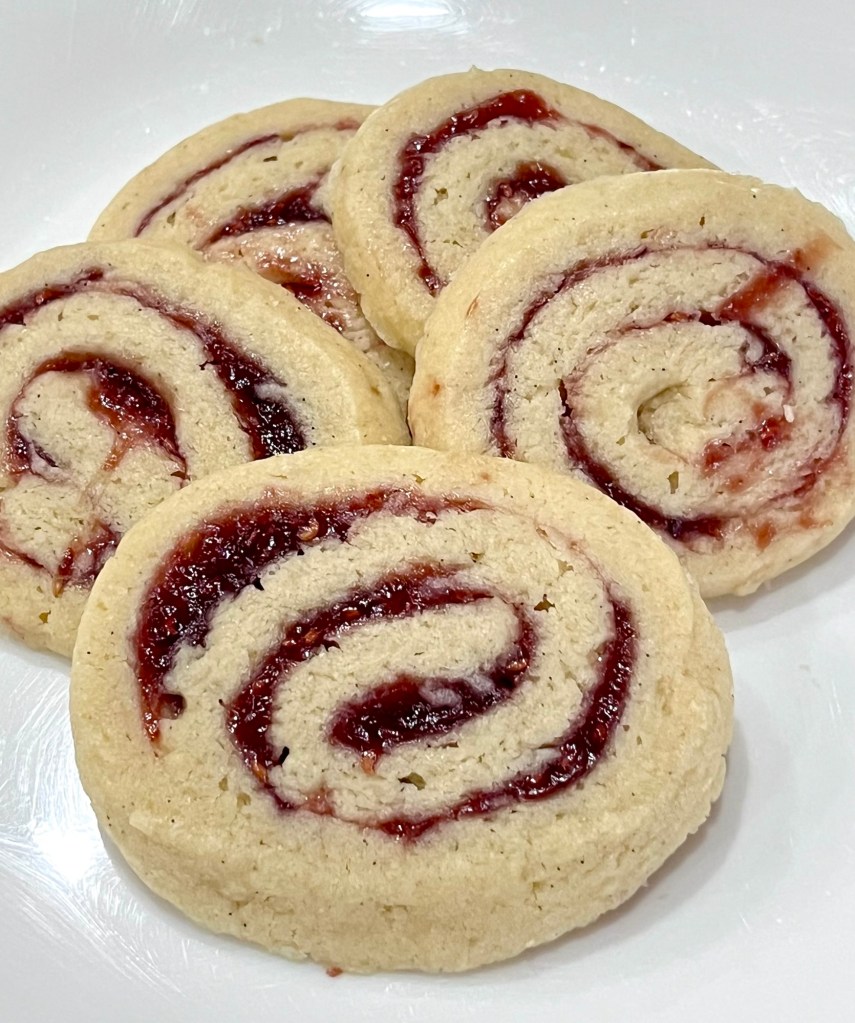
Raspberry Swirl Shortbread Cookies
INGREDIENTS
• 227 (1 c or 2 sticks) unsalted butter, softened (not melted)
• 150g (¾ c) sugar
• 1 large RT egg
• 1 tsp vanilla extract
• 310 (2½ c) AP flour
• ½ tsp baking powder
• ½ tsp salt
• ½ cup raspberry jam
• 1 Tbl cornstarch
METHOD
- In a stand mixer bowl, beat the softened butter and sugar until light and fluffy (about 3 minutes). Add the egg and vanilla; beat until combined.
- Whisk the flour, baking powder, and salt together.
- Gradually add to the wet mixture by hand or mix on low speed only until a soft dough forms.
- Divide the dough in half. Roll each half between two sheets of parchment paper into a rectangle (about ¼-inch thick).
- In a small bowl, whisk the raspberry jam with the cornstarch.
- Remove the top layer of parchment paper and spread a thin, even layer of the jam mixture over the dough rectangles, leaving a small border at the edges.
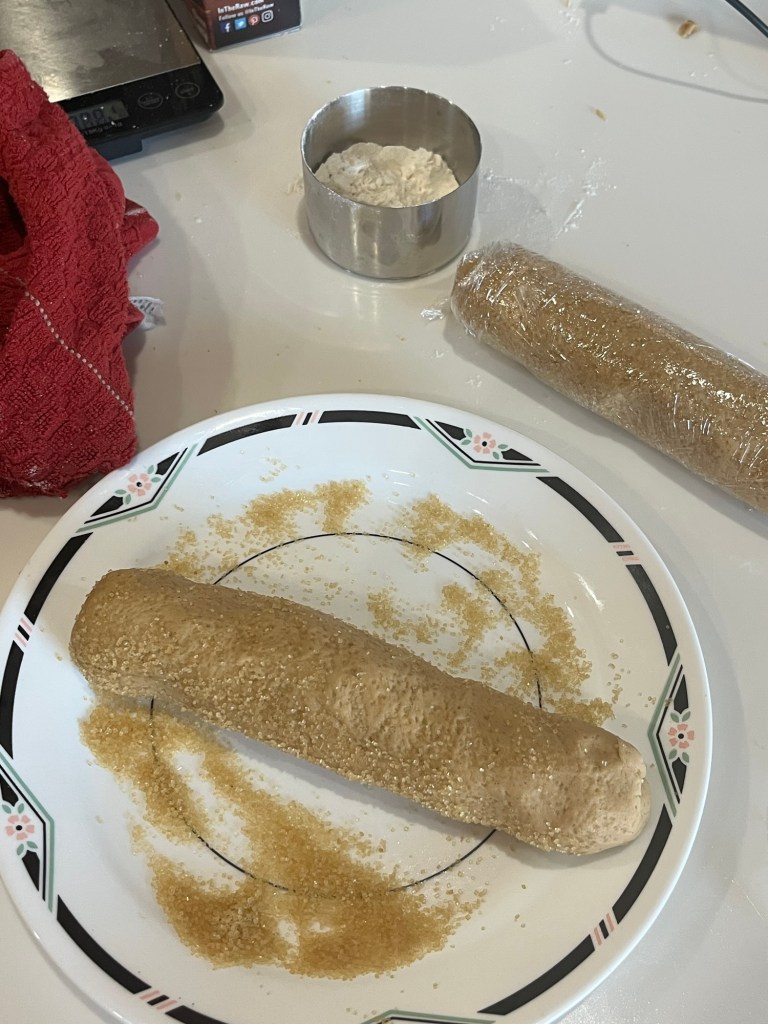
- Starting from the long side, tightly roll the dough into a log. See note below on rolling the dough.
- Wrap the logs tightly in plastic wrap. Refrigerate for at least 2 hours (or freeze for 30 minutes). See note below for additional info on firming up the logs before slicing.
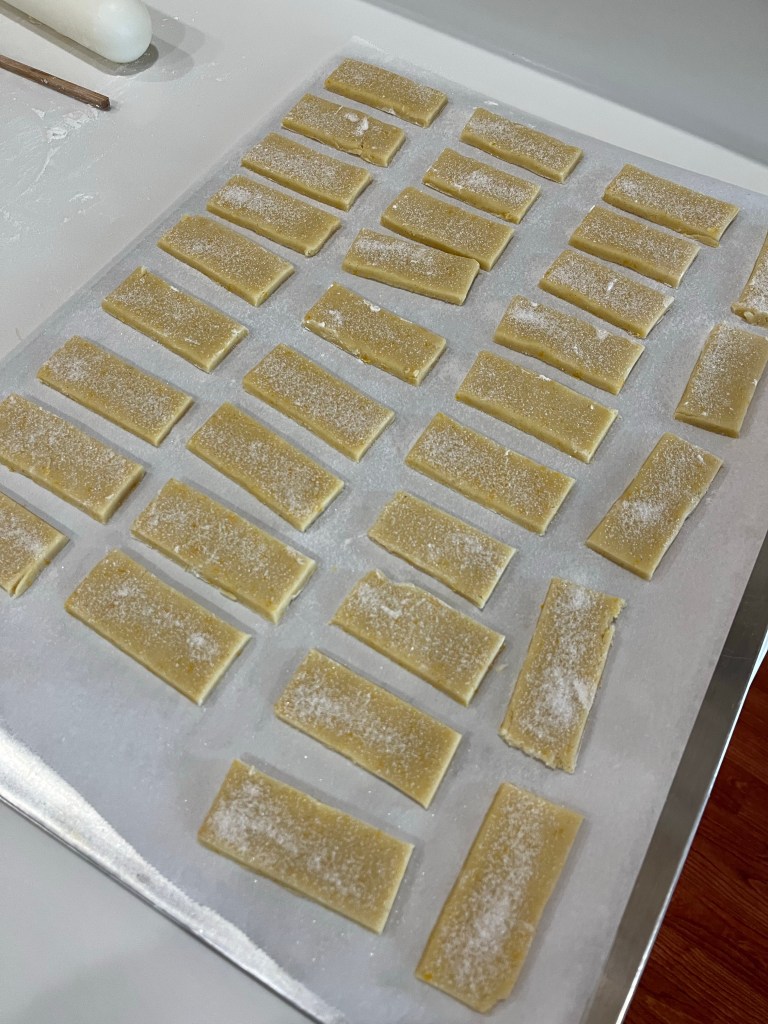
- Preheat oven to 350°F. Use a sharp knife to slice the cold log into ½-inch thick rounds.
- Place cookies 2 inches apart on a parchment-lined baking sheet. This recipe makes about 3 dozen cookies so you will likely need two cookie sheets.
- Bake for 12 – 15 minutes, rotating the cookie sheets after 7 minutes. Start checking for browning after 10 minutes. The edges should be barely golden. Let cool completely on the baking sheet.
NOTES:
- If the dough is too wet and sticky, refrigerate for 5 minutes before tying to roll up. 10 minutes was too long and the initial roll cracked.
- The dough sticks to the wax paper. I used a clean offset spatula to slide under the dough to separate it from the wax paper.
- The jam ran out while rolling when logs were frozen for 30 minutes
a. Next time I will freeze for 1 hour to freeze the jam
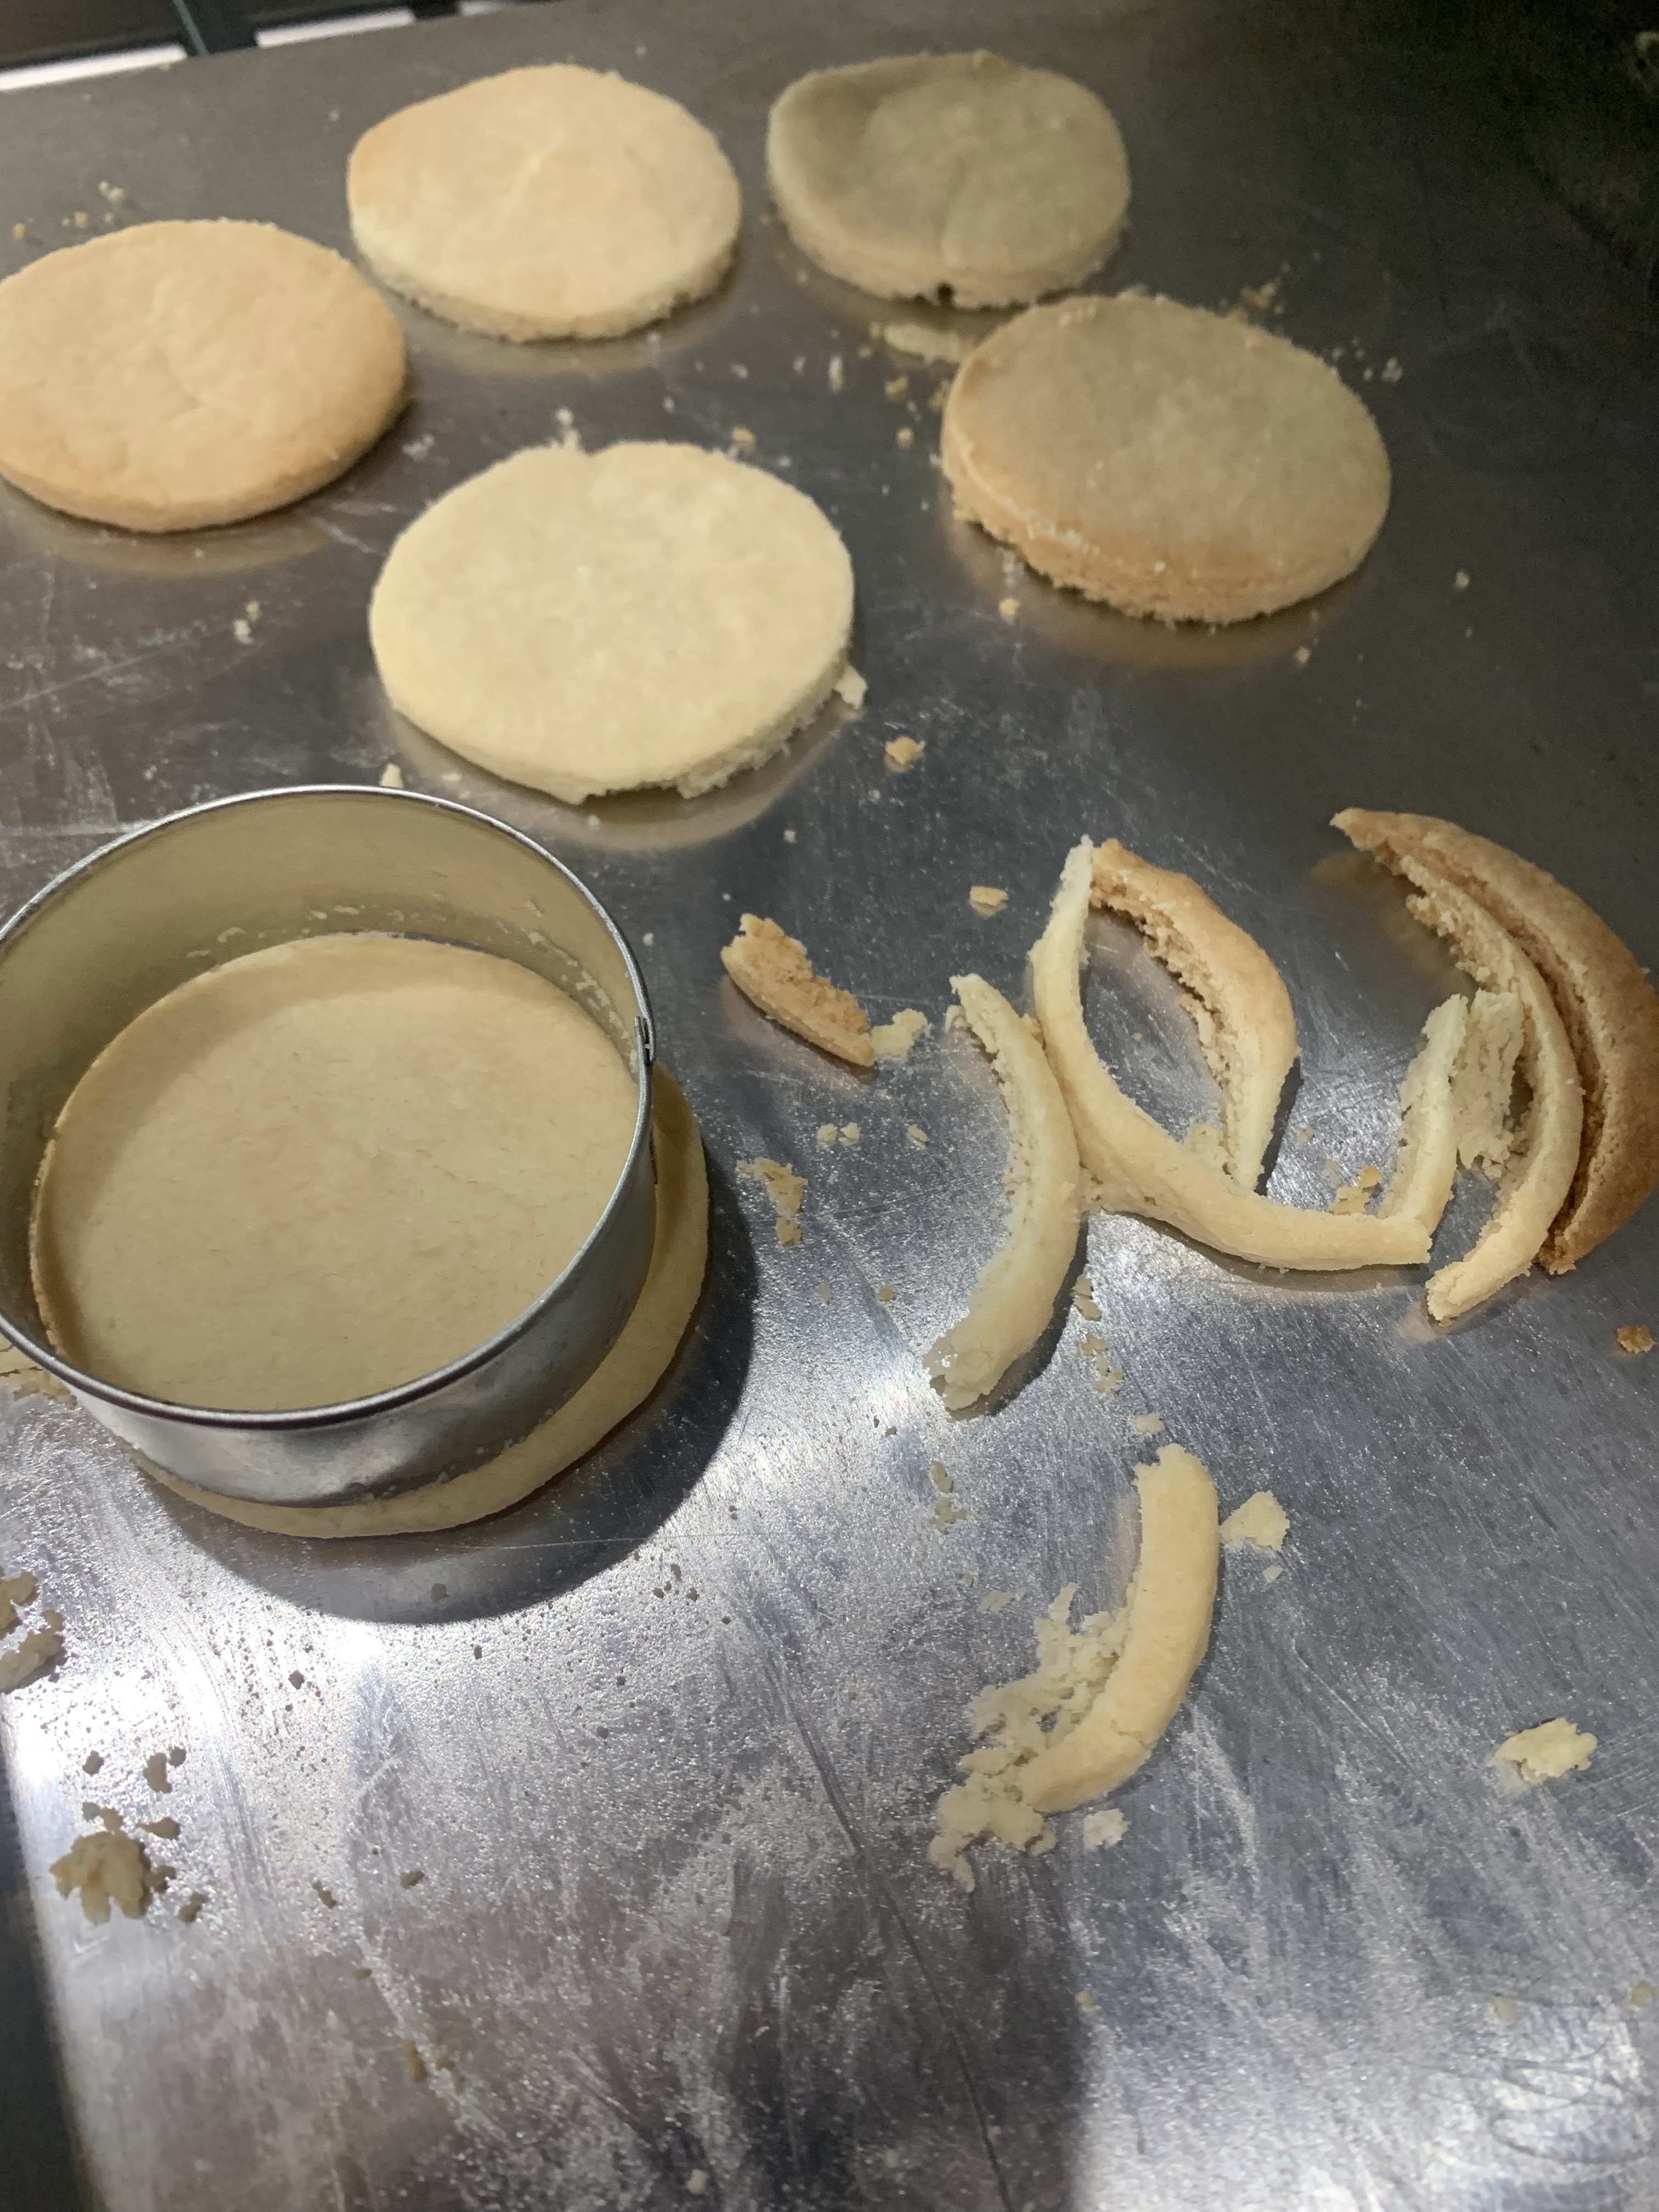
b. Also, cut both frozen logs in half and slice one while leaving the others in the freezer - The cookies spread and lost definition. Next time I will freeze for 30 minutes after slicing and arranging on the parchment lined cookie sheets