If you know, or follow me, you know I am always looking for new recipes, even if I already use a great one. Case in point is the No-Knead Artisan Bread I found a PreppyKitchen.com. It’s wonderful bread with a nice crunchy crust and soft, chewy interior and excellent flavor. Plus it is easy to make, uses few dishes and only takes a couple of hours. However, I do often find alternate recipes and occasionally give one a try. Hence, today’s experiment.
I found a recipe called “Homemade 25 Minute Bread” and made a loaf exactly following the instructions (even though I knew they were wrong.) At this point I am an experienced bread baker and am comfortable with my abilities to distinguish what will work and what will not, but you never know. I bake to learn.
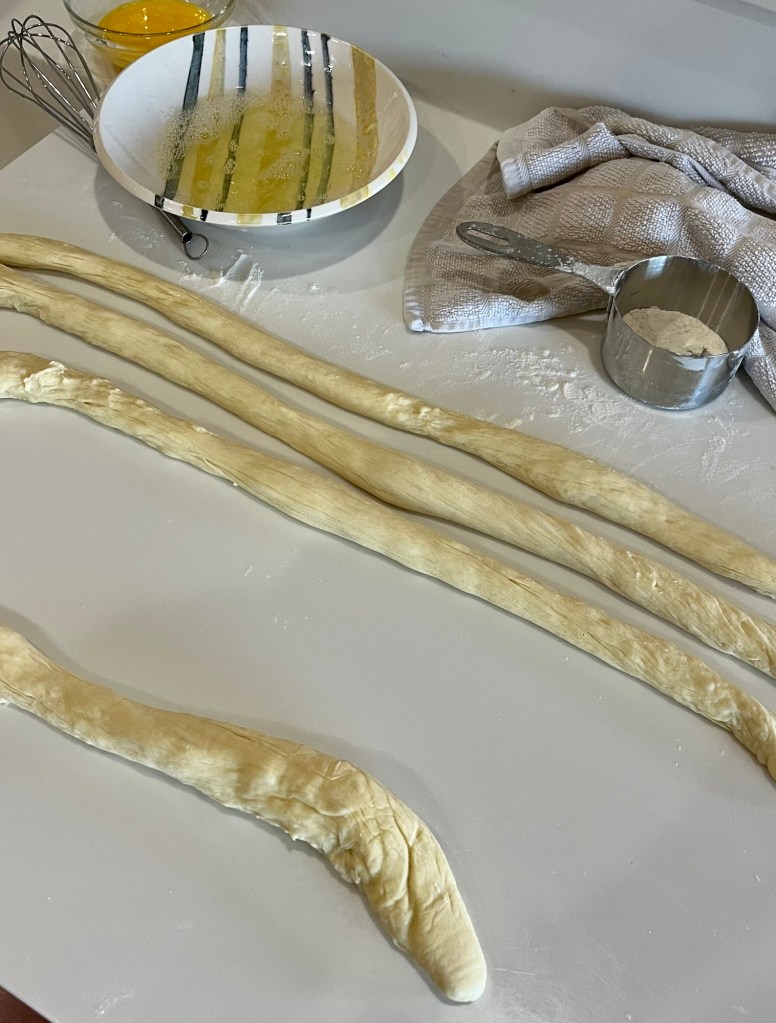
I modified the published recipe, and for expediency used a stand mixer rather than kneading by hand. I enjoy hand kneading, (when I have the time,) but I was making 2 sequential loaves this morning, before I made a batch of rough puff pastry, and watched the RBC Heritage Golf Championship.
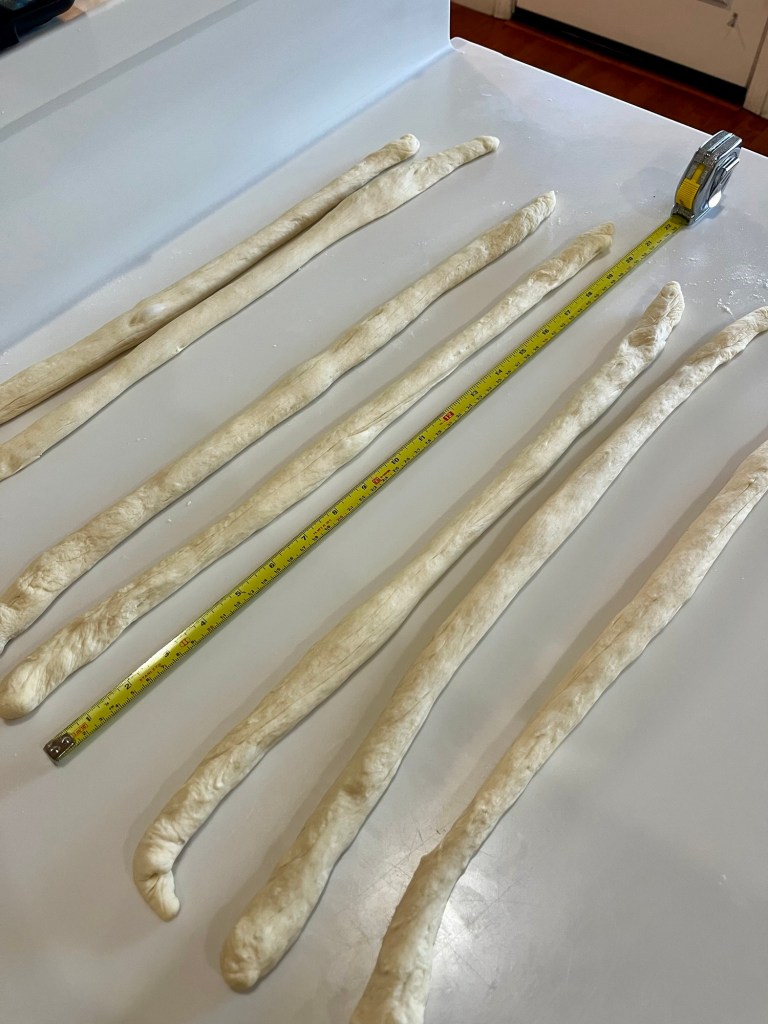
The basic difference in the two breads involves handling the dough. The original specified a 5 minute hand knead until the dough was “smooth and elastic.” I increased the kneading time to 8 minutes so it would just about pass the windowpane test. It also only had a 10 minutes “rise” rather than a full “normal” proof, which was 45 minutes at ~90°F. It also did not suggest a lame or sharp knife slash. This gives the dough someplace to expand rather than burst through the sides of the loaf during baking.
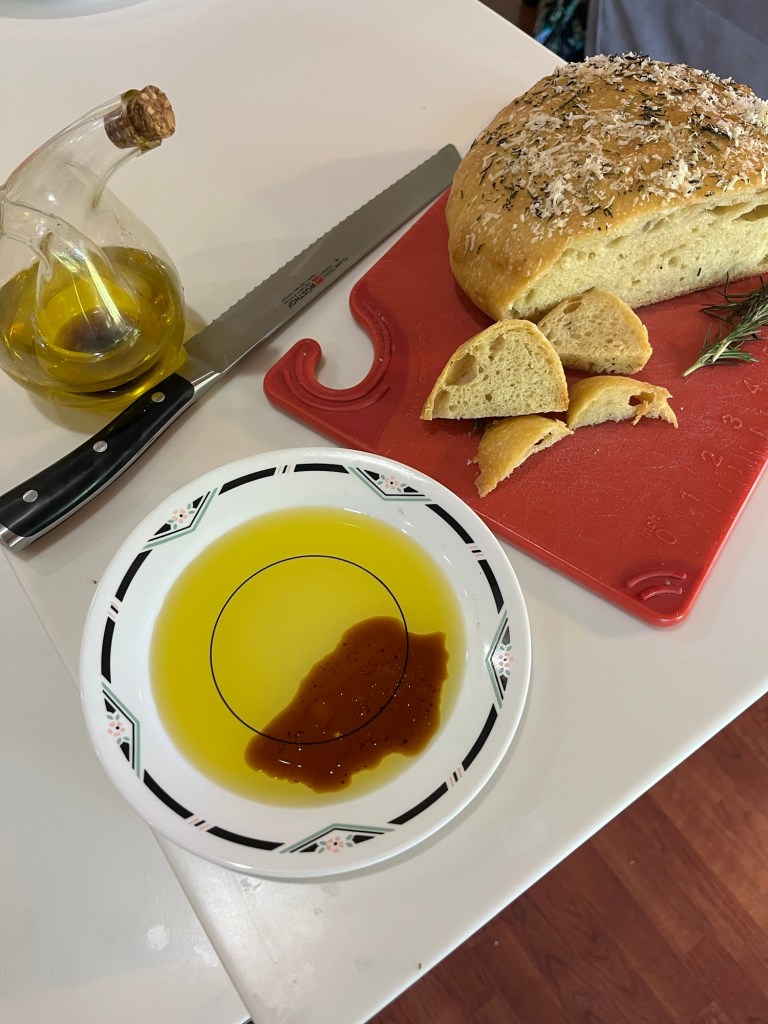
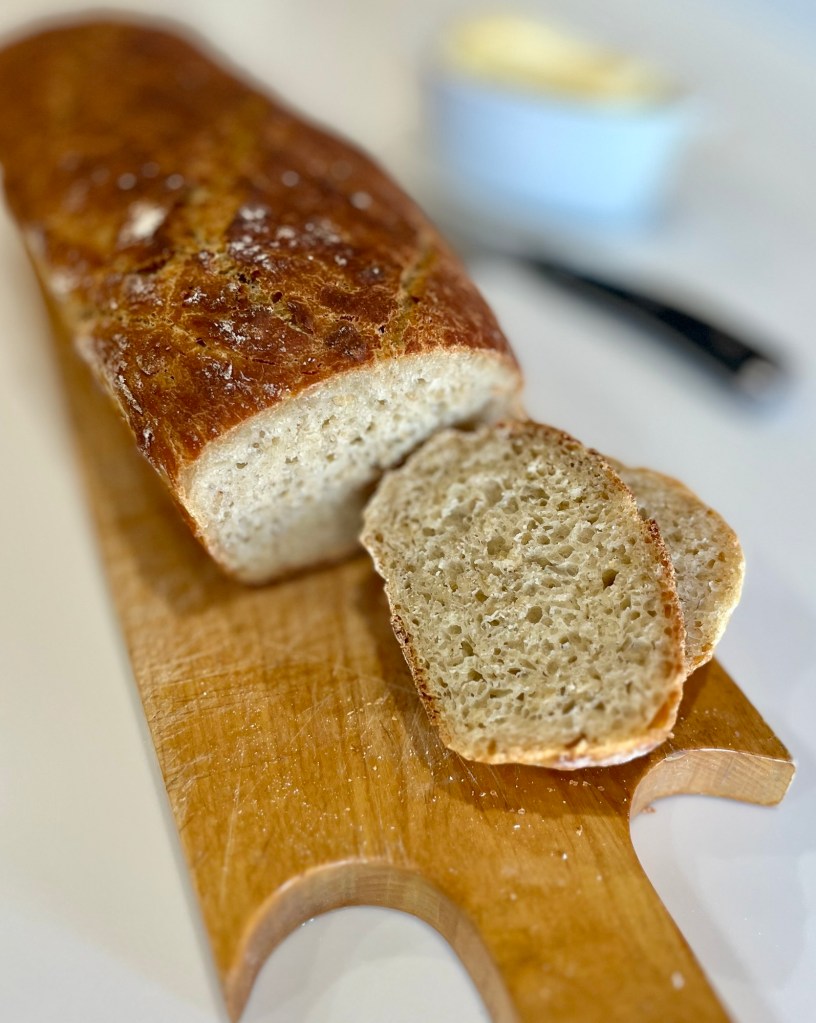
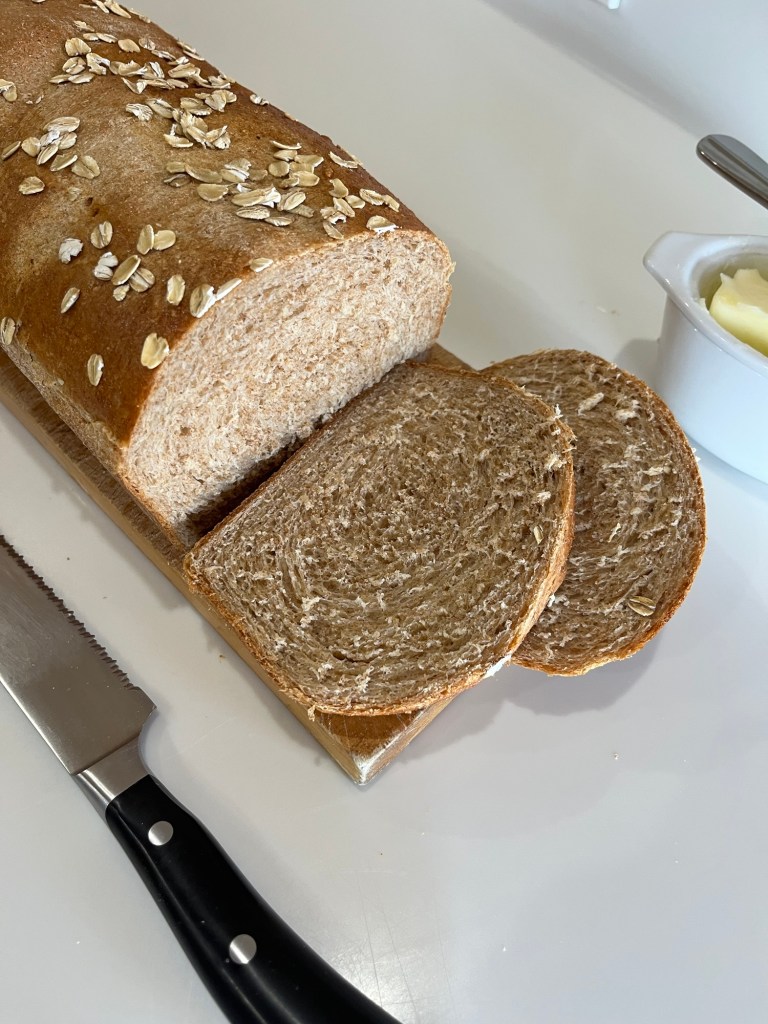
The published recipe resulted in a very dense, not very pleasant loaf. ( I see French toast in my future.) The altered recipe was much lighter. While the crumb was very similar it was light and soft with a good crust. The final result is, back to PreppyKitchen!
I renamed the recipe “Homemade 45-Minute Bread – Dede’s Version. It’s slightly more accurate. (The time does not include proofing time.)


Homemade 25-Minute Bread
INGREDIENTS :
• 360g 3 cups all-purpose flour
• 15g 1 tablespoon sugar
• 15g 1 tablespoon salt
• 11g 1 tablespoon instant yeast
• 236g 1 cup warm water (110°F)
• 23g 2 tablespoons olive oil
METHOD
- In a large mixing bowl, combine the flour, sugar, salt, and instant yeast. Mix well.
- Add the warm water and olive oil to the dry ingredients. Stir until a dough forms.
- Knead the dough on a floured surface for about 5 minutes until smooth and elastic.
- Preheat your oven to 425°F.
- Shape the dough into a ball and place it in a lightly greased bowl. Cover with a clean towel and let it rise for 10 minutes.
- After the dough has rested, punch it down and shape it into a loaf or divide it into smaller rolls.
- Place the shaped dough onto a baking sheet lined with parchment paper.
- Bake for 15-20 minutes or until the bread is golden brown and sounds hollow when tapped on the bottom.
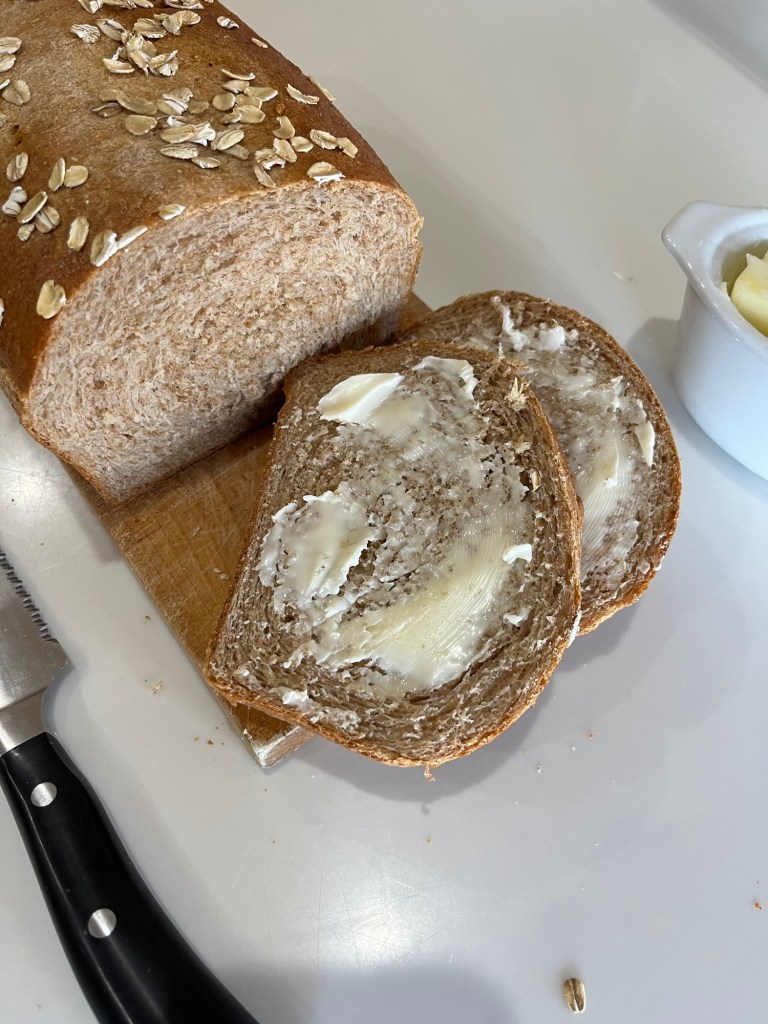
- Allow to cool slightly before slicing and serving.
Homemade 45-Minute Bread – Dede’s Version
INGREDIENTS :
• 360g 3 cups all-purpose flour – Divided
• 15g 1 tablespoon sugar
• 15g 1 tablespoon salt
• 11g 1 tablespoon instant yeast
• 236g 1 cup warm water (110°F)
• 23g 2 tablespoons olive oil
METHOD
- In a stand mixer bowl, combine the flour (less 4 Tbl) , sugar, salt, and instant yeast. Whisk well.
- Add the warm water and olive oil to the dry ingredients. Stir with a dough hook until a dough forms.
- Knead the dough for about 10 minutes until smooth and elastic. The dough is very sticky. Add the reserved flour one tablespoon at a time until the sides of he bowl begin to clean.
- Shape the dough into a ball and place it in a lightly greased bowl. Cover with a clean towel and let it rise for 45 minutes. The dough weighs ~684g at this point
- Preheat your oven to 425°F.
- After the dough has rested, punch it down and shape it into a loaf or divide it into smaller rolls.
- Place the shaped dough onto a baking sheet lined with parchment paper.
- Slash with a lame or knife
- Bake for 15-20 minutes or until the internal temperature is ~195⁰F and bread is golden brown and sounds hollow when tapped on the bottom.
- Allow to cool slightly before slicing and serving.