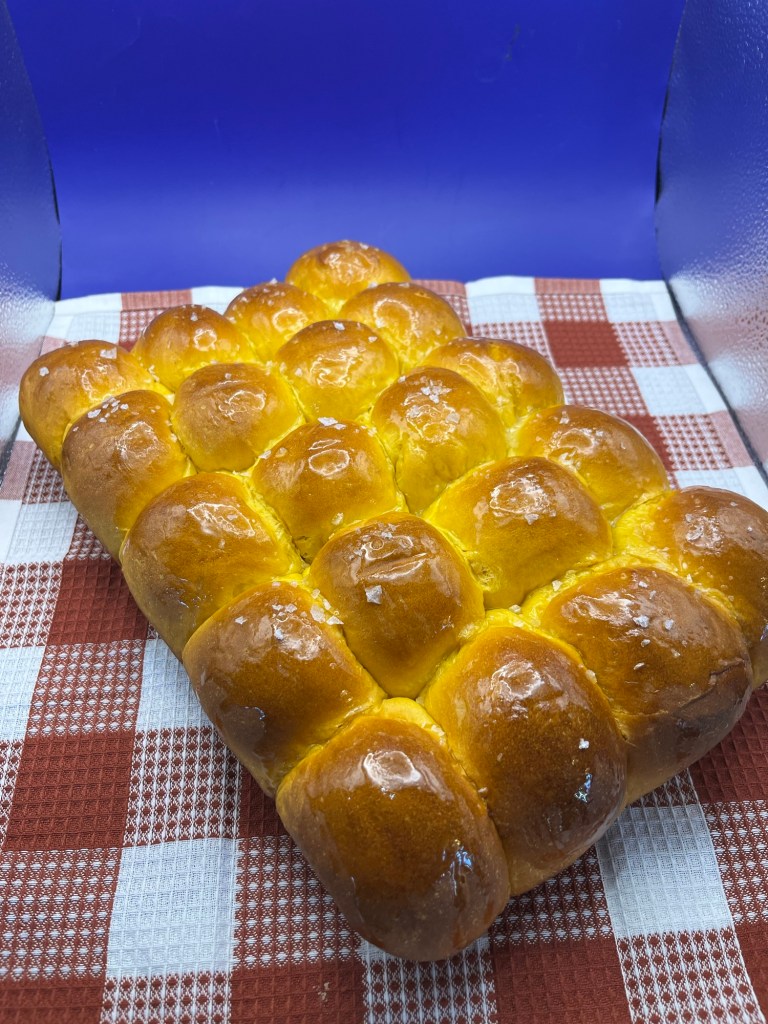
Yesterday we held our first ever QC Cadre Fete at our house. For those not in the know the Quality Control Manager (QC) is my wife, Fran. The QC Cadre incudes all our immediate neighbors, and significant others. To thank everyone for their reviews over the past year I made a selection of heretofore untried pastries and bread.
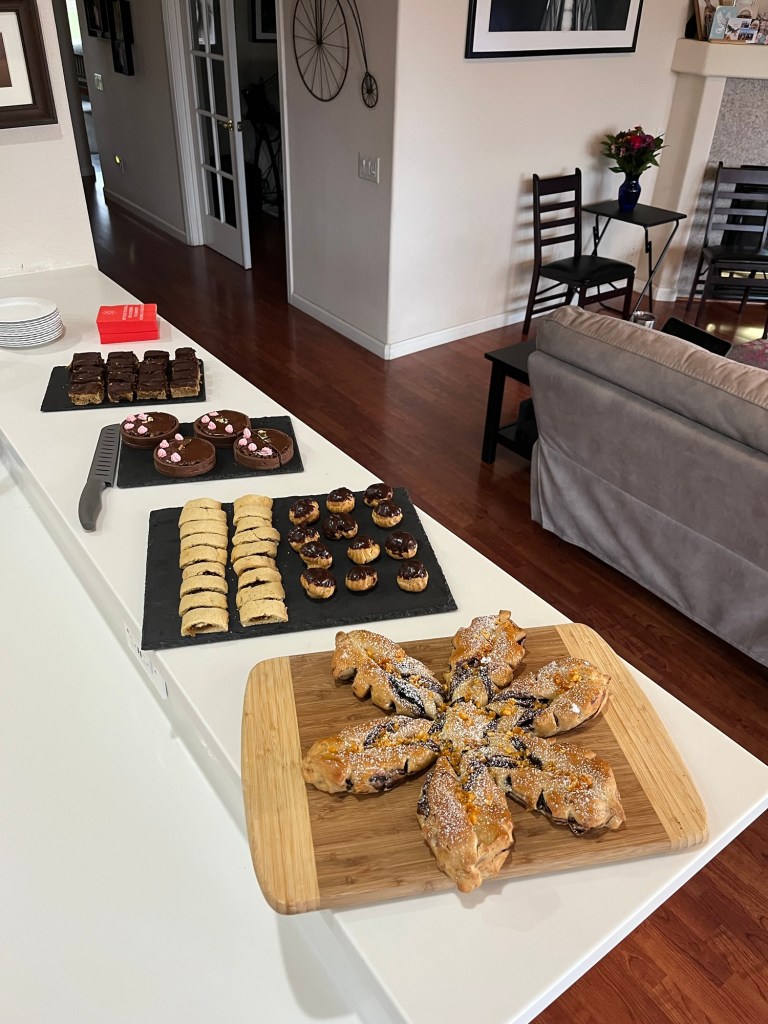
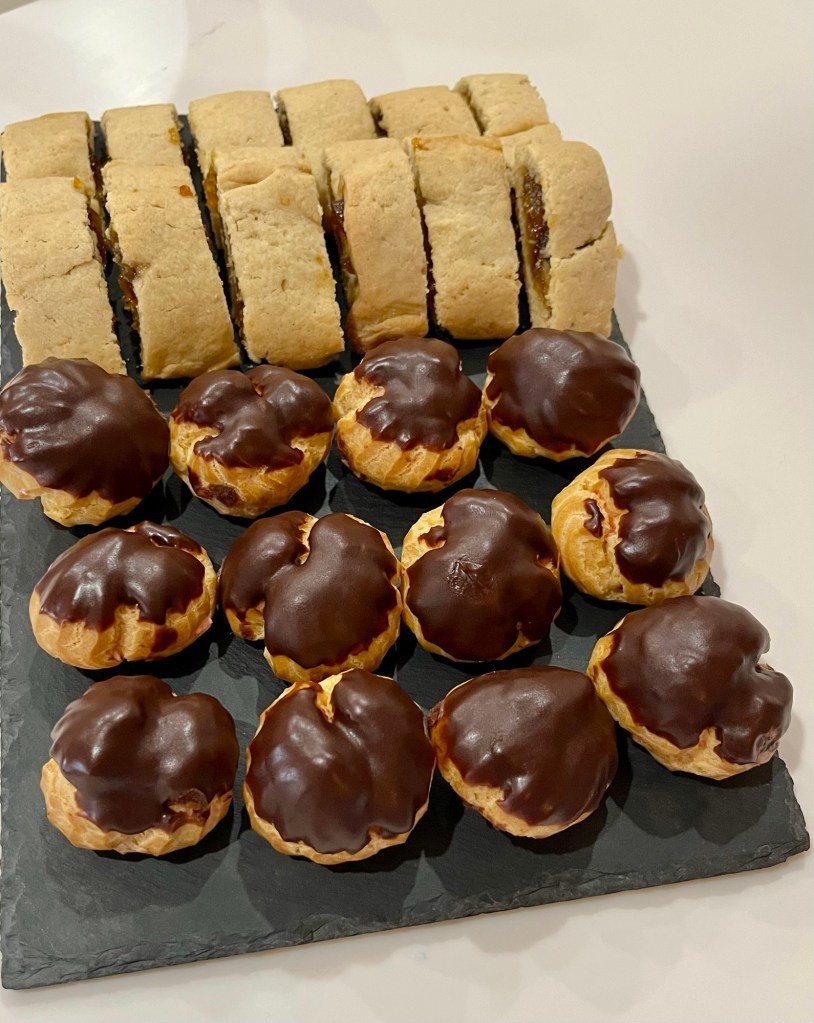
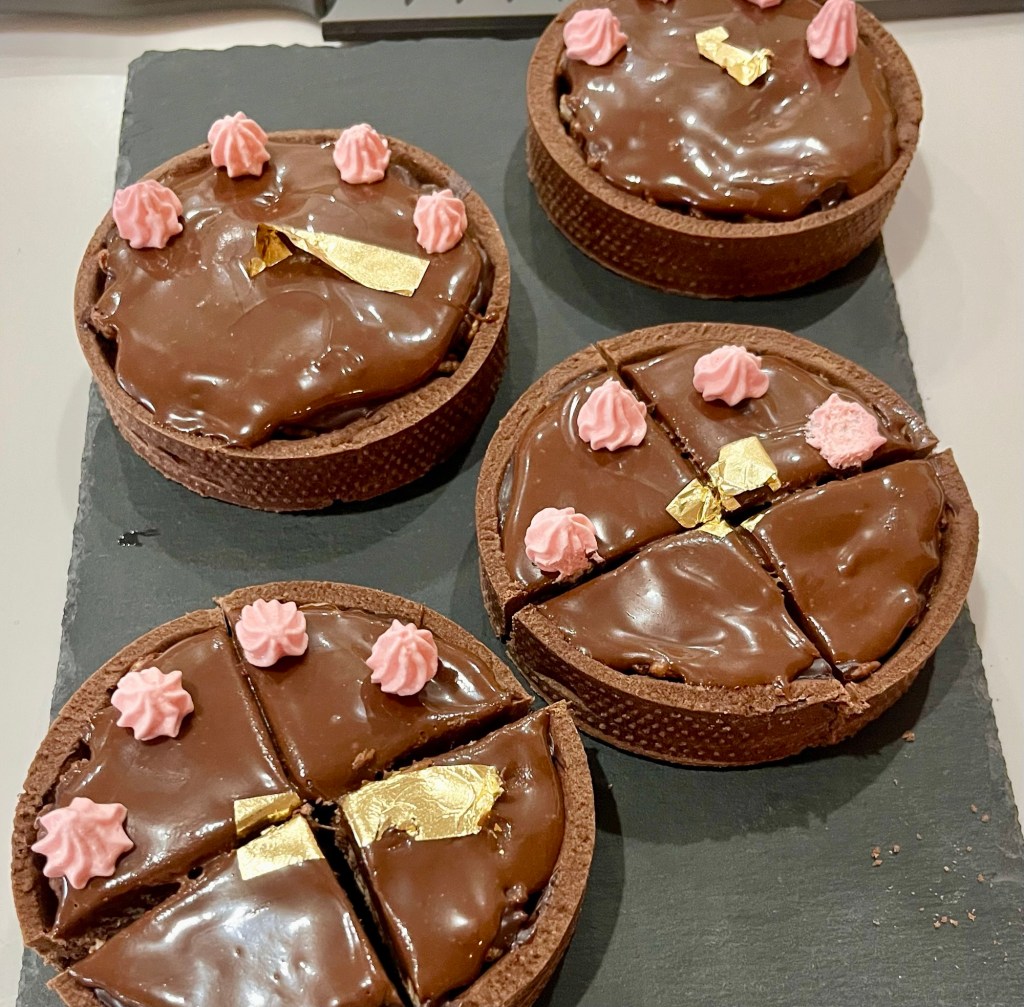
From front to back are” Snowflake Bread, fig newtons and raspberry filled profiteroles, chocolate glazed chocolate filled chocolate tarts with a croustillant layer and finally gingerbread millionaires bars.
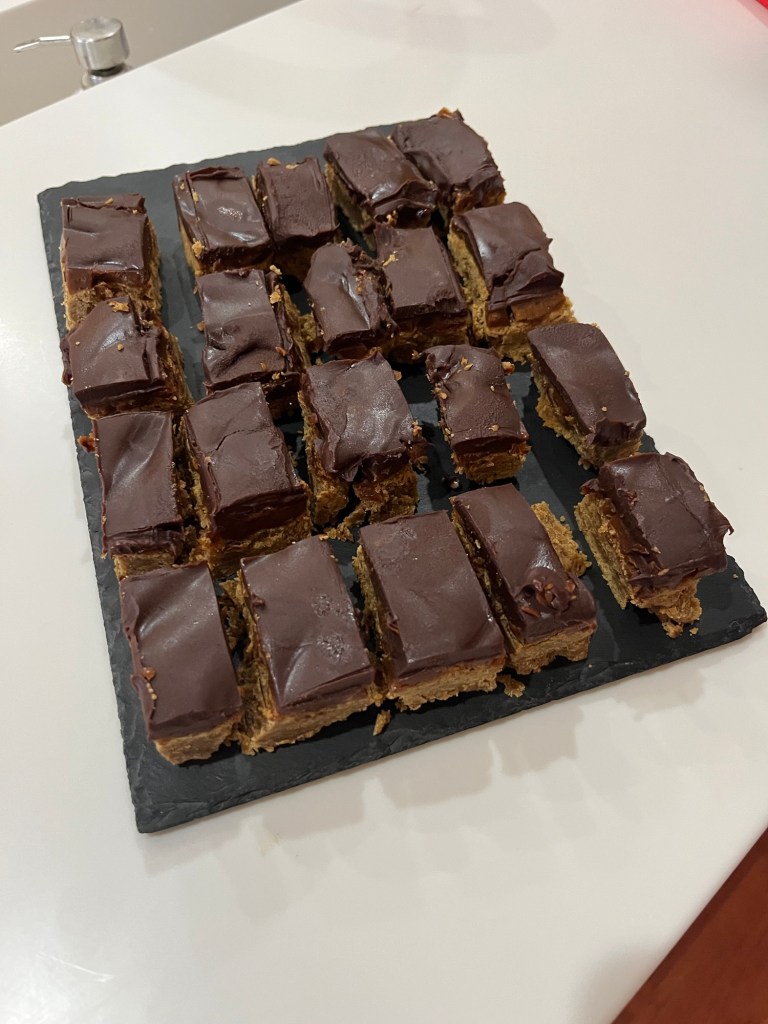

Sadly, I pulled the gingerbread millionaires bars before the fete began. I over cooked the caramel and while it tasted good, it was a very hard crack and once you started to chew it, your mouth could be glued shut. As I said, this was the first attempt at each bake so accidents will happen, but not again!
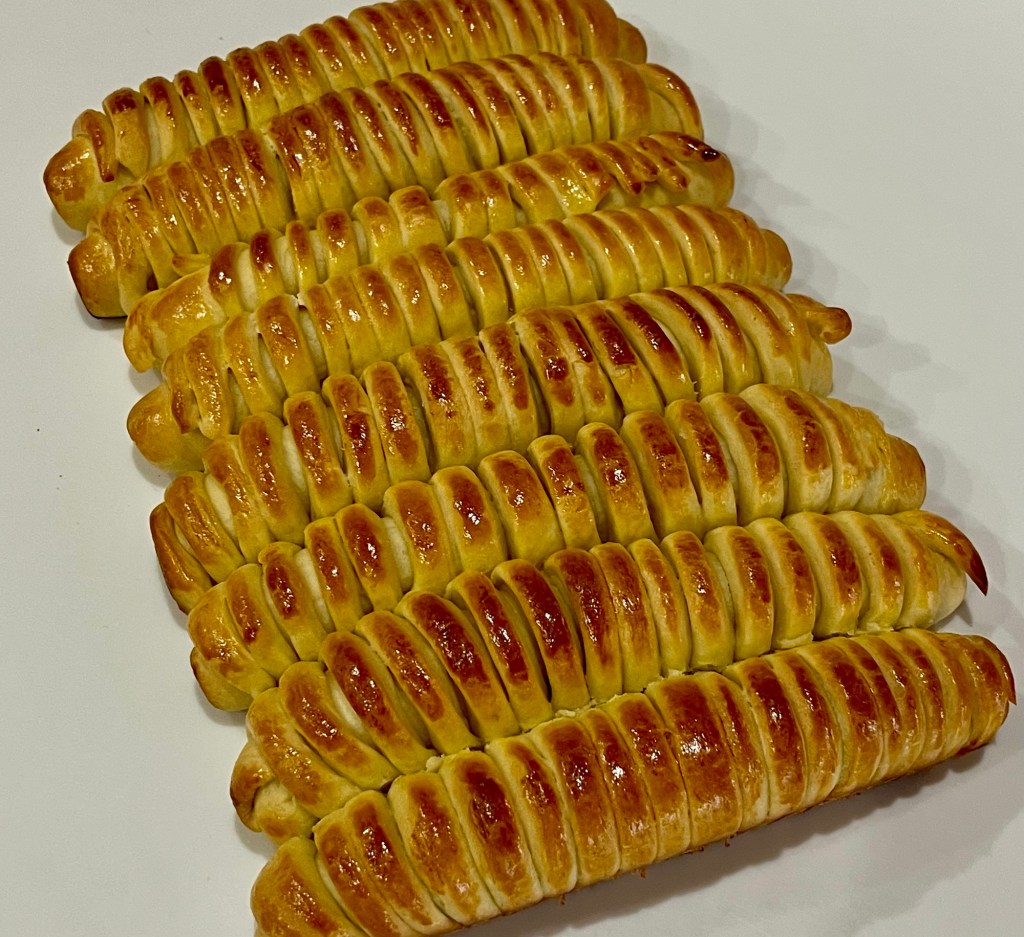
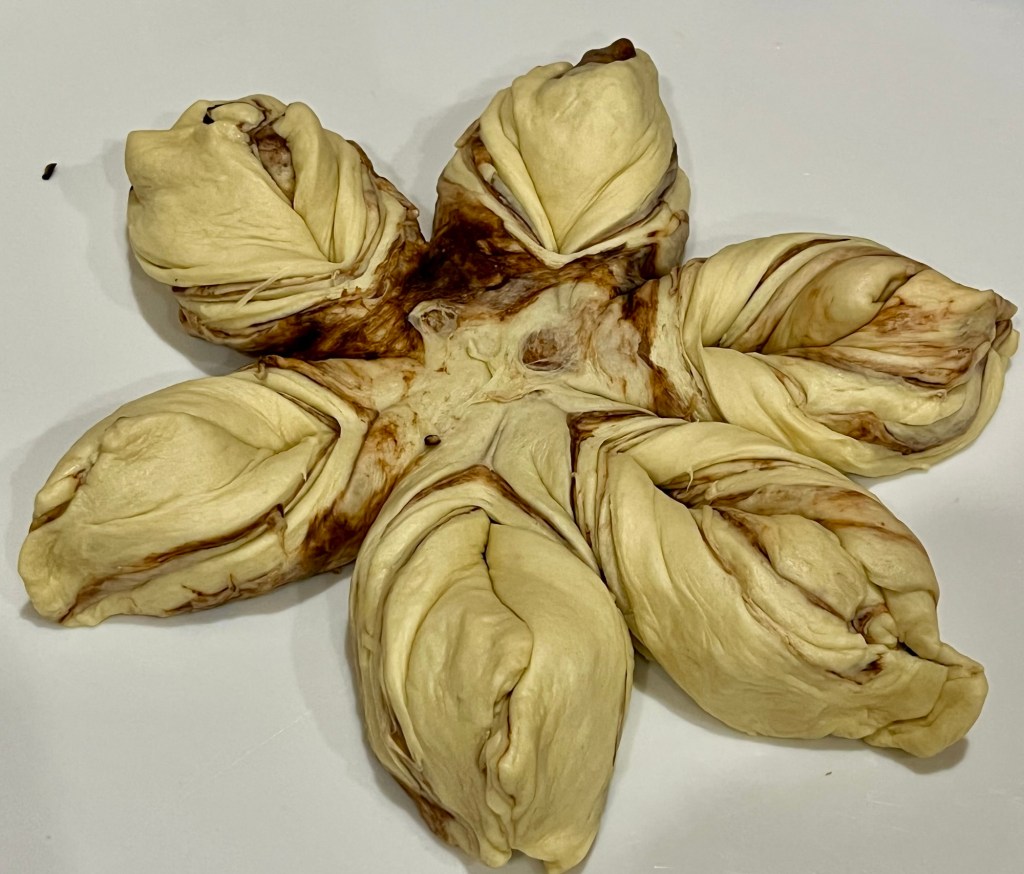
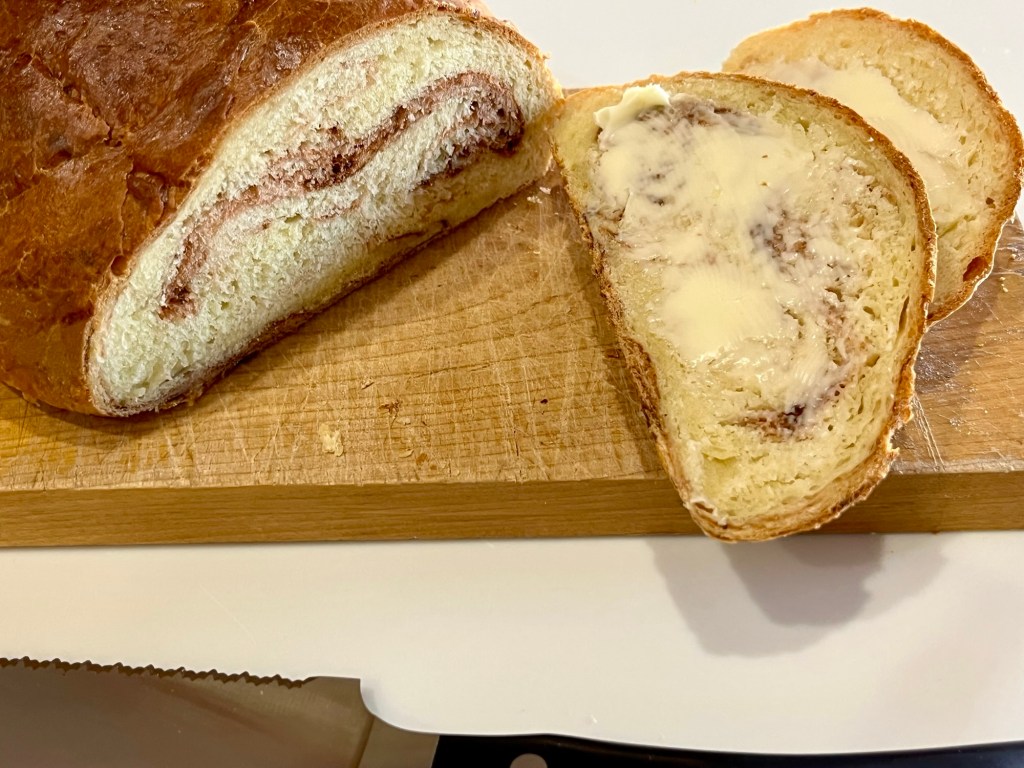
Chocolate Orange Snowflake Bread
INGREDIENTS
For the Dough:
• 1c milk, plus 1 tbsp extra
• 30g (2 Tbl) cubed butter
• 2 Tbl olive oil
• 2 Tbl sugar
• 7g (2 ¼ tsp) instant yeast
• 175g AP white
• 175g bread flour, plus extra for dusting
• 1 tsp cinnamon
• A pinch of salt
• 1 orange, zested?
For the Filling:
• 100g cream cheese
• 2 Tbl sugar
• 2 Tbl cacao powder
• 1 Tbl cinnamon
• 1 Tbl cornstarch
• 1 orange, zested
For Decoration
• Candy orange peel
METHOD
- Combine the milk and butter and warm until just melted and lukewarm. Stir in the olive oil, sugar, and yeast. Let rest for 5 minutes.
- In a large bowl whisk flour, cinnamon, and salt. Pour in the yeast-milk and bring to a shaggy dough with a spoon. Tip onto a lightly floured work surface and knead for 1 minute to make a smooth ball of dough. Place in a lightly greased bowl, cover and leave somewhere warm for 30 minutes, to rise. Meanwhile, pre-heat the oven to 350ºF.
- Whisk together all the filling ingredients until smooth (you can microwave the mix for 10 seconds, if needed, to make it smoother to combine).
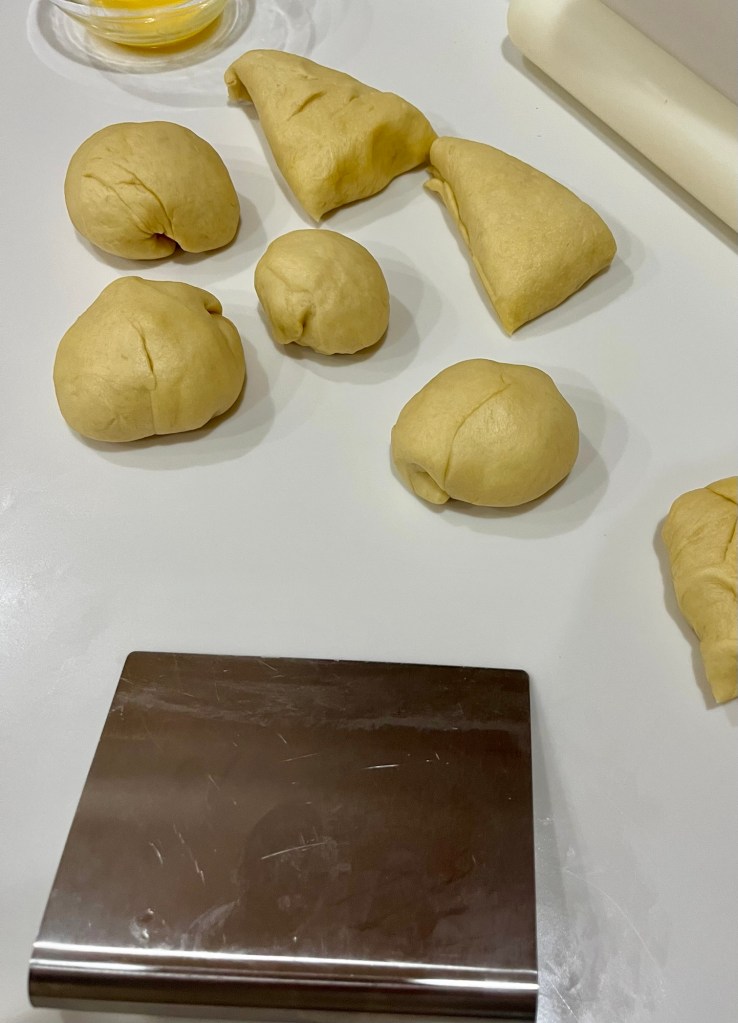
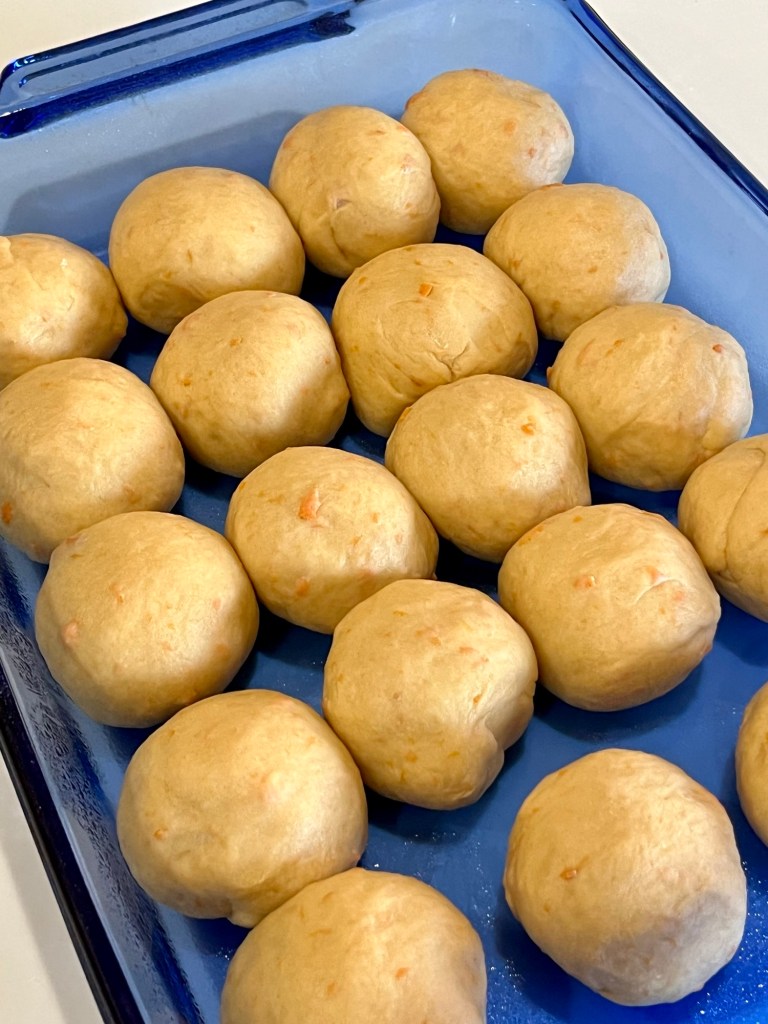
- Punch down the dough and form into 2 balls. (I like to weigh the dough and divide the total weight by 2 to make equal sized balls. My dough weighed 1630 g therefore, each ball should be ~815g.)
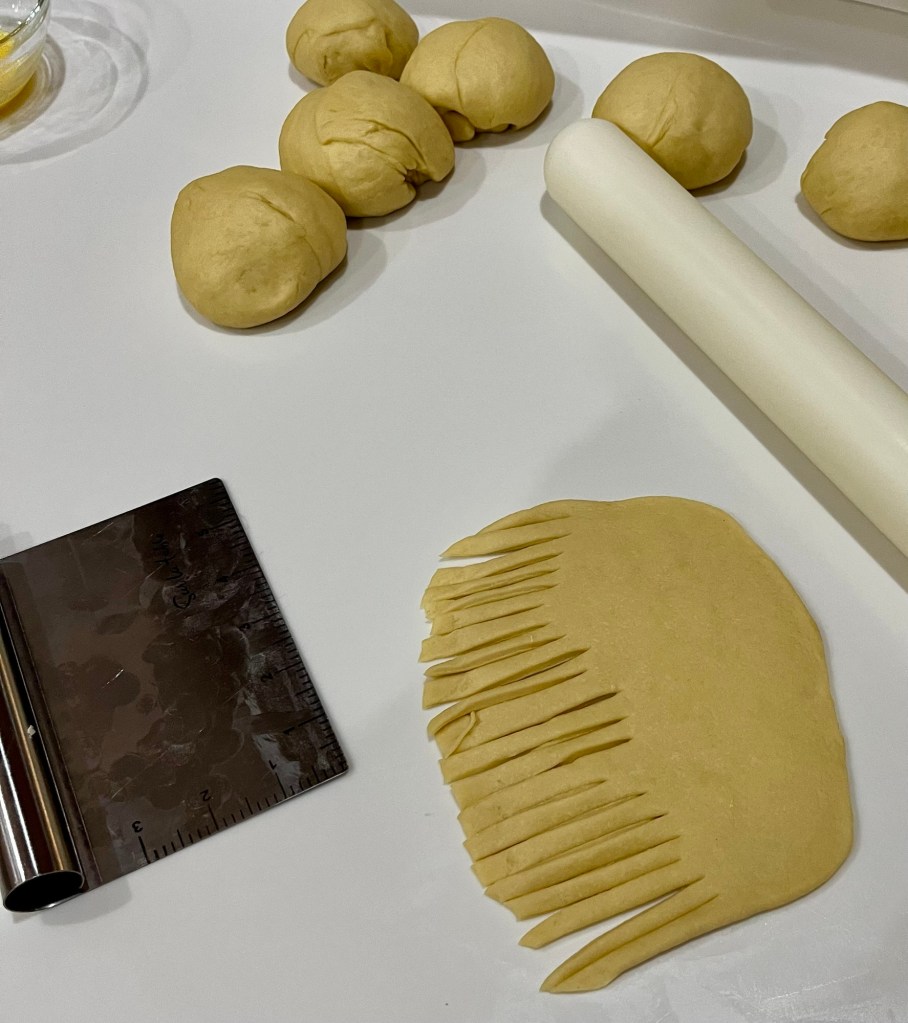
- Divide each ball into two smaller balls, each ~400g and form each into a rough circle ~6” diameter, then roll out into circles ~10”
- Place one circle down and coat with 1/3rd of the filling, leaving the outer 1” un-coated. Repeat for the next two layers and leave the top layer uncoated.
- Center a 10” cake pan and trim the circles to an even circle.
- Set a 3” bowl in the center of the stack of circles and press down making an impression
- Cut the dough from the perimeter to the outside of the 3” circle into 16 equal portions
- Twist adjacent portions away from each other and pinch the ends into a point
- Snip each dendrite is several places to form fronds, or feathers.
- Cover and let rise 20-30 min.
- Beat the egg with 1 Tbl water to use as the egg wash
- Brush the pastry evenly with the 1 tbsp egg wash and place in the middle of the oven for 22-25 minutes, until well-risen, golden and springy.
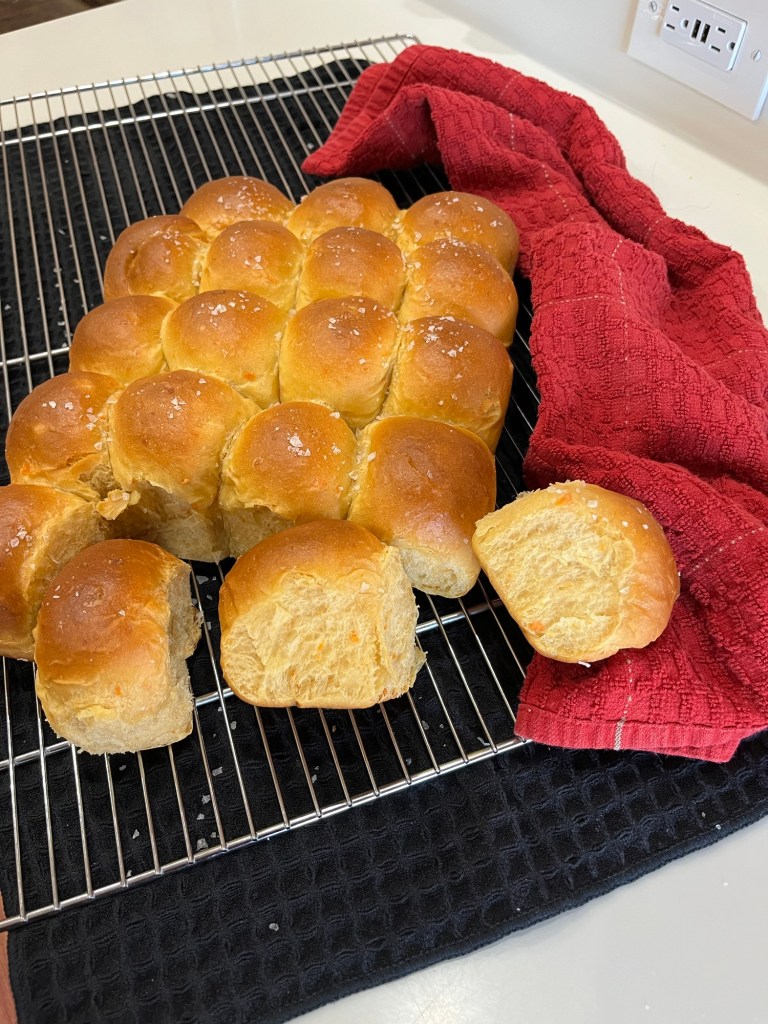
- Remove from the oven sprinkle with candied orange peel and cool for 20 minutes.
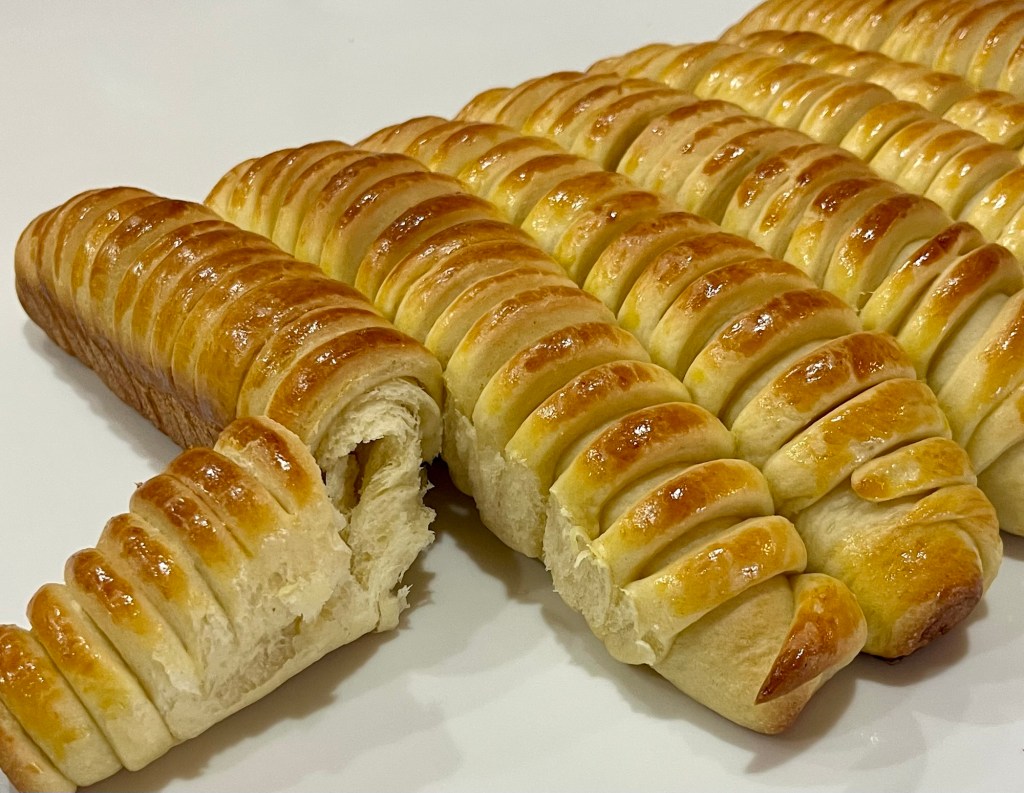
Homemade Fig Newtons
INGREDIENTS
• 1 pint fresh or preserved figs or 12 ounces dried figs 2 Pints
• 1 ½ cups AP flour 3 cups
• ¼ teaspoon baking powder ½ tsp
• ¼ teaspoon salt ½ tsp
• ¼ tsp ground cinnamon ½ tsp
• 1 stick butter 2 sticks
• 1/3 cup sugar 2/3 cup
• 1 egg 2
• 1 teaspoon vanilla extract 2 tsp
• 2 tablespoons orange juice 4 Tbl
If you are using:
• Fresh figs: Remove stems and boil figs with 2 cups of sugar in 1 cup of water for 45 minutes. Drain and cool. This seemed to be too much sugar and water. Try cutting in half. If too thin, cook down until temp reaches about 210.
• Dried figs: In a bowl, pour boiling water over figs (stems removed) and let rest 10 minutes. Drain all but 2 tablespoons water and stir in 2 tablespoons corn syrup + ¼ teaspoon cinnamon.
• Preserved figs: Drain syrup.
METHOD
- Puree figs in food processor into a thick paste (if too thick or thin to spread evenly, add a little water or flour until spreadable consistency is reached).
- Combine flour, baking powder, cinnamon, and salt together and set aside.
- Cream butter and sugar in a mixing bowl.
- Add egg and vanilla, mix until smooth
- Add orange juice and combined dry ingredients to bowl and mix until dough forms.
- Optional: form dough into a flat thick disk and chill to set butter and make it easier to roll and fold.
- Roll dough out on a floured surface into an 8”x14” rectangle about ¼” thick.
- Cut rectangle in half lengthwise.
- Spread fig paste onto half of each rectangle, lengthwise.
- Cut the rectangle in half crosswise, or even thirds to facilitate folding.
- Fold dough in half lengthwise to cover fig paste and pinch edges to seal.
- Slide each newton log onto a parchment lined baking sheet.
- Bake 25 minutes at 350 degrees until crust begins to brown.
- Slice into cookie-sized segments and cool. Slice while warm to reducing flaking.
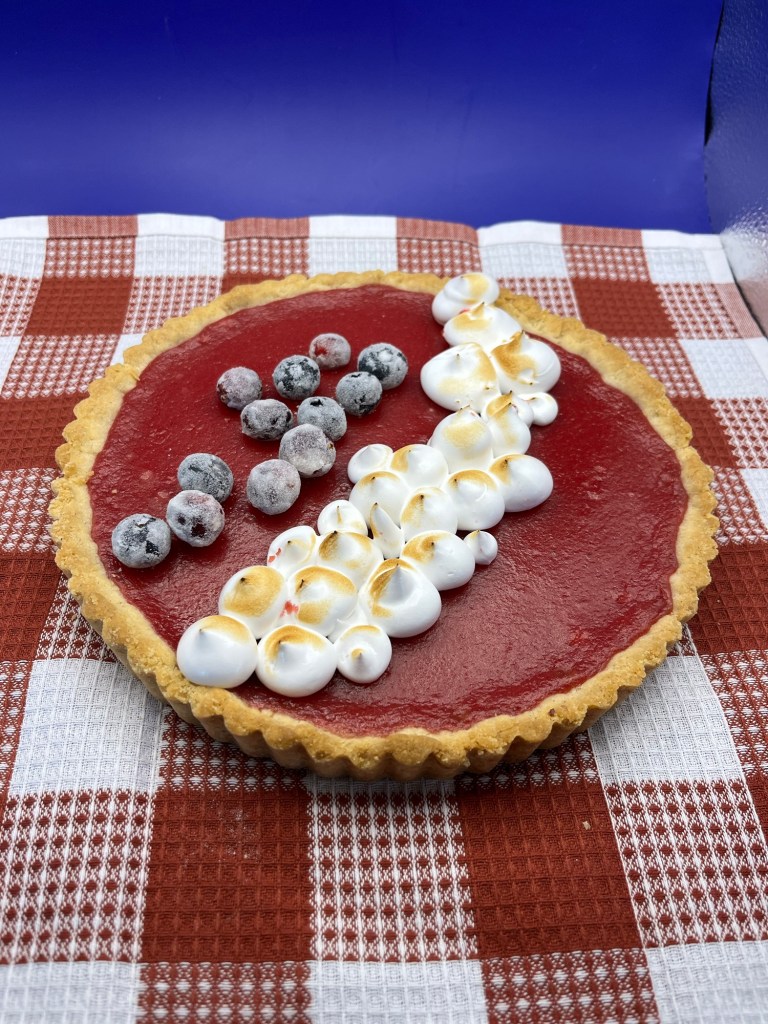
Raspberry Italian Meringue Profiteroles
INGREDIENTS
Choux Pastry:
• ½ c (65 grams) AP flour
• ½ tsp granulated white sugar
• ¼ tsp salt
• 4 tbsp (55 grams) unsalted butter, cut into pieces
• ½ c (120 ml) water
• 2 large eggs, lightly beaten
Raspberry Italian Meringue
• egg whites room temperature
• 2/3 cup caster sugar
• 1/4 cup water
• 1/4 teaspoon cream of tartar
• 2 drops raspberry flavor
• 1-2 drops red food coloring
• Optional: 1 tsp freeze dried raspberry powder
Chocolate Glaze:
• 2 ounces (55 grams) semisweet chocolate, finely chopped
• ¼ c (60 ml) heavy “whipping” cream (cream with 35% butterfat content)
• ¼ tsp pure vanilla extract
• ½ tbsp light corn syrup (or golden syrup or glucose)
METHOD
- Preheat oven to 375o F (190o C) and place rack in center of oven.
- In a bowl whisk the flour with the sugar and salt.
- Place the butter and water in a saucepan over medium high heat and bring to a boil.
- Remove from heat and, with a wooden spoon, add the flour mixture, all at once, and stir until combined. It will look like mashed potatoes. Return saucepan to the heat and stir constantly until the dough comes away from the sides of the pan and forms a thick smooth ball (about 1-2 minutes). The dough will film the bottom and sides of the saucepan and make cleaning a pain.
- Transfer the dough to an electric mixer and beat on low speed to release the steam from the dough (about 1 minute).
- Once the dough is lukewarm start adding the lightly beaten eggs (dough will separate and then come together) and continue to mix until you have a smooth thick paste (dough will fall from a spoon in a thick ribbon).
- Place the dough in a pastry bag fitted with a large plain tip and pipe round mounds of dough (about 1 ½ inch) onto the parchment lined baking sheet. (When piping, hold the bag at a 90-degree angle, ie straight up.)
- Bake for 15 minutes and then reduce the oven temperature to 350o F (180o C).
- Remove from oven, pierce the bottom of each profiterole with a small skewer to release the interior steam.
- Continue to bake for a further 25 minutes or until the shells are a nice amber color and when split, are almost dry inside. Remove from oven and place on a wire rack to cool.
Raspberry Italian Meringue - Wipe down all tools with white vinegar or lemon juice to remove any trace of fat.
- Place sugar and water mixture over medium heat for 5 minutes. Do not stir it at all during this time. The mixture will look cloudy.
- Gently stir the mixture for 1 minute. There should be little to no granules of sugar left at this point.
- Once the mixture begins to bubble from the bottom, 3 to 5 minutes, place the digital thermometer in the pot and increase to medium-high heat. Do not stir it at all after this.
- In the bowl of an electric mixer, whip the eggs whites on low speed until foamy. Add the cream of tartar, increase the speed to medium and beat until soft peaks form.
- Allow the sugar mixture to come to a boil and watch carefully. Once it reaches 230 °F turn stand mixer on highest speed to whip egg whites to peaks.
- Once the sugar syrup reaches 240 °F, remove from heat and remove the probe. This takes about 4- 6 minutes.
- Allow the boiling to come to a slow bubble before moving on.
- Slowly pour sugar syrup (steady stream) into whisked egg whites. Avoid the whisk attachment or it will fling your mixture all over the bowl.
- Allow mixture to whisk for another 3-5 minutes until the mixer bowl is cool/room temperature to the touch.
- Add raspberry flavoring and if desired, the freeze-dried raspberry powder. (In my first attempt at adding the powder I added it prior to adding the sugar syrup and it ruined the soft peaks. I think adding at the end should work.)
Chocolate Glaze: - Place the chocolate in a heatproof bowl.
- Heat the cream just until boiling and immediately pour it over the chocolate.
- Gently stir until the chocolate has melted.
- Stir in the vanilla extract and corn syrup, mixing to ensure incorporation.To complete:
- Fill a piping bag equipped with a filling tip (such as Wilton 230). Inject crème pat into the hole you made to allow the steam to escape. When you feel the side of the profiterole begin to bulge, the éclair is full.
- Dip the top of each profiterole into the warm, thin ganache and set on a piece of waxed or parchment paper to dry. (I use the parchment paper previously used to line the baking sheet.)
Gingerbread Millionaire Bars
INGREDIENTS
FOR THE GINGER SHORTBREAD BOTTOM:
• 1 c butter
• ½ c packed dark brown sugar
• ¼ c (85g) un-sulfured molasses
• 1 large egg
• 1 tsp cinnamon
• 1 tsp powdered ginger
• ¼ tsp cloves
• ½ tsp salt
• 2 ½ c all-purpose flour
FOR THE CHEWY CARAMEL:
• ¾ cup packed light brown sugar
• ⅓ cup sweetened condensed milk
• ⅓ cup butter
• 3 tbsp. golden cane syrup (or honey as a substitute)
• 1 tsp. flaky sea salt
FOR THE CHOCOLATE TOP:
• 7 oz dark chocolate, chopped
METHOD
- Preheat oven to 350°F. Grease and line a 9×9 baking pan with parchment paper.
- In a standing mixer fitted with a paddle attachment, cream the butter, brown sugar, and molasses together until light and fluffy, about 2 minutes.
- Add in the egg, spices, fresh ginger, and salt, whipping an additional minute. Fold in flour, mixing only until combined.
- Transfer dough to prepared baking pan, patting down evenly. Bake for 15-18 minutes, until a knife inserted in the center of the shortbread comes out clean. Allow to cool while you make your caramel.
- In a small saucepan over medium low heat, combine the sweetened condensed milk, sugar, and honey. Use a rubber spatula to mix slowly but continuously for about ten minutes. The mixture will slowly turn a light golden color and begin to pull away from the sides of ithe pan. Heat until mixture reaches a nice golden caramel color then add the butter and mix until incorporated, then remove from heat and mix in salt.
- Pour mixture over ginger shortbread and use spatula to spread evenly. Place in the fridge to harden completely, about 2 hours.
- Once the bars have cooled, put the chocolate into a large glass measuring cup and heat in 30 second intervals. (My 1000W microwave requires 90 second total heating, but the chocolate should be stirred after each 30 second interval.
- Pour over chilled bars, then place back in fridge to harden.
- Cut into 1″x1″ cubes and serve! Will last up to 1 week when sealed tightly in a container in the fridge.