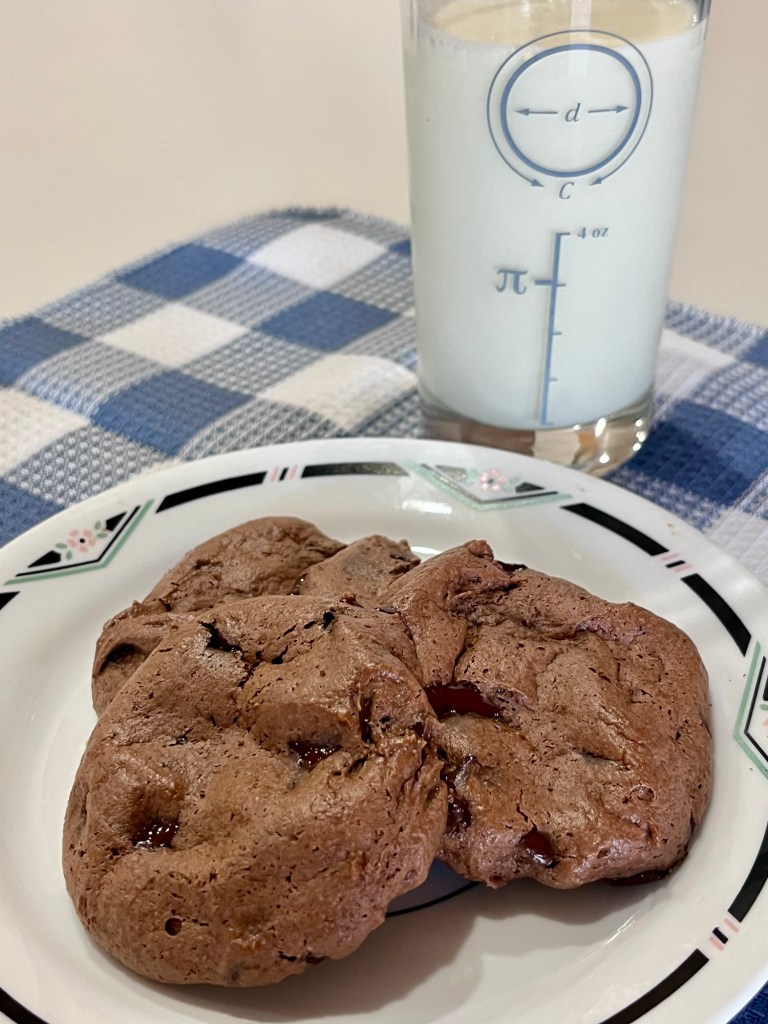
My “go to” dark chocolate cocoa cannot be found anymore so I substituted black chocolate. It’s available from both King Arthur or Modern Mountain and is a very dark, decadent chocolate.
I added 2 tablespoons of Hersheys unsweetened cocoa powder to moderate the intensity of the black chocolate.
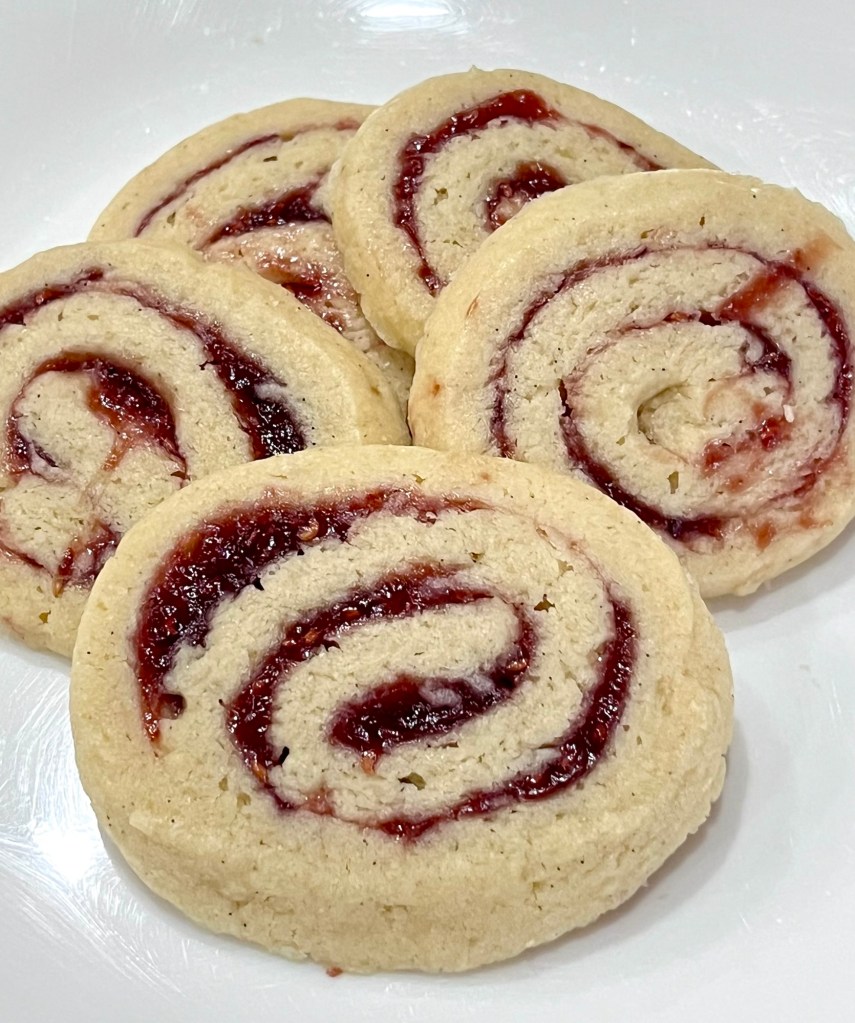
The origin of this recipe is lost in the misty past, but it remains my favorite. It includes KAF raspberry jammie bits and Callebaut 54% chocolate chips. The ganache is the same chocolate chips, cream, corn syrup and vanilla.
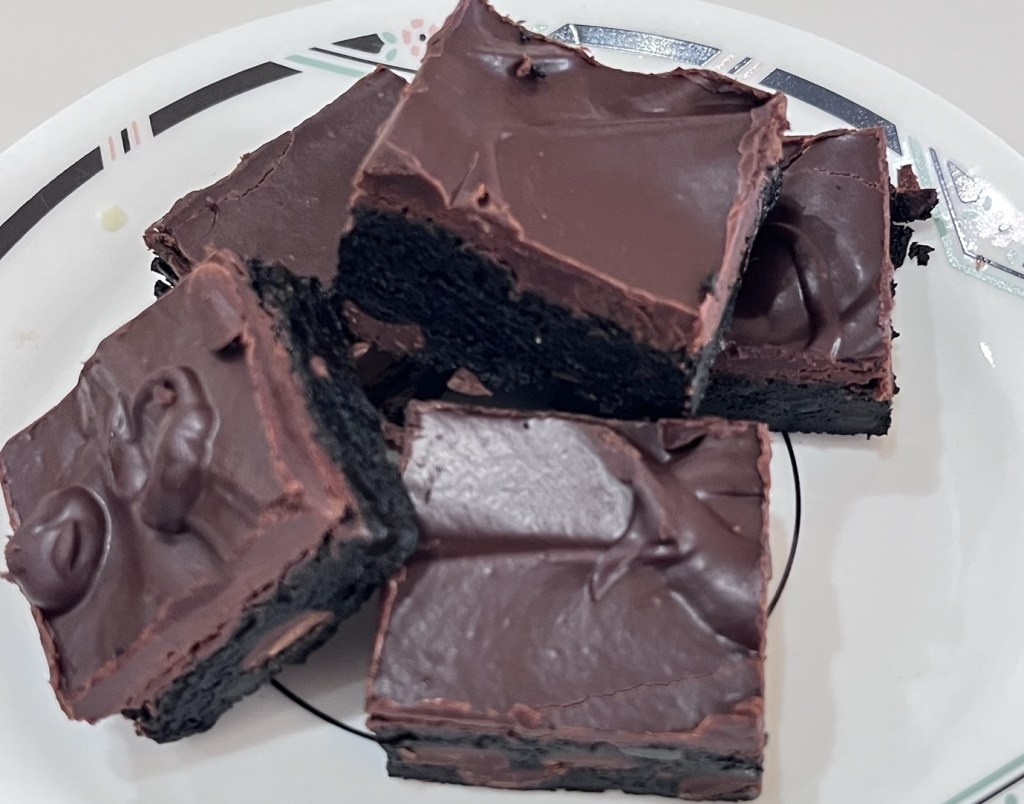
Chocolate And Raspberry Half Recipe Brownie Bars
INGREDIENTS
BROWNIES
• 2 large eggs
• ½ cup + 2 Tbl dark cocoa
• ½ tsp salt
• ½ tsp baking powder
• 1 tsp vanilla extract
• 1 cup + 2 Tbl sugar
• ½ cup unsalted butter, melted
• ½ cup + 2 Tbl AP flour
• ½ cup chocolate chips
• ½ cup jammy bits
• 1 ½ Tbl honey or seedless raspberry jam
• ½ Tbl water
CHOCOLATE GANACHE GLAZE
• ¼ cup heavy cream
• ¼ Tbl light corn syrup (20g)
• ⅓ cups (200 g) semisweet or bittersweet chocolate, chopped
• ½ tablespoon vanilla extract
METHOD
- Preheat the oven to 350°F. Lightly grease an 9″ x 9″ pan. To make very even bars, line the pan with aluminum foil before baking, leaving foil sticking up above the edges of the pan. Wrap a wet cake band around the pan to keep the edges from over-cooking.
- Crack the 2 eggs into a bowl, and beat them with the cocoa, salt, baking powder, and vanilla until smooth.
- Add the sugar and melted butter, stirring until smooth.
- Add the flour, chips, and Jammy Bits, again stirring well. The batter will be very thick.
- Spoon the batter into the prepared pan and smooth.
- Bake the brownies for about 25 minutes, checking the temperature after 20 minutes. The brownies are done when a cake tester inserted into the center comes out clean (200 degrees,) or with just a few moist crumbs clinging to it. The brownies should feel set on the edges, and the center should look moist, but not uncooked. Do not over bake! Remove them from the oven.
- Heat the 2 Tbl honey or seedless raspberry jam with 1 Tbl of water and stir until smooth. Brush over the warm brownies. Set aside to cool for an hour or longer before topping with the ganache.
- To make the ganache, heat the cream and corn syrup until they begin to steam (60 sec in 1000W microwave.) Pour over the chopped chocolate in a bowl. Let sit for 5 minutes, add any flavorings, and whisk until smooth. Let cool for 15 minutes or so.
- Pour ganache over the brownies while it’s still warm but has begun to thicken — reheat if it thickens too much as you work. Allow several hours for the ganache to set up fully. You may refrigerate the brownies to hasten the setting of the ganache.
- Remove the brownies from the pan using the aluminum foil sling. Heat a knife in hot water, wipe dry and use to cut the brownies. Repeat with each cut.
- Just before serving, garnish brownies with fresh raspberries and confectioners’ sugar, if desired.