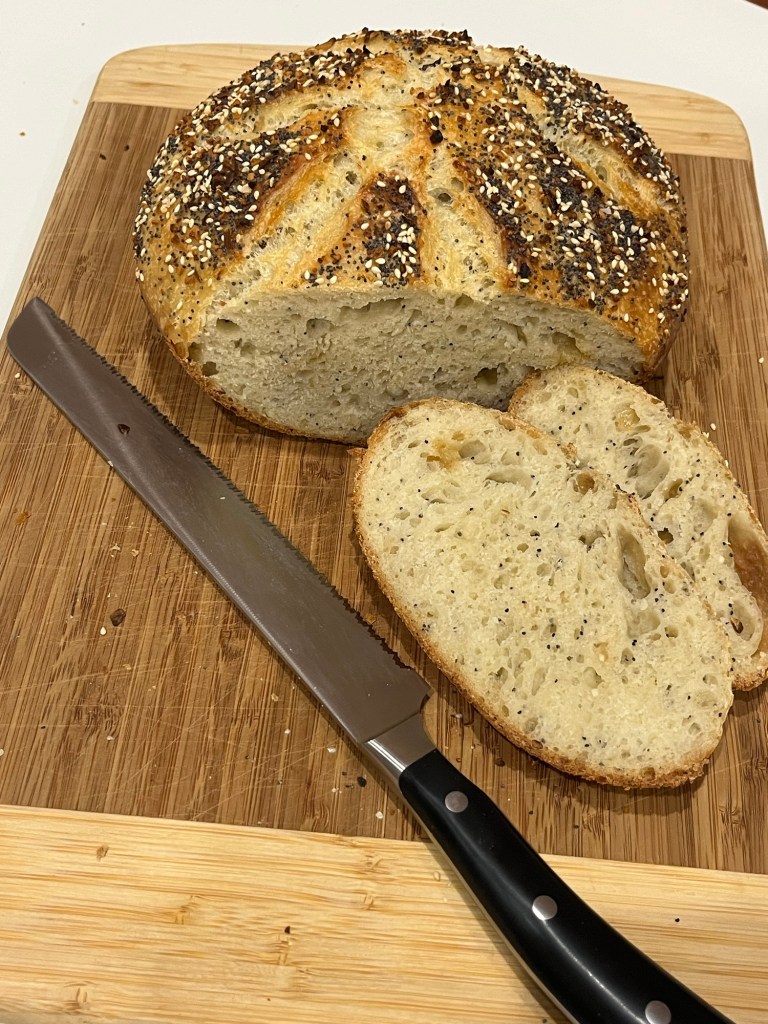
KAB to the rescue! I made their No Knead Crusty White Bread this morning. Mix ingredients, let sit 2 hours, refrigerate 2 (and more) hours shape, let rise, bake, enjoy.
This is a very easy 75% hydration bread that takes very little hands on time and is exceptional. I made half (630g) on a stone today and will make the other half in a day or two, but use a Dutch Oven.

No Knead Crusty White Bread – KAB
INGREDIENTS
• 7 1/2 cups (900g) AP Flour
• 3 cups (680g) water, lukewarm
• 1 tablespoon (18g) table salt
• 1 1/2 tablespoons (14g) instant yeast
METHOD
- Combine all of the ingredients in a large mixing bowl, or a large (6-quart), food-safe plastic bucket. “Lukewarm” means about 105°F.
- Mix and stir everything together for a minute in a stand mixer with blade to make a very sticky, rough dough. It will weigh roughly 1225g.
- Transfer to a greased plastic proofing bucket and let the dough rise for 2 hours at room temperature.
- Then refrigerate it for at least 2 hours, or for up to about 7 days. (If you’re pressed for time, skip the room-temperature rise, and stick it right into the fridge). The longer you keep it in the fridge, the tangier it’ll get; if you chill it for 7 days, it will taste like sourdough. Over the course of the first day or so, it’ll rise, then fall. That’s OK; that’s what it’s supposed to do.
- When you’re ready to make bread, sprinkle the top of the dough with flour; this will make it easier to grab a hunk. Grease your hands and pull off about 1/4 to 1/3 of the dough — a 400g to 540g piece, if you have a scale. It’ll be about the size of a softball, or a large grapefruit.
- Plop the sticky dough onto a floured work surface, and round it into a ball, or a longer log. Roll around the table to tension the surface.
- Place the loaf on a piece of parchment (if you’re going to use a baking stone); or onto a lightly greased or parchment-lined baking sheet. Sift a light coating of flour over the top; this will help keep the bread moist as it rests before baking. Drape the bread with greased plastic wrap or cover it with a reusable cover.
- Let the loaf warm to room temperature and rise; this should take about 60 minutes (or longer, up to a couple of hours, if your house is cool). It won’t appear to rise upwards that much; rather, it’ll seem to settle and expand. Preheat your oven to 450°F while the loaf rests. If you’re using a baking stone, position it on a middle rack while the oven preheats. Place a shallow metal or cast iron pan (not glass, Pyrex, or ceramic) on the lowest oven rack, and have 1 cup of hot water ready to go.
- When you’re ready to bake, take a sharp knife and slash the bread 2 or 3 times, making a cut about 1/2″ deep. The bread may deflate a bit; that’s OK, it’ll pick right up in the hot oven.
- Place the bread in the oven — onto the baking stone, if you’re using one, or simply onto a middle rack, if it’s on a pan — and carefully pour the 1 cup hot water into the shallow pan on the rack beneath. It’ll bubble and steam; close the oven door quickly.
- Bake the bread for 25 to 35 minutes, until it’s a deep, golden brown.
- Remove the bread from the oven and cool it on a rack.
- Store leftover bread in a plastic bag at room temperature
Notes:
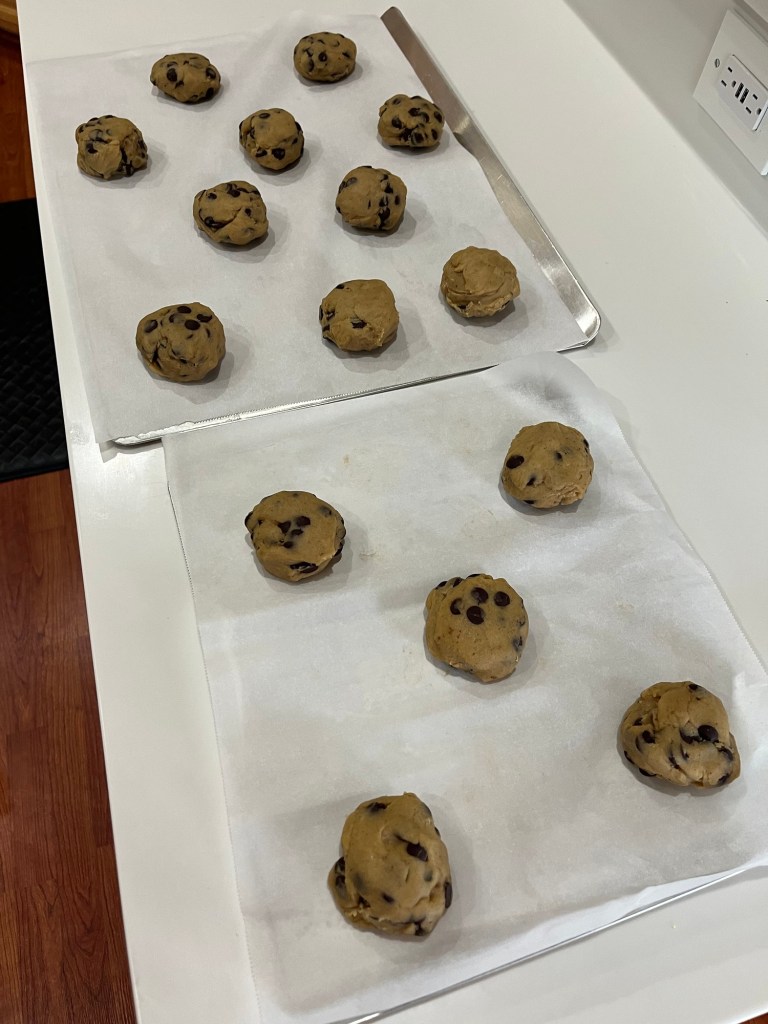
• To freeze the dough, divide into 2 parts, deflate, roll into balls, wrap in plastic wrap and label. Store in freezer for up to 2 weeks