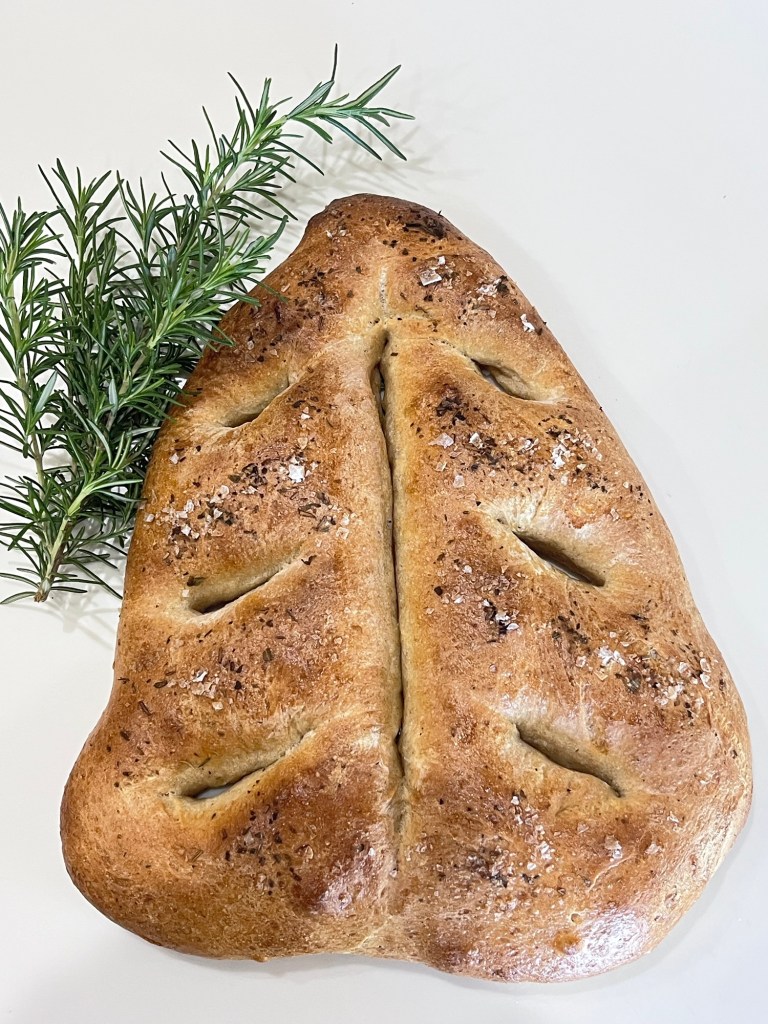
A new month, a new challenge, a new bread. I had not made Fougasse before this challenge, Fougasse is the french version of Italy’s focaccia bread. Its crust cracks when you bite it and the extra holes in the bread provide more crunchy crust.
Follow the recipe exactly and enjoy the result.
Homemade Fougasse – Sally
INGREDIENTS
Biga/Preferment
• 130g (1 c) bread flour
• 1/8 tsp instant or active-dry yeast
• 120g (½ c) room-temperature water (about 70°F)
For the Fougasse
• 195g (1½ c) bread flour
• 65g (½ c) whole wheat flour
• 3/4 tsp instant or active-dry yeast
• 1 tsp table salt
• 120g ( ½ c) RT water
• 28g (2 Tbl) extra-virgin olive oil, plus more as needed
• optional, for topping: flaky sea salt and herbs, such as rosemary, thyme, or Herbes de Provence
METHOD
- Day 1: Make the Biga/Preferment: In a medium bowl, whisk together the bread flour and yeast. Add the water and mix with a silicone spatula until combined. Cover the bowl tightly with plastic wrap and let rest at room temperature for 8–24 hours.
- Day 2: Make the Dough: In a large bowl or the bowl of a stand mixer fitted with a dough hook, whisk together the bread flour, whole wheat flour, yeast, and salt. Add the biga, water, and olive oil. Mix until a shaggy dough forms. If you do not have a stand mixer, mix the dough together by hand with a silicone spatula.
- If using a stand mixer, knead with the dough hook on medium-low speed for 3–5 minutes, until the dough is smooth and slightly tacky. If mixing by hand, turn the dough out (all the shaggy bits!) onto a lightly floured surface and knead for 3–5 minutes, until smooth. The dough should be sticky but workable. If it’s very sticky, lightly flour your hands or the dough as needed. Avoid adding too much extra flour; the dough should remain slightly tacky.
- Drizzle or brush a little olive oil around the inside of the mixing bowl you were using. Place the ball of dough in the bowl, turning it to coat all sides of the dough in the oil.
- 1st Dough Rest: Cover tightly and let the dough rest for 45 minutes, and up to 2 hours. (See make-ahead instructions if you want to extend this time.)
- Stretch and Fold (1 Round): Visualize a clock on top of your dough. You’ll be folding it at the 12 o’clock mark. With an olive oil-greased spatula or lightly oiled hands, lift up the dough at 12 o’clock and gently stretch it up and pull it toward the opposite side of the bowl (6 o’clock), folding it down over the dough. Turn the bowl 90 degrees and repeat. Do this until you’ve gone around the bowl once, for a total of 4 folds. Flip the dough over so it’s seam side down.
- 2nd Dough Rest: Cover tightly and let the dough rest for 45 minutes, and up to 2 hours.
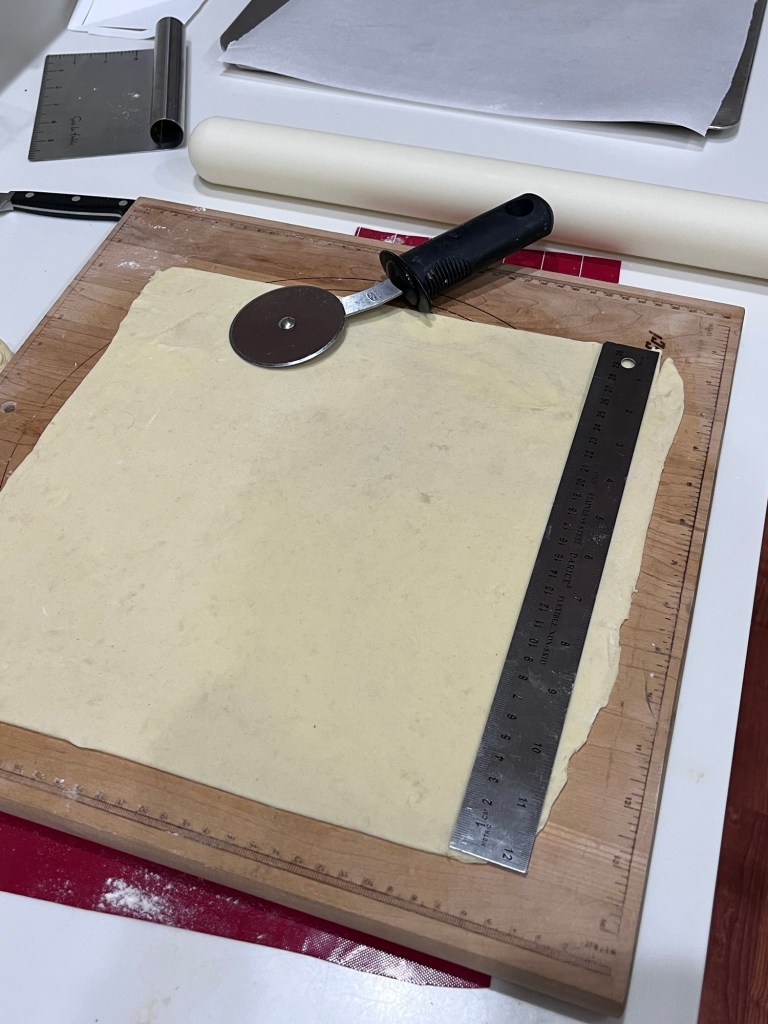
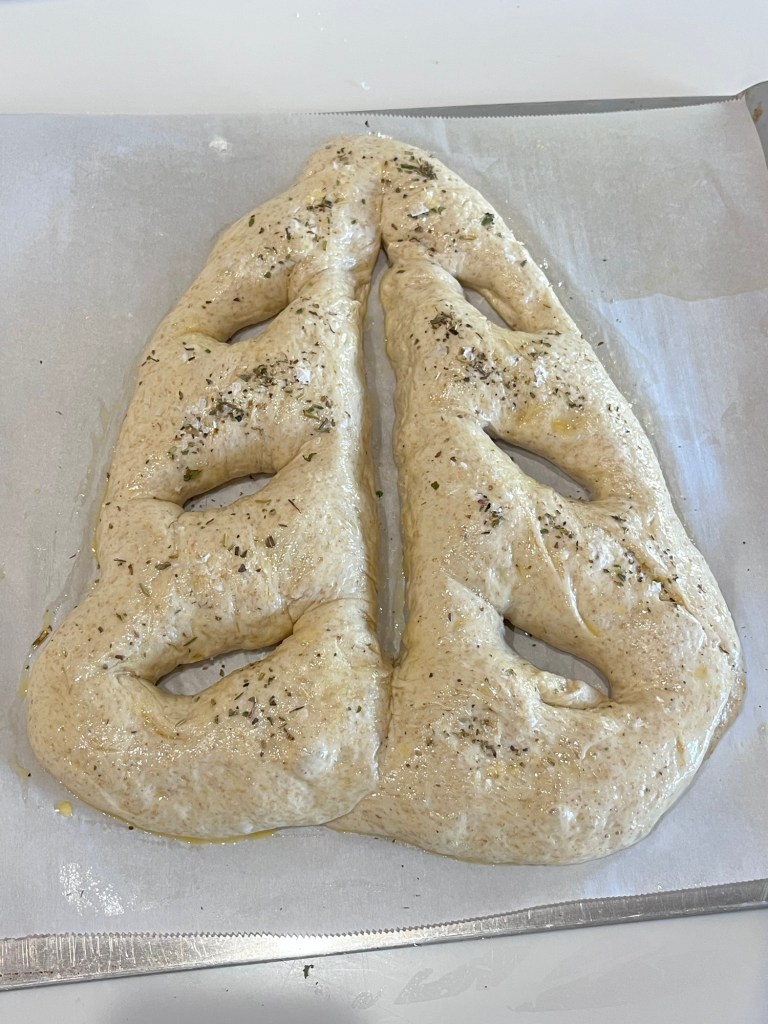
- Shape the Dough: Turn the dough out onto a piece of parchment paper and use your fingers to press it into a rounded triangle or egg shape, (roughly) 12 inches long by 6 inches wide at the base.
- 3rd Dough Rest: Cover lightly and let rest for 30 minutes, and up to 2 hours.
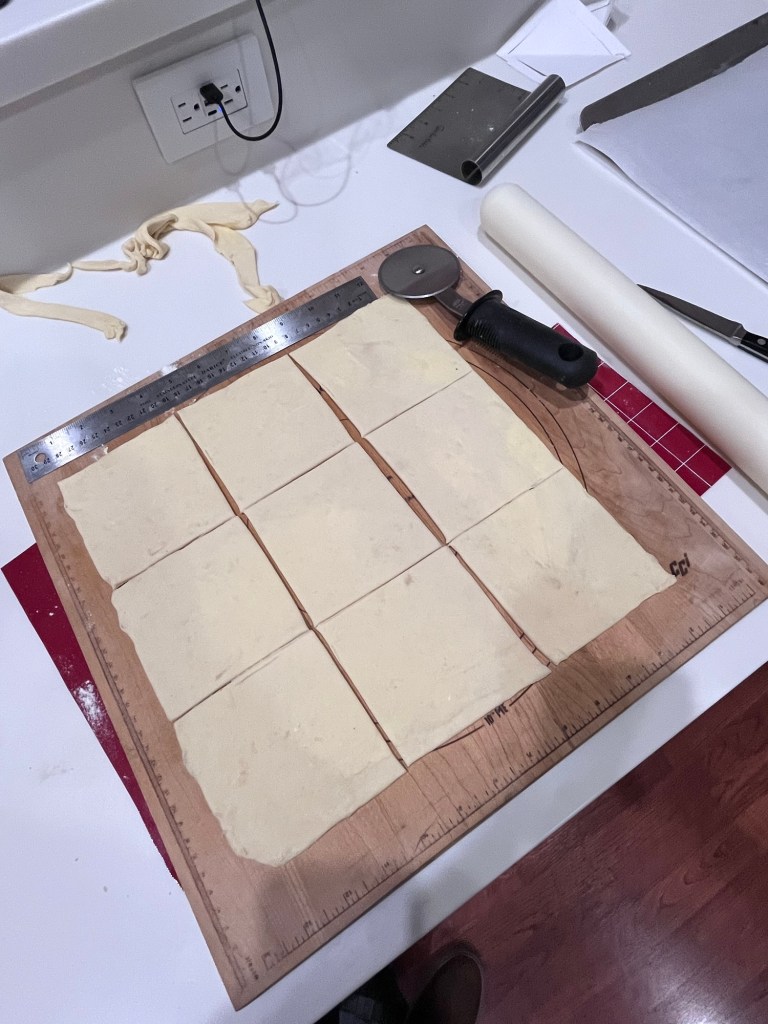
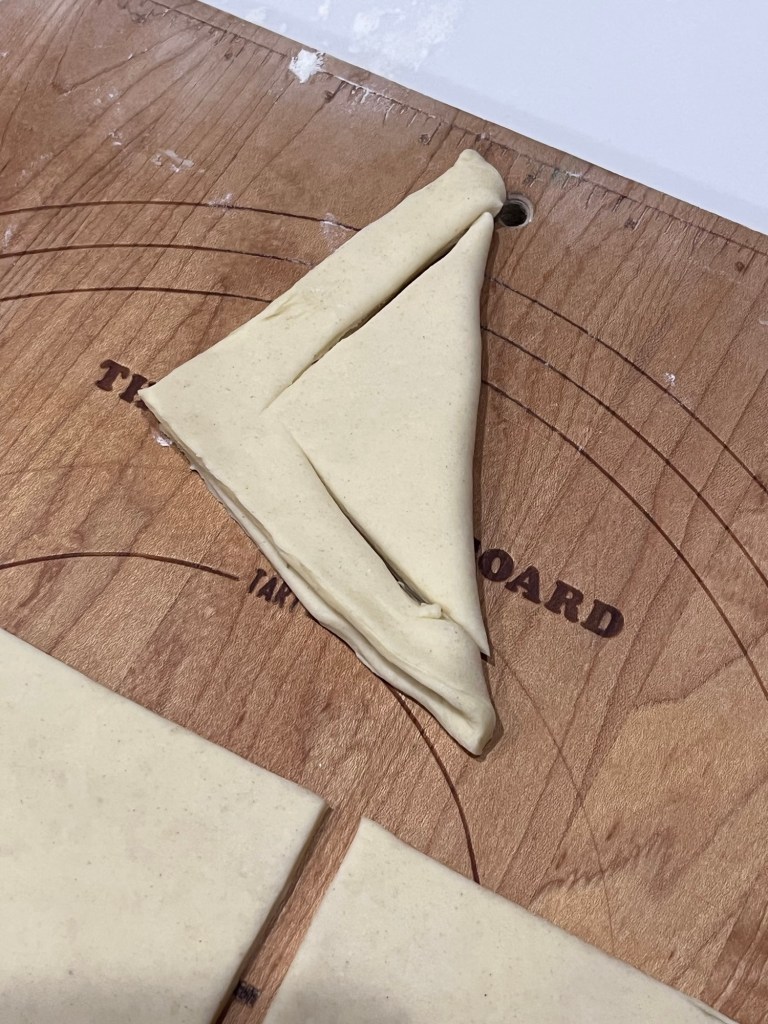
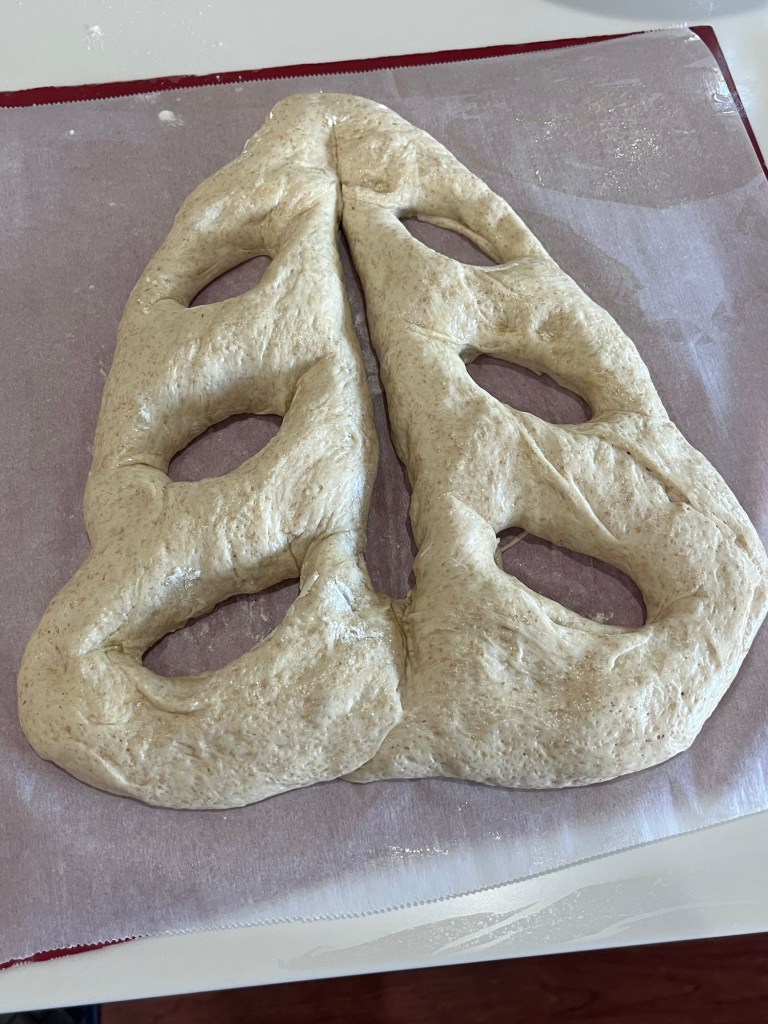
- Cut the dough: Using a sharp knife, pizza wheel, or kitchen shears, cut the dough lengthwise down the center, stopping about 1 inch from each end. Then make 3 or 4 diagonal cuts on each side of the center cut. To create a leaf-like appearance, use your fingers to gently stretch out each cut until the holes are about 2 inches wide.
- 4th Rest: Cover lightly and let rest for 30 minutes, and up to 1 hour. Meanwhile, preheat the oven to 450°F (232°C). If you have a baking stone, preheat it on the center rack. Otherwise, place a large flat baking sheet, or a rimmed baking sheet upside down, on the center rack to preheat.
- Brush the fougasse with olive oil, and sprinkle with herbs and/or sea salt, if using. Carefully slide the fougasse, along with the parchment paper, onto the preheated baking stone or baking sheet.
- Bake the fougasse until golden brown, about 20 minutes. If you give the top of the bread a tap, it should sound hollow. For a more accurate test, the bread is done when an instant-read thermometer reads the internal temperature as 190–200°F (88–93°C). I raised the oven temperature to 500°F for 3 minutes after the internal temperature reached 200°F to increase the browning.
- If desired, egg wash the warm bread. The egg wash will help adhere any herbs or salt to the bread. Serve warm with dipping oil and balsamic vinegar, alongside soup or salad, or as part of a cheese board.
- Fougasse is best the day it’s baked. Store leftovers covered at room temperature for up to 2 days. If desired, reheat in a 350°F (177°C) oven, uncovered, for 5–8 minutes to crisp back up.
Notes - Make-Ahead Instructions: There are a few ways to get ahead. First, the biga (step 1) can sit at room temperature for up to 24 hours before using. Second, after the first 45-minute dough rest in step 5 (before the stretch-and-fold), you can cover the bowl tightly and refrigerate the dough for up to 24 hours. When ready to continue, let the dough sit at room temperature for about 30–60 minutes before proceeding with the stretch-and-fold and shaping.
- Freezing Instructions: The best way to freeze this is to freeze the baked bread. Let it cool completely, then wrap tightly and freeze for up to 3 months. Thaw at room temperature and refresh in a 350°F (177°C) oven, uncovered, for 5–8 minutes to crisp it back up.
- Special Tools (affiliate links): Kitchen Scale | Glass Mixing Bowls | Stand Mixer | Silicone Spatula | Baking Sheet | Pastry Brush | Instant-Read Thermometer | Cooling Rack
- Flour: For absolute best flavor and chewy texture, I strongly recommend using bread flour. You can use a 1:1 substitution of all-purpose flour in a pinch with no other changes to the recipe; however, the dough may not be as strong, and may not hold shape as well.
- Whole Wheat Flour: This small amount adds depth of flavor and subtle nuttiness without making the bread dense. You can replace it with additional bread flour if needed; the texture will be slightly lighter and less hearty. I don’t recommend increasing the whole wheat flour beyond 1/2 cup, as too much can make the fougasse dry and dense.
- Yeast: You can use instant or active-dry yeast, but I highly recommend an instant (aka “rapid rise” or “quick rise”) yeast. If using active-dry yeast, there are no changes needed to the recipe. Reference my Baking with Yeast Guide for answers to common yeast FAQs.
- Optional Add-Ins: In step 2, when you mix the preferment with the dough ingredients, you can add up to 3/4 cup of chopped olives, sun-dried tomatoes, or shredded cheese. Avoid adding too much, which can weigh the bread down and affect shaping. You can also add 2 teaspoons chopped fresh herbs, or 1 teaspoon dried herbs.