I asked Neil what kind of birthday cake he would like us to eat for him, as we will be unable to be with him on his actual birthday, yet what kind of birthday would it be without a cake, and why waste a cake if I am going to make one anyway? Whew!
He asked for an 8 Layer Honey Cake. After doing a (very) little research, I found a good recipe with instructions on Natshakitchen.com. The only modification I made was to reduce the size (diameter) of the cake as there will only be 3 or 4 people partaking. I didn’t reduce the size of the recipe so simply made two small (6″) cakes. (Please don’t ask about the disposition of the second cake.)
One mistake I made was to not roll the dough out to the specified 1/8″ thick. (Mine were closer to 1/4″.) I also found the frosting was too thin. Next time I would use less sour cream and more sugar, or let it set overnight in the refrigerator.

8 Layer Honey Cake (Medovik)
INGREDIENTS
Cake Layers Ingredients:
- 4 Tbsp (1/4 cup) honey
- ¾ cup granulated sugar
- 2 Tbsp unsalted butter
- 3 large eggs, beaten with a fork
- 1 tsp baking soda
- 3 cups all-purpose flour (I used unbleached, organic)
Sour Cream Frosting Ingredients:
- 32 oz sour cream
- 2 cups powdered sugar
- 1 cup heavy whipping cream
For the topping:
- ½ lb Fresh Berries, optional
METHOD
How to Make the Cake Layers:
- Add ¾ cup sugar, ¼ cup honey and 2 Tbsp unsalted butter to a medium sauce pan and melt them together over medium/low heat, whisking occasionally until sugar is melted (5-7 mins). Don’t put them over high heat or they may scorch to the bottom.
- As soon as the sugar is dissolved, remove from heat and while it’s still hot, add in your beaten eggs in a slow steady stream while whisking vigorously until all of your eggs are incorporated (whisk constantly so you don’t end up with scrambled eggs).
- Whisk in the baking soda until no lumps remain, then fold in your 3 cups flour ½ cup at a time with a spatula until the dough reaches a clay consistency and doesn’t stick to your hands. Mine took exactly 3 cups flour (measured precisely, scraping off the top of the cup).
- Cut the dough into 8 equal pieces and move on to the next step right away (these roll out best when the dough is still warm)
- On a well-floured surface, roll each piece out into a thin 9″ circle (about ⅛” thick). You can sprinkle the top with a little flour too to keep dough from sticking to your rolling pin. Place a 9″ plate or base from a springform mold over your rolled dough and trace around it with a pizza cutter to get a perfect circle. (I used a 6″ cake pan and “punched” out each disk. Be sure to use plenty of flour to keep the dough from sticking.) Keep the scraps for later. Transfer the dough to a large sheet of parchment paper and bake 2 at a time at 350˚F for 4-5 minutes or until golden. Transfer to a wire rack and let cool completely before stacking. Repeat with remaining layers.
- Finally bake the scraps separated evenly on a re-used sheet of parchment. Once the scraps are baked, cooled and firm, you can crush them with a rolling pin or pulse them in a food processor until you have fine crumbs.
How to make the frosting:
- Beat 1 cup heavy cream until fluffy and stiff peaks form (1-2 min on high speed).
- In a separate bowl, whisk together 32 oz sour cream with 2 cups powdered sugar.
- Fold the whipped cream into the sour cream and you have your frosting.
- Refrigerate until ready to use. I suggest overnight to firm up the frosting.
Assembling your Cake:
- Spread about ⅓ cup frosting on each cake layer (don’t skimp on it since the cake needs to absorb some of the cream to become ultra soft.
- Press the cake layers down gently as you go to keep the layers from having air gaps.
- Frost the top and sides with the remaining frosting.
- Dust the top and sides with your breadcrumbs, then cover with plastic wrap and refrigerate overnight.
- This cake needs time to absorb some of the cream and soften, so be patient. It’s worth the wait!
 this device. Currently, it is in storage in the garage. I also have a KitchenAide mixer with a dough hook and am very pleased with the consistently good results from this device. It both mixes the ingredients and does 90% of the kneading. It would probably do all the kneading but there is something satisfying about having your hand on, and in the dough, feeling it develop the gluten into a soft, resilient ball.
 knead bread, it walks across the table, put a silicone baking liner under the mixer. I buy a Cooks Essentials 24″ x 72″ roll every year or so.
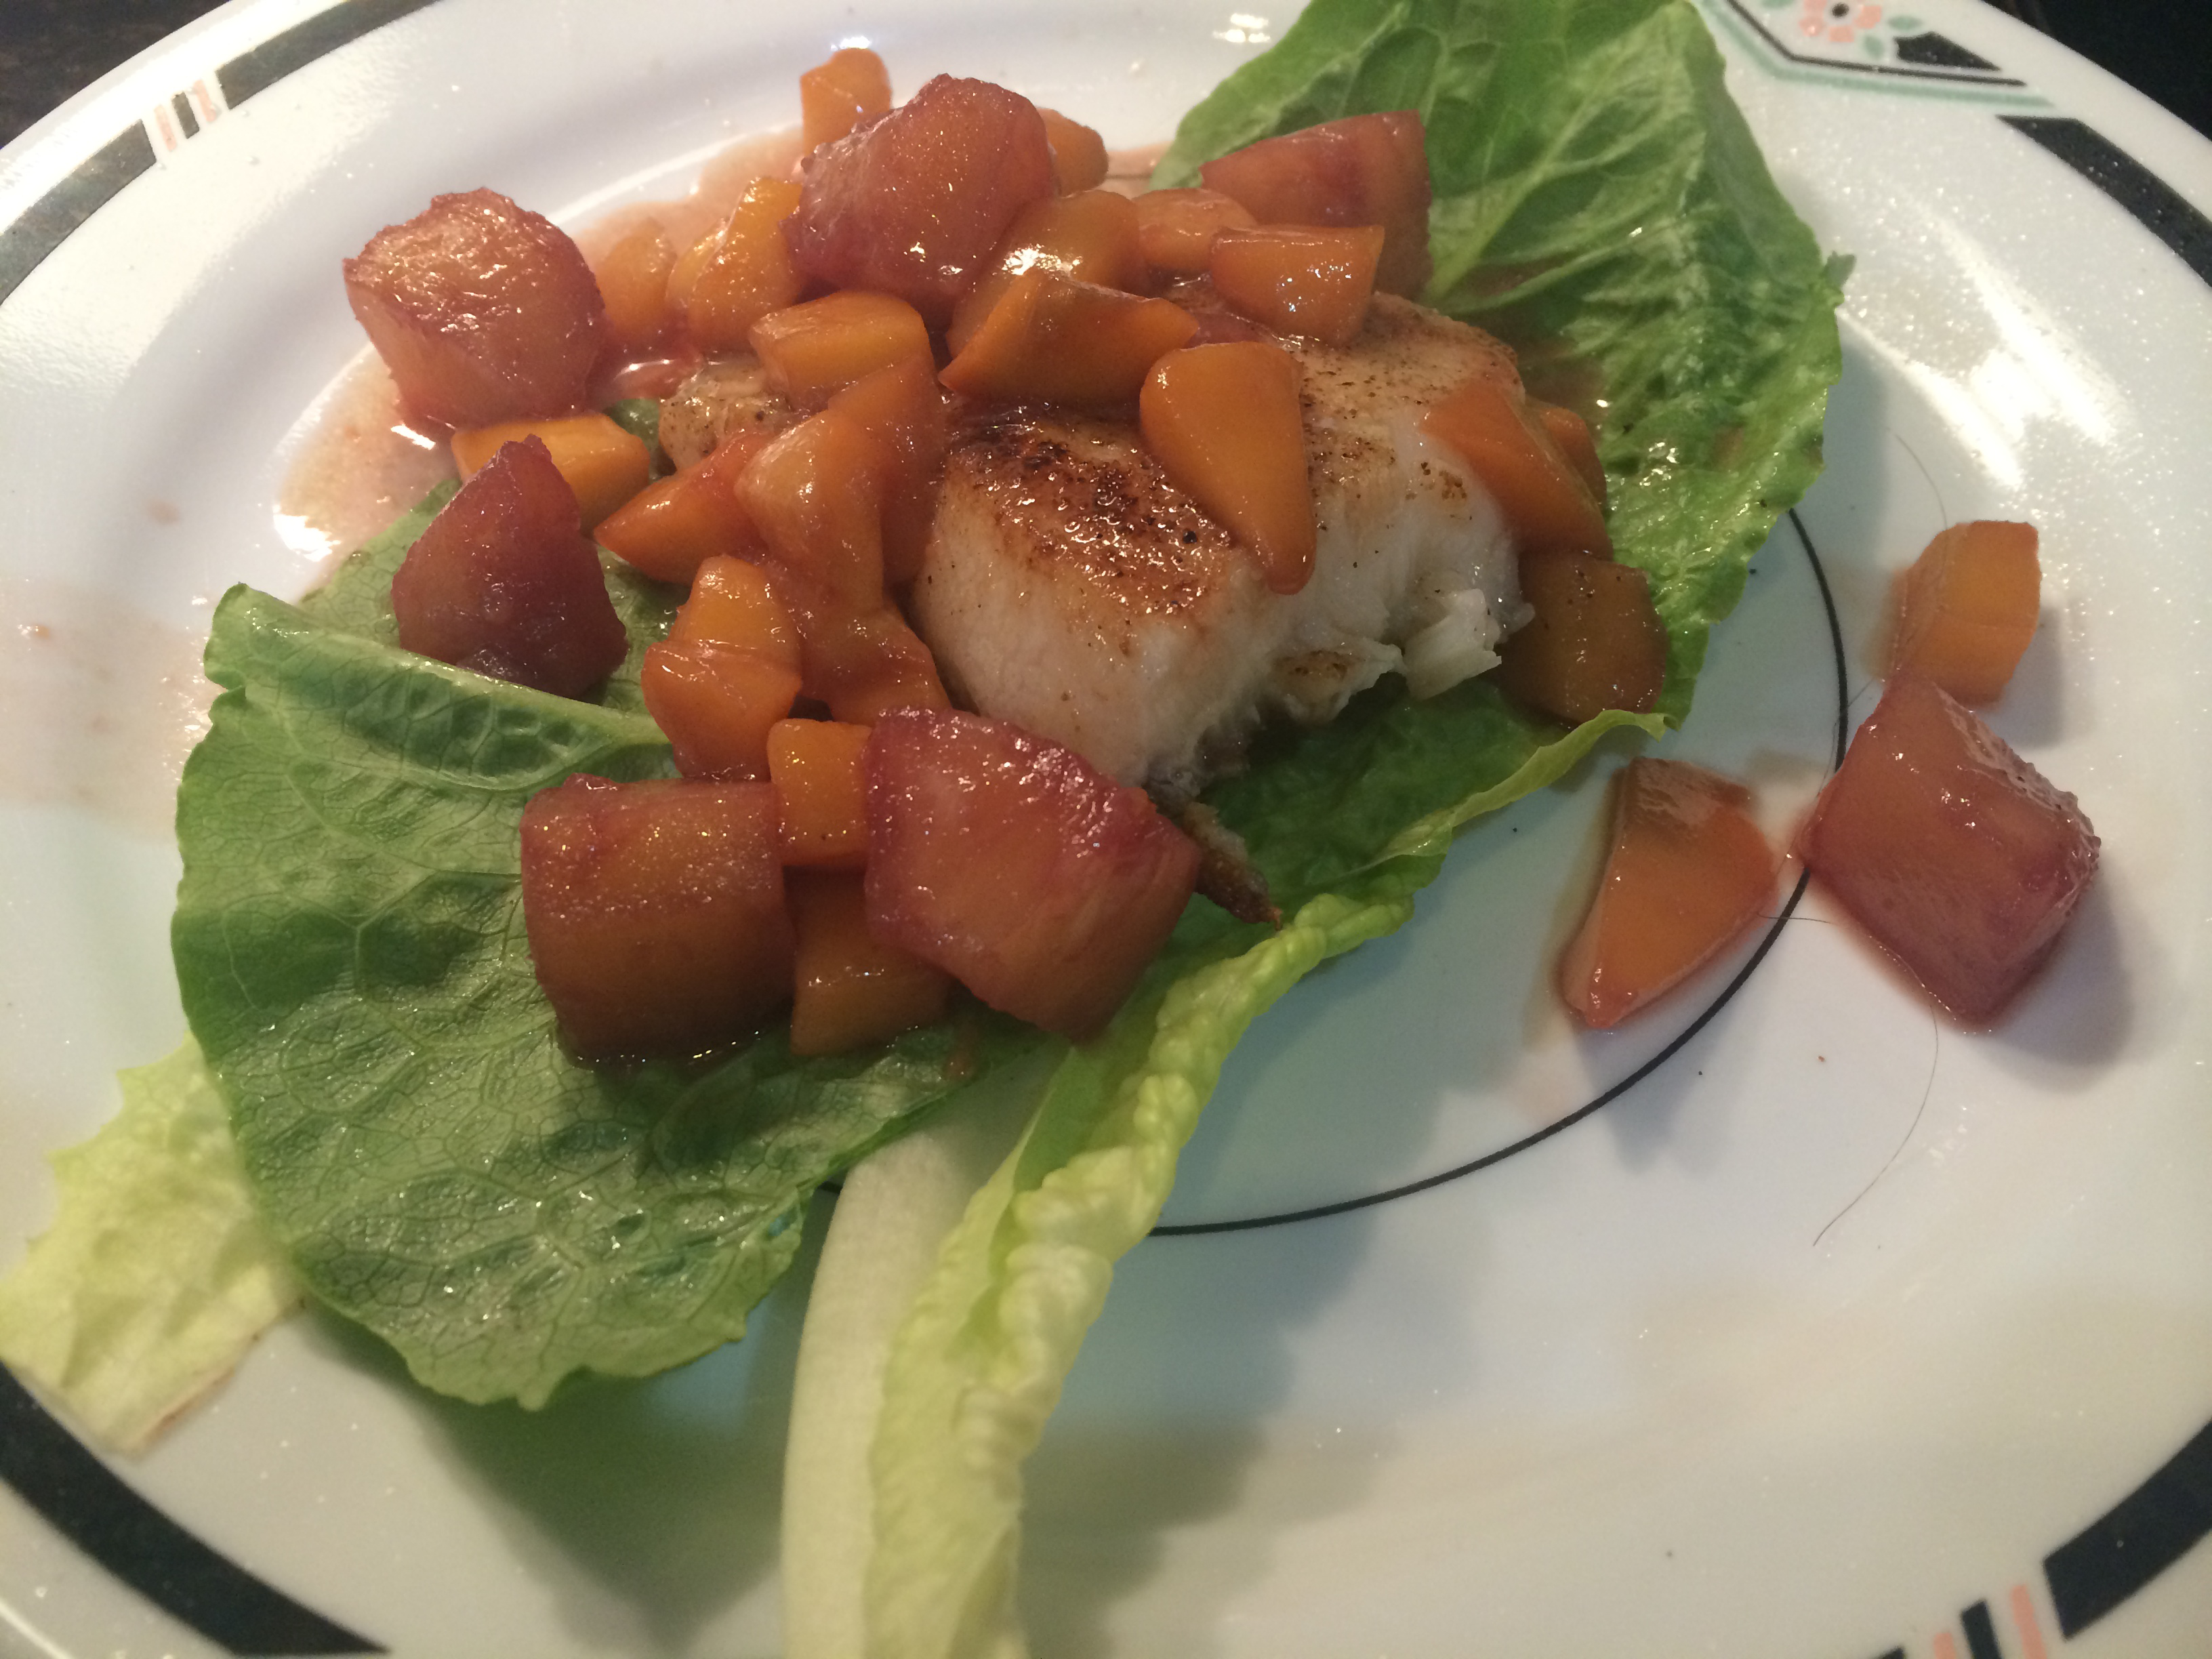
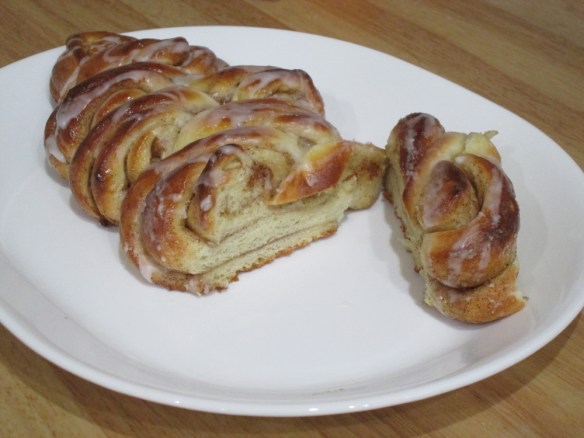
 I also made 2 dozen chocolate dipped short bread cookies, but they were not part of this post. Just a picture for proof.
 Luckily, I have long arms and can pat myself on the back easily and often.) Sadly, I only made a half a Kanellängd, not sure of the final result. More sadly, a half loaf of Kanellängd is only enough for QC, snack and breakfast. Next time a full Kanellängd loaf, to have enough to share.


 half.
half.


 brownie try those Chef Keith makes at Cooks & The Cork in Coral Springs. For the nearly 10 years that we have known him, and eaten his food, his brownies have been Fran’s favorites while mine were a distant second. Having been taken into his confidence (and now living in
  California and sworn to secrecy) here is my attempt at his recipe Keith recently shared with me.


 Around 60 family members and friends attended at a Catholic church in Roseville for a short but meaningful service, then gathered at Frances and Daniel’s for brunch. I was asked to provide a cake for 60 people. (This may be the largest cake I have made.) The specific request was for a layer cake with chocolate mousse filling and a quilted finish.
 people who do not eat cake (friends of Marie Antionette, no doubt) and I could get away with this size. Therefore I needed two sheet cakes. (Note: about 10 slices were left at the end of the event.)
 g the cake layers I built a dam of crusting buttercream around the edges of the top crumb coated cake. Crusting buttercream has a little more body and will keep the mousse in place. Add a tablespoon of meringue powder to the confectioners sugar to make regular buttercream into crusting buttercream. After the second sheet cake is cool, add the
  mousse to the damned 🙂 bottom cake. Top with the second layer, crumb coat the entire cake and refrigerate.
  A cold cake is easier to trim to make nice square edges and setting the mousse will retard the effects the moisture will have on the fondant coating.
 arlier in the week I made the pink orchid, cross and text backing from gumpaste.
 I purchased the text from a company that makes sugar images and pasted it onto the backing gumpaste.