This past week we bought a baguette at a local supermarket with the intent to have some baguette, Brie and jam snacks. Sadly, we had to replace the first less than acceptable baguette with one from a more “upscale” market. (You get what you pay for.) It was a good move and the snack quality increased substantially. Unfortunately, half of the baguette was lost to being stale the second day.

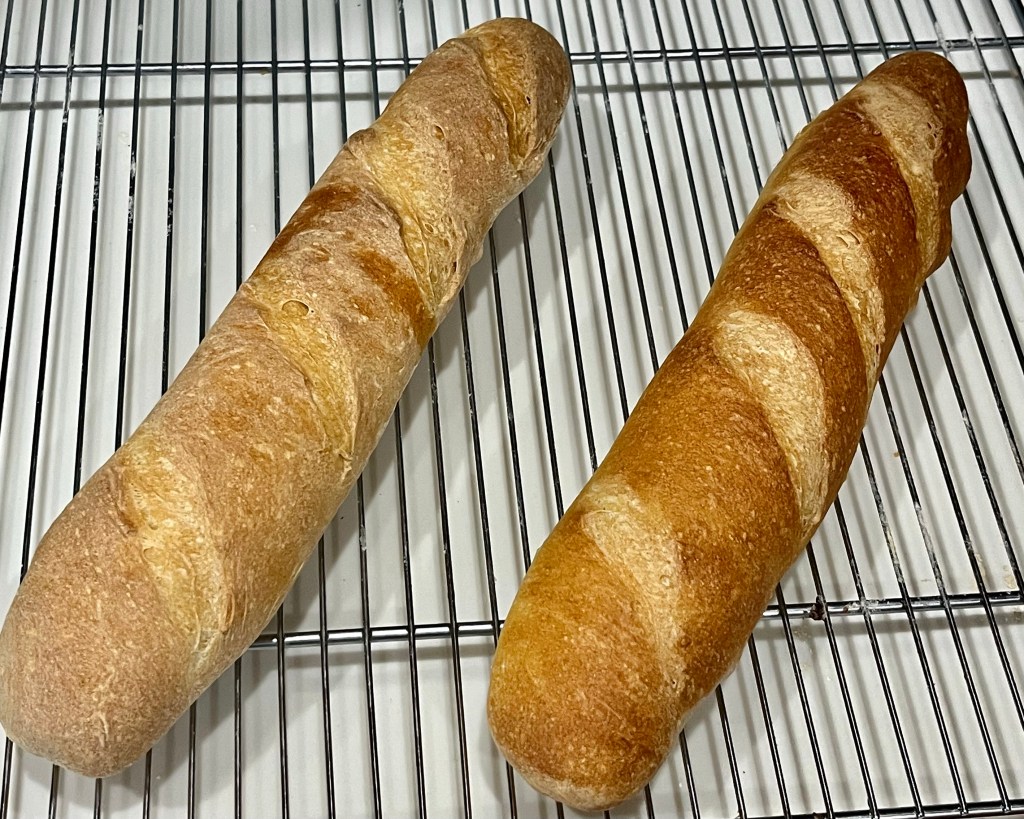
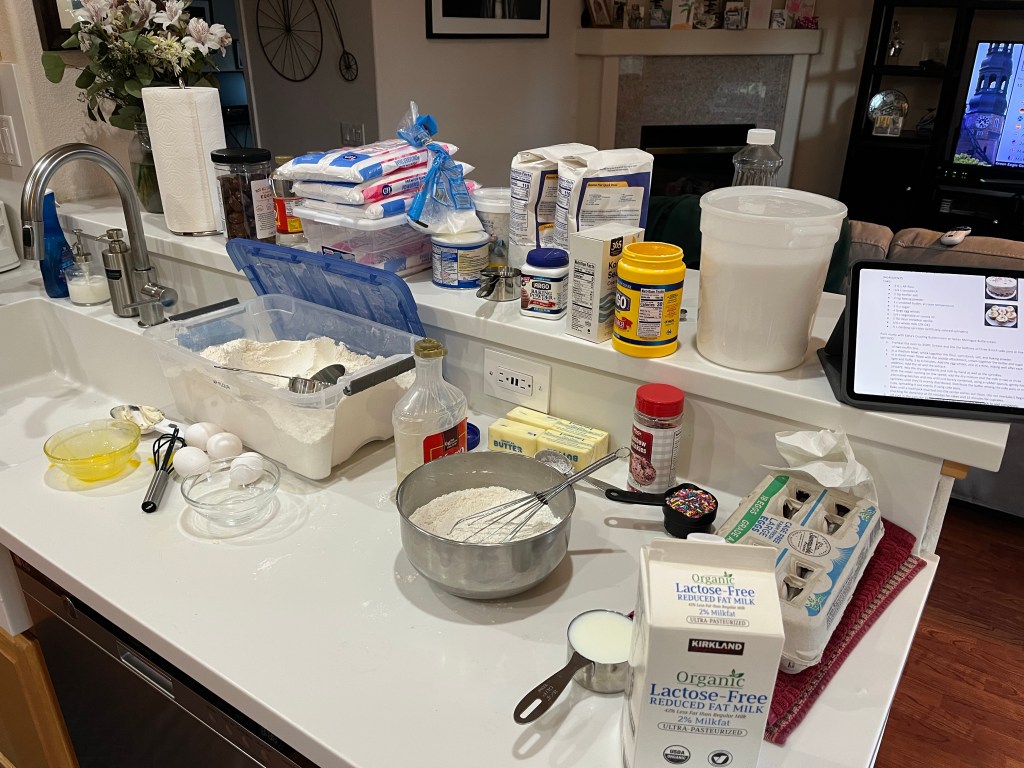
Today, I made my own baguettes, and in all humility, they were better than either of the store bought. Of course, they were fresh and warm, which never hurts.
Paired with some home made jam from our fig tree and a fresh wheel of Brie we had a great treat this afternoon. (And perhaps tonight!)

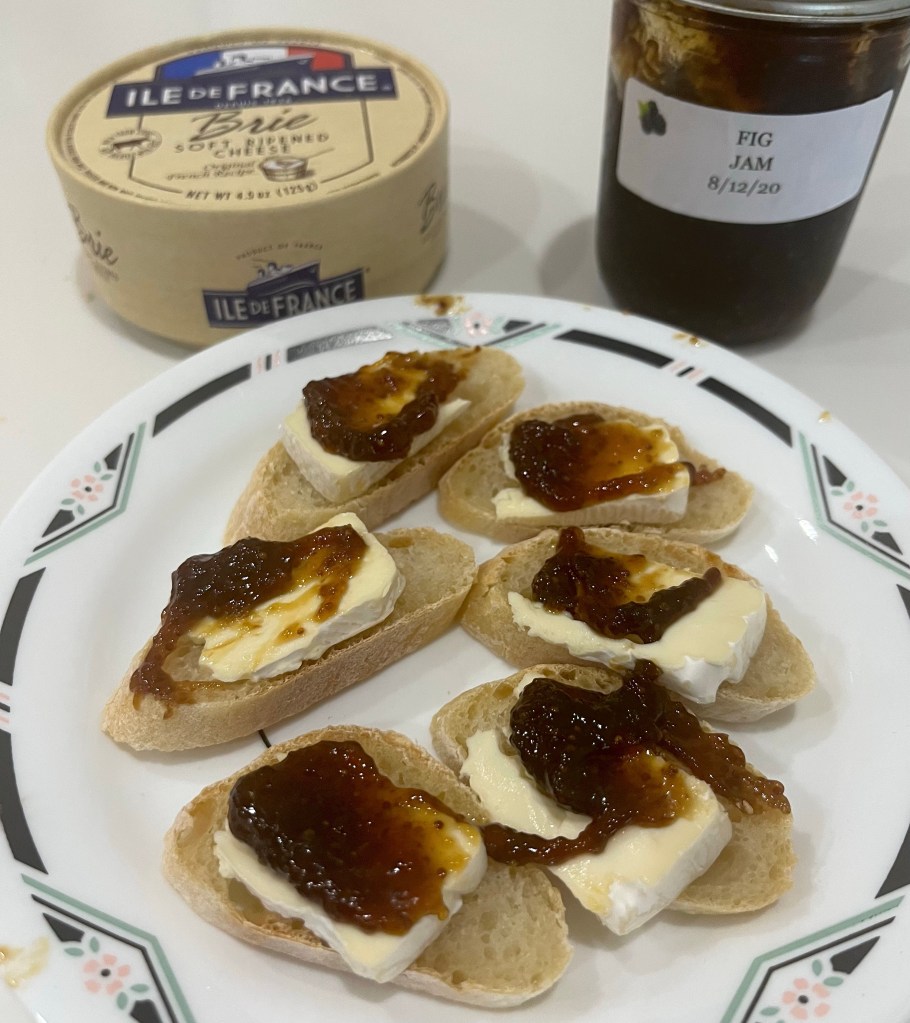
Fig Jam
Makes approx 10 half pint jars
Ingredients
• 3 pounds fresh figs (washed, stems removed) (6#)
• 2 cups granulated sugar (4 cups)
• ½ cup water (1 cup)
• 1 (2 Tbl) lemon (juice and finely grated zest) (4 Tbl)
METHOD
- In a large, heavy-bottomed saucepan, combine the figs, sugar, water,lemon juice, and lemon zest.
- Bring to a simmer over medium-low heat, stirring constantly. Cover and simmer over low heat for 1 hour, stirring occasionally.
- Remove the cover, attach a candy thermometer to the side of the pan making sure the bottom of the thermometer doesn’t touch the pan’s bottom, and continue simmering, stirring frequently, until the mixture thickens. When the mixture gets quite thick, begin to stir constantly to keep from scorching.
- Cook to 220 F and remove from the heat. Or, test a small amount on a very cold saucer by putting the saucer in the freezer for a few minutes, put a little of the fig mixture on it, then returning it to the freezer for 1 minute. When a good gel stage is reached (220 F), the surface of the fruit mixture will wrinkle slightly when pushed with a finger.
- While figs are cooking, prepare the jars and lids. Put the glass jars in a boiling water canner about half-filled with water. Bring to a boil, reduce heat, and keep jars in the water.
- Put water in a separate saucepan, bring to a simmer, reduce heat to low, and add the jar lids. Keep in the hot water until ready to use. Do not boil.
- Fill the jars with the hot fig jam mixture, leaving 1/2-inch headspace. Wipe jar rims and threads with a wet paper towel. Place lids on jars using tongs or a jar magnet then screw on the rings.
- Place on a rack in the hot water in the canner. Lower into the water and add enough hot or boiling water to bring the water level to 1 to 2 inches above the jars. Bring jars to a boil for 10 minutes.
- Using canning tongs, remove the jars to a clean towel on a flat work surface. Listen for the popping sound which indicates a good seal and tighten the rings.
Baguettes
INGREDIENTS
Starter (poolish)
• 1/2 cup (113g) cool water
• 1/16 teaspoon active dry yeast or instant yeast
• 1 cup (120g) AP Flour
Dough
• 1 1/2 teaspoons active dry yeast or instant yeast
• 1 cup + 2 tablespoons (255g) lukewarm water
• all of the starter
• 3 1/2 cups (418g) AP flour
• 2 teaspoons salt
Egg wash
• 1 egg white
• 1 Tbl water
• Pinch of salt
METHOD
- To make the starter: Mix everything together to make a soft dough. Cover and let rest at room temperature for about 14 hours, overnight works well. The starter should have expanded and become bubbly.
- To make the dough: Mix and knead everything (including the poolish) together for about 4 minutes on medium-low speed (speed 2 on a KitchenAid); the finished dough should stick a bit at the bottom of the bowl.
- Place the dough in a lightly greased medium-sized bowl, cover the bowl, and let the dough rest and rise for 45 minutes. Gently deflate the dough and fold its edges into the center, then turn it over in the bowl before letting it rise for an additional 45 minutes, until it’s noticeably puffy.
- Turn the dough out onto a lightly greased work surface. Gently deflate it and divide into three equal pieces. (They should be about 310g each.)
- Round each piece of dough into a rough ball by pulling the edges into the center. Cover with greased plastic wrap and let rest for 15 minutes; or for up to 1 hour, if that works better with your schedule.
- Working with one piece at a time, flatten the dough slightly then fold it nearly (but not quite) in half, sealing the edges with the heel of your hand. Turn the dough around, and repeat: fold, then flatten. Repeat this whole process again; the dough should have started to elongate itself.
- With the seam side down, cup your fingers and gently roll the dough into a 16″ log. Your goal is a 15″ baguette, so 16″ allows for the slight shrinkage you’ll see once you’re done rolling. Taper each end of the log slightly to create the baguette’s typical “pointy” end.
- Place the logs seam-side down onto a lightly greased or parchment-lined sheet pan or pans; or into the folds of a heavily floured cotton dish towel (or couche). Cover them with lightly greased plastic wrap and allow the loaves to rise until they’re slightly puffy. The loaves should certainly look lighter and less dense than when you first shaped them but won’t be anywhere near doubled in bulk. After 20 minutes egg wash the loaves (if doing this)
- Using a baker’s lame (a special curved blade) or a very sharp knife held at about a 45° angle, make three to five long lengthwise slashes in each baguette, re-cover and let continue proofing for another 12 minutes or until the oven reaches temperature.
- At this time, preheat your oven to 450°F with a cast iron pan on the floor of the oven, or on the lowest rack. If you’re using a baking stone, place it on a middle rack. Start to heat 1 1/2 cups water to boiling. When the over temperature is above 300F add the water to the pan.
- If your baguettes have risen in a dish towel or couche, gently roll them (seam side down) onto a lightly greased (or parchment-lined) baking sheet. If you plan on baking them on a baking stone, roll them onto a piece of parchment, and lift the parchment onto a baker’s peel.
- Load the baguettes into the oven. If you’re baking on a stone, use a baker’s peel to transfer the baguettes, parchment and all, onto the hot stone. Carefully spray the inside of the oven with water. The billowing steam created by the boiling water and sprat will help the baguettes rise, and give them a lovely, shiny crust.
- Bake the baguettes — on the pan, or on a stone — for 24 to 28 minutes, or until they’re a very deep golden brown. Remove them from the oven and cool them on a rack. Or, for the very crispiest baguettes, turn off the oven, crack it open about 2″, and allow the baguettes to cool completely in the oven, until both baguettes and oven are at room temperature.
- Store any leftover baguettes in a paper bag overnight; freeze for longer storage. Thaw and reheat just before serving.