Patisserie de Paris for Trivia Night

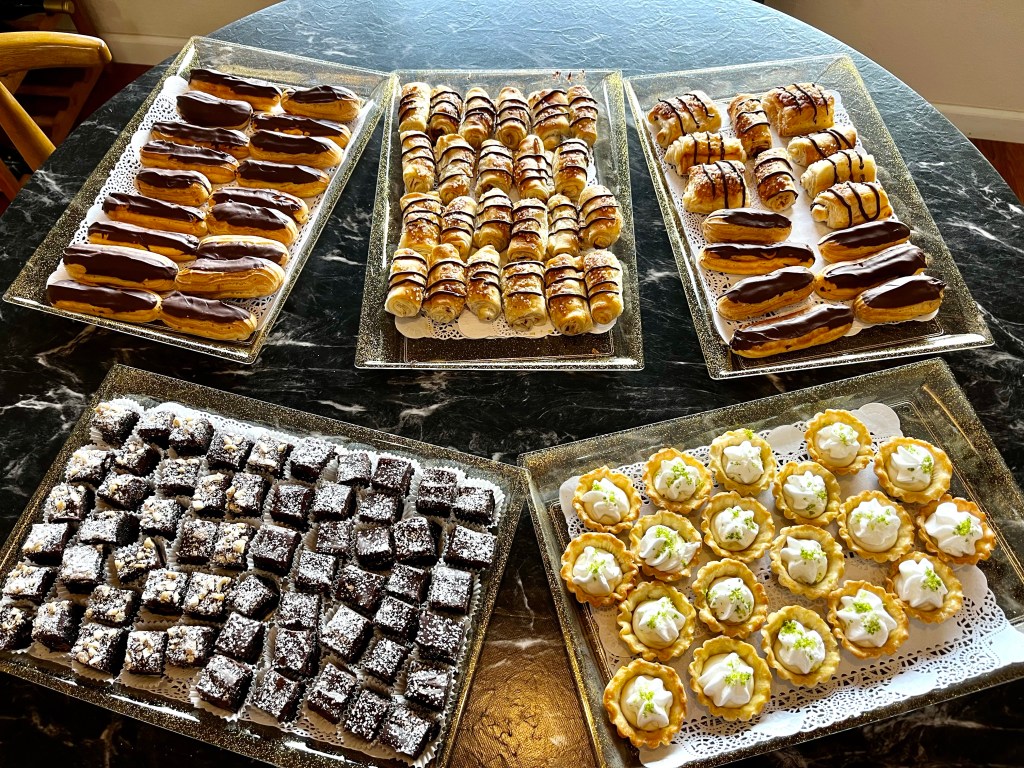
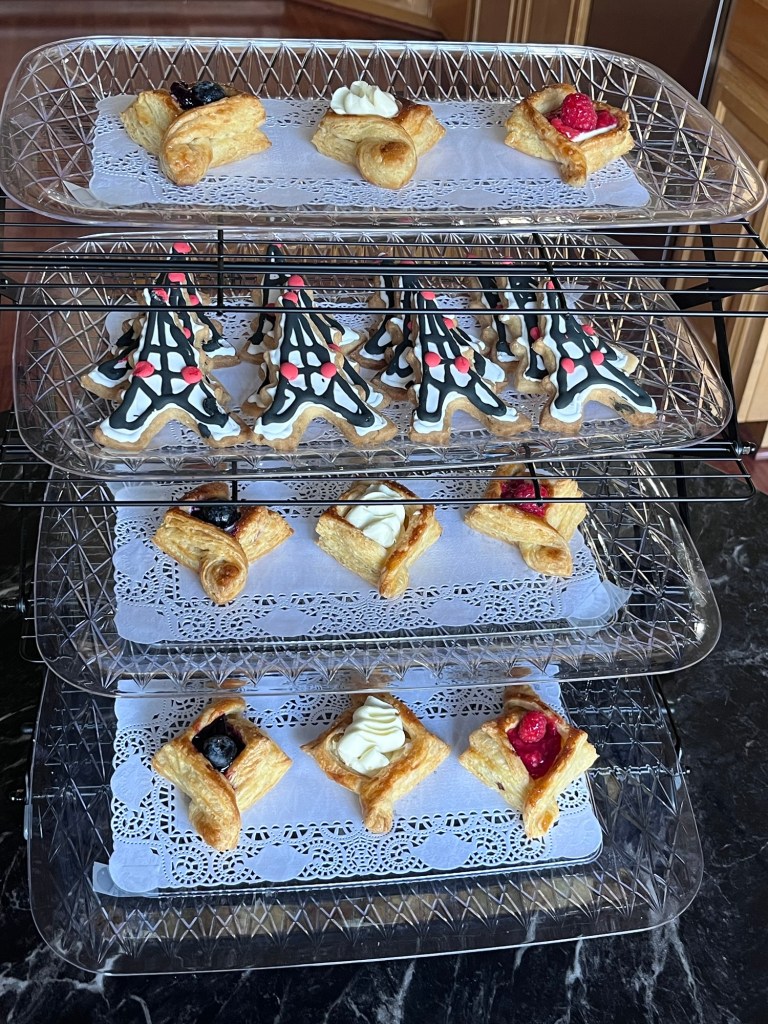
We are participating in a Trivia Night at our clubhouse tonight and I volunteered to make desserts. Our tables theme is “France” and our team name is Les Quizerables, (a take on Les Miserables.)

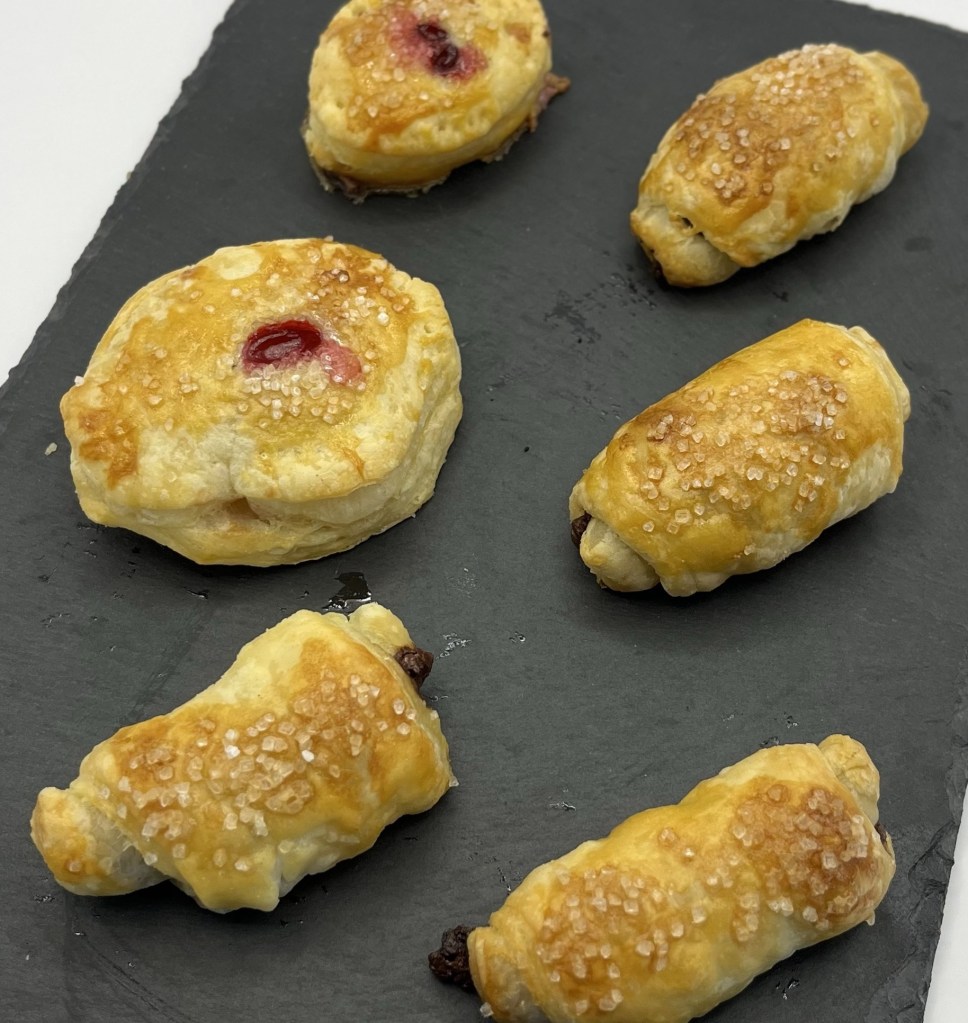
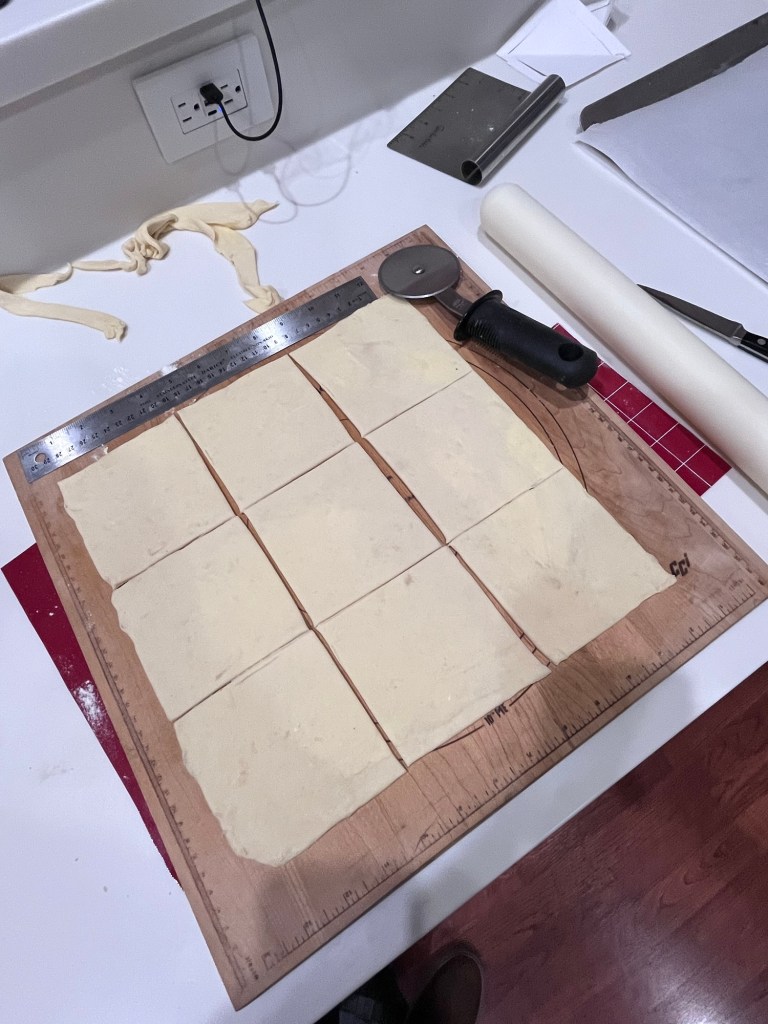
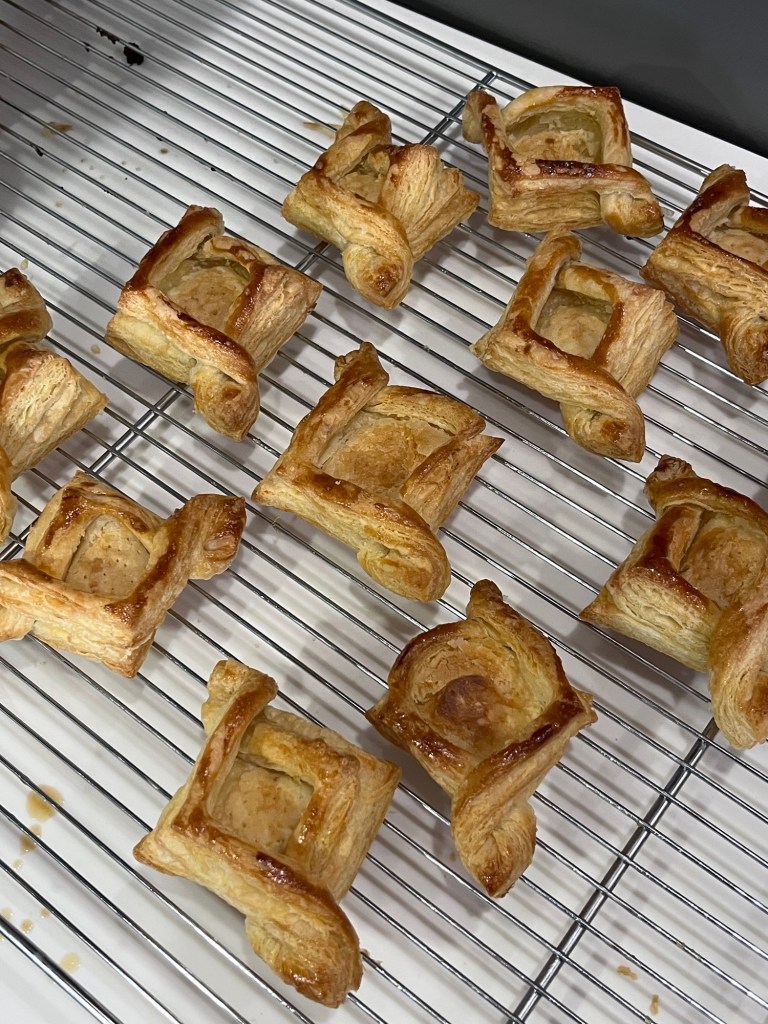
I made filled puff pastries in the color of the French flag (blue, white and red.) I made blueberry, white chocolate/cream cheese ganache, and raspberry pastries.

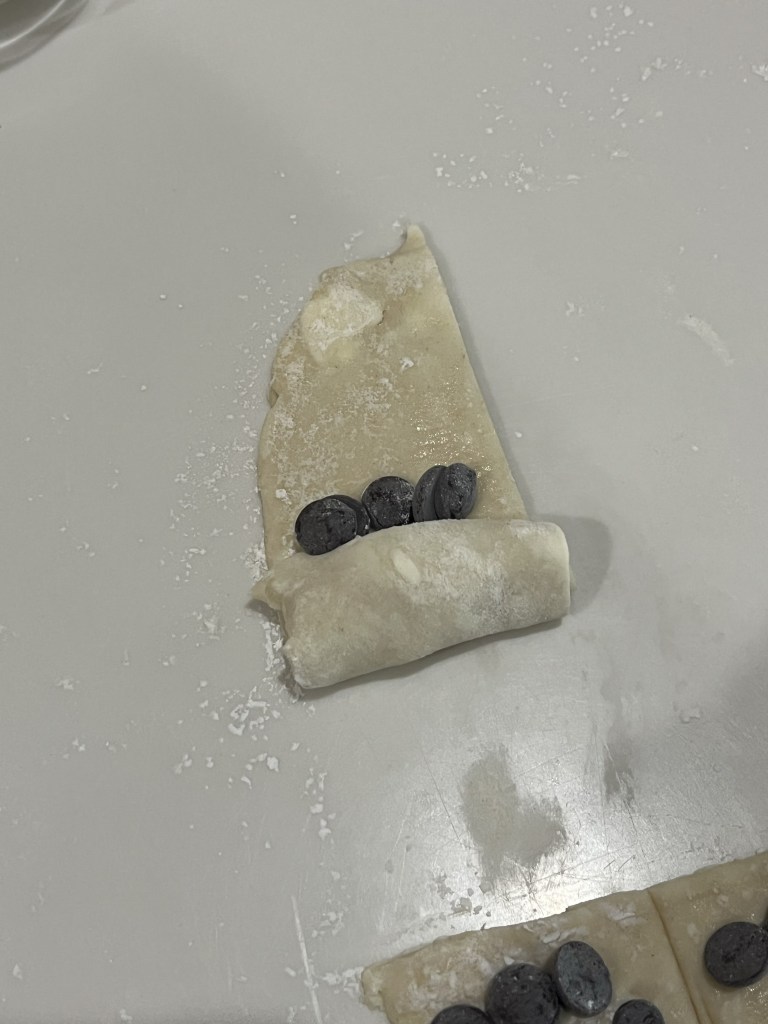
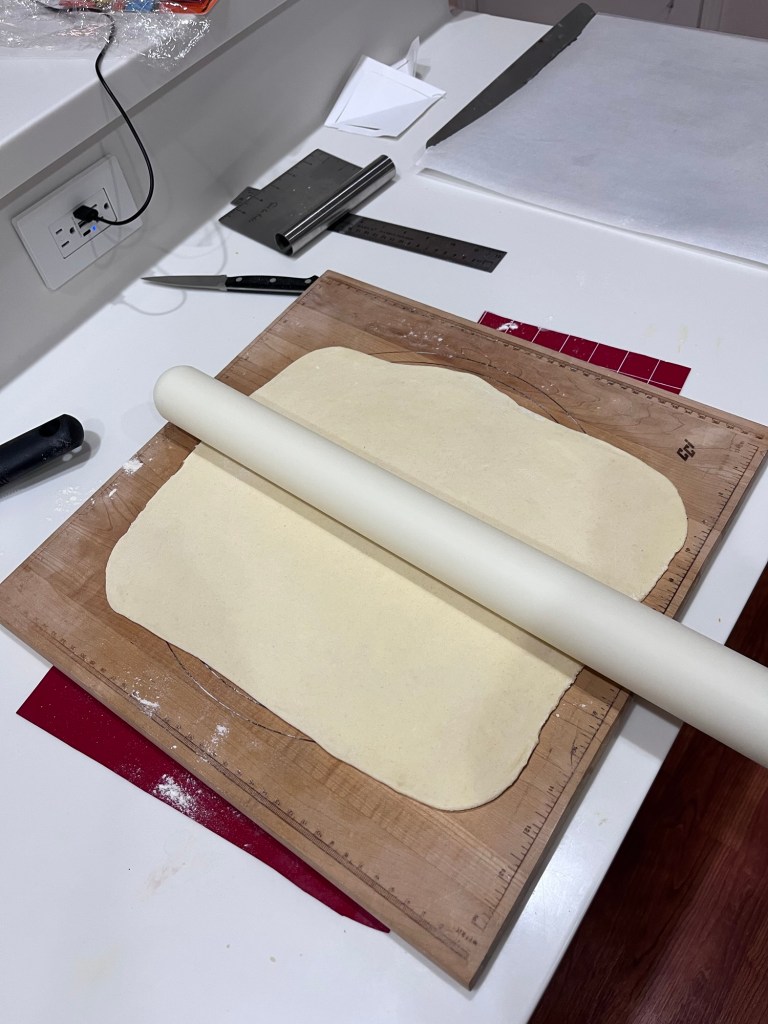
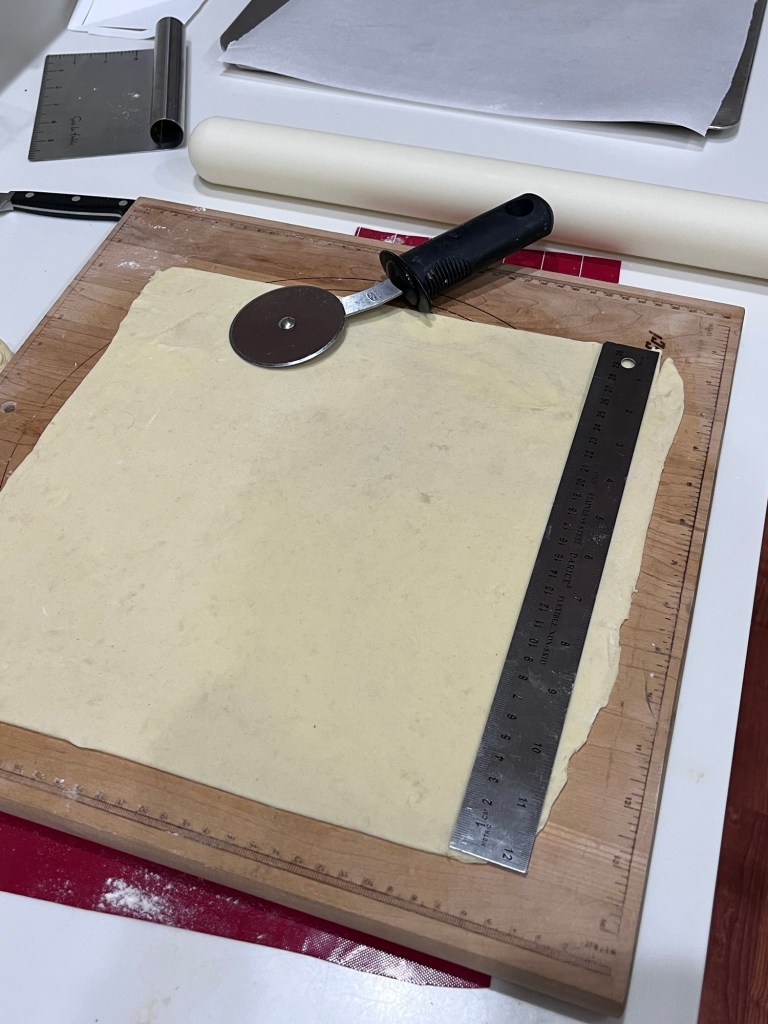
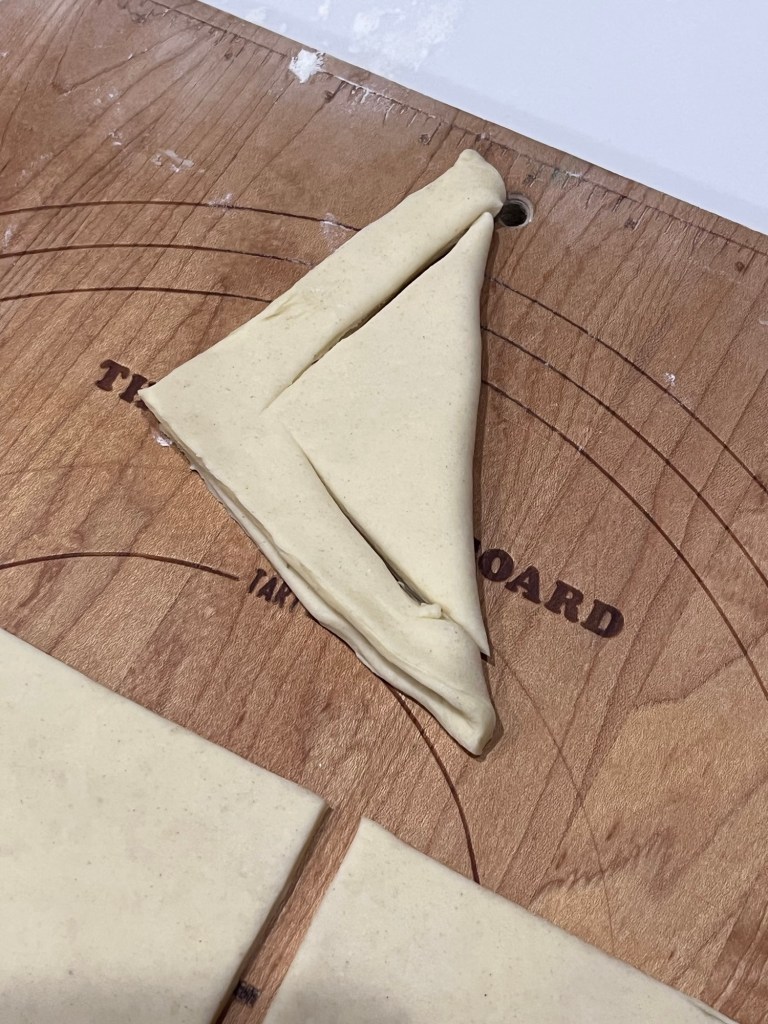
I combined and re-rolled the scraps from cutting the 12” square to make a few pain de chocolat, just because, why not?

The puff pastry is Sally’s recipe and method and it is fantastic. I made three batches of Sally’s raspberry sauce before I found the right formula for my use, but hit the blueberry on the first try.

White Chocolate Cream Cheese Ganache

Makes 3 cups

INGREDIENTS
• 200 g white chocolate
• 200 g heavy cream
• 300 g cream cheese full fat, not skim or low fat

METHOD

  1. Finely chop the white chocolate and place it in a heatproof bowl.
  2. Heat the cream on the stovetop until just below boiling point, or heat in microwave (stirring between bursts) in 30 second then 15 second then 5 second bursts until the cream is scalding (not boiling) 170-180 deg
  3. Pour the hot cream over the chocolate.
  4. Use a hand whisk to mix until the chocolate has fully melted and the mixture is smooth.
  5. Cover the surface with cling wrap, ensuring it touches the surface, and refrigerate overnight or until completely chilled.
  6. In a new bowl, use a hand mixer to beat the cream cheese until smooth, light, and fluffy. Scrape the bowl occasionally to ensure even mixing.
  7. Add the whipped cream cheese to the chilled chocolate mixture. Mix until well combined, stiff, and thick. The ganache should have a smooth, silky texture.

Raspberry Dessert Sauce

Makes ~1 cup

INGREDIENTS
• 1 Tbl water
• 2 tsp cornstarch
• 375g (3 c) fresh or frozen raspberries
• 50g ( ¼ c) granulated sugar
• 1 tsp fresh lemon juice (do not leave out)
• optional: ½ tsp vanilla extract

METHOD

  1. Whisk the cornstarch and water together until all the cornstarch has dissolved. Combine cornstarch mixture, raspberries, granulated sugar, and lemon juice in a small saucepan over medium heat. Using a silicone spatula, stir the mixture while lightly mashing the raspberries as they begin to heat.
  2. Bring to a boil and let it boil for 3 full minutes, stirring occasionally. Remove the pan from heat and—if desired for a richer flavor—stir in vanilla extract, and if desired, a few fresh raspberries.
  3. OPTIONAL (SKIP for a thicker sauce) Press the warm sauce through a fine mesh strainer to remove the seeds, if desired. I use the back of a spoon to press the liquid through the strainer, held over a bowl. It takes a couple minutes to really squeeze it all out.
  4. Feel free to serve warm over warm desserts, but it should be cooled to really thicken up. Cool the sauce completely at room temperature or in the refrigerator. The sauce will thicken slightly as it cools, but the strained version is still liquid and perfect for drizzling.
  5. Cover and store for up to 1 week in the refrigerator.

Notes

  1. Freezing Instructions: After the raspberry sauce cools completely, freeze in a freezer-friendly container for up to 3–6 months. Thaw on the counter or in the refrigerator. Warm up in the microwave or on the stove, if desired.
  2. Other Berries: You can substitute blackberries with no changes to the recipe.

Chunky Blueberry Sauce – Sally

INGREDIENTS
• 80g (1/3 c) warm water
• 15g (1 Tbl) fresh lemon juice
• 1 ½ tsp cornstarch
• 280g (2 c) fresh or frozen blueberries (if using frozen, do not thaw)
• 25g (2 Tbl) granulated sugar
• ½ teaspoon pure vanilla extract

METHOD

  1. Whisk the cornstarch, water, and lemon juice together until all the cornstarch has dissolved. (I just use a fork to mix—very easy.) Set aside.
  2. Warm the blueberries and sugar together in a small saucepan over medium heat. With a wooden spoon or sturdy silicone spatula, stir continuously for 3 minutes, gently smashing the berries against the sides of the pan to help them release some juices. For chunkier sauce leave some berries whole. (If you used frozen blueberries, you won’t need to smash them as much because they will naturally break down as they thaw over heat.)
  3. After 3 minutes, add the cornstarch mixture and continue to stir for another 2–3 minutes, smashing more berries if needed. The mixture will start to thicken.
  4. Remove from heat and stir in the vanilla. Allow to cool. The mixture is liquid and drippy, but thickens considerably as it cools.
  5. You can serve the sauce warm before it cools completely if desired, or store in the refrigerator for up to 1 week. Blueberry topping will be thick after refrigeration, so microwave for 15 seconds or warm on the stove to thin out, if desired.

Ever the Scientist

You would think having been out of the chemistry laboratory since 1978 (please don’t do the math) I would lose some of my scientific method mentality, but I haven’t.

I made rough puff pastry for the first time this week. Also for the first time, I bought an exorbitantly expensive commercial puff pastry (Dufour’s.) For price comparison, the Dufour was $11.99 for two sheets about 8”x9”. Trader Joe’s at $4.99 are only available in October and November. (Buy a bunch and stock up… I do!) Pepperidge Farms is $6.25 for 2 sheets, and my rough puff pastry is $1.65 for an equivalent size and number of sheets. Yes, not a typo, $1.65. It does take a little elbow grease to roll the cold dough out, but aside from the sore wrist, it is nearly free.

As for performance: Trader Joe’s puffs the least, which for a number of applications is an advantage. Dufour’s puffs more than Trader Joe’s but not as much as Dede’s Rough Puff, which in turn was less than Pepperidge Farms. All four tasted excellent, but as humble as I am capable of being, my rough puff was outstanding. It was as flavorful, puffed as much and was as easy to roll as any of the other three.

(I have made so many pastries with both Trader Joe’s and Pepperidge Farms I didn’t include them in today’s head to head analysis.)

Blackberry Hand Pies and Pain Au Chocolate.
(Dafour’s in the back, Dede’s in the front.)

Pain au Chocolate

INGREDIENTS

  • Puff pastry
  • Chocolate
  • Confectioner’s sugar
  • 1 egg

METHOD

  1. Roll out puff pastry
  2. Dust with confectioner’s sugar
  3. Cut into 2” wide (cut 5 long strips, then cut each in half)
  4. Lay chocolate at one end, roll one time, press down gently and roll again, press gently again
  5. Add second row of chocolate and roll one last time, press gently
  6. Chill overnight or at least 2 hours.
  7. Make egg wash with 1 egg and 1 Tbl water. Beat well with a fork.
  8. Brush with egg wash
  9. Paint the inner end of the roll to seal the end. Press firmly.
  10. Bake 360 deg 20-25 min on parchment lined baking sheet

Berry Hand Pie

INGREDIENTS

  • 1 egg
  • 1 tablespoon water
  • 2 tablespoons all-purpose flour
  • 1 sheet puff pastry, thawed but cool.
  • 4 ounces cream cheese, softened
  • 2 tablespoons granulated sugar or decorating sugar
  • ½ cup white chocolate chips
  • 6 ounces berries
  • 3 tablespoons coarse white sugar or decorating sugar

METHOD

  1. Heat the oven to 400°F.  Beat the egg and water in a small bowl with a fork.
  2. Stir the cream cheese and granulated sugar in a medium bowl until the mixture is smooth.  Stir in the white chocolate chips.
  3. Cut large berries in half.
  4. Sprinkle the flour on the work surface.  Unfold the pastry sheet on the work surface.  Roll the pastry sheet into a 12-inch square. Using a round cutter, cut into 24 (2½ -inch) circles.
  5. Brush the edges of 12 pastry circles with the egg mixture.  Place about ½ tablespoon cream cheese mixture in the center of each.  Top each with about one small or two halves of a large berry.  Place the remaining pastry circles over the filling.  Press the edges firmly to seal.  Crimp the edges with a fork. If you don’t seal them adequately the filling will leak out of the sides of the finished pastry.
  6. Brush the pastries with the egg mixture and sprinkle with the coarse sugar.  Using a sharp knife cut small slits in the tops of the filled pastries.  Place the pastries onto a silicone or parchment paper lined baking sheet.
  7. Bake for 20 minutes or until the pastries are golden brown.  Remove the pastries from the baking sheets and let cool on wire racks for 10 minutes.
  8. Eat. They are small. Eat again.

Puff the Magic Rough Pastry

It’s really rough puff pastry and it’s magic that I made it! Usually, I buy either Pepperidge Farm, or Trader Joe’s puff pastry. Pepperidge Farm puffs up at least twice Trader Joe’s and I choose depending on what I am baking.

While significantly more work than driving the couple of miles to the supermarket, this is significantly less expensive and more self satisfying. I was pleasantly surprised with the resulting puff pastry and even more amazed at the resultant baked pastries.

Rough Puff Pastry has been in my “What’s Up in Dede’s Bakery” for months and to give you an idea how bored I was this morning, I decided today is the day!

I found an excellent blog (theflavorbender.com) with detailed, clear instructions. Her instructions, with minor edits, are below. The hardest part is grating the frozen butter (without skinning a knuckle) and the last few rolls of the laminated dough.

Rough Puff Pastry

INGREDIENTS
• 60 g unsalted frozen butter grated and kept in freezer while the flour chills
• 200 g unsalted frozen butter grated and kept in freezer while the flour chills (weigh the butter after grating it)
• 350 g AP flour that has been kept in the freezer for a couple of hours
• 1 tsp salt
• 120 – 150 g ice cold water I used about 9.5 tbsp (142ml)
• ½ tsp lemon / lime juice / white vinegar

Costs
• Butter ~ $1.50
• Flour ~ $0.15

METHOD

  1. In a bowl, sieve the flour, salt and freeze for about 2 hours
  2. Add the 60 g of frozen, grated butter. With your fingers quickly rub the butter into the flour.
  3. Add the lemon and water, a tablespoon at a time, while mixing with a wooden spoon or your fingertips to bring the dough together.
  4. Add enough water to form a firm dough (that is not tacky or too wet).
  5. Knead the dough on a floured surface for about a minute and leave it to rest for about 5 minutes (in the fridge).
  6. Roll the dough out into a long rectangle (about 6 – 7 inches wide, and 15 – 16 inches long).
  7. Sprinkle 100 g of frozen, grated butter on 2/3rds of the area of this rectangle.
  8. Fold over the portion without butter, towards the middle.
  9. Then fold the first fold over the still butter exposed end. You completed one-fold (while laminating butter).
  10. Turn the dough 90 degrees and roll it out to form another long rectangle (about 5 – 6 inches wide, and 15 – 16 inches long).
  11. Repeat with the rest of the butter and fold over, (completed 2nd fold with second lamination) and turn 90 degrees. Now you have incorporated all the butter in two folds.
  12. Complete 3 more folds so you have folded the dough about 5 times. You shouldn’t need to refrigerate between folds, if you work quickly, HOWEVER if it’s a hot day and the butter starts to seep through, keep the dough in the freezer for about 10 minutes to harden the butter and continue.
  13. After the fifth and final folding, wrap the dough in plastic wrap and store it in the fridge until needed.
  14. Let it rest for at least 2 hours before using. (I prefer to leave it longer, even overnight for best results.)
  15. If you’re not using it right away, cut the dough in half, wrap individual pieces in plastic wrap and store in the freezer.

Dede’s Bakery and Confectionery- Estd 2016

Our synagogue’s fundraiser is tonight and the administrator asked me to provide some of the deserts and something for the auction. To identify my goods I asked Dan to create a logo for me. For those who do not know, DeDe is my granddaughters name for me because they couldn’t pronounce Zayde (Yiddish for grandfather) when they were younger and it just stuck.

Over the last week or so I made and froze choux pastry for the eclairs and shells for the tarts. I made all the fillings yesterday and assembled everything this morning except the pain au chocolat which I made in its entirety this morning. (They don’t take very long.)

I made the chocolate covered caramels a few days ago, wrapped them and set them aside, (after sampling several.)

Hand Pies and Pan Au Chocolat

So, I had some puff pastry left over from the torsades last week, AND I had a half pint of fresh raspberries left over from my breakfast cereal. What am I to do?

I know! I can use some of my 11#s of chocolate for Pan Au Chocolat and puff pastry and raspberries for some hand pies. I posted both recipes and methods elsewhere in this blog so won’t bore you with repetition.

A Day In The Life – Act I

So, I started the morning with Pain Au Chocolat, (making, not eating.) I have some opened chocolate I need to use before I open the new bag. To me, baking is a hobby so I like to make everything I can from scratch. I don’t use mixes or other short cuts…. except for puff pastry. In the past I made puff pastry a few times and must admit that what I make is not nearly as good as what is available in the super market.

I buy two brands of puff pastry. Trader Joe sells a box with two 10”x10” sheets. TJ’s is good when you don’t want a huge puff when baked. If you knock it before baking it will puff less than 100%, which is what I used for todays pastry. Pepperidge Farms puff pastry also comes in two sheets per box, but each sheet is conveniently individually wrapped. This pastry puffs 200% if baked without knocking, a little less if you do. Pepperidge Farms is available year round, while TJ’s is only available from roughly Thanksgiving to New Year’s. Buy a few boxes and put them in the bottom of your freezer. I do.

Using Trader Joe’s puff pastry makes Pain Au Chocolat a snap. There is the added benefit it is also delicious.

Pain au Chocolate


INGREDIENTS
Puff pastry (Trader Joe’s)
Chocolate ( I used Guittard’s 63%)
Confectioner’s sugar

METHOD

  1. Roll out puff pastry
  2. Dust with confectioner’s sugar
  3. Cut into 2” wide (Trader Joe’s Puff Pastry – cut 5 long strips, then cut each in half)
  4. Lay chocolate at one end, roll one time, press down gently and roll again, press gently again
  5. Add second row of chocolate and roll one last time, press gently
  6. Chill overnight or at least 2 hours.
  7. Brush with egg wash
  8. Bake 360 deg 20-25 min on parchment lined baking sheet