It was a great vacation, returning to my native Vermont. I love my family and friends, but am happy back in Dede’s Bakery.
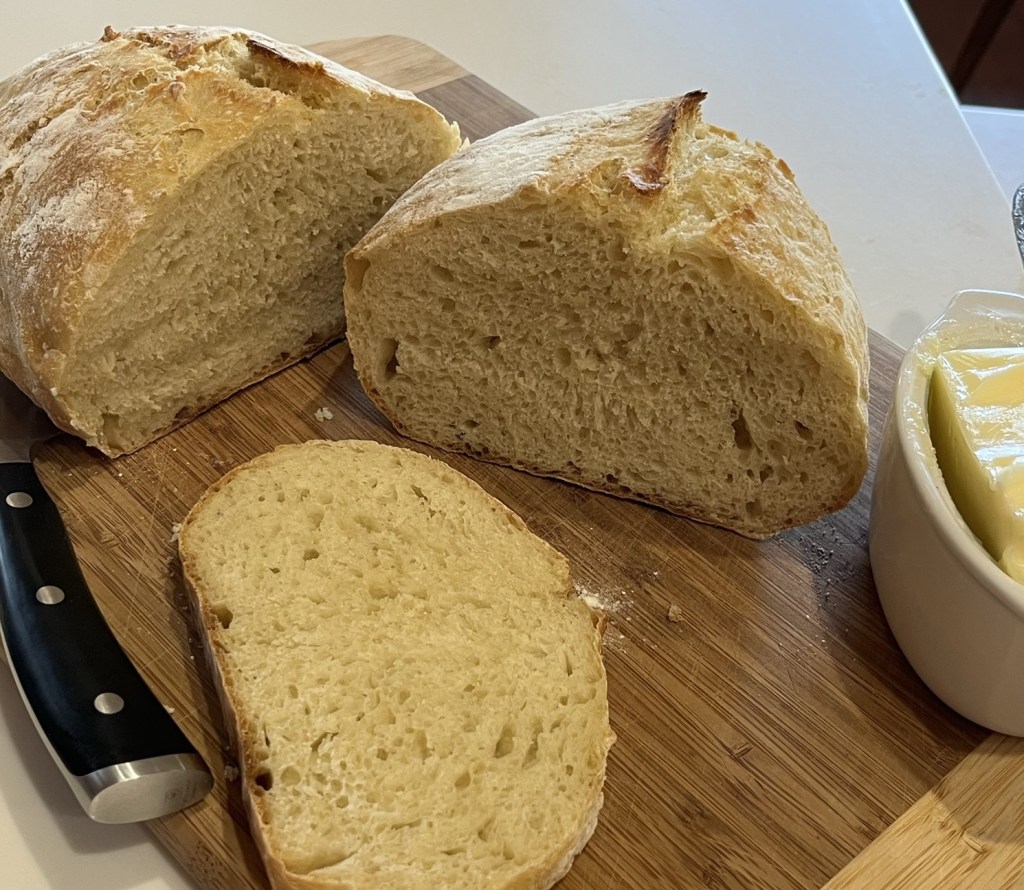
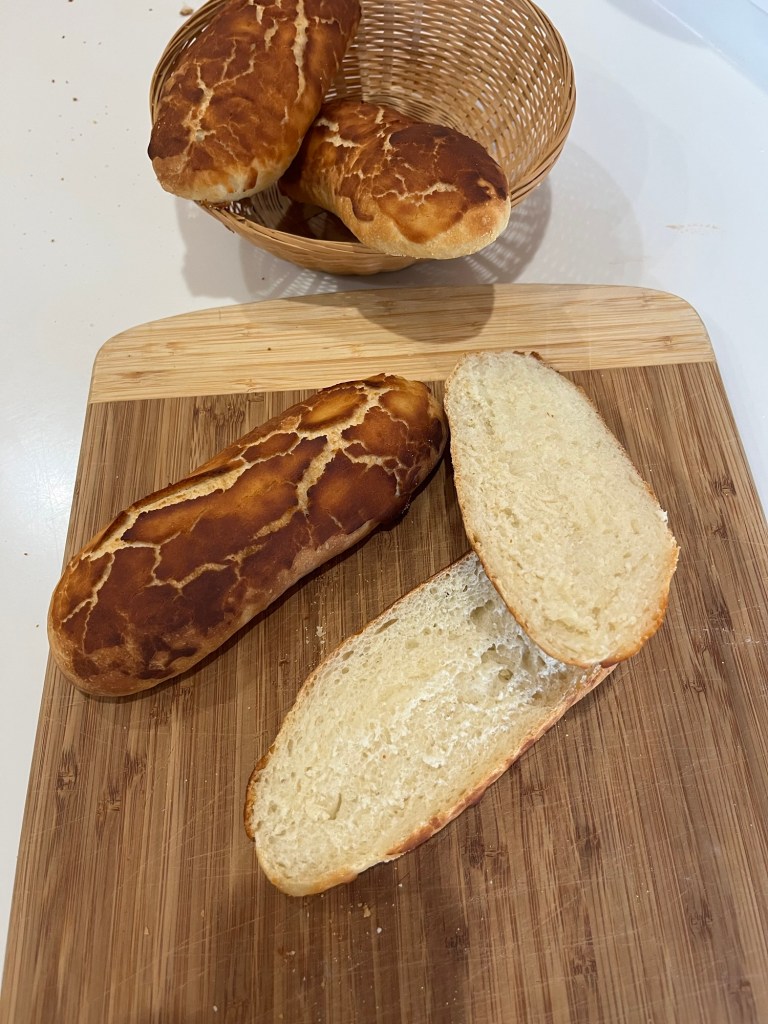
I needed a loaf of bread so made our favorite Artisan No-Knead Bread, and while it was rising and baking I made a batch of Sally’s Striped Fudge Cookie Sandwiches. I saw this recipe on the flight home and it instantly jumped to the top of my “to-do” list. What’s great about this recipe is the cookie is a perfect carrier for whatever filling you want. This one is chocolate, but a berry/fruit or fig jam.


Striped Fudge Cookie Sandwiches -Sally
INGREDIENTS
• 281 (2 ¼ c) all-purpose flour (spooned & leveled), plus more as needed for rolling and work surface
• ½ tsp baking powder
• ¼ tsp salt
• 170g (¾ c = 12 Tbl) unsalted butter, softened to room temperature
• 150g (¾ c) granulated sugar
• 1 large egg, at room temperature
• 2 tsp pure vanilla extract
Chocolate Ganache + Topping
• 170g (6 oz) semi-sweet chocolate, coarsely chopped and divided
• 45g (3 Tbl) heavy cream
• Optional: if needed to thin out topping: splash vegetable oil or melted coconut oil
METHOD
To make the cookies:
- Whisk the flour, baking powder, and salt together in a medium bowl. Set aside.
- In a large bowl using a handheld or a stand mixer fitted with a paddle attachment, beat the butter and sugar together on high speed until completely smooth and creamy, about 2 minutes. Add the egg and vanilla and beat on high speed until combined, about 1 minute. Scrape down the sides and up the bottom of the bowl and beat again as needed to combine.
- Add the dry ingredients to the wet ingredients and mix on low until combined. Dough will be a bit soft. If the dough seems too soft and sticky for rolling, add 1 more Tablespoon of flour.
- Divide the dough into 2 equal parts. Place each portion onto a piece of lightly floured parchment paper or a lightly floured silicone baking mat. With a lightly floured rolling pin, roll the dough out to about 1/4-inch thickness. Use more flour if the dough seems too sticky. The rolled-out dough can be any shape, as long as it is evenly 1/4-inch thick.
- Lightly dust one of the rolled-out doughs with flour. Place a piece of parchment on top. (This prevents sticking.) Place the 2nd rolled-out dough on top. Cover with plastic wrap or aluminum foil, then refrigerate for at least 1-2 hours and up to 2 days.
- Once chilled, preheat oven to 350°F (180°C). Line 2-3 large baking sheets with parchment paper or silicone baking mats.
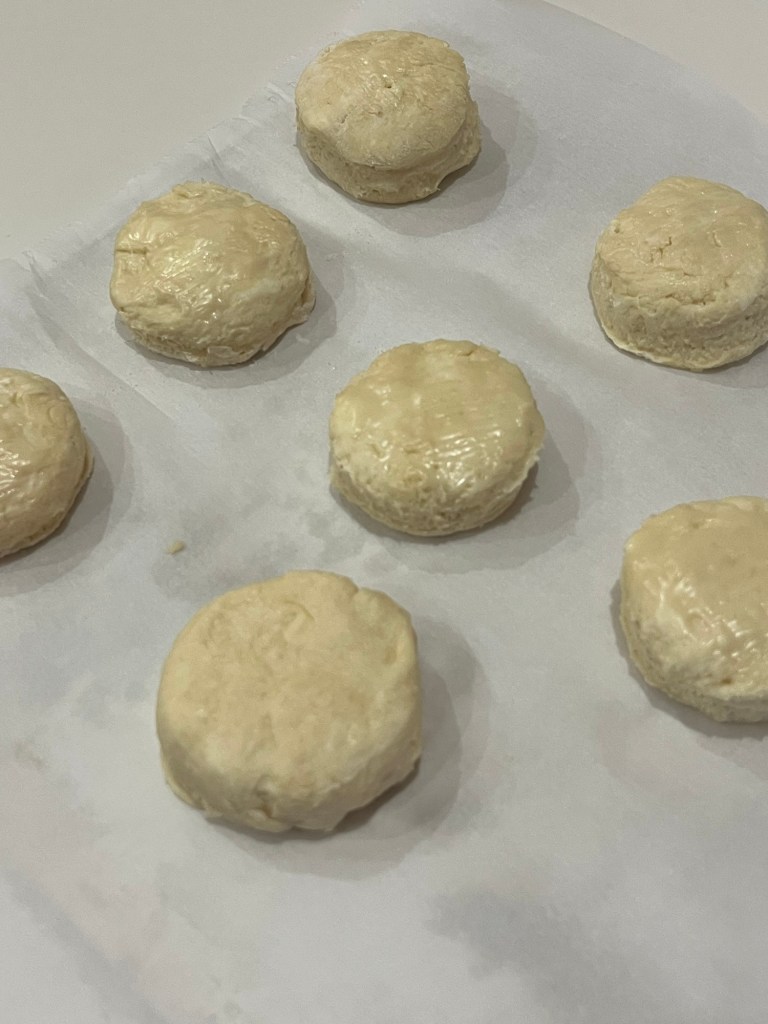
- Remove one of the slabs of dough from the refrigerator and, using a 2-inch round cookie cutter, cut into circles. Re-roll the remaining slab and continue cutting until all is used. Repeat with second slab of dough. You should have about 64 circles. Using a 1-inch round cookie cutter, cut a hole into the center of 32 of them. Let’s call these 32 cookies the “donut cookies” because of that center hole. Place the whole circles and the donut cookies on separate baking sheets (because the donut cookies take 1 less minute to bake), placing all cookies 2 inches apart from one another.
- Bake the whole circles for about 10 minutes, or until lightly browned around the edges, and the donut cookies for about 9 minutes. Rotate the baking sheets halfway through bake time. Remove from the oven. Allow cookies to cool on the baking sheets for 5 minutes, then transfer to a wire rack to cool completely before assembling.
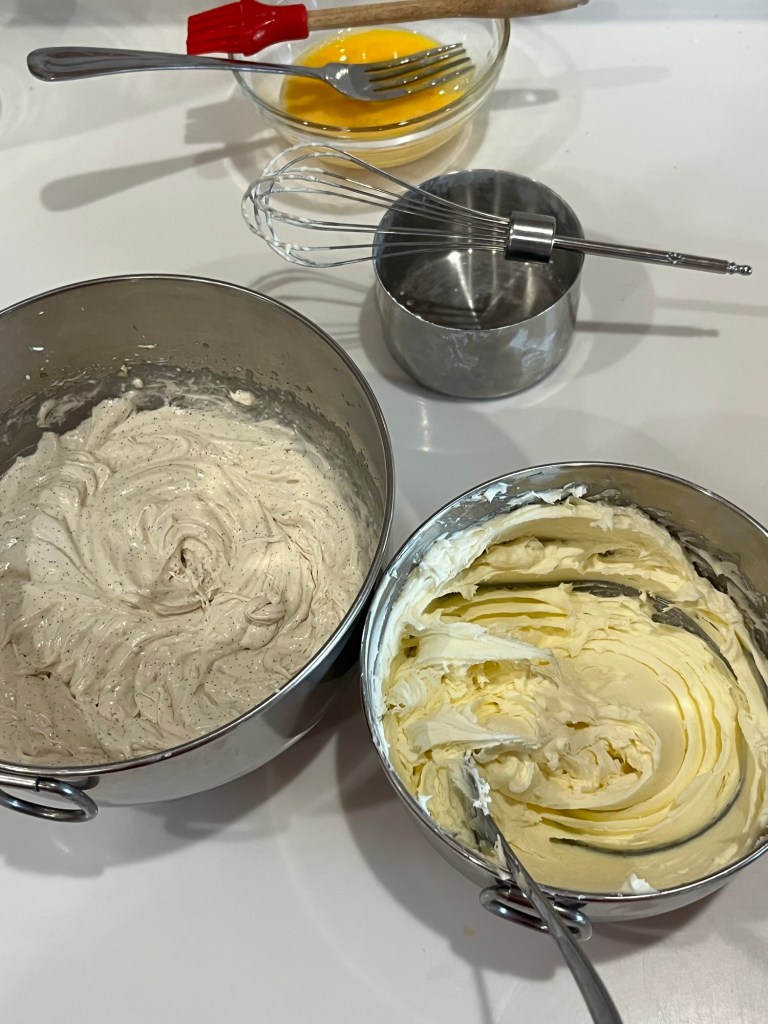
To make the ganache: - Place 85g (3 oz) of chopped chocolate for the ganache into a small heatproof bowl. Heat the cream in a small saucepan over medium heat, stirring occasionally. Once cream begins to boil, immediately remove from heat and pour over the chocolate. Stir gently and slowly until the ganache is smooth. Allow it to cool for 10 minutes before adding to cookies. During this time, it will slowly thicken.
- Once the ganache is ready, spread about ½ teaspoon on each whole circle. Carefully top each with a donut cookie and press down gently to create a cookie sandwich.
To make the topping: - Melt the remaining chopped chocolate in the microwave in 15-second increments, stopping and stirring after each until completely smooth. Add a splash of vegetable oil or melted coconut oil if chocolate isn’t thin enough to drizzle. Drizzle over each sandwich. Allow chocolate to set completely, about 30 minutes.
- Cookies will stay fresh in an airtight container at room temperature for 2 days or in the refrigerator for up to 1 week.