I keep referring to Sally’s Rough Puff Pasty but I made a few changes to reflect my personal quirks and how I use the recipe. Here is my version, which is, of course Sally’s.
Rough Puff Pastry – Sally
INGREDIENTS
• 166 g (1⅓ c) all-purpose flour, plus more for flouring hands, surface, and dough
• 1 tsp granulated sugar
• ½ tsp salt
• 170 g (¾ c or 1½ sticks) unsalted Kerry Gold butter, very cold and cubed
• 6–8 Tbl ice cold water
METHOD
- Cut the butter into ~1/4” cubes return to the fridge to chill.
- Whisk the flour, sugar, and salt together in a large bowl. Place the cold and cubed butter on top. Gently toss the flour and butter together with your hands, and then briefly rub the butter into the flour to begin combining. Do not break down the butter too much in this step. This step is only possible if the butter is very cold.
- Begin adding the ice cold water 1 Tablespoon at a time until dough forms 1 large shaggy clump with big chunks of butter in your bowl. Use your hands to toss the mixture together after you add each Tablespoon. (Start with 2 Tablespoons of water before tossing together.) As the dough begins to hydrate after about 4 Tablespoons of water, you can start lightly squeezing or clumping the dough together with your hands to help bring it together. Mixture will still be very shaggy. If your dough feels sticky and wet before adding 6 Tablespoons of water, your butter was likely too warm– you can continue with the recipe, but the dough will not be as flaky.
- Pour the shaggy clump of dough out onto a lightly floured work surface. There will still be large chunks of butter at this point and that’s a good thing. Begin patting the dough down with lightly floured hands until it’s ¾ – 1” thick, about a 5×8” rectangle. Fold the dough into thirds as if you were folding a business letter. Use your hands to gently flatten and smooth out any cracks in your dough. Wrap it up tightly in plastic wrap.
- 1st refrigeration: Refrigerate dough for at least 2 hours and up to 24 hours.
- Roll & Fold: Take the dough out of the refrigerator to begin the “rolling and folding” process. If the dough chilled for longer than about 3 hours, it’s likely very stiff so let it rest for about 5 minutes before you begin rolling. Lightly flour a work surface. The dough gets sticky, so make sure you have more flour nearby as you roll and fold. Use your hands to gently flatten the dough into a small square. Using a rolling pin, roll the dough into a 6”×12”x ½” thick. The exact dimensions are not important, but the thickness is. As you roll, it’s best to flip the dough over once or twice to make sure it’s not sticking to your work surface. Lightly flour your work surface as needed. Fold the rectangle into thirds as if it were a business letter. Turn it clockwise or counter clockwise and roll it out into a 6”×12”x ½” thick rectangle again. Then, fold into thirds again. Turn it clockwise or counter clockwise. You’ll repeat rolling and folding 4 more times for a total of 6 times.
- 2nd Refrigeration: Wrap up/seal tightly and refrigerate for at least 15 minutes and up to 24 hours before using in your recipe. You can also freeze the dough at this point. See freezing instructions.
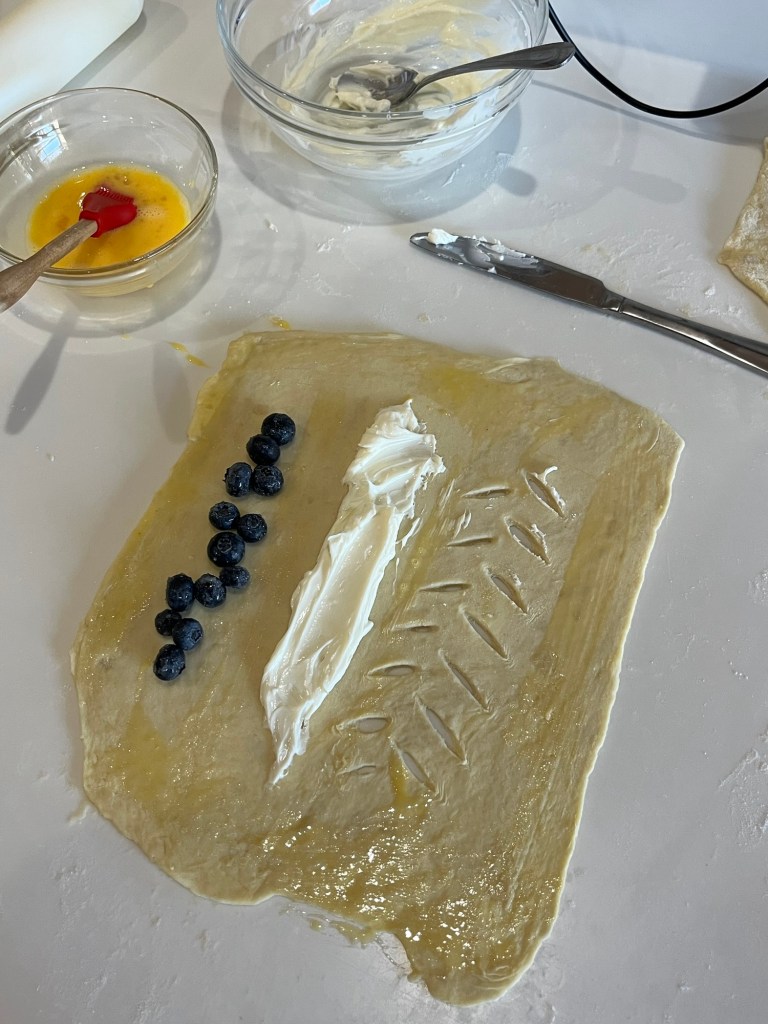
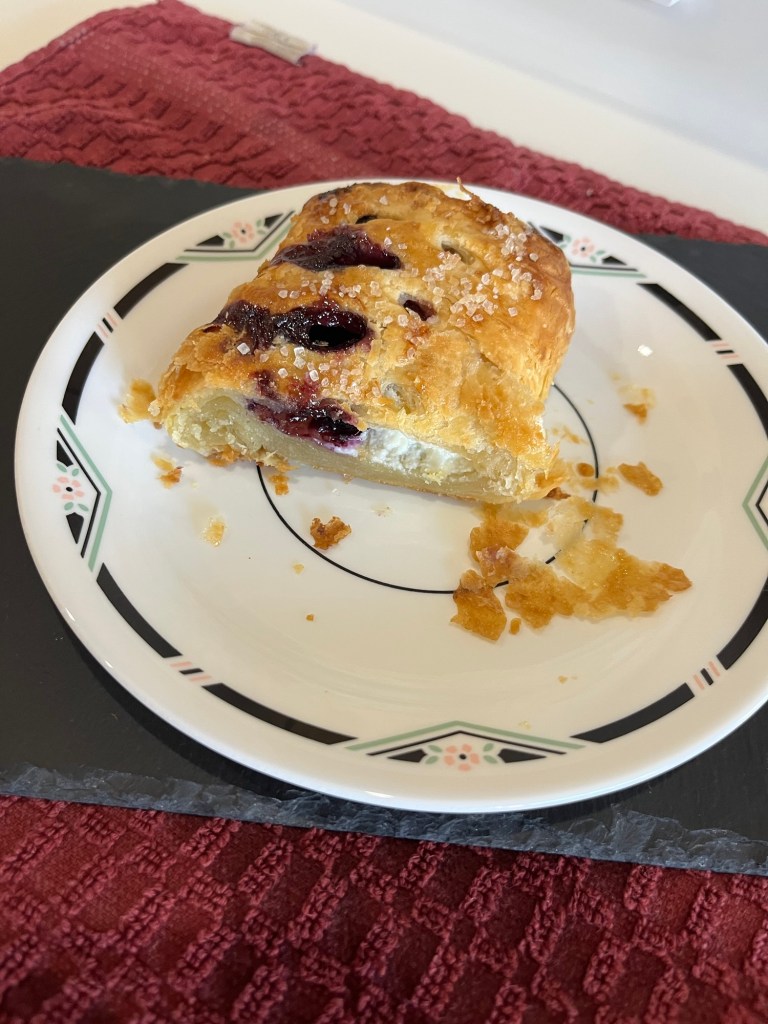
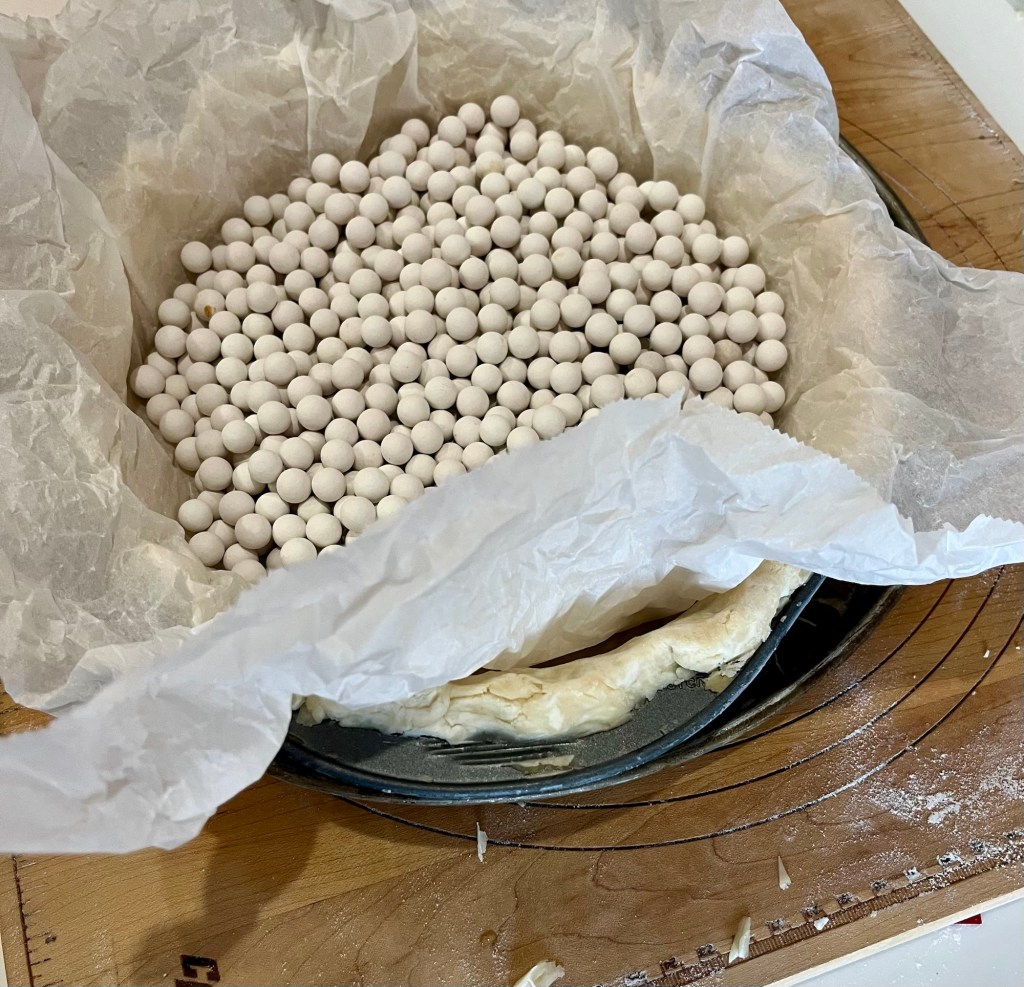
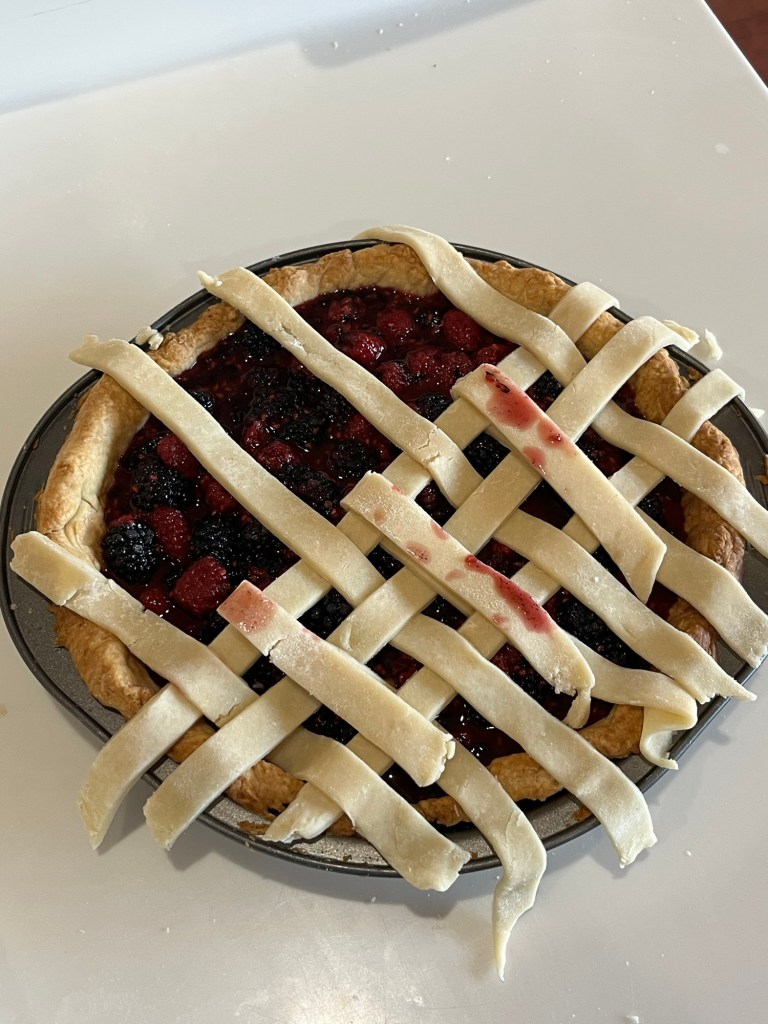
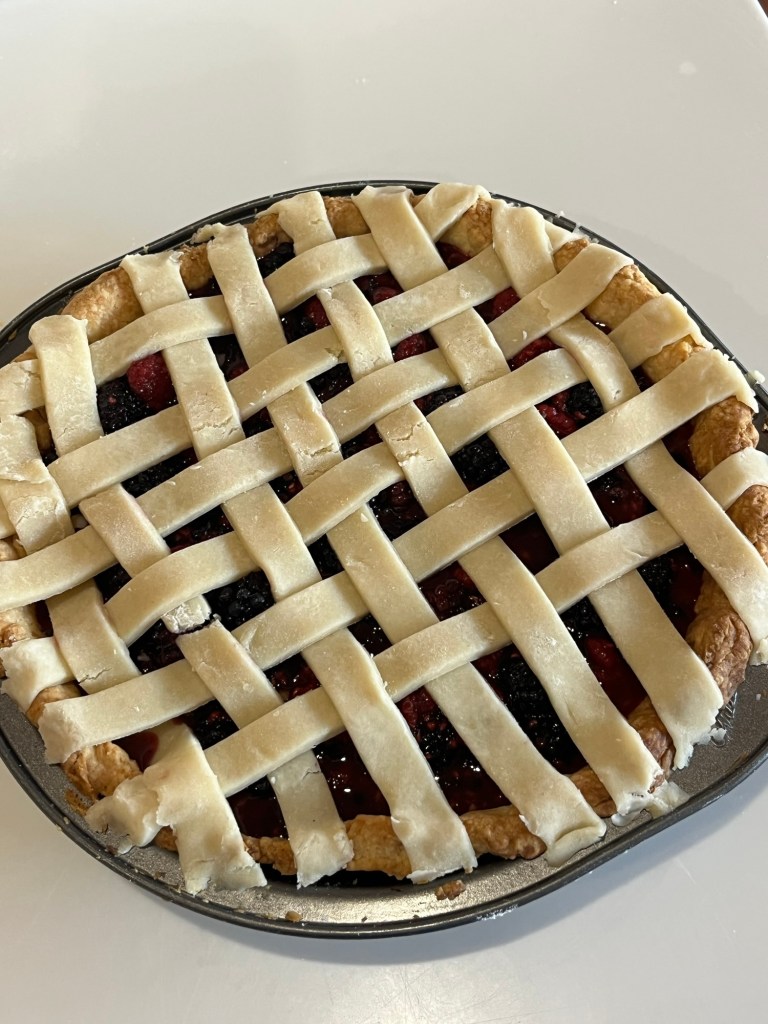
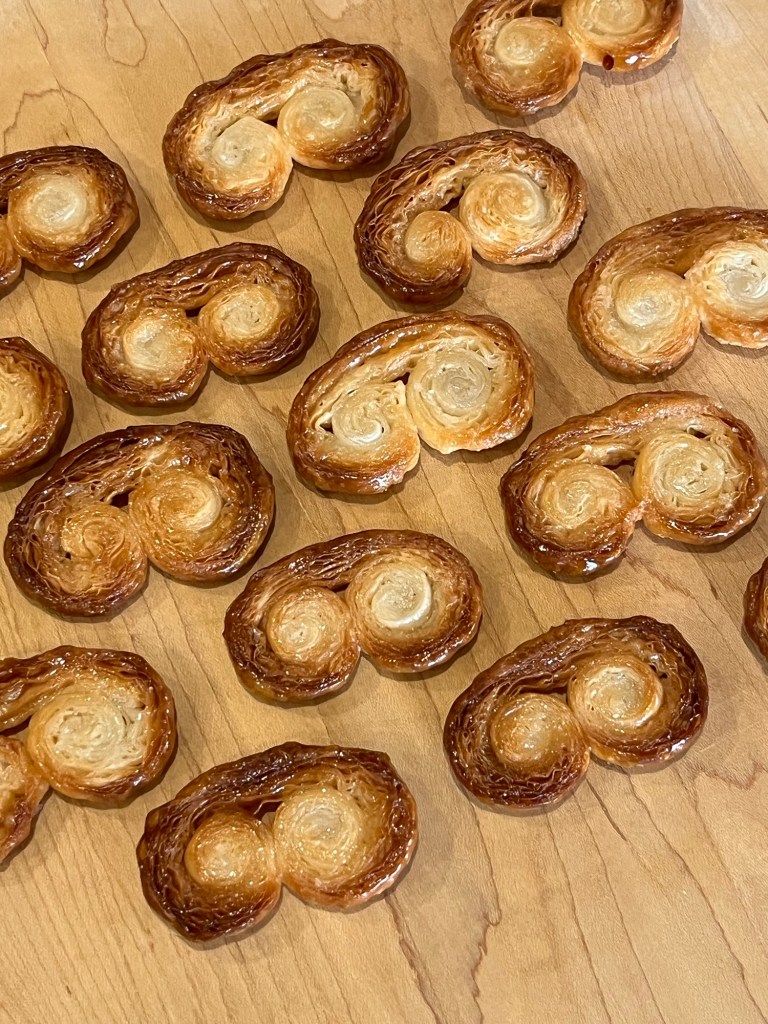
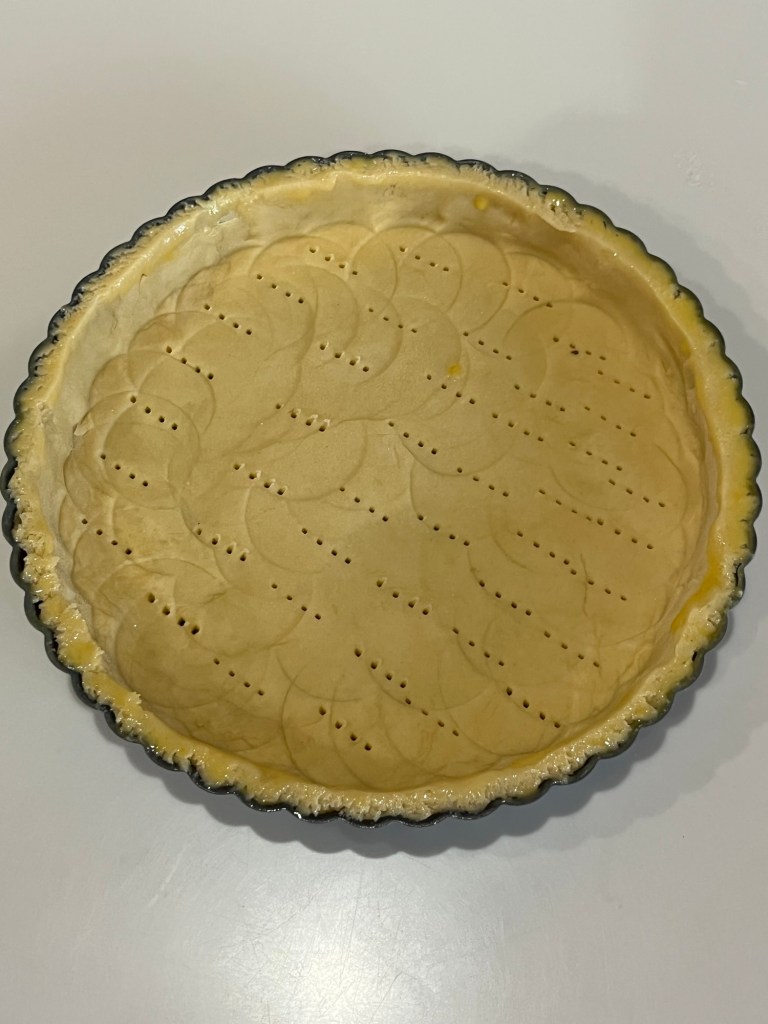
- Use wherever you would use frozen store-bought puff pastry. To bake plain, roll pastry dough into a 10×16” rectangle and cut into desired portions. Fill if desired, and paint with an egg wash (1 egg beaten with 1 Tbl water.)
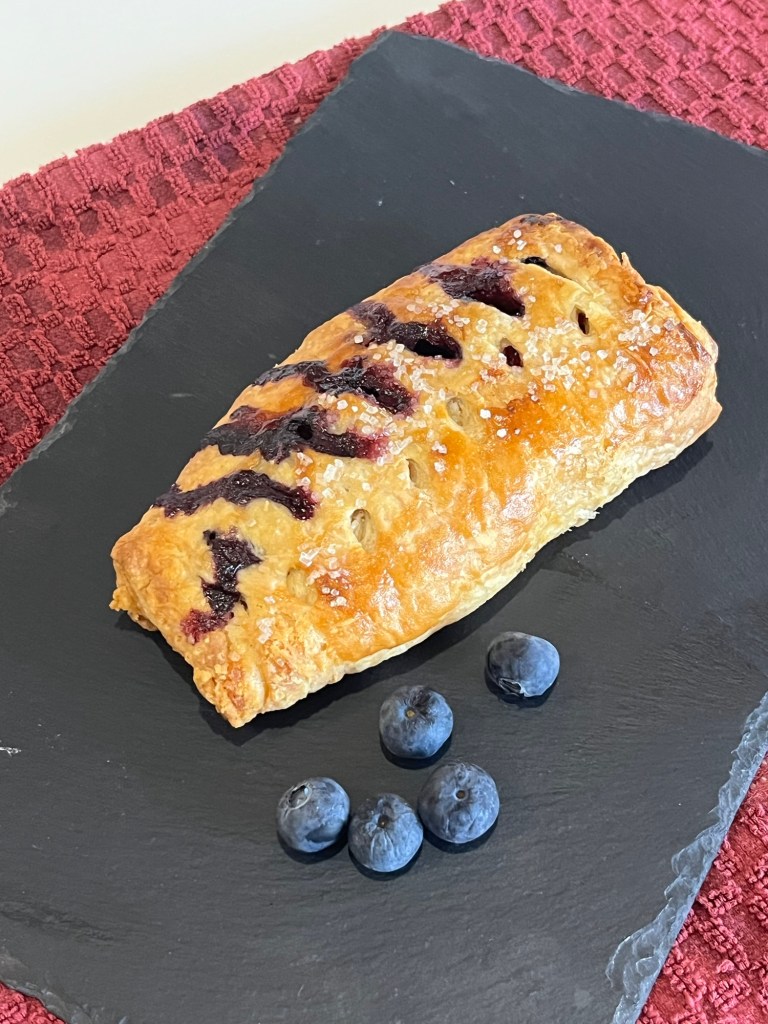
- Bake 400°F until golden brown and puffy, about 25-28 minutes.
NOTES
- Make Ahead & Freezing Instructions: Prepare as instructed in steps 1-3. At this point the dough can be refrigerated up to 24 hours (see step 4). You can also prepare the dough through step 5. At this point the dough can be refrigerated for up to another 24 hours (see step 6).
- During or after this second chilling time, you could also freeze the dough for up to 1 month. (I don’t recommend freezing the dough before the rolling and folding step.) Thaw overnight in the refrigerator before using in a recipe that calls for 1 lb puff pastry dough (or 1 store-bought package with 2 sheets puff pastry).