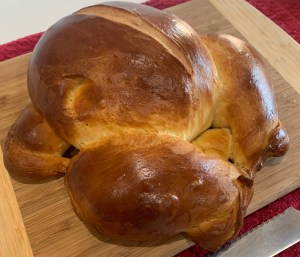
I ran across a four ingredient, no knead, no stretch and fold, Italian bread. I am on my third bake of this bread, each with minor tweaks.
Version 1 was as presented. Version 2 was as presented but baked in a Dutch oven (my preferred baking method.) Version 3 included Cake and Bread Enhancer (fifth ingredient) and was baked flat on a baking stone.
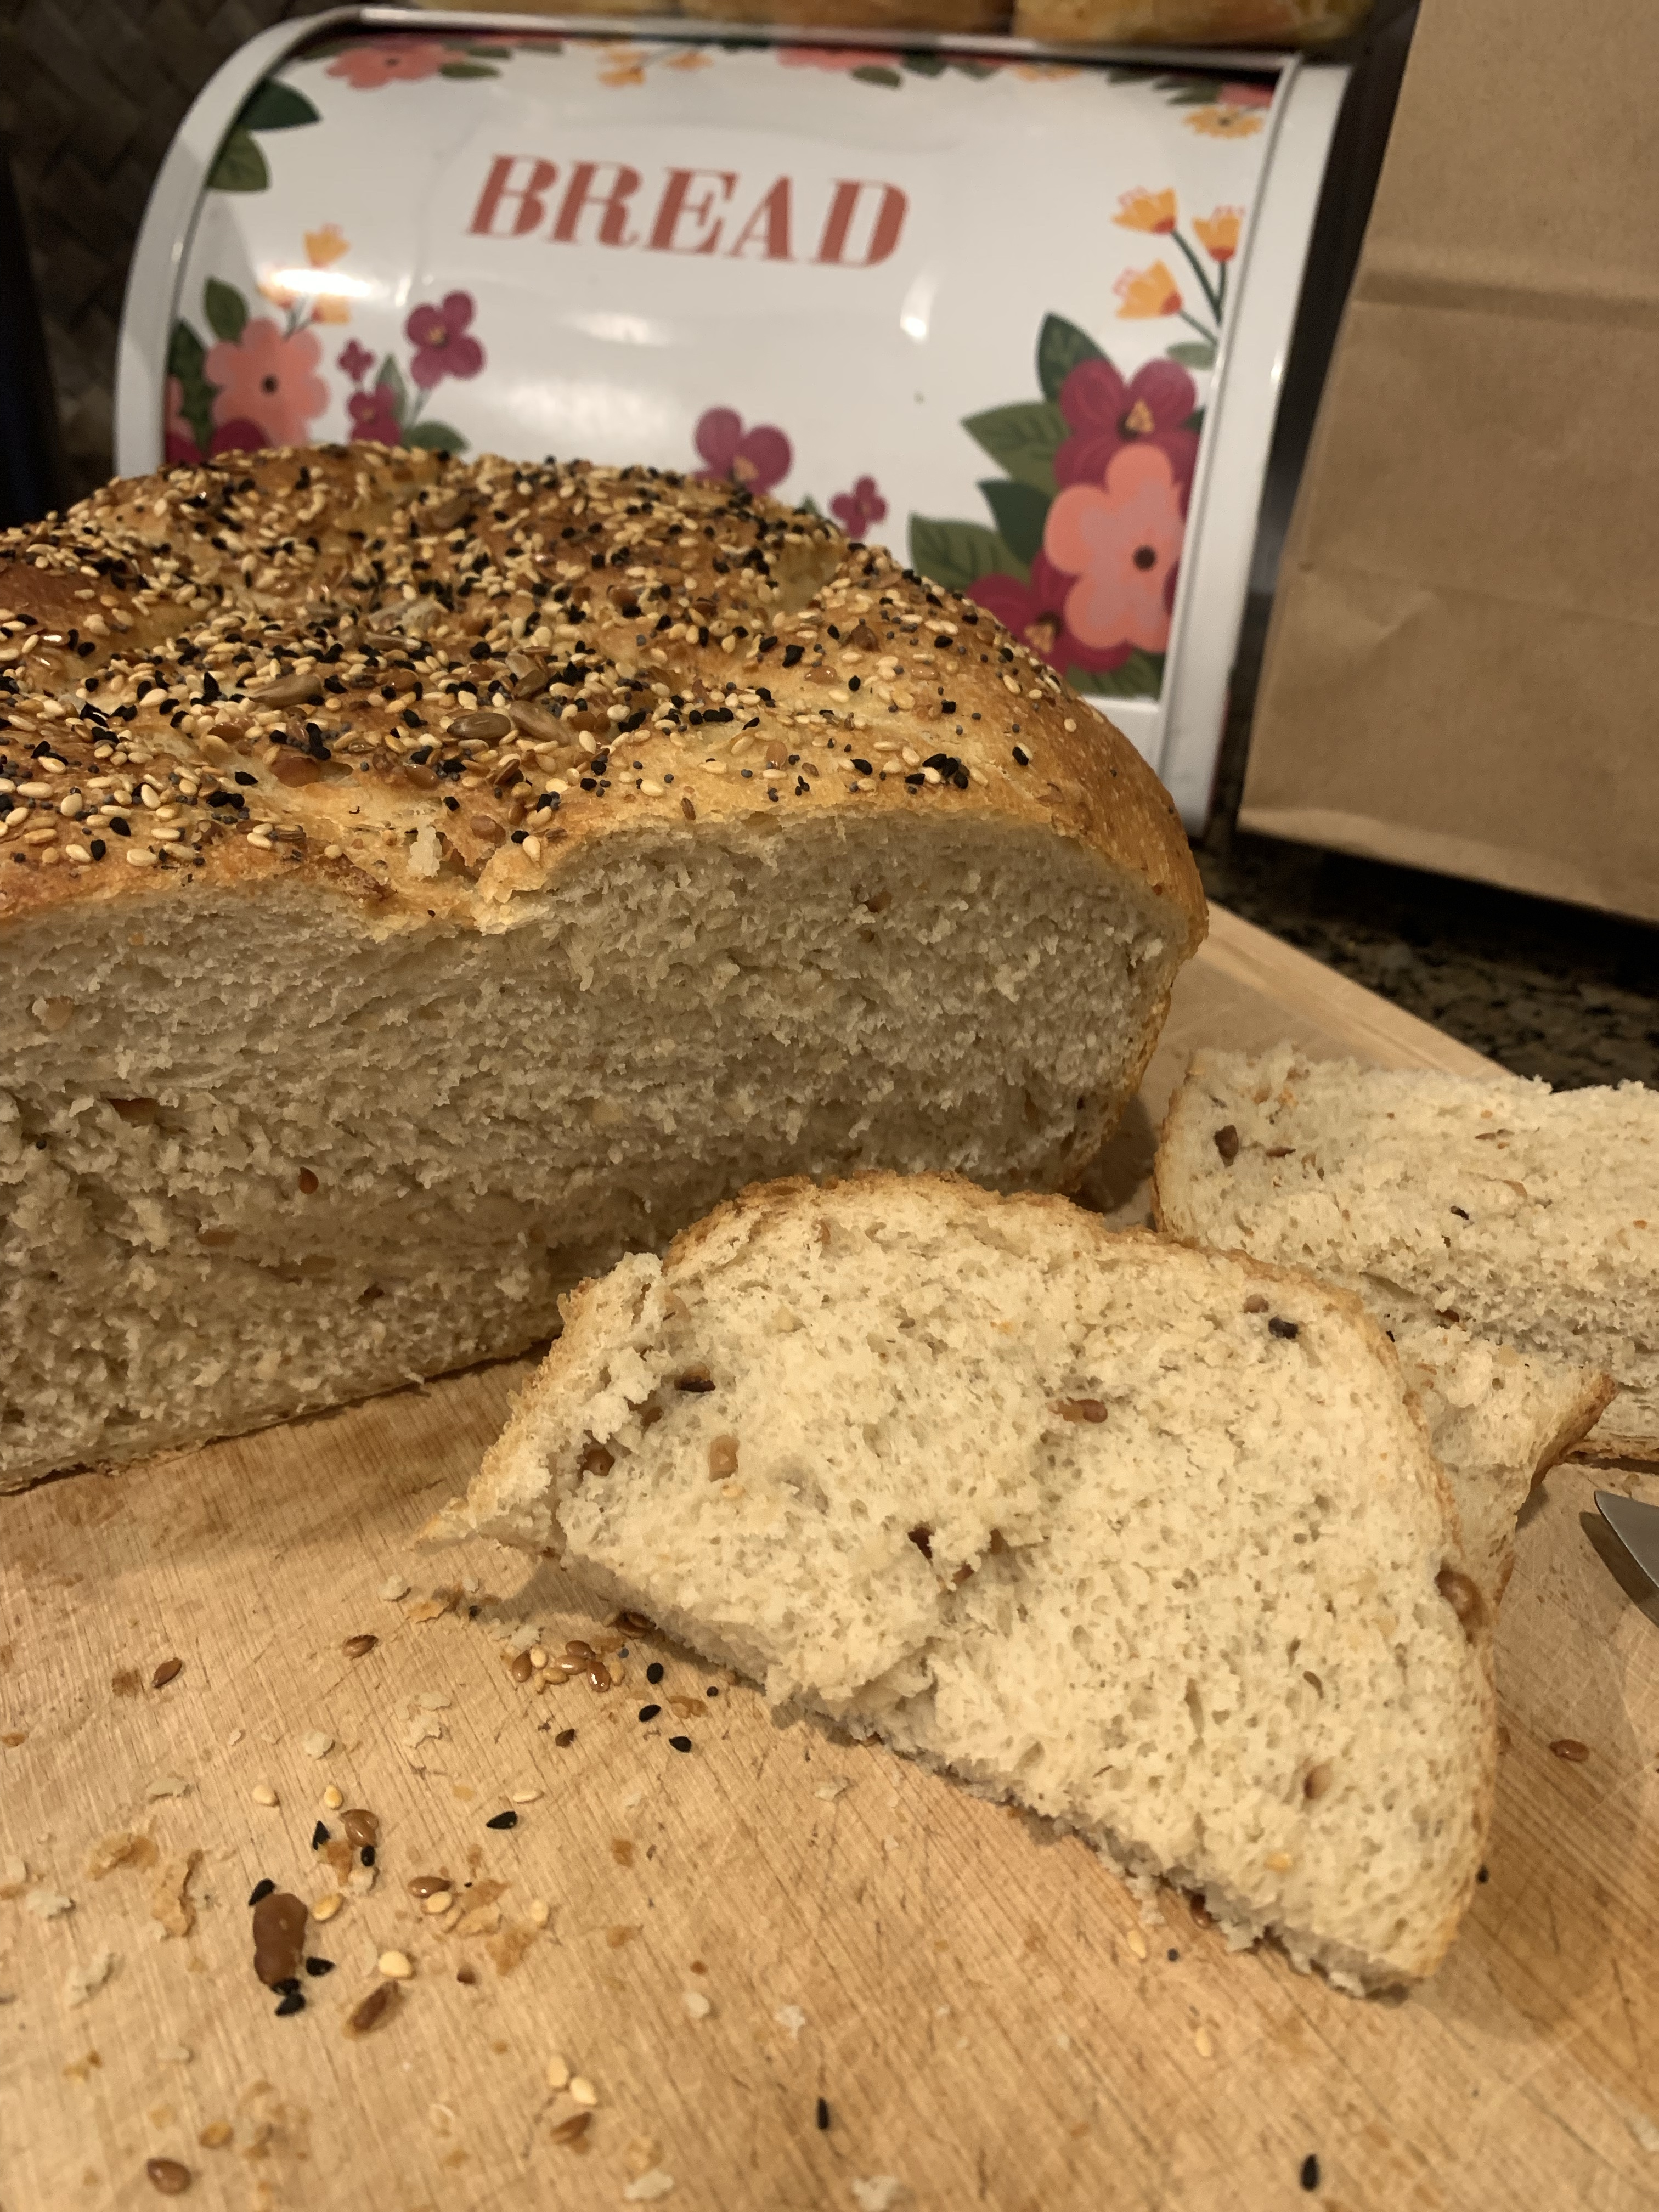
Version 1 was excellent. Version 2 was excellent. Version 3 was excellent. All three had great, crispy crusts and a soft tender crumb on the inside.
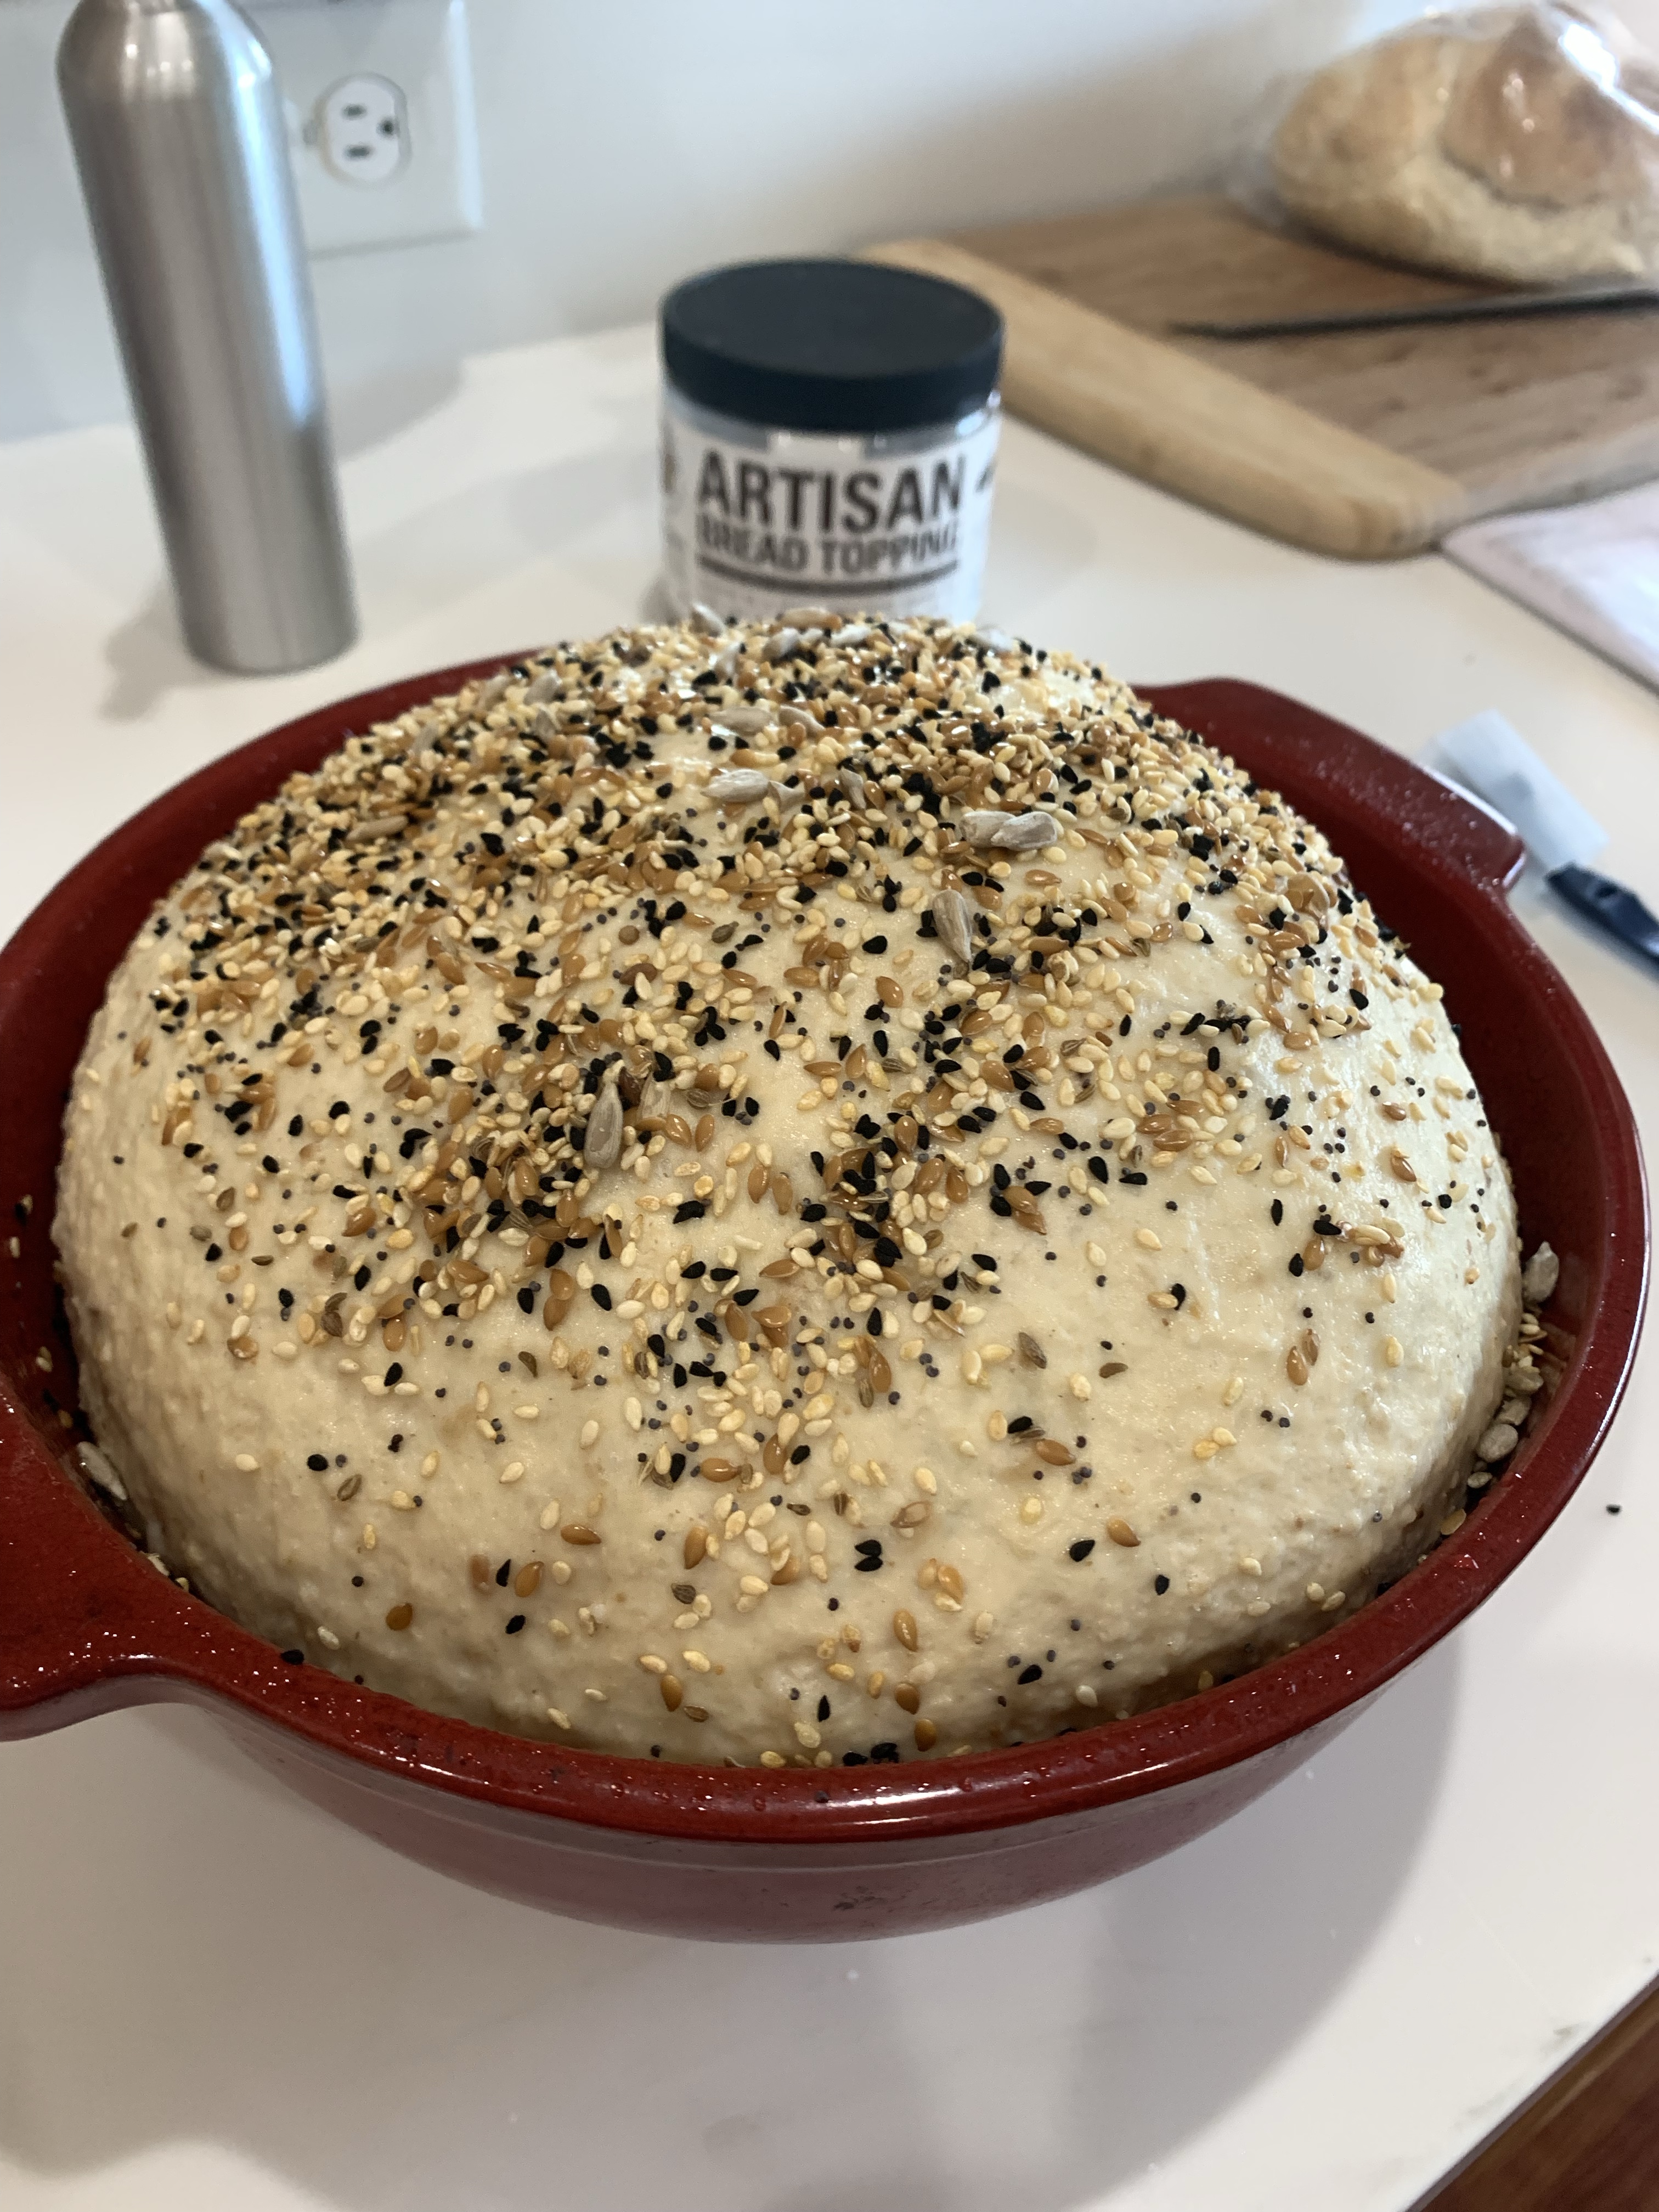
My current favorite is (was) my high hydration honey no-knead bread, but this may be my new go to. It’s even easier than the honey no-knead. Simply mix everything together the let it ferment for 2 hours. Gently pour out, (I do mean pour, it is high hydration, slack and sticky,) minimally shape and bake. All done!


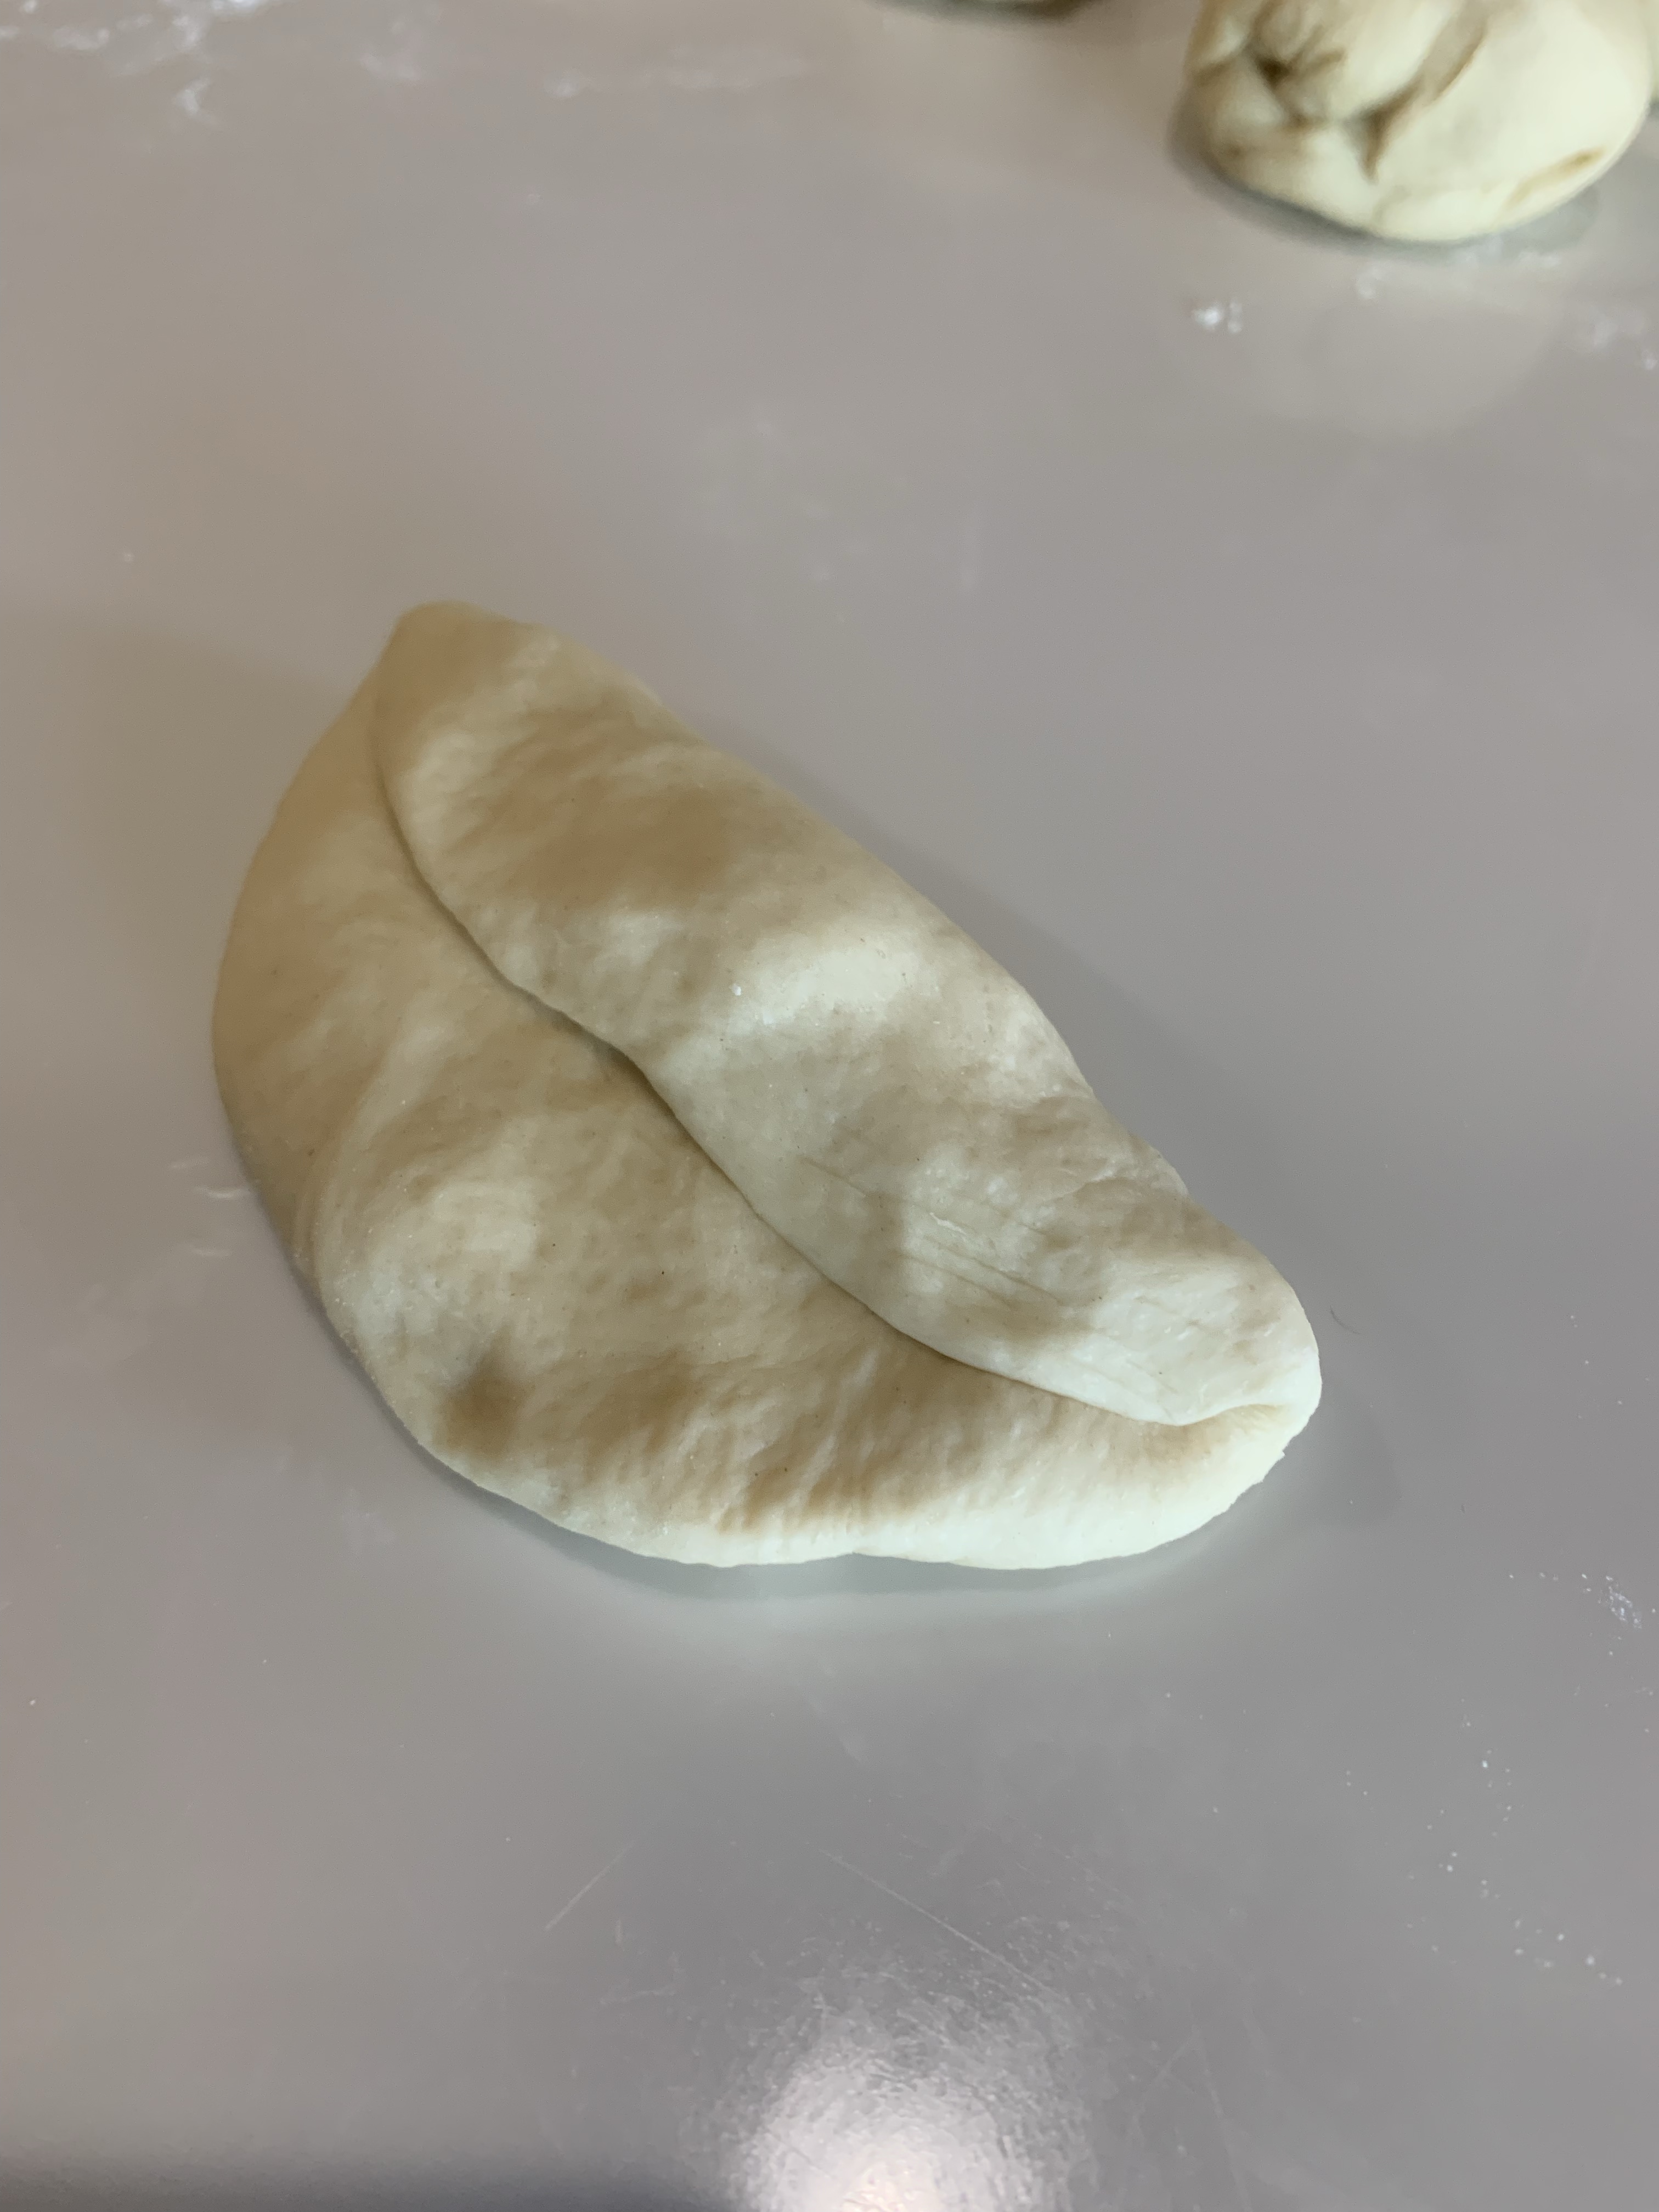
My goal is to create larger holes in the bread. Version 2 (center) and 3 (right) were the best. I overworked the fermented dough a little too much in Version 1. Try, try, and try again!
Rustic Italian Bread
INGREDIENTS
• 380 g AP flour + more for dusting
• 20 g (3 Tbl) Bread Enhancer
• 1 tsp sea salt
• 350 g warm water
• 2 tsp active dry yeast
METHOD
- Add the flour, enhancer, salt and yeast to your stand mixer. Use the paddle attachment to mix and combine so no dry patches remain.
- Add the warm water and mix until everything is incorporated and a soft, wet dough forms. It will be a slack, sticky dough.
- Loosely cover the bowl with plastic and let the dough rise at room temperature (See tip below) for 2 to 3 hours or until doubled in size.
- Dust your kitchen counter with flour and scrape the very sticky dough out with a bowl scraper.
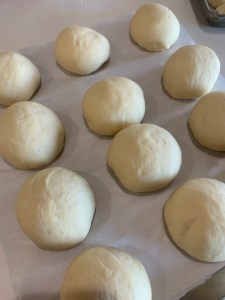
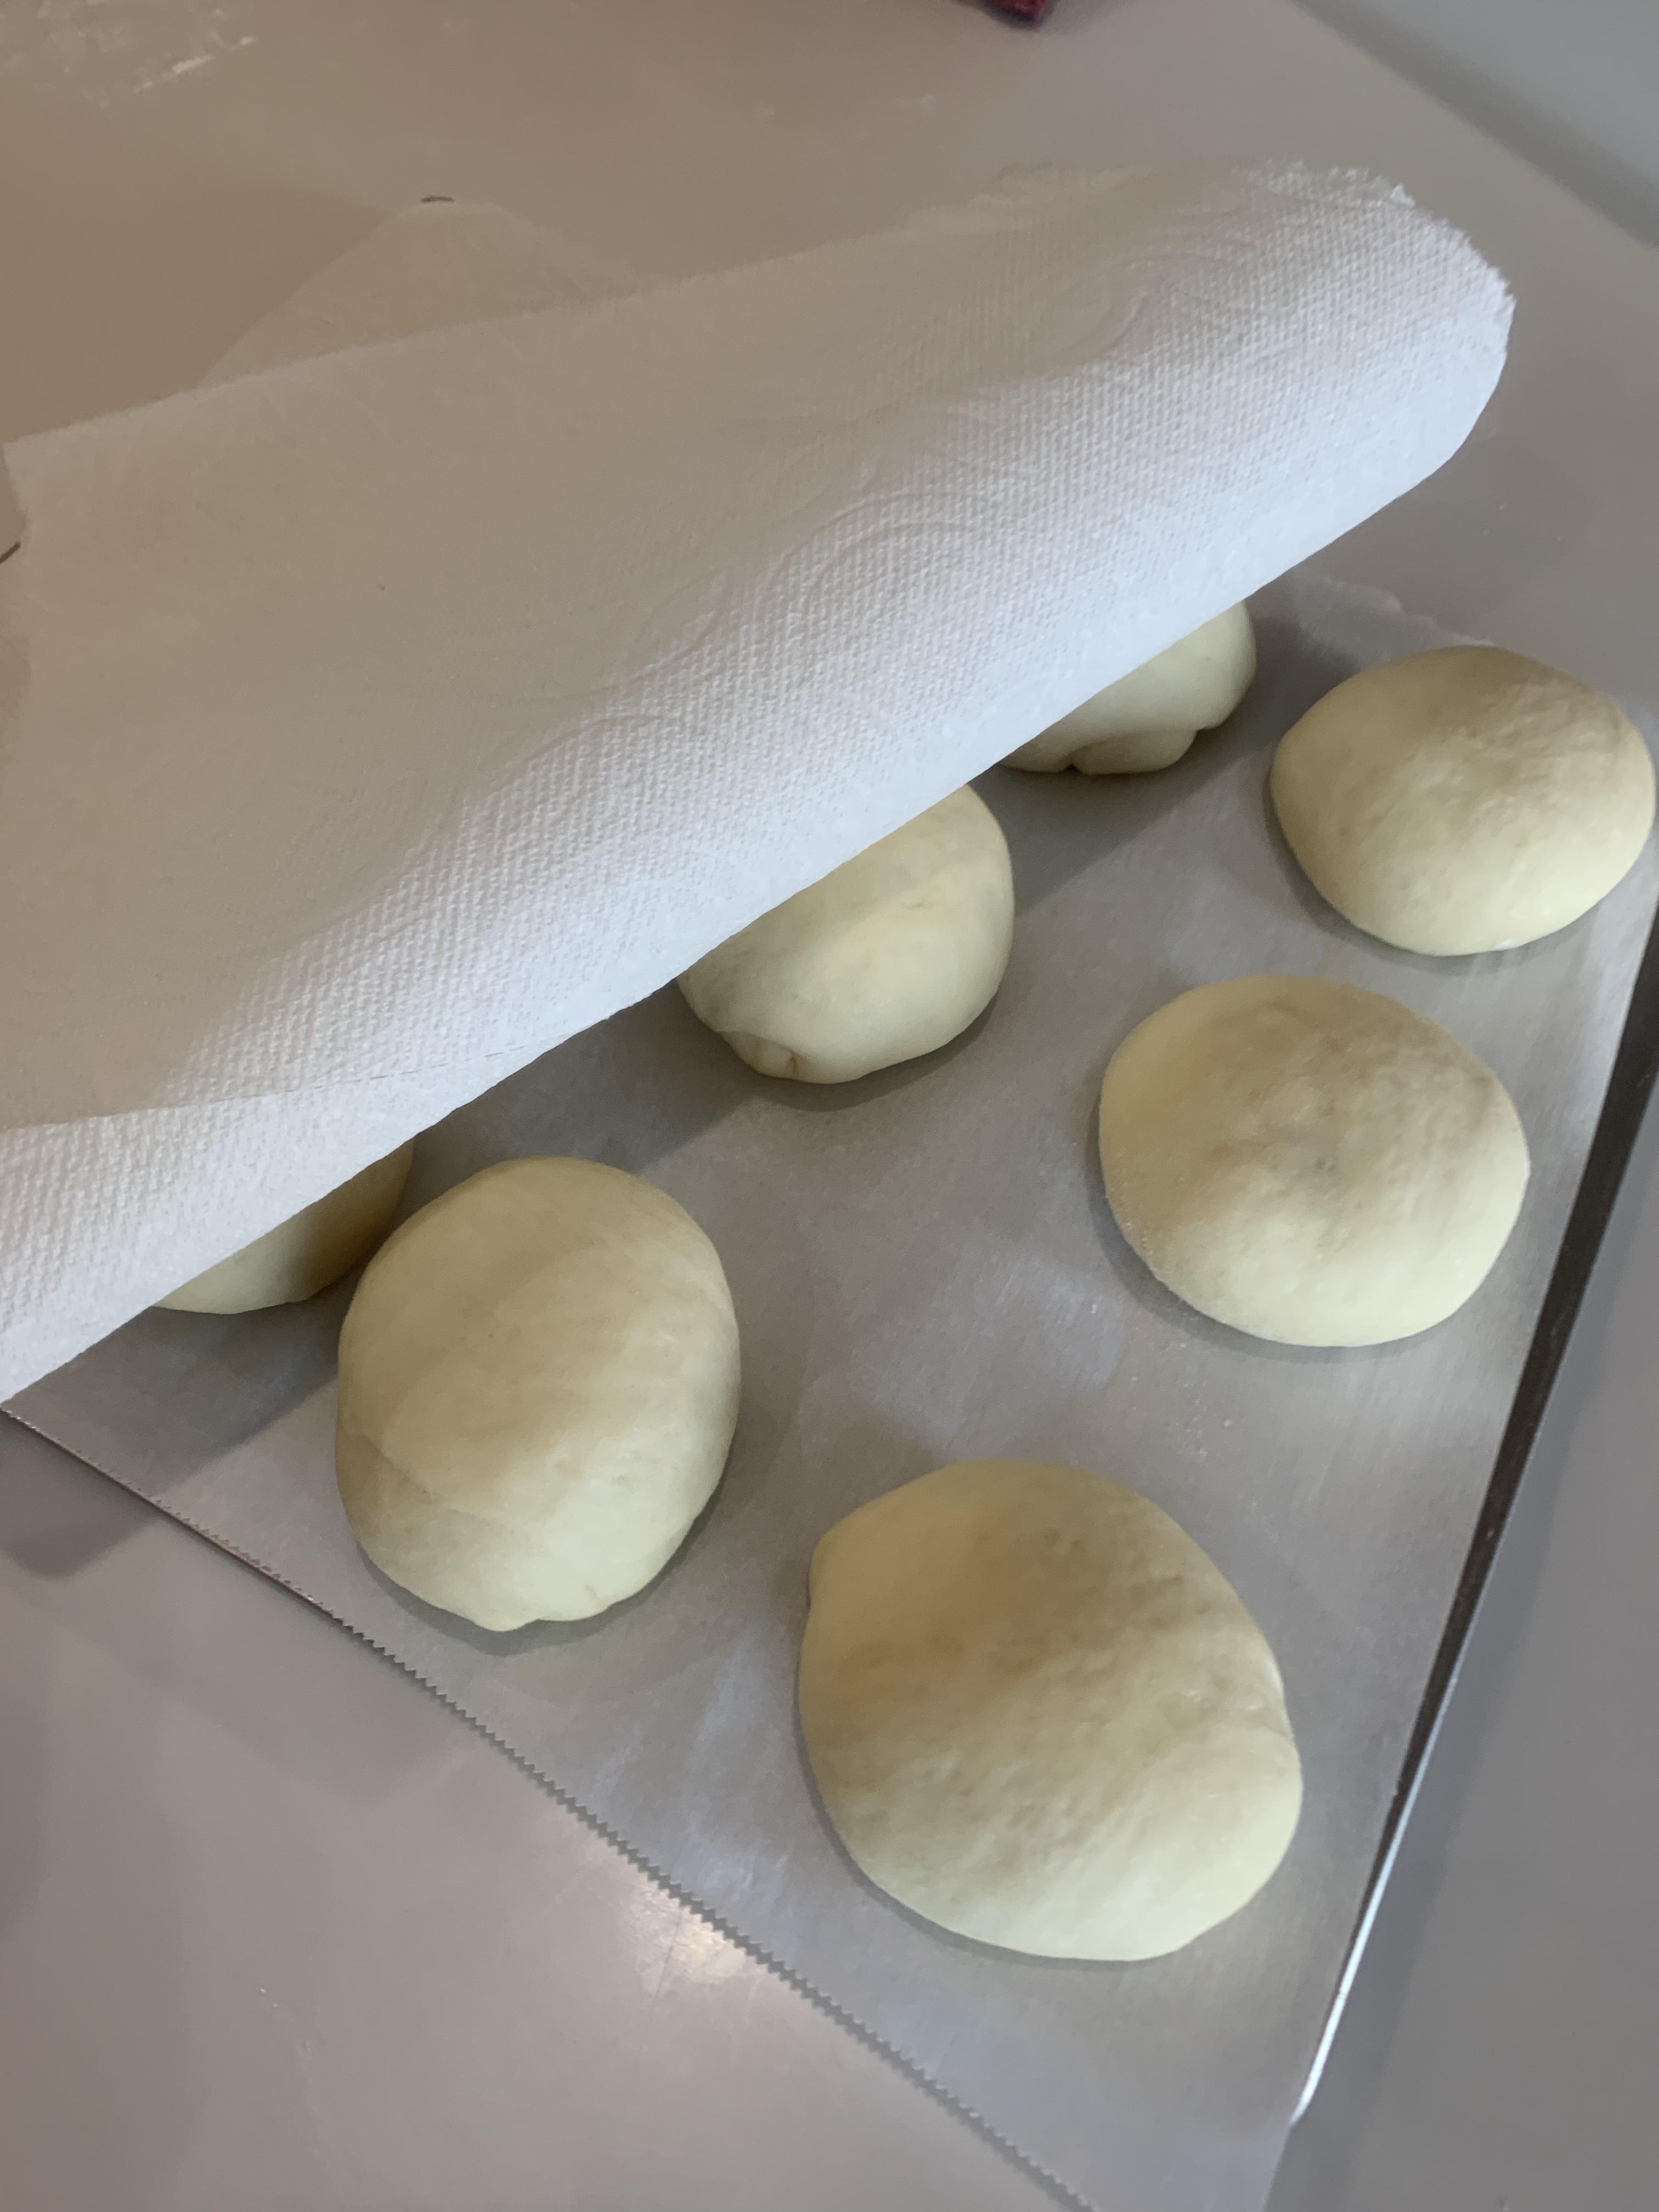
- With floured hands shape the dough into a ball (or batard,) deflating it as little as possible.
- Line a banneton with parchment paper. (See tip below)
- Place the ball of dough in the lined banneton smooth side up and let it rest while your oven heats up.
- Use a sharp knife or lame to lightly slash an X in the top of the loaf.
- Preheat your oven to 450 F with a dutch oven inside for about 45 minutes before baking the bread. Fill an oven proof bowl with 2 inches of water and place it on the bottom rack.
- Once hot, carefully transfer the bread loaf into the dutch oven using the parchment paper.
- Cover with the lid and bake for 30 minutes. Remove lid and bake another 5 minutes until golden brown on top. The internal temperature should be 205 F
- Remove the bread from the dutch oven and transfer to a cooling rack or it won’t stay crispy.
TIPS
- Lining a round banneton: Crumple parchment paper starting from the edges. You should end up with a ball which will smooth out to fill the round banneton
- Room temperature proofing: I like to put the bowl in an “off” oven with the light on. In the winter my kitchen tends to be cool (62-65 F) My “off” oven with the light on is 78o F.
From King Arthur Baking’s Cake and Bread Enhancer: A “miracle” ingredient for your cakes!
(From KAB) Our bakers have called this the “miracle” ingredient for many reasons: it makes cakes and other baked goods softer, moister, and helps them stay fresher longer. Our blend contains vegetable fats that act as emulsifiers, allowing the fats and liquids in your favorite recipe to combine more easily. The enhancer also acts as a stabilizer and texture enhancer. Cake enhancers are commonly used in professional bakeries to keep breads fresh and soft, and help cakes stay light and fluffy. It’s especially great for making soft sandwich loaves.