I like to keep a dozen or so hamburger rolls in the freezer for ‘impulse’ dinner nights. (You know what I mean: “What do you want for dinner?” “I don’t know, what do you want?” The one constant through all the years, Ray, has been… hamburgers. We always agree on hamburgers. My supply was down to three, meaning there was plenty of room in the freezer for more.
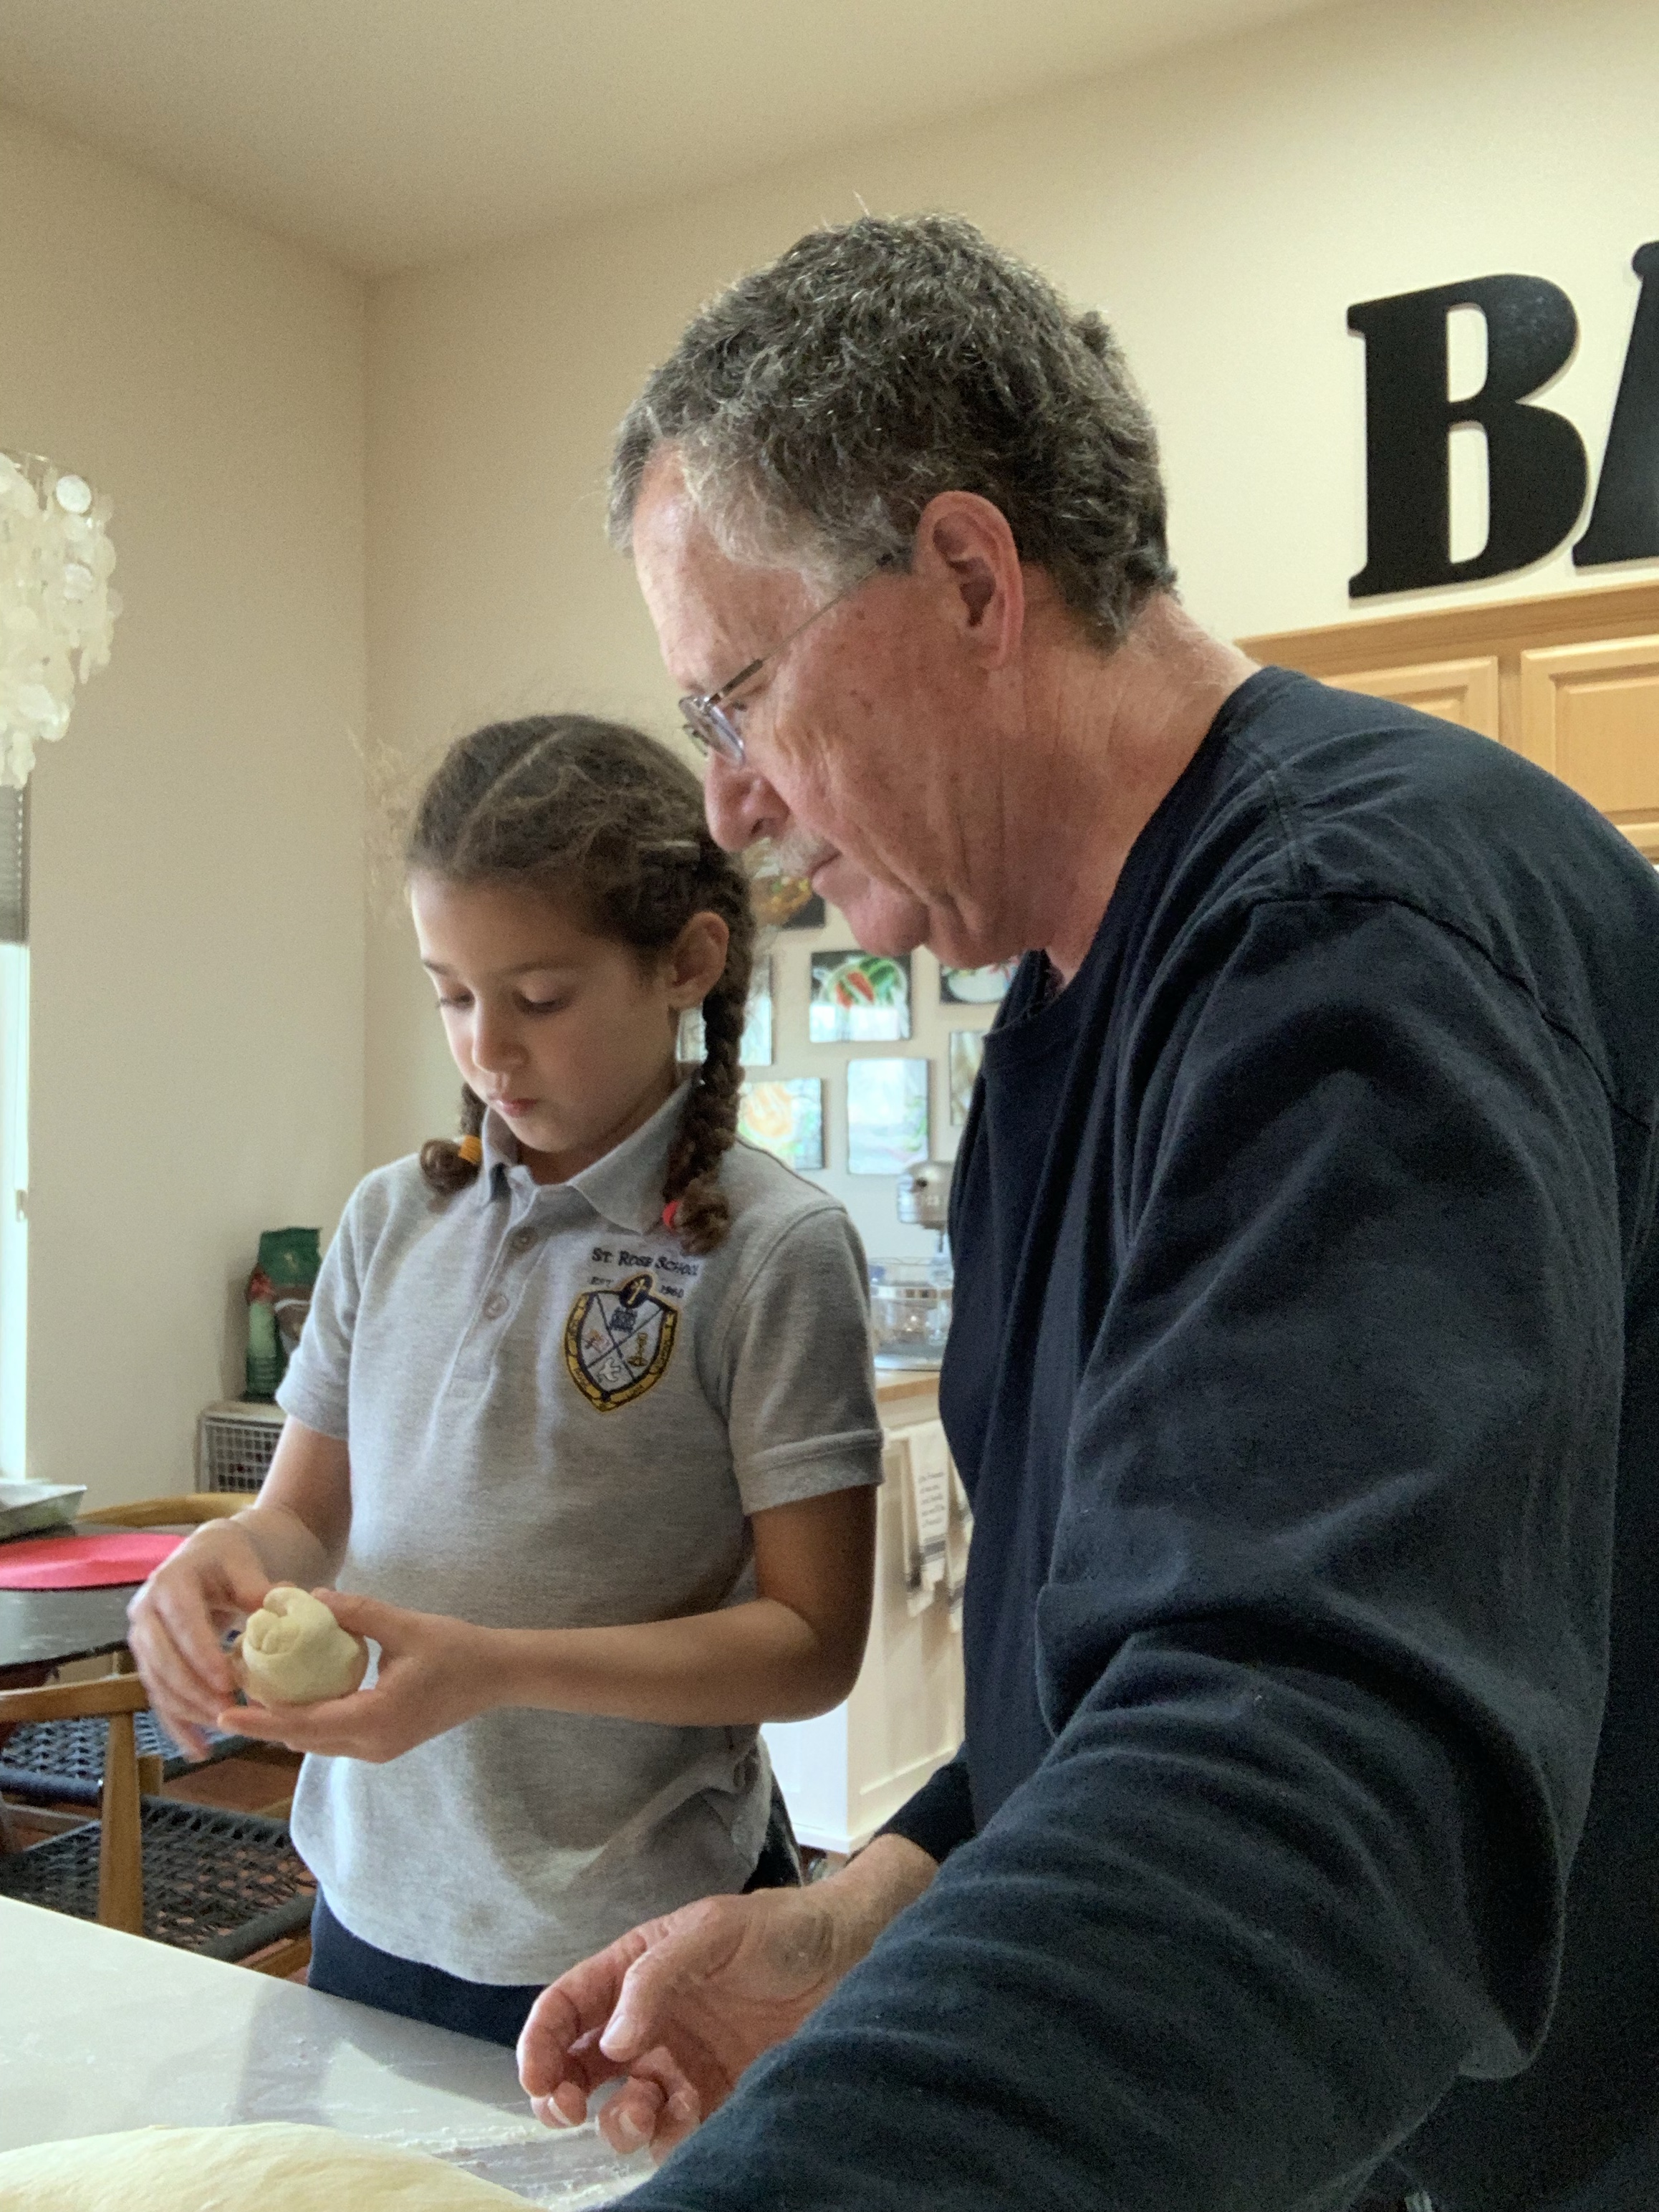
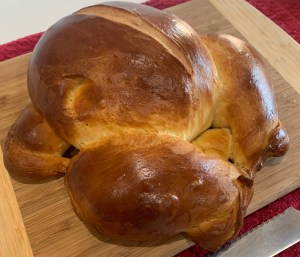
Since I found (and made) a new recipe for dinner rolls with one of my granddaughters yesterday, I decided to make some hamburger rolls today. Also, I wanted some homemade hotdog rolls and this was a perfect opportunity to fulfill that wish. This bread is very briochey. The addition of milk, butter and eggs enriches the normal bread dough resulting in a soft, moist, delicious bread.
A question I am often asked is: “how do I know when I have the right amount of flour in the dough?” I am not sure mine’s the ‘correct’ method, but once the dough starts to clean the sides of the stand mixer bowl, I add flour by the tablespoon until the bottom is clean as well. The two short videos following show the dough cleaning the side of the bowl, and, after adding a few more tablespoons, the bottom.
You probably already know this but the difference between dinner rolls as posted yesterday and the hamburger rolls in todays post is how far apart each ball of dough is positioned when baked. The dinner rolls were allowed to grow together in a baking pan and the hamburger rolls were more widely separated on a baking sheet.

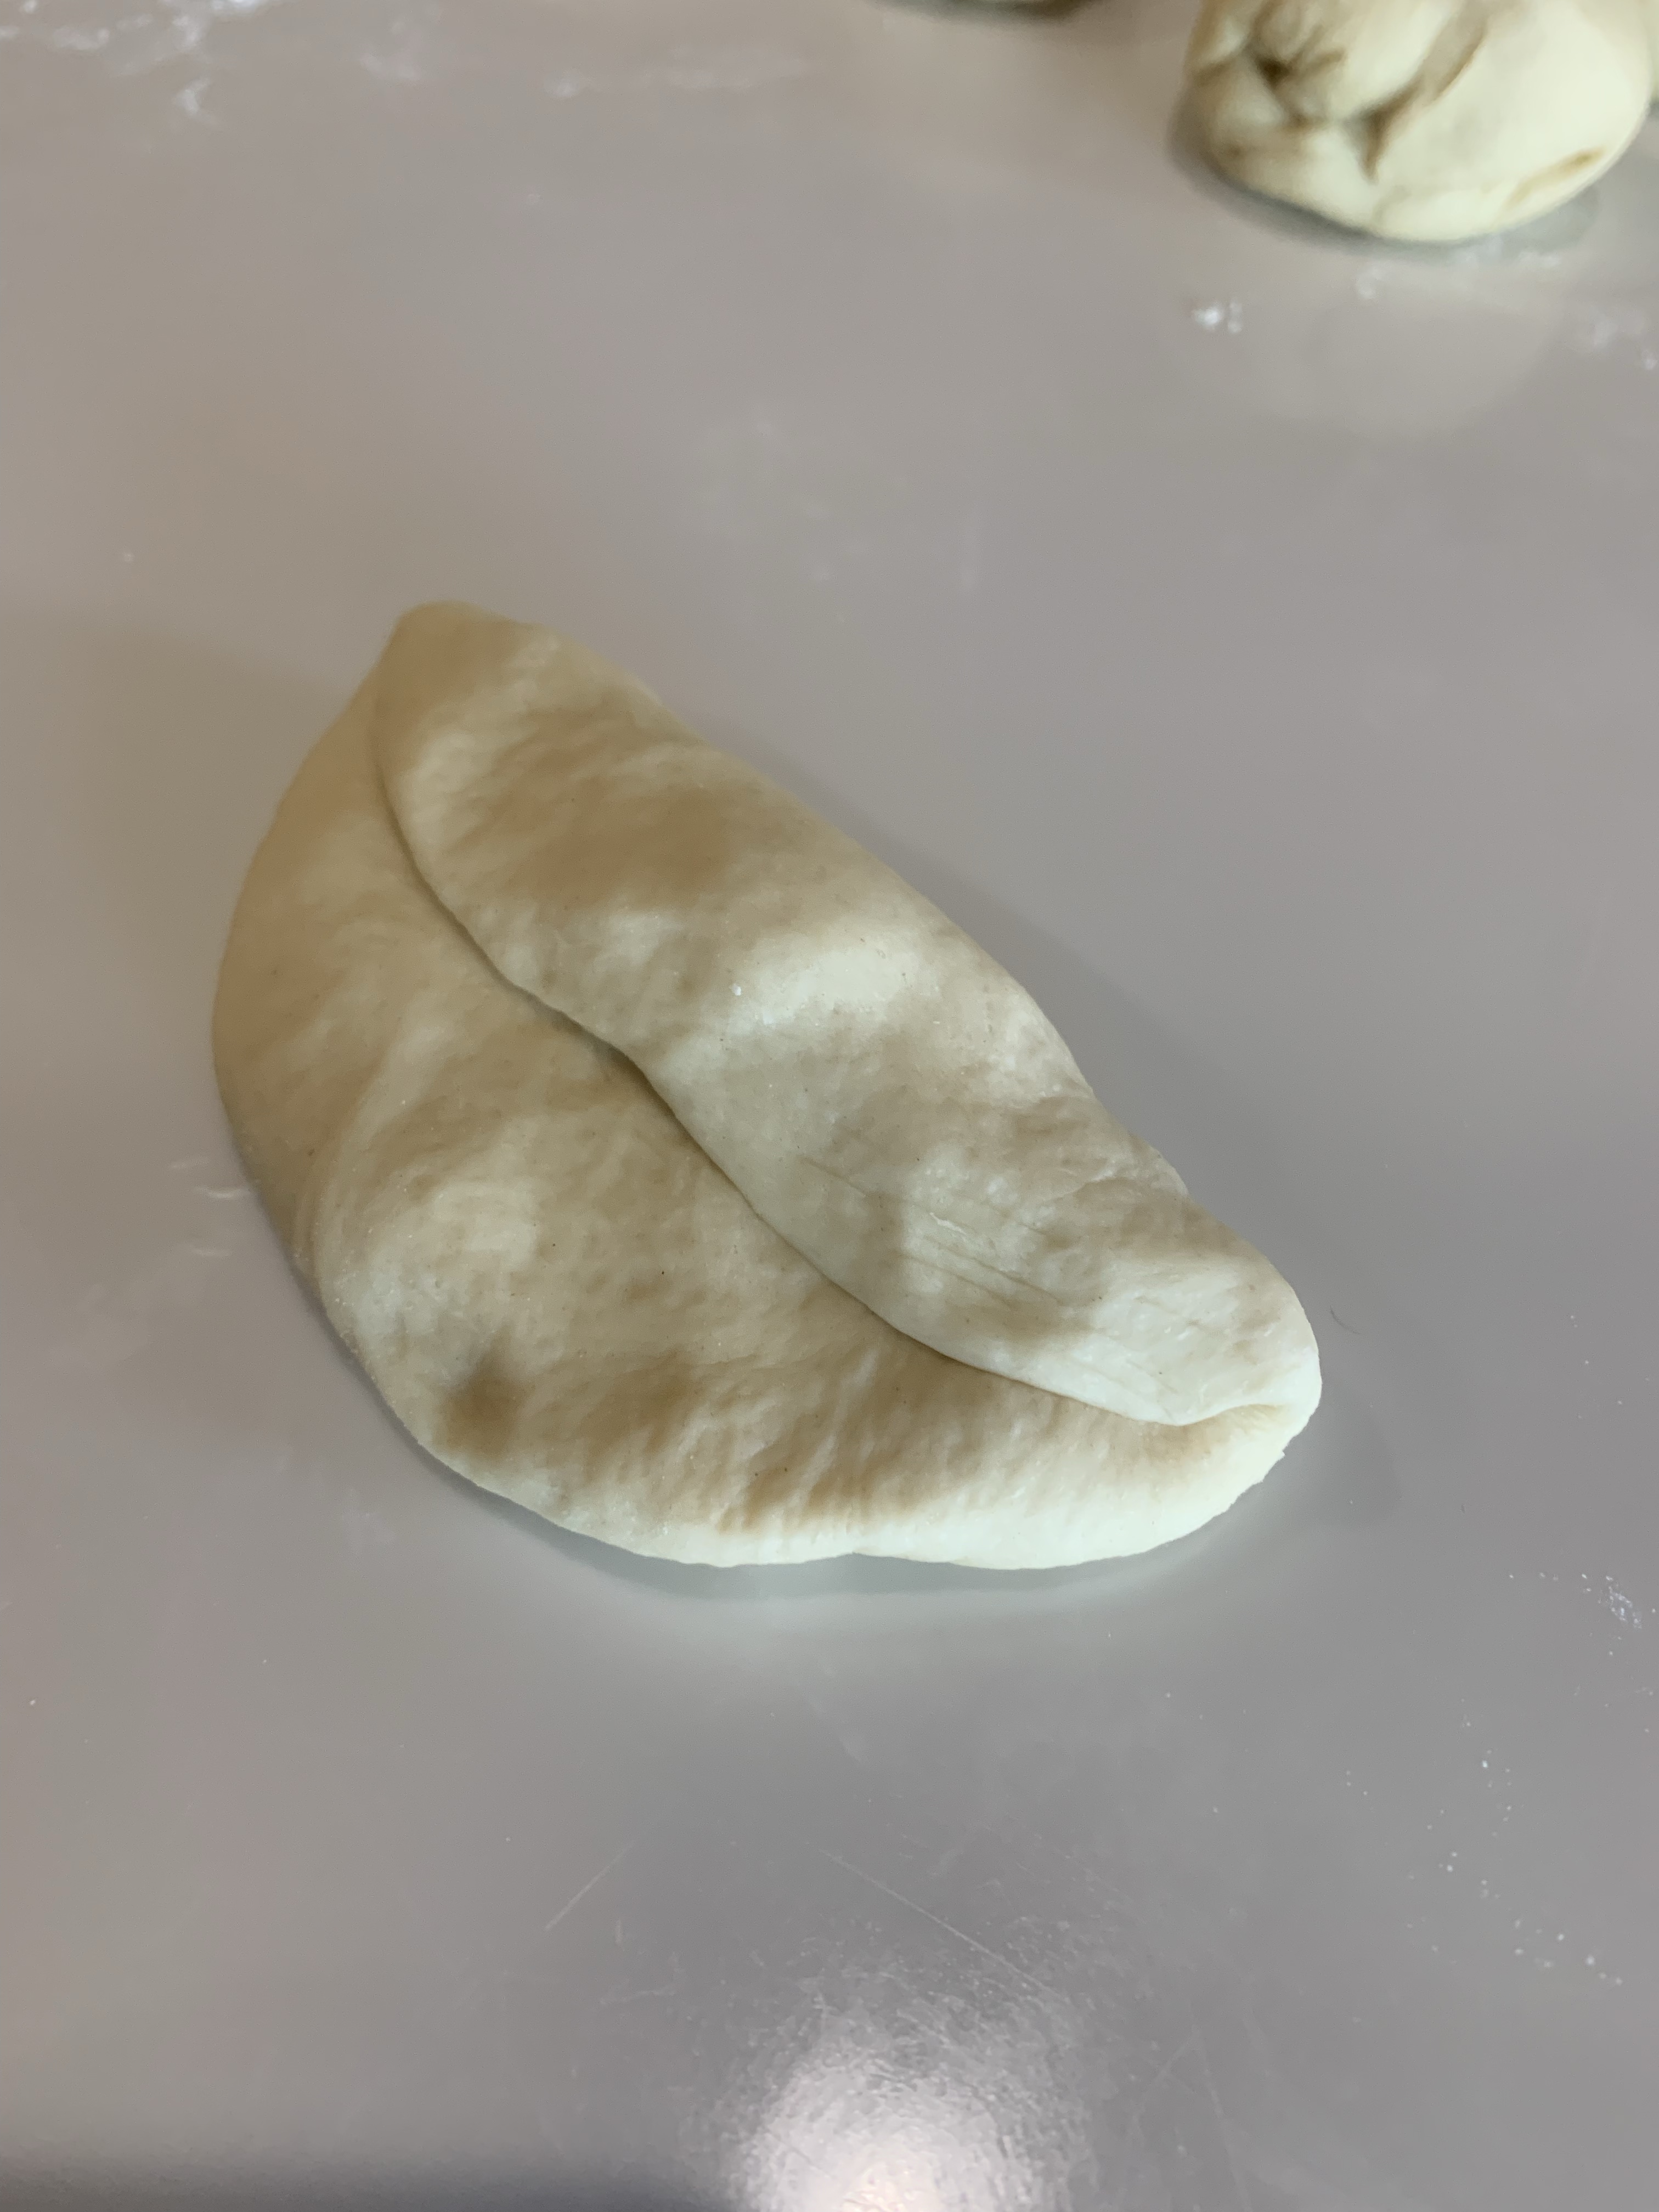
I found a few methods of forming the dough logs to make the hotdog rolls. One is to press or roll a portion of dough into a 3”x3” square, perform an envelope fold, pinch the joins together then roll out into the cylindrical shape, about 6” long and 1” diameter.


The other method (and the one I used for hotdog rolls #2 – 12) is to stretch and tension each portion of dough into a ball then roll out into a log 6” long. It seemed easier and faster than the fold and roll method.


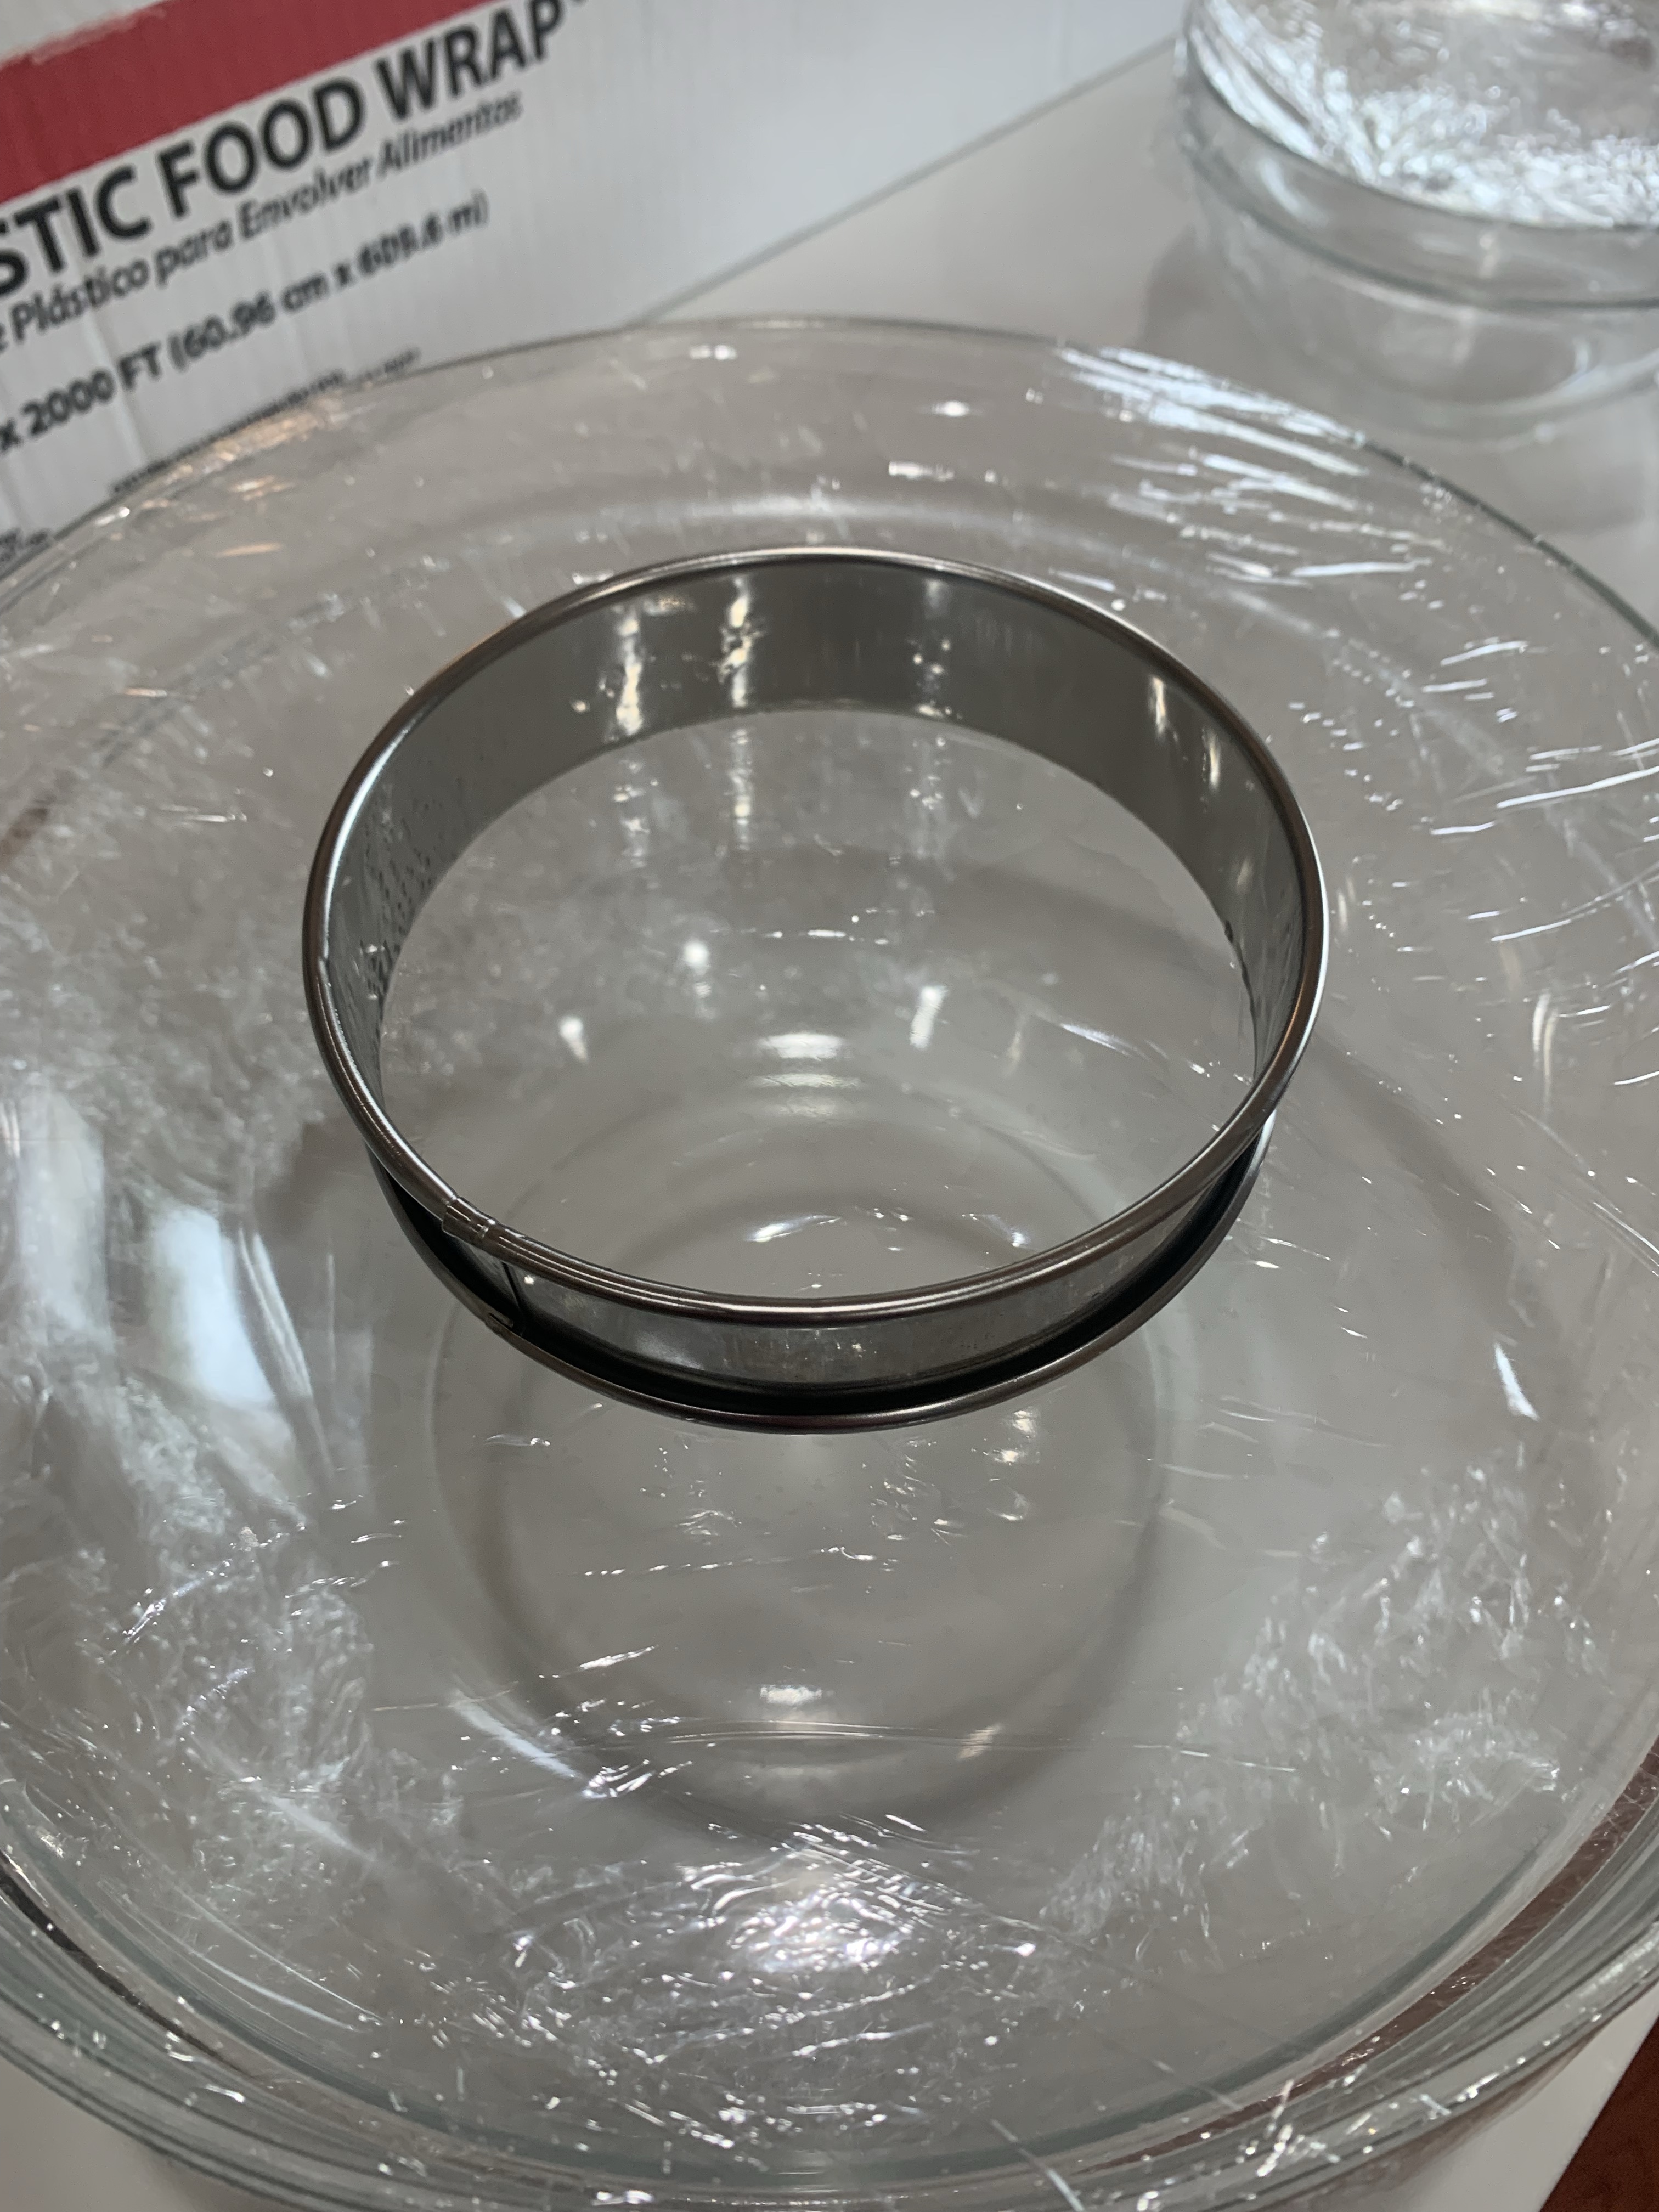
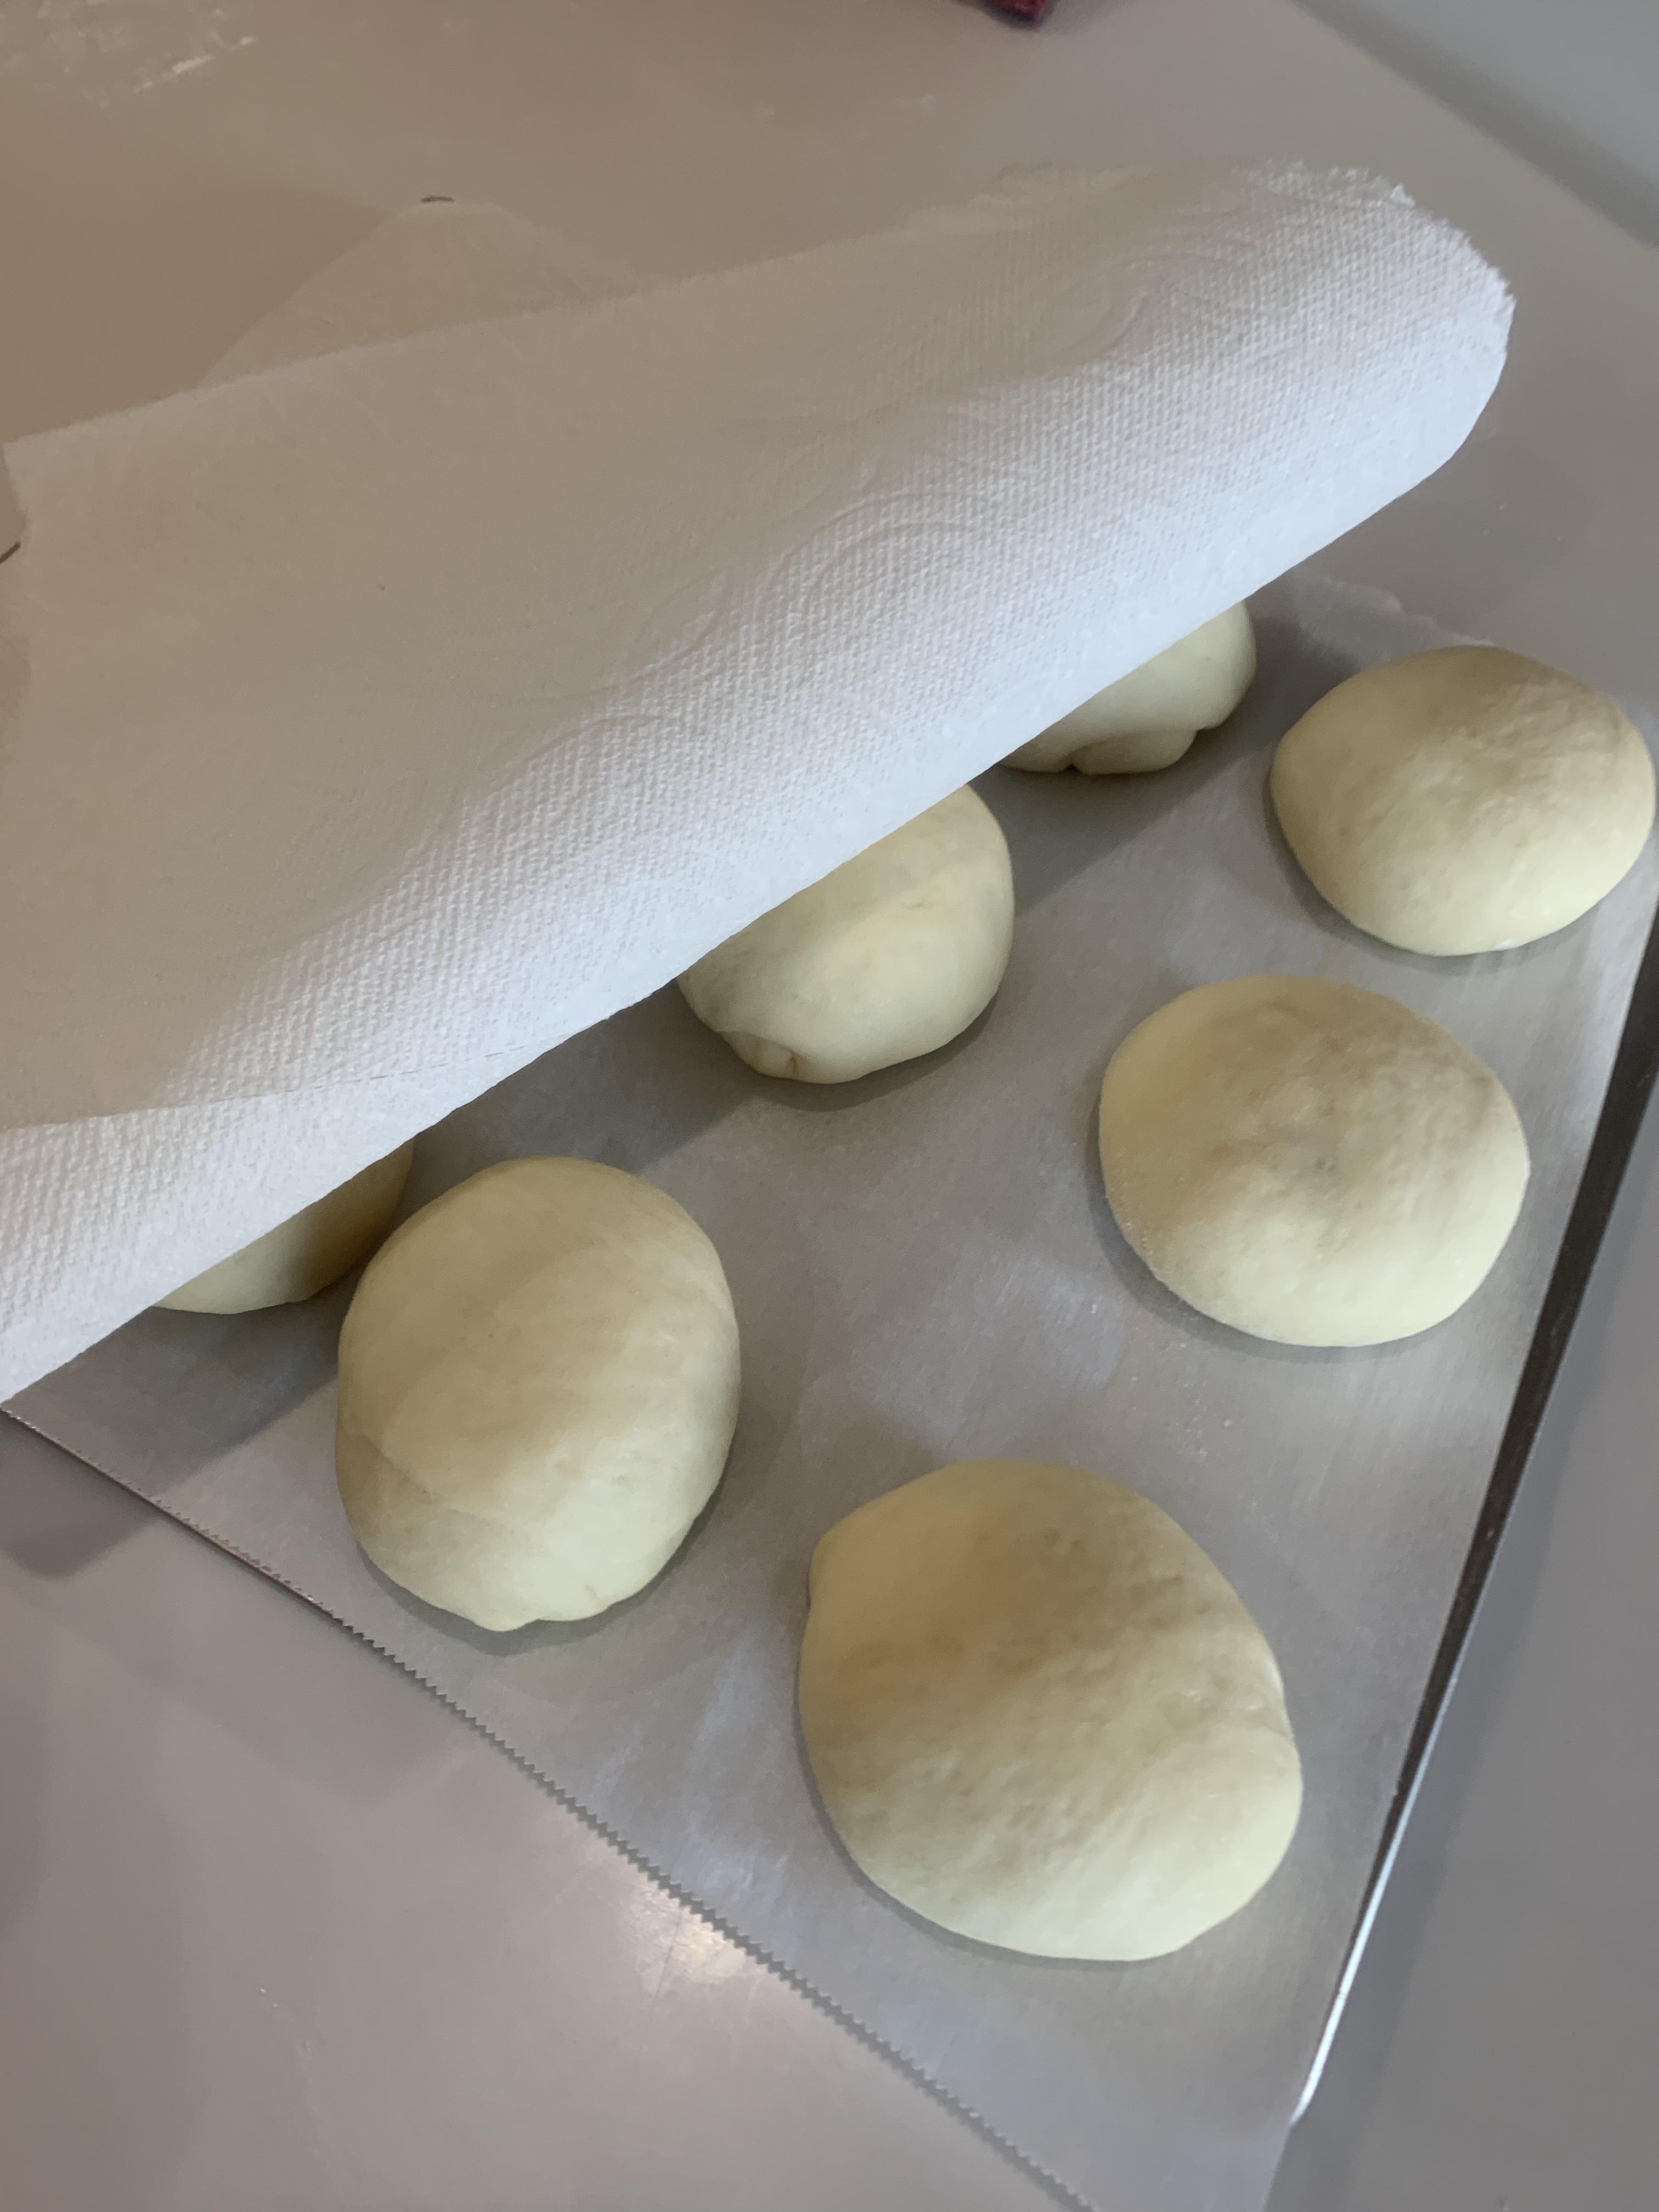
I like to cover the dough with a paper towel, then plastic wrap before putting them into the proofing drawer. I read this time somewhere that the paper towel reduces sticking. It works for me.

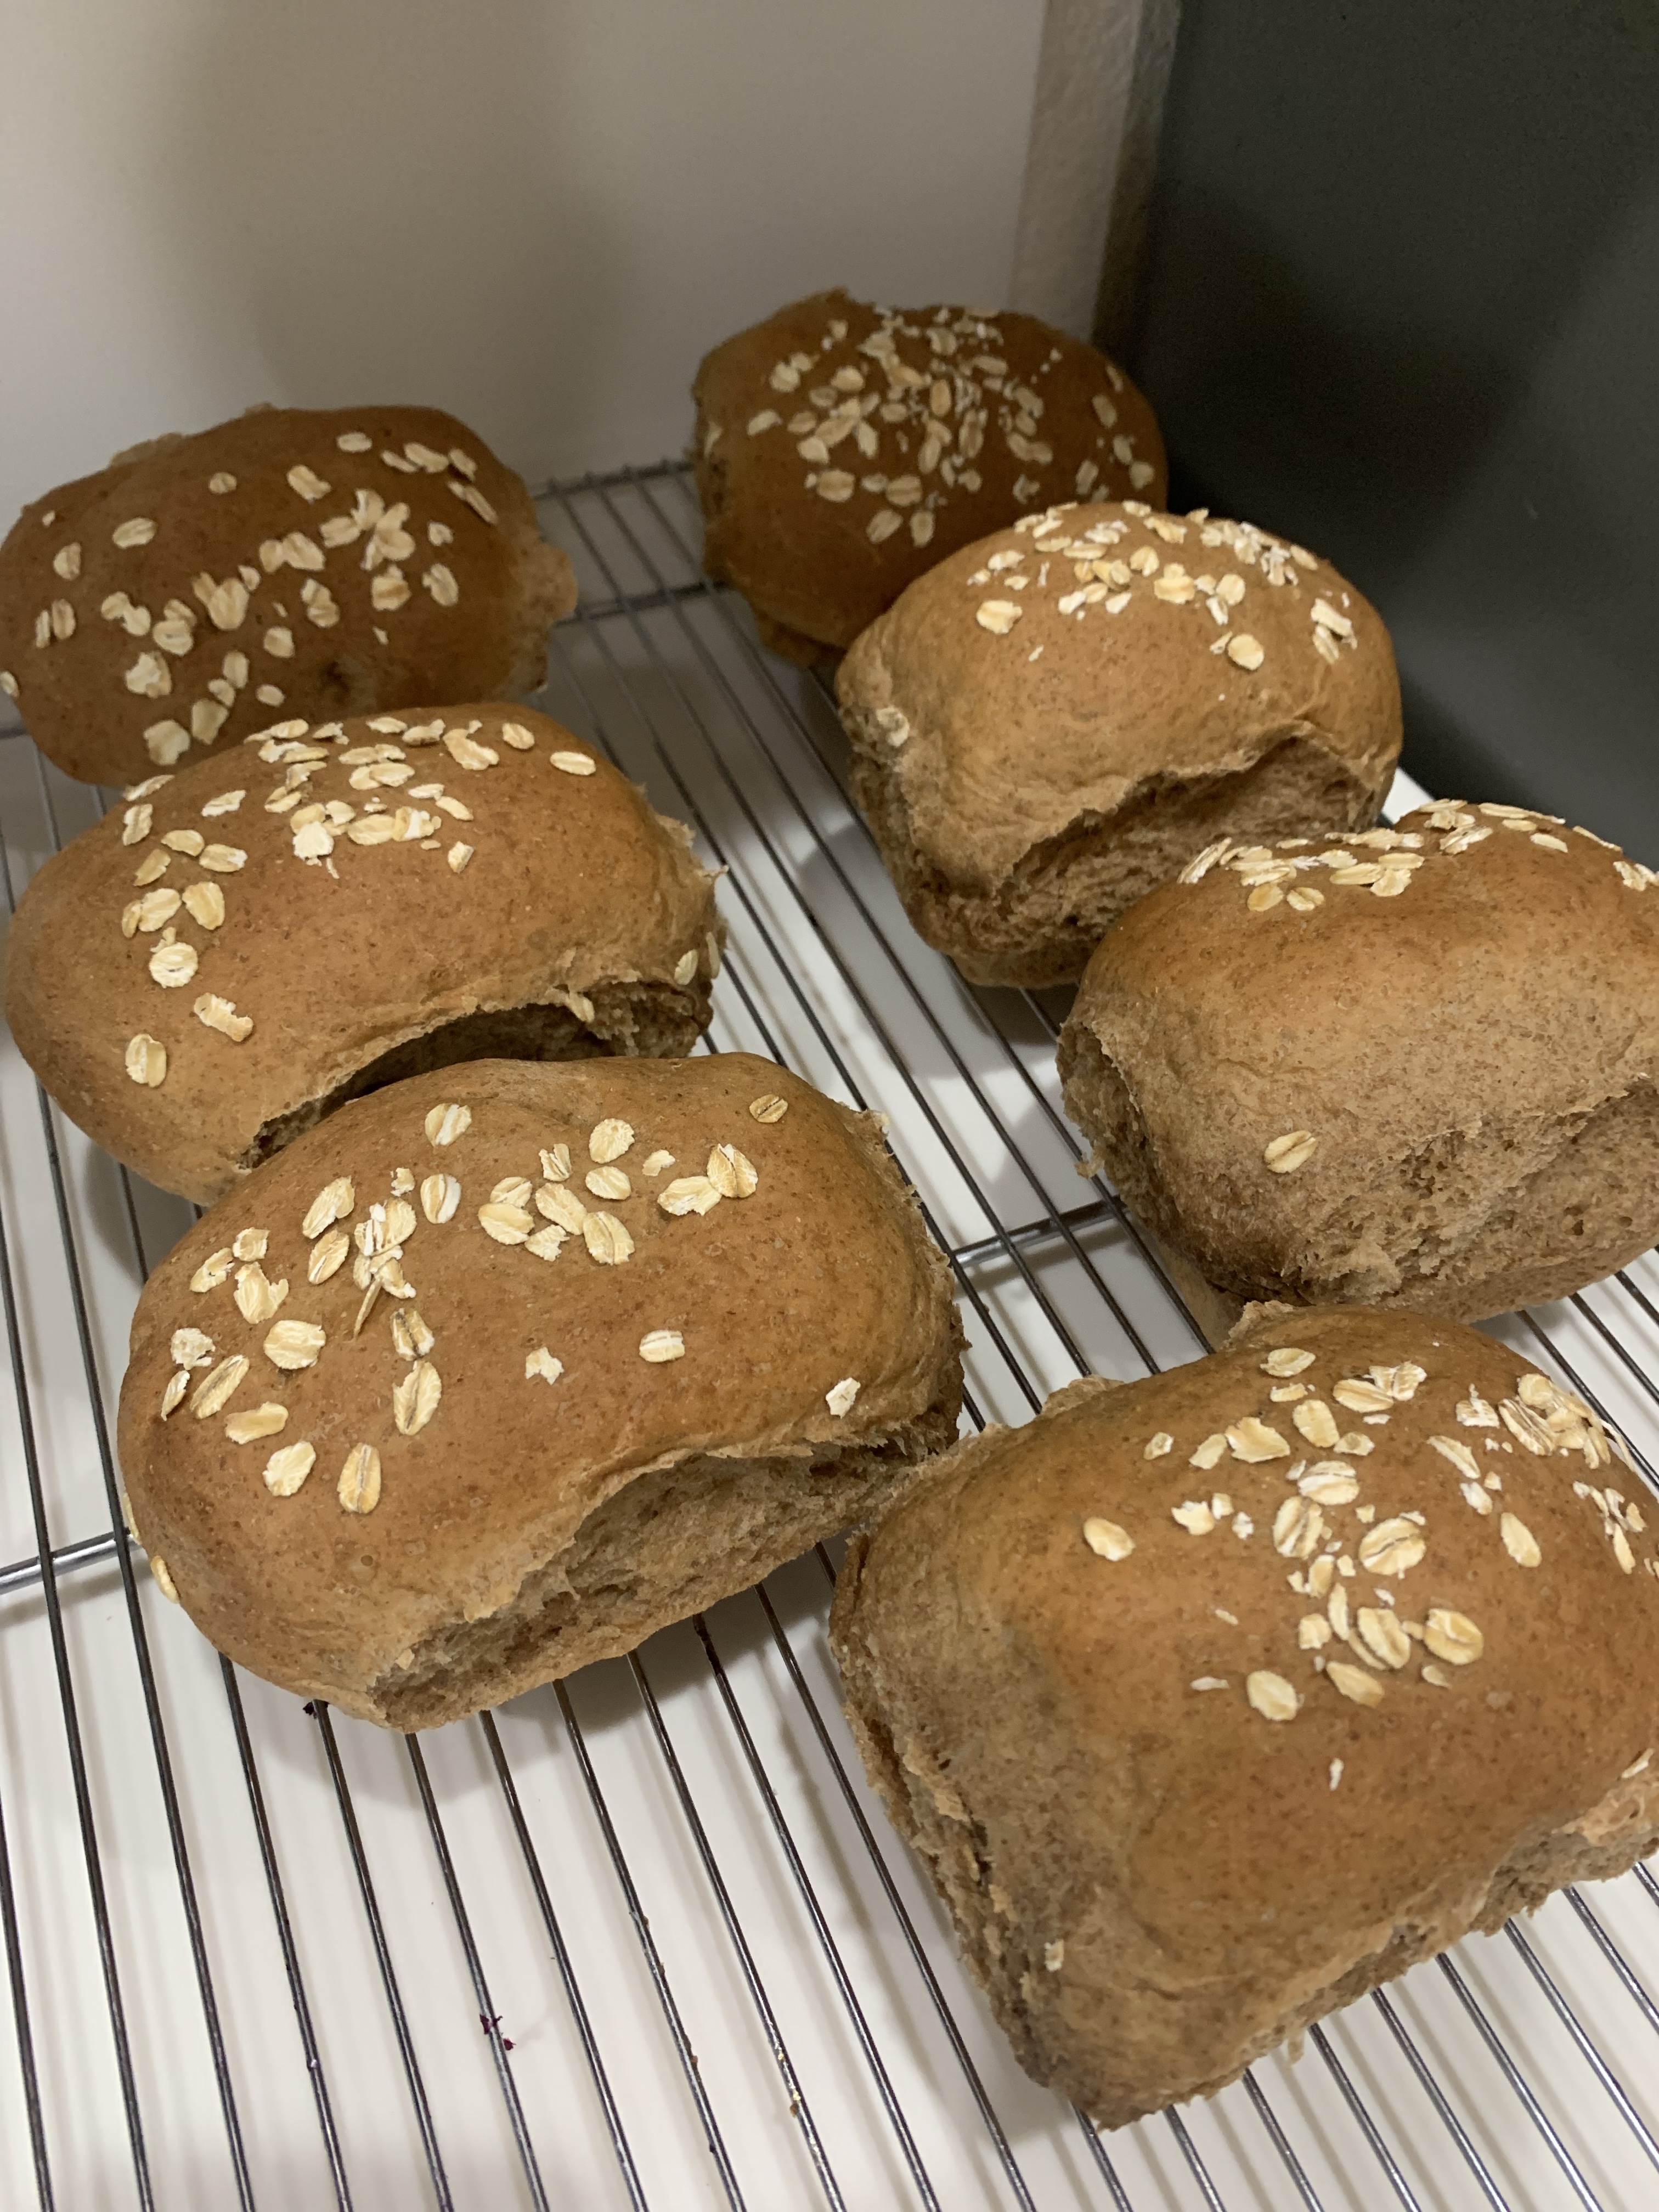
After proofing, the rolls are egg washed and baked for 12 – 14 minutes or when the tops are a nice brown and the internal temperature is about 180F.


Enriched Dinner, Hamburger and Hotdog Rolls
INGREDIENTS
• 488 g (2 cups) warm milk
• 2 tablespoons instant dry yeast
• 50 g white granulated sugar
• 2 teaspoons salt
• 6 tablespoons butter softened
• 2 large eggs
• 750 g all-purpose flour
• 1 tablespoon melted butter
METHOD
- In a stand mixer bowl, combine and mix all ingredients except the flour.
- Add in 5 ½ cups of flour. Using a dough hook, turn the mixer on and increase speed slowly to keep the flour from flying all over. Slowly add the remaining flour until the dough pulls away from the sides of the bowl. (I watch the bottom of the bowl and add flour until the dough just comes clean from the bottom.) The dough mixture should be sticky and soft.
- Transfer the dough to a lightly greased bowl. Cover and let rise 60 minutes, (until doubled.)
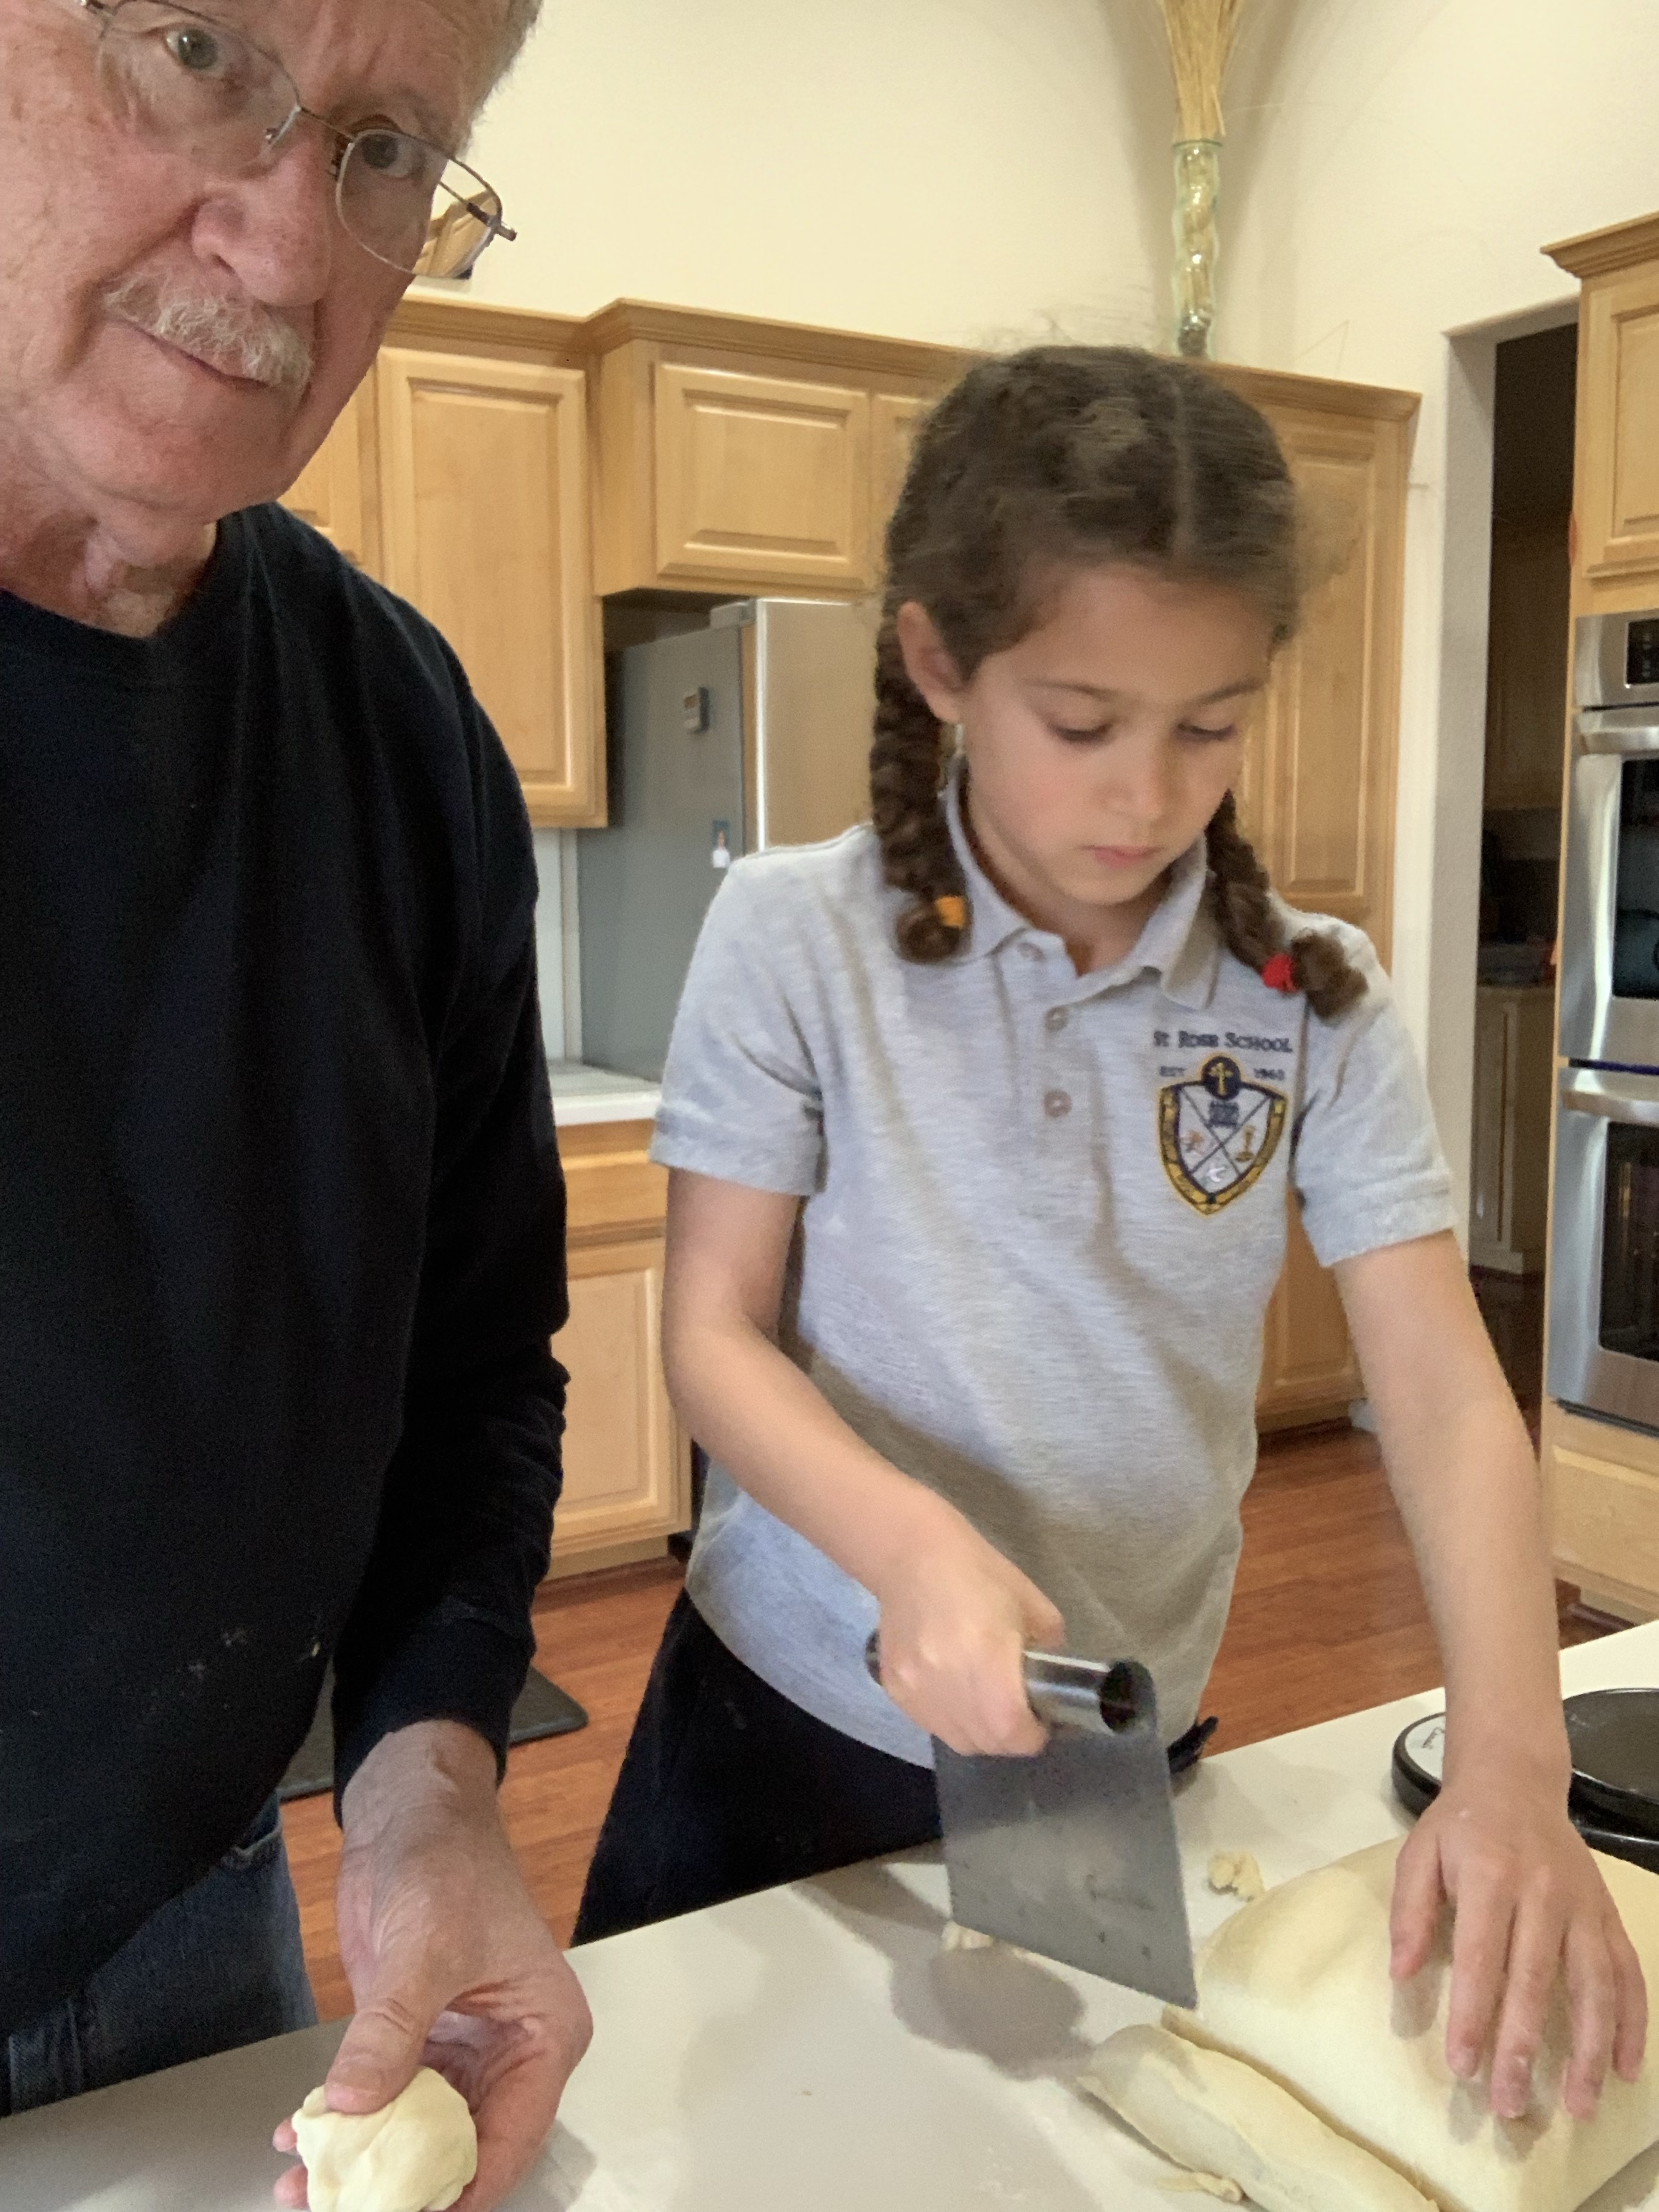
- Punch down the dough and form into 24 rolls. (My dough weighed 1630 g therefore, each roll should be 68g.) Place in an 11×15” greased baking pan. Cover and let rise 45 – 60 min.
- Preheat oven to 375 F. Bake the rolls for 12 to 14 minutes, until lightly browned.
- Remove rolls from oven and brush with melted butter. Best when served warm. To cool, let rest in the pan for 15 minutes then transfer to a wire rack. Once cooled completely, store in a plastic bag.
To Make Hamburger and Hot Dog Rolls
Use the same recipe as above. There will be enough dough to make twelve 70 g hamburger rolls and 12 hotdog rolls.
Hamburger
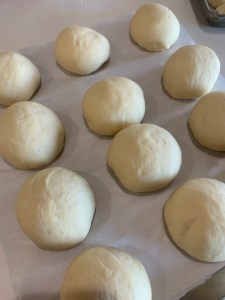
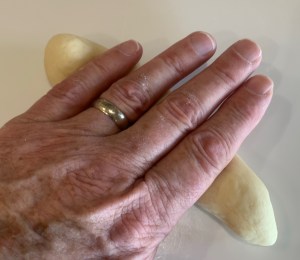
- Cut 70g portions of dough and stretch into a ball. Pinch the bottom together and tension each ball with the rolling “cupped hand” technique.
- Place on a parchment paper lined baking sheet. If you want the rolls to touch, during baking space the rolls about 1” apart. If you want to keep them separate, increase the spacing to 2”.
- Cover the rolls with a paper towel to keep them from sticking to the plastic wrap on top.
- Let the rolls rise for 45 min, until doubled.
- Coat each roll with an egg wash (1 whole egg::1 Tbl water)
- Bake at 375F for 12 minutes, until nicely browned and the internal temperature is 180F
Hot Dogs
- Cut 68g portions of dough. There are two options (that I tried) to form the hot dog dough into logs.
a. Fold and roll method
i. Form the portion into a 3”x3” square
ii. Envelope fold the dough into an approximately 1”x3” log, then roll as you would a breadstick, or pretzel etc until the log is about 6” long and 1” thick.
b. Roll Method
i. Stretch the portion into a ball and tension as will the dinner rolls above
ii. Roll the ball into a 6” log. (Why take the extra step to fold?) - In either case try to make the center 3-4” of the log a little thinner as when the dough proofs and oven rises the centers tend to rise more than the ends.
- Bake the hamburger and hot dog buns as described in the hamburger roll section above.