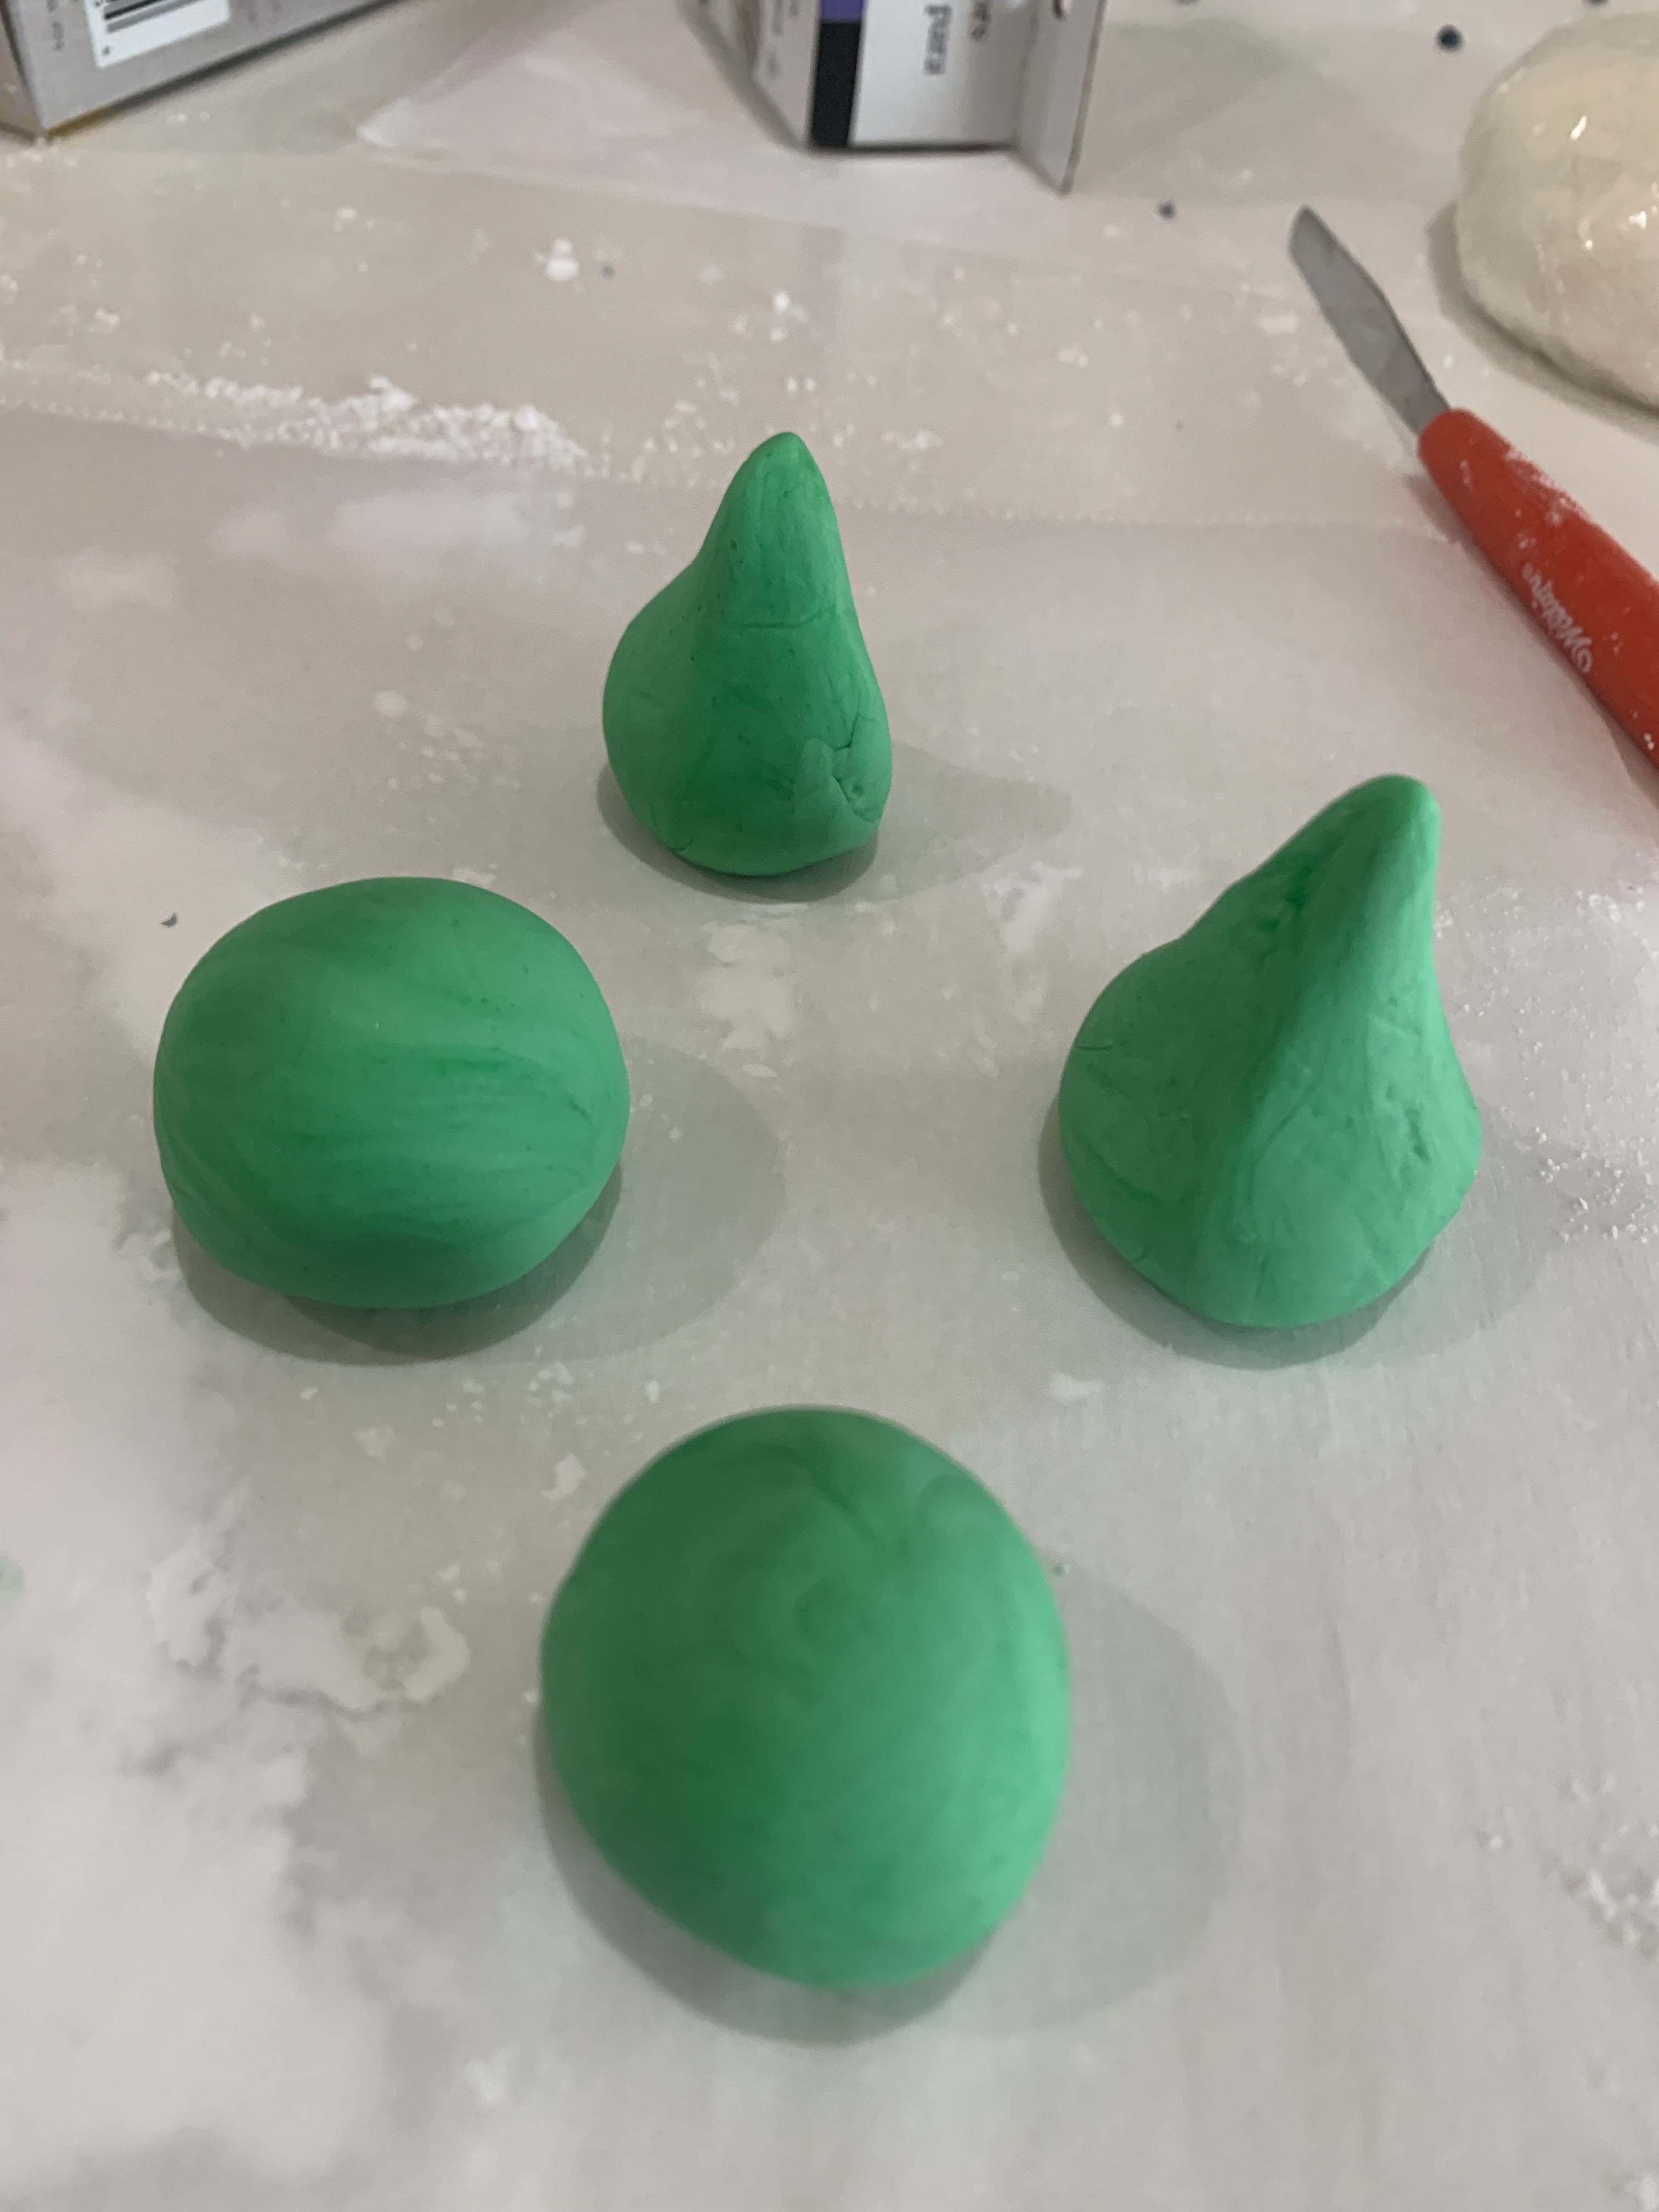
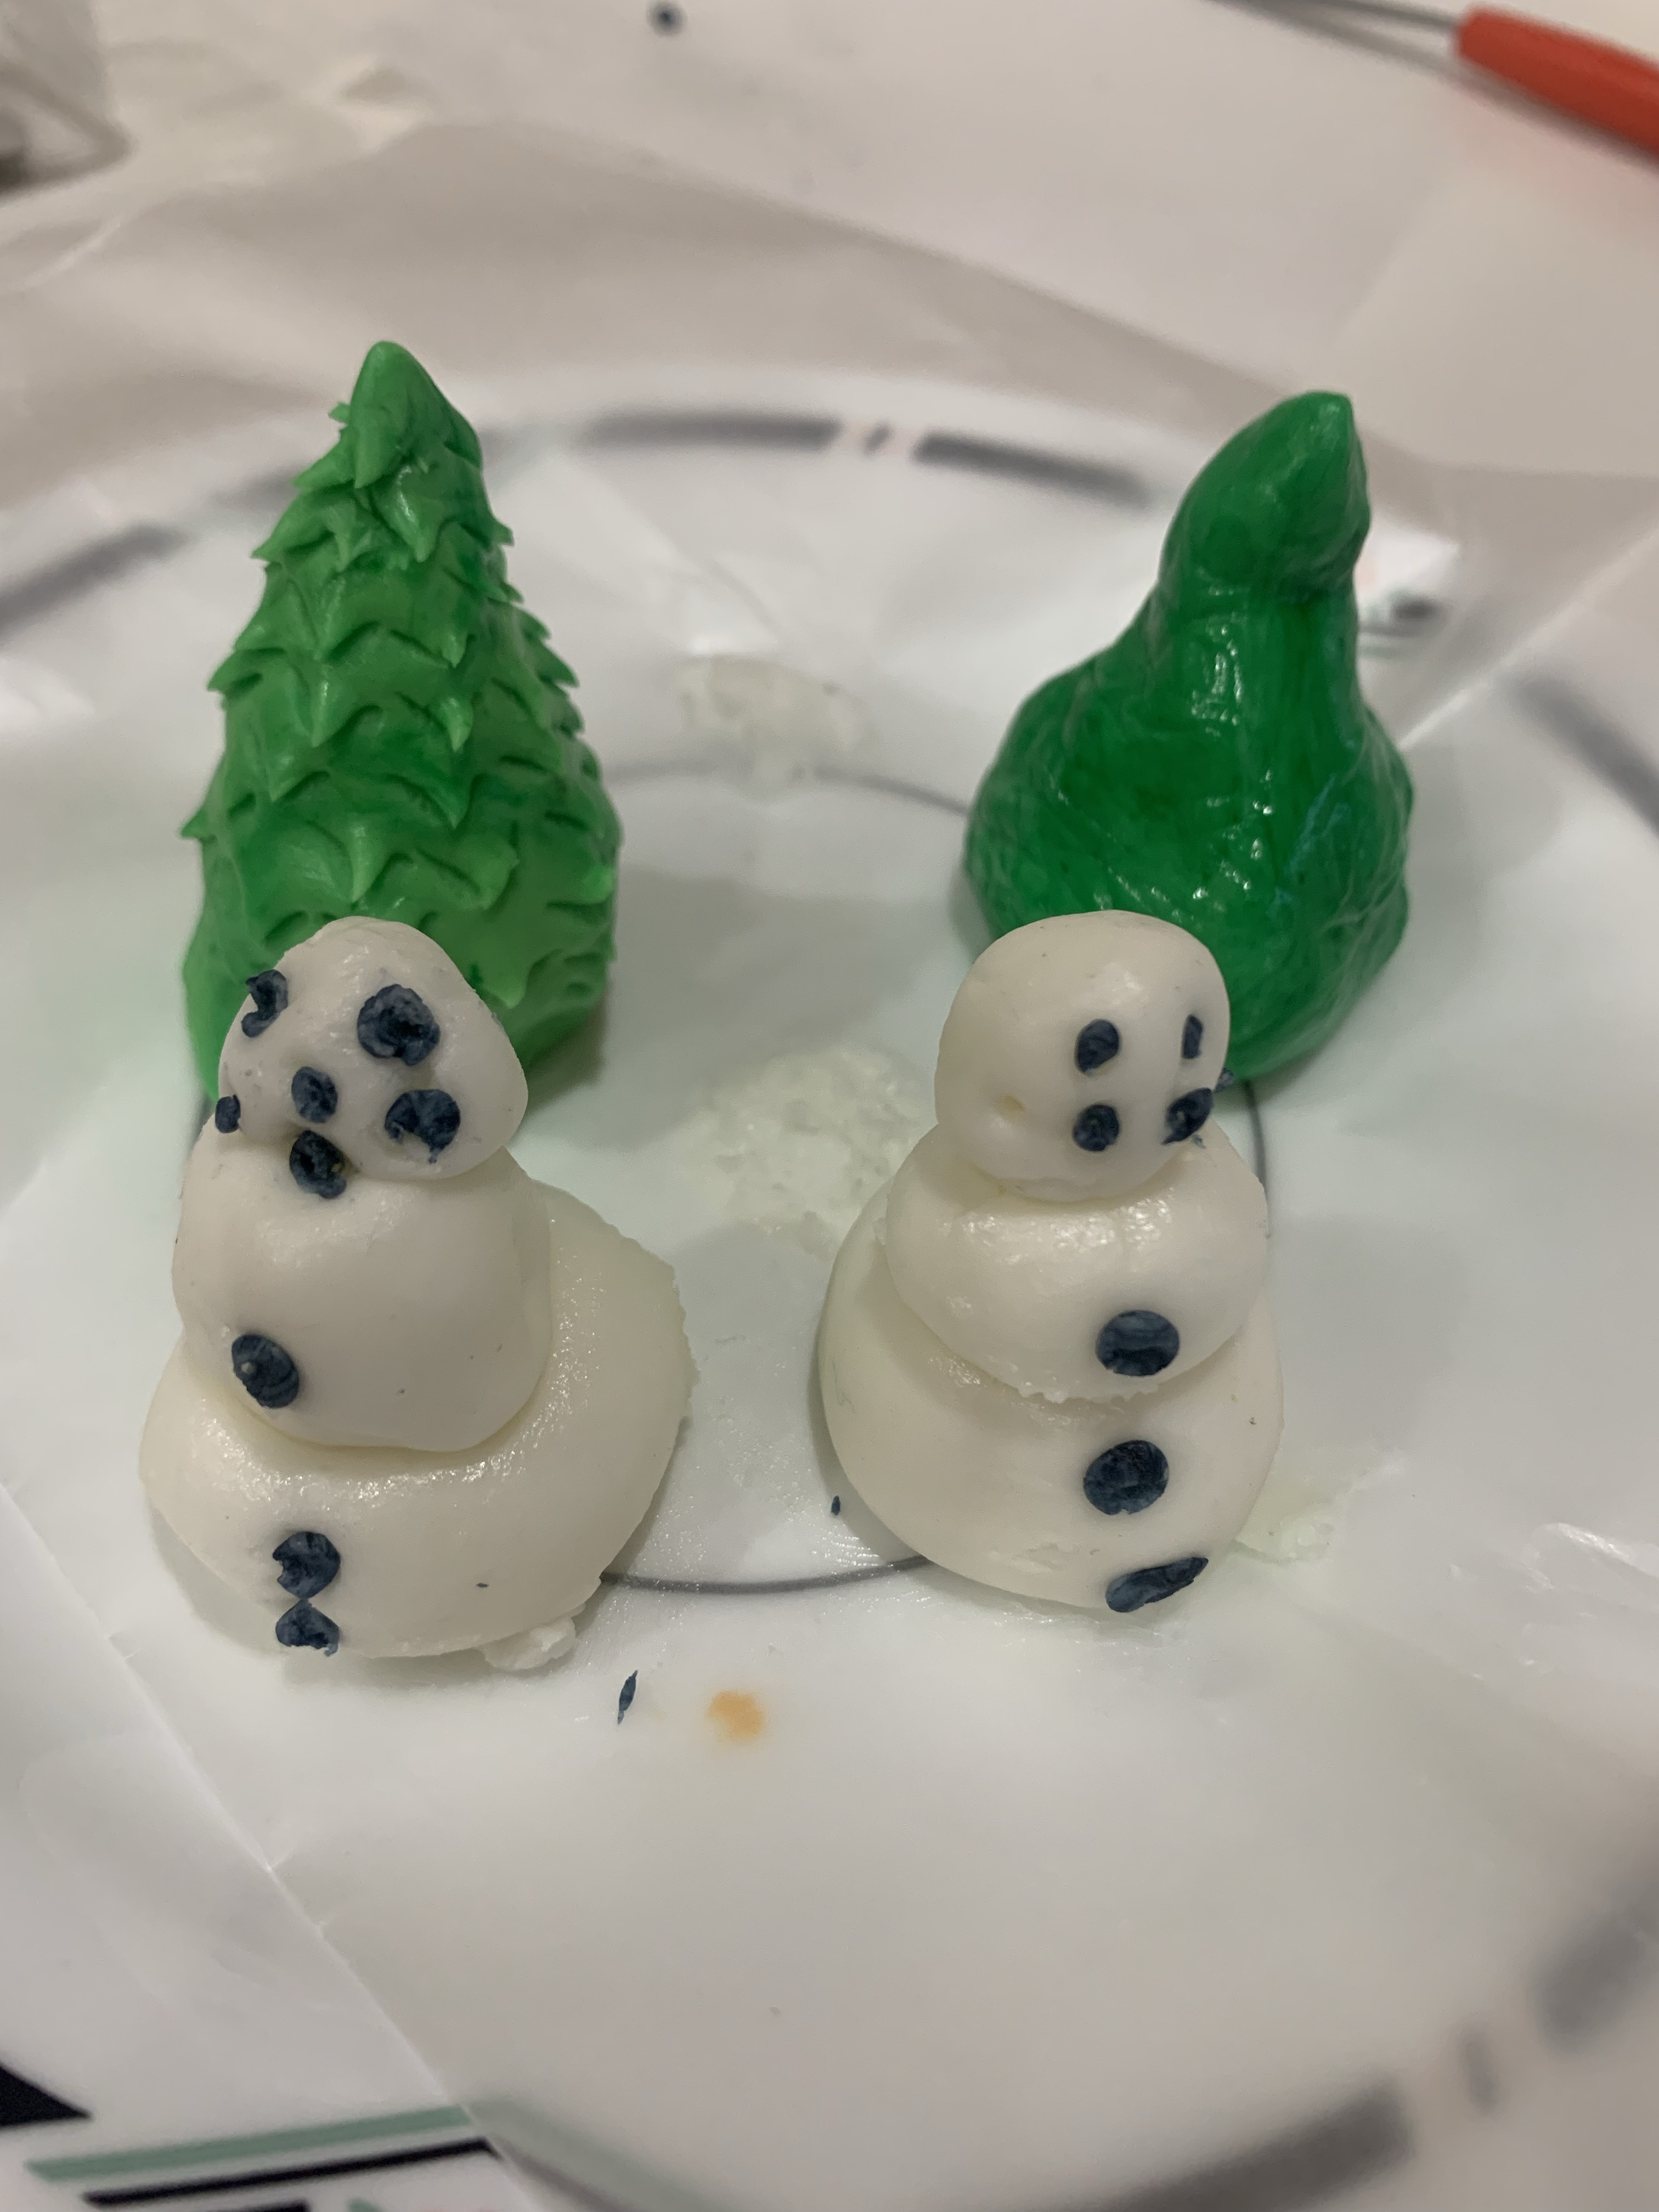
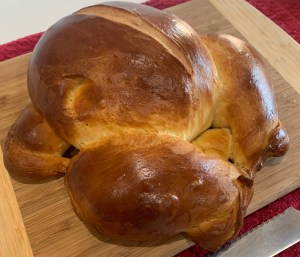
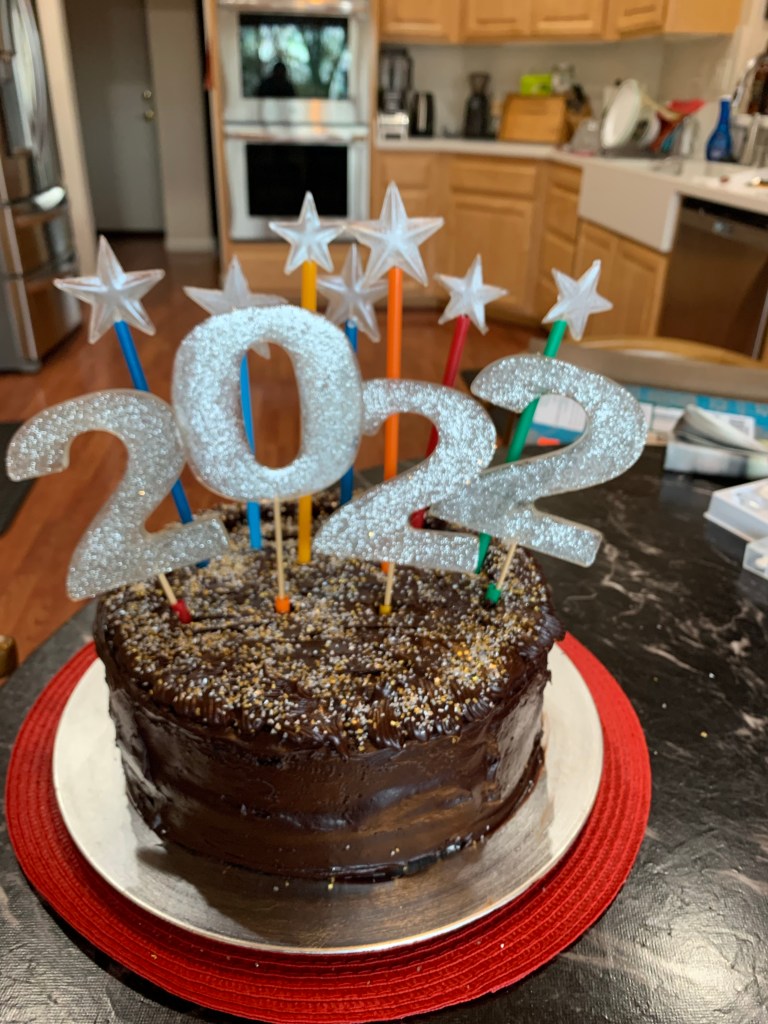
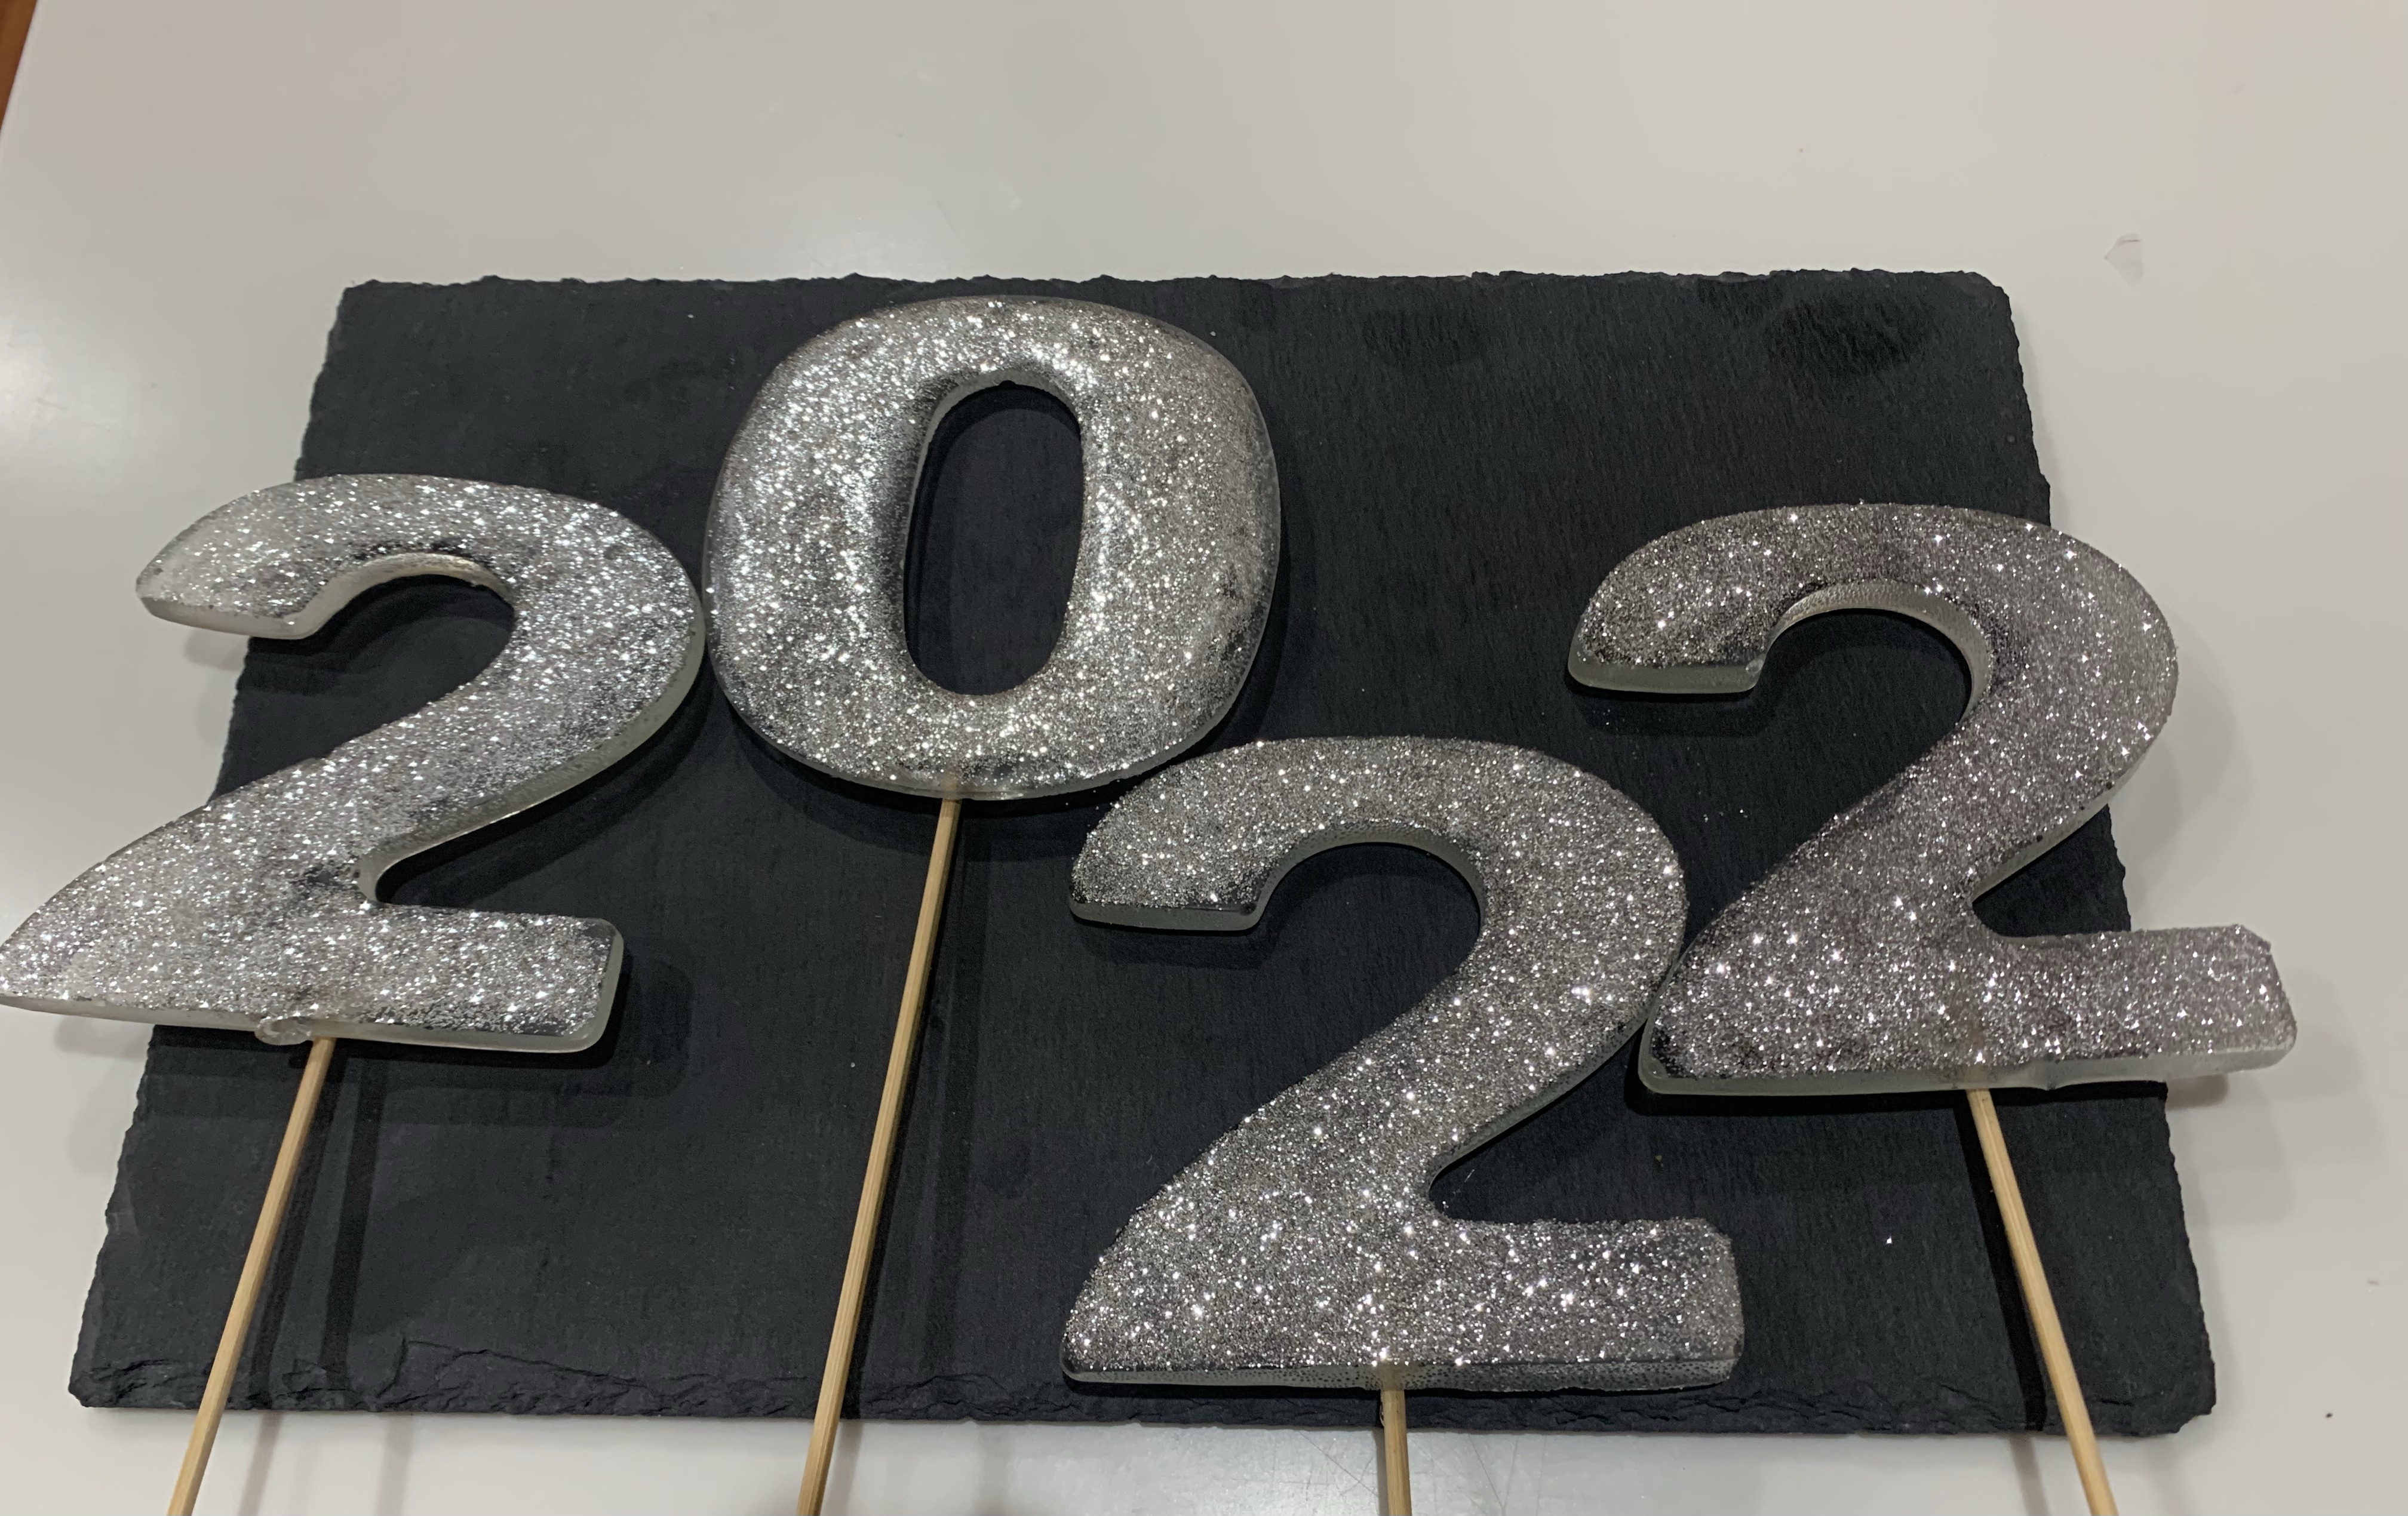
This year (as every year) New Year’s Eve party cake was requested (thankfully.) I love to make them. A couple of days later a follow up request for a silver 2022 topper which was an excellent suggestion. I decided to learn to work with isomalt to create the numbers, rather than buying some. It never hurts to add a new skill.
It took some practice to learn the method (how hot to boil it, the amount of water to add, how long to cool after it reaches the optimum temperature, and more.) It took a lot of practice and failures.

Finally I found the correct combination. And the resulting sugar numbers were acceptable.

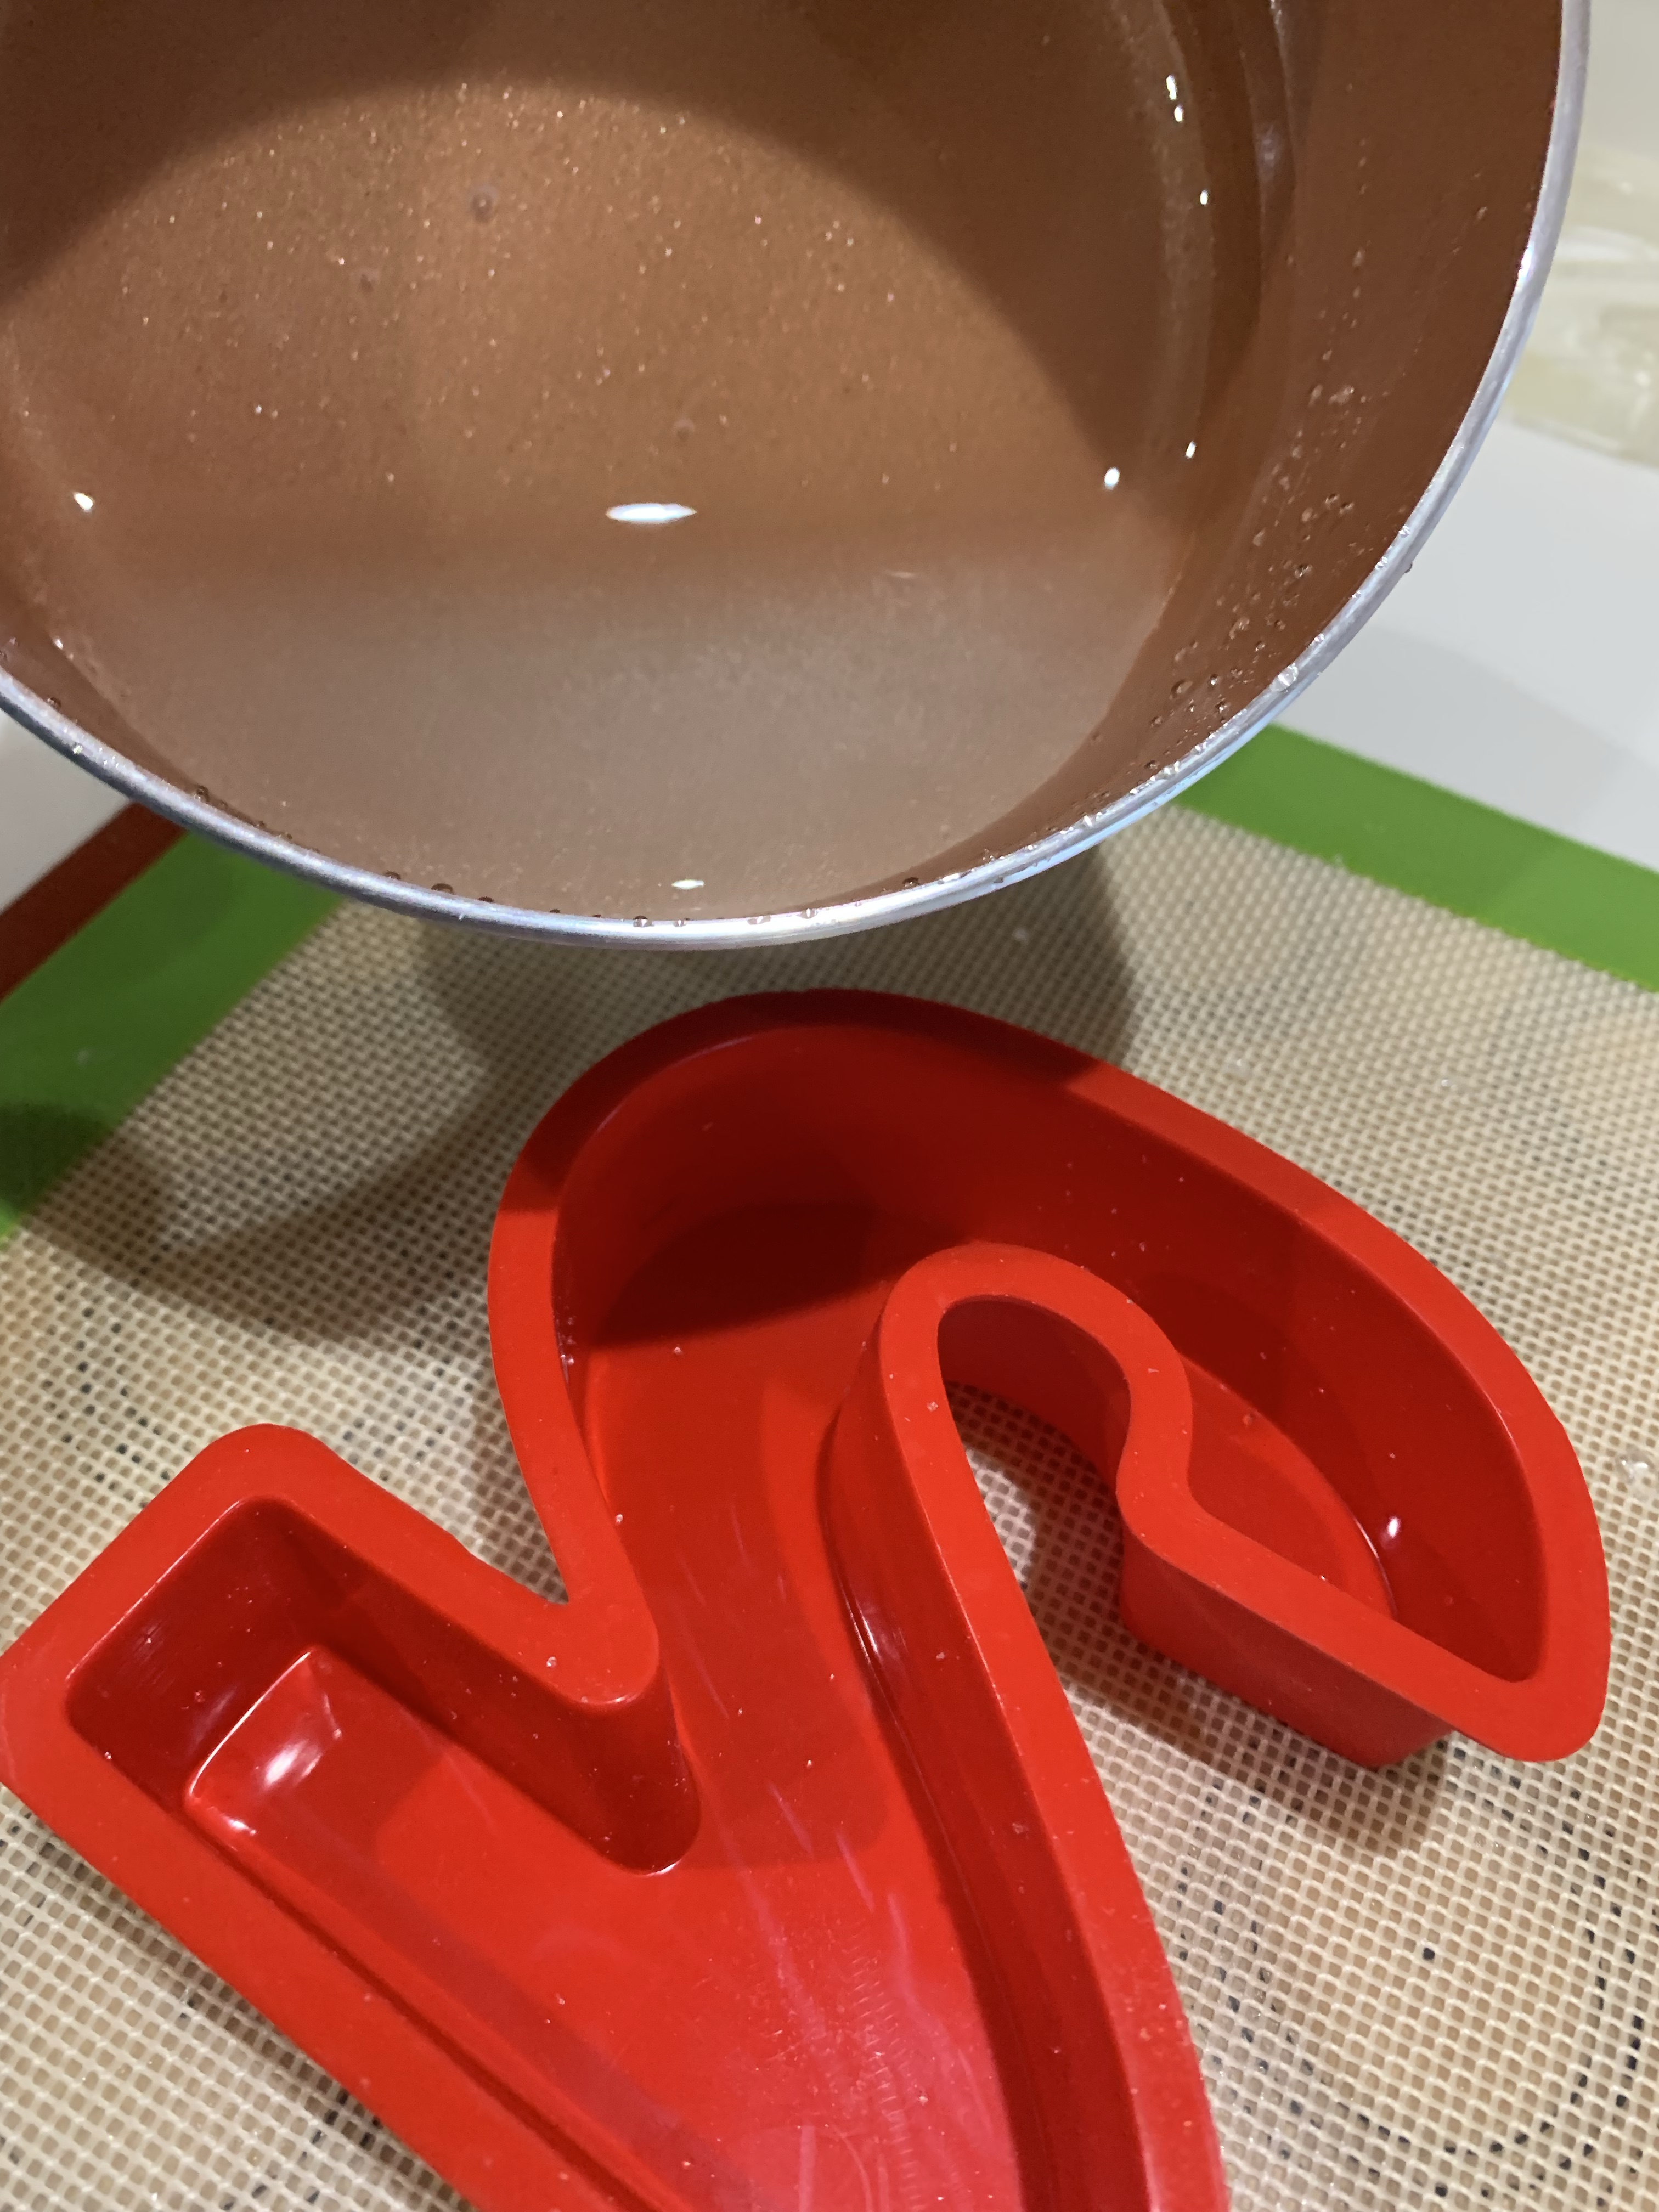


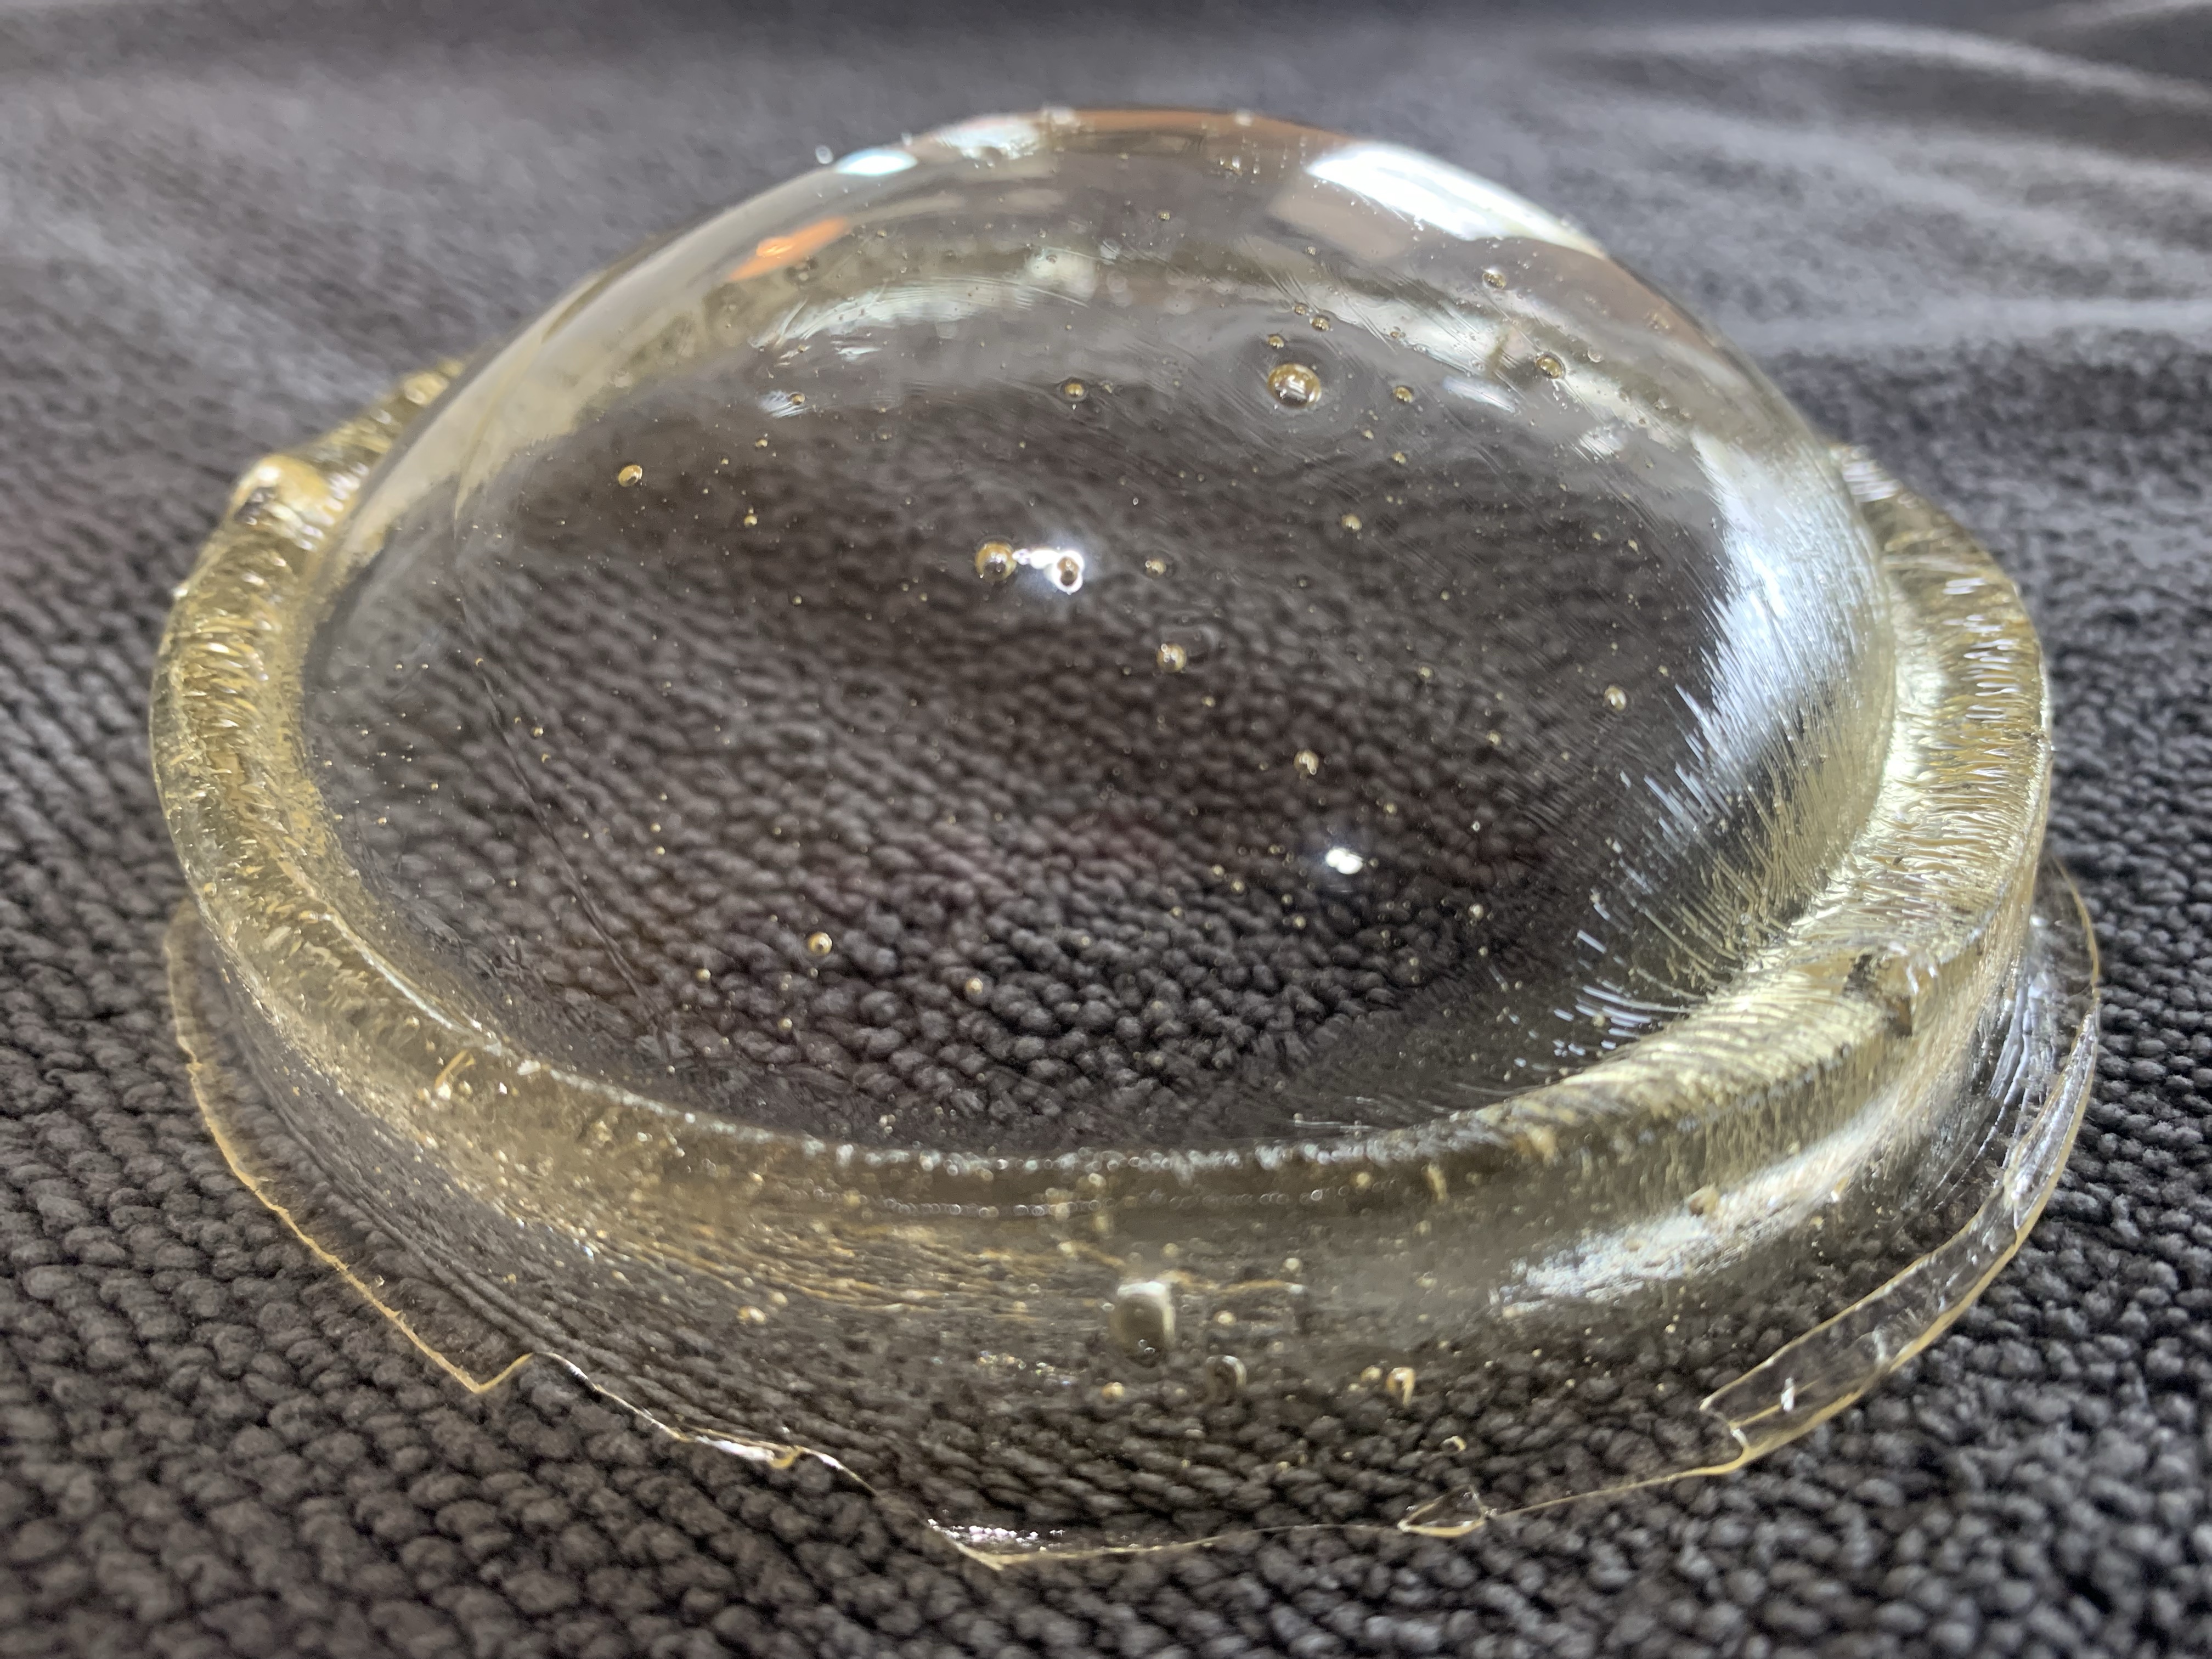
Note the photo was taken when the temperature was only 305 deg. Things happen fast when it reaches 320.
Once the temperature is 320 let the molten sugar sit for a few seconds to clear some of the bubbles then place the pan into cold water to stop the cooking.
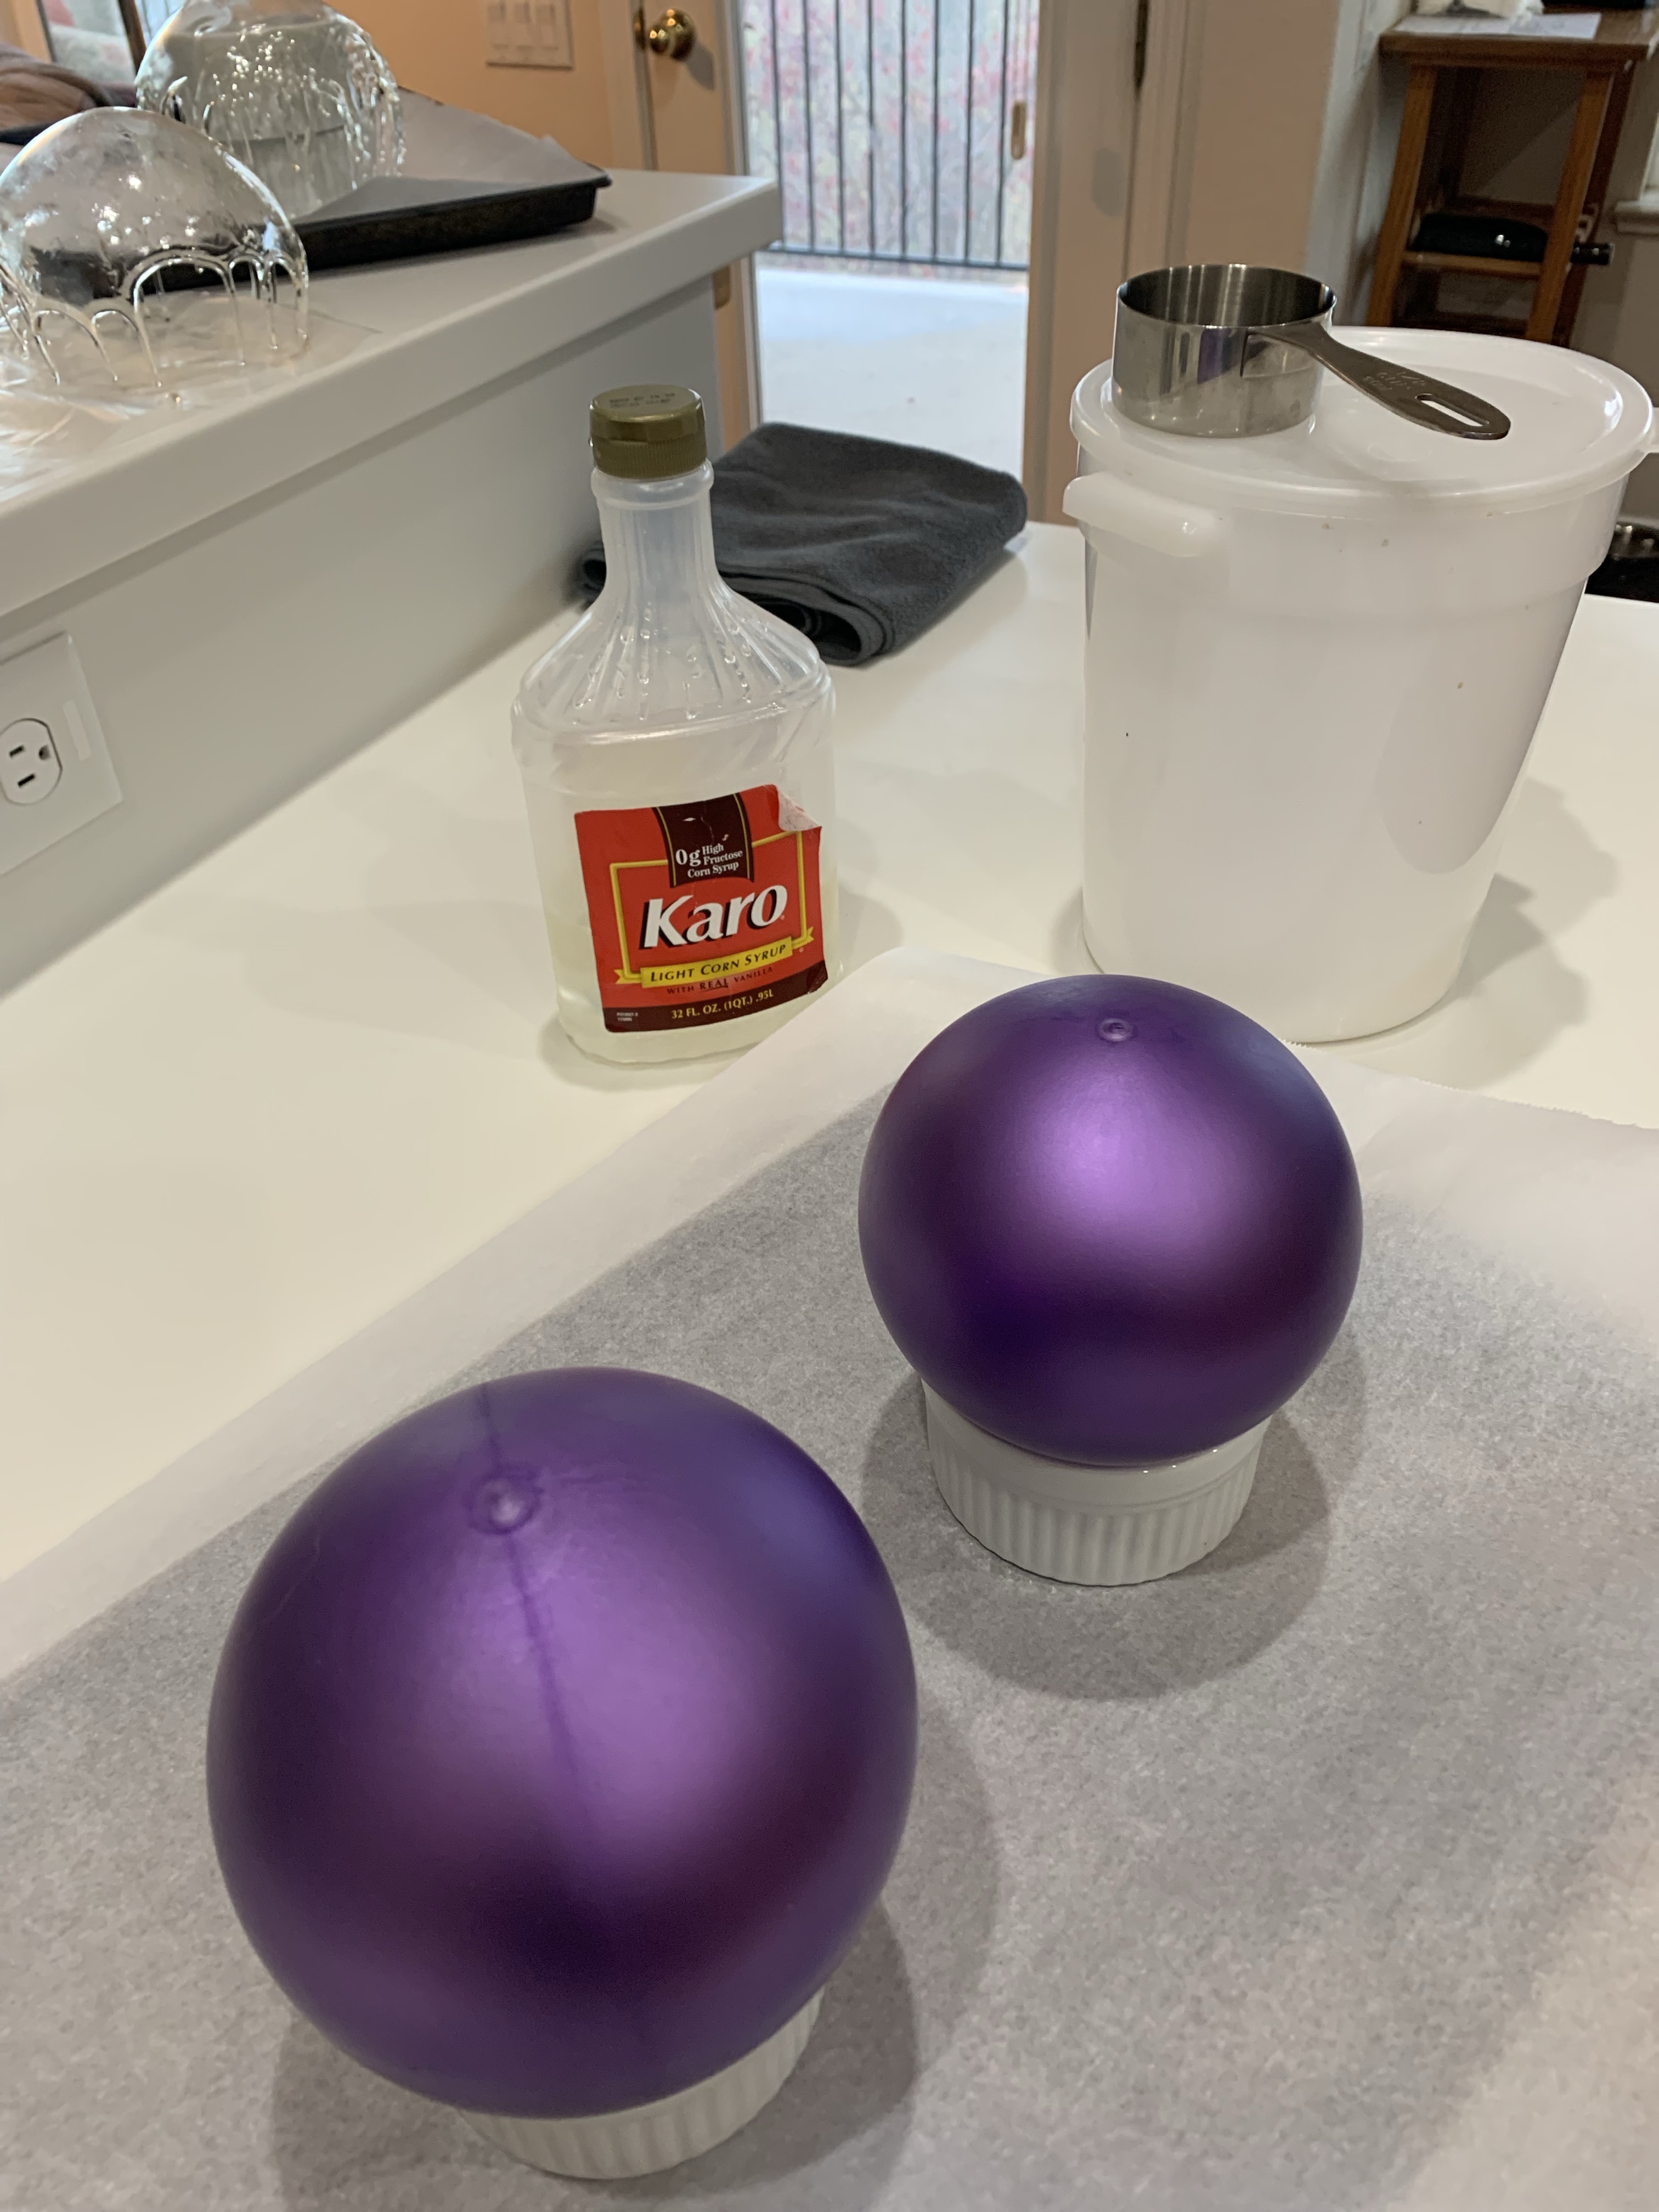
After the sugar is cold, place some sticks on the back and “glue” them in place with some molten sugar. Once they are cool turn the numbers (or stars) over and dampen slightly with your finger, then sprinkle sparkly glitter on the damp sugar and spread with a brush to cover completely and let dry.

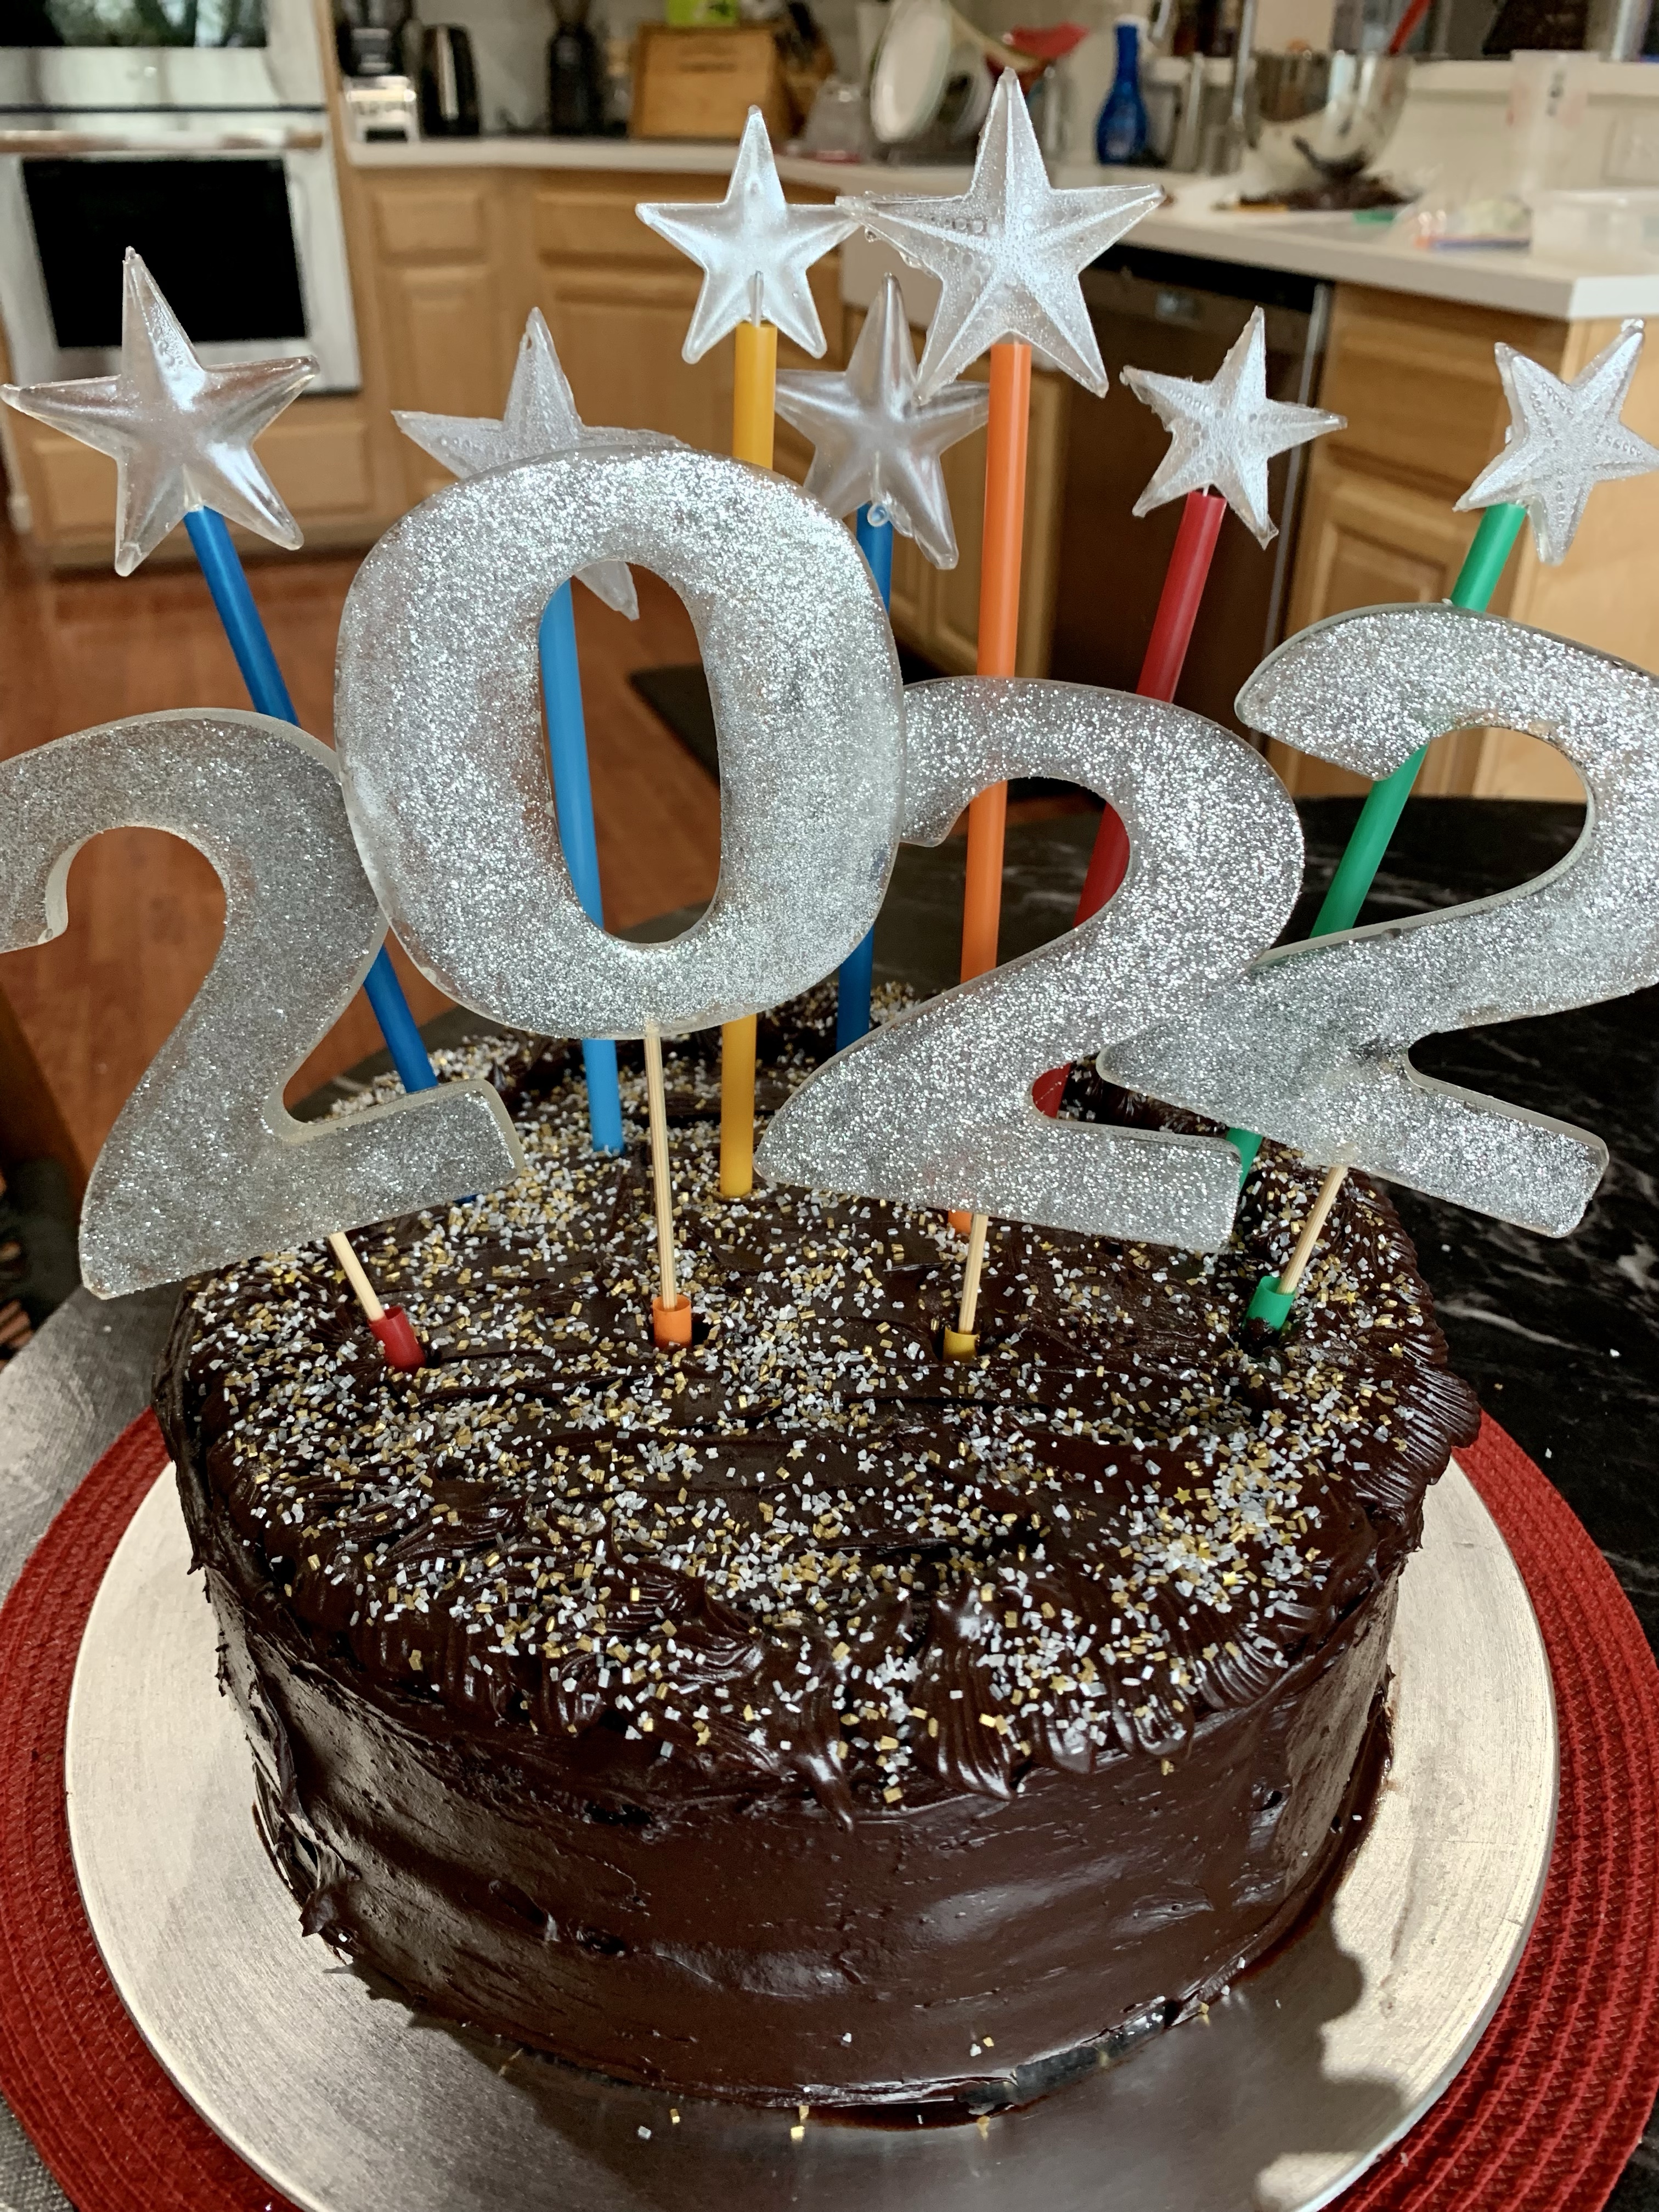
Frost the cake and add the numbers. I used plastic straws in the cake to give the numbers and stars more support. Once the numbers were in place I added the stars, staggering their height. The colored straws gave the impression of fireworks. (I hope.) Lots of fun and an opportunity to learn new skills.


Extreme Chocolate Cake
Makes two 9” round cakes
INGREDIENTS
(Makes one 10’ ROUND CAKE [and two 5”] – quantities are in parenthesis.)
• 2 cups white sugar (3)
• 1 3/4 cups all-purpose flour (2 2/3)
• 3/4 cup unsweetened cocoa powder (1 ¼)
• 1 1/2 teaspoons baking soda (2 ¼)
• 1 1/2 teaspoons baking powder (2 ¼)
• 1 teaspoon salt (1 ½)
• 2 eggs (3)
• 1 cup milk (1 ½)
• 1/2 cup vegetable oil (¾)
• 2 teaspoons vanilla extract (3)
• 1 cup boiling water (1 ½)
Frosting
• 3/4 cup butter
• 1 1/2 cups (125g) unsweetened cocoa powder
• 5 1/3 cups confectioners’ sugar 624g (1c confectioners sugar = 117g)
• 2/3 cup milk
• 1 teaspoon vanilla extract
METHOD
- Preheat oven to 350 degrees F (175 degrees C). Grease and flour two 9 inch cake pans. (SEE QTY FOR 10” CAKES)
- Use the first set of ingredients to make the cake. In a medium bowl, stir together the sugar, flour, cocoa,
baking soda, baking powder and salt. Add the eggs, milk, oil and vanilla, mix for 3 minutes with an
electric mixer. Stir in the boiling water by hand. Pour evenly into the two prepared pans. (For cupcakes,
portion ¼ scant cups in each cupcake paper. - Bake for 30 to 35 minutes in the preheated oven, until a toothpick inserted comes out clean or 205
internal temp. Cool for 10 minutes before removing from pans to cool completely. - To make the frosting, use the second set of ingredients. Cream butter until light and fluffy. Stir in the
cocoa and confectioners’ sugar alternately with the milk and vanilla. Beat to a spreading consistency.
(This recipe will frost 36 cupcakes.) - Split the layers of cooled cake horizontally, cover the top of each layer with frosting, then stack them
onto a serving plate. Frost the outside of the cake.
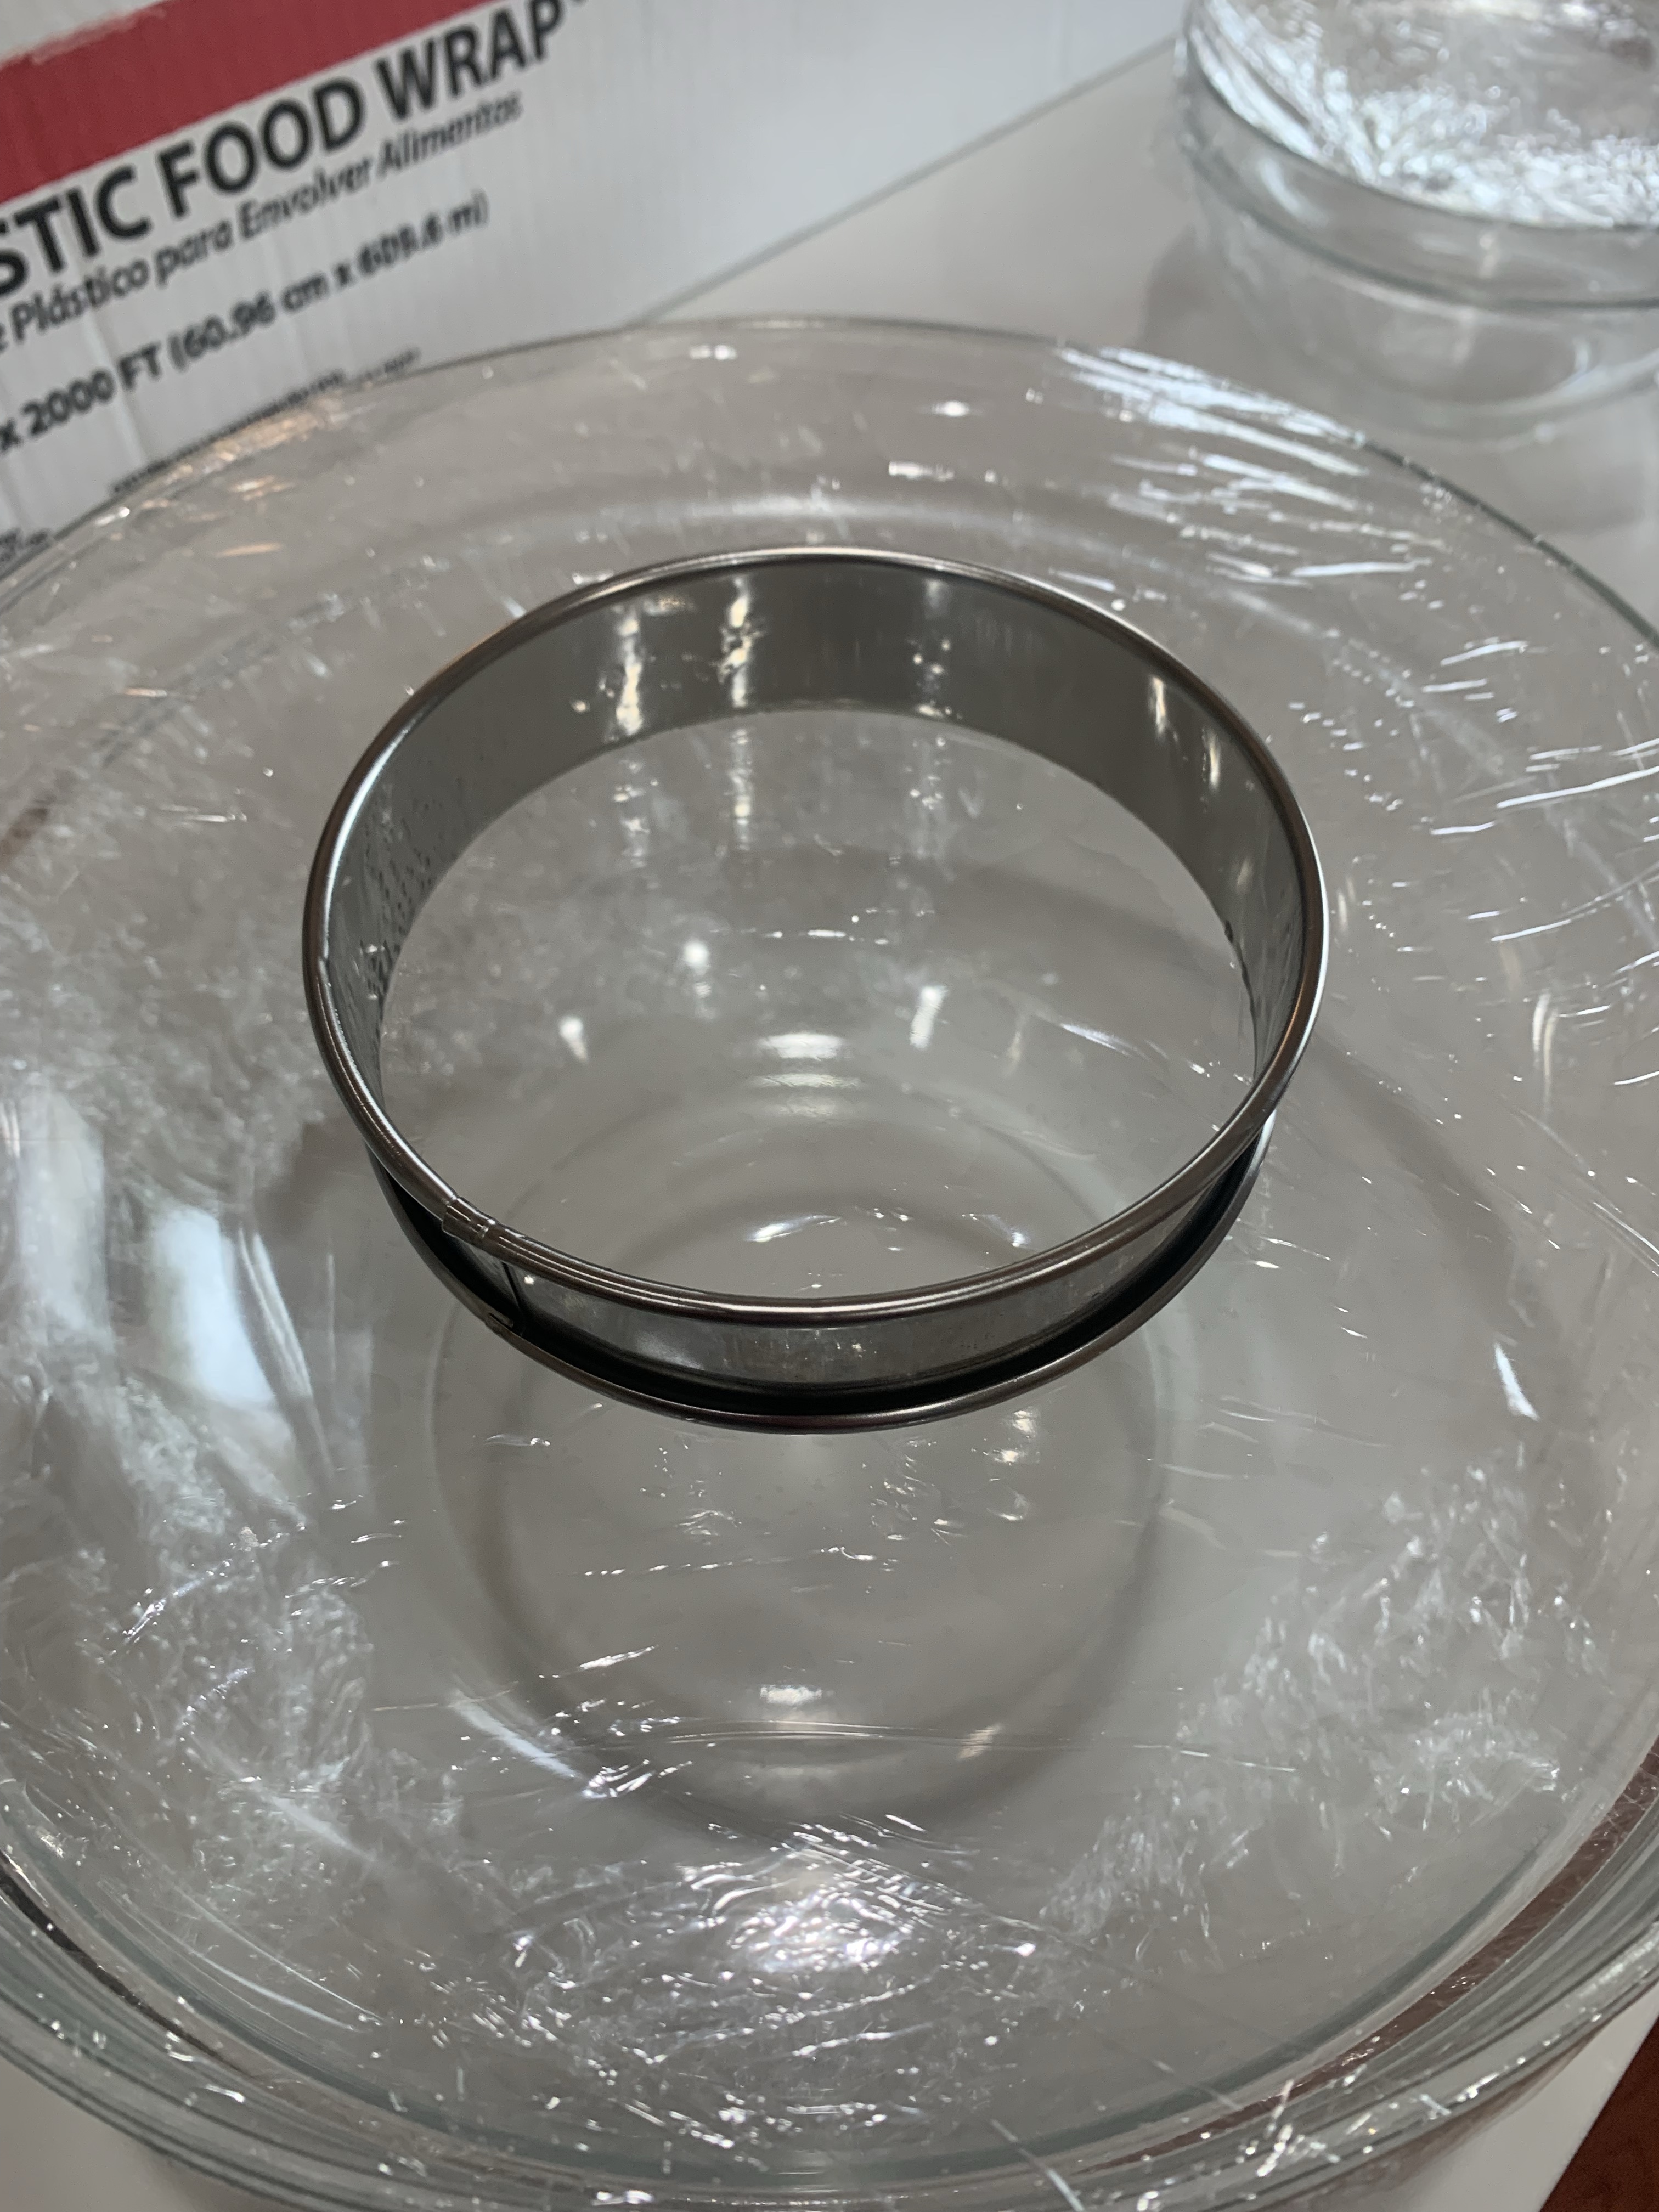
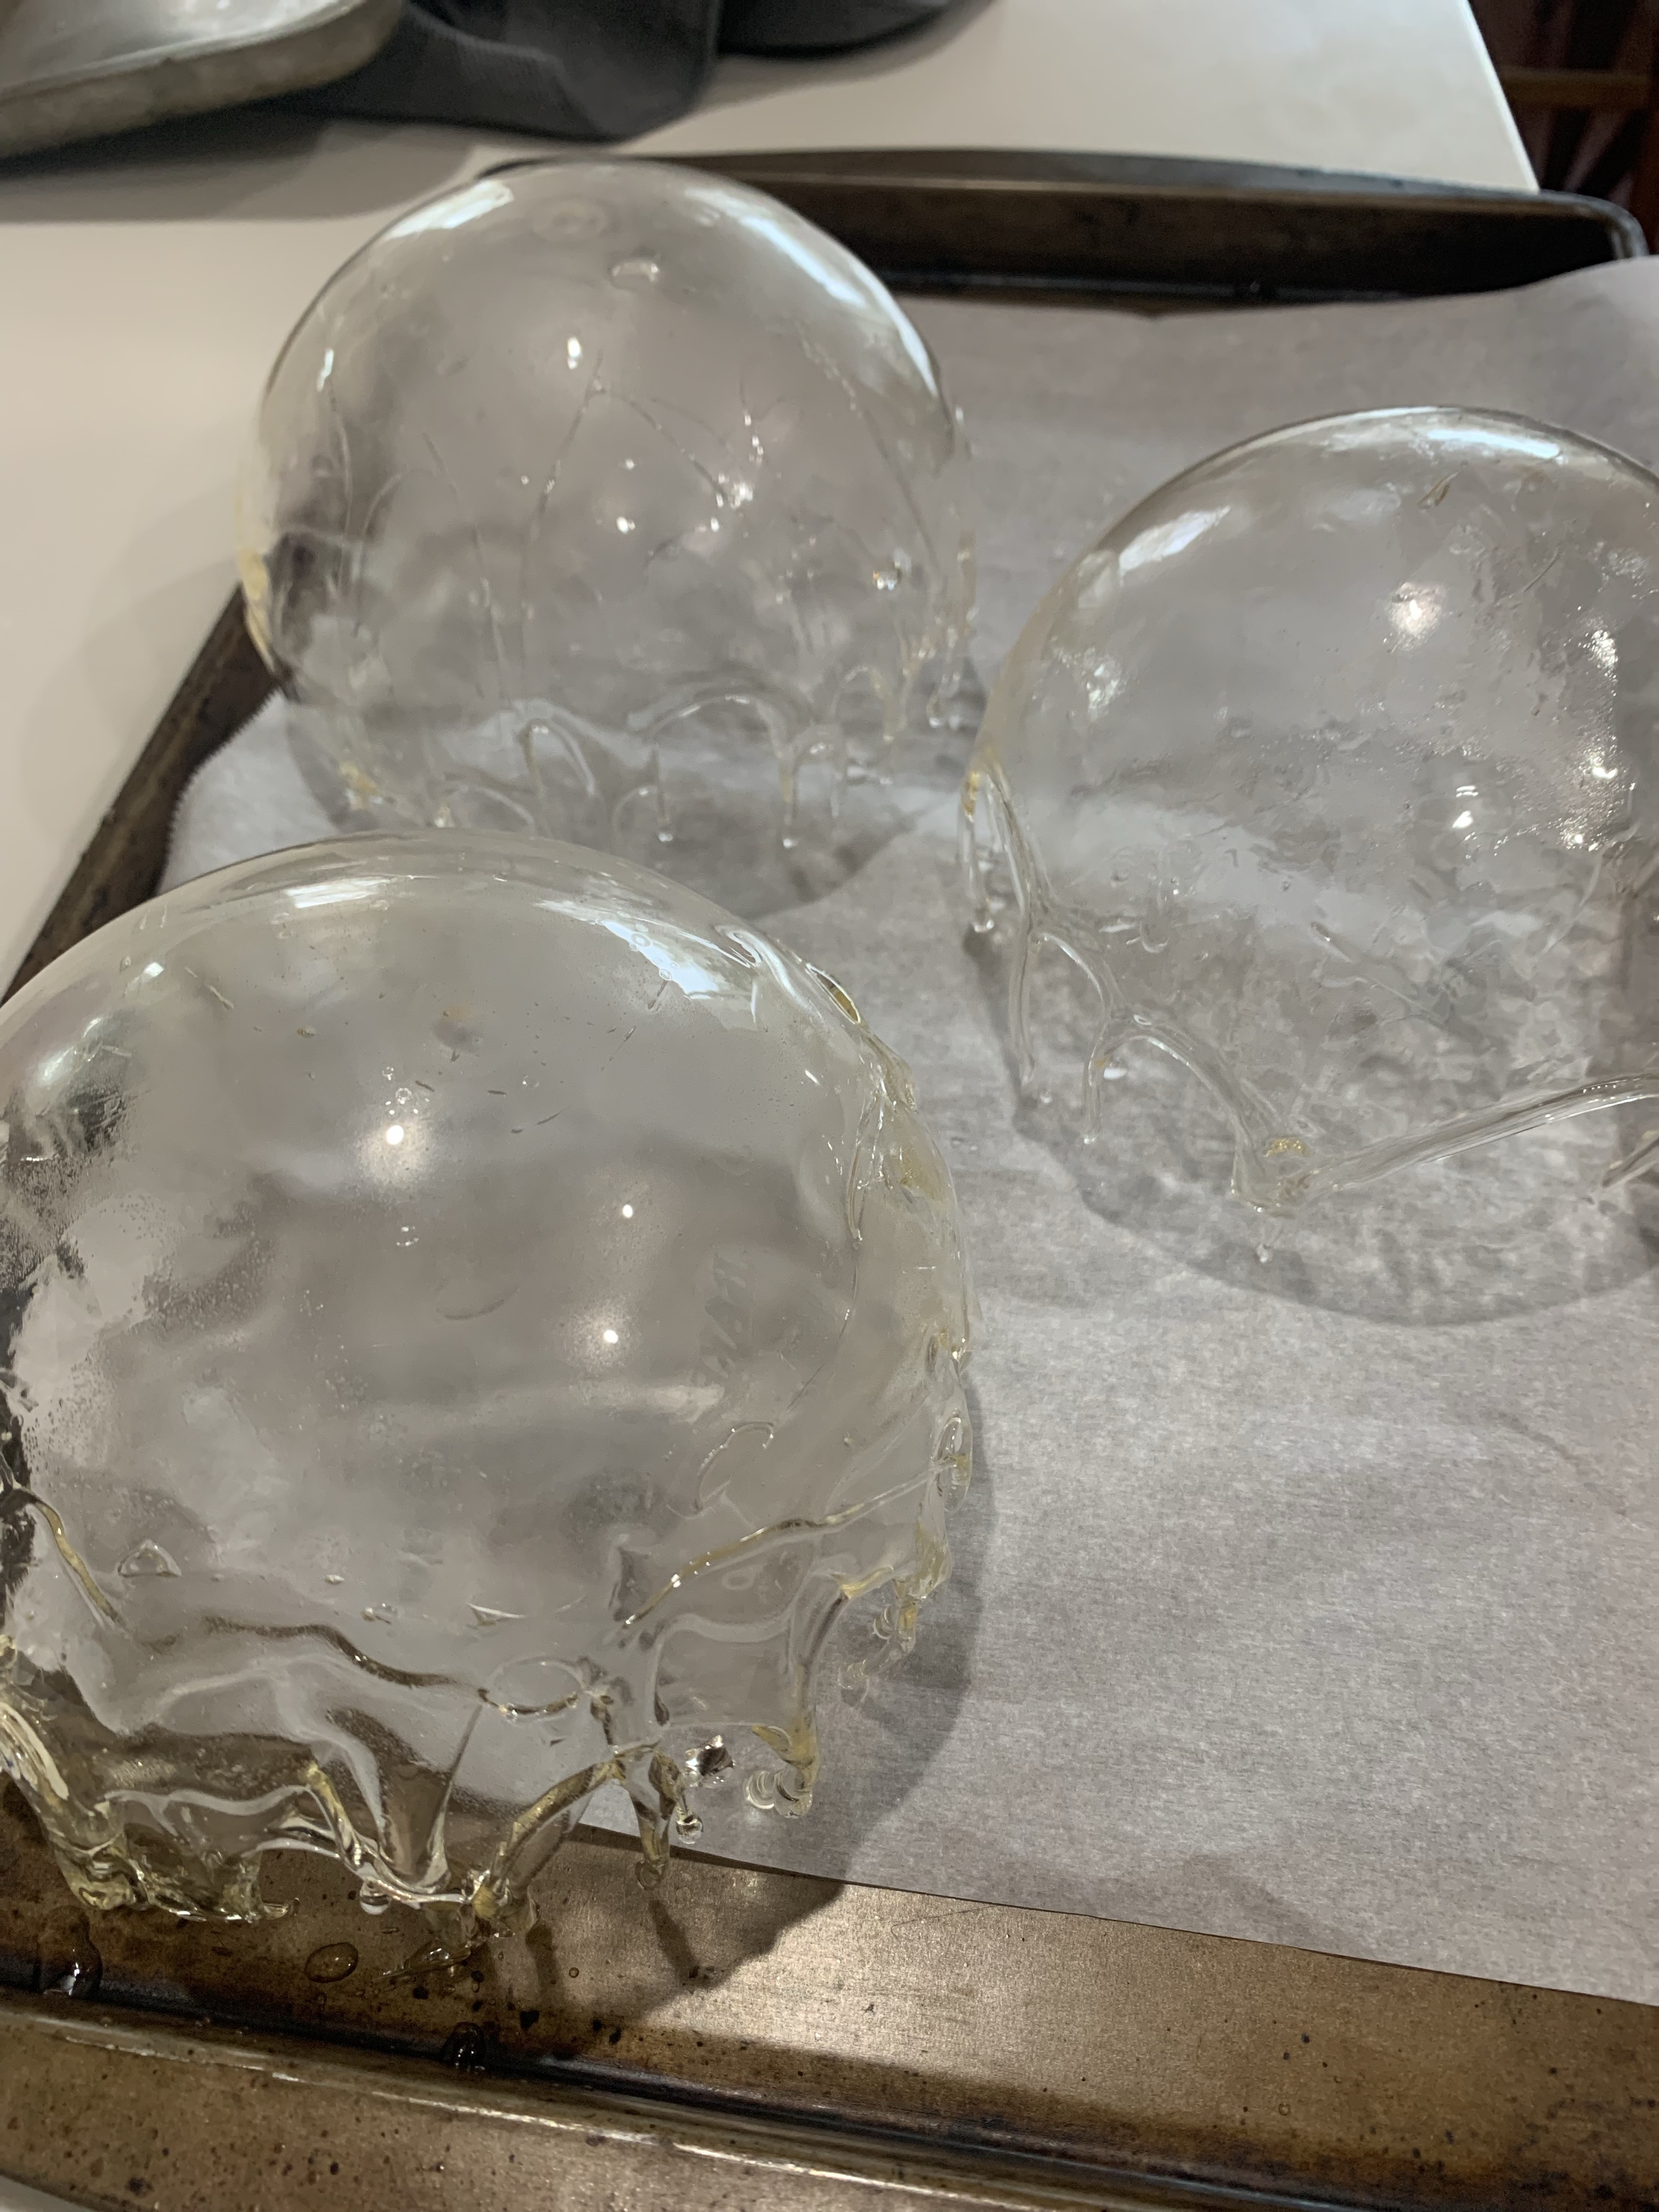
Isomalt - Mix isomalt and water in a 4:1 ratio in a stainless steel or non stick pan
- Heat under medium high heat until the isomalt reaches 320 deg F
- Remove from heat and let sit for a few moments to allow the bubbles to subside then place the hot pan in water for a few seconds to stop the isomalt cooking.
- Carefully pour the molten solution into dry molds and let cool.
- (I wear heat proof silicone gloves while working with molten sugar. It is very hot!
NOTES
a. Do NOT let the internal temp exceed 210 deg F or the cake will be overdone.
b. Fill cupcake papers 2/3rds full. This will allow space for the cupcakes to expand and create a nice
domed shape.