I had high hopes for this cookies, but there are barely a step above “meh.”
They are basically a chocolate chip cookies substituting blueberries for chocolate chip and really, who would want to do that?
They taste fine and have a good texture. Next time, I am making chocolate chip cookies.
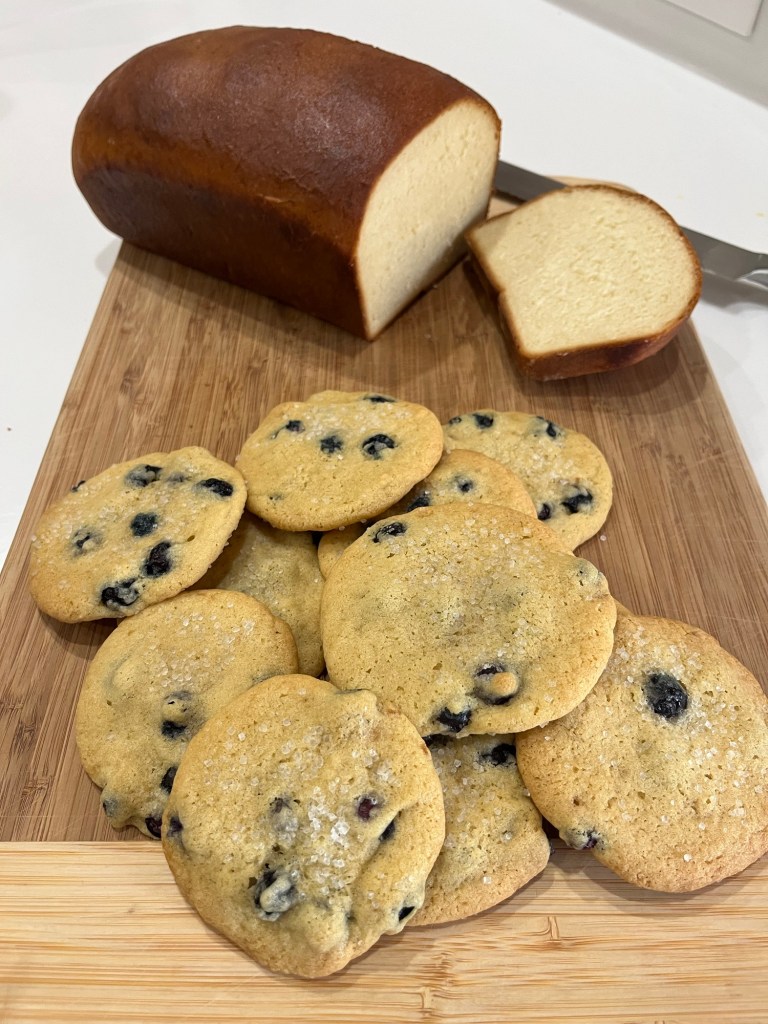
Blueberry Crumble Dream Cookies
Prep Time: 15 minutes | Cooking Time: 15 minutes | Total Time: 30 minutes
INGREDIENTS
• 1 cup unsalted butter, softened
• 1 cup granulated sugar
• 1/2 cup brown sugar
• 2 large eggs
• 1 teaspoon vanilla extract
• 2 1/2 cups all-purpose flour
• 1 teaspoon baking soda
• 1/2 teaspoon salt
• 1 1/2 cups fresh blueberries
• 1/2 cup coarse sugar for sprinkling
METHOD
- Preheat oven to 350°F (175°C). Line a baking sheet with parchment paper.
- In a large bowl, cream together the butter, granulated sugar, and brown sugar until light and fluffy.
- Beat in the eggs one at a time, then stir in the vanilla extract.
- In a separate bowl, whisk together the flour, baking soda, and salt.
- Gradually add the dry ingredients to the wet ingredients, mixing until just combined.
- Gently fold in the blueberries.
- Drop rounded tablespoons of dough onto the prepared baking sheet.
- Sprinkle each cookie with coarse sugar.
- Bake for 12-15 minutes, or until the edges are golden brown.
- Allow cookies to cool on the baking sheet for 5 minutes before transferring to a wire rack to cool completely.