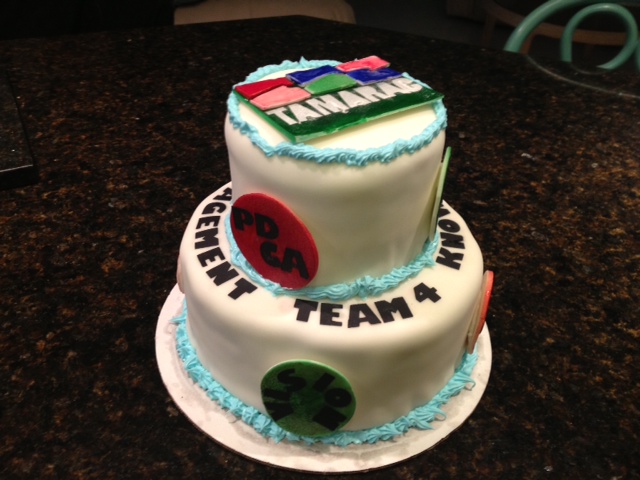
Robin asked for anyone planning to attend her and Andi’s Open House last night to let her know in advance so they could plan on what and how many desserts to expect. I immediately told her I would bring a cake. As this open house was in part to celebrate their new home (which was wonderful by the way.) I decided to celebrate the new 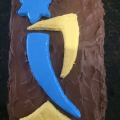 branding of TBE by making a chocolate cake with the new TBE logo on top. The cake and chocolate fudge frosting use the standard recipe found elsewhere in this blog.
The new TBE logo was designed with careful attention to both geometric design and color. I am not good with colors and only approximated the CMYK color of the actual image. The logo is made with cut out, rolled sugar cookies. I made a  template by printing the logo scaled to size. In this case the overall height was about 10″. I then cut out the colored parts of the logo and placed the template on the rolled out cookie dough and trace the outline with a knife. Next, remove the template and carefully cut out the dough along the tracings and transfer it to a
  parchment covered cookie sheet., being careful not to distort the shapes. Check them against the template and correct any distortions. Bake the cookies as per the directions below and allow to cool. I actually made the cookies 2 weeks ago and froze them between layers of waxed paper.
The color was added by “float frosting” the shapes with colored royal icing. I made small recipes of royal icing (3 tbl meringue power, 1 cup powered sugar and 4–6 tablespoons warm water or enough to make the icing just barely pipeable. I am not sure pipeable is a word, but it is now.) Pipe the thick icing around the edges of the appropriate shape. In my case the star and the long curvy thing were blue (I used Wiltons Royal Blue gel icing.) The base and ASL sideways “L”, or if you are left handed its a backwards ASL sideways “L”, was mostly yellow with a little orange. Once the edges are coated (don’t worry if it runs a little you can trim it later) pipe a bead around the top edge of the piece letting it just run into the sides to make a seamless seam (hmmmm.) Once that is completed, dilute the royal icing with a couple more tbls of warm water to the point is just barely drips out of the piping bag. Flood the top of the cookie letting the icing run together into a solid smooth coating. Let it dry, or refrigerate if you are the annoying, impatient, Type A person. After refrigerating, I trimmed runny frosting from the edges of the cookies.
Arrange the cookie shapes on the chocolate cake. A bit of advice – make sure the top of the cake carrier will not squish the cookies into the cake and stick to the top of the carrier causing them to rip out of the cake when setting out for display. Just sayin.
Basic Sugar Cookie Recipe for Cut out Cookies
Incredients
- 3 cups all-purpose flour
- 1 teaspoon baking powder
- 1/4 tsp kosher salt
- 2 sticks (1cup) butter, unsalted, softened to room temperature
- 1 cup granulated sugar
- 1 large egg, room temperature
- 1 tbl vanilla extract, vanilla bean past or almond extract
- Sift together flour, baking powder, add salt, set aside.
- In a small dish whisk together egg and vanilla extract, set aside.
- In a mixing bowl cream together room temperature butter and sugar, about 5 minutes, scrape the bowl twice. Butter and should be light and fluffy.
- Gradually add vanilla egg mixture, beating anywhere from 30 seconds to minute until well mixed in.
- Now gradually in 3 additions add flour. Lower the speed of your mixer to low. Scrape the bowl well after the last addition and beat just until flour is combined.
- Scrape the cookie dough into a large bowl, and using your hand knead it for about 30 to 60 seconds, until dough comes together.
- Wrap the dough in a plastic wrap and refrigerate overnight (8 hours) or minimum 4 hours.
- Preheat oven to 375F
- Divide cookie dough in half. Roll one half of the cookie dough into about 1/4 inch thick, between 2 pieces of parchment paper using rolling guides. (2 painter’s sticks glued together on each side, or 2 pieces of 1/4 inch molding.
- Cut out the shapes. Place the cookies on a light colored baking sheet lined with parchment paper. (I use a double walled insulated baking sheet.) You can re-knead and re-roll the dough to cut additional shapes. Chill the cut outs in the fridge for about 15 minutes or in the freezer 8 minutes. This will help them hold their shape during baking.
- Bake for 9 min, depending on the oven, turn the sheet once half way through the baking.
- Let the cooking cool on the baking sheet for 5-7 minutes, transfer to cooling rack.
- Store in the airtight container for up to 2 weeks or freeze un-decorated cookies between pieces of wax paper in a large freeze safe container, for up to 2 months.
 Remembering that I had a mini-donut baking pan I searched AllRecipes for a baked donut recipe, assuming it would be healthier (and easier) than frying. I chose a recipe for “Donut Muffins” and planned on baking them in my donut baking pan. I started assembling all the pans and ingredients but couldn’t find the ^#&%#* donut baking pan.
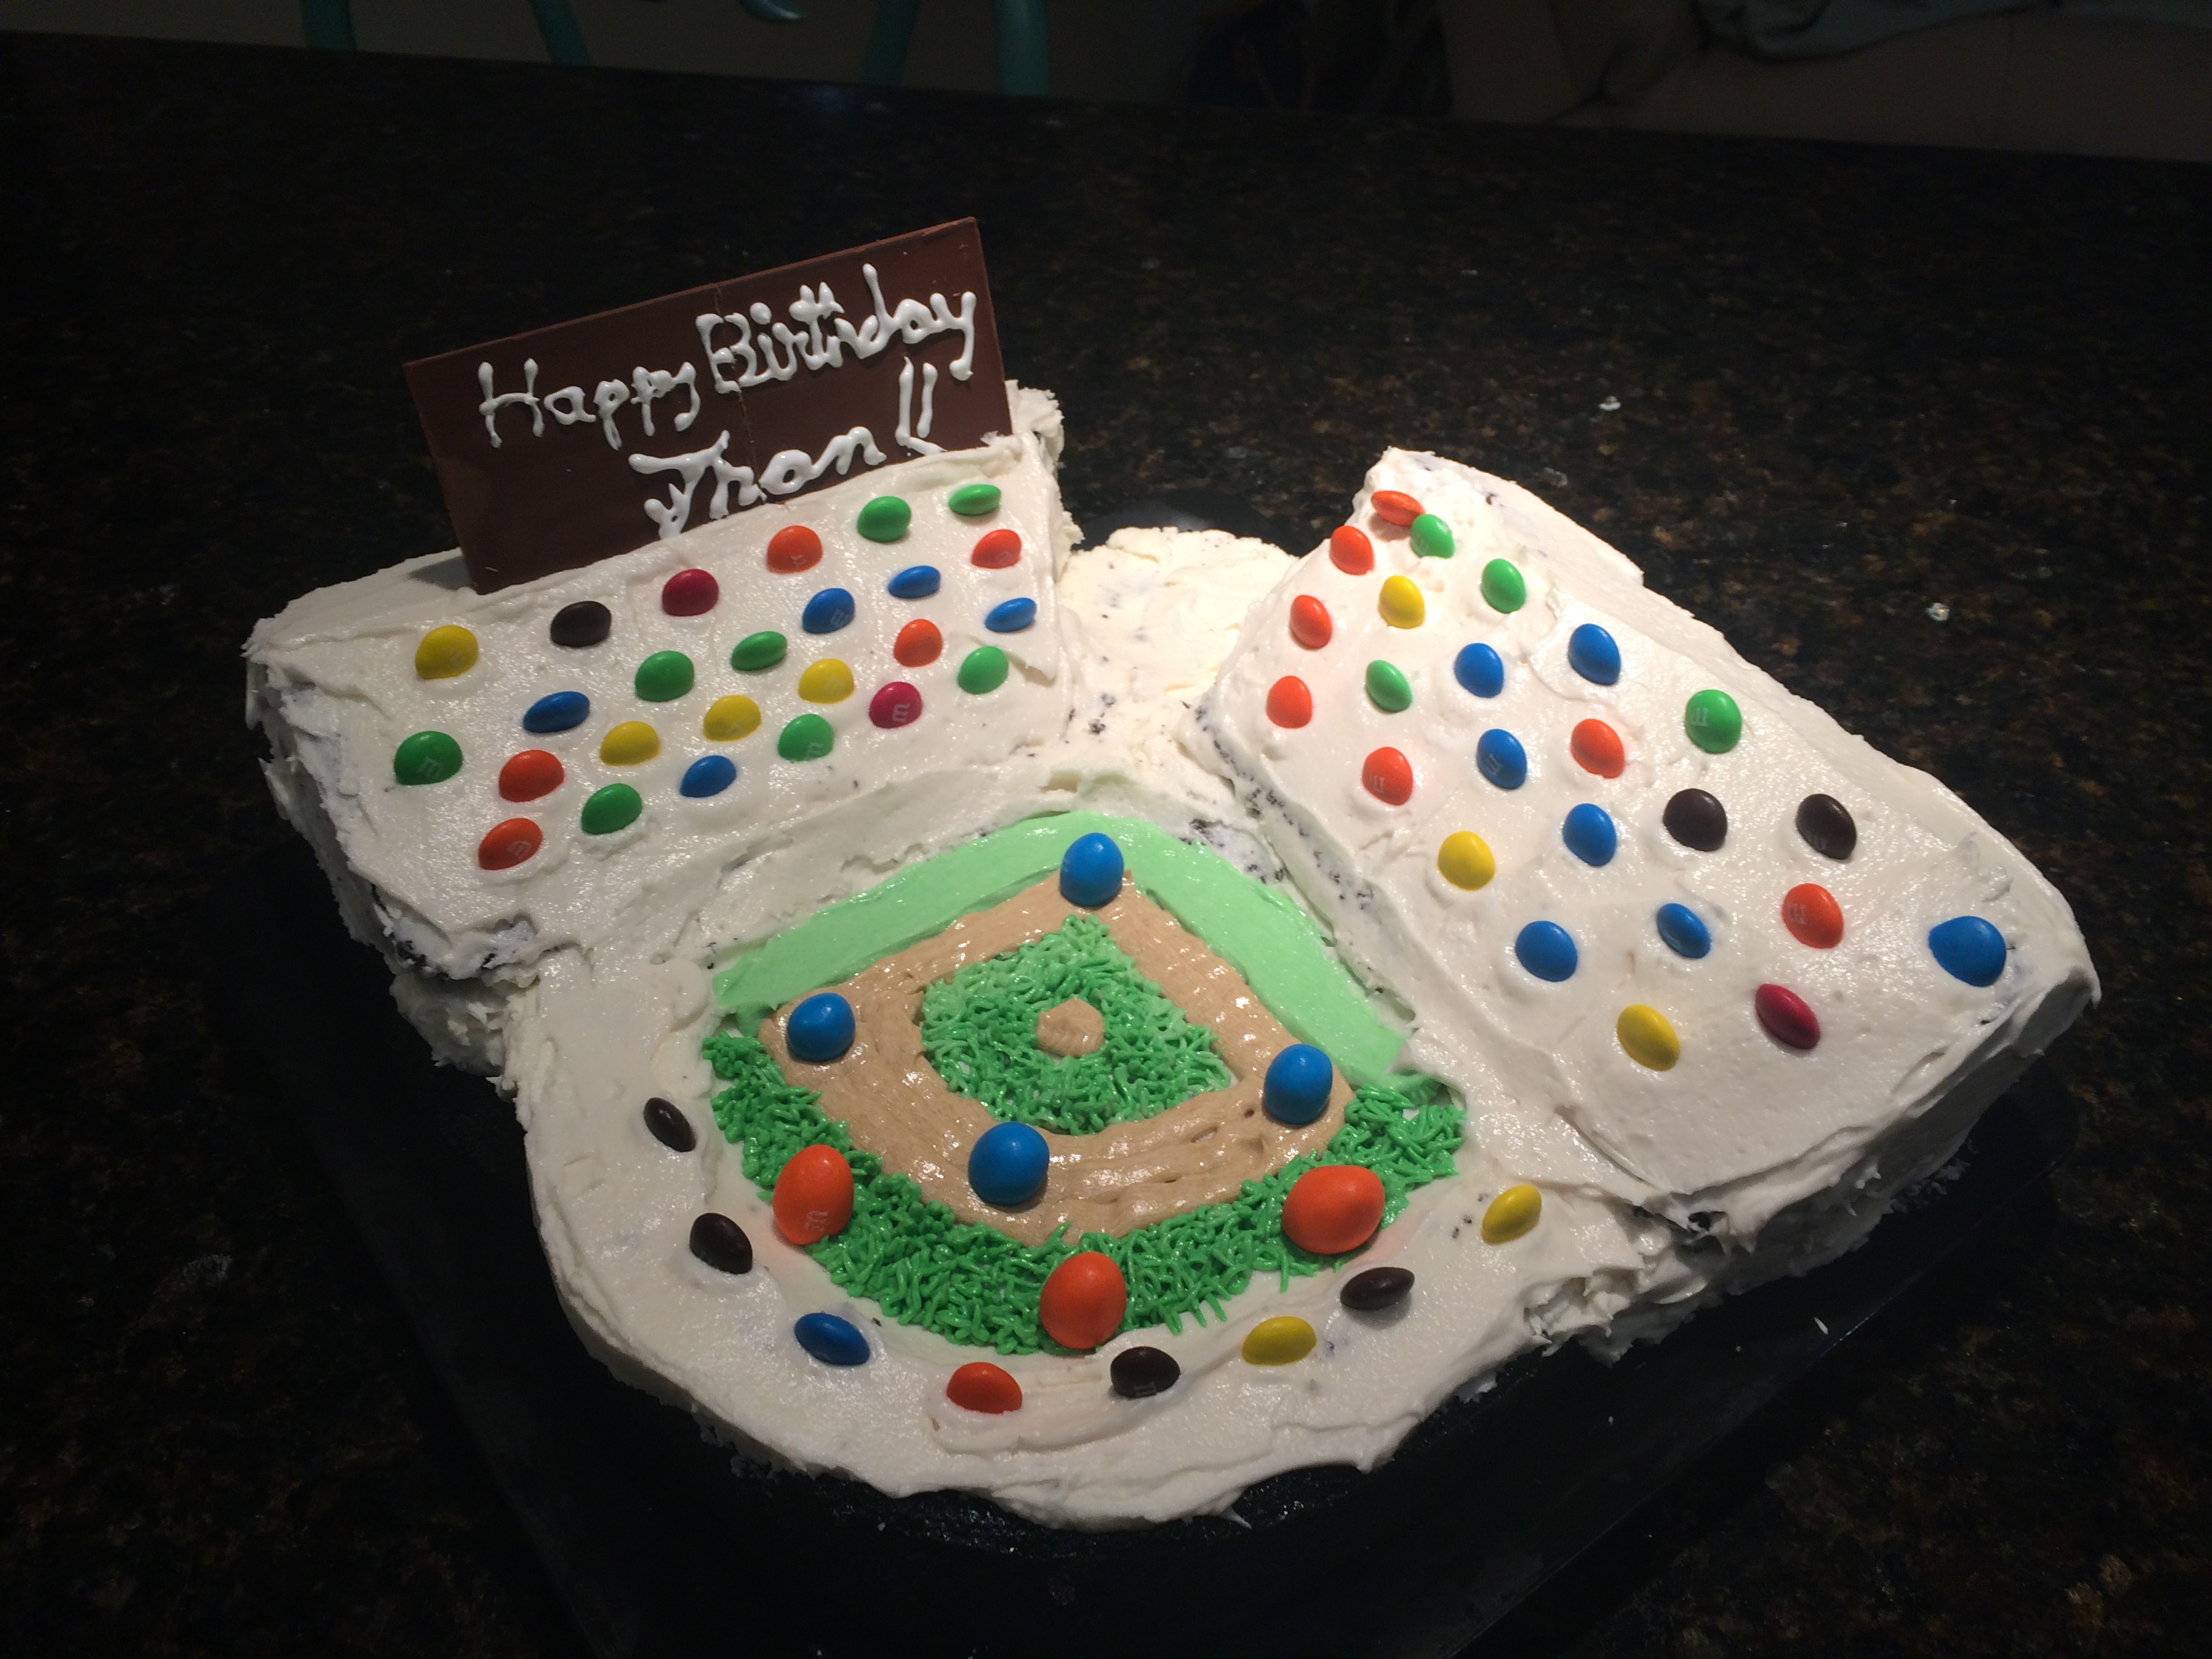
 playing field is chocolate cake with the outfield carved into a curved radius and grand stands are white velvet cake baked in a bread loaf pan then cut at an angle to make parallel triangular wedges for the grand stands. Everything was crumb coated with white butter cream frosting, chilled overnight and a finish frosting coat added the next day.


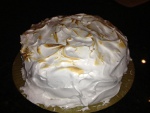
 The pumpkin pie is actually a chocolate cake in disguise. Use