Frances sent me a picture of these cupcakes thinking I might like the design and might make them. She was right, I did and I did. Sadly, she is not eating any added sugar at the moment… sigh. I also had a new white cake recipe I wanted to try and the confluence of these two irresistible forces resulted in an almost perfect cupcake. However, my unpaid, full time, in-house taste tester felt the cupcake was sweet and adding the buttercream frosting just put her over the edge. You know, the typical shakes, cold sweats and hyperactivity of a pure sugar high. The white cake recipe is a keeper though. Maybe a cream cheese frosting…
Land o’Lakes published the rainbow piping concept. I read it but then I did it my way
Yes, there were times, I’m sure you knew
When I bit off more than I could chew (get it?)
But through it all, when there was doubt
I ate it up and spit it out (never!)
I faced it all and I stood tall
And did it my way
Buttercream Frosting
Previously if I wanted multi-colored piping I will fill small piping bags with different colored frosting, snip the ends off and cram them into a large bag. This worked fair at best. This technique is far superior, and maybe even easier. I use Wiltons Icing Colors. They are concentrated and you don’t need much for very vibrant colors.
-

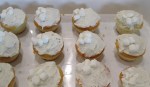
- Cooling Cupcakes
-
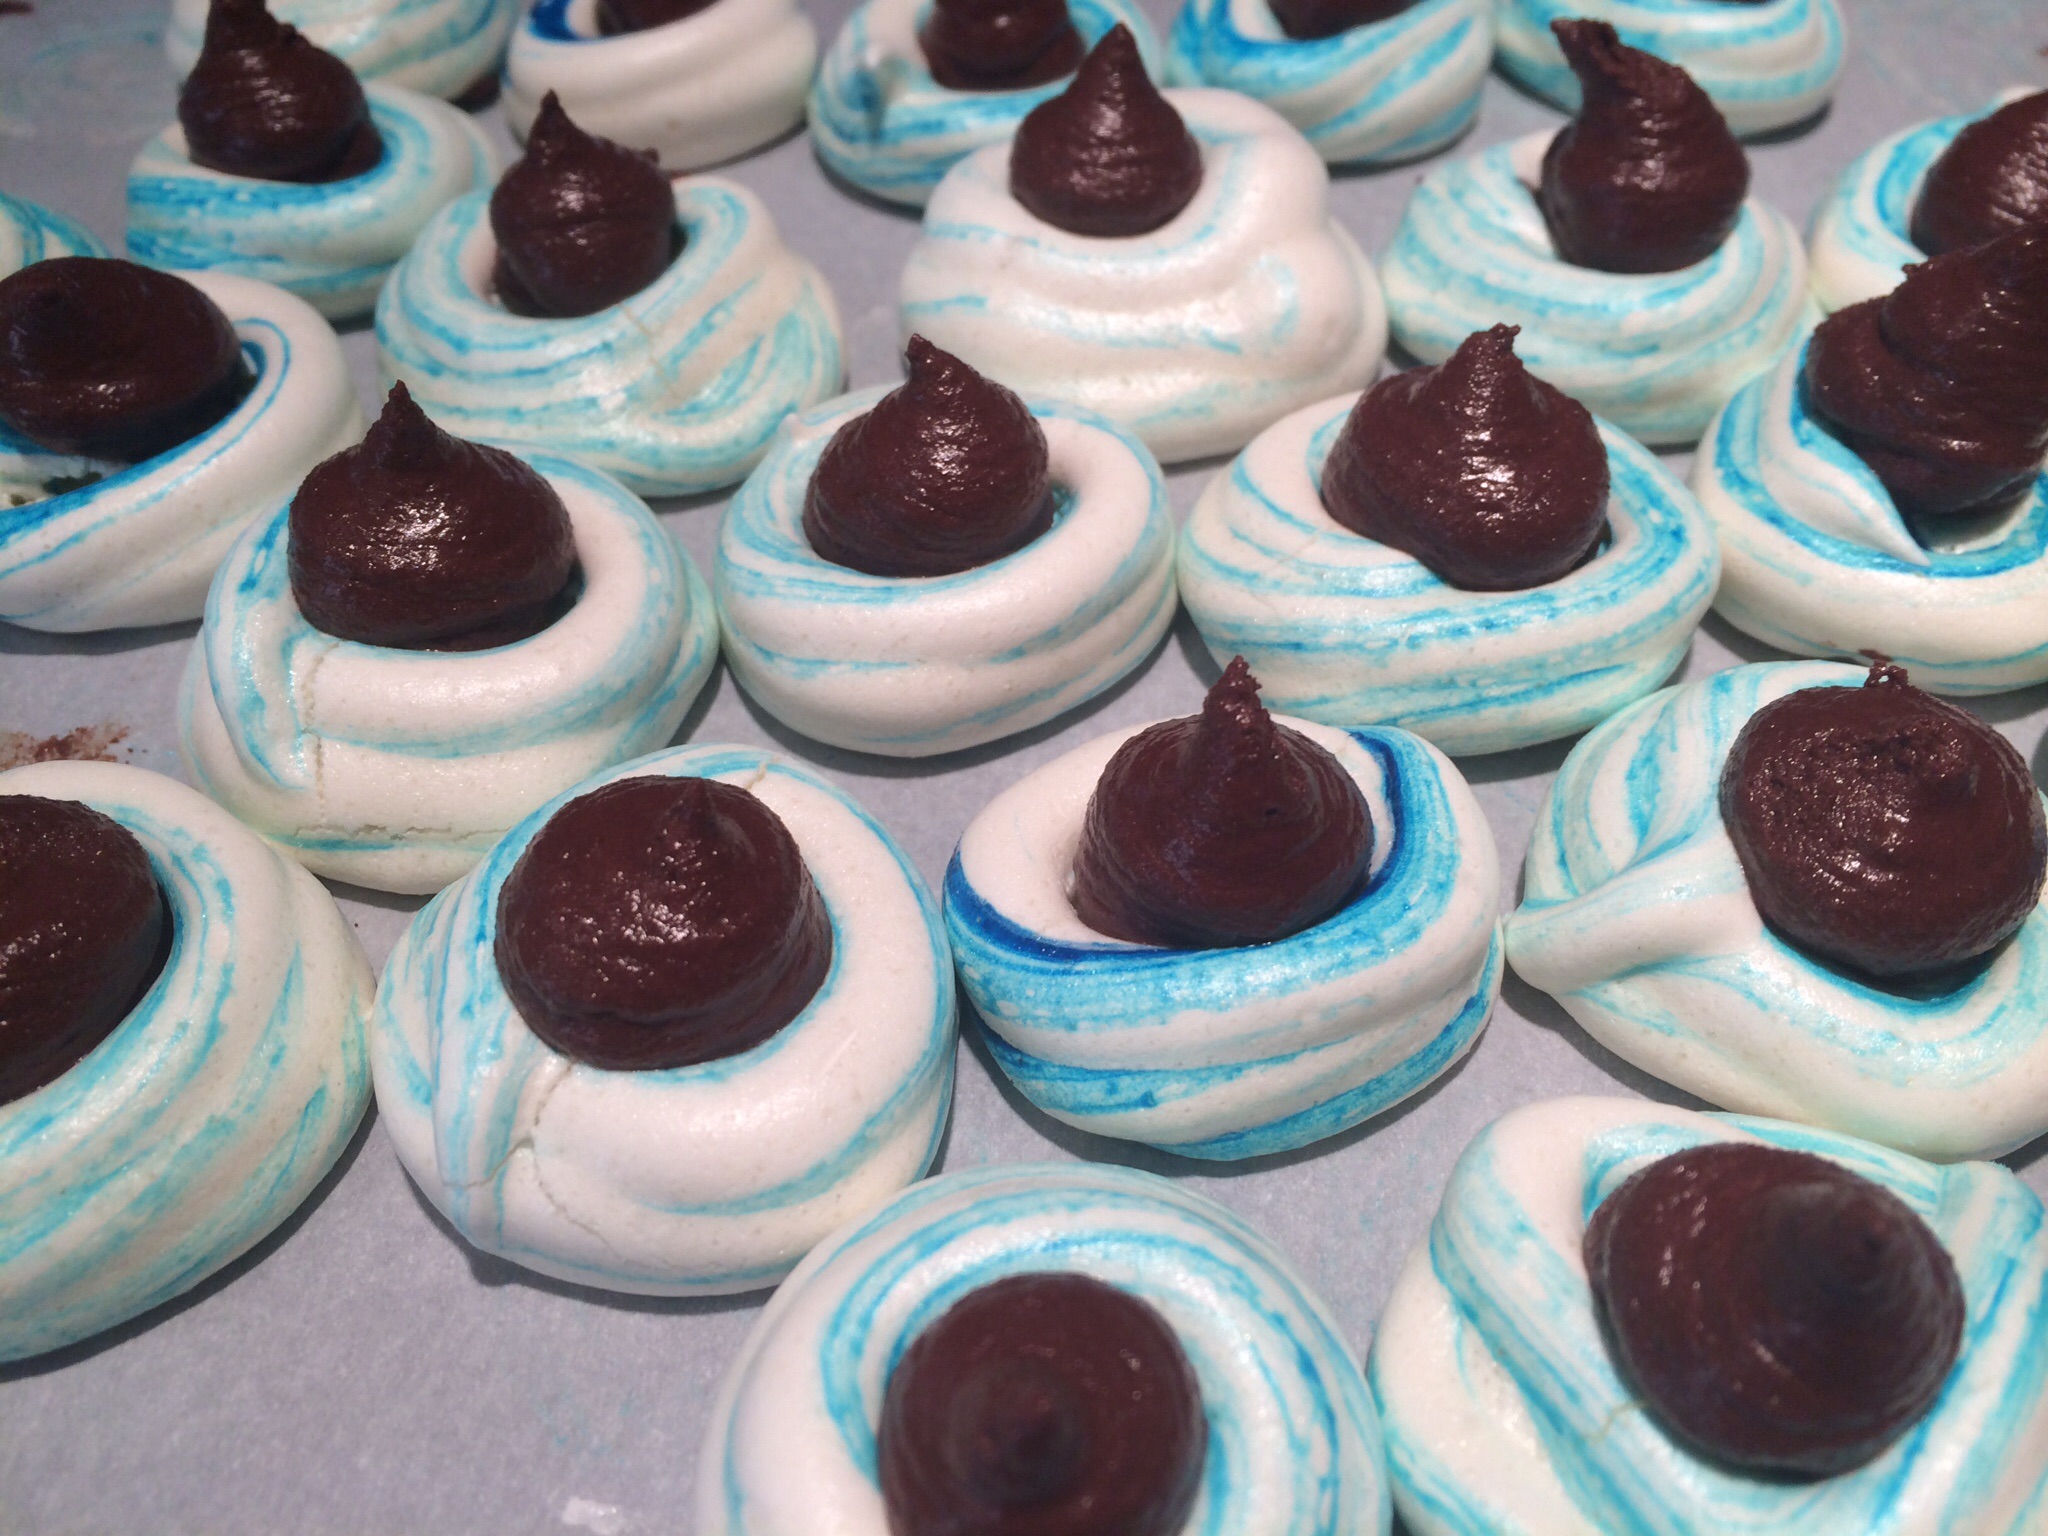
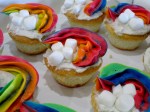
- Frosted and Marshmallow Topped
-
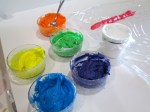
- Multi-colored Frosting
-

- Filling Plastic Bag with Frosting
-

- Filled Bag
-

- Frosting Piped into Rows
Once the colored frosting is piped into rows on a piece of food wrap, roll the wrap up and snip off the end. Put the rolled frosting into a large piping bag with a large star end.
-

- Frosting Ready to Pipe
-
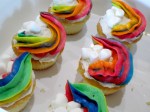
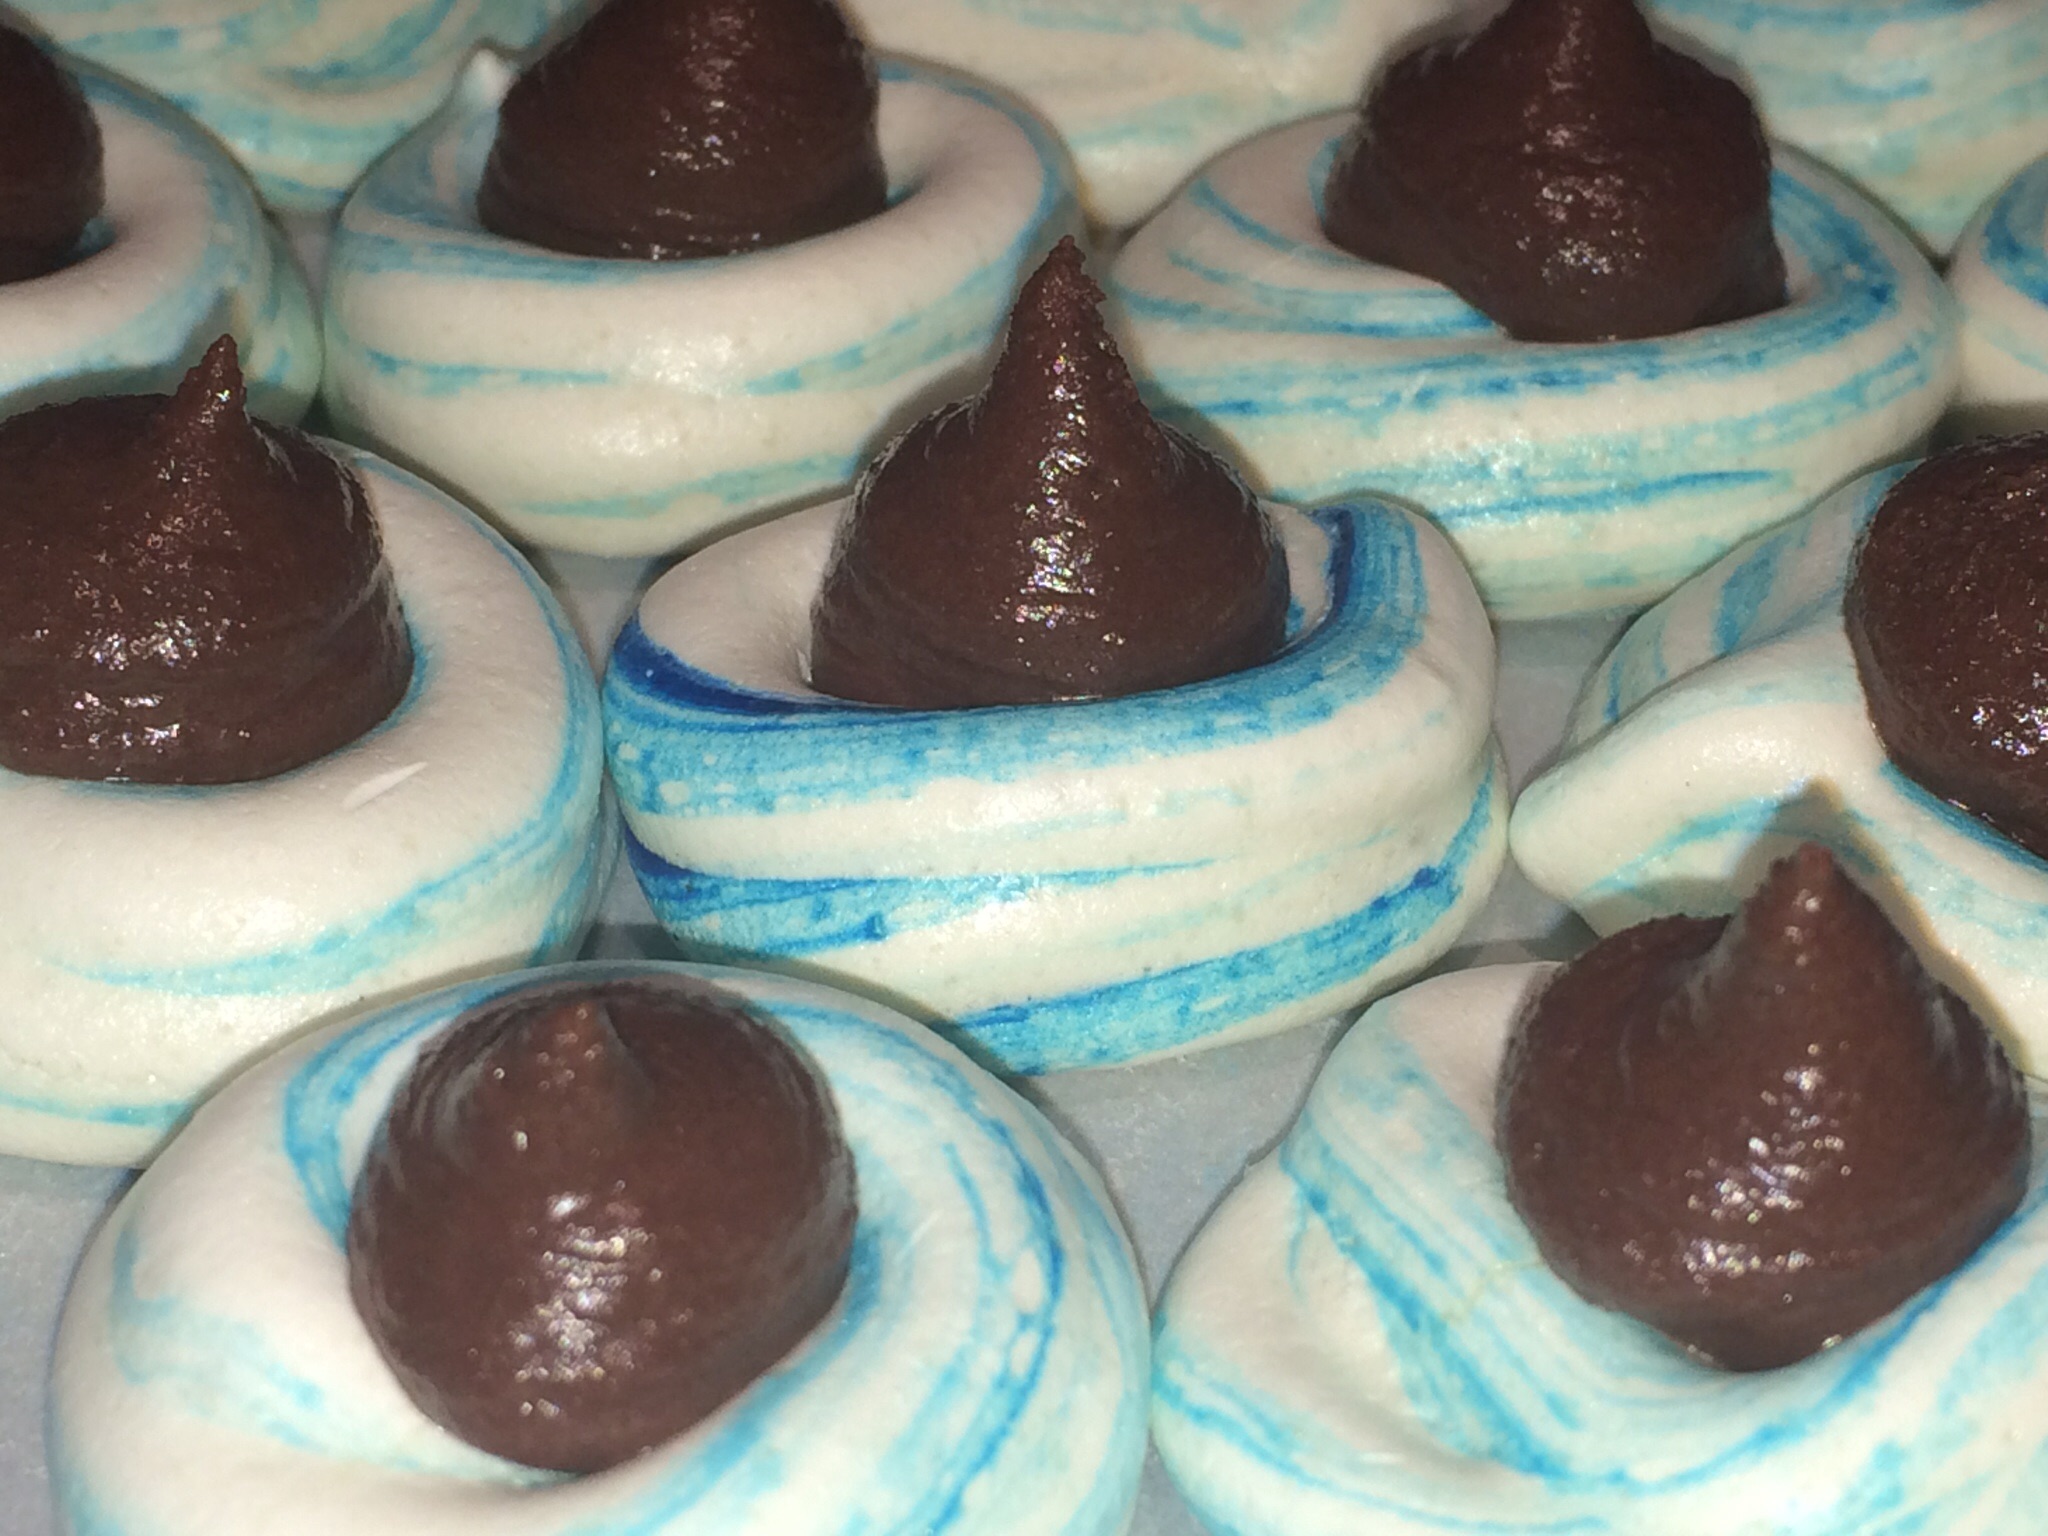
- Completed Cupcakes #1
-
- Completed Cupcakes #2
Run a little of the frosting out until the mixture comes out evenly distributed, then pipe the rainbows, surrounding the marshmallow clouds.
Thank you Land o’Lakes, this was a great technique.
THE BEST BUTTERCREAM FROSTING
INGREDIENTS
- 4 cups of powdered sugar (or 1 box)
- 1 Cup (2 sticks) of softened butter
- 2-3 teaspoons of vanilla
- 1-2 tablespoons of milk
- Violet food coloring
METHOD
- Add powdered sugar to mixing bowl.
- Add softened sticks of butter
- Add vanilla. If you want white buttercream use clear imitation vanilla. Also, adding a little violet food coloring (like the end of a toothpicks worth) will help lighten the yellowish color due to the butter.
- Add 1 tbsp of milk.
- Beat on low until powdered sugar is incorporated. Then move mixer up to medium-high speed. Scrape sides and bottom of bowl often. When completely mixed the frosting may appear dry.
- Add more milk, a little bit at a time until frosting is the proper consistency.
White Cup Cakes –
I don’t remember where I saw this recipe but it is a basic white cake with whipped egg whites (meringue) gently folded into the batter. I made a half recipe just to try it. This made 15 medium sized cupcakes. Either follow the instructions and make cakes, or do what I did, or both, and make a lot of cupcakes!
INGREDIENTS
- 1 cup milk
- 1 ½ teaspoons vanilla extract
- 1 cup butter, softened
- 2 cups sugar
- 3 cups cake flour
- 1 tablespoon baking powder
- 5 egg whites
METHOD
- Preheat oven to 350°. Grease 3 (8-inch) round cake pans; line bottoms with parchment paper, and grease and flour paper.
- Stir together milk and vanilla.
- Beat butter at medium speed with a heavy-duty electric stand mixer until creamy; gradually add sugar, beating until light and fluffy. Sift together flour and baking powder; add to butter mixture alternately with milk mixture, beginning and ending with flour mixture. Beat at low speed just until blended after each addition.
- Beat egg whites at medium speed until stiff peaks form; gently fold into batter. Pour batter into prepared pans.
- Bake at 350° for 20 to 23 minutes or until a wooden pick inserted in center comes out clean. Cool in pans on wire racks 10 minutes. Remove from pans to wire racks; discard parchment paper. Cool completely (about 40 minutes).
- Spread Vanilla Buttercream Frosting between layers (about 1 cup per layer) and on top and sides of cake.
 these with two different fillings,
  off the walls with a sugar high, let’s coat them with sugar icing! There is no thought of balancing flavors or textures here, just sweet and crunch. I saw a hint somewhere of using squeeze bottles with medium fine tips rather than traditional piping bags to decorate cookies. At about $1 each, what go wrong? As it turned out, they worked great and provided
  more fine motor control than piping.
 pipe thick icing. #1, it plugs the tip and “b” it takes a lot force (read: tired and cramping fingers and hands here). Once the damn dam is dried flood the inside with thinner frosting. Poke any holes with a toothpick. Let dry, probably overnight.


 problem, but find a jar of blackberry without that insidious word “seedless” on the label? Good luck. Either you spend an inordinate amount of time searching your supermarket, or go to a farm or specialty market and shell out twice the cash. I look for BOGO’s on berries. It’s like getting jam free, almost.
![IMG_1421[1]](https://abatteredoldsuitcase.com/wp-content/uploads/2015/05/img_14211.jpg?w=300&h=225)
![IMG_1422[1]](https://abatteredoldsuitcase.com/wp-content/uploads/2015/05/img_14221.jpg)
![IMG_1427[1]](https://abatteredoldsuitcase.com/wp-content/uploads/2015/05/img_14271.jpg)