If it works, don’t fix it. My chocolate cake is probably the best cake I make (In My Not So HO). The Heavenly White is a very close second, but I really think the chocolate is #1.
Anyway, when invited to Robin’s open house, and knowing Robin has some sort of M&M obsession (in the nicest sense of the word), and being asked to inform them if I was bringing a

dessert, I had some initial anxiety deciding on a “theme” for the cake (between a Robin’s Egg Blue cake, which could have been Heavenly White, or an M&M cake, which HAD to be chocolate) I ultimately chose the M&M cake. (Please see my Facebook “Chicken and Egg” post for a further discussion of life’s anxieties.)
I used a Wilton’s 3D Egg Pan which I found on eBay for $6. This is a very versatile pan if you want to make egg (bird, chicken, bunny, Fabrege, etc) or football, or even Peanut M&M shaped cakes. It is very important to allow the cake to cool completely. I untied the two pans and left them in place overnight, otherwise they are hard to remove from the pans and will break apart. Crumb coat the ovoid cake with a relatively thin version of the butter cream frosting. Add a little milk if it is too thick. Let the butter cream set for a couple of hours in the refrigerator. After it is set, put on some latex gloves and smooth the entire cake.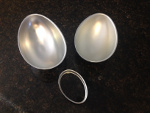

Roll out some red fondant and lay it over the cake, tucking it in and under the sides and smoothing as best you can. I am not good with rounded ends and can never get them smooth enough to satisfy me. If anyone has some tips here I would love to hear them. I do the typical stretch, smooth etc etc etc but it still wrinkles.
To make the “M” use the Rockwell font which is similar to what is found on the candy and print it about 2″ high. Cut the “M” our and use as a stencil. Roll out some gum-paste, lay the stencil over it and cut out the “M” using an Exacto knife. Wet the area backside of the the “M” and stick it in place on the cake.
Chocolate Cake
Ingredients
- 2 cups white sugar
- 1 3/4 cups all-purpose flour
- 3/4 cup dark unsweetened cocoa powder
- 1 1/2 teaspoons baking soda
- 1 1/2 teaspoons baking powder
- 1 teaspoon salt
- 2 eggs
- 1 cup milk
- 1/2 cup vegetable oil
- 2 teaspoons vanilla extract
- 1 cup boiling water
Preheat oven to 350 degrees F (175 degrees C). Grease and flour the two Wilton 3D Egg cake pans. Use the first set of ingredients to make the cake. In a medium bowl, stir together the sugar, flour, cocoa, baking soda, baking powder and salt. Add the eggs, milk, oil and vanilla, mix for 3 minutes with an electric mixer. Stir in the boiling water by hand. Pour evenly into the one half of the egg pan. It should almost overflow. Place the empty half over the filled half, tie both halves together tightly with string and place in the oven balanced on one of the stabilizing ovals.
Basic Butter Cream
Ingredients:
- 1/2 cup solid high ratio shortening
- 1/2 cup butter softened
- 1 teaspoon Clear Vanilla Extract (or extract of choice)
- 4 cups sifted confectioners’ sugar (approx. 1 lb.)
- 2 tablespoons milk
In large bowl, cream shortening and butter with electric mixer. Add vanilla and milk. Gradually add sugar, one cup at a time, beating on a slow speed. Scrape sides and bottom of bowl often. Keep bowl or covered with a damp cloth until ready to use. Refrigerated in an airtight container, this icing can be stored 2 weeks. Don’t overwhip or it will bring air to the icing and is impossible to smooth. If you have a kitchen Aid use white attachment, not whip attachment.


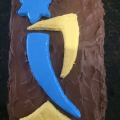 branding of TBE by making a chocolate cake with the new TBE logo on top. The cake and chocolate fudge frosting use the standard recipe
  template by printing the logo scaled to size. In this case the overall height was about 10″. I then cut out the colored parts of the logo and placed the template on the rolled out cookie dough and trace the outline with a knife. Next, remove the template and carefully cut out the dough along the tracings and transfer it to a
  parchment covered cookie sheet., being careful not to distort the shapes. Check them against the template and correct any distortions. Bake the cookies as per the directions below and allow to cool. I actually made the cookies 2 weeks ago and froze them between layers of waxed paper.
 Remembering that I had a mini-donut baking pan I searched AllRecipes for a baked donut recipe, assuming it would be healthier (and easier) than frying. I chose a recipe for “Donut Muffins” and planned on baking them in my donut baking pan. I started assembling all the pans and ingredients but couldn’t find the ^#&%#* donut baking pan.
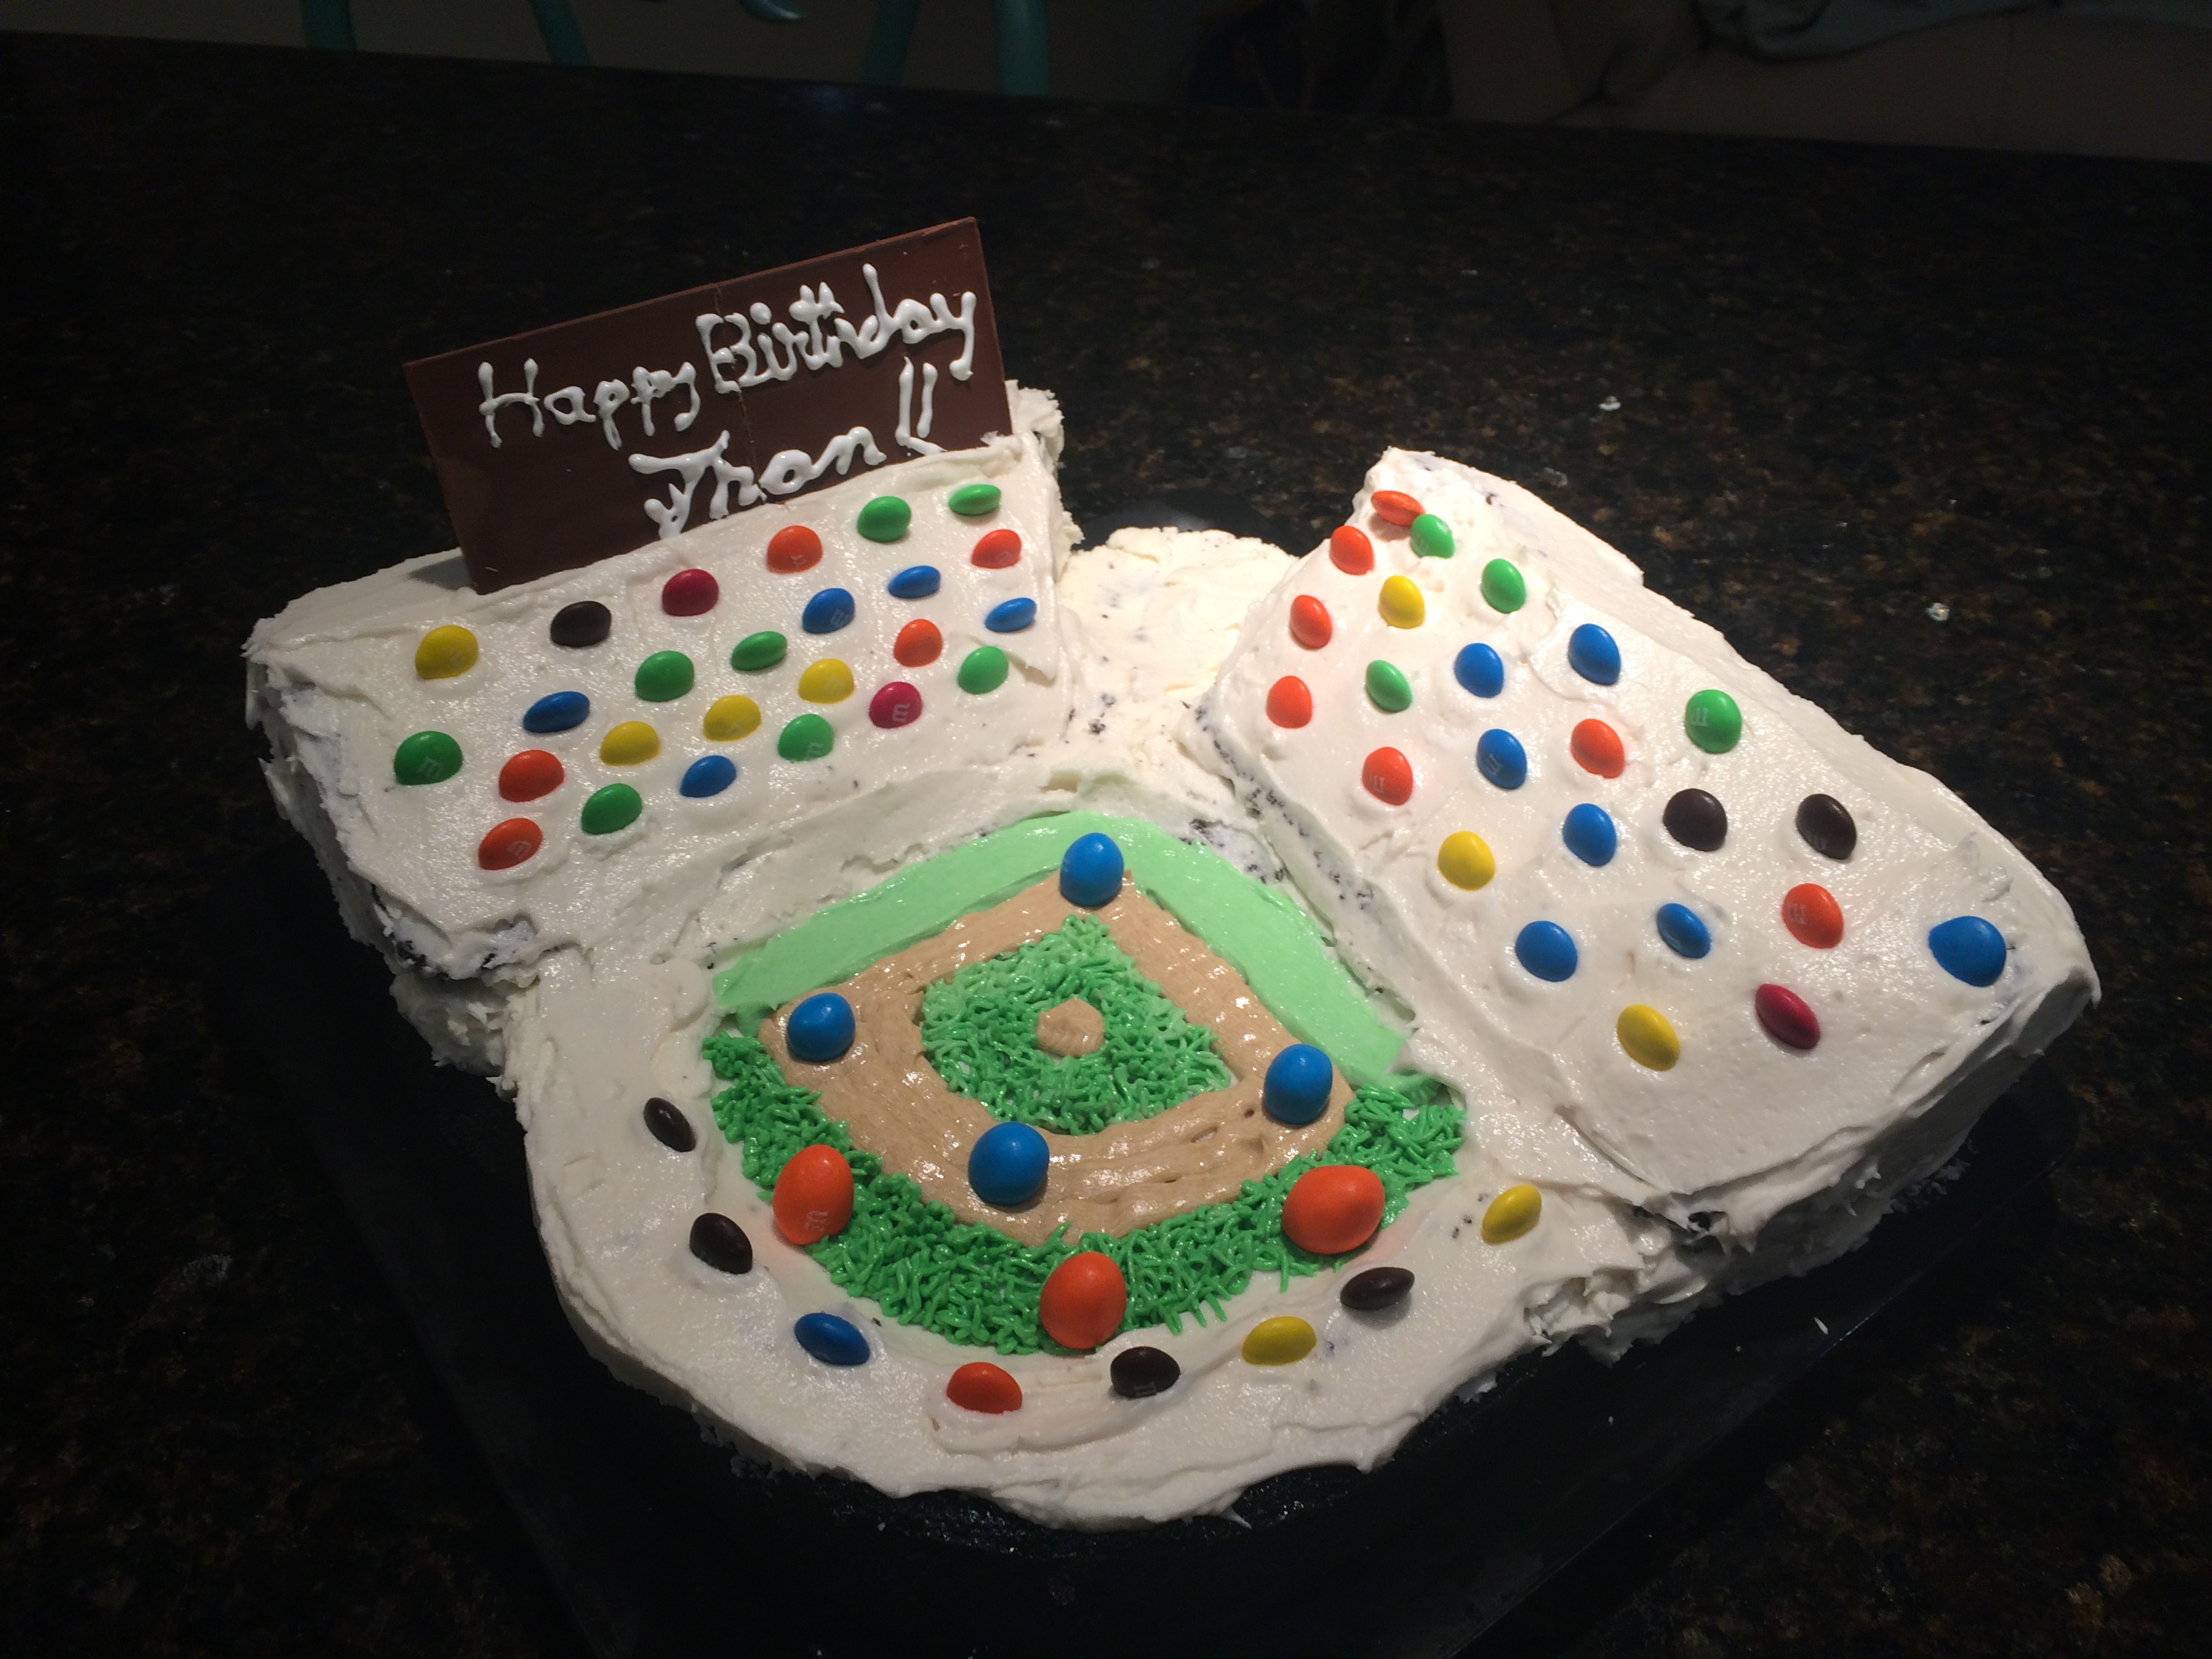
 playing field is chocolate cake with the outfield carved into a curved radius and grand stands are white velvet cake baked in a bread loaf pan then cut at an angle to make parallel triangular wedges for the grand stands. Everything was crumb coated with white butter cream frosting, chilled overnight and a finish frosting coat added the next day.

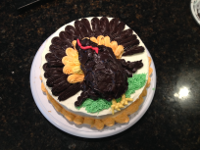
 The pumpkin pie is actually a chocolate cake in disguise. Use